How to fit tile trim to get neat, clean, good-looking edges
Learn how to fit tile trim with our quick and easy-to-follow guide to give your tiles not just a smart finish, but also added edge protection

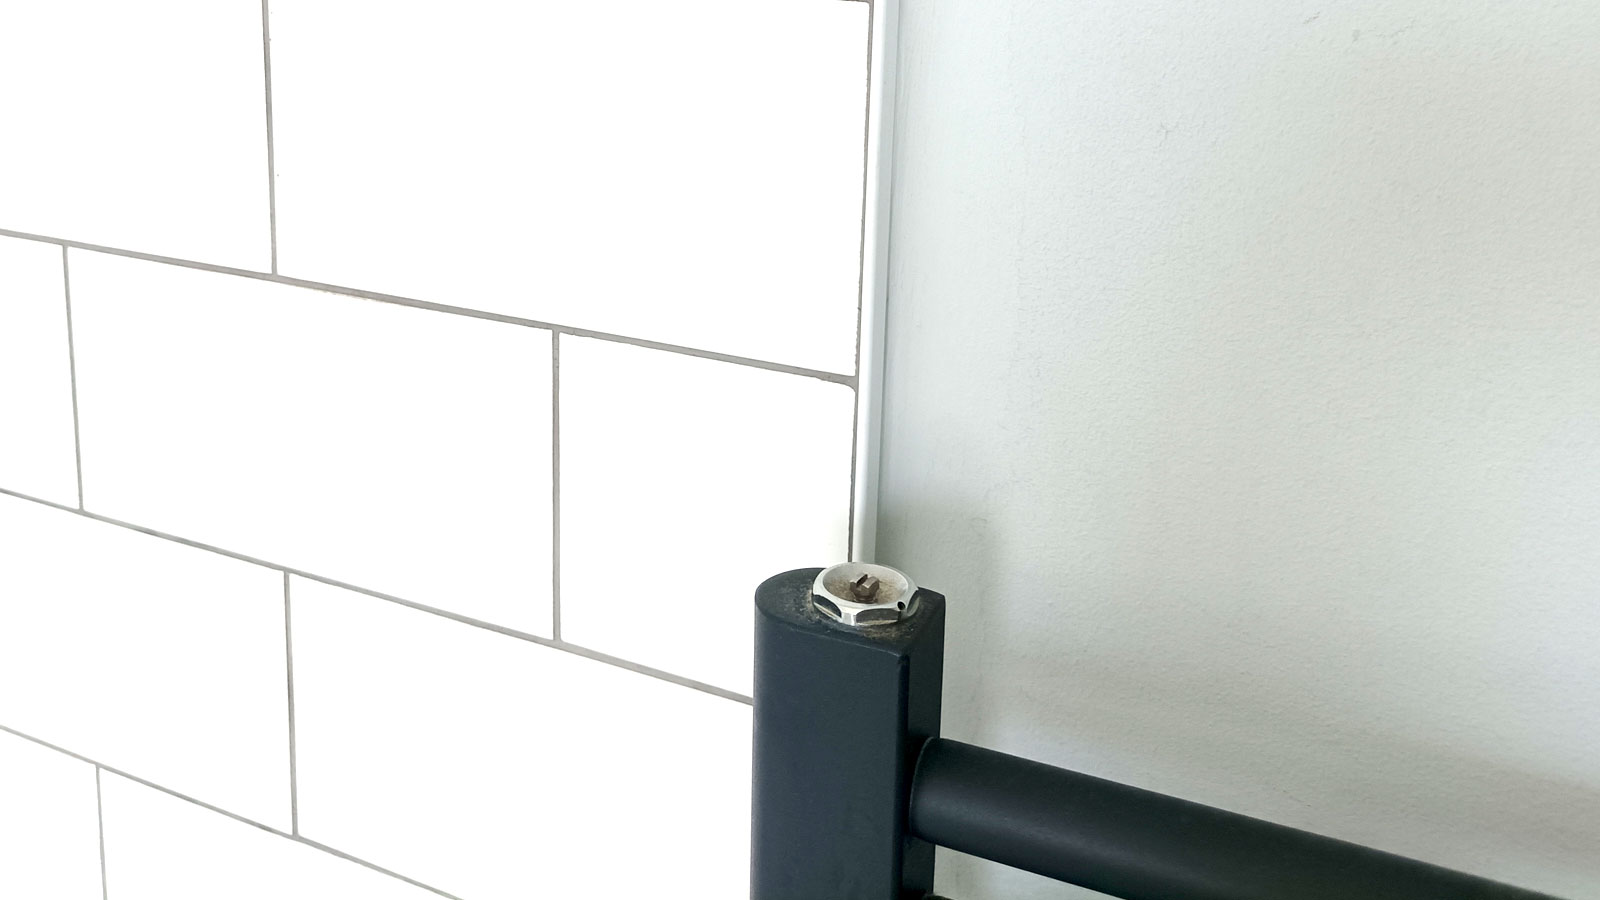
Knowing how to fit tile trim is an often forgotten art on tiling projects. It’s a job most DIYers can tackle, but it needs to be done well to get a professional looking finish. After all, no-one wants to see ugly, unsightly edges spoiling the smooth aesthetic of your new bathroom or kitchen tiles.
When tiling a wall corner to corner, or floor to ceiling, you won’t have any edges spoiling your finish. But if you’re tiling around a bath or sink it's common to stop part way across the wall. And if you don't introduce tile trim you are leaving the unglazed edges on display and unprotected.
Here we reveal the type of trim you can choose from, what size you’ll need and how to fix it to straight and curved surfaces.
Knowing how to fit tile trim starts with choosing the right trim
Before you think about fitting any tile trim, whether you're tiling a bathroom or any other space, you'll need to choose the type you want and the right size. There are several types, materials and colours to choose from.
The common option for walls is white PVC trim with a square edge profile. This is typically the least expensive and fits well with most decor and colour schemes, but making a choice is based on a number of different factors.
Choosing the right tile trim
Which tile trim profile?
There are a selection of trim profiles with straight edge, square edge and round edge being the most commonly used. A straight edge profile is typically used to hide tile edges on walls where the tile doesn't go corner to corner as it creates a neat edge. It is also used for floor tile edges when tiling a floor.
Round edge and square edge are typically used on outside corners or on floor tile edges where you need to create a neat transition from the tile to another floor type.
Alternatively, you can use a tile to carpet trim for level floor heights.
What tile trim finish?
Commonly used title trim is made from either plastic or metal. Plastic is around half the price of metal trim and is commonly available in white, black and grey. Metal tile trim is commonly made from aluminium, copper, brass and stainless steel and comes in natural colours and has a matt, polished or brushed finish.
Ceramic tile trim is available, but this is typically more decorative and used in bathroom tiling ideas for bath or sink edges, adding a little style to the tops of tiles.
What size title trim do I need?
Common sizes of tile trim are 8mm, 10mm, 12mm, and 12.5mm which fit most tiles that you will find in a kitchen or bathroom. Other common sizes include 15mm-25mm which are suitable use with thicker tiles, both for walls and floors.
To choose the correct size for your tiles make sure you select the next size up from the thickness of your tile. For example, if you have a 8mm tile depth select a 10mm tile trim depth. This will account for the addition of adhesive and give you a neat fit and finish.
Tools for cutting tile trim
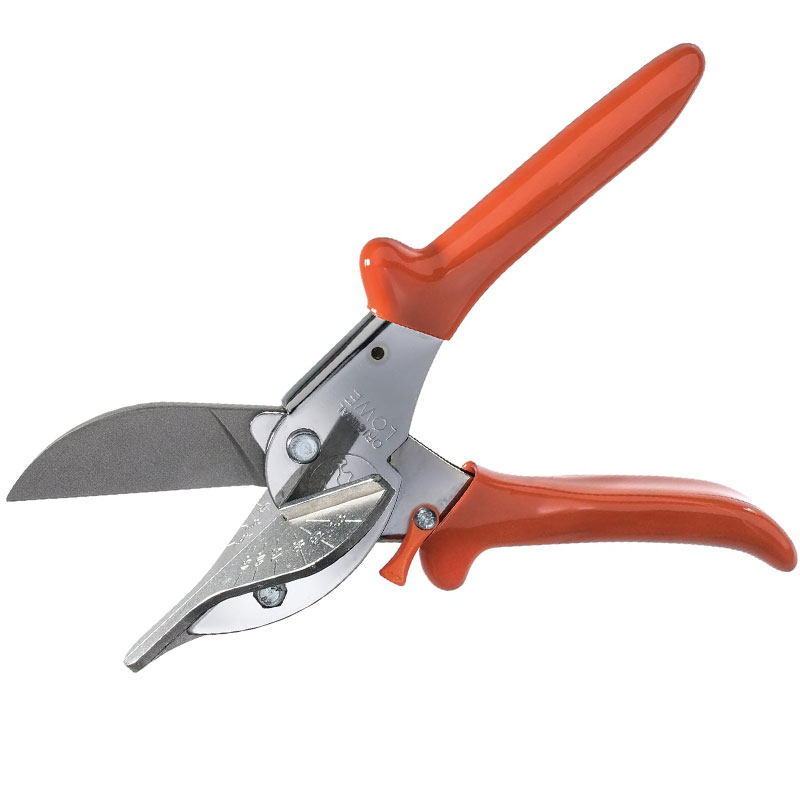
To fit tile trim you will need a few simple tools. A pair of mitre shears for plastic trim or a mitre block and hacksaw for metal and plastic trim.

Durable mitre cutting shears with 45° stops and markings for 15°, 30°, and 90° angle cuts
How to fit tile trim
1. Measure up and cut
You will need to cut tile trim to fit into corners, when tiling around a window or to fit the correct length to match tiles. There are typically two cuts – a straight 90 degree cut and a 45 degree cut.
First measure and mark where you need a cut. Use a pencil or knife to mark the tile. If using mitre shears, place the blade on the line and cut. If using a mitre block, line up the mark with the guide on the block, hold firmly against the side of the block and cut.
Now use a metal file to smooth the edge. Then make the second cut ensuring that you cut the right angle to match up with the first cut.
2. Attach tile trim
Use a spirit level and pencil to draw a line where the tile trim is to be fixed. Add enough adhesive next to the line with a notched trowel, and press on the tile trim until it fits neatly against the surface.
Wipe off any excess adhesive with a scraper and/or damp cloth. Check if it is still level and if not, adjust accordingly and leave to dry. Alternatively, you can start tiling straight away if you are working on the last course on a horizontal layer and want to butt up the trim up to the top of the tiles, such as when tiling a kitchen splashback.
How to fit tile trim FAQs
Can you fit tile trim after tiling?
Yes you can, but it's common practice to add tile trim before or during tiling. When tiling walls you typically fit the tile trim first, especially the vertical trim and leave it to dry.
One tip you can use when finishing a horizontal course of tiles is to add the trim just before the last course of tiles. Fit just above where the top of the tile will go – so the back of the trim is behind the tile when added.
When the course is finished, gently push down the trim until it lines up with the top of the tiles, make sure it's level and leave to dry. If tiling a floor you can use the same approach when you get to a doorway.
If you are tiling stairs/steps you can retrofit what is known as stair nosing tile trim which helps protect the edges.
Do you leave a gap between tile and trim?
There isn't a straight yes or no answer to this as it depends on the nature of your tiling project.
If the trim and tiles are in an area that is going to be regularly exposed to water such as a shower then you need to leave a 2mm or 3mm gap (ideally whatever matches up with the spacers you are using for the job). Then grout the tiles to help stop water ingress between the tile and trim.
However, if the trim is in an area where it isn’t going to be exposed to water, for example if your kitchen wall tile ideas involve tiling above a kitchen worktop, then you can butt the tile up to the trim. Or, you can also leave a gap for aesthetic reasons so you have matching grout lines.
Is it better to caulk or grout tile trim?
For most gaps you should be using grout to fill any spaces between the tile and trim. You can consider caulking to fill small gaps, but it's generally not as aesthetically pleasing.
However, you can use a small bead of caulk between the outside edge of the trim and a wall or floor to help fill any gaps and get a smooth seamless finish.
How do you edge tiles without trim?
If the edges of the tiles are unglazed you can leave them, but it will spoil the aesthetic of the finish. The common option is to use caulk to hide the edges.
Personally, I would always use tile trim as caulk can look cheap. One option is to use painter’s or decorator's caulk and paint it the same colour as the wall or surrounding area.
Can you screw or nail in tile trim?
Yes, but it's not recommended. It’s more work than it's worth and really doesn't provide a more secure fitting. However, if you are fitting tile trim to a curved area you should use adhesive and a staple gun to help hold the trim in position while the adhesive dries.
Looking to renovate your bathroom or kitchen? Then check out whether you can tile over tiles and take a look at our tiling a corner and tiling around a window guides to get a pro finish.
Get the Homebuilding & Renovating Newsletter
Bring your dream home to life with expert advice, how to guides and design inspiration. Sign up for our newsletter and get two free tickets to a Homebuilding & Renovating Show near you.
Steve Jenkins is a freelance content creator with over two decades of experience working in digital and print and was previously the DIY content editor for Homebuilding & Renovating.
He is a keen DIYer with over 20 years of experience in transforming and renovating the many homes he has lived in. He specialises in painting and decorating, but has a wide range of skills gleaned from working in the building trade for around 10 years and spending time at night school learning how to plaster and plumb.
He has fitted kitchens, tiled bathrooms and kitchens, laid many floors, built partition walls, plastered walls, plumbed in bathrooms, worked on loft conversions and much more. And when he's not sure how to tackle a DIY project he has a wide network of friends – including plumbers, gas engineers, tilers, carpenters, painters and decorators, electricians and builders – in the trade to call upon.


