Learn how to fit thermostatic radiator valves to control temperature and save money
Get expert advice on why and how to fit thermostatic radiator valves for the next time you need a new one

Knowing how to fit thermostatic radiator valves (TRV) isn’t as difficult as you might think. But there are some definitive steps you need to follow to make sure you’re not calling out a plumber to mop up your mistakes.
The physical changing of a TRV won’t differ from heating system to heating system, but what type of boiler and how many TRVs you want to change will make a difference on how the job is approached. If you’re only replacing a single TRV it's a job that any competent DIYer can take on with the right tools. If looking to replace more it's not so simple.
Here we explain how to replace an old TRV, why it's mandatory to have an TRV and what you should expect to pay a pro to do the job.
How to fit thermostatic radiator valves: A quick four step guide
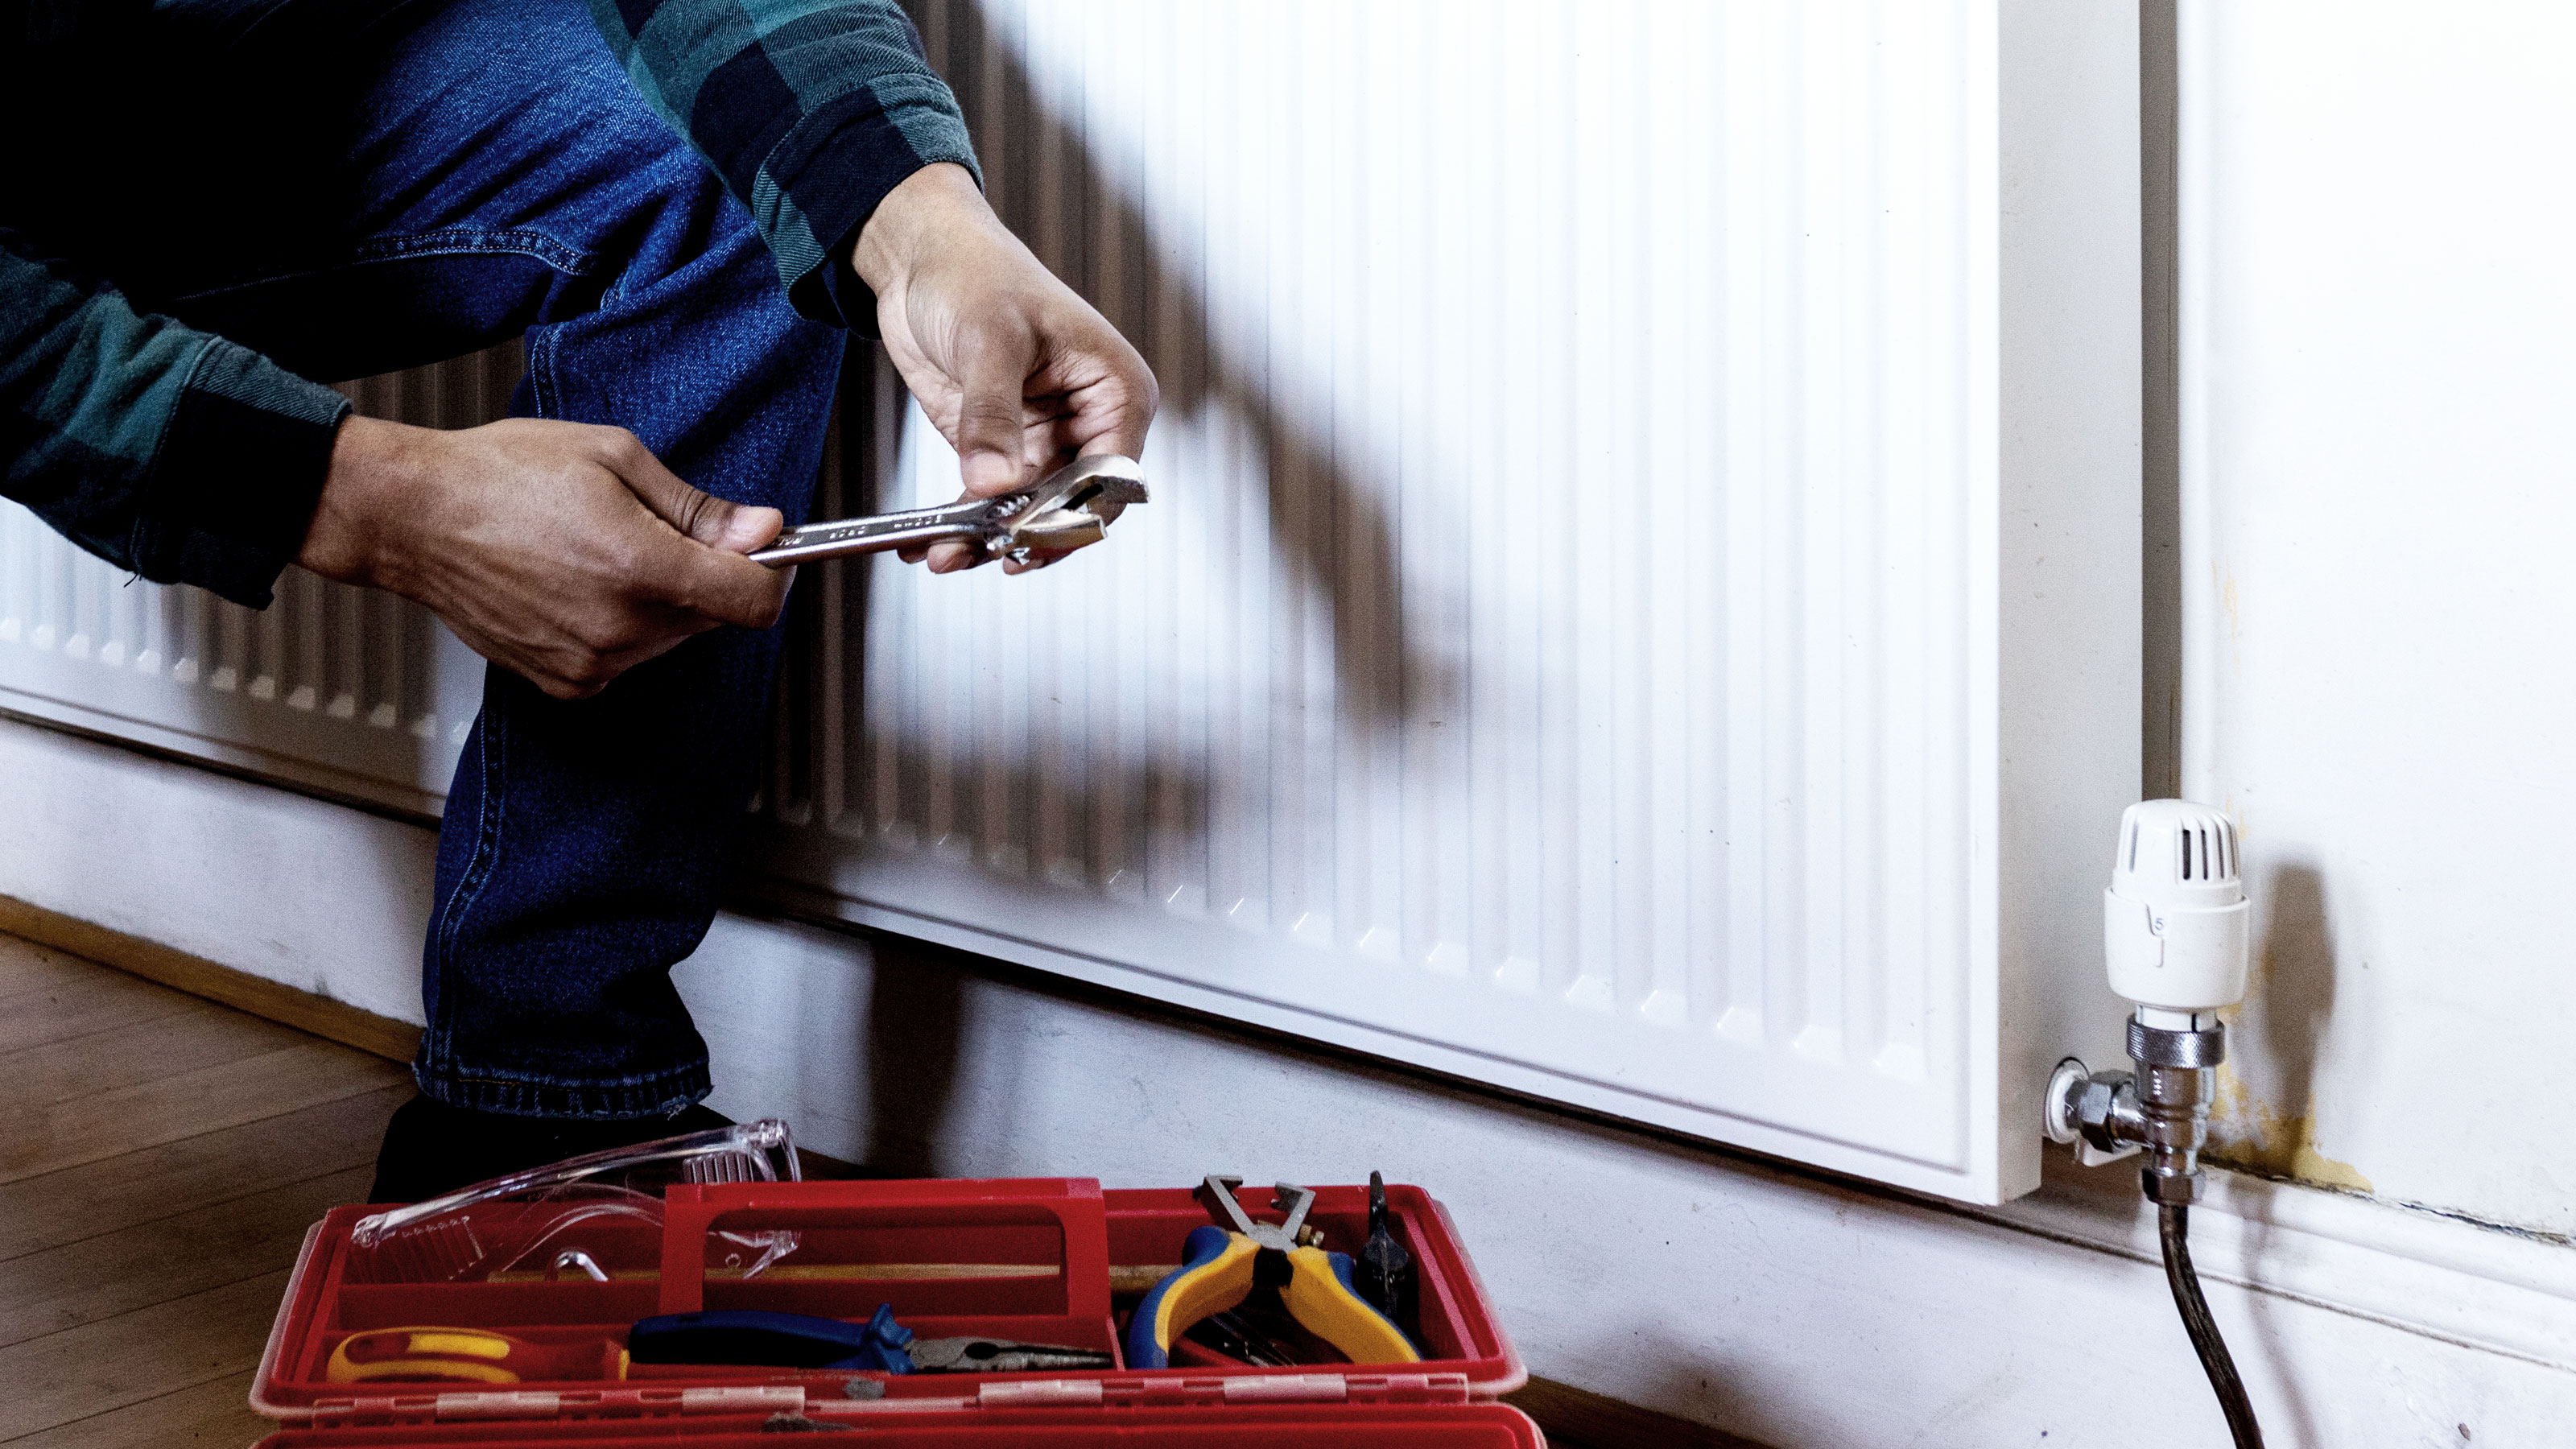
Before you start you will need to make sure that you have a bucket/container, towels, an adjustable spanner and a set of pliers like these Knipex Alligator Water Pump Pliers or mole grips like these STANLEY Fatmax Locking Mole Grips, both from Amazon. It's also good to know how a TRV works before you begin.
1. Drain system
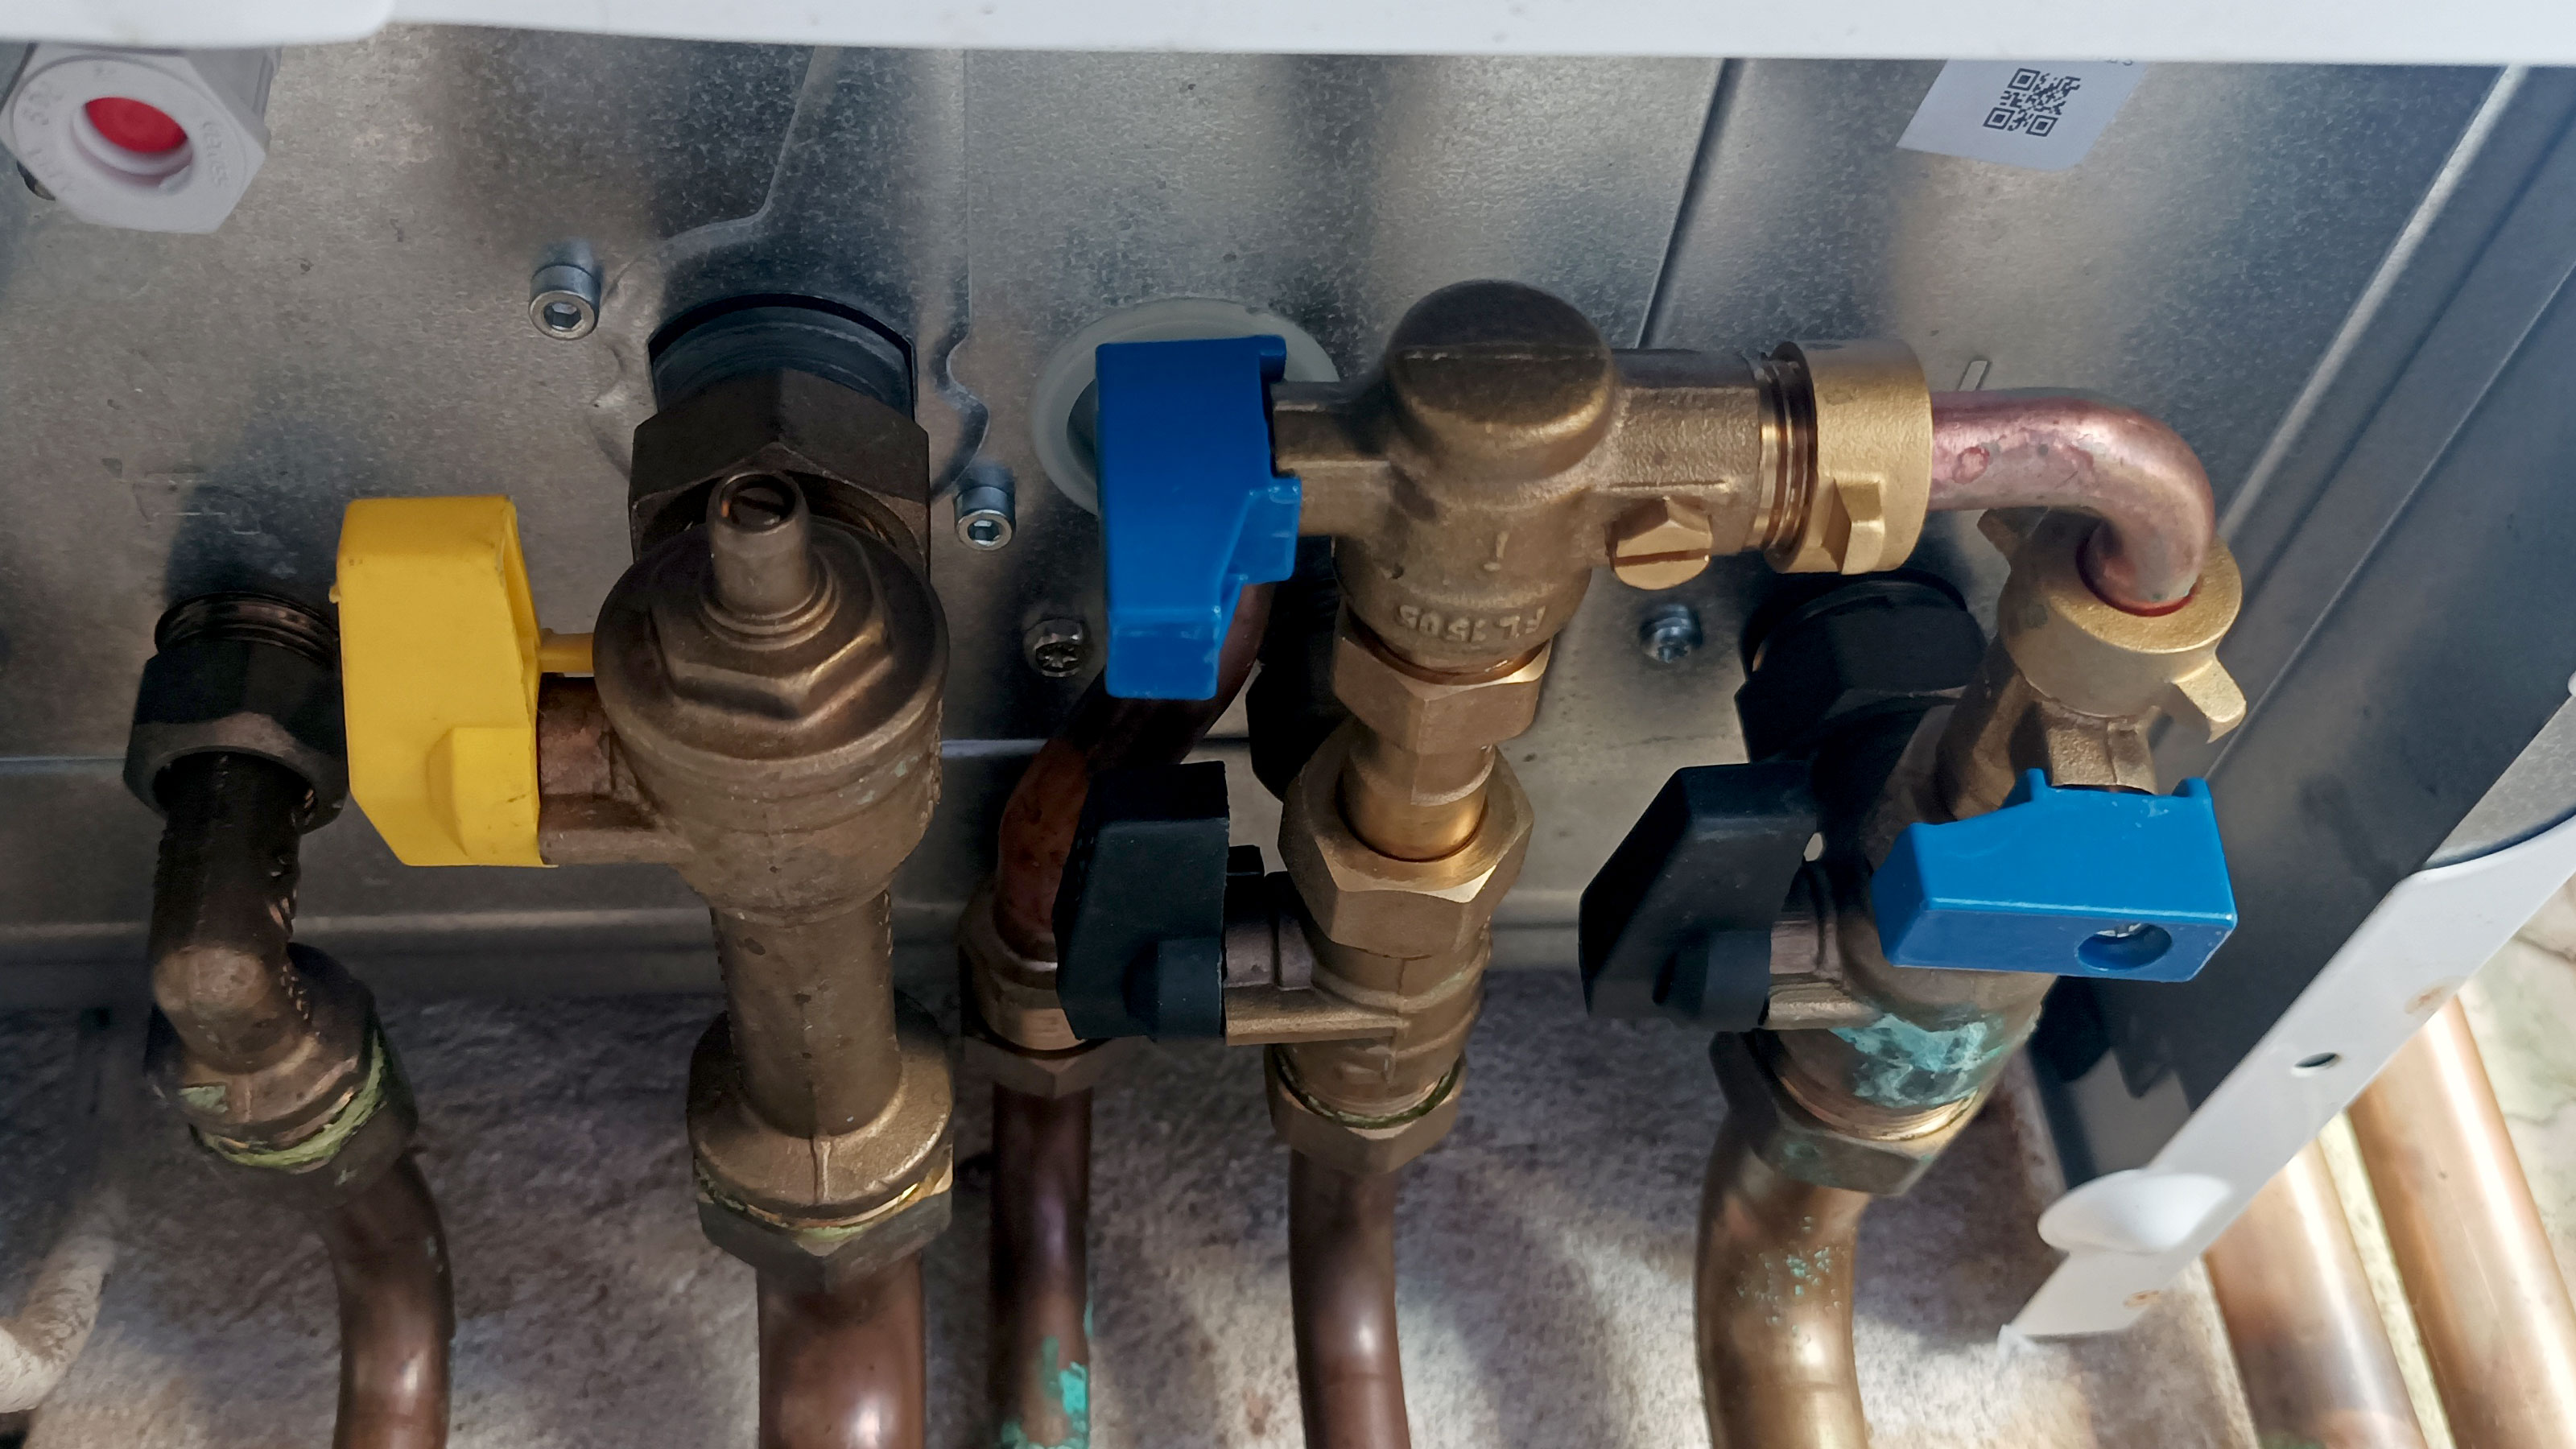
Before you change a TRV you will need to make sure that there isn’t an active water supply flowing through the heating system pipes as independent contractor Malcolm Chessell of Project Plumbing & Gas explains, “To change a TRV you will first need to drain down the system. If you have a combi boiler you will need to turn the boiler off at the wall. Drain down the system from the drain off point at the bottom of a radiator or under the boiler.”
If you have a conventional boiler installed – rather than a combi boiler – you will need to take a different approach Chessel continues, “If you have a conventional boiler, you will need to shut off the water feed to the fill and expansion tank normally found in the loft.”
He also suggests it is a good time to take further action, “It’s always a good idea to clean out the F&E (fill and expansion) tank when draining down the system to stop any contamination that may be in the tank finding its way into the heating system.”
2. Remove TRV
Once the heating system has been drained you can start the process of replacing the TRV. Place towels and have a container ready just in case there’s any water left in the system.
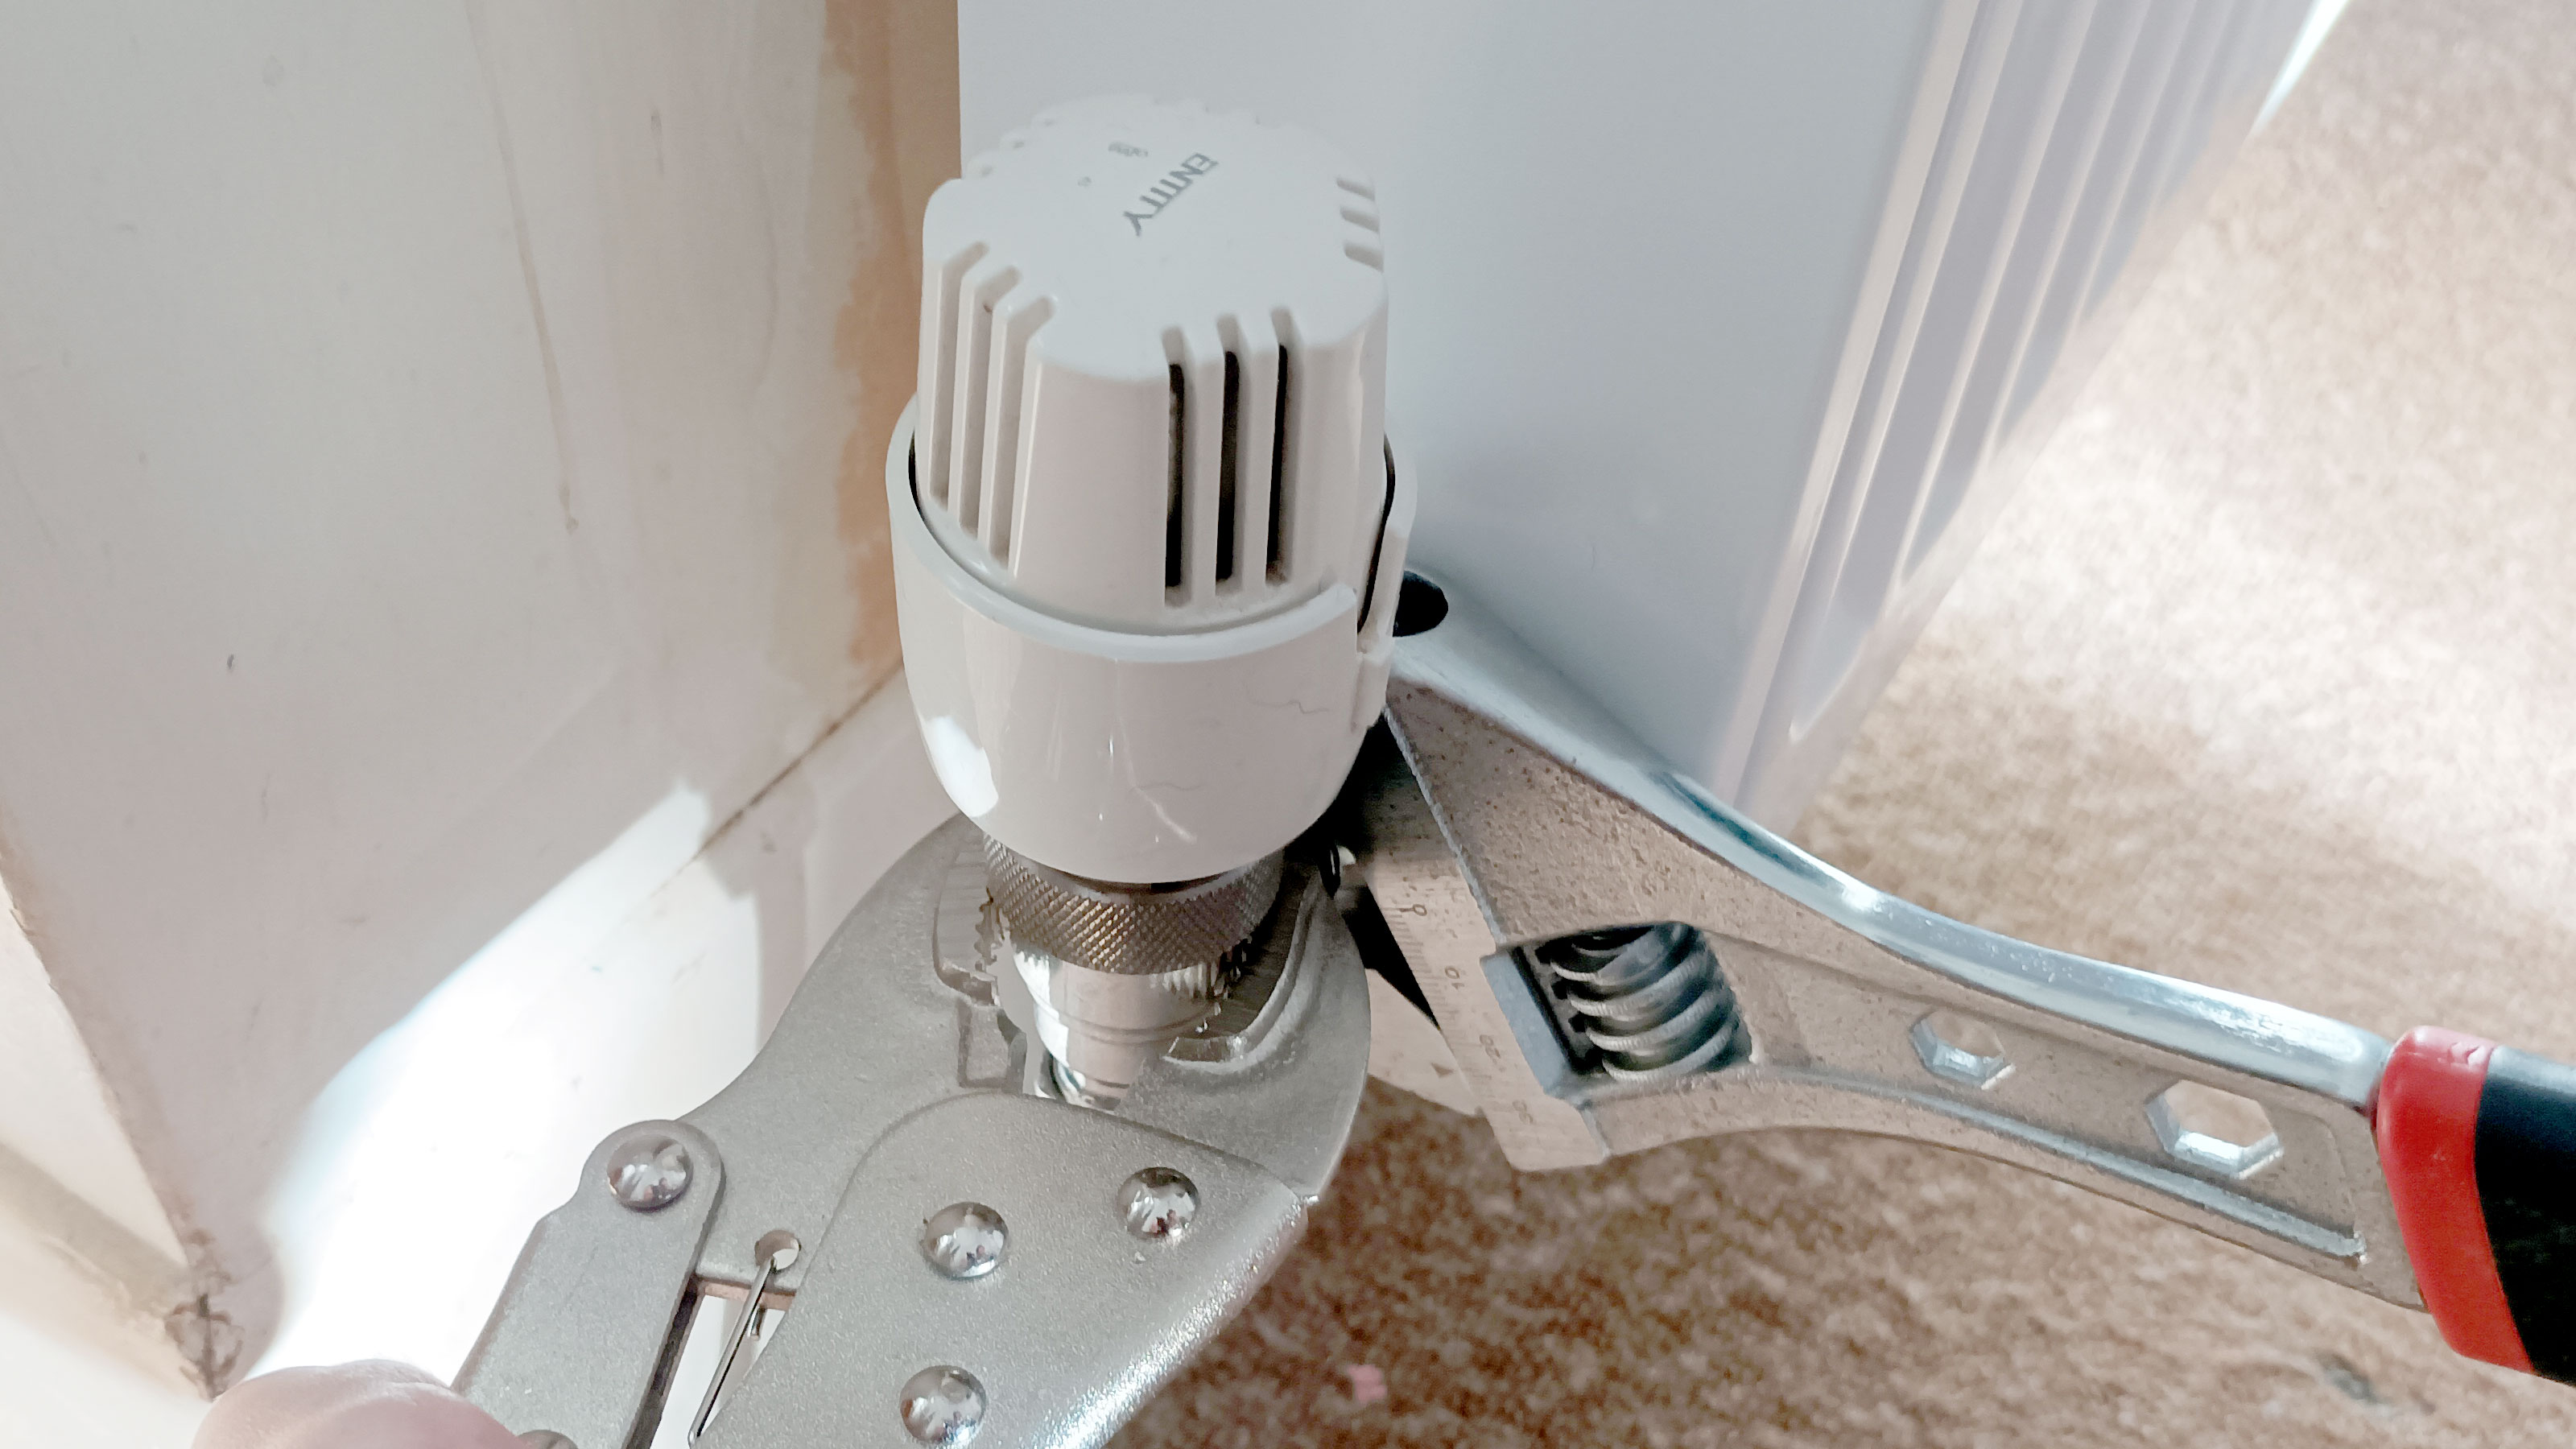
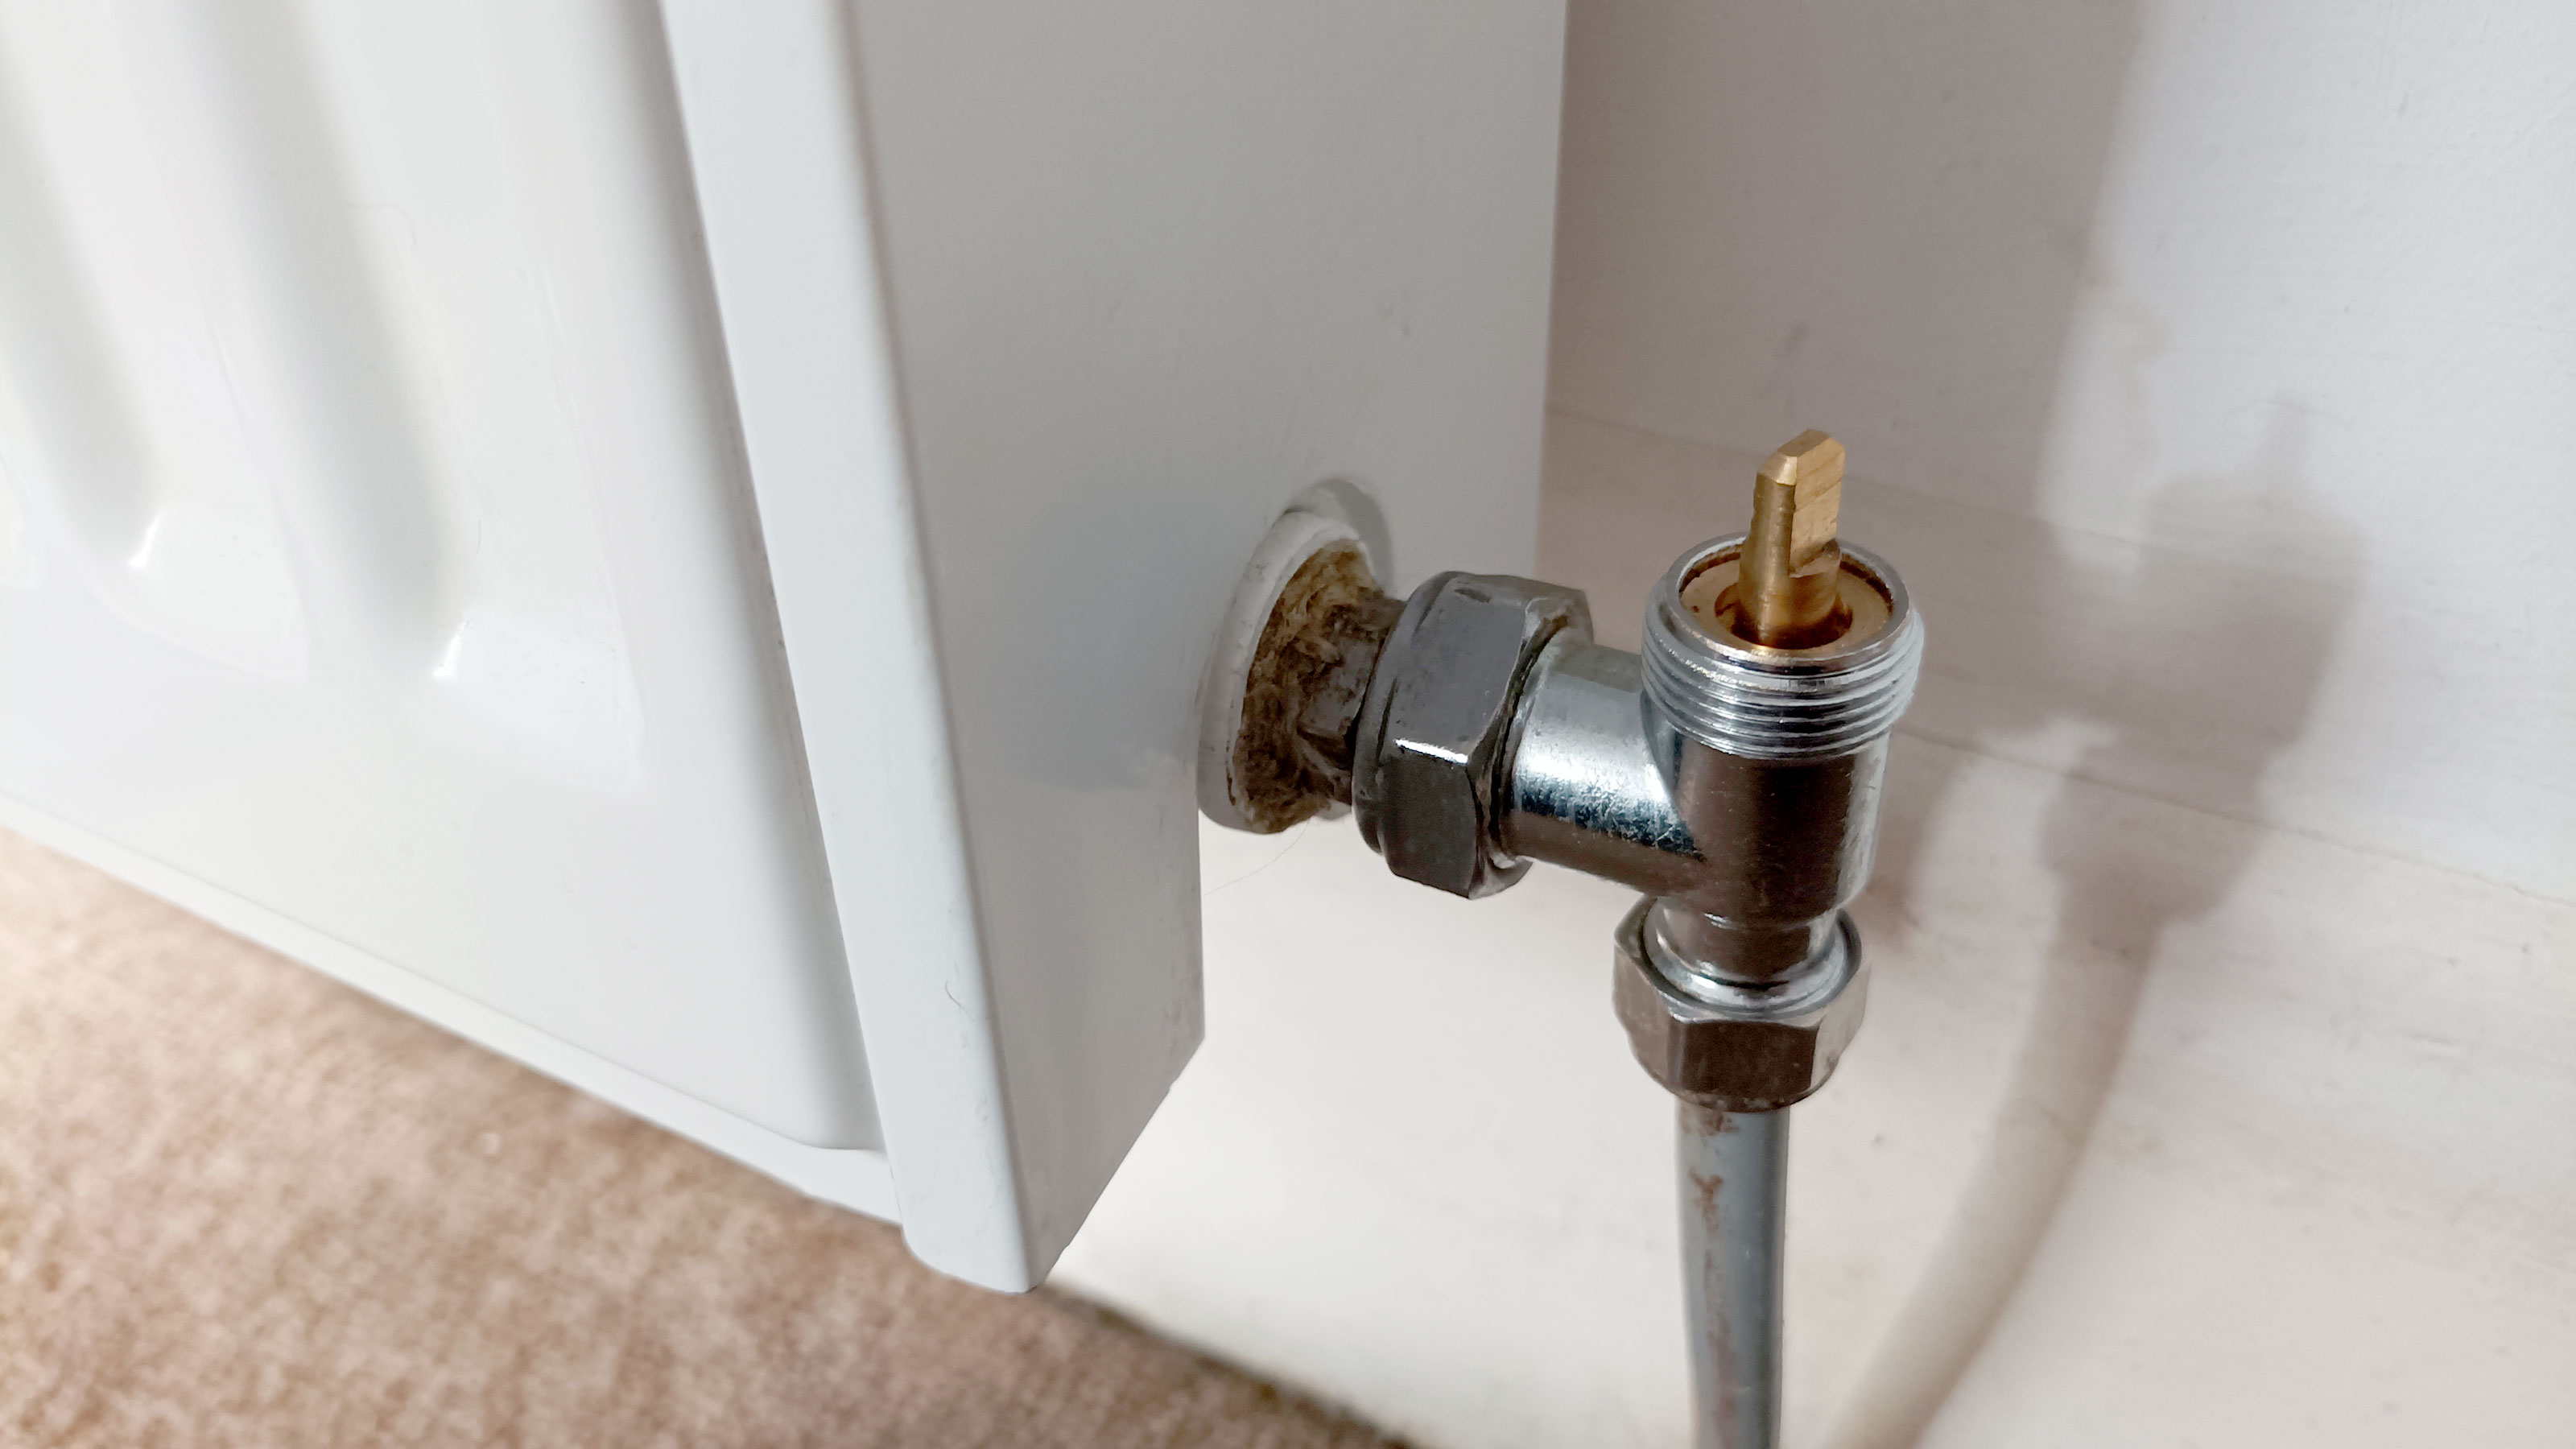
Chessel explains what you need and how to tackle the job, “Once the system is drained down, get a pair of grips and an adjustable spanner. Holding the old TRV undo the nuts on both sides. Remove the old TRV, remove the old olives and nuts, you may need an olive splitter for this.”
3. Install new TRV
Now get your new TRV and install as Chessell explains, “Put the new nuts and olives on the pipes on both sides and attach the new TRV. Now get the grips and adjustable spanner and tighten the nuts”, But take care as Chessell warns, “Be careful not to over tighten.” If needed you can tighten a little more later.

4. Refill system
Once the new TRV has been installed you need to “Refill the system to the correct pressure if you have a combi boiler” explains Chessell. This will differ from boiler to boiler, so make sure to check manufacturers guidelines if you haven’t done this before. Chessel continues, “ Make sure to bleed all the radiators to finish”.

How to fit thermostatic radiator valve FAQs
Can you change a TRV without draining the system?
Yes, it is possible to change a TRV without draining down the system. This typically happens when changing a single TRV rather than multiple TRVs across a heating system. Chessell explains how to get started, “First isolate the radiator by shutting off valves at both ends, undo the nuts on the side of the radiator of the TRV that you want to change.”
He continues, “Drain down the radiator completely, then if you have a combi boiler take the pressure off of the system by draining the water into a rubble bag. Once the pressure has been released, you can then change over the TRV, but you must be mindful of the water in the system and have plenty of towels handy.”
For non-combi systems you need a different approach as Chessel reveals, “If you have a conventional system, you will need to plug and vent the fill and expansion tank.” He continues, “Once the TRV is in place open up the isolations on both ends and bleed the radiator. If you have a combi boiler, you will need to re-pressurise the system to the correct pressure normally 1.2 bar”

What is the life expectancy of a TRV?
A Thermostatic Radiator Valve should last nearly as long as your boiler and radiators but this isn’t always the case as Chessell points out, “As with most things in life, you get what you pay for, if you pay that little bit extra for a quality TRV it will last longer. You would normally expect the TRV to last between five and 10 years. Obviously the better the quality the longer it will last.”
Can I have a TRV in the same room as a thermostat?
Common practice is to have a TRV fitted in every room with the exception of the room where the main thermostat is situated i.e the hallway. This will already control the temperature of the room it's located in so there’s no need for an additional thermostat.
But adding TRVs to other rooms gives more control over the temperature in individual rooms, which can help keep your heating bills down. For example, if you have a rarely used room, you can keep the temperature low, while you can turn up the TRV in a regularly used room to keep it warm.
Is it the law to have a TRV installed?
Yes. It is now mandatory when a new heating system is installed or a boiler replaced. The installer needs to add a TRV in each room apart from the room where the boiler thermostat has been placed.
Obviously, if you already have fully functional or reasonably new TRVs like these Kartell TRV Thermostatic Radiator Valve from Amazon then there is no need to replace. Part L of Building Regulations covers the conservation of fuel and power in the building of new homes in England, which includes how your heating is controlled.
How much does trades charge to replace a TRV?
If replacing a new TRV the price will typically include a new TRV as well as the fitting. Expect to pay around £80 for parts and labour for a single TRV, but this will be higher if you have more expensive TRVs. However, you typically don't have to pay this for every TRV installed. Ask your local trades for a quote, but as a rough guideline expect to pay around £200 for the replacement of five new TRVs.
Get the Homebuilding & Renovating Newsletter
Bring your dream home to life with expert advice, how to guides and design inspiration. Sign up for our newsletter and get two free tickets to a Homebuilding & Renovating Show near you.
Steve Jenkins is a freelance content creator with over two decades of experience working in digital and print and was previously the DIY content editor for Homebuilding & Renovating.
He is a keen DIYer with over 20 years of experience in transforming and renovating the many homes he has lived in. He specialises in painting and decorating, but has a wide range of skills gleaned from working in the building trade for around 10 years and spending time at night school learning how to plaster and plumb.
He has fitted kitchens, tiled bathrooms and kitchens, laid many floors, built partition walls, plastered walls, plumbed in bathrooms, worked on loft conversions and much more. And when he's not sure how to tackle a DIY project he has a wide network of friends – including plumbers, gas engineers, tilers, carpenters, painters and decorators, electricians and builders – in the trade to call upon.

