How to fit a stair runner to add a contemporary or classic look
Add a touch of class and style to your stairs by learning how to fit a stair runner. Here we tell you how and what you’ll need to make it happen
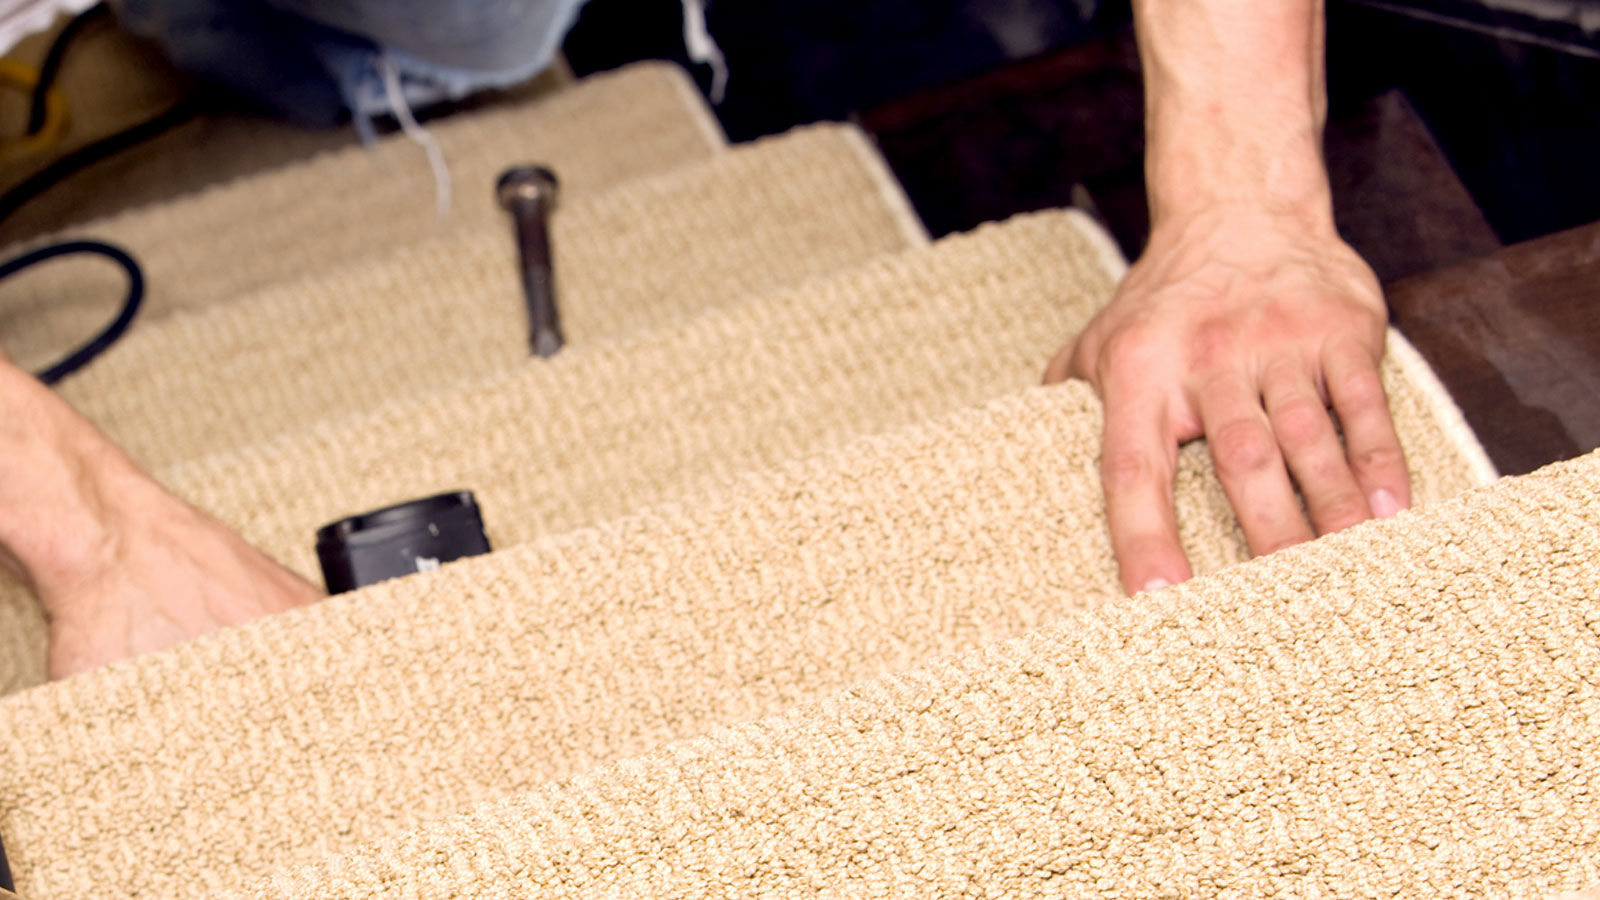
If you want to add a cool contemporary style to your entrance way, knowing how to fit a stair runner is one way to make it happen. Rather than going carpet from side to side, a stair runner will add a subtle sense of interest thanks to the exposed stair.
Smart stair runner ideas such as stripes or patterns will lift a space. And you can choose between natural wood or paint your stairs a complementary colour. Up the ante with decorative tacks on the edges and introduce chic stairs rods to get a unique and impressive finish. And, it’s a task a component DIYer can tackle (especially if you’ve got straight stairs).

With almost a decade of experience on the front line in construction as a multi-trader, Andy is uniquely placed in the construction industry to help bridge the gap between tradespeople and product managers with his role at MyBuilder.com.
How to fit a stair runner: Why install one?
There are pros and cons for installing a stair runner, but one of the big plus points is the aesthetic it brings. As Andy Simms Construction consultant at MyBuilder.com quickly explains, “Switching from carpeted or wooden stairs to a stair runner can bring a fresh and stylish look to your home.” But he adds, “It does require some planning.” Especially if you stairs with corners rather than straight stairs
But it's not just its good looks that make a stair runner a winner. There are plenty of other reasons, especially if your current stairs lack carpet, Here we share some of the benefits a stair runner brings.
- Reduced noise If you have bare wood or laminate flooring on stairs they can be noisy, especially if people are wearing footwear. Adding a stair runner will significantly reduce the noise levels
- Increased grip Adding a good quality stair runner will increase the grip you get, especially if walking down the stairs barefoot or in socks. It lessens the chance of slipping on a step and injuring yourself.
- Added protection and comfort Adding a stair runner will protect the surface of the stairs steps from general wear and tear and stop them getting damaged and worn. It will also add a softer surface underfoot offering more comfort when using the stairs

Jon Flannigan as Head of Product leads the development and innovation of flooring solutions that set industry standards. He has over 15 years of experience in product management and a passion for sustainable, high-performance materials.
What is the best type of carpet for stair runners?
Stairs can see a lot of action, so Simms suggests that the first thing you do is, “Consider the level of traffic on your stairs” He adds, "If there is heavy footfall, you'll need to select a durable material for your runner to withstand the wear and tear it will see.”
Jon Flannigan, head of product at Crucial Trading says, “Choosing the right material for the space is imperative.” He adds, “Carpets made from wool are naturally hard wearing because of the strength and durability of the material, the fibres of wool also repel dirt and stains, the ideal foundation to endure busy life.”
An alternative to wool (and typically cheaper) is polypropylene carpet like this runrug Staircase Carpet Runner for Stairs from Amazon is a good option. As well as being durable, it is stain resistant and easy to clean.
Flannigan adds, “Stripes and herringbones are often selected for the stairs because they can make small or narrow spaces appear longer and more inviting. Meanwhile, light colours can help introduce an airy atmosphere to spaces craving natural light, as hallways often are.”
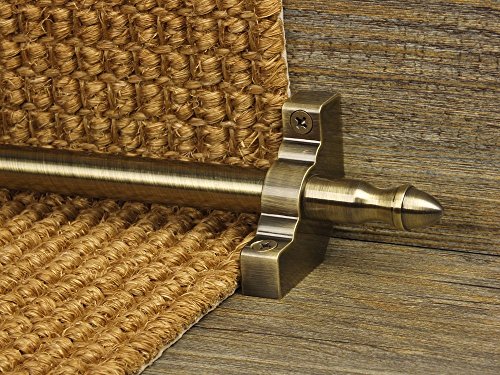
There is one final decision before you install a stair runner as Simms quickly explains, “Decide which style you'd like.” There’s two options, “Stapled or installed with stair rods.” If you decide to install with stair rods make sure to choose the style and size that will match up with your chosen runner
Try these to help install a stair runner
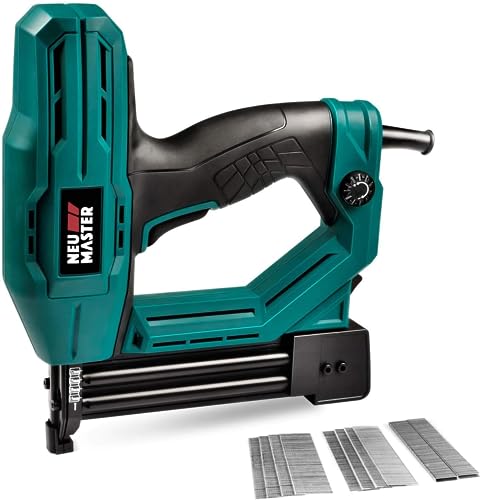
An electric staple gun/nail gun that is ideal for the occassional DIYer. Works with 5.8mm narrow crown staples from 15mm to 25mm.
4 Steps to install a stair runner
1. Starting point
Start at the top of your stairs, measure the width of the tread, deduct the width of the runner and divide by two to get the width of the gaps either side of the runner. For example, 74cm (tread) - 60cm (runner) / 2 = 7cm. Now measure the centre of the top tread and mark with a pencil.
2. Add padding or underlay
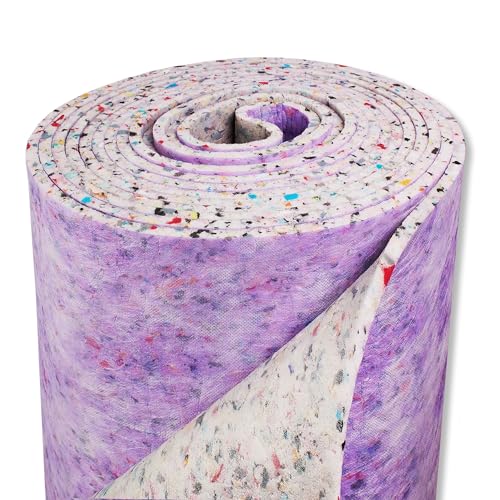
If your stair runner doesn’t have padding, or you want better comfort and noise reduction, add underlay or padding. This only needs to go on the tread.
Cut to the depth of the tread and make the width 4-6 cm shorter than the width of the stair runner. This will leave you 2-3 cm each side to hide the underlay. Fix down the underlay with glue, staples or double-sided tape.
3. Install stair runner
Starting at the top of the stairs, attach the runner (make sure it's centred) to a gripper rod (if including landing space), or staple at the start point. Roll out the runner, pull tight and staple at the bottom of the first riser.
Start with a staple in the middle and work out. Five staples should be enough. Alternatively, staple under the nose of the tread as well for a more contoured fit.
Use a carpet tucker like this Draper Carpet Laying Bolster from Amazon to push the runner into the meeting point of the riser and tread for a neat finish. Pop in more staples in the next tread and continue until all steps are done.
4. Finish up
When you get to the last step pull the runner tight and use a sharp knife to cut to length. Add a couple of centimetres so you can use your carpet tucker to get a neat finish. Add staples along the bottom to complete the runner.
To finish you can tack down the edges of the runner with headless nails or add decorative upholstery nails like these Daisy Upholstery Nails Tacks from Amazon. Another option is to install stair rods for a decorative look that will help hold the runner in place.
FAQs
How do I prep for a stair runner?
Before you start you’ll need to prepare the stairs to ensure that you have a clean flat and prepared surface to work with. Simms says, ““If you have to remove your carpet, you should expect some work to prep the stairs, including removing paint, filling, staining and painting depending on the desired finish.” Check out our How to strip paint off wood guide to help get the desired finish.
Simms adds, “If your wood is in poor shape you may need to repair a number of the boards or areas to ensure the installation of your runner gives you the visual result that you’re after.”
Can I install a carpet runner myself?
A competent DIYer with the right tools should be able to tackle a straight stair runner. Just make sure that you know how to measure carpet for stairs. You don't want to come up short. To help ensure you have enough carpet, measure twice and add ten percent extra to your measurements.
However, if you have never tackled a stair runner before, don't have any tools and you have corners, definitely consider hiring a professional to ensure a snug fit. As Simms states, “It's a false economy to spend out on expensive materials and your time to end up with a poorly finished job which is very likely to be the case with this job.“
If you are going to add a stair runner to your stairs you want to make sure they are working properly and looking their best before you start. Check out our How to fix squeaky stairs, sanding stairs and how to paint stairs guides to get the perfect finish.
Get the Homebuilding & Renovating Newsletter
Bring your dream home to life with expert advice, how to guides and design inspiration. Sign up for our newsletter and get two free tickets to a Homebuilding & Renovating Show near you.
Steve Jenkins is a freelance content creator with over two decades of experience working in digital and print and was previously the DIY content editor for Homebuilding & Renovating.
He is a keen DIYer with over 20 years of experience in transforming and renovating the many homes he has lived in. He specialises in painting and decorating, but has a wide range of skills gleaned from working in the building trade for around 10 years and spending time at night school learning how to plaster and plumb.
He has fitted kitchens, tiled bathrooms and kitchens, laid many floors, built partition walls, plastered walls, plumbed in bathrooms, worked on loft conversions and much more. And when he's not sure how to tackle a DIY project he has a wide network of friends – including plumbers, gas engineers, tilers, carpenters, painters and decorators, electricians and builders – in the trade to call upon.
