How to fit a radiator valve: An expert step-by-step guide
Learning how to fit a radiator valve will save you money and ensure you have an efficient heating system. Get pro pointers on the process so you can do it yourself

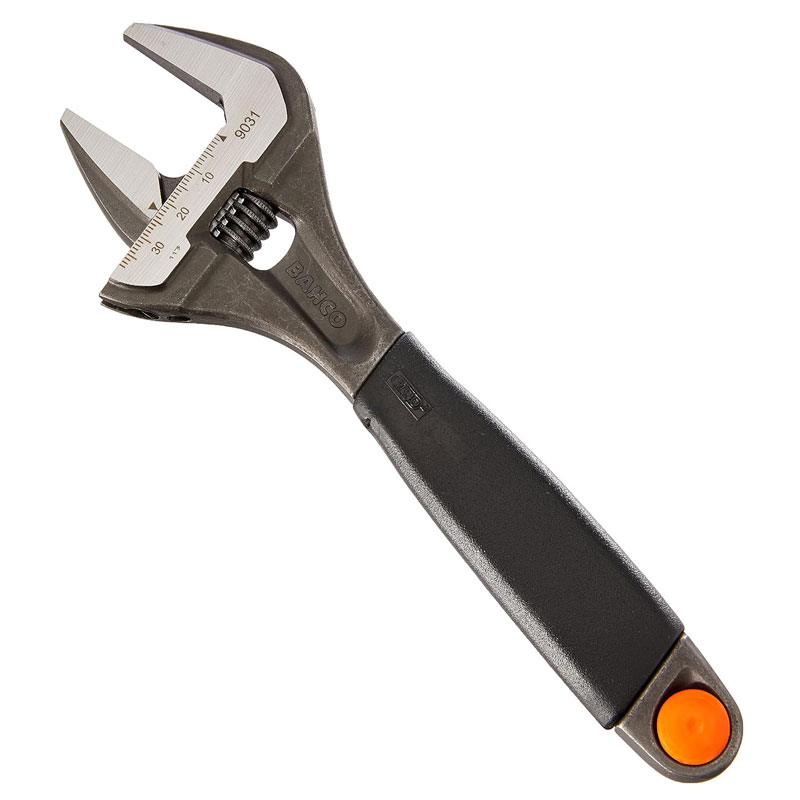
Adjustable spanner
Bleed key
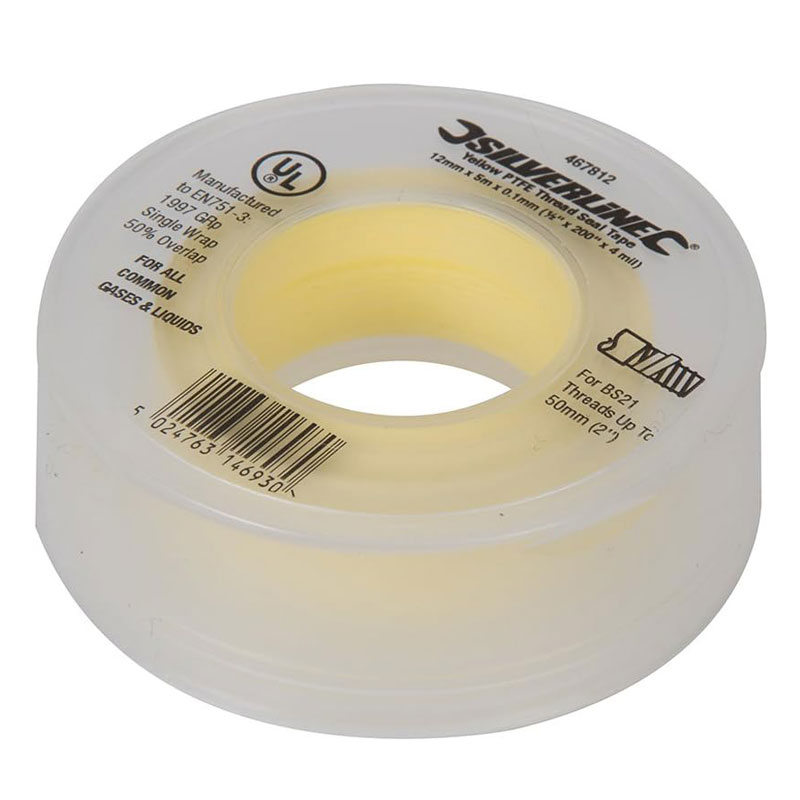
PTFE tape
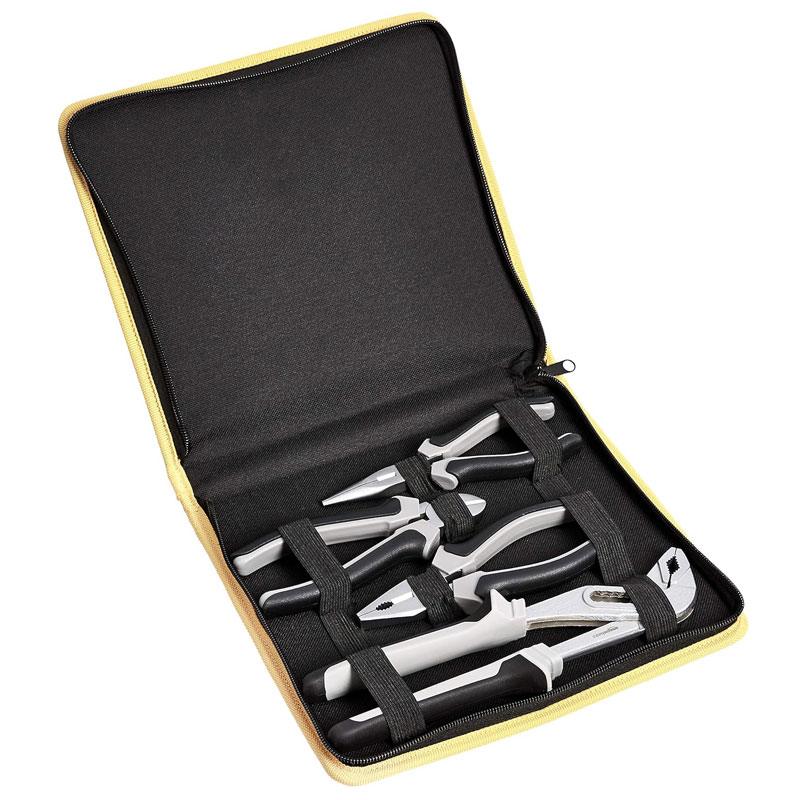
Plumbers’ wrench or pliers
Container or bucket
Towels or rags
Screwdriver (for valve brackets if needed)
Radiator valves are small but mighty and knowing how to fit a radiator valve can help save money and make sure that your heating system is running efficiently. It’s a little job that can make a big difference.
But why change a radiator valve? If your radiator is not heating up properly, it could be an issue with a valve. It may be leaking, which will lower efficiency and cause water damage. It may be old and you need a new radiator valve.
Gordon Chalk and Alan Houghton, managing directors at Next Level Underfloor Heating and Screed Solutions suggest, “If your valves are over 10 years old it’s worth replacing them as part of your annual heating system maintenance.”
Here you can find out how.
Try these tools to help fit a radiator valve

A top quality adjustable wrench recommended by Chalk and Houghton. It's well priced and suitable for most plumbing jobs including radiator valve replacements.

Working in the industry for over 15 years Gordon and Alan's mission is to help property owners get warmer and more comfortable with underfloor heating and proper floor screed.
7 steps to fit a new radiator valve
Here Chalk and Houghton reveal the steps you need to take to fit a new radiator valve. Make sure you have your containers, towels and tools to hand.
1. Turn off heating system
Before you start, make sure your heating system is off and the radiators are cold. This will prevent burns and any pressure issues with the system.
2. Drain the radiator
Place a container or bucket under the bleed valve to catch the water. You’ll need to turn off the radiator’s valves (both lockshield and TRV if present) to isolate it from the rest of the system. Closing the valves will (isolate) stop water coming into the radiator. Once done, start draining the radiator by turning the bleed valve with a bleed key like this Solid Brass Radiator Bleed Key from Amazon.
3. Remove the old valve
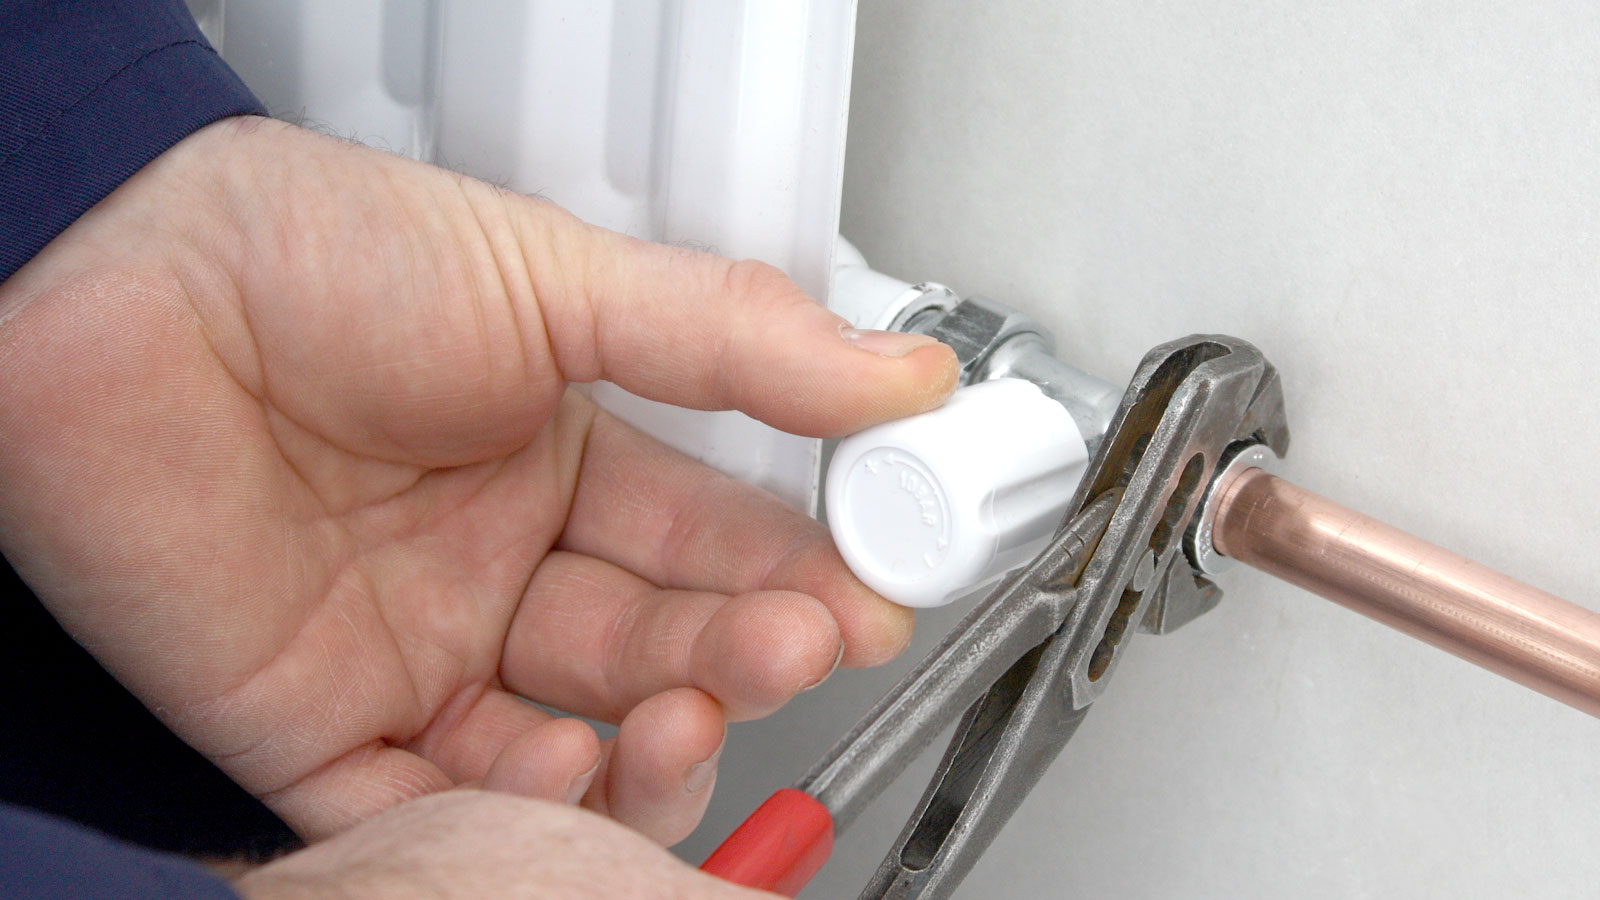
Don’t forget to place your container and towels under the valve before you start to catch any water. Using an adjustable spanner, unscrew the union nut from the old valve to the radiator. You may need to use pliers or a wrench to hold the valve body steady while you loosen the nut.
Once the water stops coming out, put a cloth in the hole to stop any drips. Now open the valve i.e. the TRV, a little way and collect any water until the pressure drops and the water stops. Now undo the nut on the bottom and remove the valve.
4. Prepare the pipework
Once the old valve is removed, clean the pipework where the new valve will be attached. Apply some PTFE tape to the pipe fitting threads and a little joining compound on the inside ready to attach to the pipework and radiator.
5. Fit the new valve
Screw the new valve onto the pipework and secure it. Make sure the valve is in the right place and all connections are tightened to prevent leaks. Now reattach the union nut to the radiator and tighten, making sure it's secure.
Check both connections and make sure they are tight. Chalk and Houghton suggest, “If you’re upgrading to TRVs remember to fit them on the flow side of the radiator. Though some newer models can be fitted on both flow and return sides." Make sure to check.
6. Refill and bleed the radiator
Now turn the both valves back on and let the radiator fill. Once the radiator is full, turn the bleed valve open, but only slightly, with your bleed key to release any air and close when water starts to come out.
7. Test the system
Finally, turn your heating system back on and check the radiator for any leaks. Check the radiator heats evenly and the new valve is working.
FAQs
Can you fit a radiator valve yourself?
A competent DIYer with the right tools should have little problem fitting a new radiator valve, especially if it is only a single valve. There are a few steps that you need to follow (which you’ll find in this guide) to make sure that all goes well.
However, fitting multiple valves is a little more involved and if you are not confident tackling the task, it would be wise to get in a professional to do the job.
How long does it take to fit a radiator valve?
Fitting a single or set of radiator valves on a single radiator that doesn’t involve draining down your heating system shouldn’t take too long. As a rough guideline set aside an hour or two to do the job.
However, if you are replacing multiple radiator valves and you do need to drain down your heating system it can easily take half a day to a day depending on how many radiators are being changed.
How much do plumbers charge to change a radiator valve?
The cost to change a radiator valve will depend on a few factors including location and type of valve. But as a general guideline Chalk says, “On average for a single valve replacement plumbers in the UK charge between £75-£150.” This will typically include a call out charge, plus materials and labour.
But as you would expect more valves will cost more as Chalk continues, “For multiple valves – say 5-10 radiators – you could be looking at £300-£600 depending on labour costs and the job complexity.” He adds, “Thermostatic Radiator Valves (TRVs) are slightly more expensive to replace than lockshield valves as they have more functionality.”
Chalk and Houghton suggest when replacing multiple valves ask your plumber if they offer a discount for bulk replacements. Many will reduce the per valve price if you’re having several done at once.
Do you need to drain the heating system to change a radiator valve?
Yes and no. If you are changing the valves on a single radiator then there is typically no need to drain your heating system. One of the benefits of this is that you won’t be removing the inhibitors present in the system.
These help protect against corrosion and stop rust flowing through the system and slow down the buildup of limescale and sludge. Which in turn helps protect the system and prolong the life of the boiler and radiators.
If you are changing multiple valves on multiple radiators or replacing radiators – typically three or more – then it is advisable to drain down the heating system.
Can a leaking radiator valve be repaired? Or should it be replaced?
Whether you should repair or replace depends on why a radiator valve is leaking. You might be able to solve the problem by simply tightening the appropriate nut on the valve. If this doesn’t work you might just need a new olive like this Flomasta Brass Compression Olive pack from B&Q. They cost very little and are easy to replace.
If a tighten or a new olive doesn’t solve the problem, invest in a replacement as they are not expensive to replace, expect to pay around £5-£20.
New radiator valves will make your heating system more efficient and cost effective, so why not give them a makeover at the same time. Check out the best radiator paint and our How to paint behind a radiator guide to get the best finish. Alternatively, why not skip the painting and check out our 10 radiator cover ideas.
Get the Homebuilding & Renovating Newsletter
Bring your dream home to life with expert advice, how to guides and design inspiration. Sign up for our newsletter and get two free tickets to a Homebuilding & Renovating Show near you.
Steve Jenkins is a freelance content creator with over two decades of experience working in digital and print and was previously the DIY content editor for Homebuilding & Renovating.
He is a keen DIYer with over 20 years of experience in transforming and renovating the many homes he has lived in. He specialises in painting and decorating, but has a wide range of skills gleaned from working in the building trade for around 10 years and spending time at night school learning how to plaster and plumb.
He has fitted kitchens, tiled bathrooms and kitchens, laid many floors, built partition walls, plastered walls, plumbed in bathrooms, worked on loft conversions and much more. And when he's not sure how to tackle a DIY project he has a wide network of friends – including plumbers, gas engineers, tilers, carpenters, painters and decorators, electricians and builders – in the trade to call upon.


