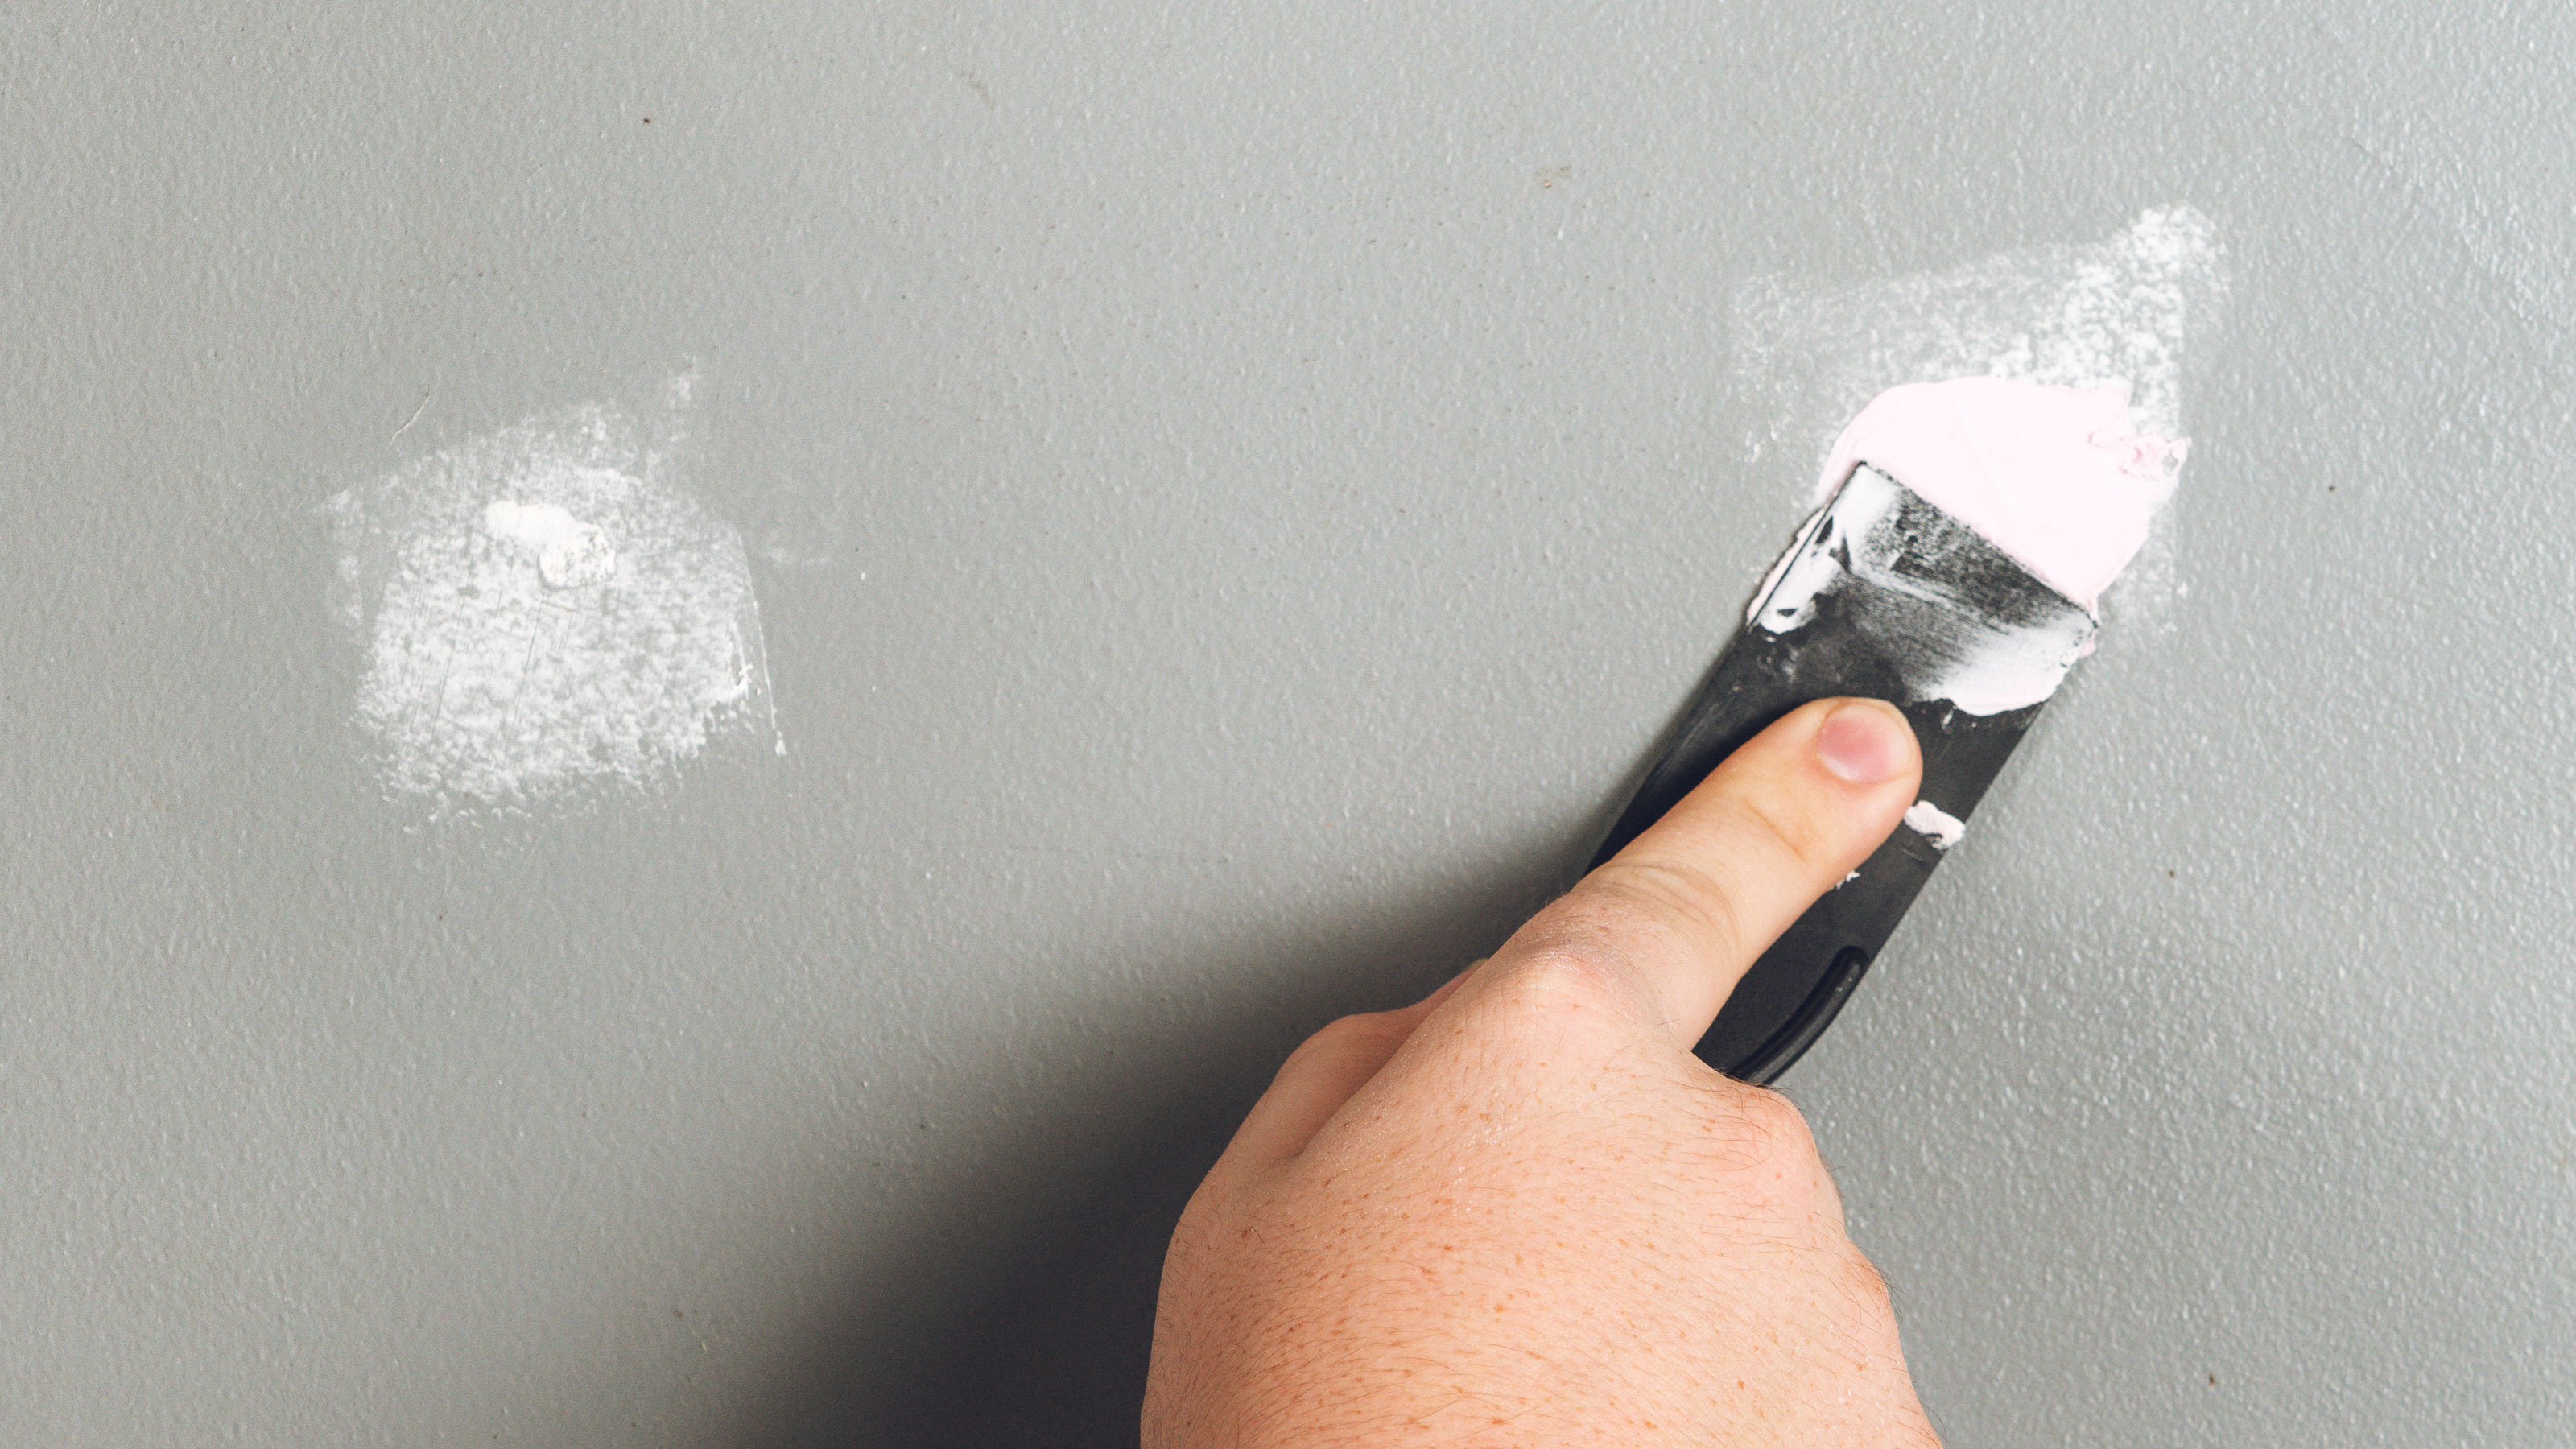
How to Fill Holes in Walls: Get a Smooth Invisible Finish
Learning how to fill holes in walls will restore the wall back to its best. Here we tell what filler to use and how to apply to small and large holes

Once you know how to fill holes in walls you can eliminate those nasty dents, cracks and hollows that have been spoiling the smooth finish of your wall.
Some holes such as nail or screw holes are much easier to deal with than small and large holes. These can be fixed in seconds, but bigger holes need a little more attention and take a little more time.
But, whatever the size of the hole it needs to be filled properly so that all your hard prep work doesn’t fail you when painting a wall later. So follow our guide for dealing with small holes, hairline cracks and larger holes to make sure you get a neat smooth finish that no-one will even notice.
How To Fill Holes In Walls: The Tools You'll Need
You may need the following tools to fill holes in walls:
- A putty knife
- All purpose filler
- Patching plaster
- Bowl for mixing
How To Fill Small Holes In Walls
If you are dealing with very small holes such as screw or nail holes these are quick and easy to fix. Get yourself a putty knife and gently rub the edge across the hole to remove any loose debris or flaking paint.
Add a small dollop of an all purpose wall filler such as Everbuild All Purpose Ready Mixed Filler and spread as smoothly as possible. Leave to dry and use a 180-220 grit sandpaper to rub down and blend with the wall.
For larger small holes – around two or three inches – brush around the edges with a stiff brush to remove any loose debris. Now fill the hole the all purpose filler making sure to get as smooth as possible.
A quick tip is to use a putty knife that is larger than the whole i.e. a six inch putty knife for a three inch hole. This allows you use the straight edge of the walls as a guide. Spray with a fine water mist to help get a nice smooth finish.
If a deep hole - more than 10mm – you can switch to patching plaster. But build up in layers and allow time for it to dry properly.
It is worth noting that if you are looking to fill holes in plasterboard, you will need to take a different approach, especially if working with larger holes.
How to Fill in Hairline Cracks in Walls
If you have a hairline crack in the wall these can be difficult to fill. One way to deal with this is to get a painters' shave hook – or the edge of a flathead screwdriver – and run along the hole to create a slightly deeper and wider crack. Try not to over do it.
Now clean out the hole with a stiff hand brush, use a putty knife to get rid of debris and fill with an all purpose wall filler. Leave to dry and rub down with a fine grit sandpaper.
How to Fill Large Holes in Walls
If you have a large hole that goes back to the bare brick you will need something more substantial than a general purpose filler; patching plaster is a good choice.
1. Remove loose debris and clean
The first step is to knock out any loose plaster to get a stable hole to fill. Use a hammer and flathead screwdriver and gently remove the loose plaster. Now get a stiff handbrush and sweep the loose plaster and dust.
Finally blow off any fine dust so you have a clean hole. The cleaner and more dust free the hole is the better the filler will adhere, giving it a stronger finish.
2. Fill around the edges
Once the hole is clean, mix up a batch of patching plaster, enough to do the edges of the holes. Get a two or three inch putty knife and push into the edges and repeat around the whole hole.
This creates a border that secures the old plaster in place. Leave to dry for at least four hours, ideally 24 hours.
3. Fill and finish
If you have a hole smaller than six inches you can build up layers with patching plaster. Once it is dry you can sand ready for painting.
If you have a larger hole you can fill with browning or bonding plaster and finish off with a fine layer of patching plaster. Or, square the hole up and screw or glue in a patch of plasterboard and finish by skimming the plasterboard.
Get the Homebuilding & Renovating Newsletter
Bring your dream home to life with expert advice, how to guides and design inspiration. Sign up for our newsletter and get two free tickets to a Homebuilding & Renovating Show near you.
Steve Jenkins is a freelance content creator with over two decades of experience working in digital and print and was previously the DIY content editor for Homebuilding & Renovating.
He is a keen DIYer with over 20 years of experience in transforming and renovating the many homes he has lived in. He specialises in painting and decorating, but has a wide range of skills gleaned from working in the building trade for around 10 years and spending time at night school learning how to plaster and plumb.
He has fitted kitchens, tiled bathrooms and kitchens, laid many floors, built partition walls, plastered walls, plumbed in bathrooms, worked on loft conversions and much more. And when he's not sure how to tackle a DIY project he has a wide network of friends – including plumbers, gas engineers, tilers, carpenters, painters and decorators, electricians and builders – in the trade to call upon.

