How to felt a shed roof in four easy steps
Check out our guide on how to felt a shed roof to help keep out the rain and everything inside dry

If you own a shed you’ll need to know how to felt a shed roof. Over time the sun, rain and wind will cause your roof felt to break down and start letting water in, which if left, can cause the wood to rot and your shed’s contents to get damp and eventually mouldy.
Replacing the roof felt is a quick and relatively simple DIY job that won’t cost too much or take too long. Combine a new look leak-free roof with the best exterior wood paint and you’ll have a watertight shed that will last.
Here we reveal the tools and techniques you’ll need to make felting a shed roof happen.
How to felt a shed roof: A step-by step guide
To get the job done you are going to need roof felt like this Green Polyester Shed Roofing Felt from Amazon, nails like these Diall Galvanised Clout nails from B&Q, a hammer, a sharp Stanley knife, tape measure and a ladder.
1. Prepare your felt
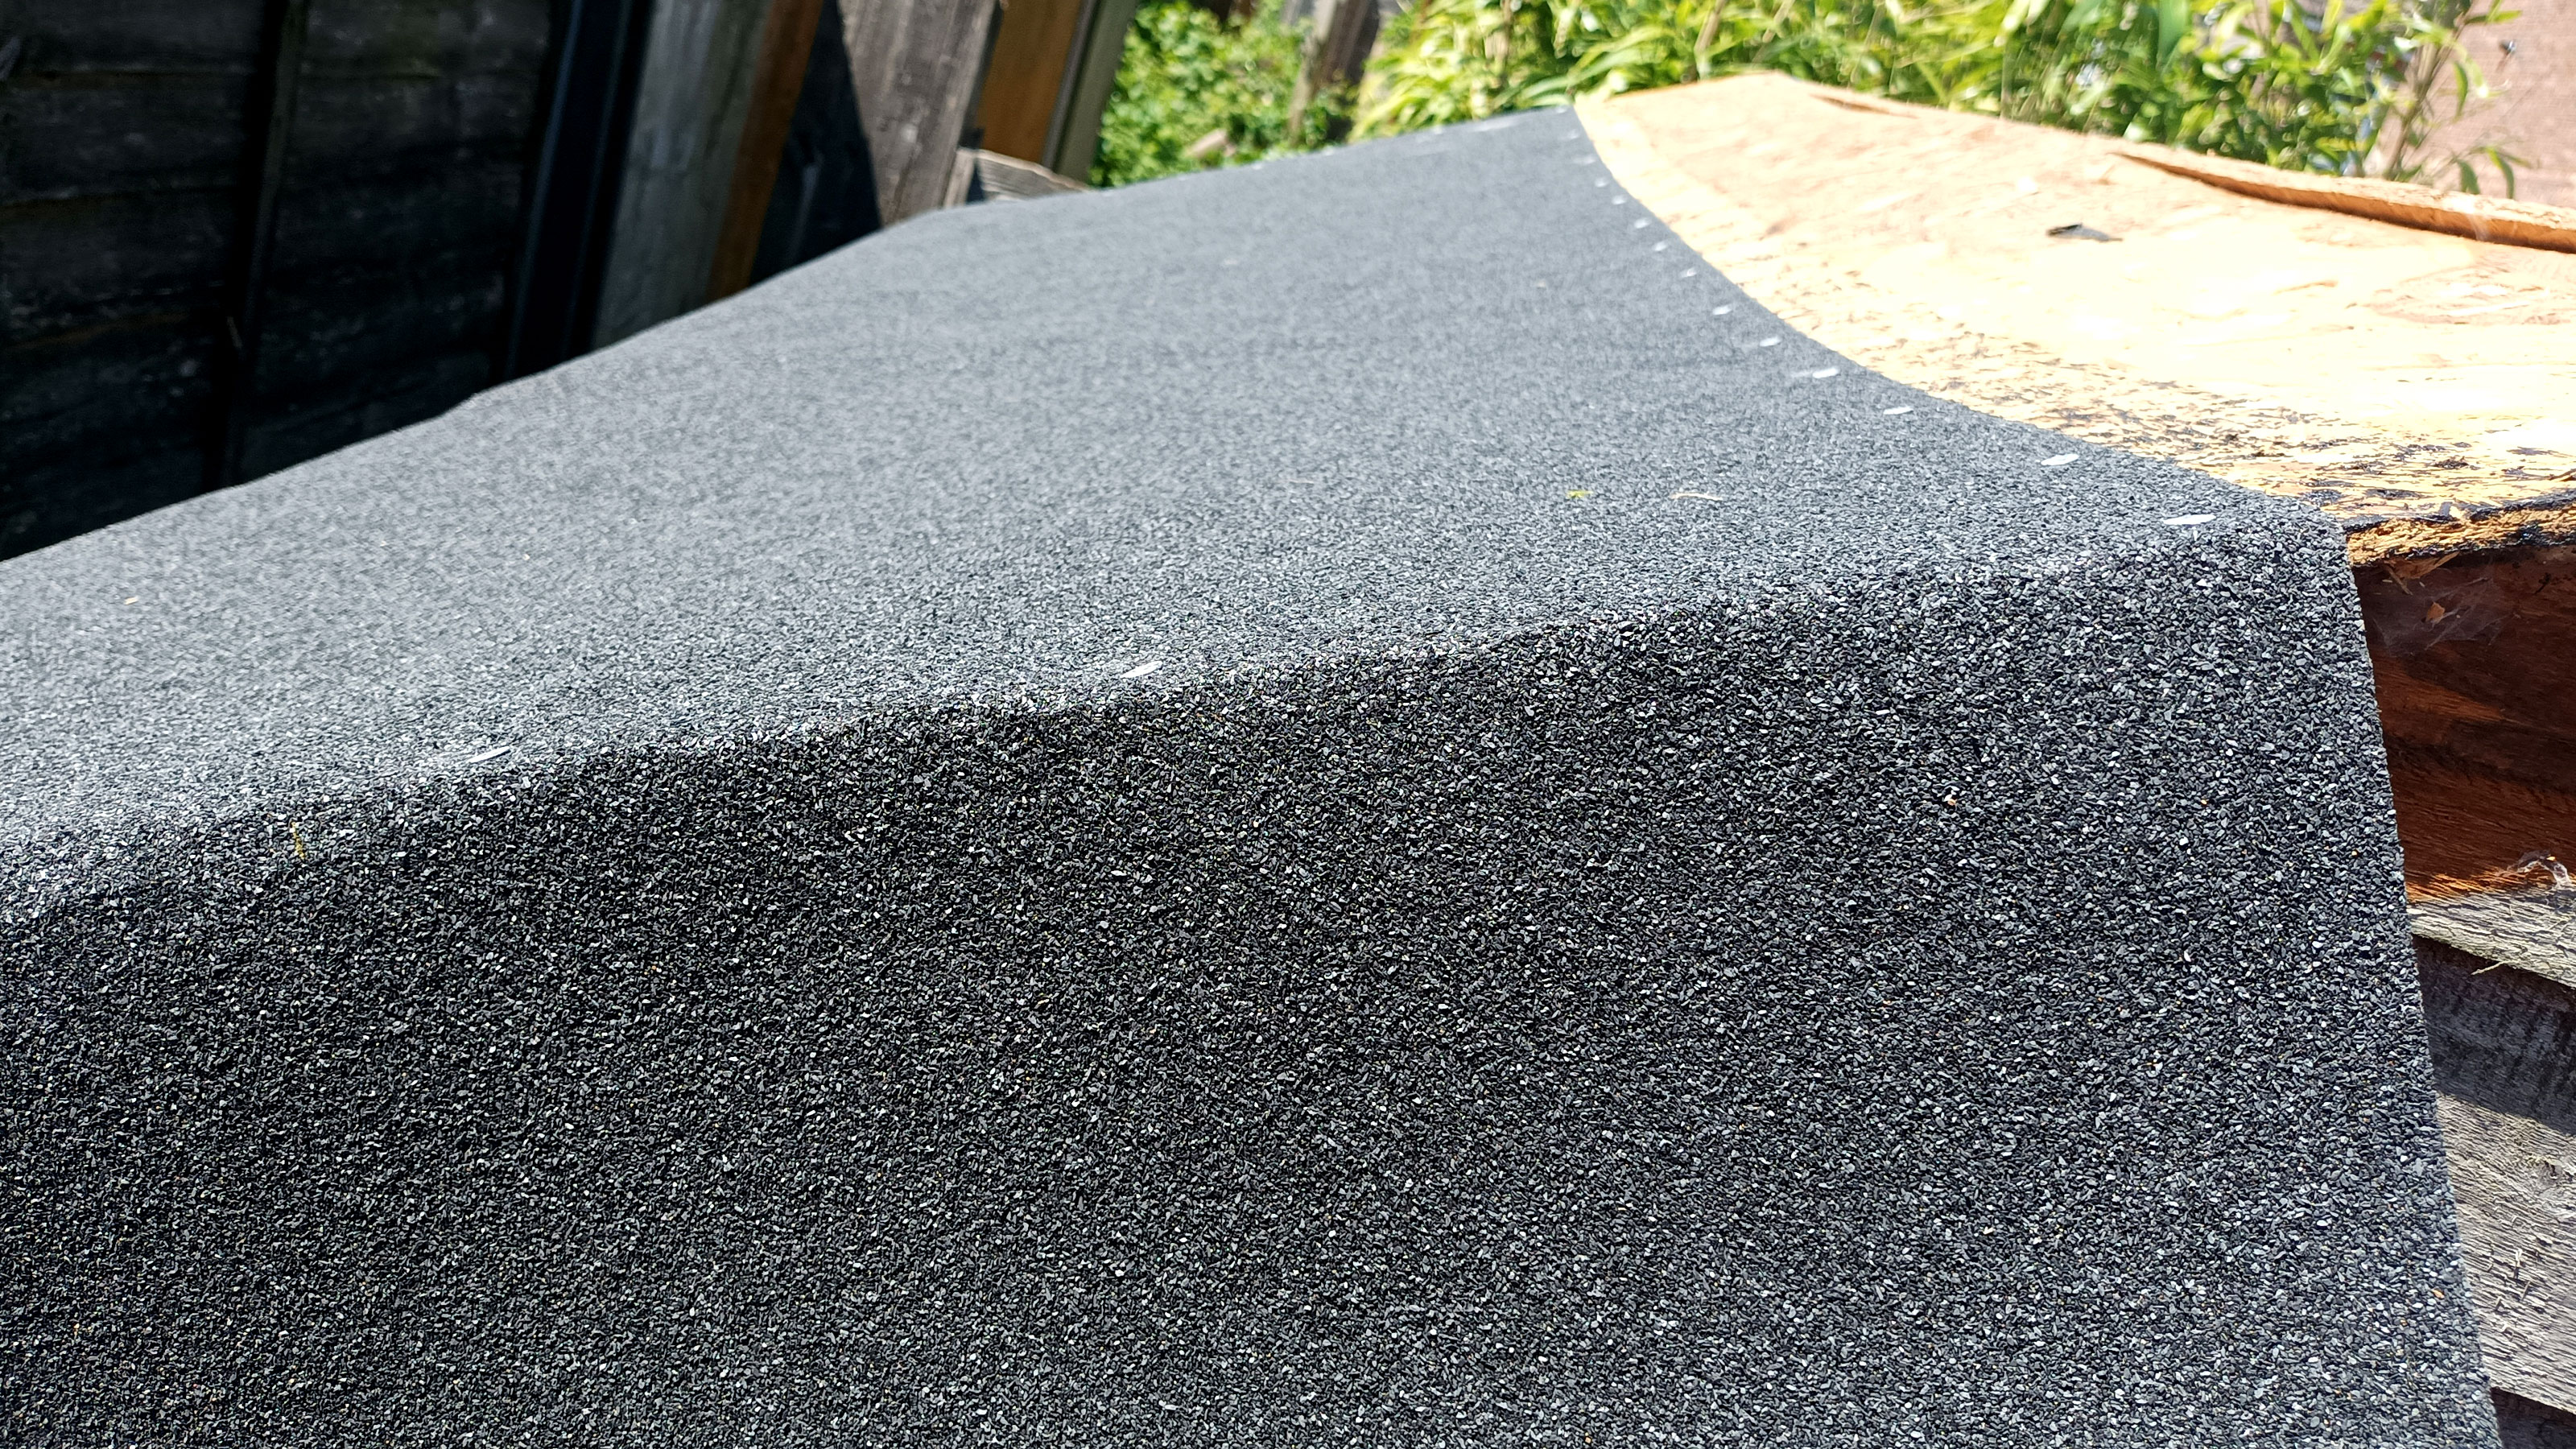
Pick a dry day and before you start, unroll your roof felt on your patio or lawn to help flatten it out. Now is a good time to measure up and cut the lengths you’ll need for the job (you will probably need three). Measure the roof panel and add around 150-200mm to the overall length.
Now measure the roof felt and cut with a straight edge – a spare scrap of wood will do – and a Stanley knife. Repeat for each length. Add a weight on each end to help flatten.
2. Remove the old felt
If replacing the old felt on a roof the first step is to remove it. You’ll need a step ladder to access the roof. First remove the fascia boards (also known as barge boards). These are the timber strips that hold down the felt at each end of the roof.
Start by pulling up any loose roof felt. If needed, use a knife to make a cut to get started. For more stubborn areas use a wide paint scraper/putty knife like the DEKTON Professional Scraper from Amazon to get under the felt.
Once all the felt has been removed use a claw hammer to get rid of all the remaining nails.
3. Secure the felt
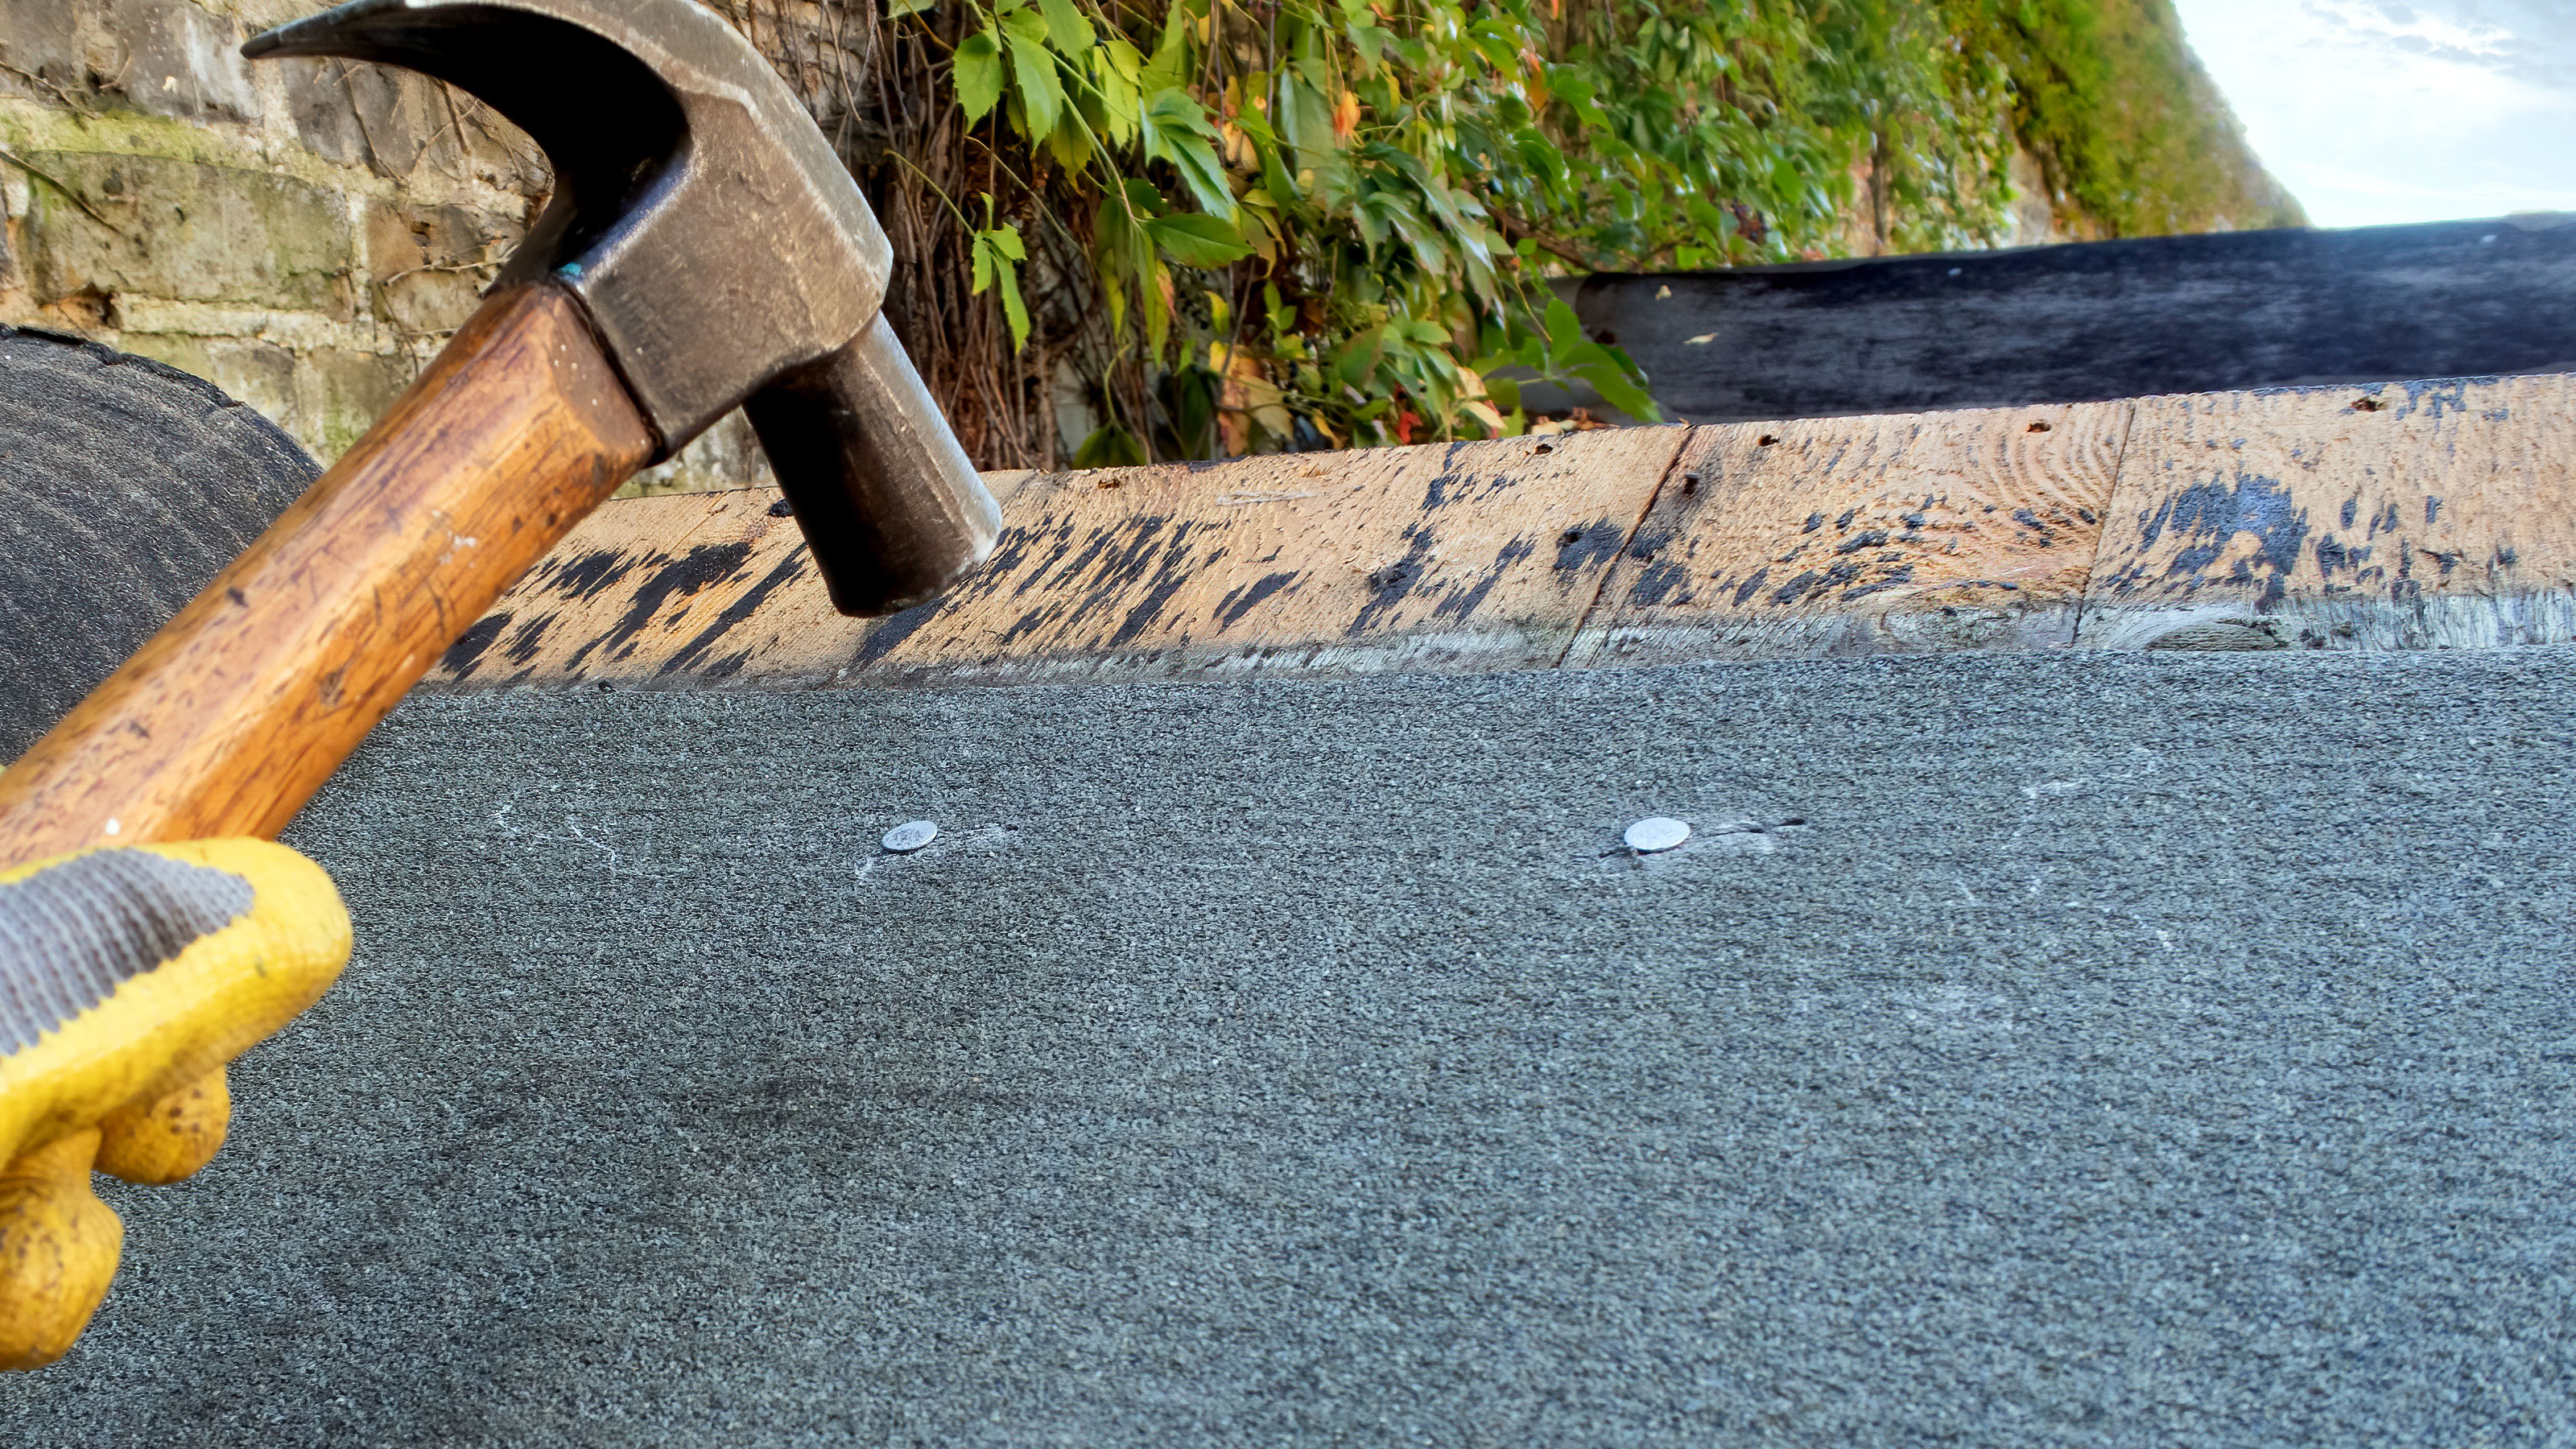
Now roll up the first strip and place on the roof and unroll. Move into position and make sure that it overhangs both ends by around 100mm. Get a nail – start in one corner on the edge nearest the top of the roof apex – and fix the felt into place.
Pull the other end to straighten and pull the felt tight so that it lies flat. Fix into place with a nail and then place a nail around every 15cm. Repeat this on the other side. Finally, lay the last strip over the apex of the roof, pull to tighten and straighten and nail into place, making sure it overlaps on top of the felt that has already been laid on either side.

4. Fix edges and finish
Make a vertical slit in the overhanging part of the roof felt on the apex of the roof. This will allow you to fold it neatly and overlap. Nail in the fascia board to secure the overlap in place. Trim any excess with a knife. Finally, fold the felt under the edges and nail into place.
Can you felt over old felt on a shed?
Yes you can but it's not recommended. If you are replacing your shed roof felt it is typically because the old felt has broken down and is letting water in, not giving the protection it should. Removing the old felt will also allow you to see if there is any damage to the roof that needs fixing or replacing.
How much felt will I need for my shed?
This will obviously depend on the size of your shed, so before you start you will need to measure up. If you have a traditional apex shed you will have two roof panels, simply measure the length and width of one panel. As an example an 8 x 6 foot shed will typically have a roof panel that is approx 8 foot long and just under 4 feet wide – or approximately 2.4m x 1.1m.
Shed roof felt comes in metric measurements and is typically one metre wide and 10m in length, so covers 10m2. With overlap you will need approximately 8m2 (or one roll) to cover the roof of an 8 x 6 feet shed. Or in simpler terms you will need three strips – 2.5m x 1m – to cover the roof.
Get the Homebuilding & Renovating Newsletter
Bring your dream home to life with expert advice, how to guides and design inspiration. Sign up for our newsletter and get two free tickets to a Homebuilding & Renovating Show near you.
Steve Jenkins is a freelance content creator with over two decades of experience working in digital and print and was previously the DIY content editor for Homebuilding & Renovating.
He is a keen DIYer with over 20 years of experience in transforming and renovating the many homes he has lived in. He specialises in painting and decorating, but has a wide range of skills gleaned from working in the building trade for around 10 years and spending time at night school learning how to plaster and plumb.
He has fitted kitchens, tiled bathrooms and kitchens, laid many floors, built partition walls, plastered walls, plumbed in bathrooms, worked on loft conversions and much more. And when he's not sure how to tackle a DIY project he has a wide network of friends – including plumbers, gas engineers, tilers, carpenters, painters and decorators, electricians and builders – in the trade to call upon.

