How to cut in paint: Must–know tips for the perfect finish
Learning how to cut in paint is a skill every DIYer needs to know. Practice makes perfect but here we reveal a few simple techniques to help make it easier

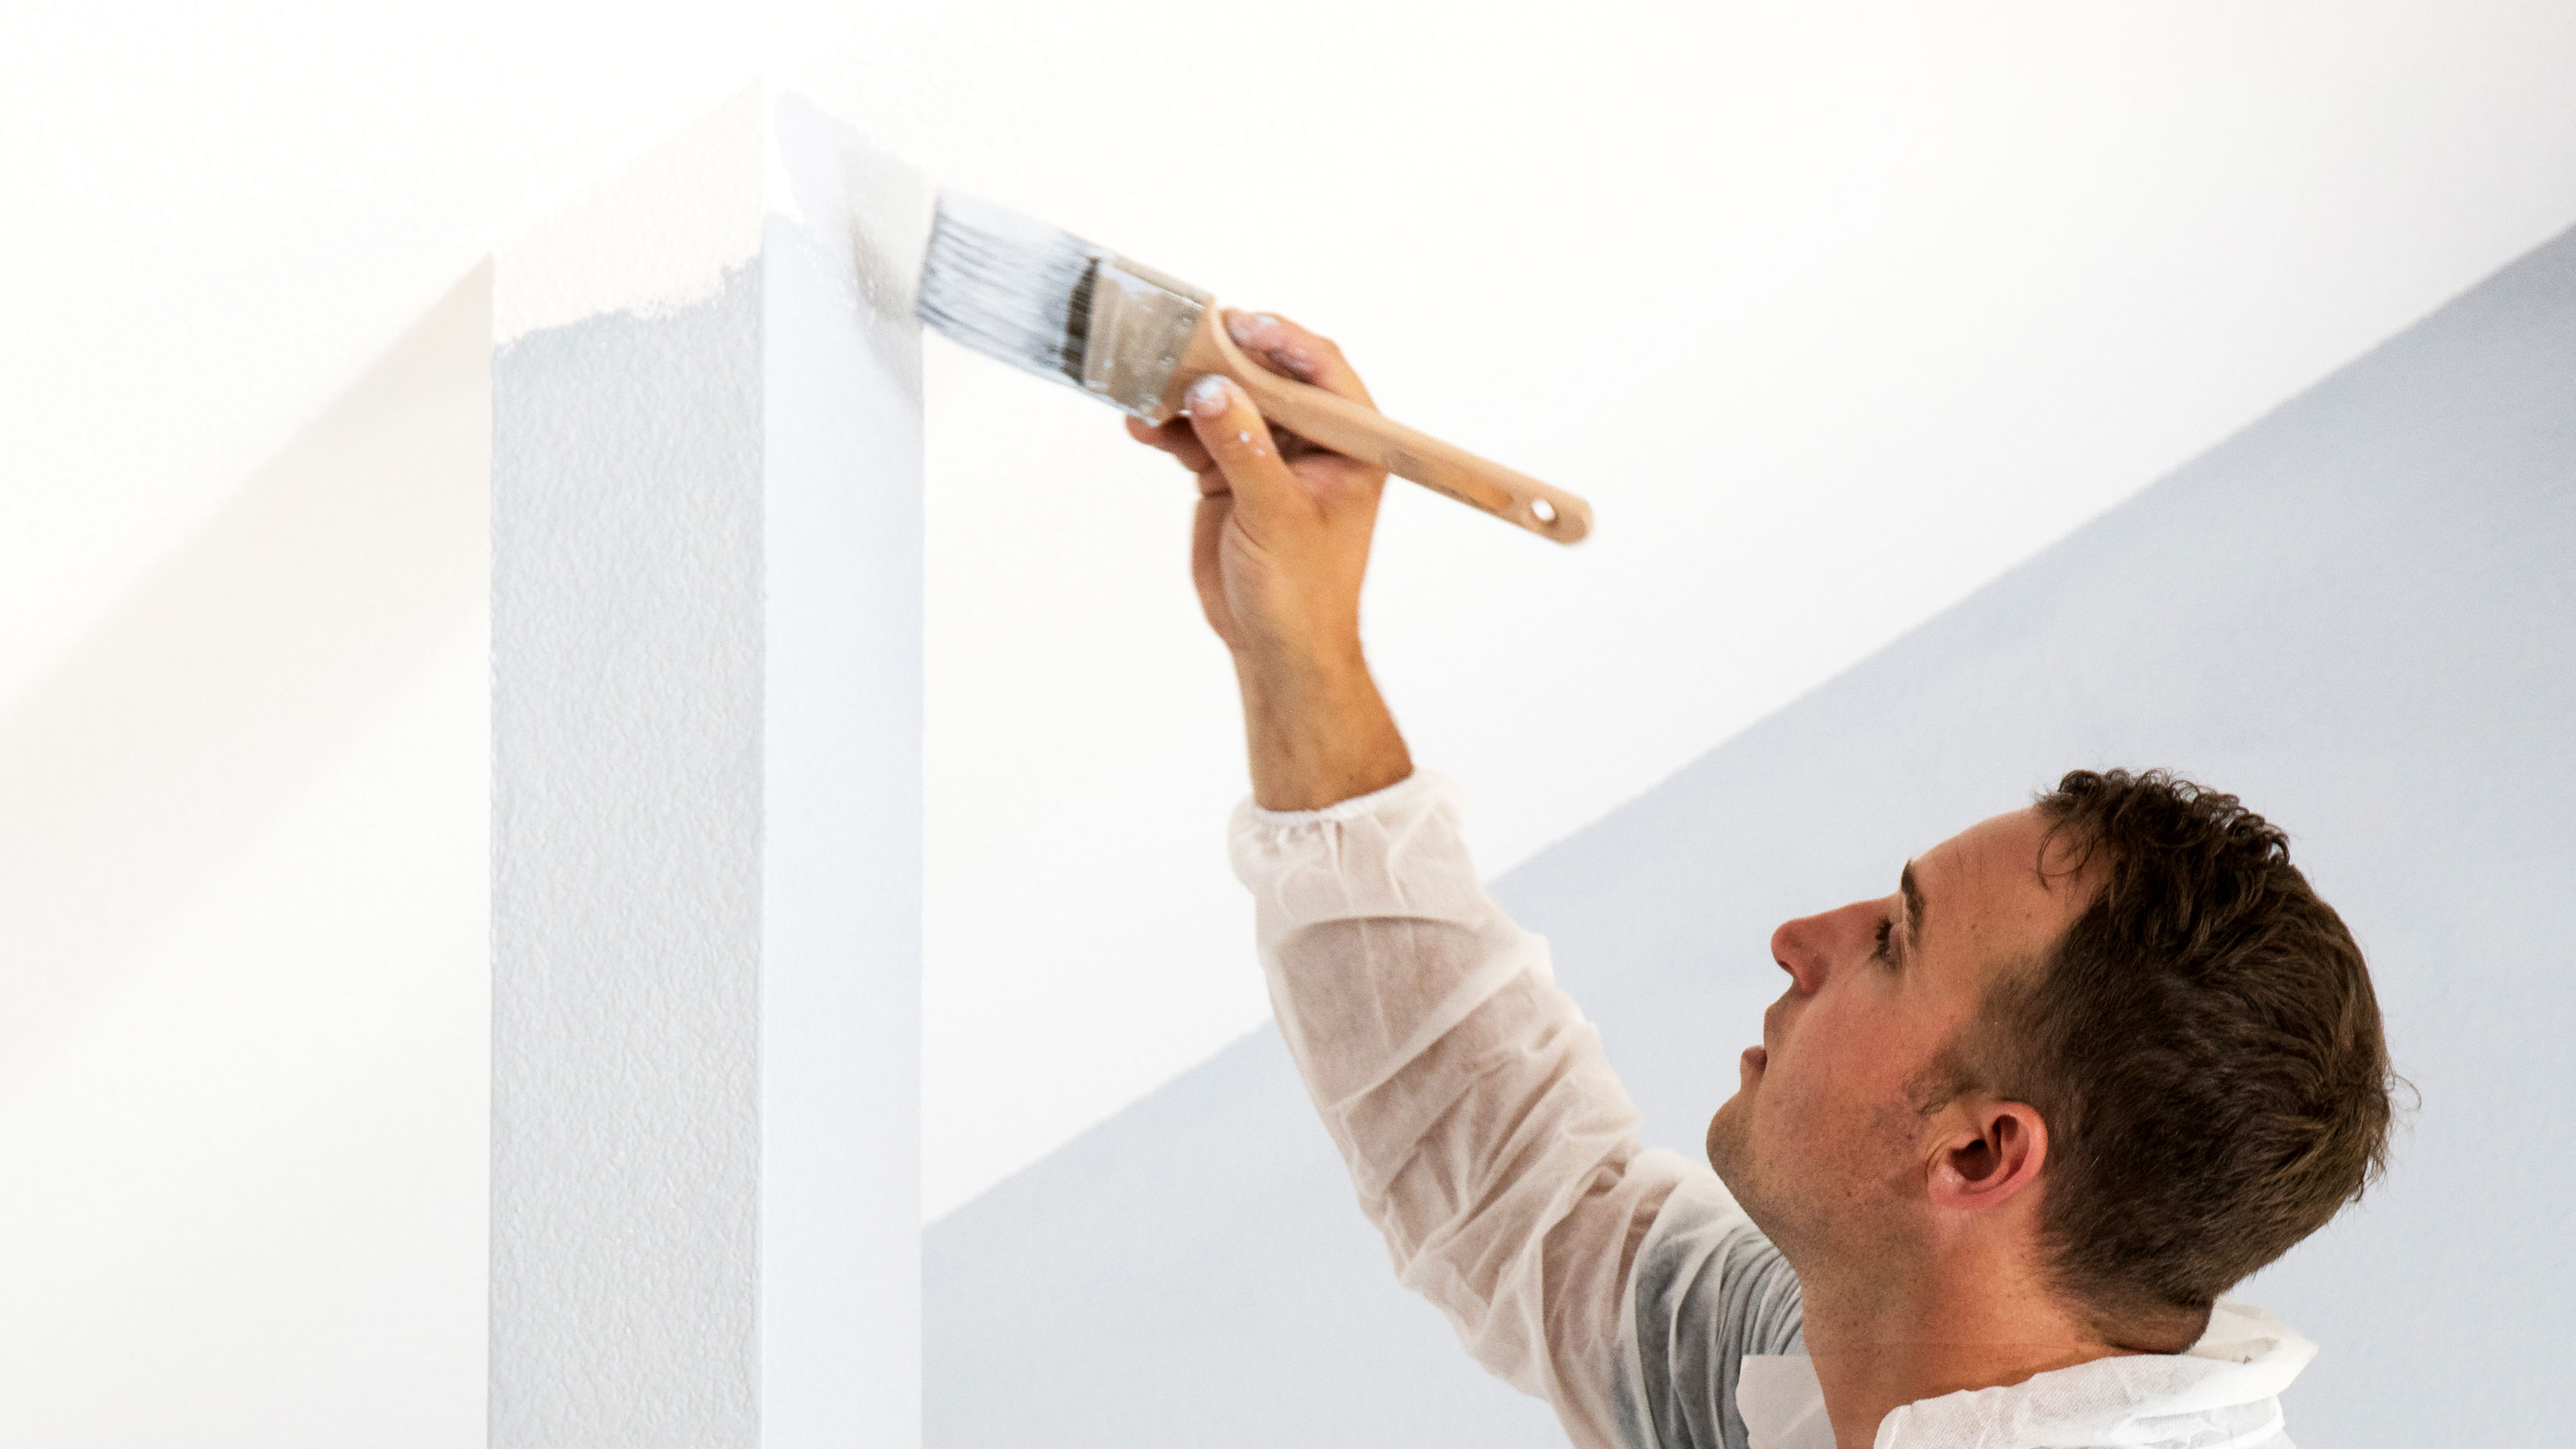
Knowing how to cut in paint will help make sure that you have crisp clean lines wherever you need them. If you don’t know, cutting in paint is a technique that ensures you get a crisp straight line between two surfaces such as a wall and ceiling.
When painting a wall, cutting in is the first thing you should do. You need to establish your straight lines before you finish the wall. This will create a border between the ceiling and wall, around windows and doors and along skirting boards. Once you have your straight edges you can finish up.
Here we reveal a few techniques for clean straight lines along joins, in corners and even on textured ceilings. Here we reveal a few techniques that can be applied anywhere where you need to cut in and get a straight paint line
How to cut in paint step-by-step
You've finished painting a ceiling and now you need to create a crisp straight line along the top of the wall. The following steps will help you do just that:
1. Start by loading paint onto the brush and patting down both sides. Don't overload and the paint will drip.
2. Start a couple of inches away from where the line is going to start, gently push down the brush to fan out a little and use a sweeping to move towards where you want the line i.e top of wall. On the first pass get close to the line and go straight along until the paint has gone.
Repeat to continue the line. Every two or three goes. Go back and smooth out paint while being careful not to go over the line. Don’t worry if there is a small gap. This will be covered by the second pass.
3. Load up the brush again and repeat the process, but right up to the line this time.
4. When finished, get a 4-inch roller and roller as close to the line as possible. This will smooth out any ridges and match.
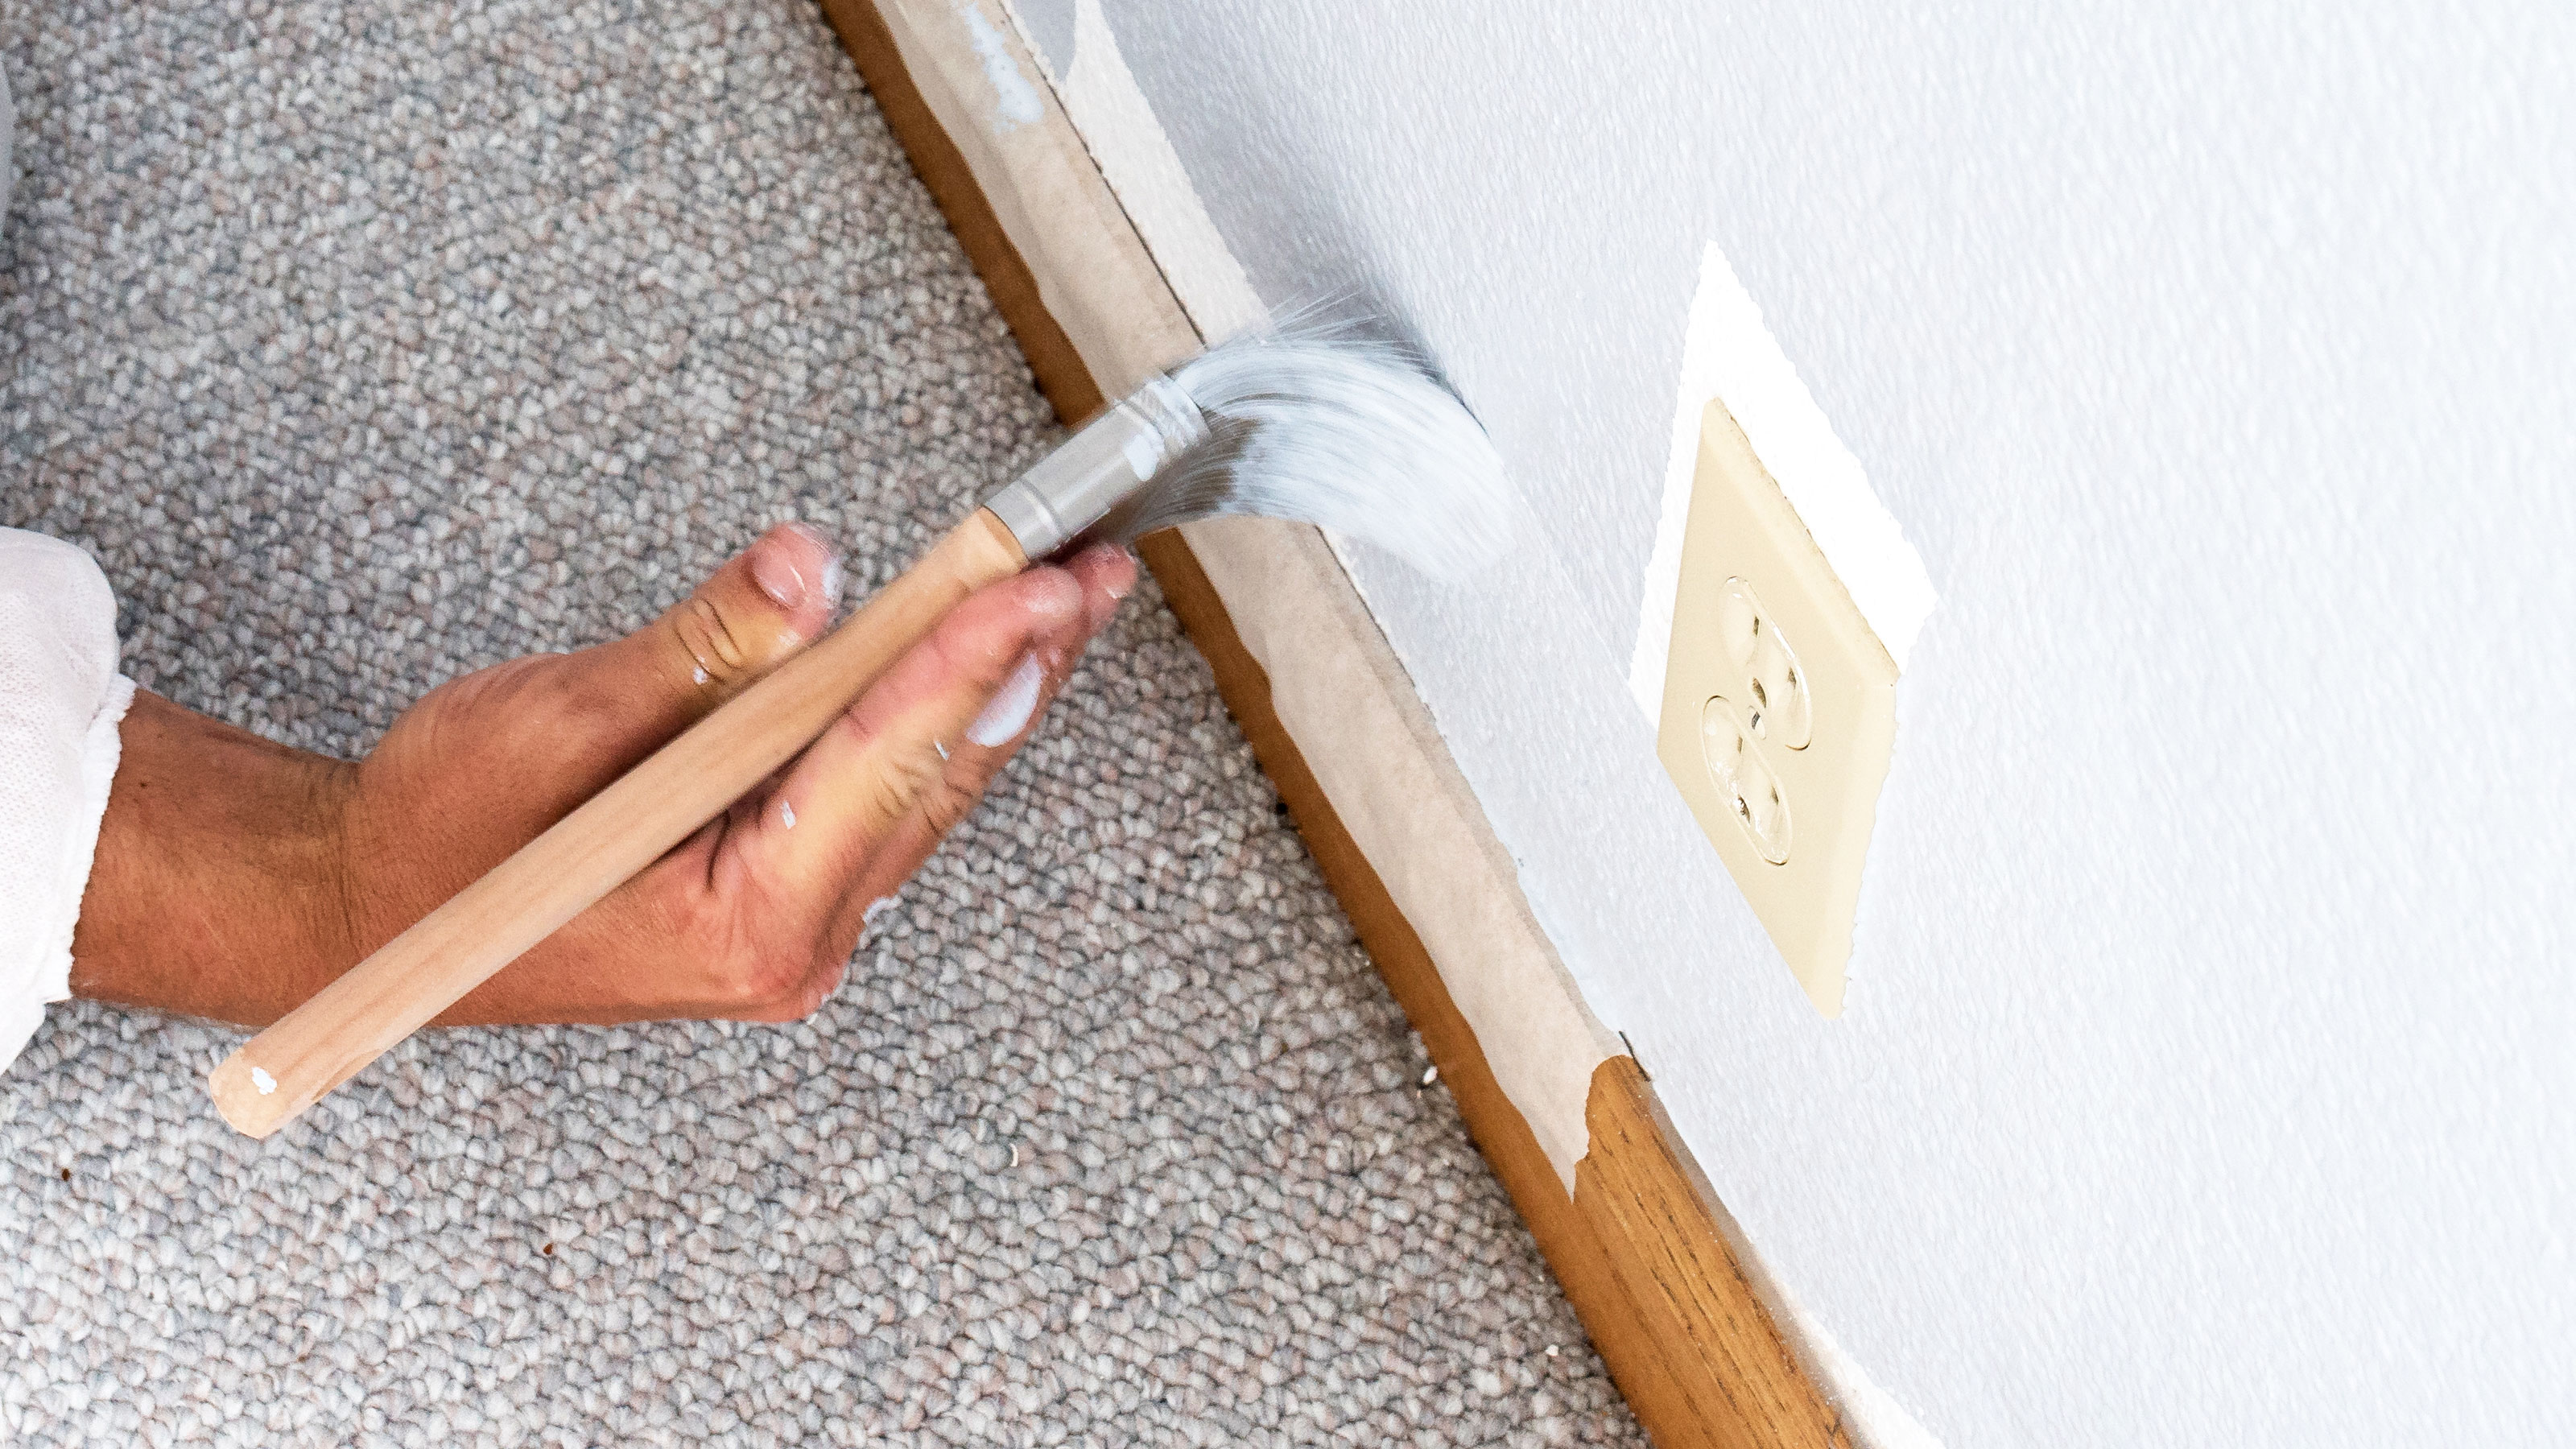
The same principles can be applied to other areas such as where you need a straight line such as painting windows, the architrave around doors and the top of skirting boards.
One tip is to put painters tape on the top of skirting boards when cutting in ceilings to make sure no paint drips on the skirting board. This can double up as a straight line for cutting in.
If new to cutting in you can try using white paint – if the ceiling is painted white – and do a few practice runs. As both paints are white you won't see any uneven lines when the paint dries.

How to cut in at corners
To cut into a corner first load the brush with paint and place the brush – on its edge – around an inch away from the line. Start wiggling the brush and slowly move up the corner to the line.
When you reach the line gently twist the brush towards the direction you want to paint and move along to blend with the existing straight line.
How to cut in on a textured ceiling
The principle for cutting in paint on textured ceilings is the same as flat smooth ceilings. However, you won’t get a straight edge without some quick prep. Painters tape won’t work.
You need to use a putty knife — a two inch knife is a good choice. Hold at 45 degrees and run along the edge of the ceiling to remove the texture and leave a small groove that ensures a straight line.
Is it OK to cut in one day and paint the next?
Yes is the simple answer. But there are a few things to note when cutting in. First cut in with your brush as you would normally. Ideally cut in on a few areas and then use a small roller to expand the cutting in area while there is still a wet edge. This helps the brush and roller painted areas blend better.
The roller probably won't get much use at this point so can cover with cling film to stop it drying out and make sure that you know how to clean paint rollers so you can use again.
You can still cut in with just a brush one day and paint with a roller the next, but you may get a more noticeable edge. If just cutting in with a brush and leaving to dry, feather out the edge with the brush to leave no noticeable edge.
Do I need an angled brush for cutting in?
Yes and no. More experienced DIYers will be able to cut in with a standard straight cut brush – typically a 2-3 inch brush – especially in areas where there is a long edge to cut in i.e. between the wall and ceilings.
But there is nothing wrong with using an angled cutting in brush for any cutting in jobs. The angle of the bristles help make it easier to cut in and are especially useful in more intricate areas like a corner. Try a smaller cutting brush for these areas.
Remember, when finished painting you need to know how to clean paint brushes properly to keep them in good condition and ready for the next job.
What size brush is best for cutting in?
This depends on where you are cutting in. For long, straight areas such as where walls meet ceiling, windows and doors and along the top of skirting boards, you want to be looking at a 2 to 3-inch brush. A more confident painter may use a 4-inch brush on these long edges.
Don't panic if you drop paint on the carpet, there's a few quick and easy techniques on how to get paint off carpet. The quicker you clean up the better.
For more intricate areas such as corners where walls and ceiling meet, around the end of window sills, skirting board corners it is a good idea to use a smaller 1 to 1.5-inch brush especially if you are not that confident with your cutting in skills.
Get the Homebuilding & Renovating Newsletter
Bring your dream home to life with expert advice, how to guides and design inspiration. Sign up for our newsletter and get two free tickets to a Homebuilding & Renovating Show near you.
Steve Jenkins is a freelance content creator with over two decades of experience working in digital and print and was previously the DIY content editor for Homebuilding & Renovating.
He is a keen DIYer with over 20 years of experience in transforming and renovating the many homes he has lived in. He specialises in painting and decorating, but has a wide range of skills gleaned from working in the building trade for around 10 years and spending time at night school learning how to plaster and plumb.
He has fitted kitchens, tiled bathrooms and kitchens, laid many floors, built partition walls, plastered walls, plumbed in bathrooms, worked on loft conversions and much more. And when he's not sure how to tackle a DIY project he has a wide network of friends – including plumbers, gas engineers, tilers, carpenters, painters and decorators, electricians and builders – in the trade to call upon.

