How to Clean Paint Brushes and Keep Them in Good Condition
Learn how to clean paint brushes and keep yours in tip top condition with our must-know tips and tricks

A good paint brush isn’t cheap, so learning how to clean paint brushes and maintain them for future DIY projects is a job that needs to be taken seriously. Look after your paint brush properly and it will last for years and produce a top quality finish every time.
A poorly maintained brush won’t last as long — which means more expense. Its bristles will start to fall out and bits of old dry paint will work their way out of the brush for a bad finish when painting a wall.
Check out our essential guide on how to get a clean, long lasting brush
How to Clean Paint Brushes When Using Water-Based Emulsion
1. Remove paint
Start the cleaning process by removing as much of the paint in the brush as possible. You can do this by wiping on the side of the paint tin. Next get a newspaper or similar and wipe as much as you can onto the paper.
2. Start washing
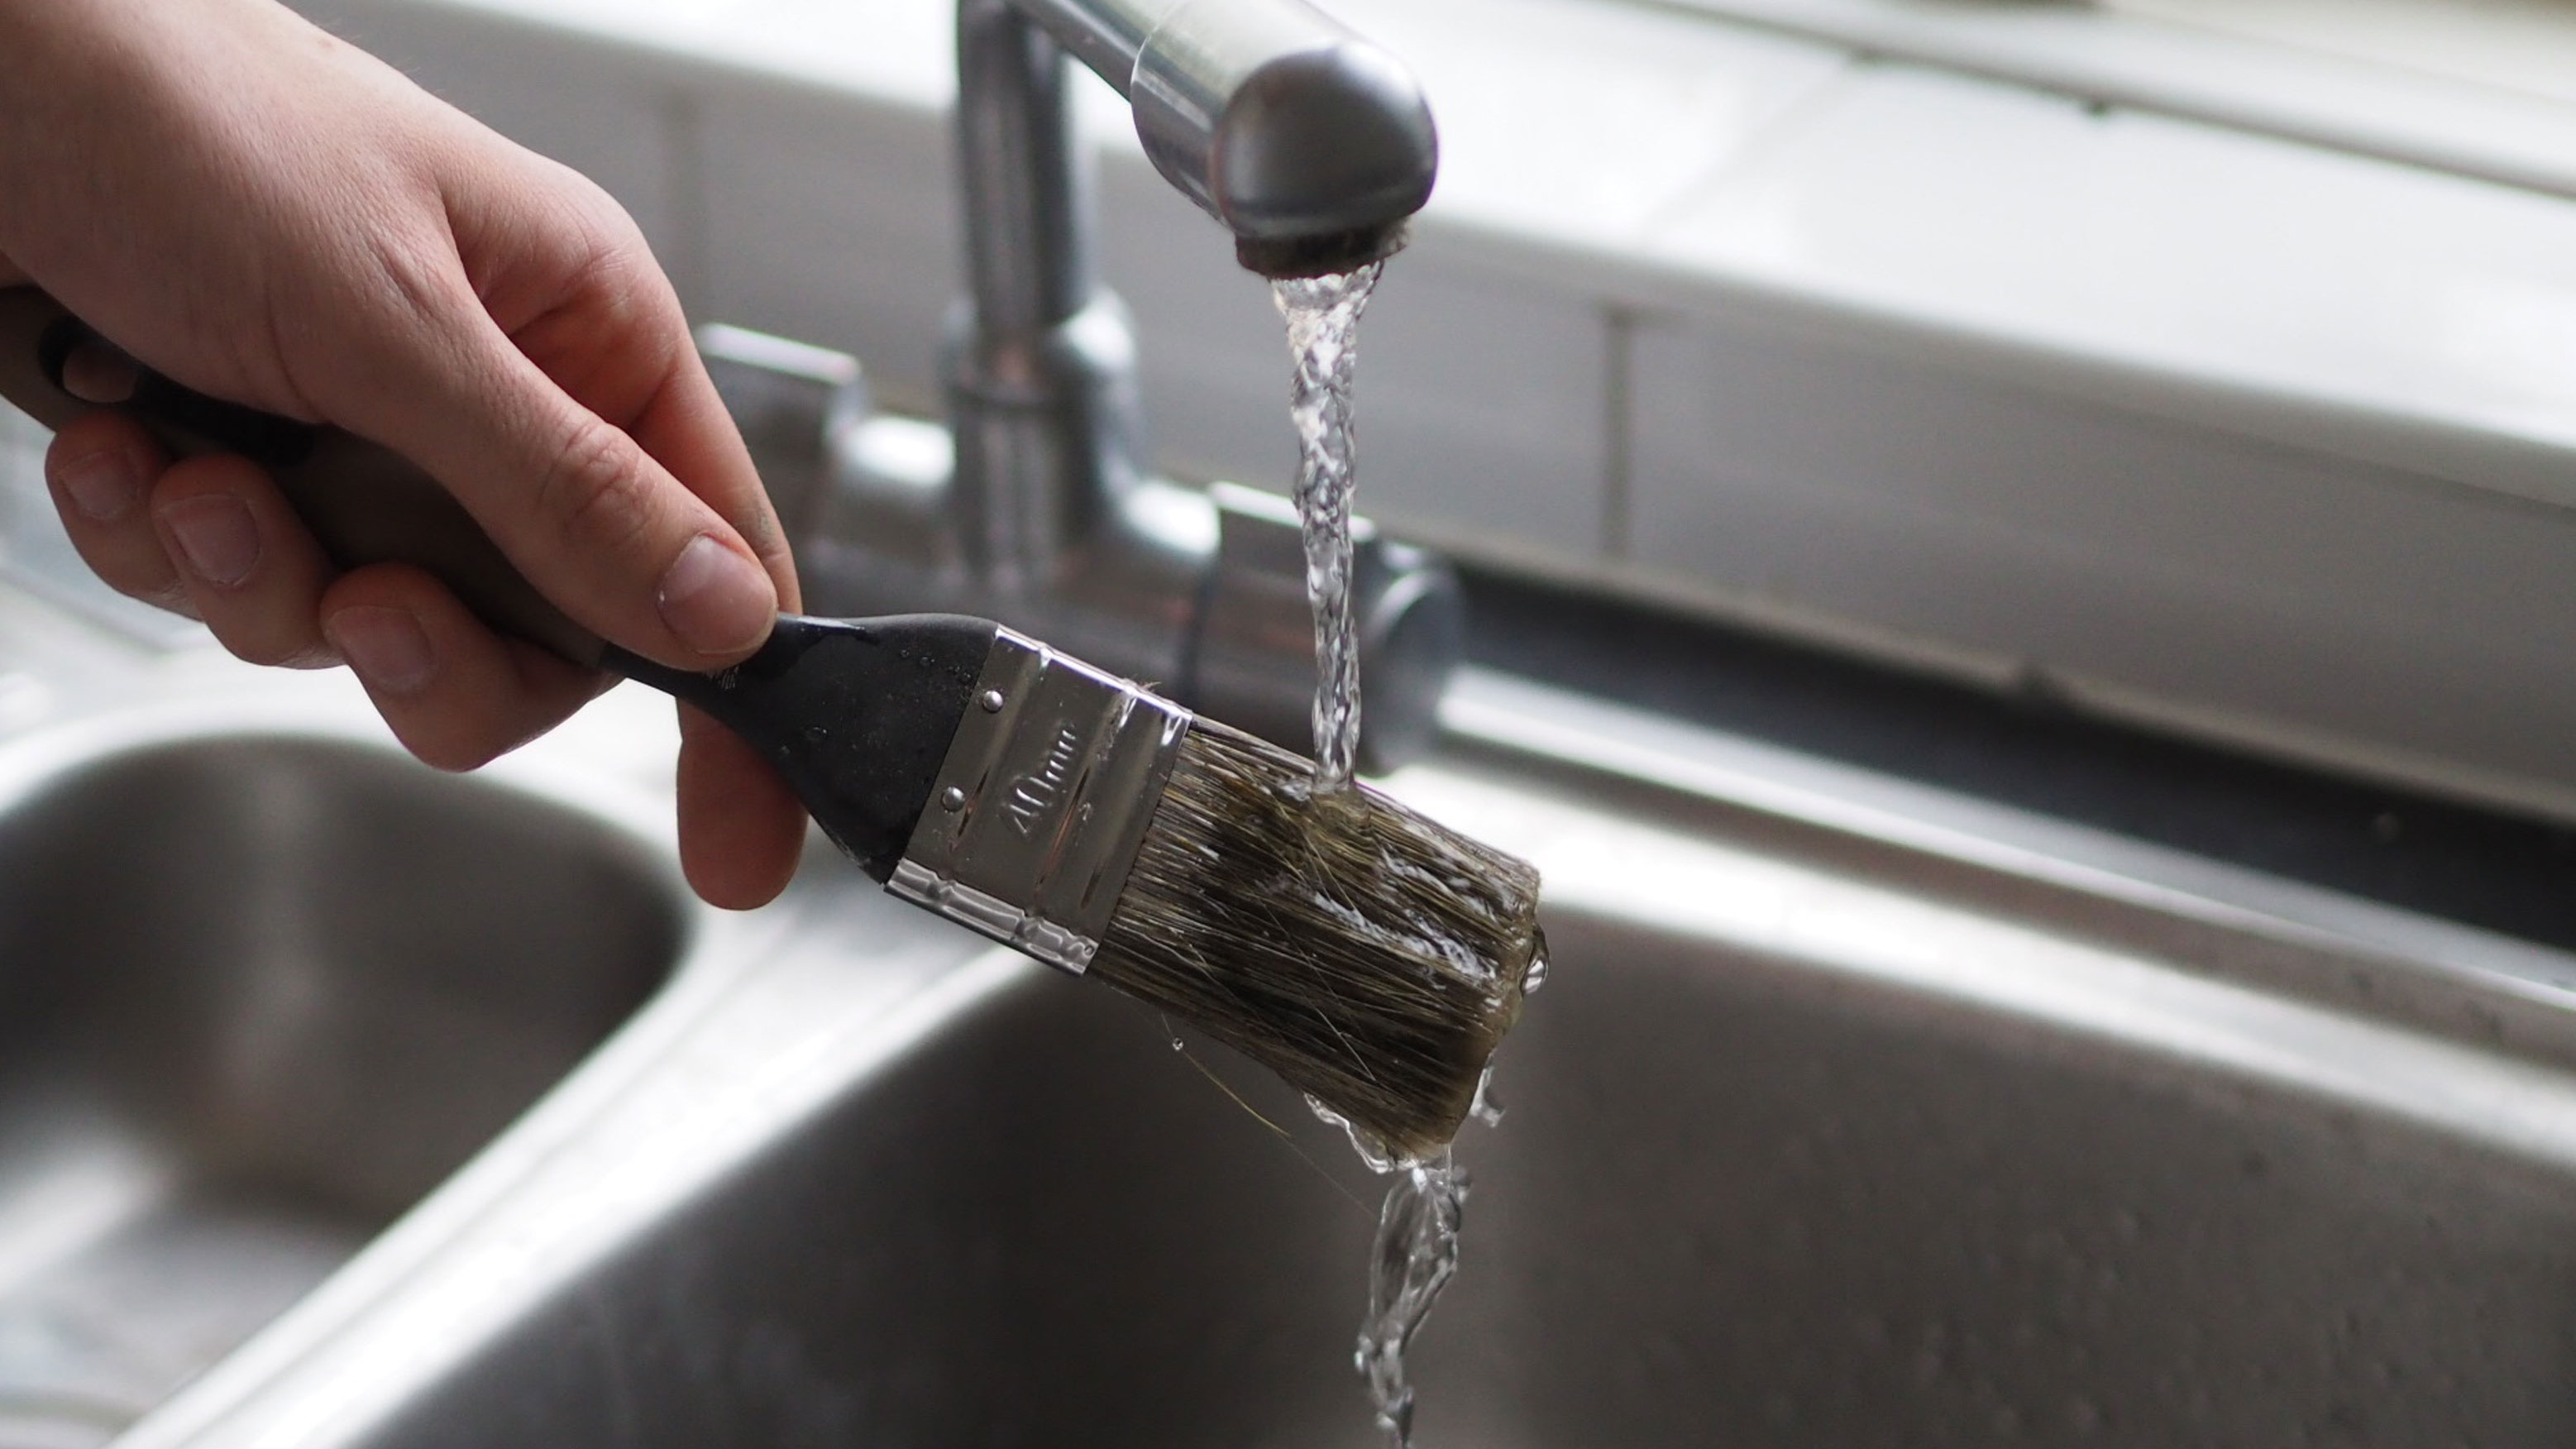
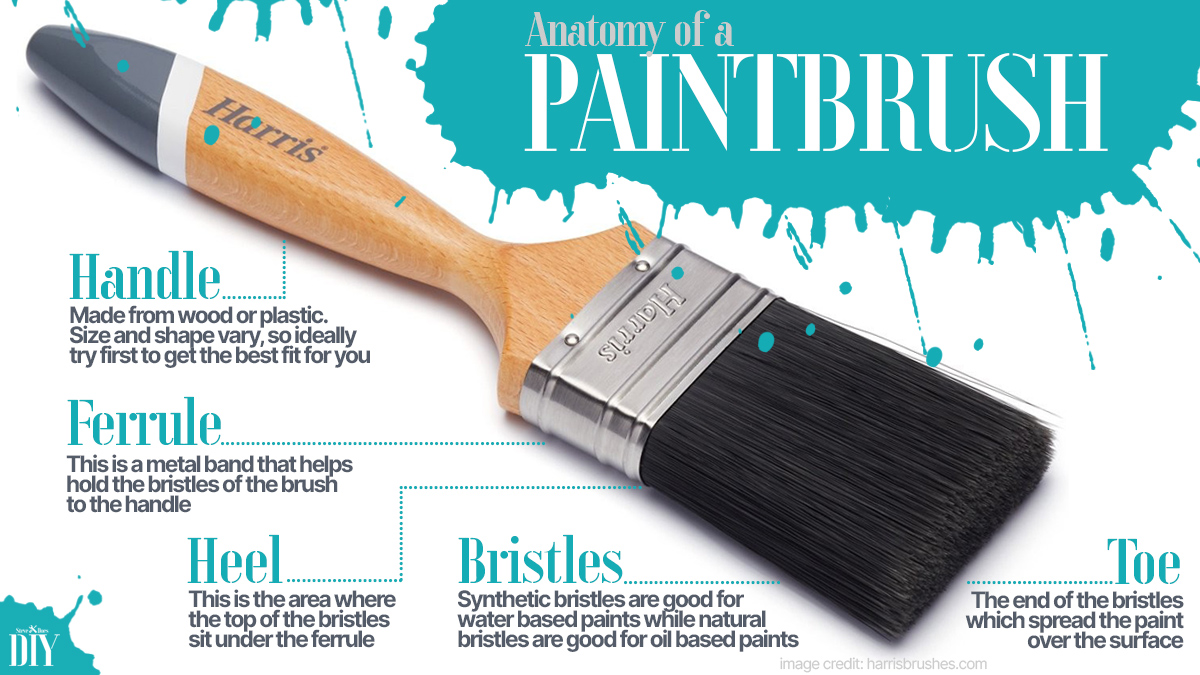
Hold the brush with bristles pointing down under a running tap — add in a little warm water. Use your thumbs and forefingers to massage the bristles and help remove the paint. Keep going until the water runs clear. To finish, get a paint brush comb and run through the brush. This helps remove paint that is near the ferrule and in the middle of the bristles, ensuring you have a very clean paintbrush.
3. Shake or spin
Once the brush is clean you need to remove as much of the excess water as possible. First give it a squeeze with your hand. This will remove a lot of the water.
You can shake the water using a flicking motion, this is best done outside as it can leave traces of paint. Another, and less messy option, is to spin dry. Put the brush handle between both hands and move like you are rubbing your hands. Do this in the sink, or a bucket or empty paint can. You can buy paintbrush spinners to do the job.
4. Store properly
Once your paintbrush is dry give it a final comb with your paint brush comb to get all the bristles back in place. Now either hang your brushes or lay flat to dry. One tip is store your brushes in the sleeve that it came in to help keep them clean and maintain its shape. Alternatively wrap in newspaper when dry.

How to Clean Paint Brushes When Using Oil-Based Paints
1. Remove paint
Start by removing as much paint as possible. Once this is done you will need to immerse the brush in the appropriate solvent. White spirit or a specialist brush cleaner work on most oil-based paints. But check the manufacturer's instructions first.
2. Clean in solvent
Put your solvent in a container. An old jam jar is a good choice for brushes up to two inches. For bigger brushes, cut the top off a two or four pint plastic milk container. Alternatively, use any suitable sized container you have available. Stir the brush in the solvent for around 10-20 seconds to loosen the paint.
3. Wash in warm soapy water
Next you need a sink or bucket of warm soapy water to wash the brush. Be careful when moving the brush as the paint will drip. Run your fingers through the brush in the warm soapy water to remove the solvent and paint. Finally brush through with a paint brush comb to remove any stubborn paint.
4. Spin and dry
Now give the brush a squeeze with your hand to remove as much water as possible. Put the brush handle between both hands and move like you are rubbing your hands. Do this in the sink, or a bucket or empty paint can. Lay flat or hang and leave to dry naturally.
What's the Best Thing to Clean Paint Brushes With?
What you need to clean your brush will be determined very much by what paint you have been using. If you are using a water-based paint then washing them in water, ideally under a running tap, is the obvious choice.
However, if you are using a non-water based paint such as an oil-based paint you will need to use a specialist solution. Typically this is white spirit or a brush cleaner.
Check the paint container to see what the manufacturer recommends and use that. It's worth investing in a paint brush comb, as they don’t cost much, to run through the bristles after you have finished cleaning. This helps restore the brush to like new and ready for the next paint job.
Do I Need to Clean a Paintbrush Every Time I Use It?
Ideally you should clean a brush every time you use it, but there are times when you can leave.
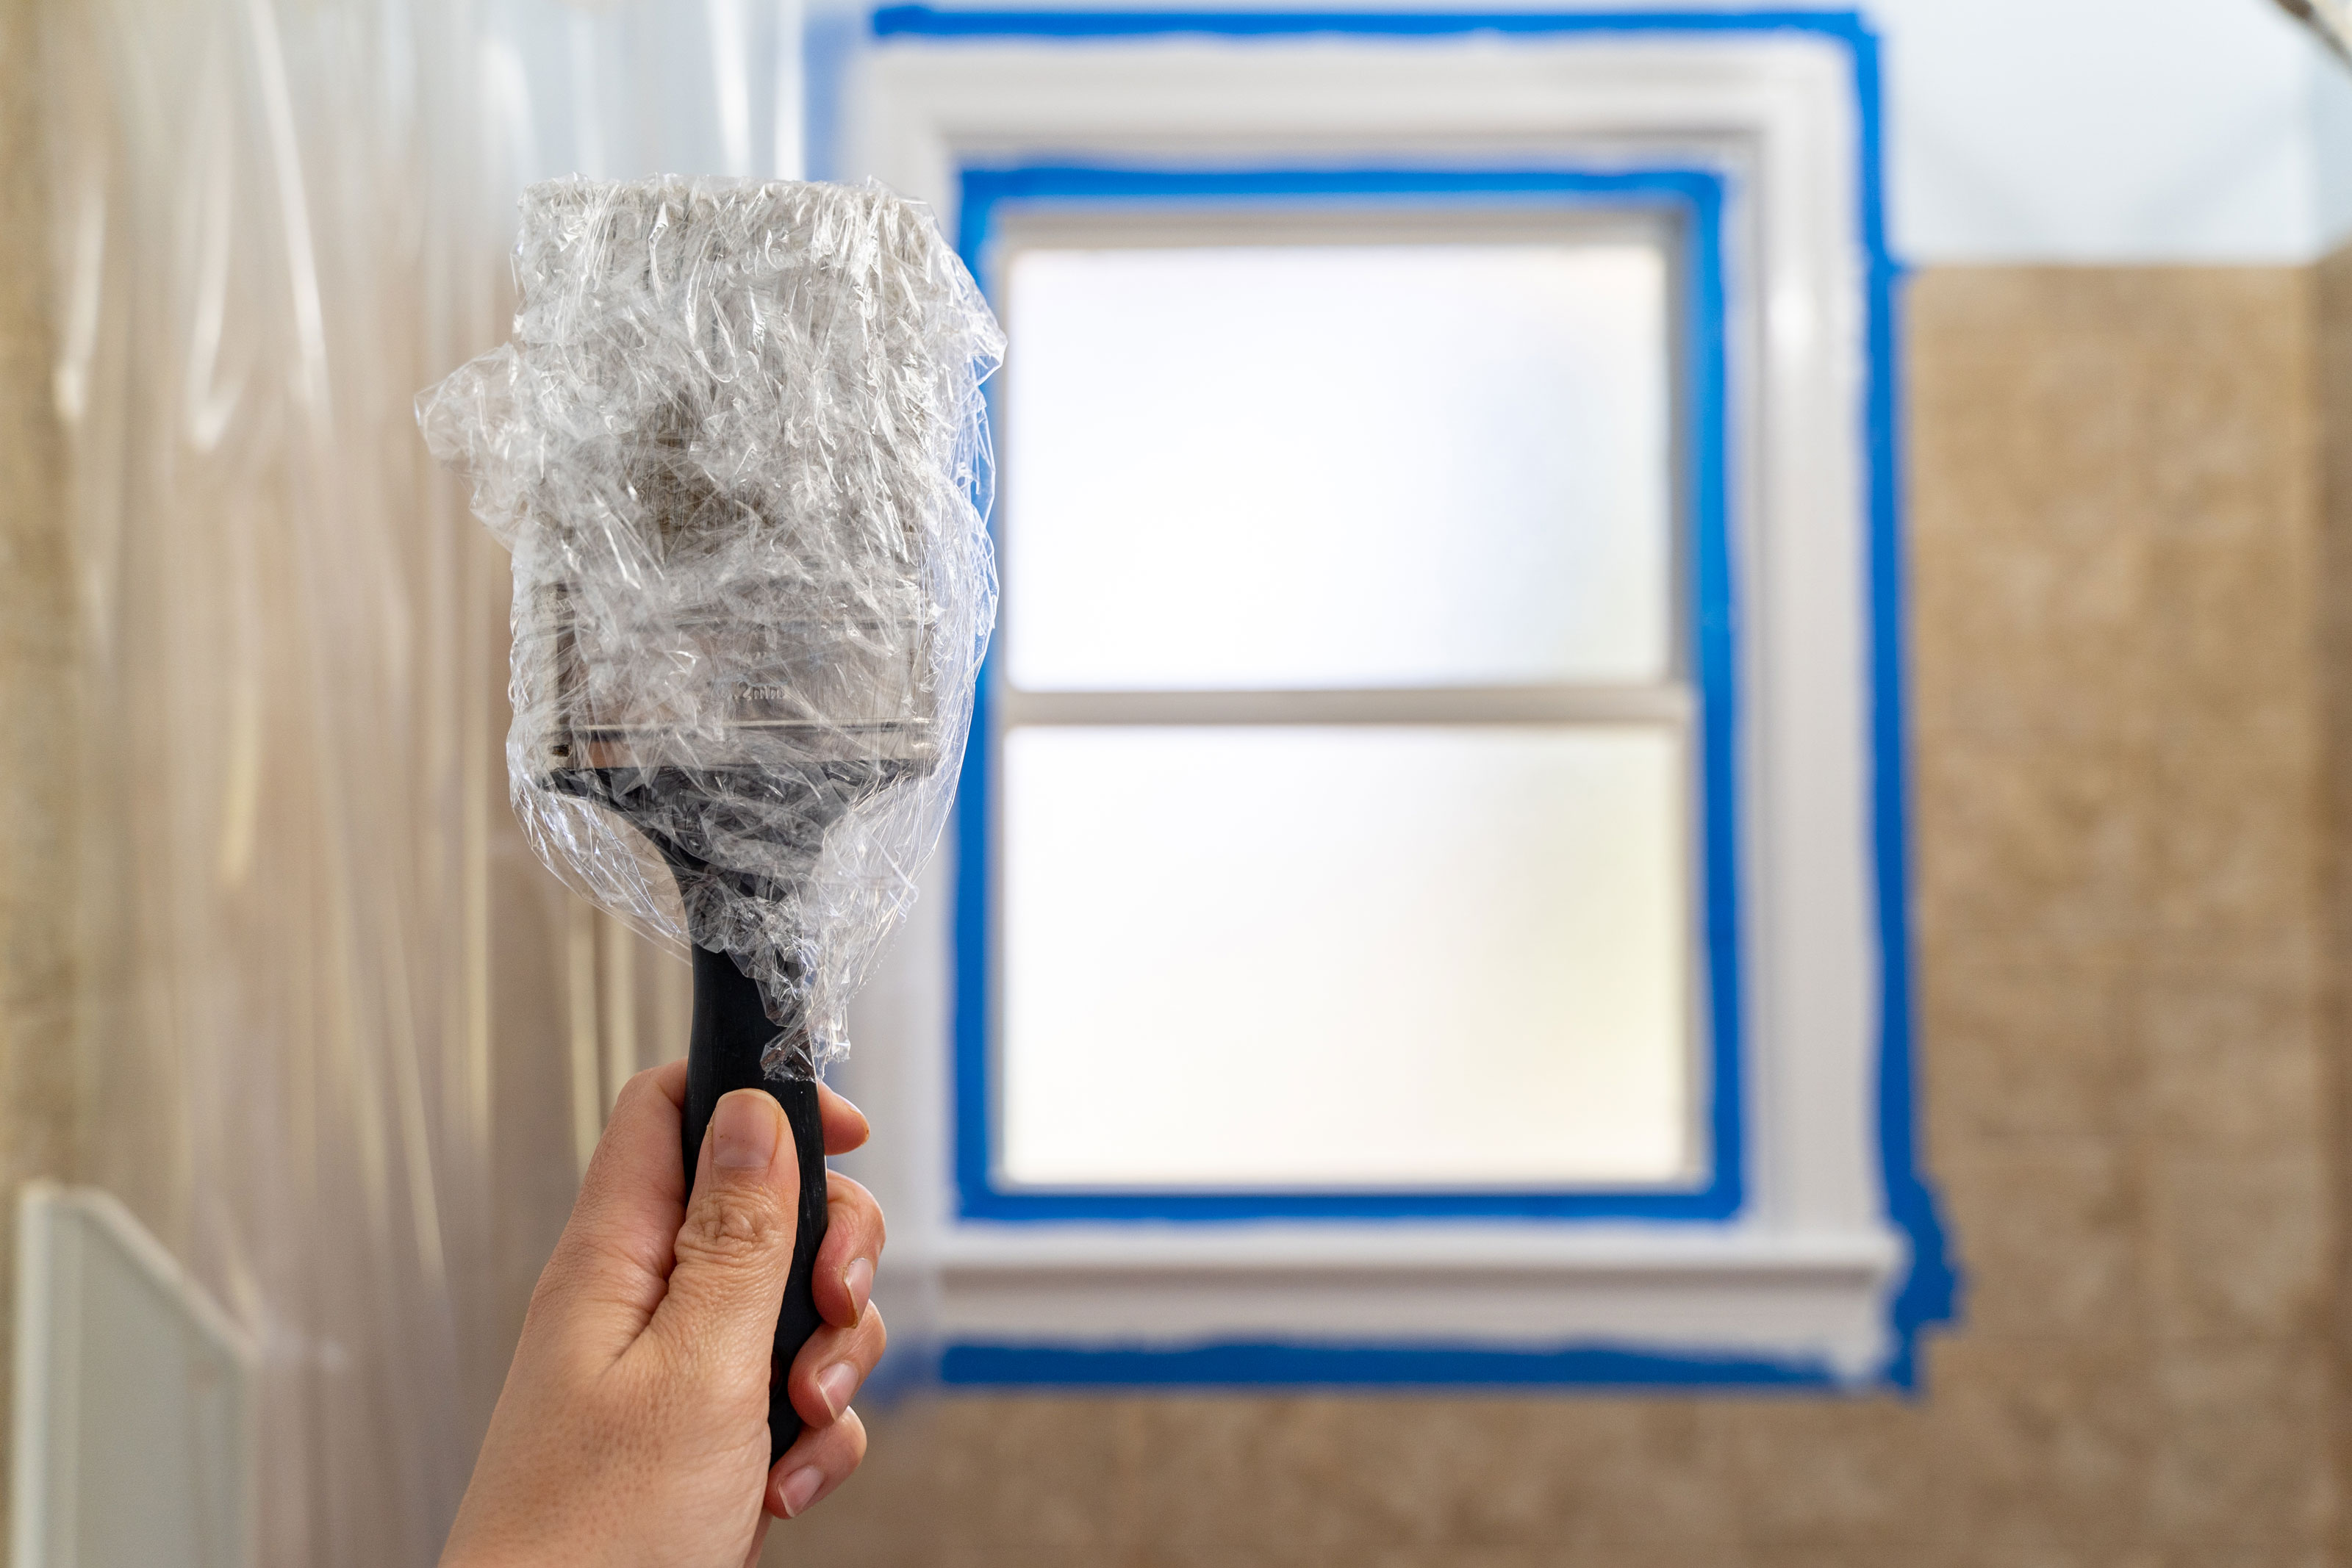
For example, if you are using paint that is quick drying i.e. emulsion, and you need to leave it for an hour or two, you can wash, but it's more convenient and time-saving to wrap it in clingfilm. Alternatively, get a plastic bag and hold it in place with an elastic band.

How to Clean Hardened Paint Brushes
There are a few options for un-stiffening a paint brush when the paint has gone hard, but a simple solution is to leave it in water (for water-based paints) or solvent (for oil-based paints) for a few hours to soften the paint and then comb through with a paint brush comb. You might need to repeat this process to fully restore the brush.
A non-chemical option is to boil white vinegar, put it in a container, leave to cool for ten minutes, and leave your brush in it for half an hour. Then take out and brush through with a paint brush comb
If these options don’t work, or you don’t have the time or patience, simply buy a new brush, but make sure that you look after it properly.
Get the Homebuilding & Renovating Newsletter
Bring your dream home to life with expert advice, how to guides and design inspiration. Sign up for our newsletter and get two free tickets to a Homebuilding & Renovating Show near you.
Steve Jenkins is a freelance content creator with over two decades of experience working in digital and print and was previously the DIY content editor for Homebuilding & Renovating.
He is a keen DIYer with over 20 years of experience in transforming and renovating the many homes he has lived in. He specialises in painting and decorating, but has a wide range of skills gleaned from working in the building trade for around 10 years and spending time at night school learning how to plaster and plumb.
He has fitted kitchens, tiled bathrooms and kitchens, laid many floors, built partition walls, plastered walls, plumbed in bathrooms, worked on loft conversions and much more. And when he's not sure how to tackle a DIY project he has a wide network of friends – including plumbers, gas engineers, tilers, carpenters, painters and decorators, electricians and builders – in the trade to call upon.

