How to clean a bathroom extractor fan: Say goodbye to grime for good
Knowing how to clean a bathroom extractor fan will prolong its lifespan and ensure that its removing moisture and keeping the air in your bathroom fresh and dry

Dust, dirt and grime are enemies of a fan, so learning how to clean a bathroom extractor fan is essential for a healthy and hygienic environment. Leave it and it will become ineffective and pointless. It will slow down, struggle to remove moisture from the air, encourage mould to grow and eventually break down.
Investing in one of the best bathroom extractor fans, means investing a little time to keep it clean and running at its optimum. Here we give you the lowdown on how to keep your extractor fan dirt and dust-free.
How to clean a bathroom extractor fan: what to do before you start
There are a couple of things you will need to do before you start cleaning a bathroom extractor fan. The first and more important thing is to turn off the power. When working with electricity make sure you isolate whatever you are working on.
Next lay down sheets to catch any dust and debris. However, if you are in the middle of renovating a bathroom then you can forget about putting down the sheets.
Four steps to clean a bathroom extractor fan
Bathroom extractor fans vary from brand to brand but the basic principles on how to clean them are still the same. But, if unsure, consult the manufacturer's instructions.
You'll also need some basic items to prep the area and tools to hand, including:
- Screwdriver
- Protective sheets
- Kitchen sponge/scourer
- Washing up liquid
- Toothbrush
- Step ladder
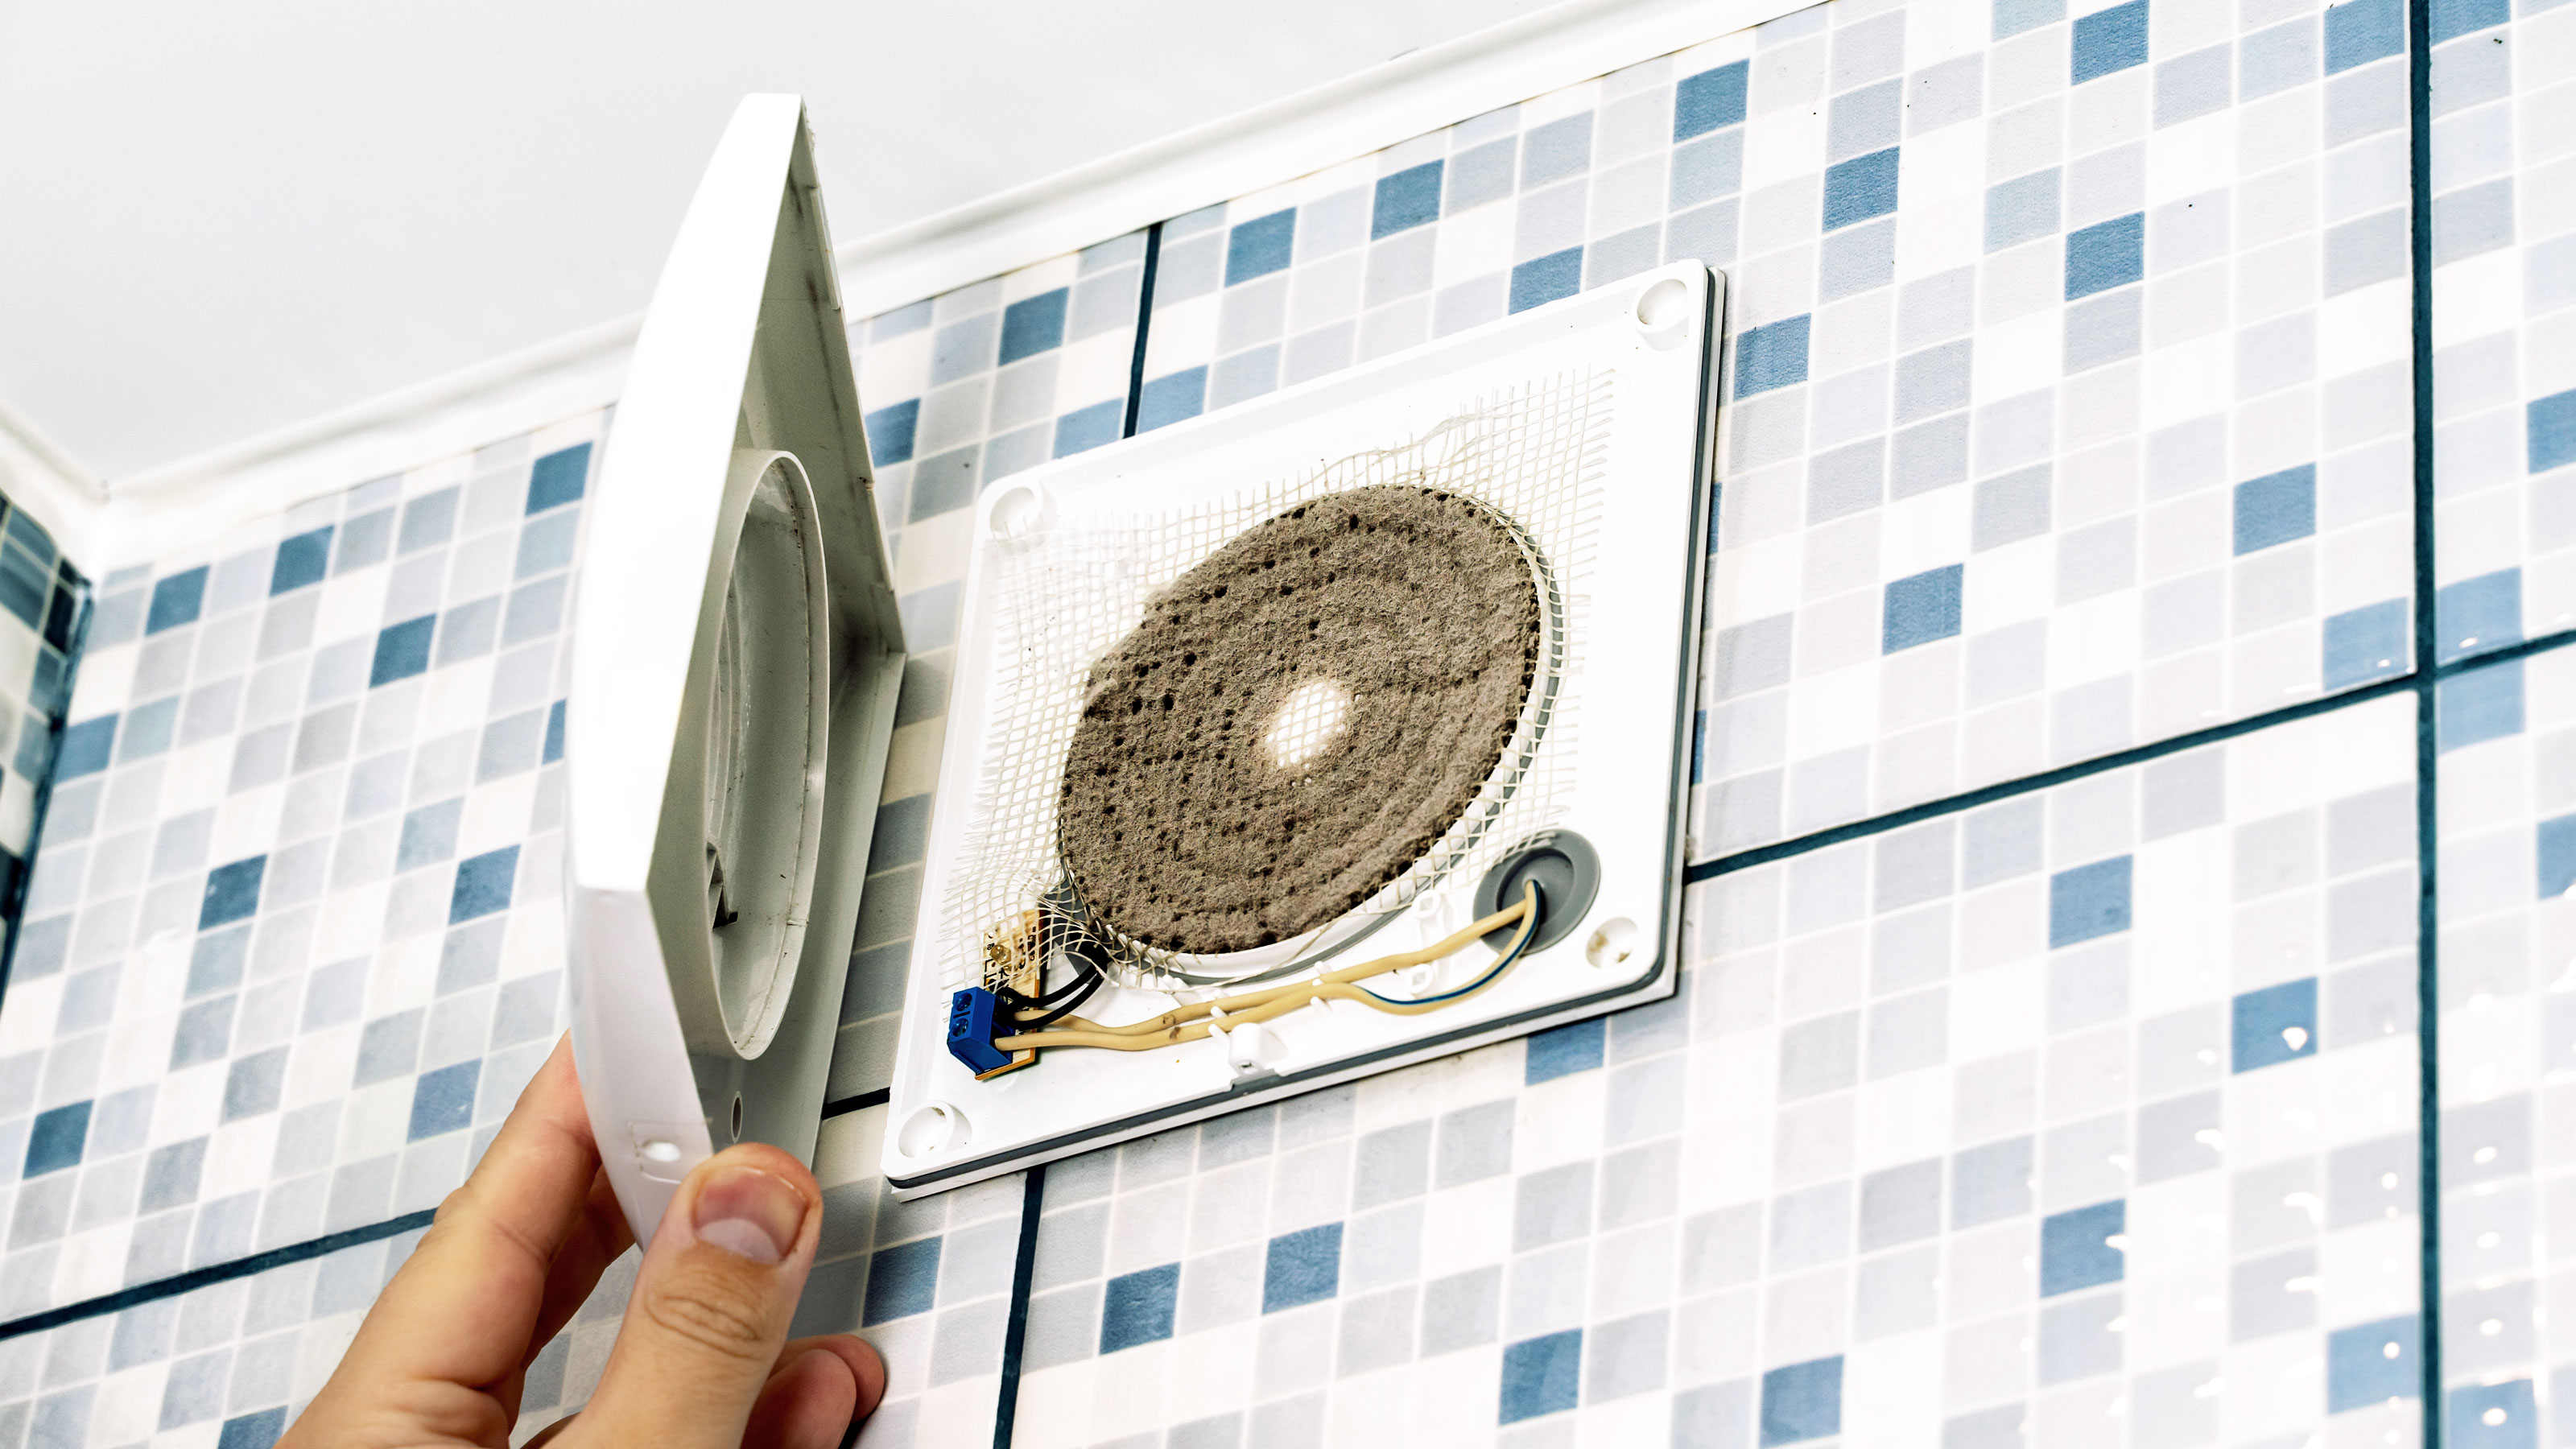
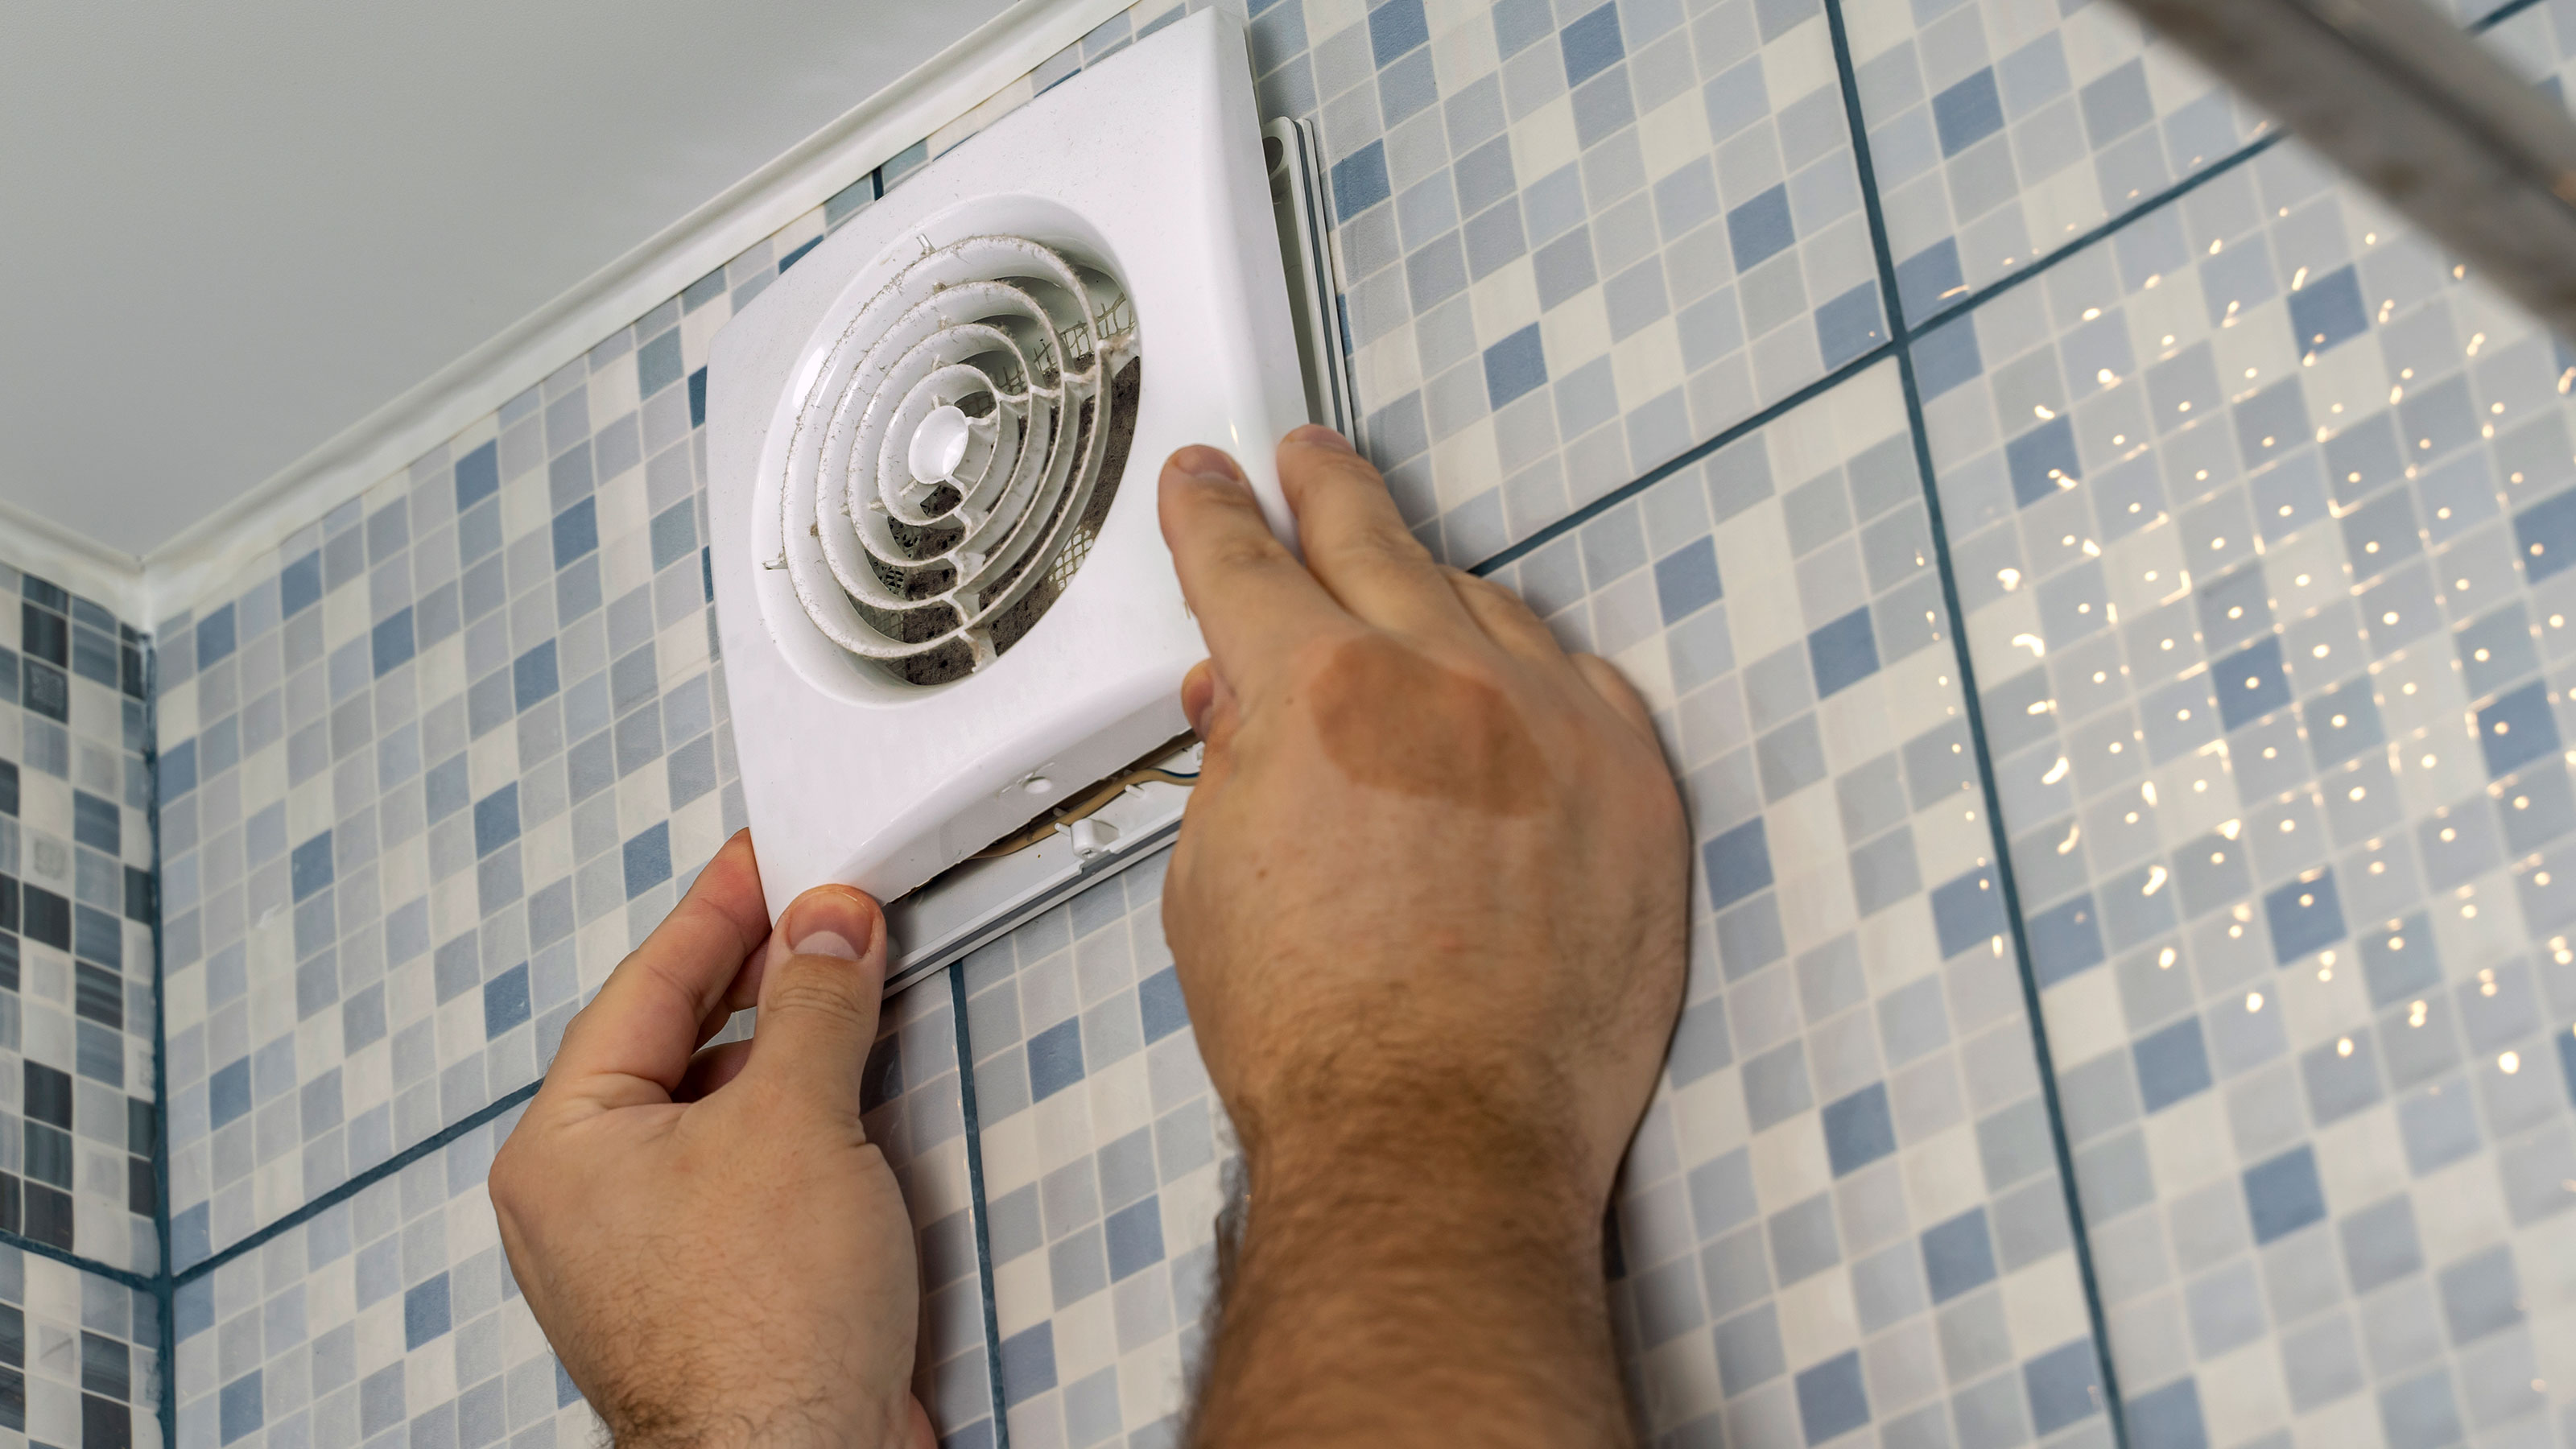
1. Remove extractor fan cover
A bathroom extractor fan is typically held in place with a couple of integrated clips or a screw or two. For screws get a suitable screwdriver, remove the screws and set aside somewhere safe, such as a small bowl.
Once removed, place the extractor fan cover in a bowl of warm soapy water and leave to soak for a couple of minutes. Then get a kitchen scourer and gently clean the cover and leave on the side to dry out thoroughly.
2. Detach fan
Removing the fan cover typically reveals the fan component of the extractor. Some are covered with a filter to collect dust. If this is the case with yours, remove and clean.
Most fan filters can be removed by gently pulling off. Once removed, soak in warm water, clean and leave to dry.
3. Dust and clean
With the fan removed you can now get access to the inside of the extractor fan. Start by giving the inside a once over with a soft hand brush. To get into more difficult areas use an old toothbrush.
Once you have removed as much dust and fluff as possible, get some warm soapy water and carefully clean down with a kitchen sponge/scourer and leave to dry.
4. Replace everything
When all the components are clean and dry replace them back in the extractor fan. Ensure that the cover is replaced correctly and securely. Now switch on the electricity and give the fan a test run.

How do you remove grease from a bathroom extractor fan?
A solution of warm water and washing up liquid used in combination with a kitchen sponge/scourer should be perfectly adequate to get rid of grease.
However, if you have more stubborn grease, you will need to invest in a mild detergent like sugar soap. Not sure what it is? Then check out our what is sugar soap guide on how to use it.
How often should you clean a bathroom extractor fan?
Typically, you should clean your extractor fans every six to 12 months. However, you can clean it more regularly by giving it a quick hoover or brush down to remove dust, which will help prevent the build up of dirt, grime and grease. This will extend the time when you need to give it a thorough clean.
Check out our bathroom ventilation guide for tips on keeping the air moisture-free.
Why is it a good idea to clean a bathroom extractor fan?
There are a number of good reasons why you should clean your bathroom extractor fan regularly. It will help maintain a quiet and efficient extractor which in turn will prolong the life of the fan, meaning that you won’t need to replace it for years.
Another plus of keeping a bathroom extractor fan in good working order is the room benefits. Keeping moisture out of the air will lessen the chances of mould growing in the bathroom.
If you do spot mould you might need to replace your bathroom extractor fan and then think about painting over mould to restore your bathroom back to its original state.
Get the Homebuilding & Renovating Newsletter
Bring your dream home to life with expert advice, how to guides and design inspiration. Sign up for our newsletter and get two free tickets to a Homebuilding & Renovating Show near you.
Steve Jenkins is a freelance content creator with over two decades of experience working in digital and print and was previously the DIY content editor for Homebuilding & Renovating.
He is a keen DIYer with over 20 years of experience in transforming and renovating the many homes he has lived in. He specialises in painting and decorating, but has a wide range of skills gleaned from working in the building trade for around 10 years and spending time at night school learning how to plaster and plumb.
He has fitted kitchens, tiled bathrooms and kitchens, laid many floors, built partition walls, plastered walls, plumbed in bathrooms, worked on loft conversions and much more. And when he's not sure how to tackle a DIY project he has a wide network of friends – including plumbers, gas engineers, tilers, carpenters, painters and decorators, electricians and builders – in the trade to call upon.

