How to build understairs storage to maximise this unused space
We look at all the steps to turning the empty space under your stairwell into a handy storage area
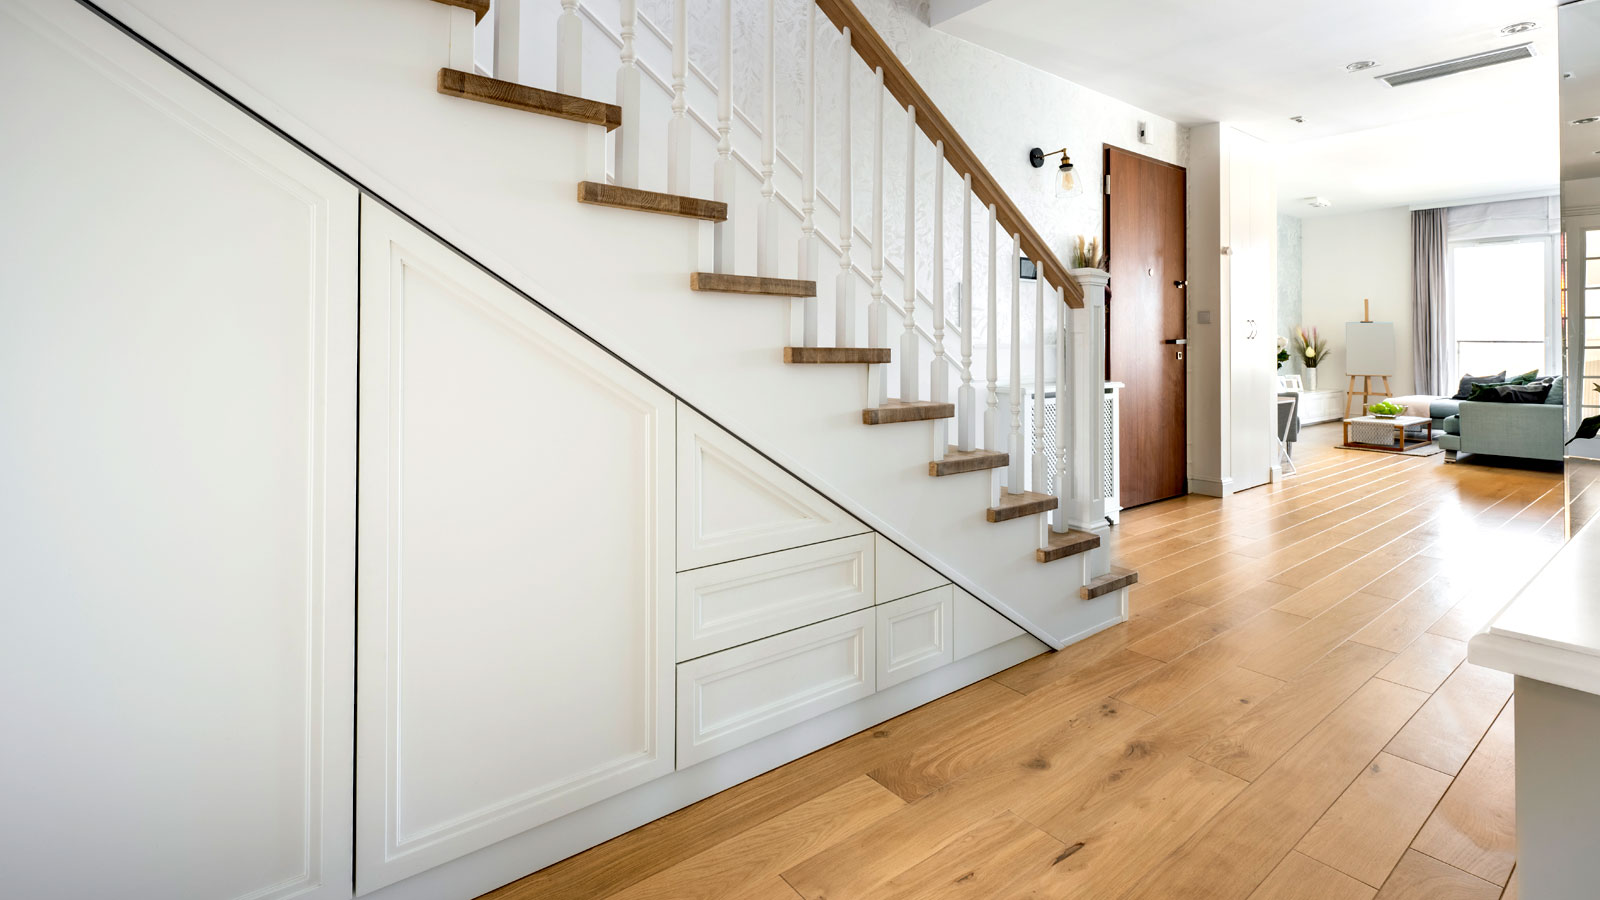
Knowing how to build understairs storage can add much needed space in what might otherwise be an empty area with no purpose.
Maybe you want to store away rarely used items that need somewhere to stay until you need them. Alternatively, you could leave the space open so you have access to everyday items that you don’t have room for elsewhere.
Be smart with your understair storage ideas and you’ll wonder how you ever managed without the space. Here the pros give advice on how to plan and build your own storage.

Matthew is the Director of Thomas Matthew Kitchens & Furniture, has a background in carpentry and joinery and trained as a fitter for high-end kitchen companies. He has over six years of experience in home improvement and remodeling projects.
The tools you’ll need
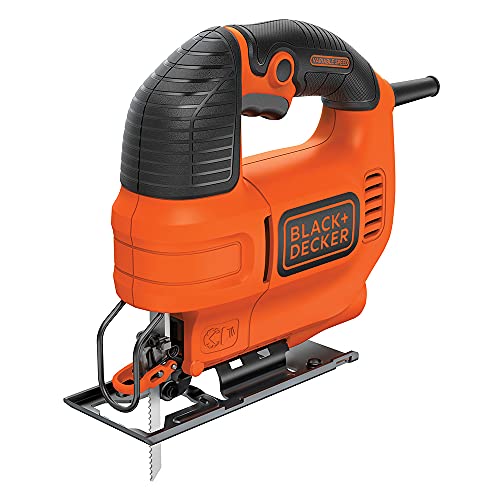
If building your own understairs storage you’ll need a selection of tools that you may or may not own. The main one will be a saw – or saws – as Matthew O'Grady director at Thomas Matthew Kitchens & Furniture shares, “I recommend using a circular or table saw for MDF sheets or basic wood cutting, and a jigsaw for intricate cuts.”
Beyond a saw you will need a tape measure like this Komelon 5M Metric Self-Lock Tape Measure from Amazon. And, O'Grady says, “Include a carpenter's square for accurate dimensions”
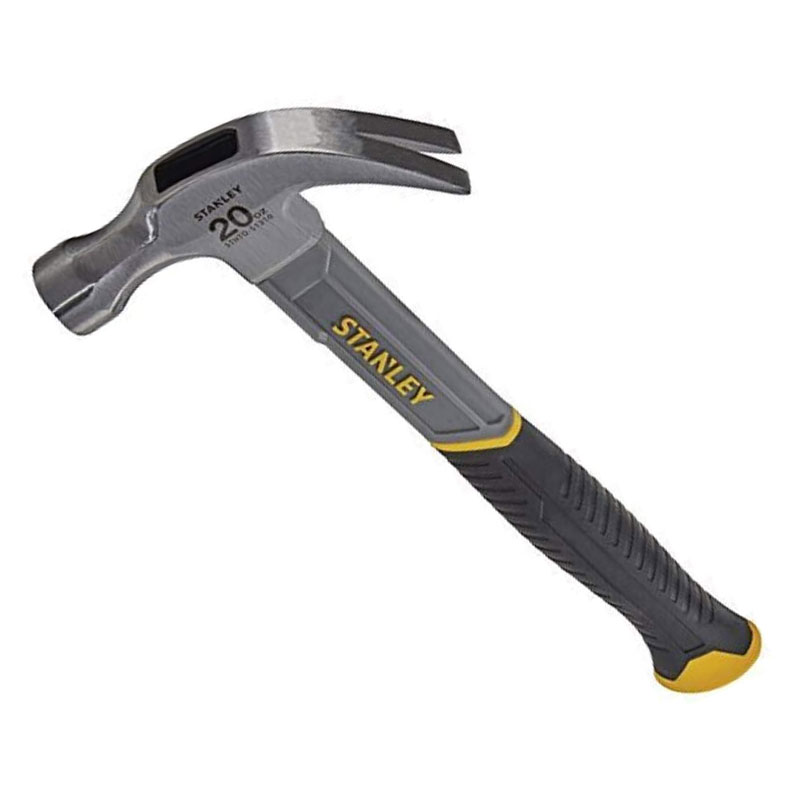
For assembly he says, “I advise using a Phillips head to drive screws with a cross-shaped socket, and a flathead for those with a single straight slot.” He adds, “For hammers, I recommend a basic claw hammer to drive nails and lightly tap parts into place.”
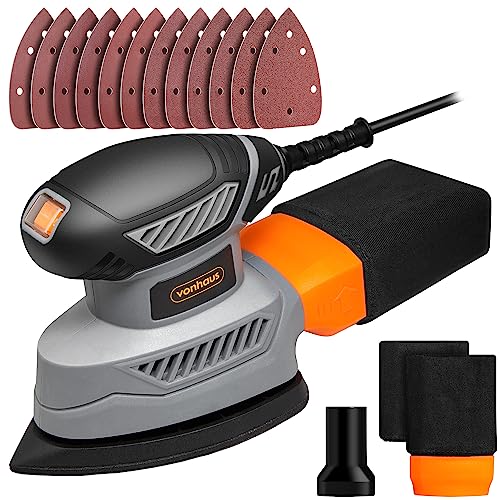
And, you might need these as well says , “A sander for smoother finishes, wood glue to reinforce joins before screwing and improve durability, and a Mitre saw, like this DEWALT 216 mm Slide Mitre Saw from Amazon – in case you're working in a limited space and need precise angle cuts.”
Try these tools to help build understairs storage
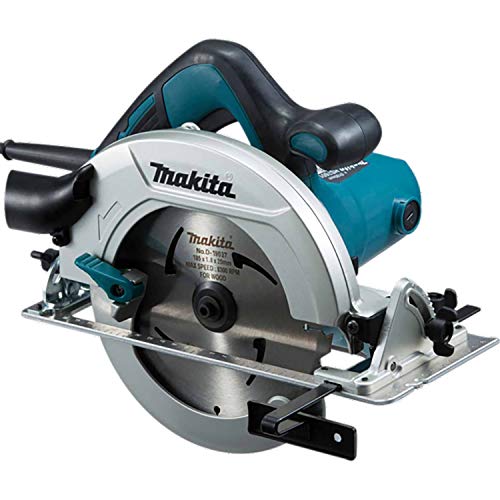
A top quality, compact, lightweight, corded 190mm circular saw with a 66mm cutting depth at 90 degrees and 0 to 45 degree bevel cutting up to 46mm.

With almost a decade of experience on the front line in construction as a multi-trader, Andy is uniquely placed in the construction industry to help bridge the gap between tradespeople and product managers with his role at MyBuilder.com.
Planning your understairs storage
When looking to add understairs storage you need to think ahead before you start. Simms says, “Like most jobs you have to start with planning and measuring. While you might be keen to get going, spending time planning it all out will make the process run much more smoothly once you start.” He adds, “The most important thing is to understand the size and limitations of your space.”
O’Grady says, “Start by hand-drawing or rendering a 3D design of your desired under stairs storage.” He adds, “I recommend using a free online 3D modelling software like Sketchup Free (choose For Personal Projects), which would allow you to envision measurements to the exact scale.” But if this is something you struggle with he says, “Hand-drawing your desired outcome will help you envision how you want your understairs storage to look” The exact measurements will be determined by the size of your space and the materials used.
O’Grady adds some more advice to get what you want, “When planning out, consider how simple it is to access stored objects in confined spaces. Pull-out shelves or drawers, for instance, make it easier to reach items at the back. If at all feasible, avoid fixed shelves as they may eventually restrict the space's function.”
How to build understairs storage
Here we run through the steps you need to take to build under stair storage.
1. Gather material and tools
Before you start, make sure that you have all the tools and materials you need to complete the job. Double check and make sure you have things like hinges, screws, door furniture, dowels, draw runners etc.
2. Cut and remove wall
The first step is to cut a hole and remove the current panelling or wall. Use a circular saw or jigsaw if made of wood. Before you start O'Grady says, “Make sure there isn't any electrics or plumbing nearby.” He adds, “If the wall under the stairs is made of brick, demolish the wall.” But do be mindful of loadbearing walls and don't remove anything that might be structural without consultation with a structural engineer first. Make sure to clean up before starting the next step.
3. Measure and cut frame
Now you need to mark out your measurements on your wood and cut it . Make sure to double or even triple check every measurement to ensure they are right. You can use either a digital tape measure like the Reekon T1 Tomahawk or a regular tape measure like this Stanley Fatmax from Amazon.
Start by cutting out the frames. 34mm x 34mm timber is usually adequate for most frames, but you may need something larger for more heavy duty storage. Add timber along the bottom of the space and then add uprights ready to attach the plywood. Screw into place.
4. Cut and build
O’Grady says, “Use a table saw (or circular saw) to cut plywoods according to your markings and measurements, and then assemble the plywood (typically basic box shapes or with an angle at top that matches the stairs slope), with wood glue and screws (partially threaded) to build storage.”
You should now have the basic cabinets ready to insert and attach to the frame. One tip is to pre-drill holes ready for attaching to frame..
5. Add extras
If you are adding drawers or shelves to the basic box/cabinet, add now. For drawers O’Grady says, “Attach smooth-running side rails or slides to the inside of the storage. Using heavy-duty or ball-bearing runners will help ensure weight isn't a problem.”
6. Secure cabinet
Once the cabinet is ready to go it’s time to secure it in place. O’Grady says, “Using brackets or screws, secure the unit inside the understairs space and test the functionality of the area.” Make sure it is secure.
7. Finish up
If having open under stairs storage, you can finish up by painting or varnishing. If it needs front panels and doors, attach with the appropriate fixing (screws, dowels, glue). To finish, O’Grady recommends that you, “Install a doorknob or handles to improve functionality.”
Try these tools to get a good finish on under stairs storage
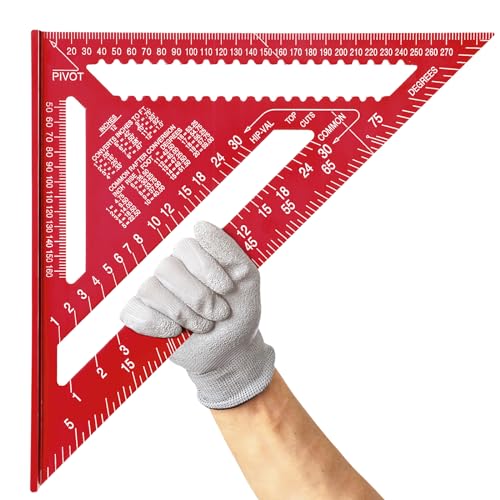
A large 300mm carpenters square made from aluminum alloy for extra accuracy. Offers various clear and accurate printed scales with common conversion tables.
FAQs
What is the best material for under stairs storage?
For the basic build O'Grady says, “Plywood, like this Hardwood Plywood from B&Q, is the best all-round option because it's better for heavy duty use and moisture resistance; choose 16mm to 18mm.” But it's not the only cost effective option as he continues, “I'd say MDF is perfect for painted finishes, but it is less resilient in wet environments; if you want strength and rigidity, go for 18mm.”
If you are looking for a more bespoke finish, or want a higher spec finish, there is the solid wood option. But, O'Grady points out, “It is expensive and prone to warping in humid environments, despite its superior durability and aesthetic appeal.” He adds, “Opt for 18mm if this is your choice.”
How much does it cost to pay a pro?
Building under stair storage is not for every DIYer as Simms shares, “Installing an under stairs storage unit is a technical job.” He adds, “For some, this job is a bit out of their skill set, so you should consider hiring a carpentry professional to ensure a perfectly fitted storage unit.”
How much it will cost will depend on various factors including what materials are used and the size and complexity of the space. Another often forgotten cost is removal of the existing material. Often it's wood, but if it's brick it will take longer and will add to the overall cost.
At the bottom end of the scale for an average sized under stairs space using plywood or MDF with a basic design expect to pay around a minimum of £600. This will take around two days.
For a larger, more complex design such as draws and cupboards the same shape as the stairs and using more expensive materials you can expect to pay around £2000+. These projects can easily take up to five days.
Carpenters' hourly rate starts at around £25-£40 depending on experience, and their daily rate is around £200-£320, again depending on experience.
When adding under stairs storage it's a good time to fix and smarten up your stairs. Check out our how to fix squeaky stairs, how to paint stairs, and modern staircase ideas to complement your new storage.
Get the Homebuilding & Renovating Newsletter
Bring your dream home to life with expert advice, how to guides and design inspiration. Sign up for our newsletter and get two free tickets to a Homebuilding & Renovating Show near you.
Steve Jenkins is a freelance content creator with over two decades of experience working in digital and print and was previously the DIY content editor for Homebuilding & Renovating.
He is a keen DIYer with over 20 years of experience in transforming and renovating the many homes he has lived in. He specialises in painting and decorating, but has a wide range of skills gleaned from working in the building trade for around 10 years and spending time at night school learning how to plaster and plumb.
He has fitted kitchens, tiled bathrooms and kitchens, laid many floors, built partition walls, plastered walls, plumbed in bathrooms, worked on loft conversions and much more. And when he's not sure how to tackle a DIY project he has a wide network of friends – including plumbers, gas engineers, tilers, carpenters, painters and decorators, electricians and builders – in the trade to call upon.
