Learn how to build a soakaway — an affordable and effective way to protect your home and driveway from flooding
Adding a soakaway can be essential if you are installing a driveway or trying to reduce waterlogging in your garden
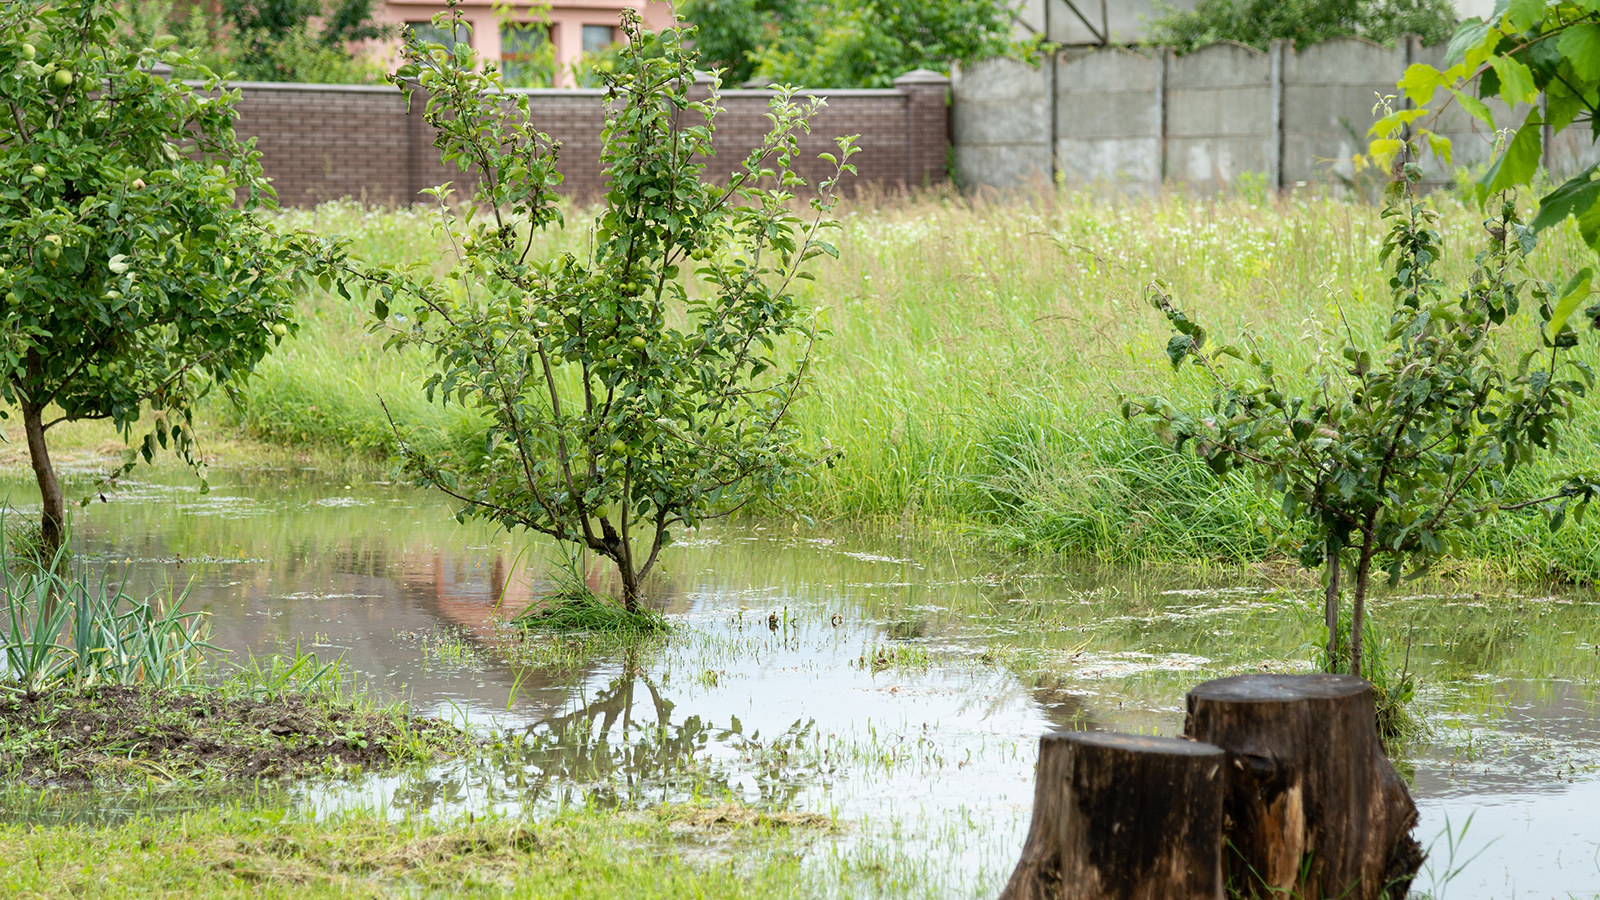
Knowing how to build a soakaway will potentially help homeowners protect their homes from surface water flooding, as well as being a sustainable drainage option.
Recent research conducted by Flood Re shows that 1 in 4 homes in the UK are at risk of flooding – not just by the coast and rivers, but in urban areas too. In total, 5.4 million (1 in 8) UK adults with gardens have experienced the devastating impact of flooding on their green spaces.
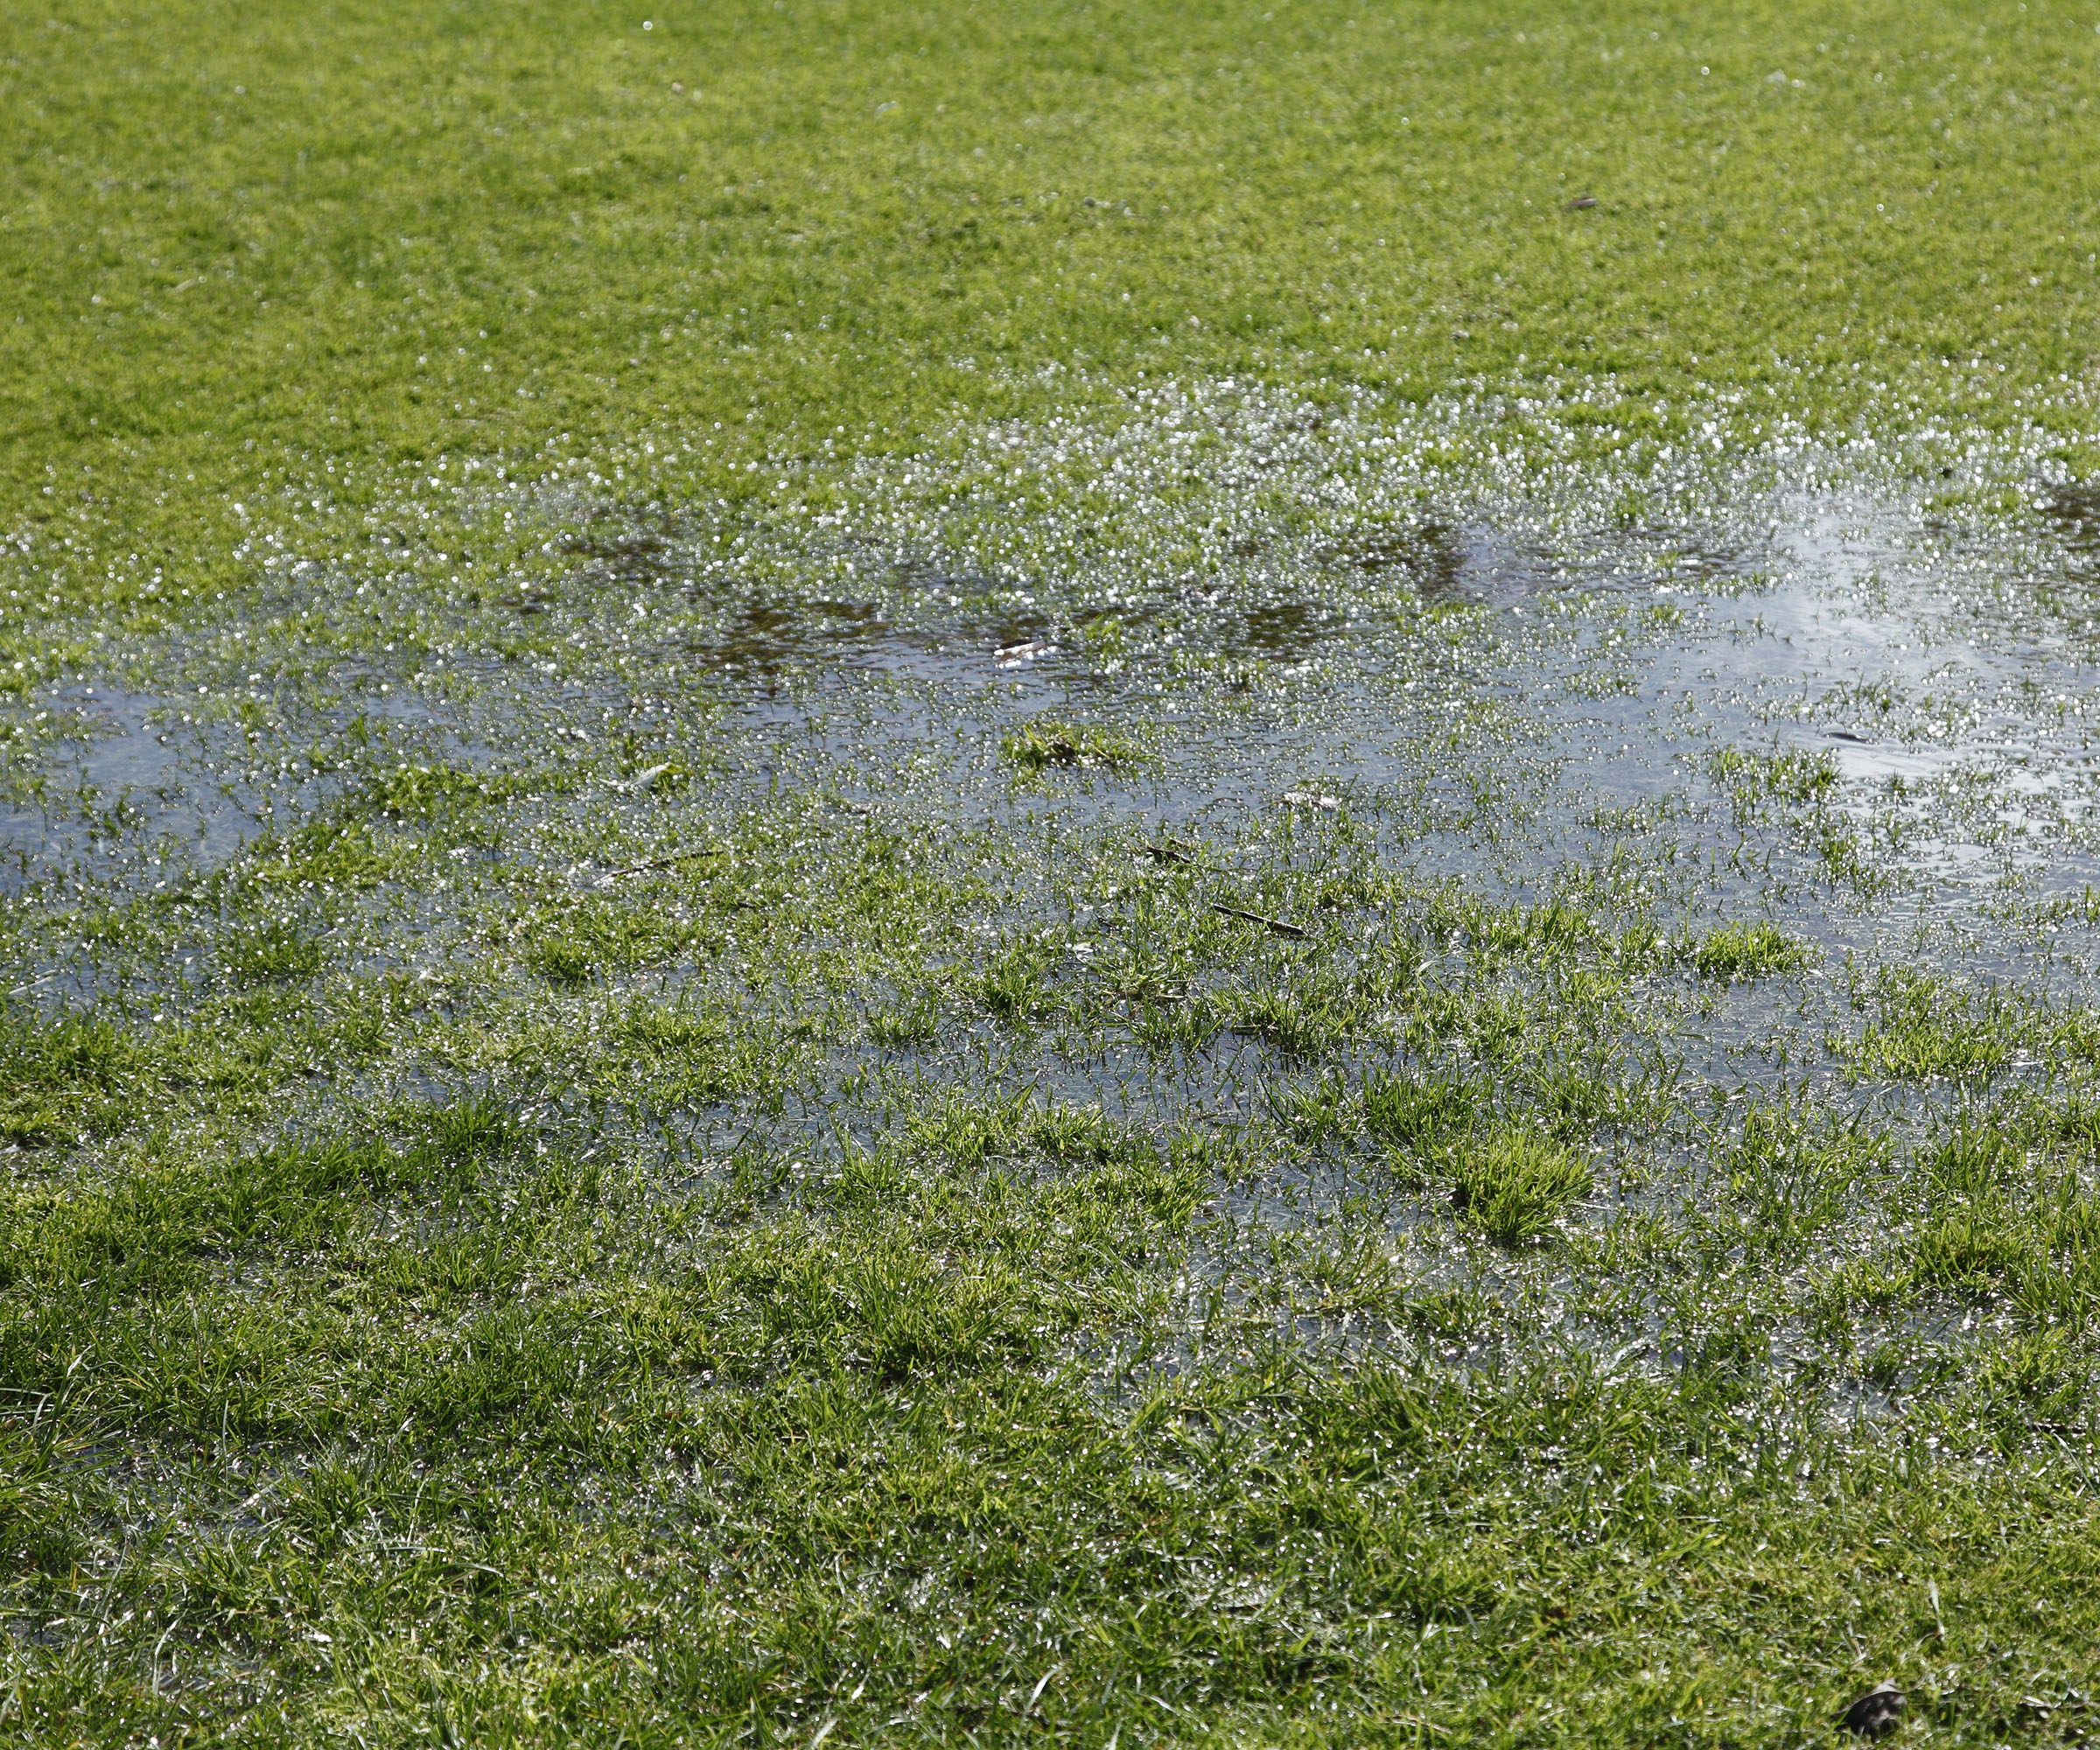
Adding a soakaway to your garden, or under your driveway, can potentially solve the problem of waterlogging and allow excess rainwater to drain naturally back into the ground.
How to build a soakaway: the basics
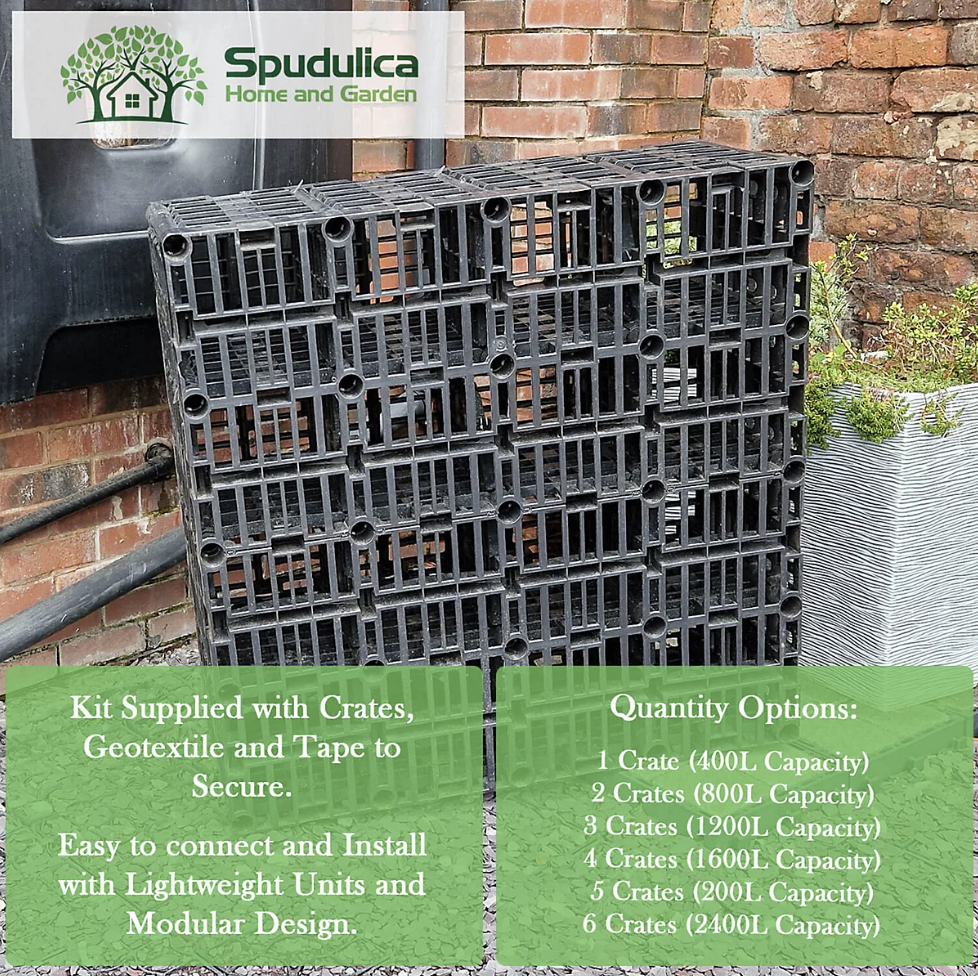
A soakaway is, in its most basic form, a hole dug into the ground, which is then filled with rubble or – more ideally these days – specialist soakaway crates. It gives surface water additional space to percolate back into the earth in a measured way.
Not to be confused with drainage fields, "traditionally, a soakaway is filled with loose rubble or coarse gravel, this allows the rainwater to slowly filter its way through the rubble and absorb into the ground at a slower rate, to prevent pooling water," says outdoor drainage expert Paul Smith, from BP Plastics.
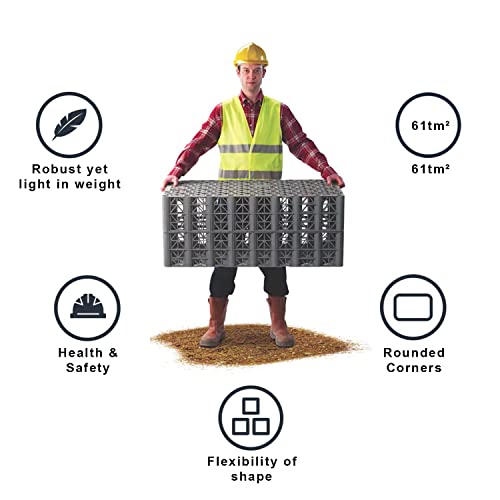
"However, more recently soakaway crates have been used. These are plastic crates that are placed underground in the hole that the rubble would typically fill. During periods of heavy rain the soakaway crates fill up and the water is released into the ground at a steady rate to prevent surface water build-up," explains Paul.
Tools and materials for building a soakaway
To build a soakaway you'll need to make sure you have the following tools and materials to hand. Or, rather than purchasing the materials separately, you may choose to purchase a kit which will have everything you need.
In general, you'll need the following:
- Shovel or mini digger
- Pea shingle
- Soakaway crates or rubble
- Silt trap
- Geotextile membrane
- Gravel (Try Soakaway Gravel Stone at Dandy's)
- Cable ties (if needed to attach crates together)
Shop soakaway kits online
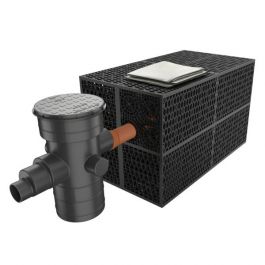
This crate kit comes with a silt trap, geotextile membrane and cable ties. Supposedly the assembly time is only 12 minutes. The crates are only 440mm deep yet they still have a 24-tonne vertical load capacity.
How to build a soakaway: a step-by step guide
1. Check if your soil is suitable for a soakaway
Before you start on how to build a soakaway it's crucial that you first determine whether it is in fact suitable for your property.
"Not all soils are suitable for a soakaway, so you should first carry out a soil percolation test before going any further," says Jess Thomas the Managing Director of Drainage Central.
"This test will measure the water absorption of the soil. Certain kinds of soil, such as heavy clay soil or silt, will not work for a soakaway as they are too dense for water to drain away quickly enough," explains Jess.

Managing Director of Drainage Central and a well-recognised expert in the drainage and plumbing industry, Jess is dedicated to helping homeowners find effective solutions to their drainage problems.
2. Find the perfect size and location
Your soakaway should be at the lowest point in the rainwater drainage system. "If the chosen site for the soakaway slopes towards your home, it will need to be placed at a greater distance away so that you do not risk damaging the foundations of your property," says Jess Thomas.
"A soakaway should be positioned at least 5 metres away from your property or a retaining wall. The soakaway site should also be clear of any underground services, including mains water pipes, gas pipes and comms cables. If you are unsure whether any of these are located underneath your property, check with a local planning officer."

3. Calculate how big your soakaway needs to be
The width and depth of the hole is determined by the size of the crates you will be using. Drainage Sales UK say: "The most common size of soakaway for residential use is 1 cubic metre, as this is what most Local Authorities seem to specify." They estimate, that a soakaway of this size is sufficient to drain a roof area of approximately 50 square metres under normal conditions.
This is backed up by CNC Building Control, who cite an effective way of calculating the size of a crate soakaway is: Volume = Roof area being drained x (50mm rainfall rate per hr/3000). For example, a 50m2 roof area would require a crate soakaway of 50m2x(50/3000) = 0.84m3.
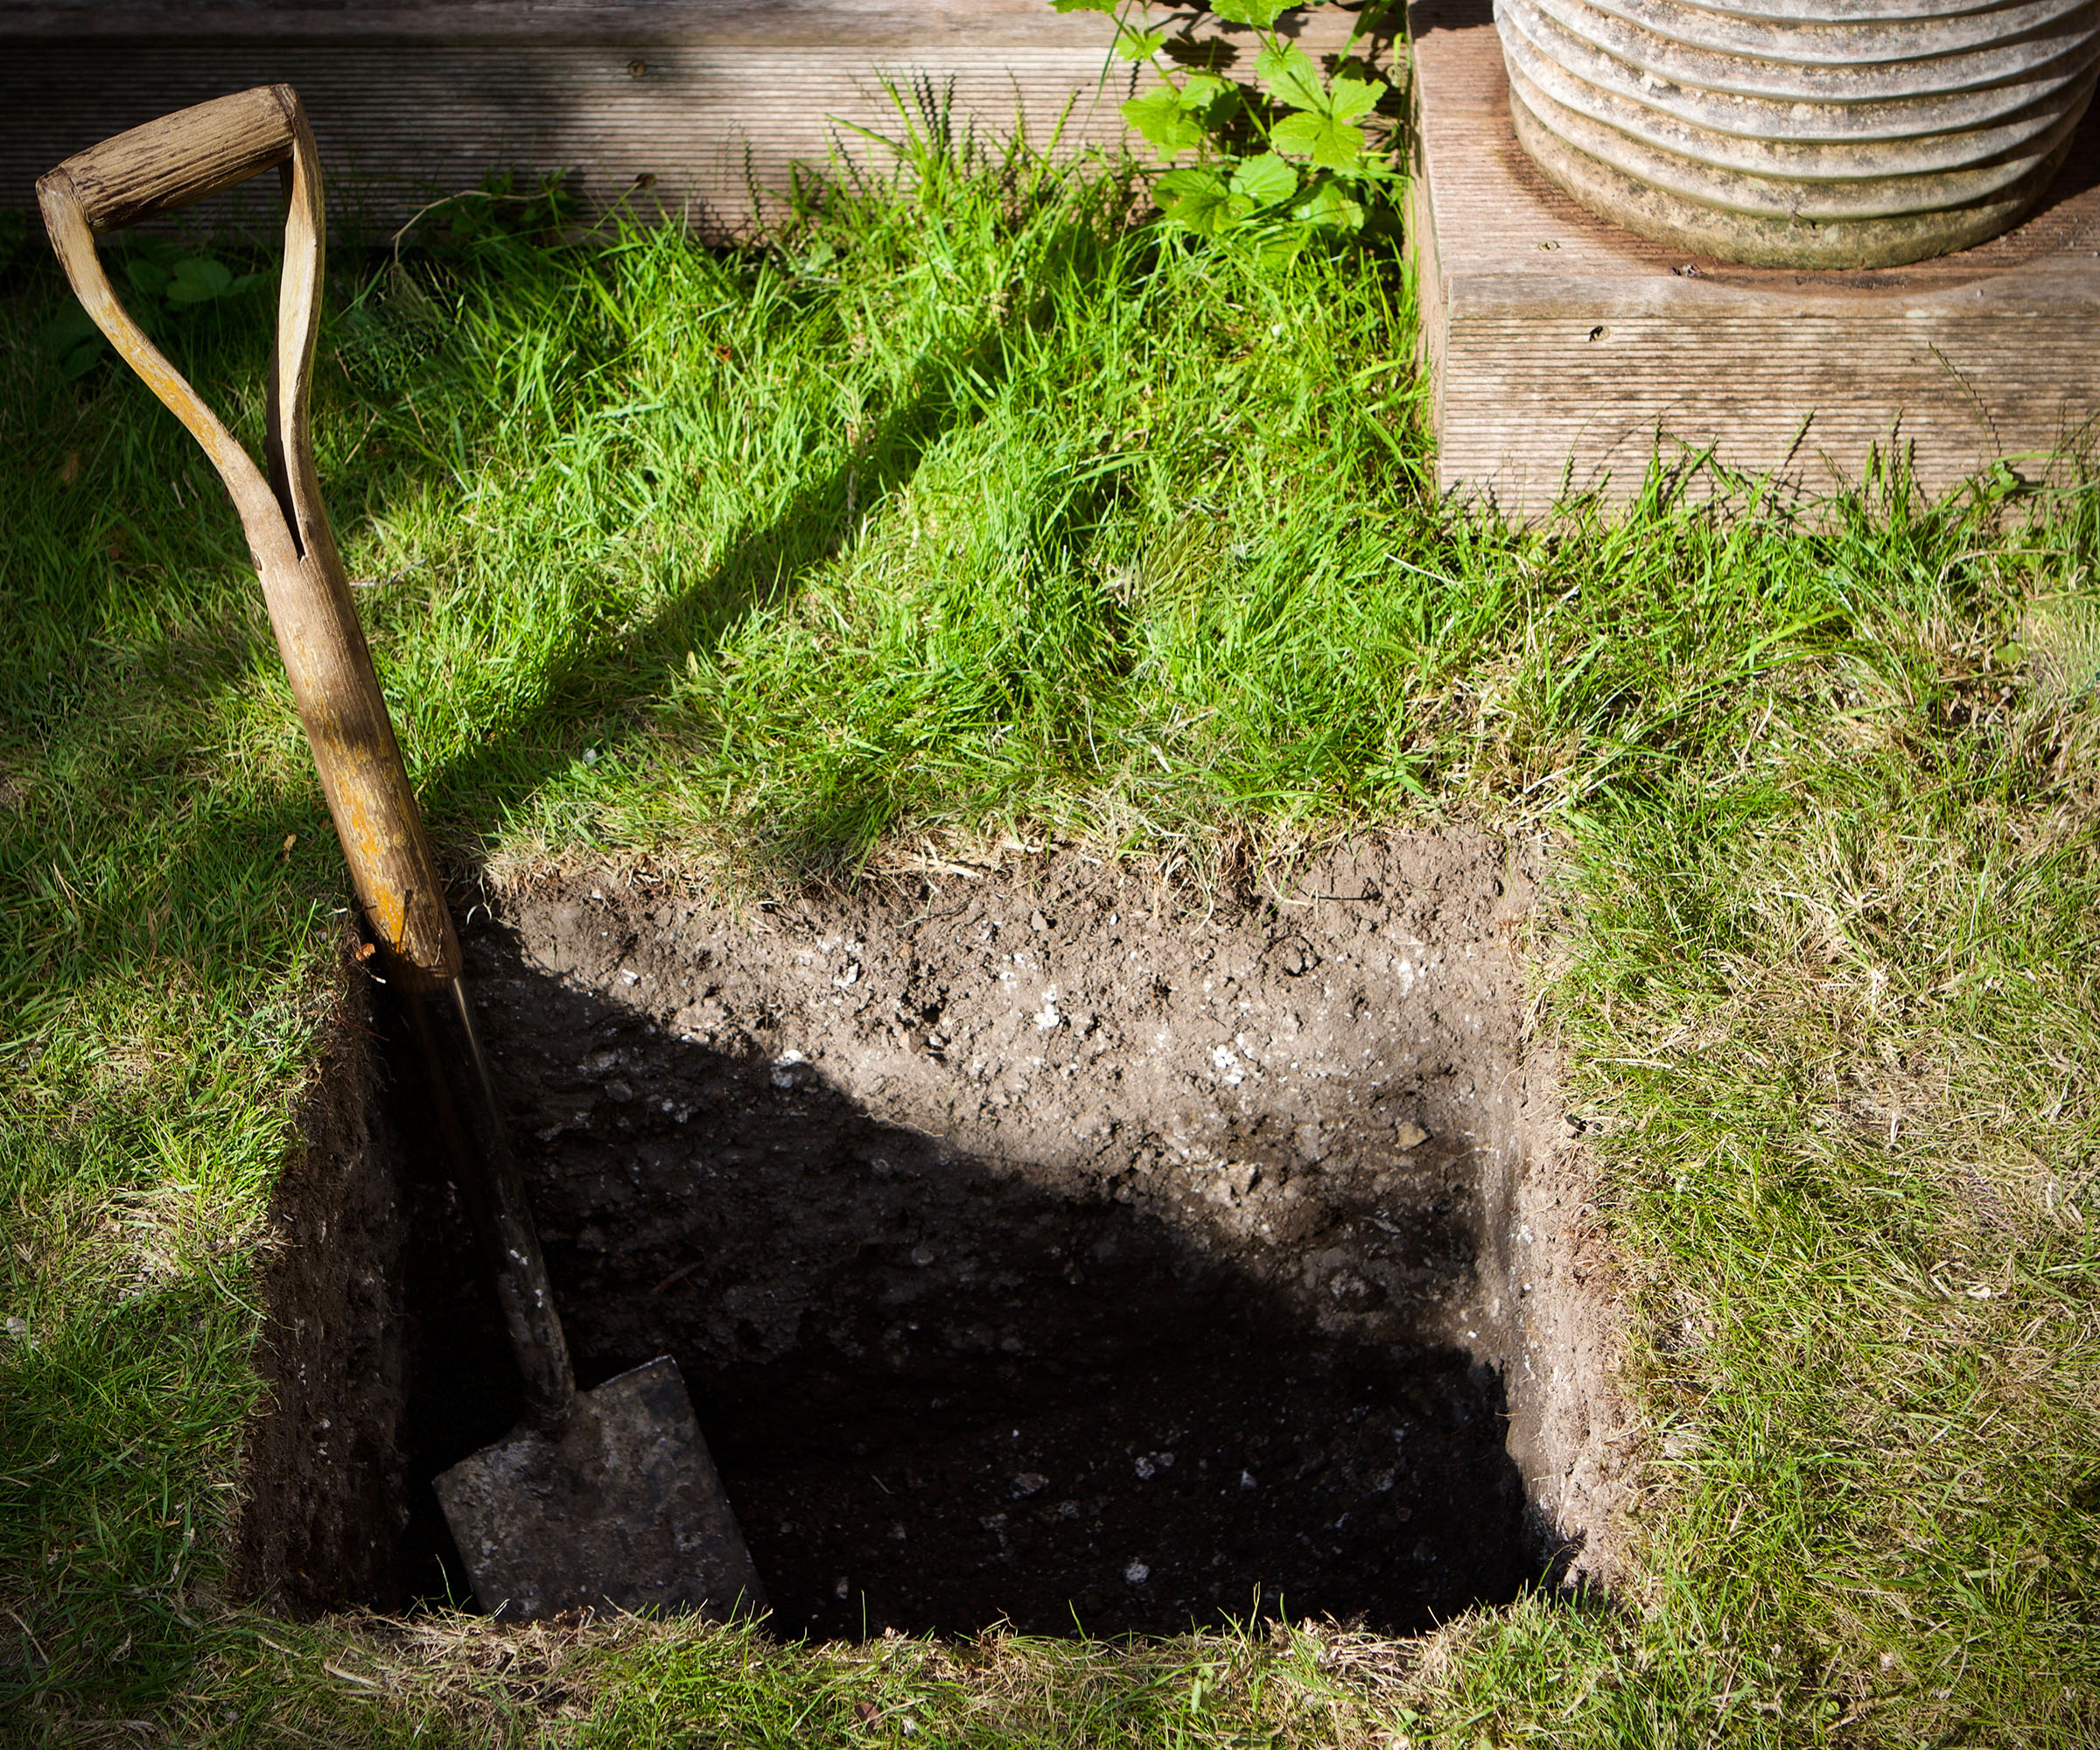
When calculating the size of the area that needs excavating, remember to allow extra width, length and depth for a base, side, and backfill. In addition, if it is under an area of traffic, such as a driveway, it will need to be deeper than if it is in an untouched area. For a driveway soakaway you may need to dig down at least 1.5m.
4. Dig out the soakaway site
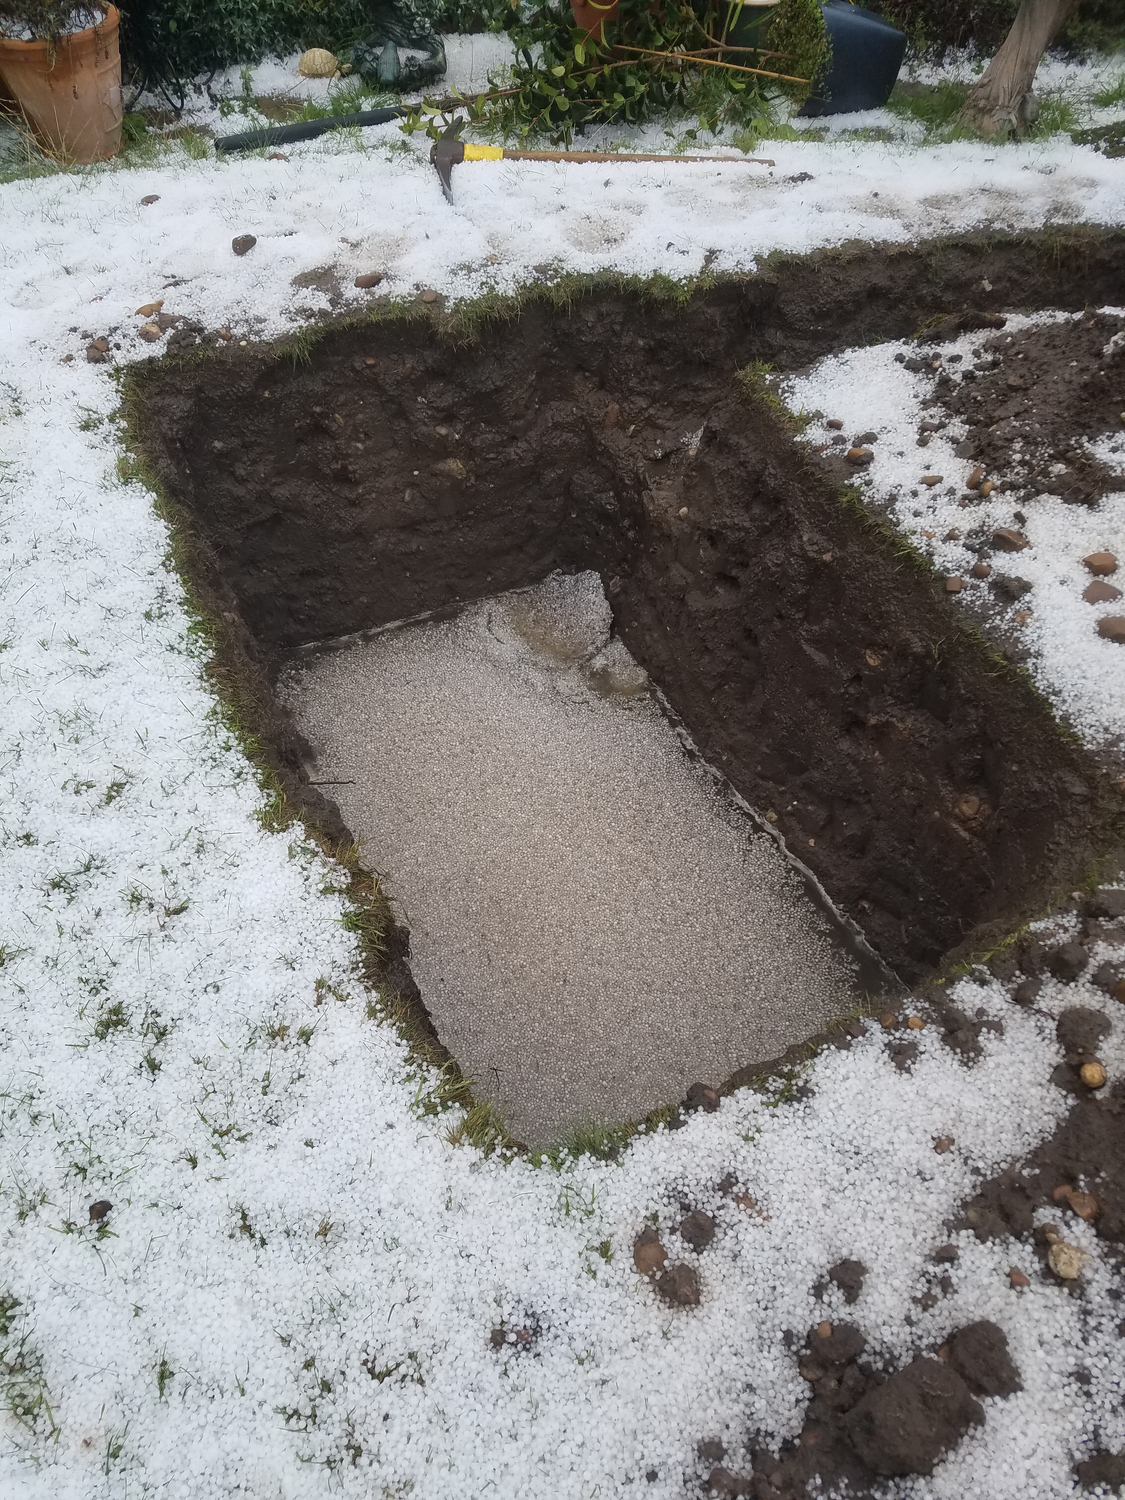
"Dig out a hole for your soakaway, with the size being dependent on the amount and type of crates that you will be using. You can excavate the area by hand, but it may be easier to hire a mini digger to save time and effort," says Jess Thomas.
"After you have dug out a hole for your soakaway, remove any stones, roots or other debris from the base of the hole. Try to level the base of the hole out as much as possible, and then add a layer of pea shingle. The layer of pea shingle should be levelled out and compacted, and check that it is thick enough for the crates to rest upon," he adds.
5. Install the crate system
Although a pre-filter i.e. a silt trap is not essential, Jess Thomas recommends using one to extend the lifespan of the soakaway and help it to stay efficient. "A silt trap can be installed before and above the soakaway crates, and this will trap debris and remove other dirt from the rainwater before it enters the crates and will stop your soakaway overflowing," she says.
"Before installing the soakaway crates, line the dug-out hole with a geotextile membrane. If this membrane is not fully wrapped around the soakaway, then silt can enter the system, potentially clogging it and reducing the amount of water storage inside," Jess adds.
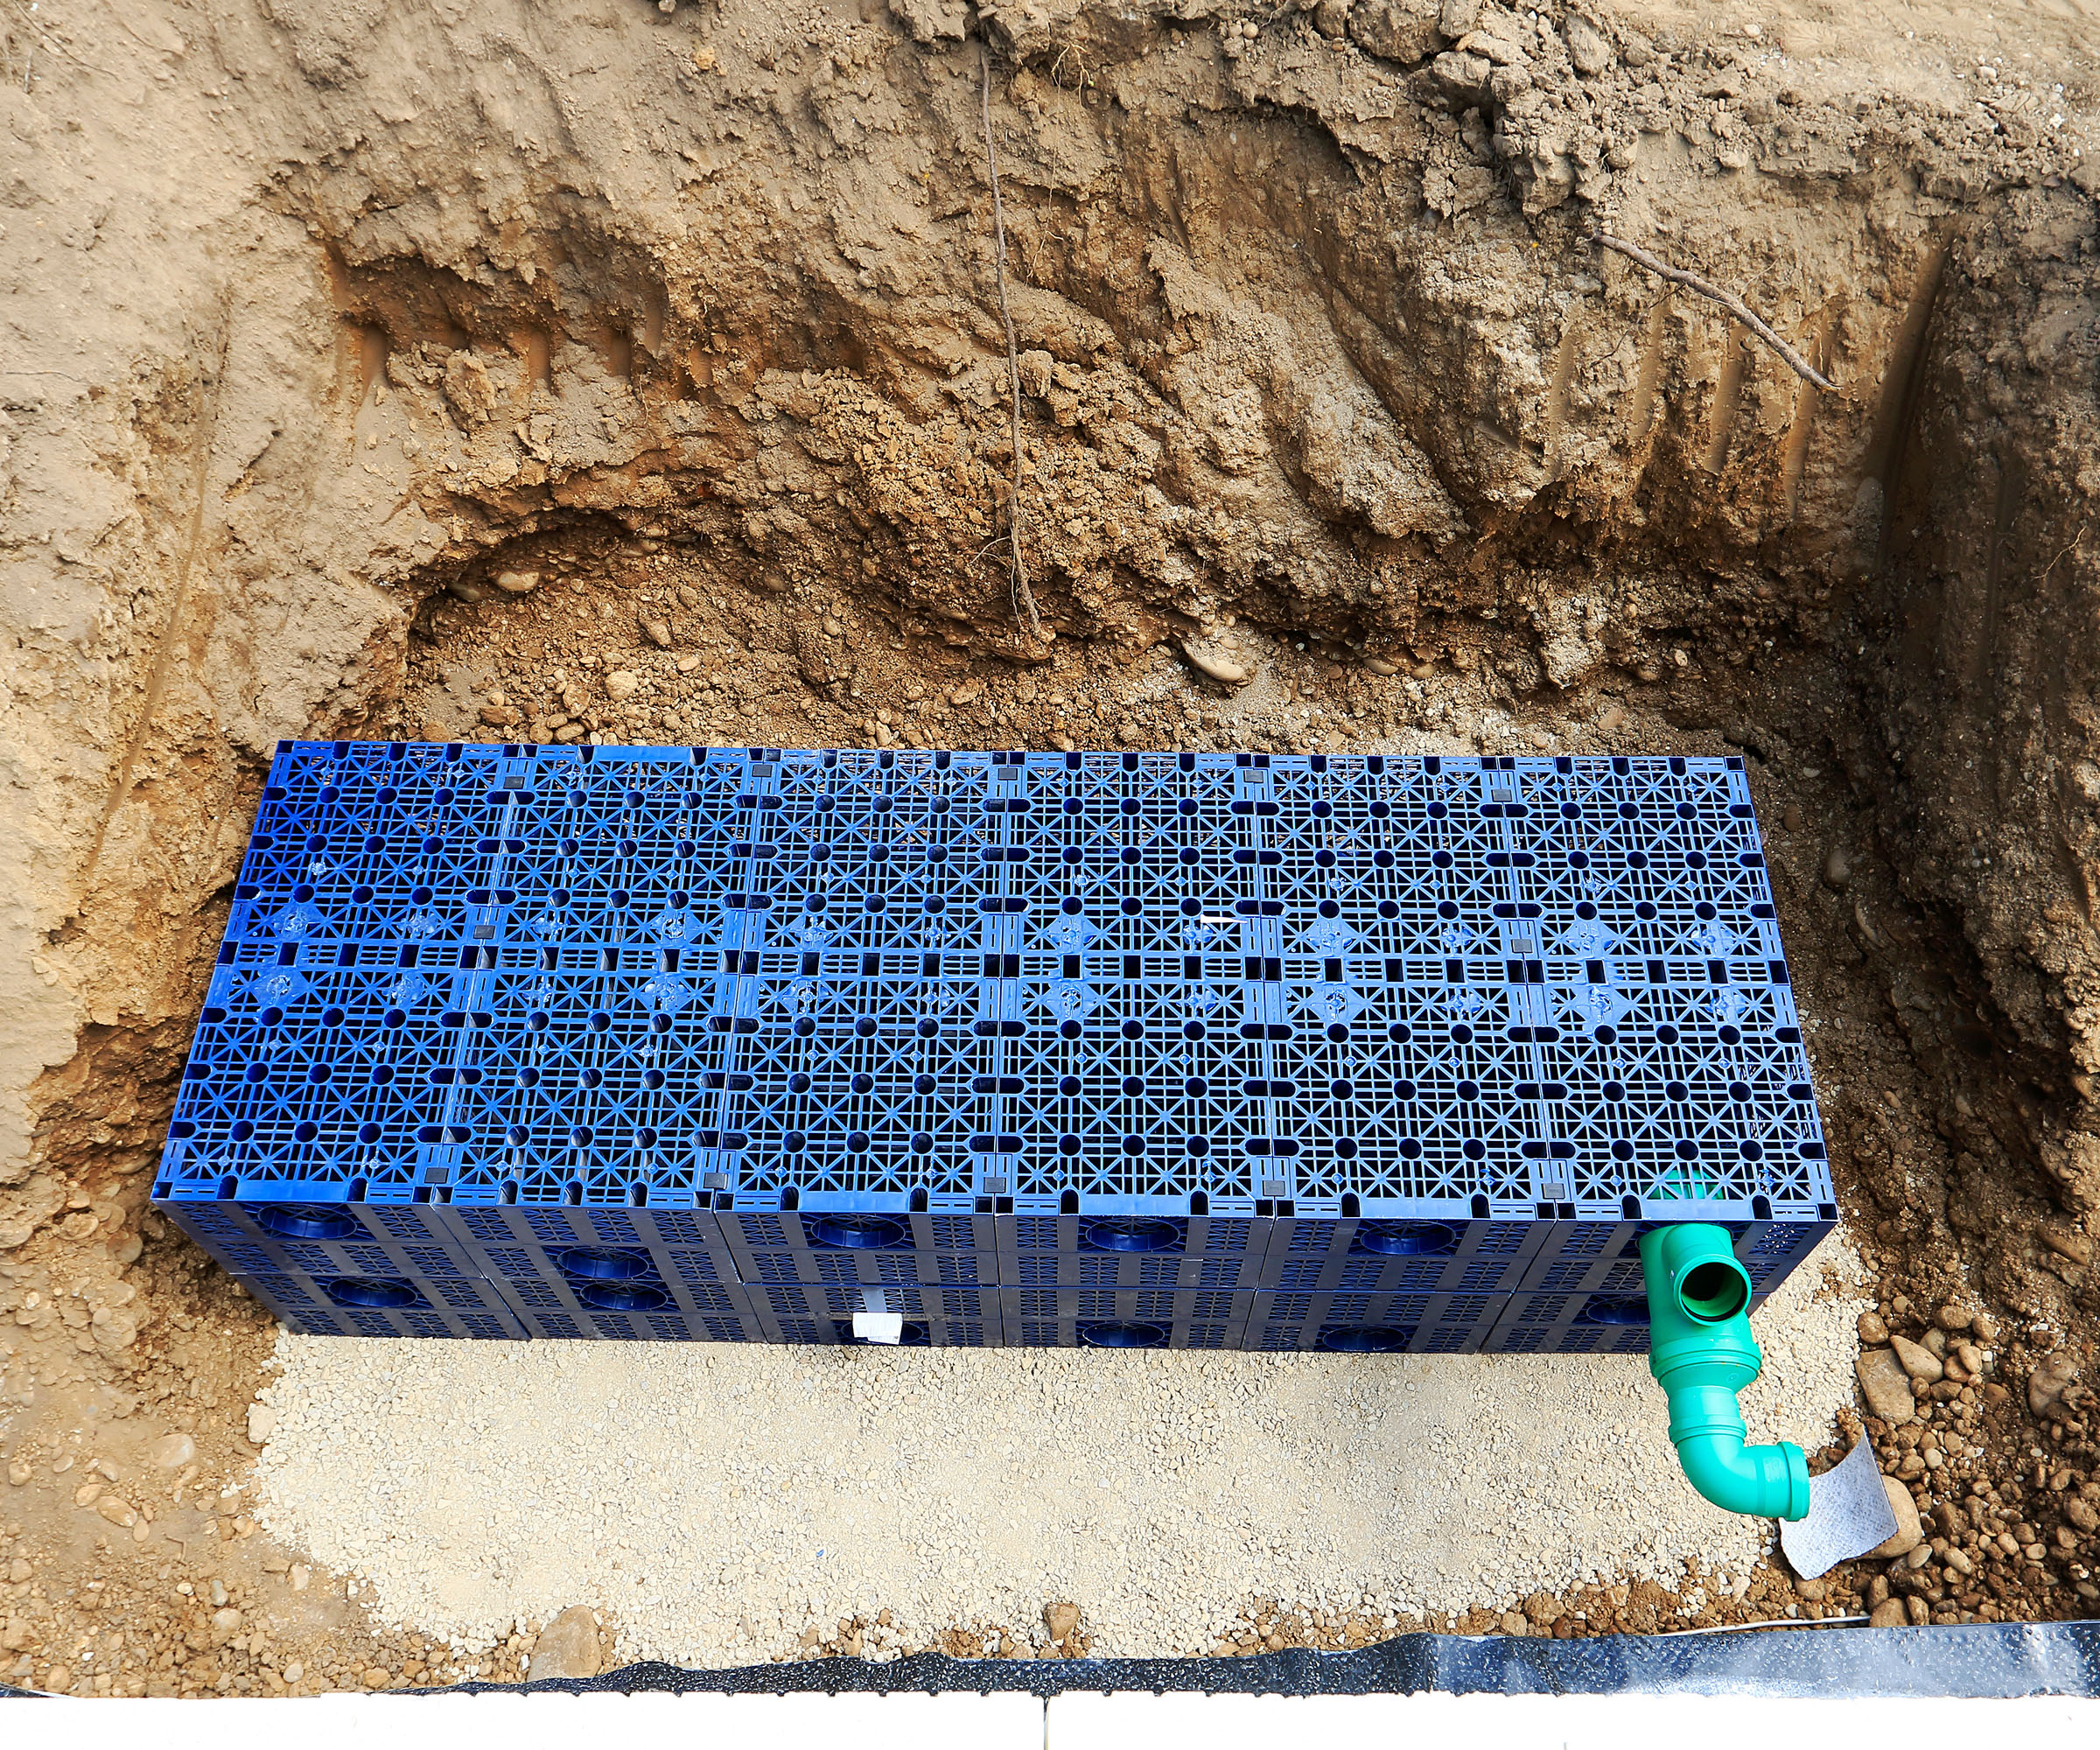
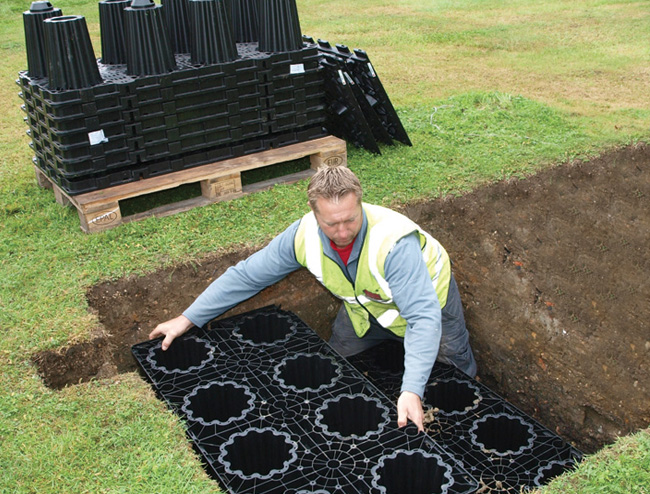
"Lower the crates into the hole. Some crates have clips that allow them to attach together, but you can also use cable ties to attach them until installing the side fill. Ensure that the geotextile membrane covers the outward faces of the crates, as well as the pipe entry point."
It's possible to buy tape for the membrane to keep it in place, or some soakaway kits come with this already included.
6. Connect any pipes if necessary
Some crates can have knockouts or cutouts that can be used as entry points for pipes, but others may not have anything and the pipe instead runs across the top or wall of the crates.
Jess Thomas explains: "If you are using only one pipe, turn the other crates so that the pipe entry areas face into the soakaway and the geotextile membrane will not sag around them."
"Hold the pipe against the entry point, draw around this and mark the centre. You can then cut the membrane and fold it back so that the pipe can be pushed in. Fasten any excess membrane around the pipe securely."
7. Fill your soakaway pit
Whether you’re using crates or stones for your soakaway pit, be careful not to spill soil inside your geotextile lining as it won’t work effectively.
"Add a pea shingle side fill around the soakaway structure, as this will stop the structure from moving around if the ground is disturbed. After the side fill is in place, add a layer of pea shingle over the top of the crates, and then top this with a layer of soil," advises Jess Thomas.
The soil layer should be roughly 4cm thick but check what is recommended by the crate manufacturer. "If you are installing a soakaway on a driveway, you may need to increase the soil layer thickness," he notes.
FAQs
Is a soakaway right for me?
Before putting in a soakaway you need to carry out percolation tests. According to architect, Adil Haji, this should be done in accordance with BRE Digest 365 to see if the ground is suitable for infiltration as a viable drainage solution.
"This is typically done by filling a trial hole with water and seeing at what rate it is dropping. This is usually carried out as part of the Site Investigation Report at the start of a build. Generally granular soils are suitable i.e. gravel/sands (anything with natural voids), anything cohesive i.e. clay isn’t," says Adil.

Adil is an architect and SAP assessor at the building company HJK Construction.
How much does it cost to build a soakaway?
Building a soakaway can vary in cost depending on a few separate factors. Paul Smith explains that you will typically be looking at a cost of around £800 at minimum to £2,000 maximum.
"Firstly, it obviously depends on the size of your soakaway, as the larger the soakaway the more it will cost for both materials and labour," says Paul.
"Secondly, if you are looking to build a soakaway under a driveway or paved area this will be more expensive as it requires the removal and replacement of the paving. In addition, this will also extend the time taken to install the soakaway which leads to higher labour costs."
If however you're building a house from scratch, and need more than just a soakaway, take a look at our comprehensive guide on how to install mains drainage and services.
Get the Homebuilding & Renovating Newsletter
Bring your dream home to life with expert advice, how to guides and design inspiration. Sign up for our newsletter and get two free tickets to a Homebuilding & Renovating Show near you.

Teresa was part of a team that launched Easy Gardens in 2018 and worked as the Editor on this magazine. She has extensive experience writing and editing content on gardens and landscaping on brands such as Homes & Gardens, Country Homes & Interiors and Living Etc magazine. She has developed close working relationships with top landscape architects and leading industry experts, and has been exposed to an array of rich content and expertise.
In 2020 Teresa bought her first home. She and her partner worked alongside architects and builders to transform the downstairs area of her two bedroom Victorian house in north London into a usable space for her family. Along the way she learned the stresses, woes and joys of home renovation, and is now looking to her next project, landscaping the back garden.
