How to build a rockery and create a stunning low-maintenance focal point in your garden
Landscape experts lend their advice on how to create a rockery
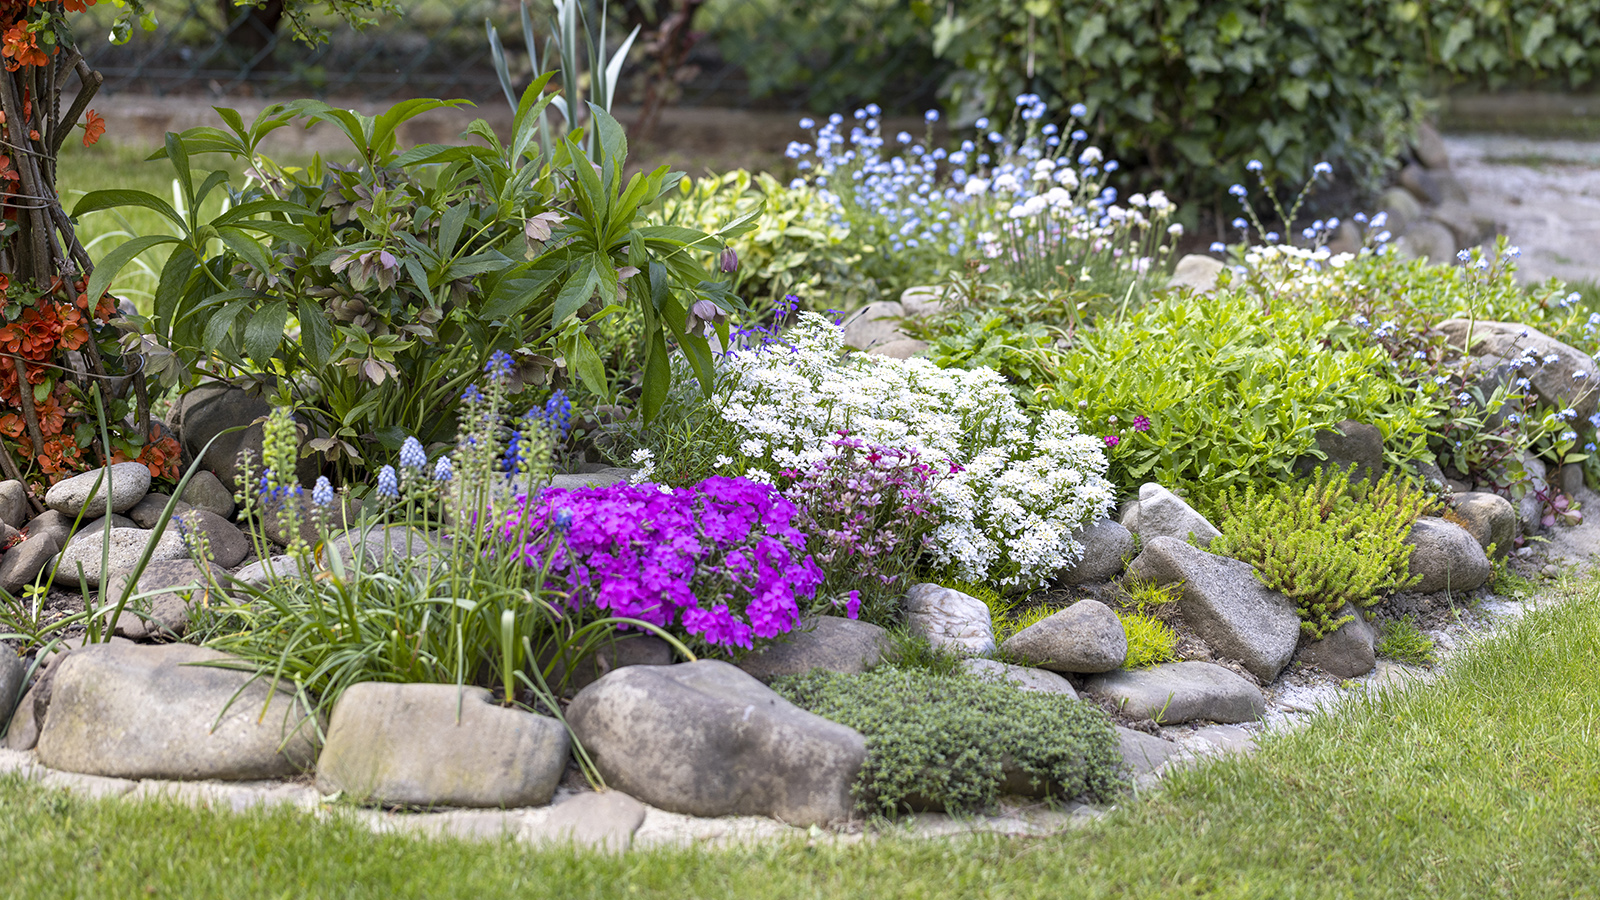
There are many benefits to learning how to build a rockery in your garden. They make a great low-maintenance focal point in landscapes of varying sizes, by adding height, structure and alpine planting.
Rockeries can be built on top of areas in garden landscaping which have previously been troublesome to cultivate, for example, on an area of heavy clay.
“Often, rockeries are paired with small alpines planted to emerge from within the cracks and crevices, with gravel or small stones surrounding foliage. They are also incredibly low maintenance," says garden designer Melanie Hick.
"Alpine plants are drought-resistant and therefore require little watering, making them a great choice for hot summers, while the addition of gravel allows rainwater from heavy downpours to soak away into the soil easily, rather than running off and causing floods," she says.
How to build a rockery – step by step
“A rockery can be as small or as large as you like, making it an ideal way to create a striking feature in a garden design, whether you have a large bed or border to play with or small corner of a garden," says Melanie Hick.

Melanie Hick will design a show garden at the prestigious RHS Hampton Court Flower Show 2024. The “Climate-Forward Garden” will embody the core principles of MHGD, depicting a front garden re-imagined for today’s ever-changing climate.
1. Find the right location and prep the site
"The first step when building a rockery is to find the right location. This means a site with lots of sun exposure and good drainage," explains garden expert at MyJobQuote Fiona Jenkins.
"It should also be away from overhanging trees or shrubs so as not to be too shaded. The location should also not be prone to waterlogged soil."
"Clear away all weeds and grass, which have the potential to undermine the structure of your rockery and may interfere with your new plants," says Fiona.
2. Plan the layout of your rockery
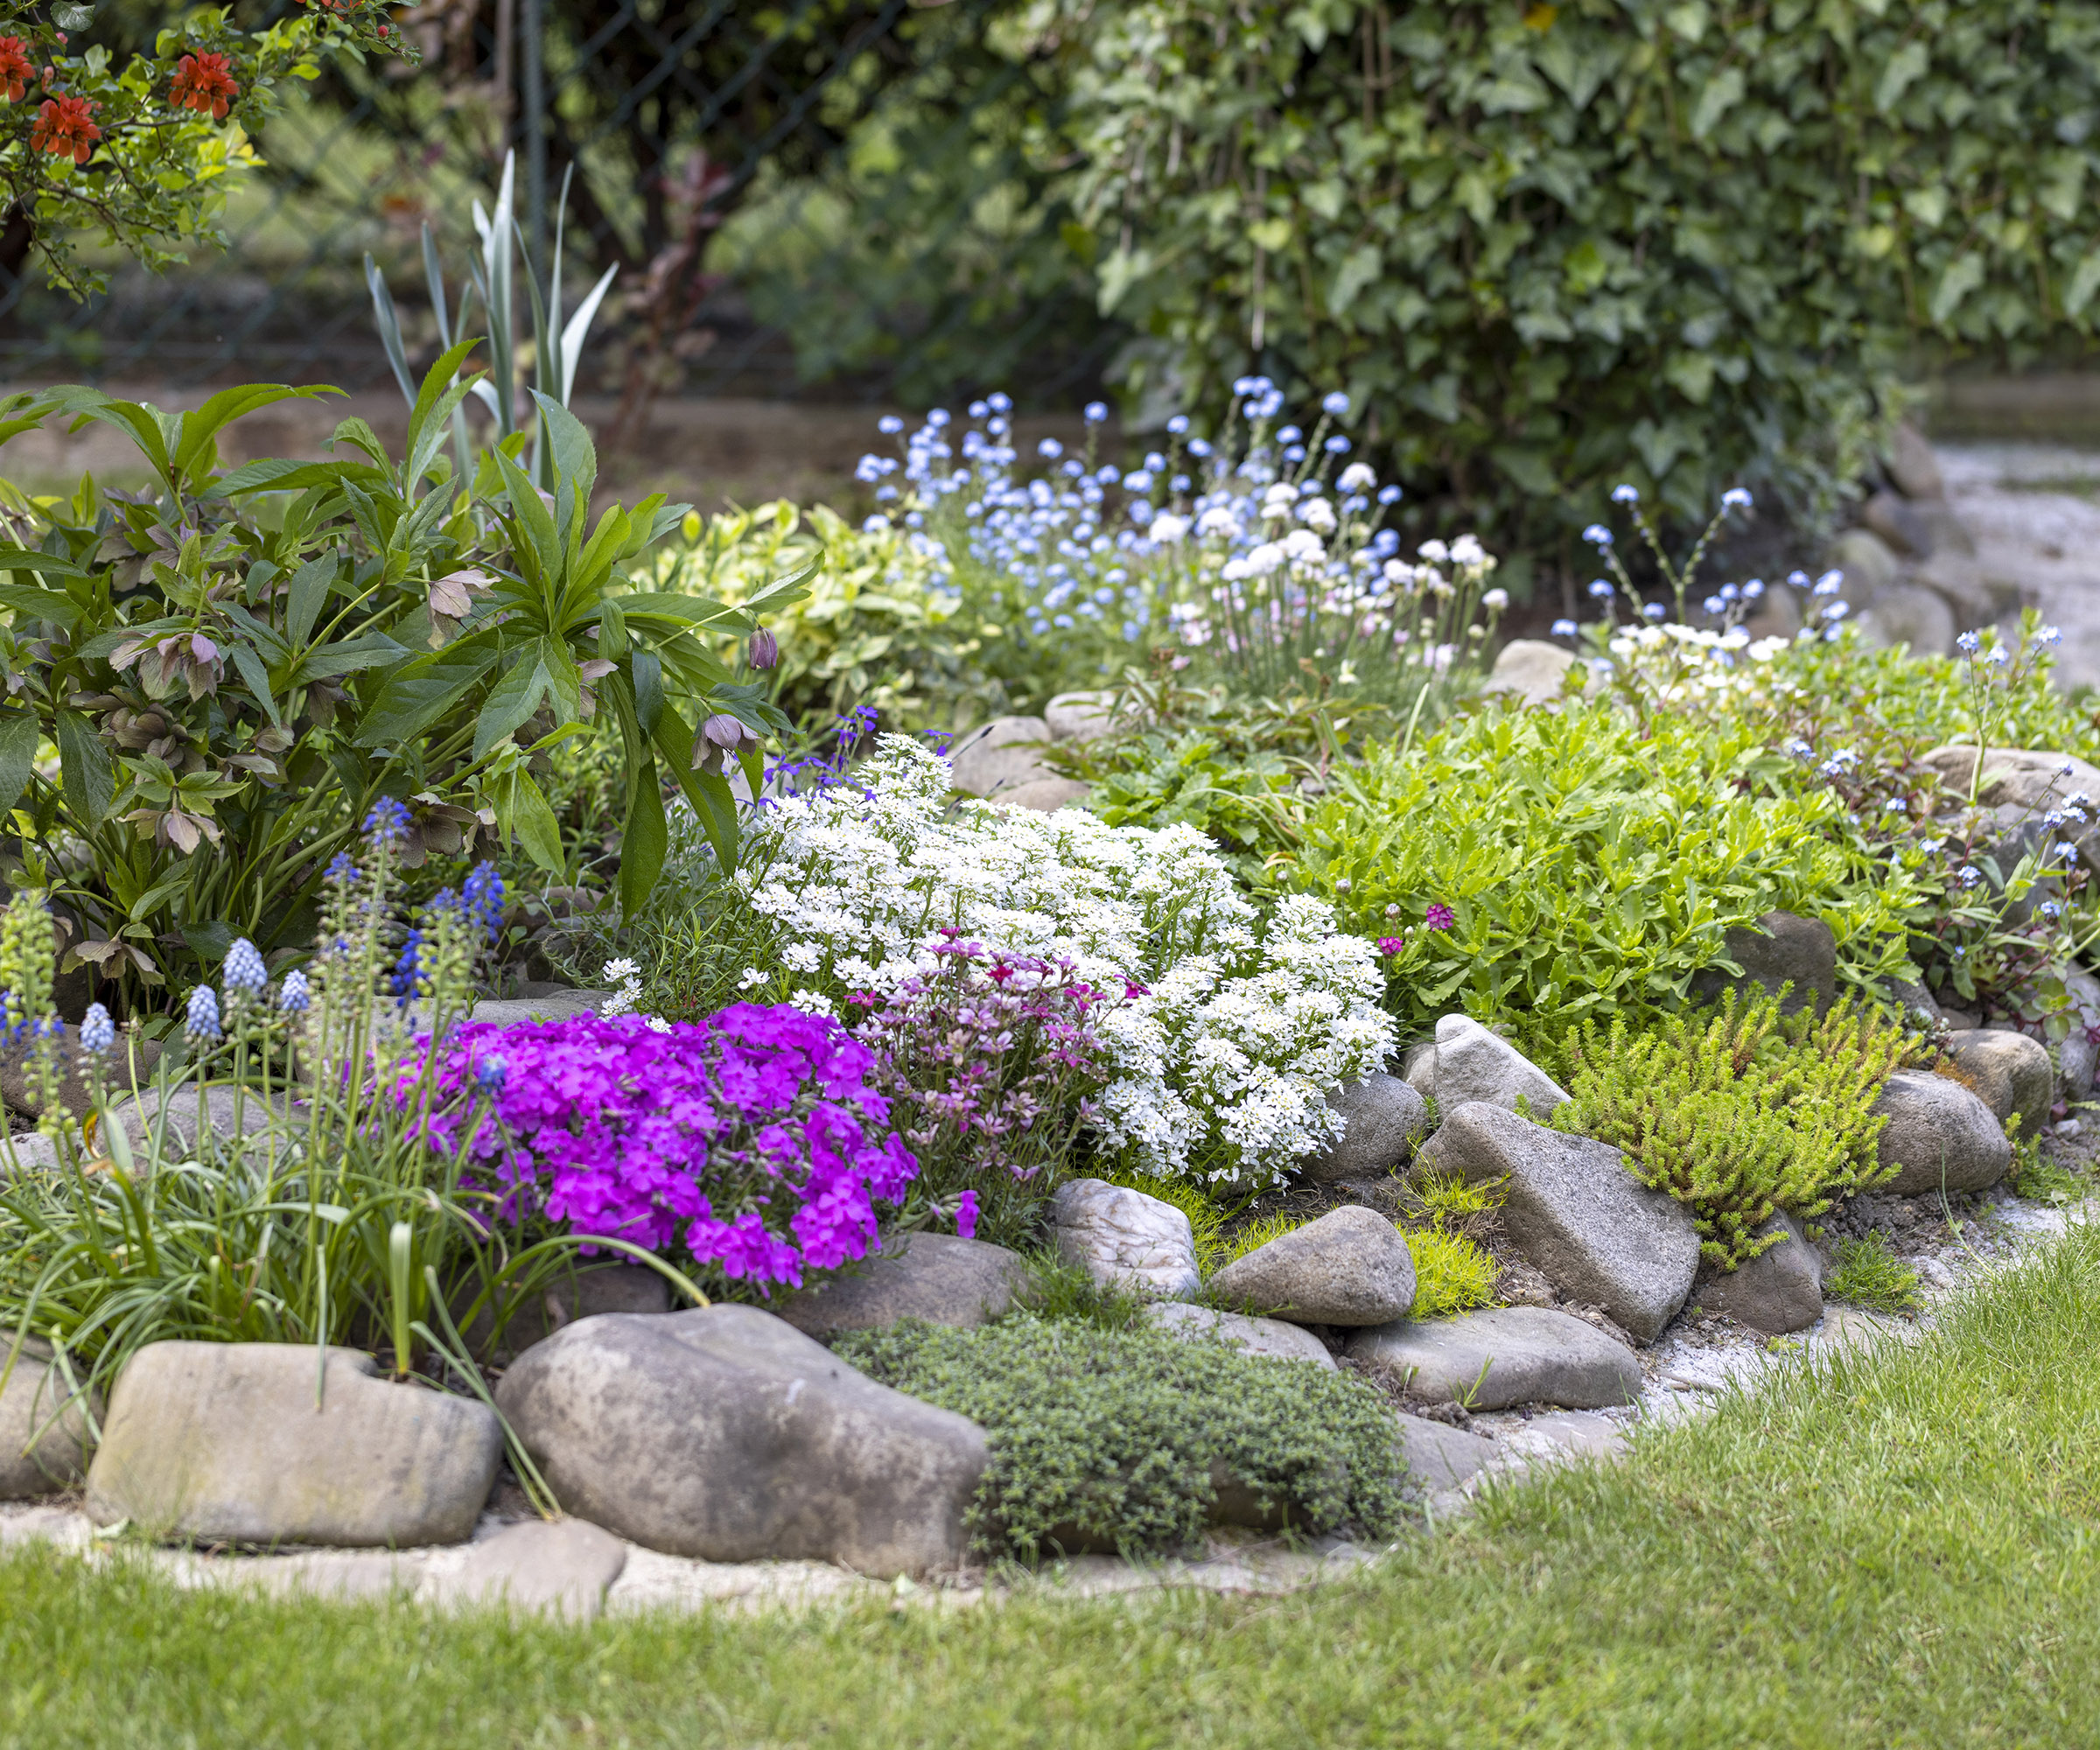
"Next, you need to design and plan the rockery. Sketch out your plan on paper or digitally and then use a bottle filled with dry sand or fluorescent builder’s spray to mark out the area," says Fiona.
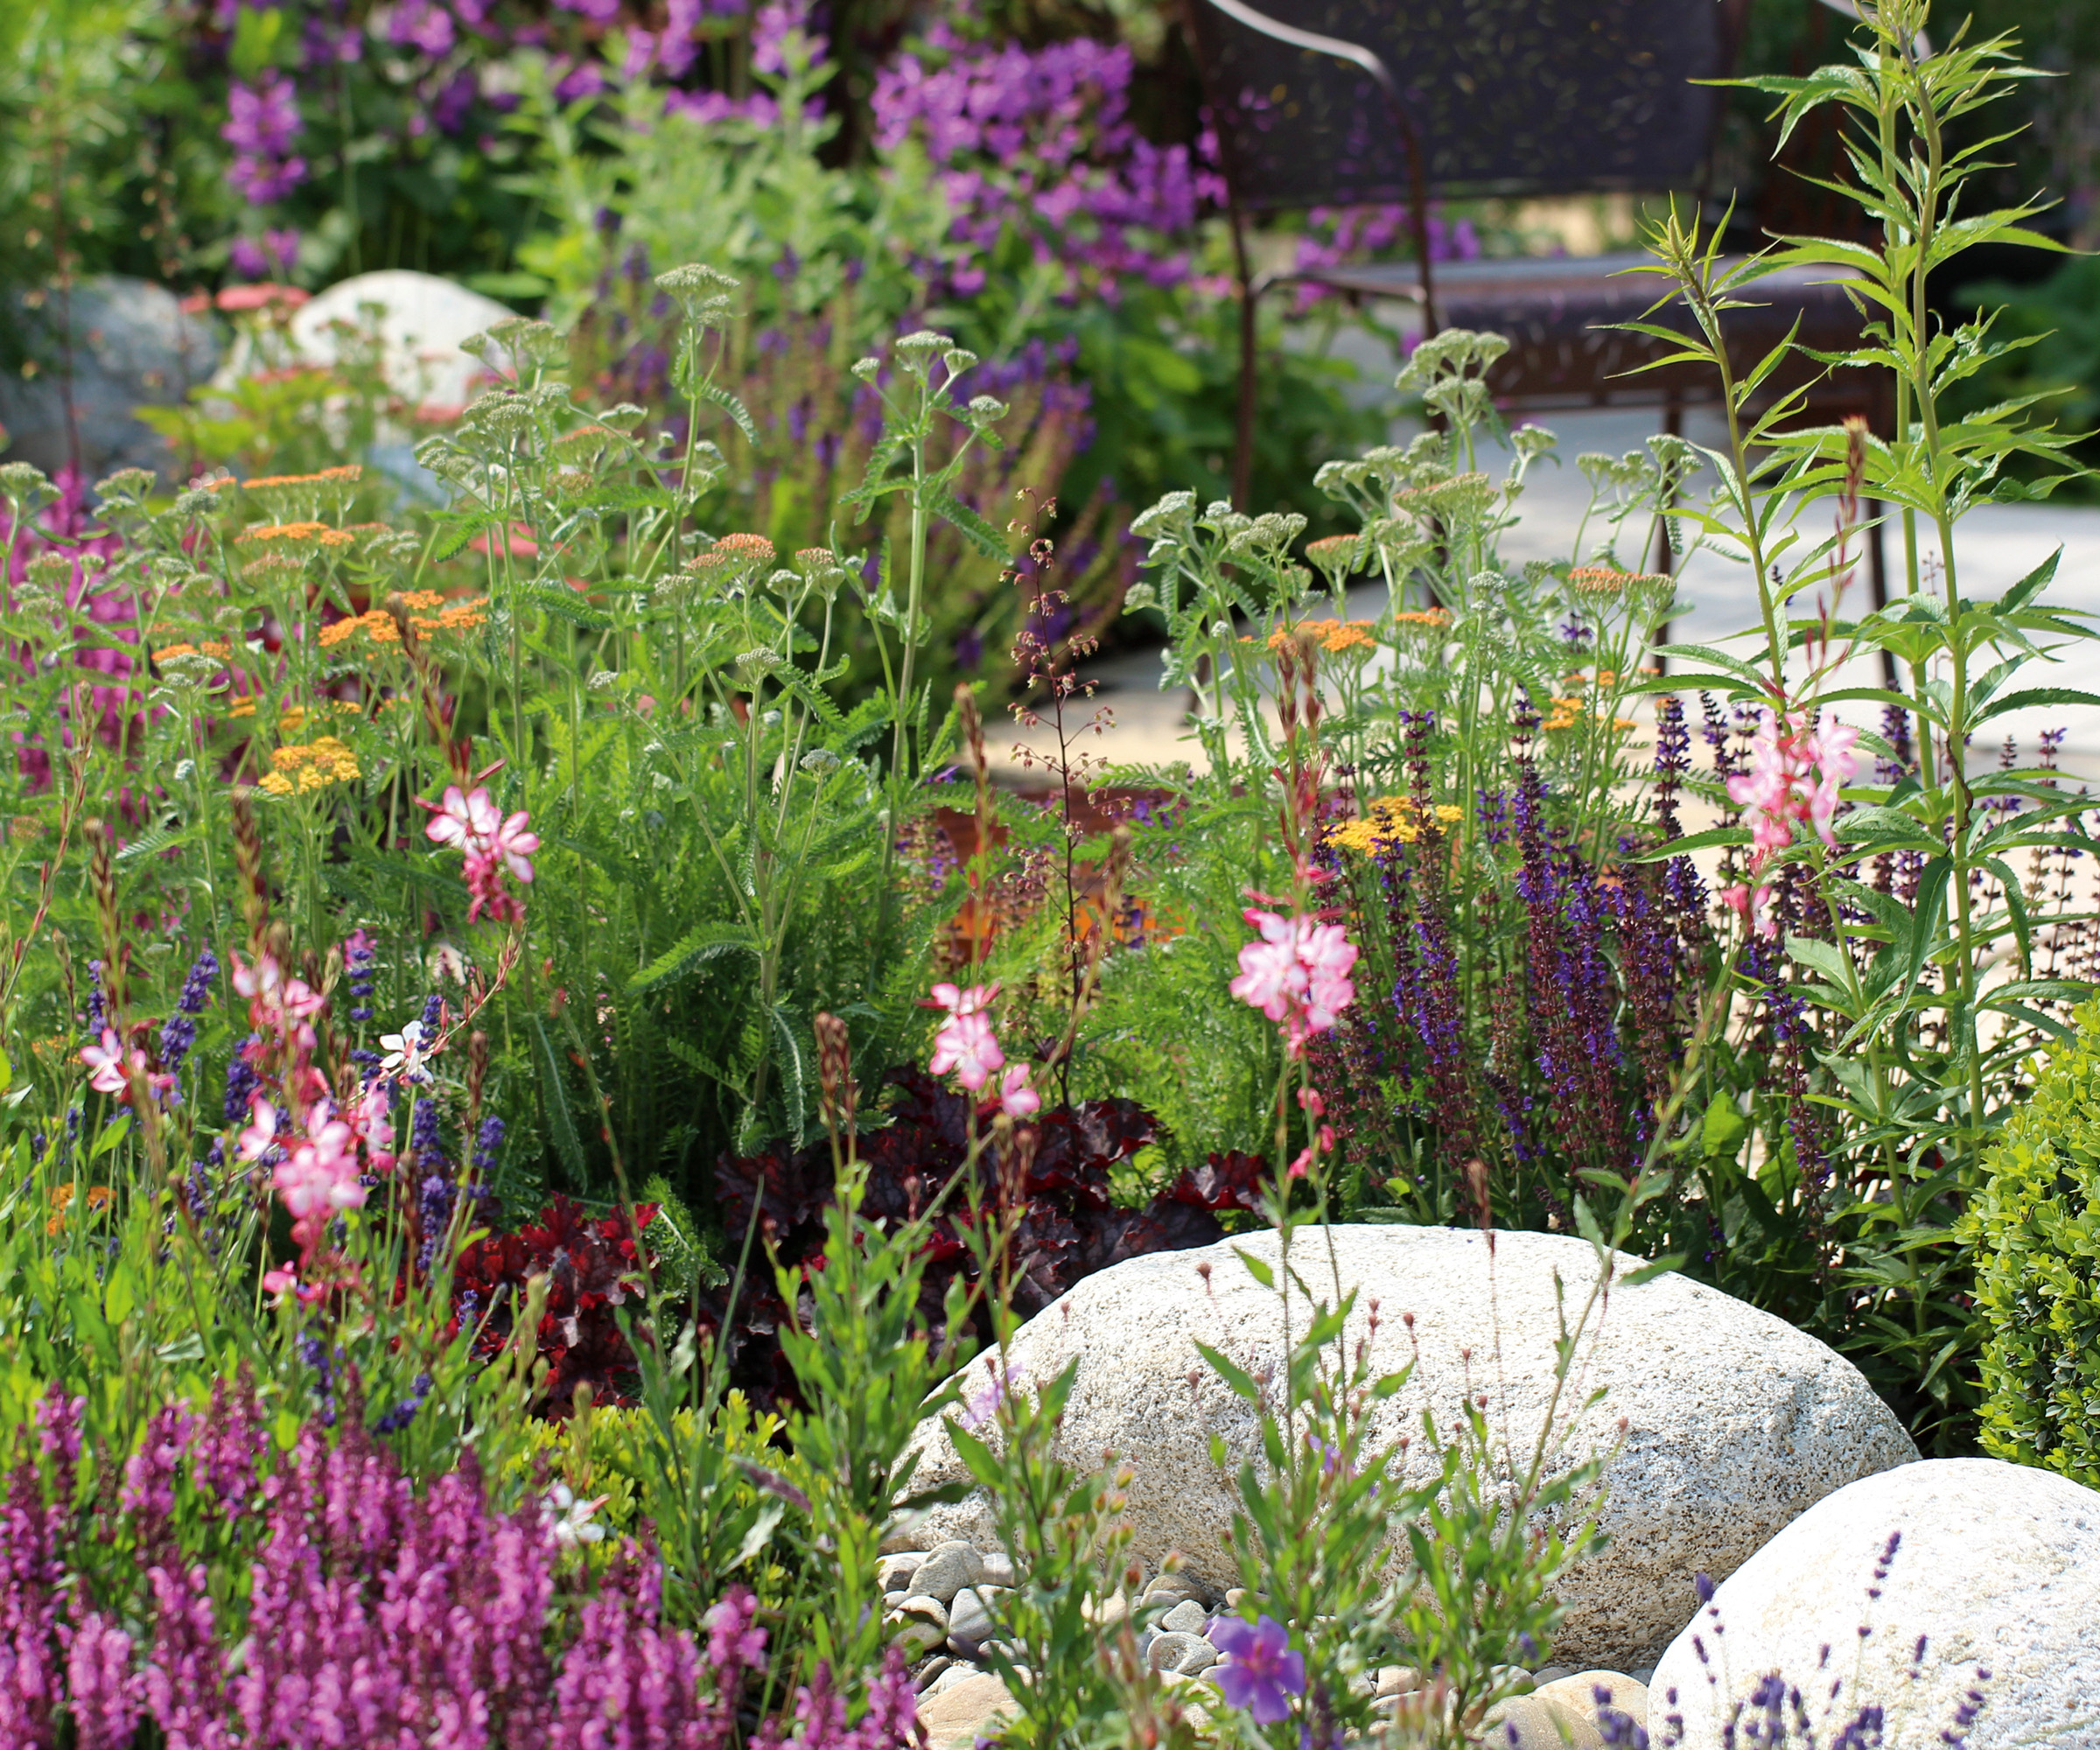
An alternative way to map out your rockery, aside from pen and paper is by physically placing your rocks. "Position larger pieces toward the back of the space and use smaller pieces to surround the arrangement and fill in any gaps between the bigger rocks," advises garden designer Melanie Hick.
3. Source your rocks and plants
You'll need some large and medium rocks as well as gravel or pebbles for mulching. "Try to choose locally sourced stone for a more natural look and to blend with your surroundings," says Fiona. Try Lumbshill Rockery 250mm at Chessington Garden Centres.
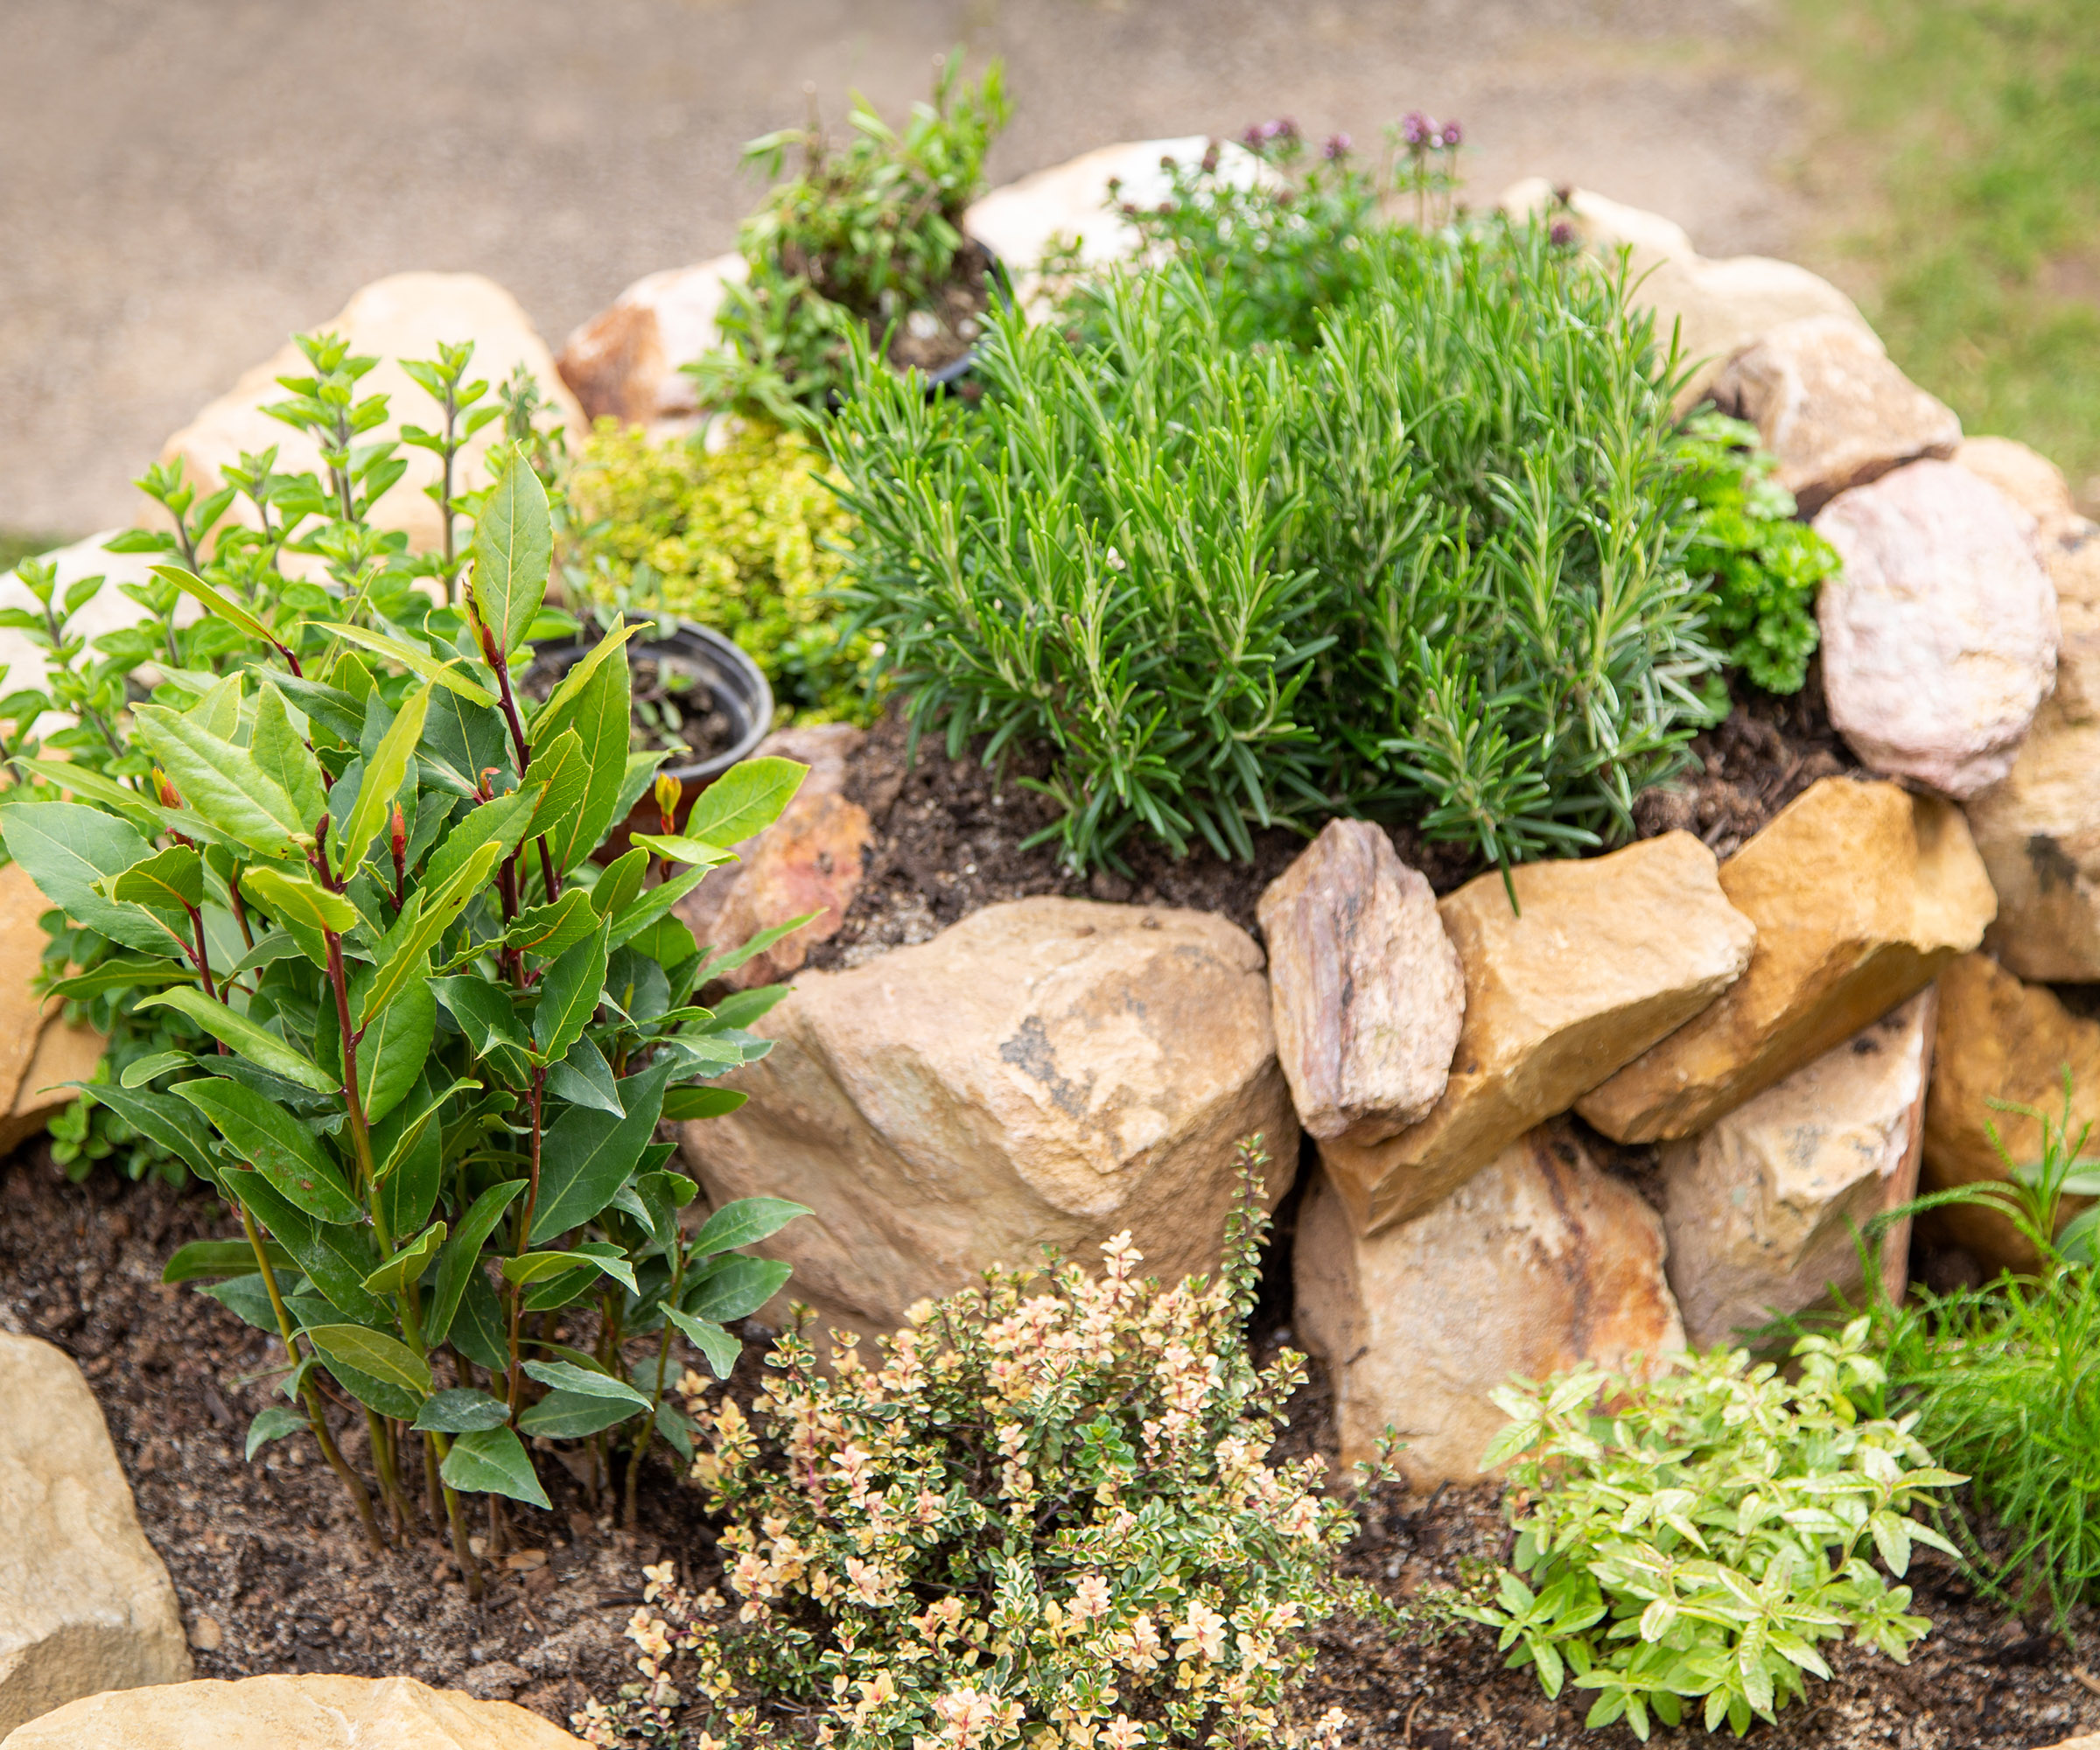
When it comes to choosing plants for a rockery Melanie Hick suggests Alpine plants. "These are typically small varieties that produce lots of little flowers and are usually found in areas of high altitude, making them naturally hardy and low maintenance, perfect for the changing climate we are experiencing both here in the UK and globally," says Melanie.
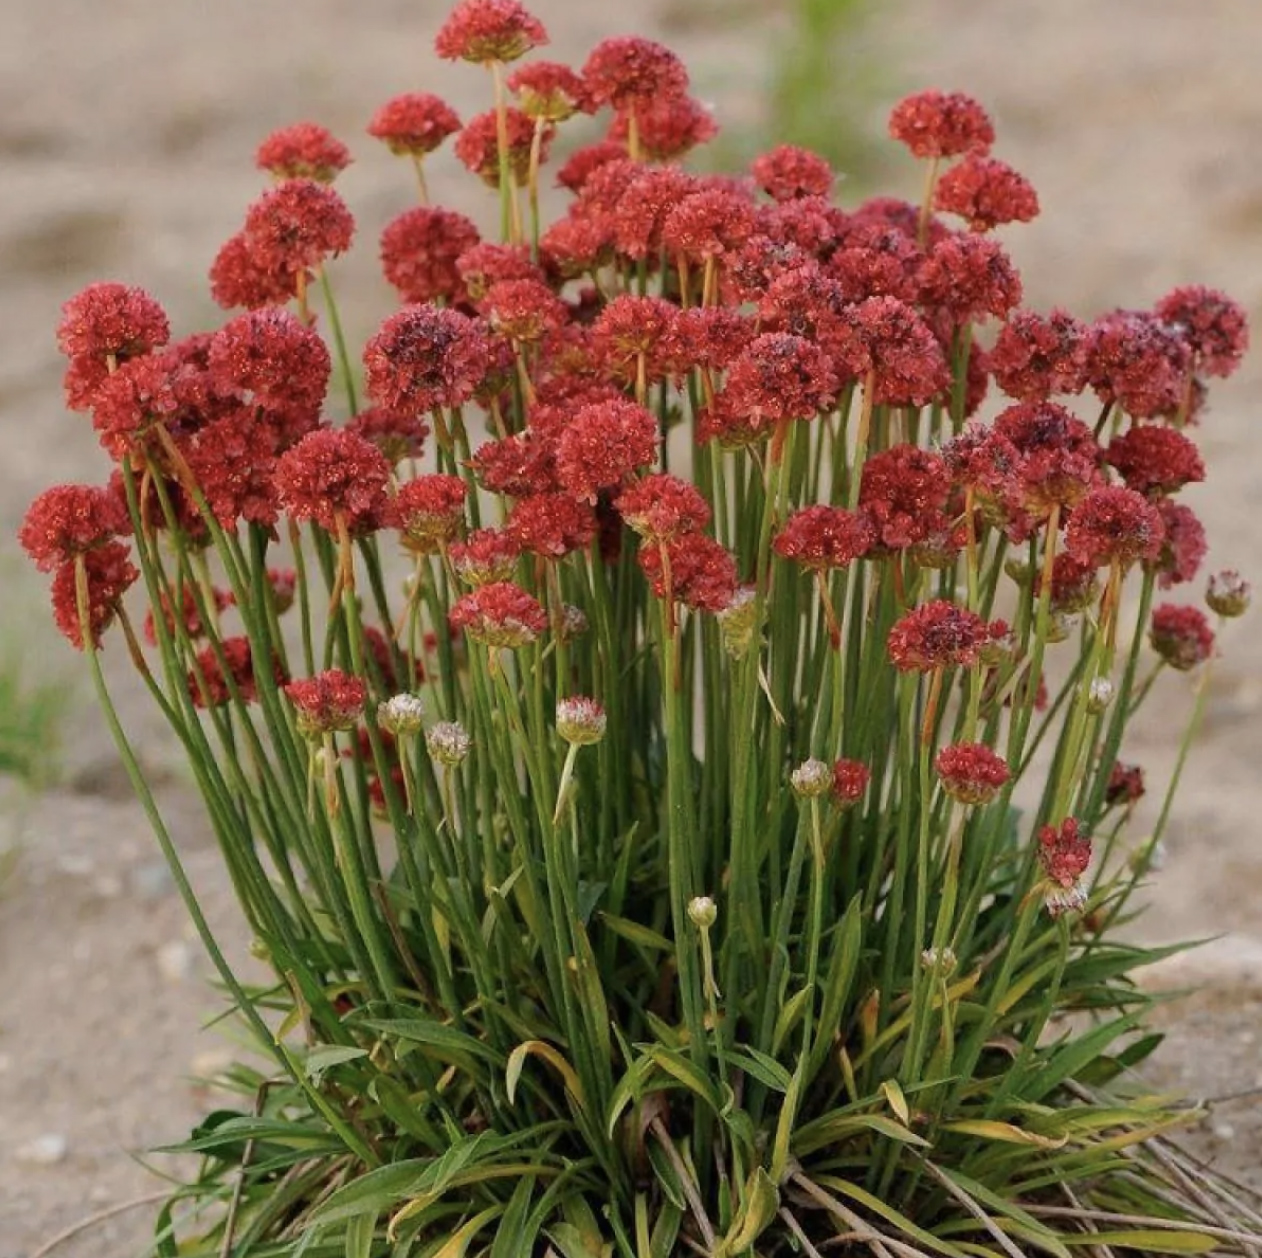
“Some of my favourite varieties include creeping thyme, campanula, and armeria – if you can opt for nectar-rich varieties then wildlife will enjoy your rockery as much as you do. Remember that most alpines are plants for full sun, so a sunny, south-facing position for your rockery is best," says Melanie.
Shop alpine plants for rockeries
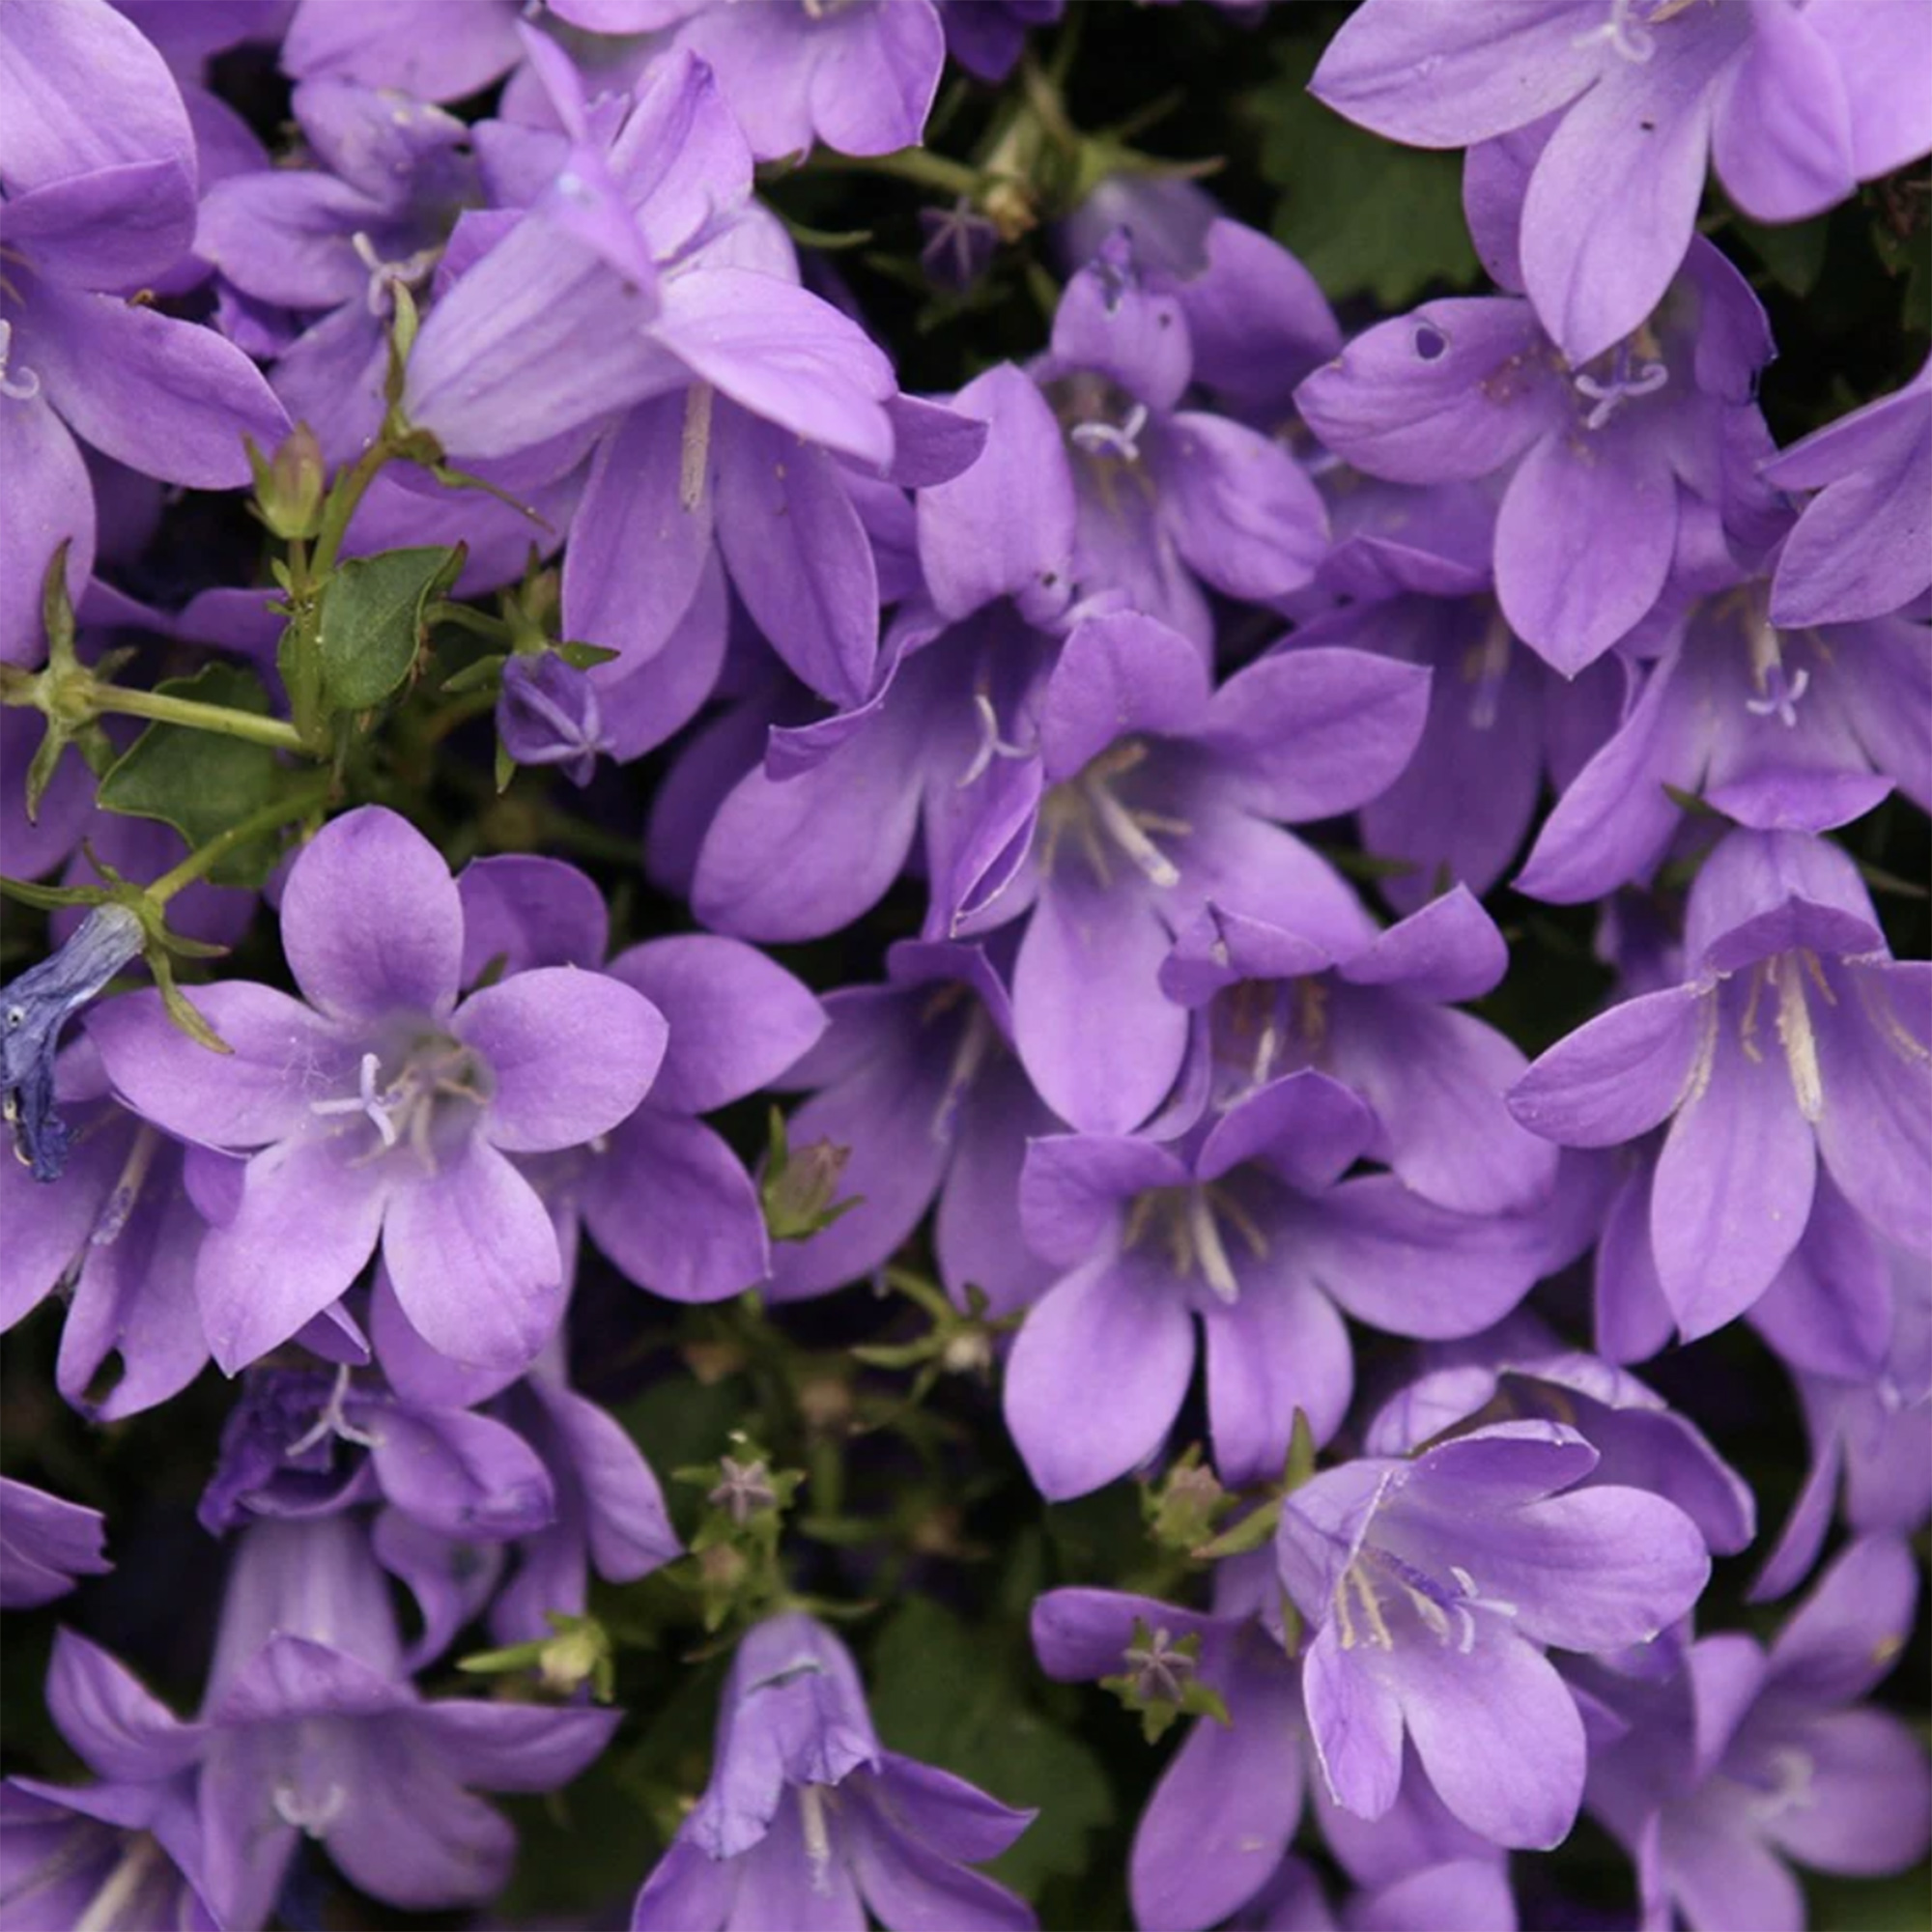
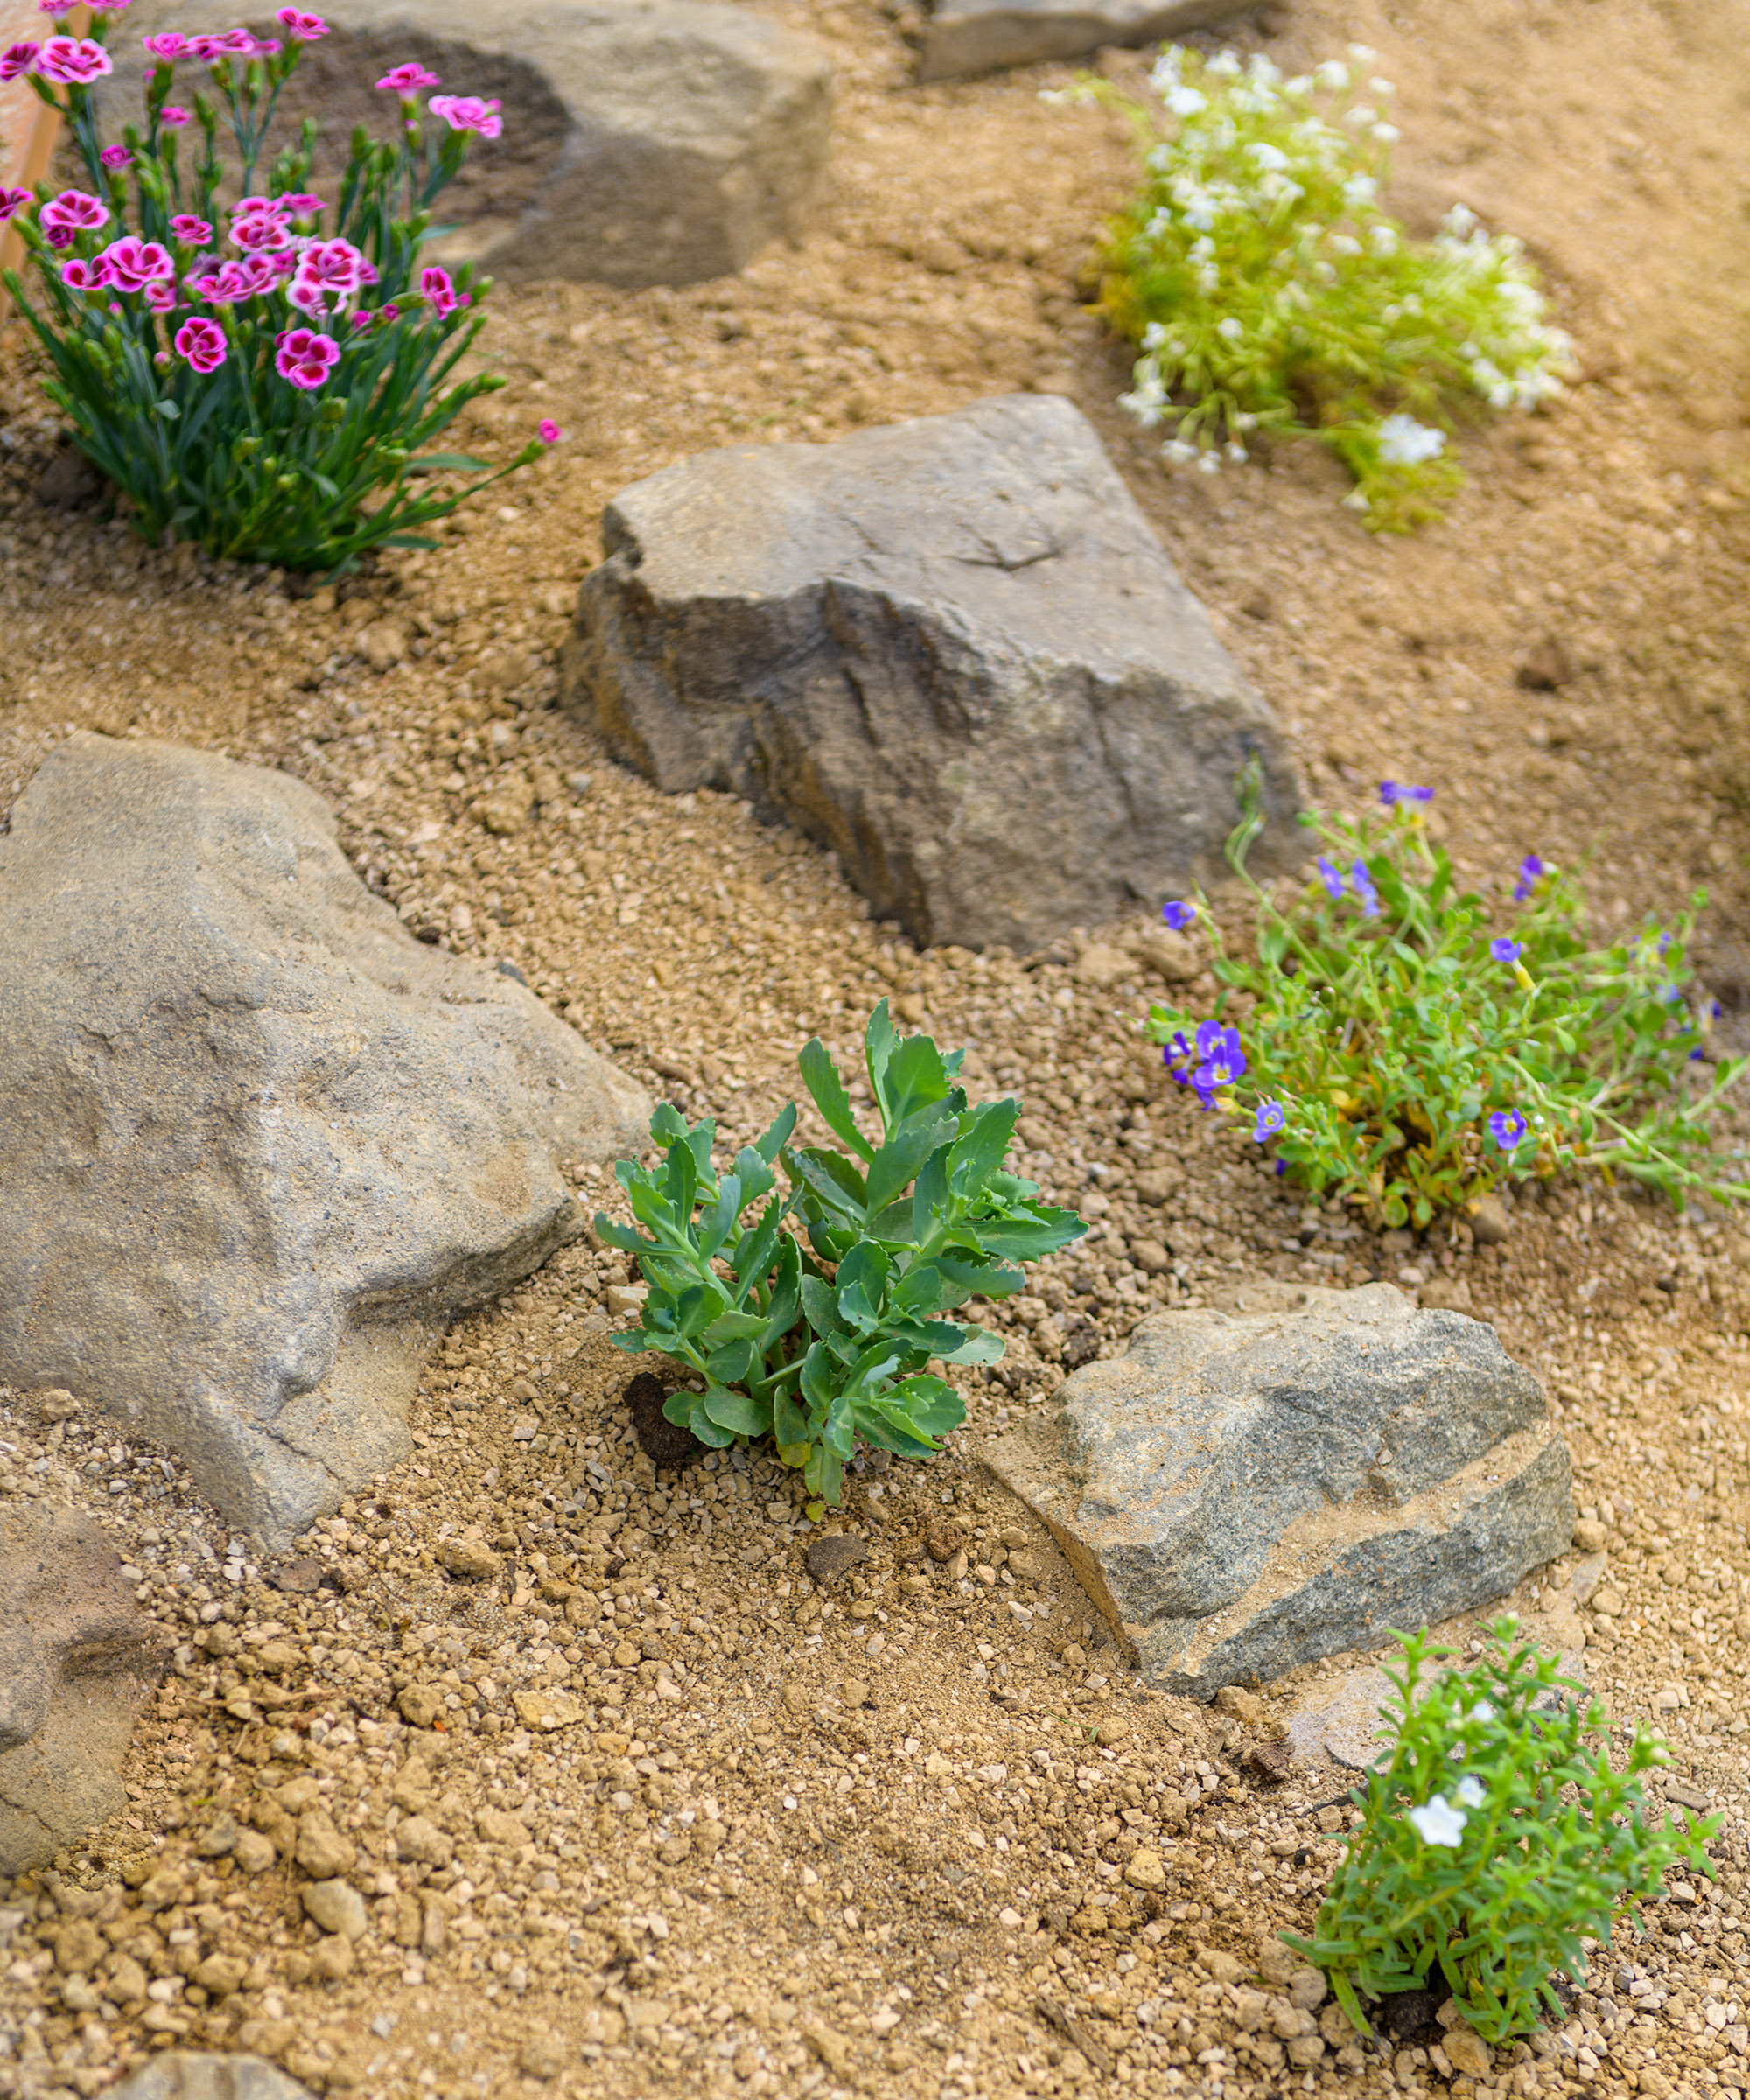
Mounds of purple-blue flowers will spread between cracks and crevices in a rock garden. They will be a welcome source of nectar for bees in the summer months too.

A landscaper and gardening expert with over 25 years of experience in the industry. Currently she works for MyJobQuote as their resident expert on all things gardening. She is highly knowledgeable and her expertise have featured in many reputable publications.
4. Secure your rocks in position
"If you need to stabilise the ground to support the bigger rocks a good landscaping tip is to add more drainage, a bed of rubble such as old brick pieces or broken roof tiles works well," says Fiona Jenkins.
"Put your largest rocks or ‘keystones’ in place. You should get help with this and a crowbar helps with manipulating large stones. They should be buried in the soil up to a third of their depth for a more authentic look and to hold them safely in place," says Fiona.
"Add the medium rocks and when you’re happy, spread topsoil to create planting pockets. If using mostly alpines, a mixture of loam, horticultural grit and leaf mould is an excellent choice for growing matter."
"Place any remaining small rocks and then give the area a thorough watering. Now leave the site for a day or two to give the soil time to settle and disperse any air pockets. After a few days, refill any pockets that need it with soil," says Fiona.
5. Add your plants into your new rockery scheme
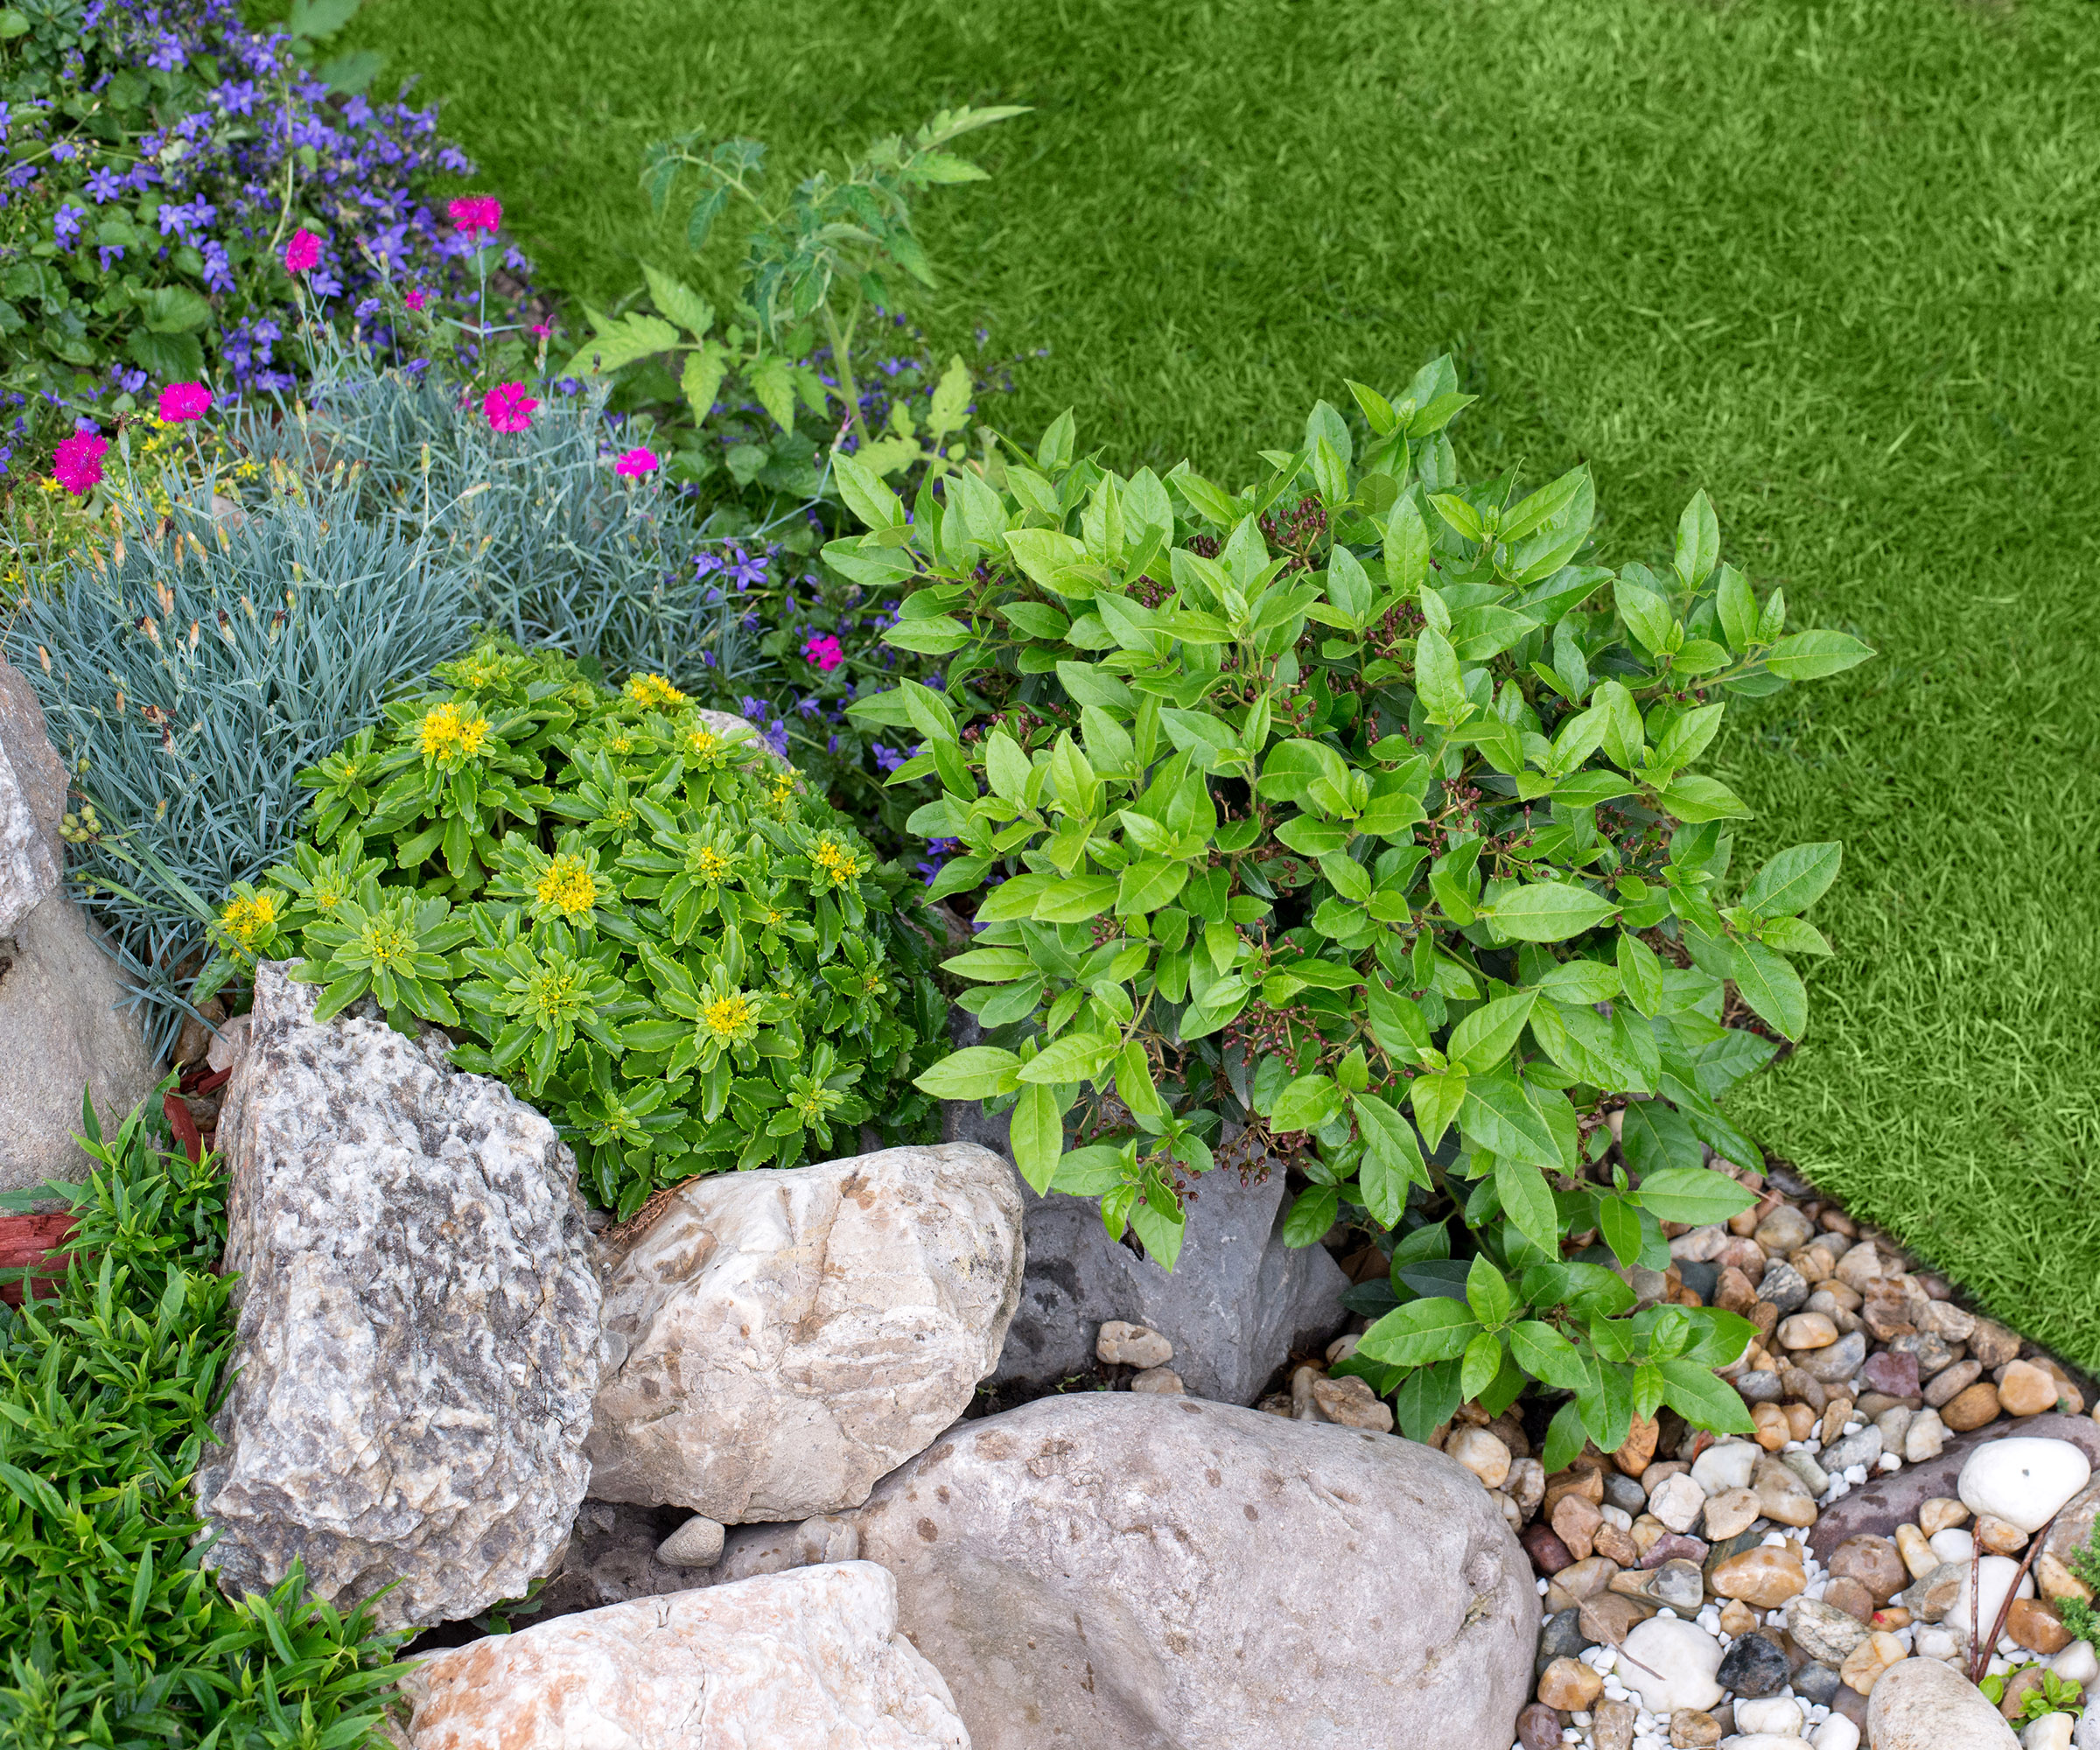
"Move them around in their pots until you are happy with the layout, taking into account their final size and spread," says Fiona.
"Dig holes deep enough to plant your chosen specimens at the same depth they were in the pot. Remove the plants from their pots, slightly loosening the roots before planting. Firm the soil around the plant once it’s in the ground," says Fiona.
Melanie advises, in order to achieve a naturalistic look, position them in cracks and crevices where you’d expect to see plants popping up in their natural environment. "Finally, use gravel or small stone to top compost, and your rockery is ready," says Melanie.
FAQs
How do you position rocks for a rockery?
"When creating a rockery you want to start with your biggest rocks and place them spread out across the area your rockery will cover. These large stones will act as the starting point for your rockery and create a structure for smaller rocks to be positioned around them," says garden landscape expert Tom Clifford.
"This process of positioning your rocks is mostly trial and error and you may keep changing the position of them until you achieve your desired look. Before positioning your smaller rocks in the gaps you may wish to place the compost down and add your plants. You can then use smaller rocks to fill the gaps and use pebbles as a finishing touch," says Tom.
Does a rockery need soil?
"As rockeries contain alpine plants they require a soil base, preferably a nutrient-dense compost that is well-draining. However, before laying any compost it's important to remove all of the weeds and add a layer of rubble or small stones, this will improve drainage," says garden landscape expert Tom Clifford.
"Once the large rocks have been positioned you can then create a layer of compost ready for planting. To create a well-draining compost I recommend combining even parts of multi-purpose compost with horticultural grit or sand," says Tom.

Tom has been in the garden landscaping business for over 13 years making him an expert in garden design. He is the director of Gardenstone Limited a garden landscaping materials company.
What is a rockery?
"A rockery is an area of a garden that has an arrangement of different rocks surrounded by alpine plants. Alpine plants are hardy perennials that are usually planted in rocky environments, hence why they work so well in a rockery," says landscaping expert Tom Clifford.
"Popular types of rocks used within a rockery include granite, limestone and slate with these rocks coming in all different sizes from pebbles to boulders."
A rock garden is a great low-maintenance option for a garden. You could extend this principle to other areas of your landscaping with a gravel garden layout.
Get the Homebuilding & Renovating Newsletter
Bring your dream home to life with expert advice, how to guides and design inspiration. Sign up for our newsletter and get two free tickets to a Homebuilding & Renovating Show near you.

Teresa was part of a team that launched Easy Gardens in 2018 and worked as the Editor on this magazine. She has extensive experience writing and editing content on gardens and landscaping on brands such as Homes & Gardens, Country Homes & Interiors and Living Etc magazine. She has developed close working relationships with top landscape architects and leading industry experts, and has been exposed to an array of rich content and expertise.
In 2020 Teresa bought her first home. She and her partner worked alongside architects and builders to transform the downstairs area of her two bedroom Victorian house in north London into a usable space for her family. Along the way she learned the stresses, woes and joys of home renovation, and is now looking to her next project, landscaping the back garden.
