How to build a raised deck: A professional reveals what you need to know
Looking for expert insight and know-how on how to build a raised deck. Here we give you pro advice and knowledge so you can start building today

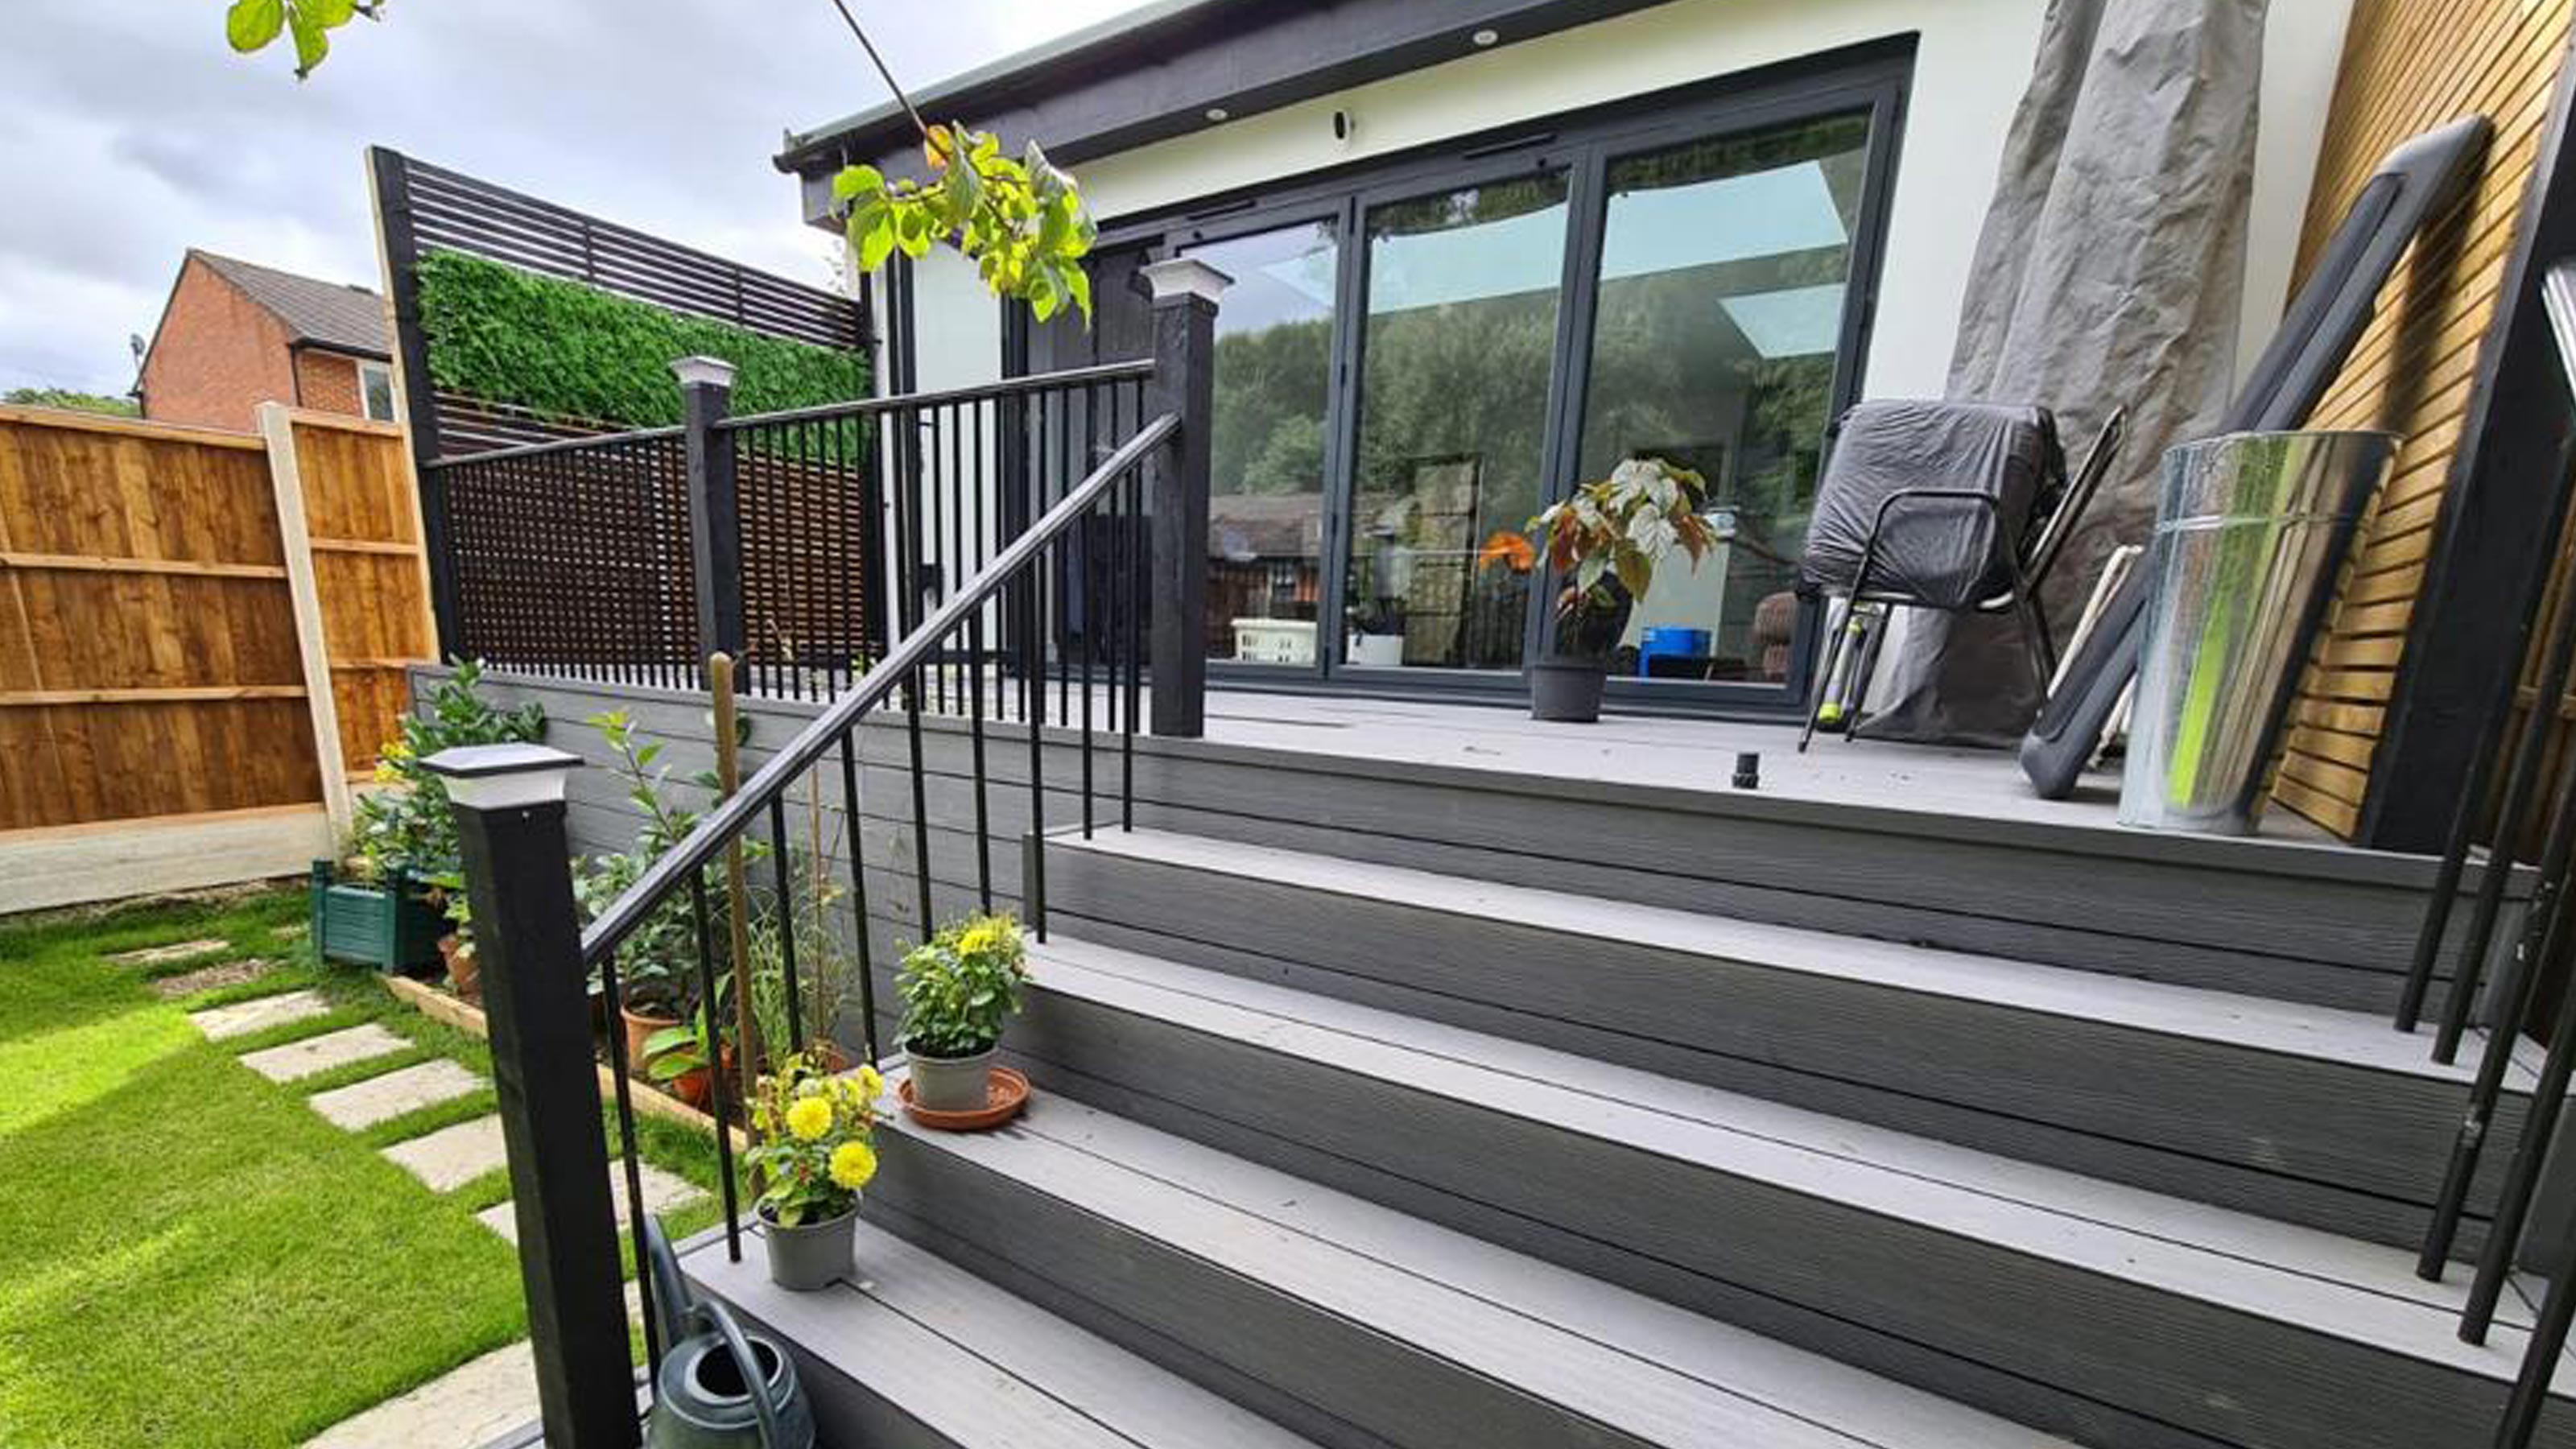
Knowing how to build a raised deck can reduce any potential problems that can occur when decking closer to the ground. The damage from moisture becomes far less of a problem and the chances of any insect infestation is greatly reduced.
It also brings with it plenty of advantages, such as creating a level platform that can extend from the back of the house and bring the inside and outside closer together. And there are plenty of smart garden decking ideas that can be introduced whatever size your garden.
So how do you make it happen? Allan Jeffrey, Managing Director at Ultra Decking gives a quick overview on how to make it happen. “The first stage is planning - think about how wide you want the decking to span, and importantly how tall it needs to be.
"The material you use is also key - it must be strong enough to take the weight of a raised deck, so pressure-treated wood or resistant softwoods, or composite lumber and metal framing are also excellent options.”
How to build a raised deck: A three step guide
1. Prepare the foundation
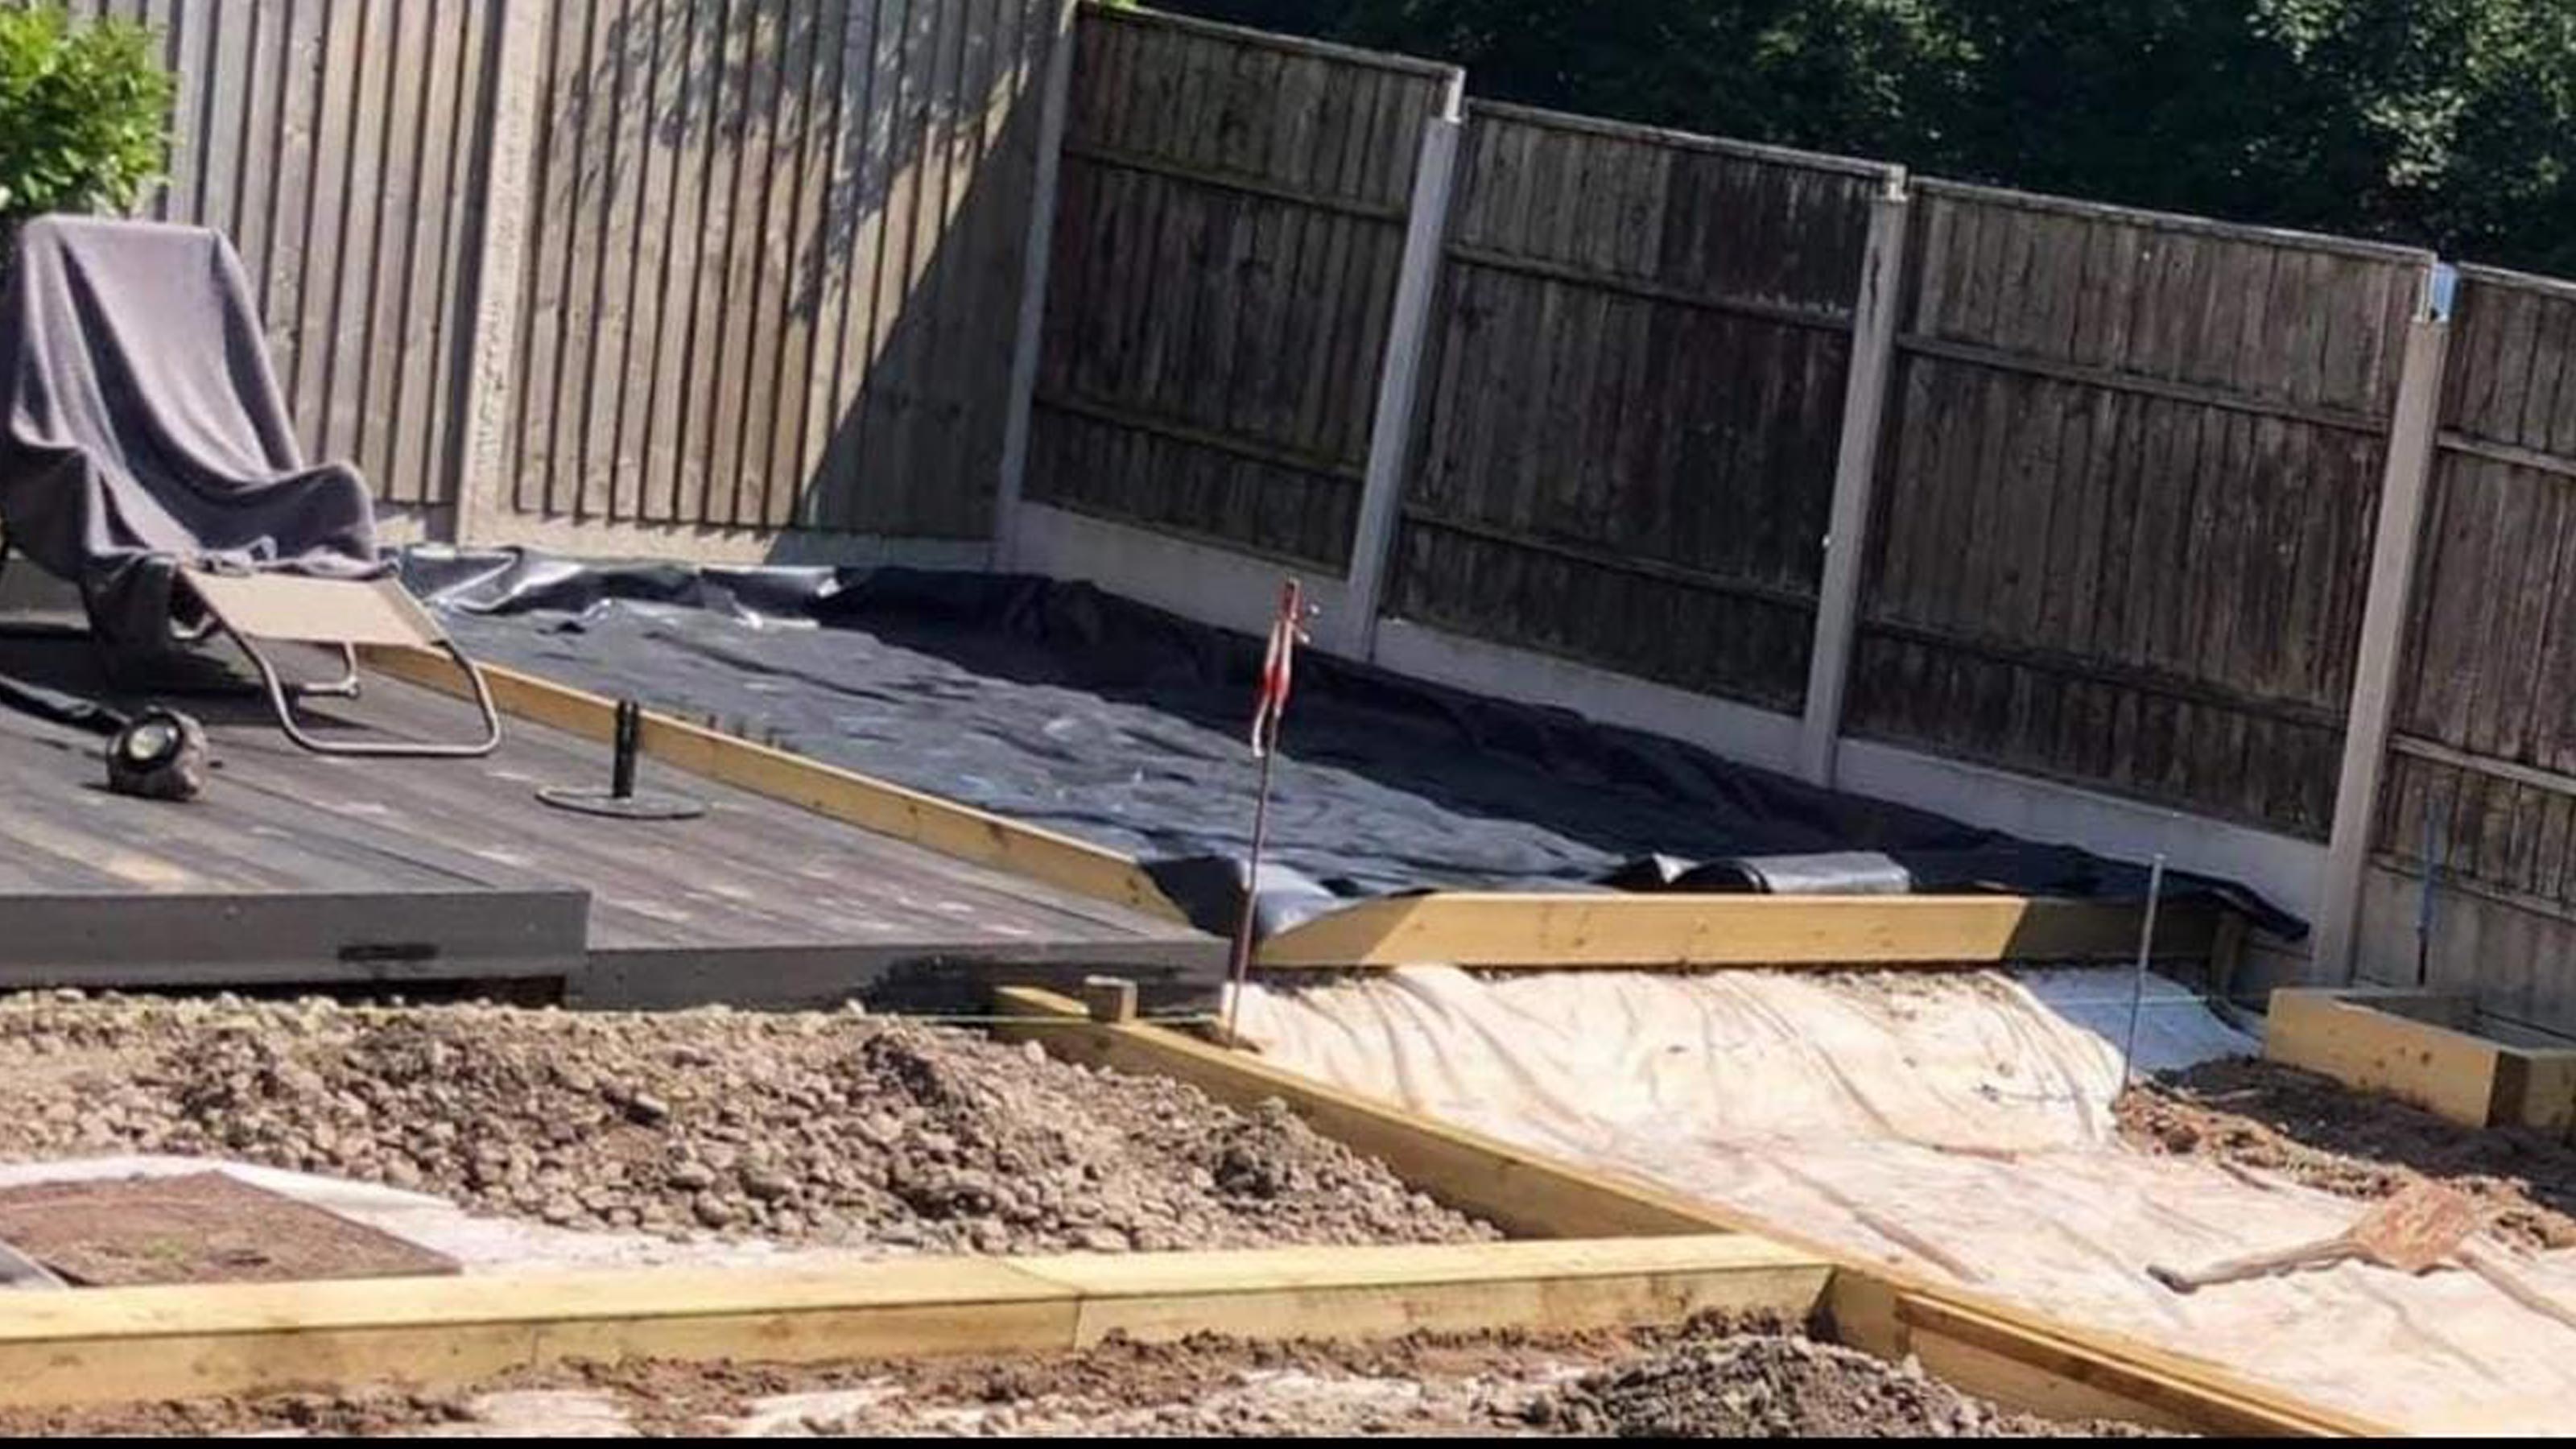
Outline your area, and remove any grass or debris if necessary. If you are attaching a raised deck to the house, you will need to attach a joist against the wall.
Dig your holes for each post footing at least 6 inches below the depth at which your soil freezes. Compact the bottom layer and fill with a few inches of gravel if you want to improve drainage. Then, fill the holes with structural strength concrete - attach the metal post anchor at the top and let it set for a day or two. You will need to make sure all the post anchors are level with one another, before the concrete sets.
2. Attach beams, posts and joists
Once the concrete is dry, fasten the decking posts to the metal footing anchor using structural screws. Then, start attaching the support beams to the posts, again making sure they are level (use a long level for this).
You will need to cut the decking posts to appropriate lengths. Next, attach the rim joists - they are the outer frame of your decking. Make sure to square it before screwing it in place.
The next step is to move on to the floor joists. Mark the joist spacing along the support and attach the floor joists using decking brackets. You can use bracing when necessary. Lastly, trim them according to length and attach the front rim joist.
3. Install the decking
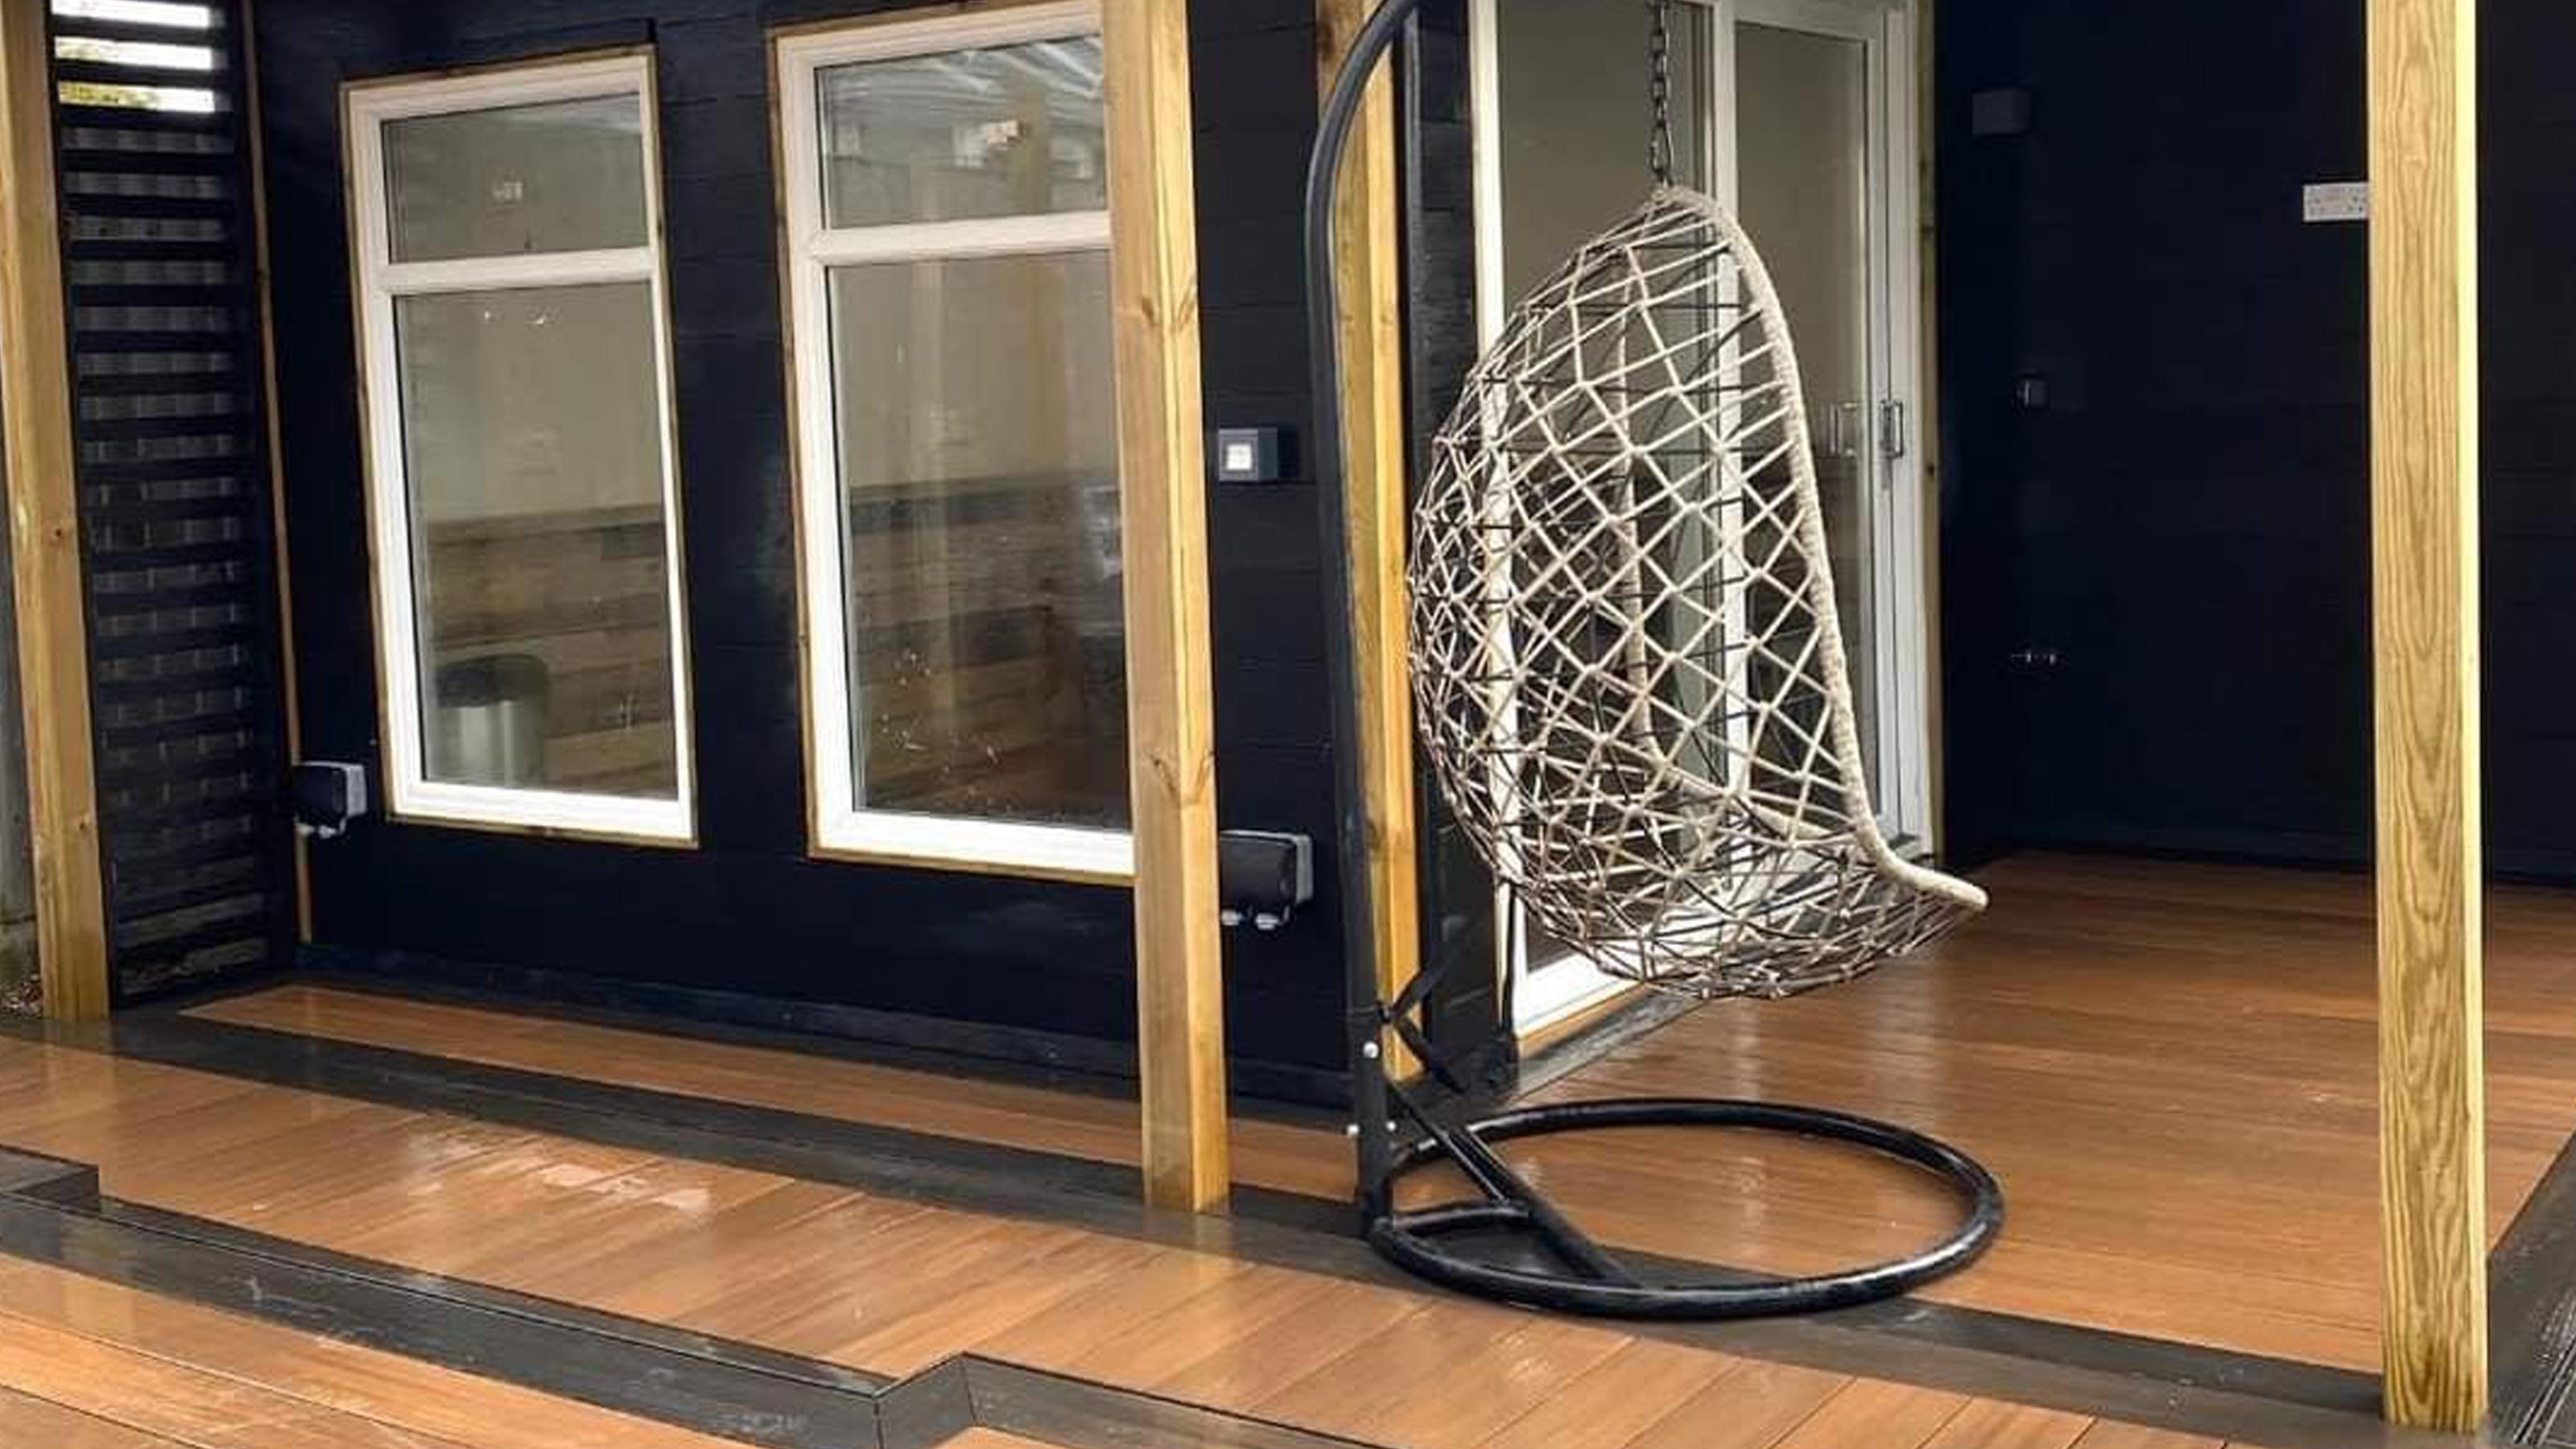
After building the subframe, start installing the decking boards, either inside the frame or outside the rim joists. Plan the distance between each post and attach them using bracers and anchors. Finally, install the decking boards and fix them in place.

Allan Jeffrey is the founder of Ultra Decking. He has years of experience in the design, development, and fabrication of advanced new composite materials and expertise covering composite decking and garden design.
How do you build a raised deck on a slope?
Building a raised deck on uneven ground is very similar to building a raised deck on level ground. But you will need to take into consideration the extent of the slope when designing your deck.
Wood is a very versatile material and easy to work compared with hard landscape materials such as brick and concrete. So it is easier to create different levels and introduce steps where needed.
But you need to make sure that you are choosing the best wood for decking, or composite decking for what you are building. There are a few different options so make sure you choose wisely.

What size joists should I use for decking?
There is a common choice for decking joists, but not all decking will be the same as Allan Jeffrey explains. "The best sized joists are 4 by 2, and should be raised off the ground for better drainage and airflow. However a growing trend is 50x50 plastic battens which are extremely durable and long lasting. The types of joist that work best for you will depend on the type and material of decking used, and how much additional support it might need."
How do you attach a raised deck to your house?
To get a sturdy and strong deck you will need to attach it to your house. This is done with what is known as a ledger. This is a piece of timber that is attached to the house with screws and bolts and forms the basis of the frame for the decking.
To do right you will need a piece of pressure treated timber that is less susceptible to moisture and will give a longer life than standard timber. To help further extend the life of the timber you can choose the best decking paint out there.
To keep water away from the ledger you will need to flash it. This protects the ledger from the water that runs down the side of the house. You can use metal, lead or specialist tape to create the waterproof seal.

Should deck boards run parallel to the house?
A typical deck build will see the joists run away from the house so the decking boards will need to run parallel to the house. If the joists are running parallel to the house then the decking boards should run away from the house.
Another thing to consider is how the boards will drain away any rain water. For example, if you are using the popular grooved decking boards. This should point away from the house so the water is directed away from the house. A gradient slope should also be applied to help the water drain away. This should be around 10mm for every metre of decking board.
If you are using smooth decking boards the slope will help the water drain away naturally, but more importantly you will need a 5mm or slightly bigger gap to let the water drain away.
Rain water can cause algae and mould to grow on the decking boards, which will make them slippery. So you need to know how to make decking non-slip so no unfortunate accidents happen.
Can I use concrete blocks instead of footings for decking?
If you are building a large deck, footings are still a good choice. But for smaller decks you can use concrete decking blocks instead. These should be placed on a bed of gravel to ensure that you have good drainage.
Check out our small decking ideas to help you make the most of the outdoor space that you do have.
What should go under a deck?
Typically there are a couple of things that should go under a deck to help it stay in good condition. Landscape fabric should go down first to help suppress any grass or weeds growing up under the deck.
This should be topped with gravel or crushed stones to help stop the growth of greenery and with drainage. It will stop pools of water forming on a regular basis which can encourage plant growth and help keep moisture away from timber.
But timber is not the only option for decking. It's typically wood decking vs composite decking, which isn't so susceptible to moisture. But you still need at least a layer of fabric to stop unwanted grass and weeds encroaching on your decking platform.
Do I need planning permission to build a raised deck?
This depends on the size and height of the decking. Putting up decking comes under permitted development if it fits within a certain criteria. The three key things to remember:
- The decking is no more than 30cm (12 inches) above the ground
- Along with other extensions it doesn’t cover more than fifty percent of the garden
- It doesn't go over and overhang other people's property
If your plans exceed any of these criteria you will need planning permission. There are less common criteria that may apply to your building so if unsure contact your Local Planning Authority to get clarification.
It may seem obvious but before you even consider building a raised deck you need to think about the decking costs. If you find its not a viable option currently you won't need to worry about planning permission anyway.
Get the Homebuilding & Renovating Newsletter
Bring your dream home to life with expert advice, how to guides and design inspiration. Sign up for our newsletter and get two free tickets to a Homebuilding & Renovating Show near you.
Steve Jenkins is a freelance content creator with over two decades of experience working in digital and print and was previously the DIY content editor for Homebuilding & Renovating.
He is a keen DIYer with over 20 years of experience in transforming and renovating the many homes he has lived in. He specialises in painting and decorating, but has a wide range of skills gleaned from working in the building trade for around 10 years and spending time at night school learning how to plaster and plumb.
He has fitted kitchens, tiled bathrooms and kitchens, laid many floors, built partition walls, plastered walls, plumbed in bathrooms, worked on loft conversions and much more. And when he's not sure how to tackle a DIY project he has a wide network of friends – including plumbers, gas engineers, tilers, carpenters, painters and decorators, electricians and builders – in the trade to call upon.

