How to Build a Partition Wall: Easy Ways to Divide a Space
Our guide explains how to build a partition wall, along with the various methods you can use if you are looking for an alternative to a traditional stud wall

Getting to grips with how to build a partition wall is really useful for anyone wishing to create division in their home in order to create more private or quieter spaces, or to zone a largely open plan layout.
Partition walls are usually fairly straightforward to construct and many DIYers choose to take this job on themselves. In addition to being relatively quick and cost-effective, this type of wall is also useful if you want to easily incorporate wiring, soundproofing materials and insulation. In addition, partition walls can be designed to include handy built-in shelves to provide some neat storage options — perfect for open plan kitchens.
In this guide, we take a look at the most common ways of building a partition wall, walking you through the process step-by-step. We also explain some of the other ways you can create partitions within your layout, from solid walls to portable room dividers.
How to Build a Partition Wall: Taking the Stud Wall Route
One of the first things anyone looking to build a new internal divide in their home will think about is how to build a stud wall.
Stud walls are quick and relatively simple to build, plus they allow you to hide pipes and wires within their structure and are ideal for hanging wall-hung sanitaryware from.
Before you begin the job of building a stud wall, gather together the correct tools for the job:
- Saw
- Hammer
- Nailgun (optional)
- Spirit level
- Pencil
- Workbench
- Square
- Large-bladed filler knife
In addition, you will also need to buy the materials for the wall itself, which usually include:
- Plasterboard
- Studwork timber
- 100mm countersunk cross-head wood screws and nails
- Jointing tape
- Sharp knife
- Joining compound
You will also need to incorporate some acoustic insulation within the wall. For new homes, the Building Regulations state that there must be a minimum 40 decibels of sound resistance between walls, and good soundproofing is key to open plan living being successful. As such, it's good idea to consider soundproofing in existing homes too.
There are several ways you can do this. A mineral wool or acoustic foam inserted inside the studwork is the most common method, although some people choose to fix a double layer of plasterboard to each side of the wall instead. You could also consider using an acoustically engineered board.
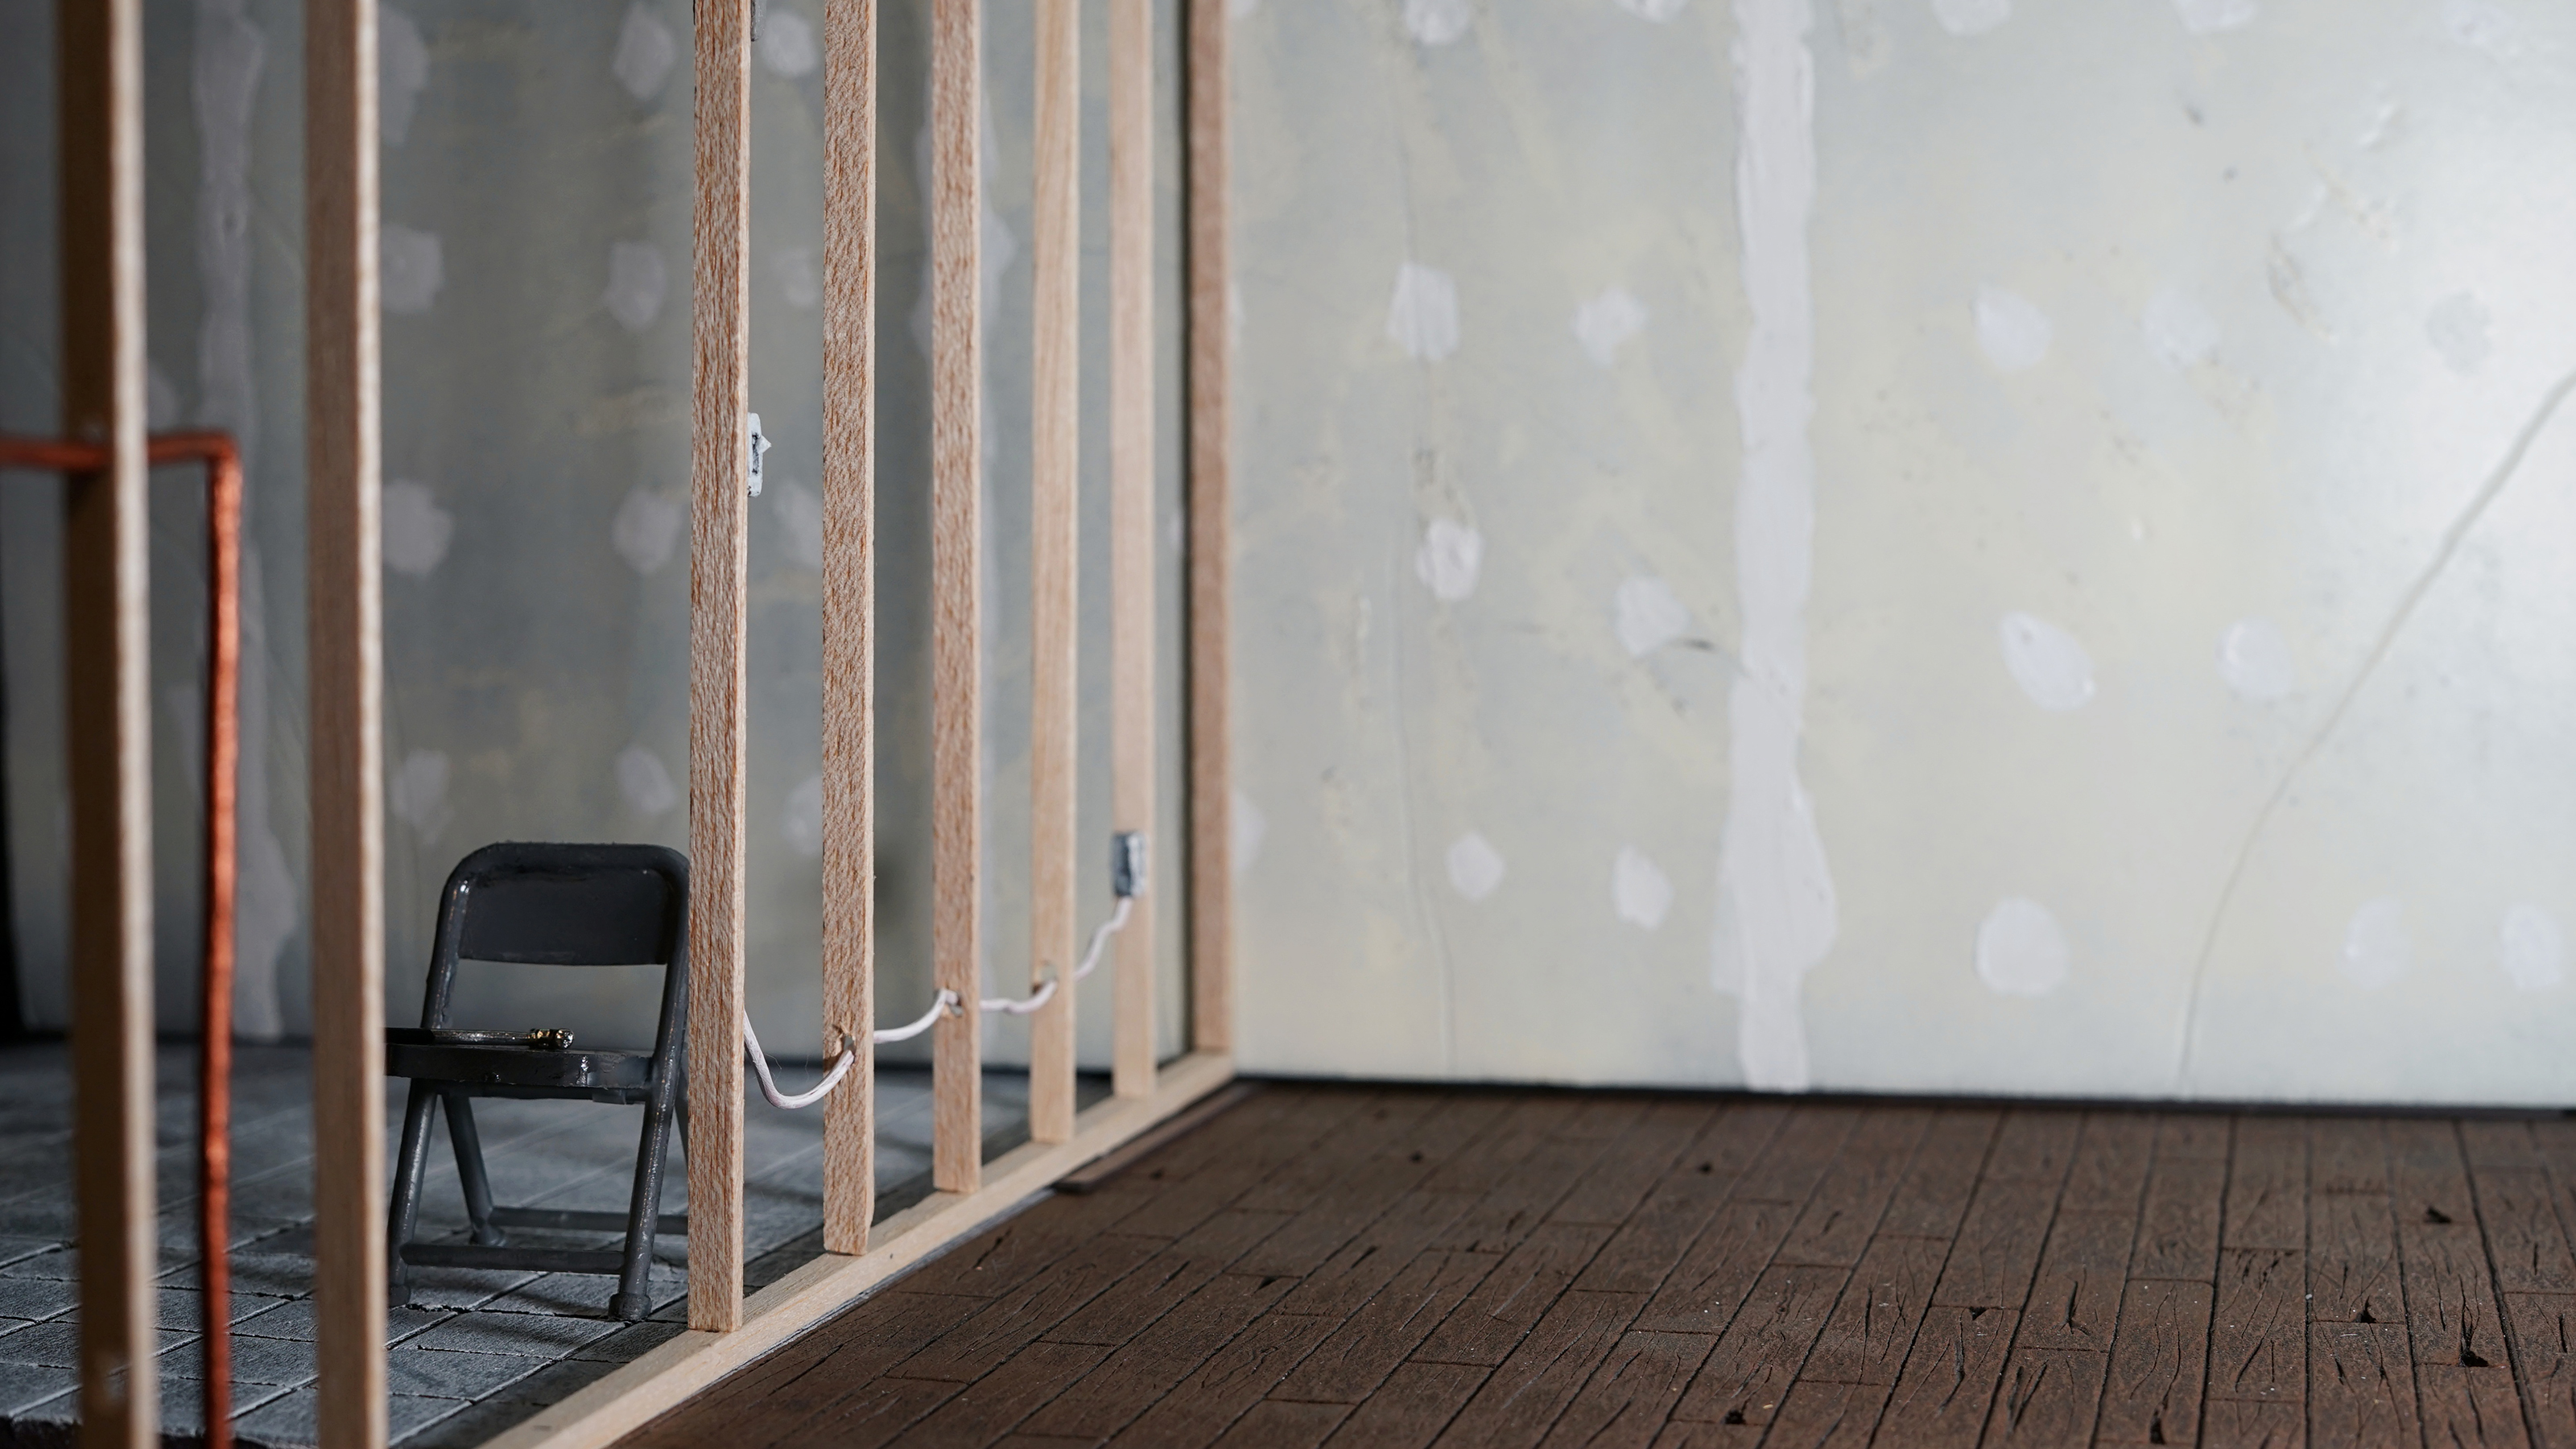
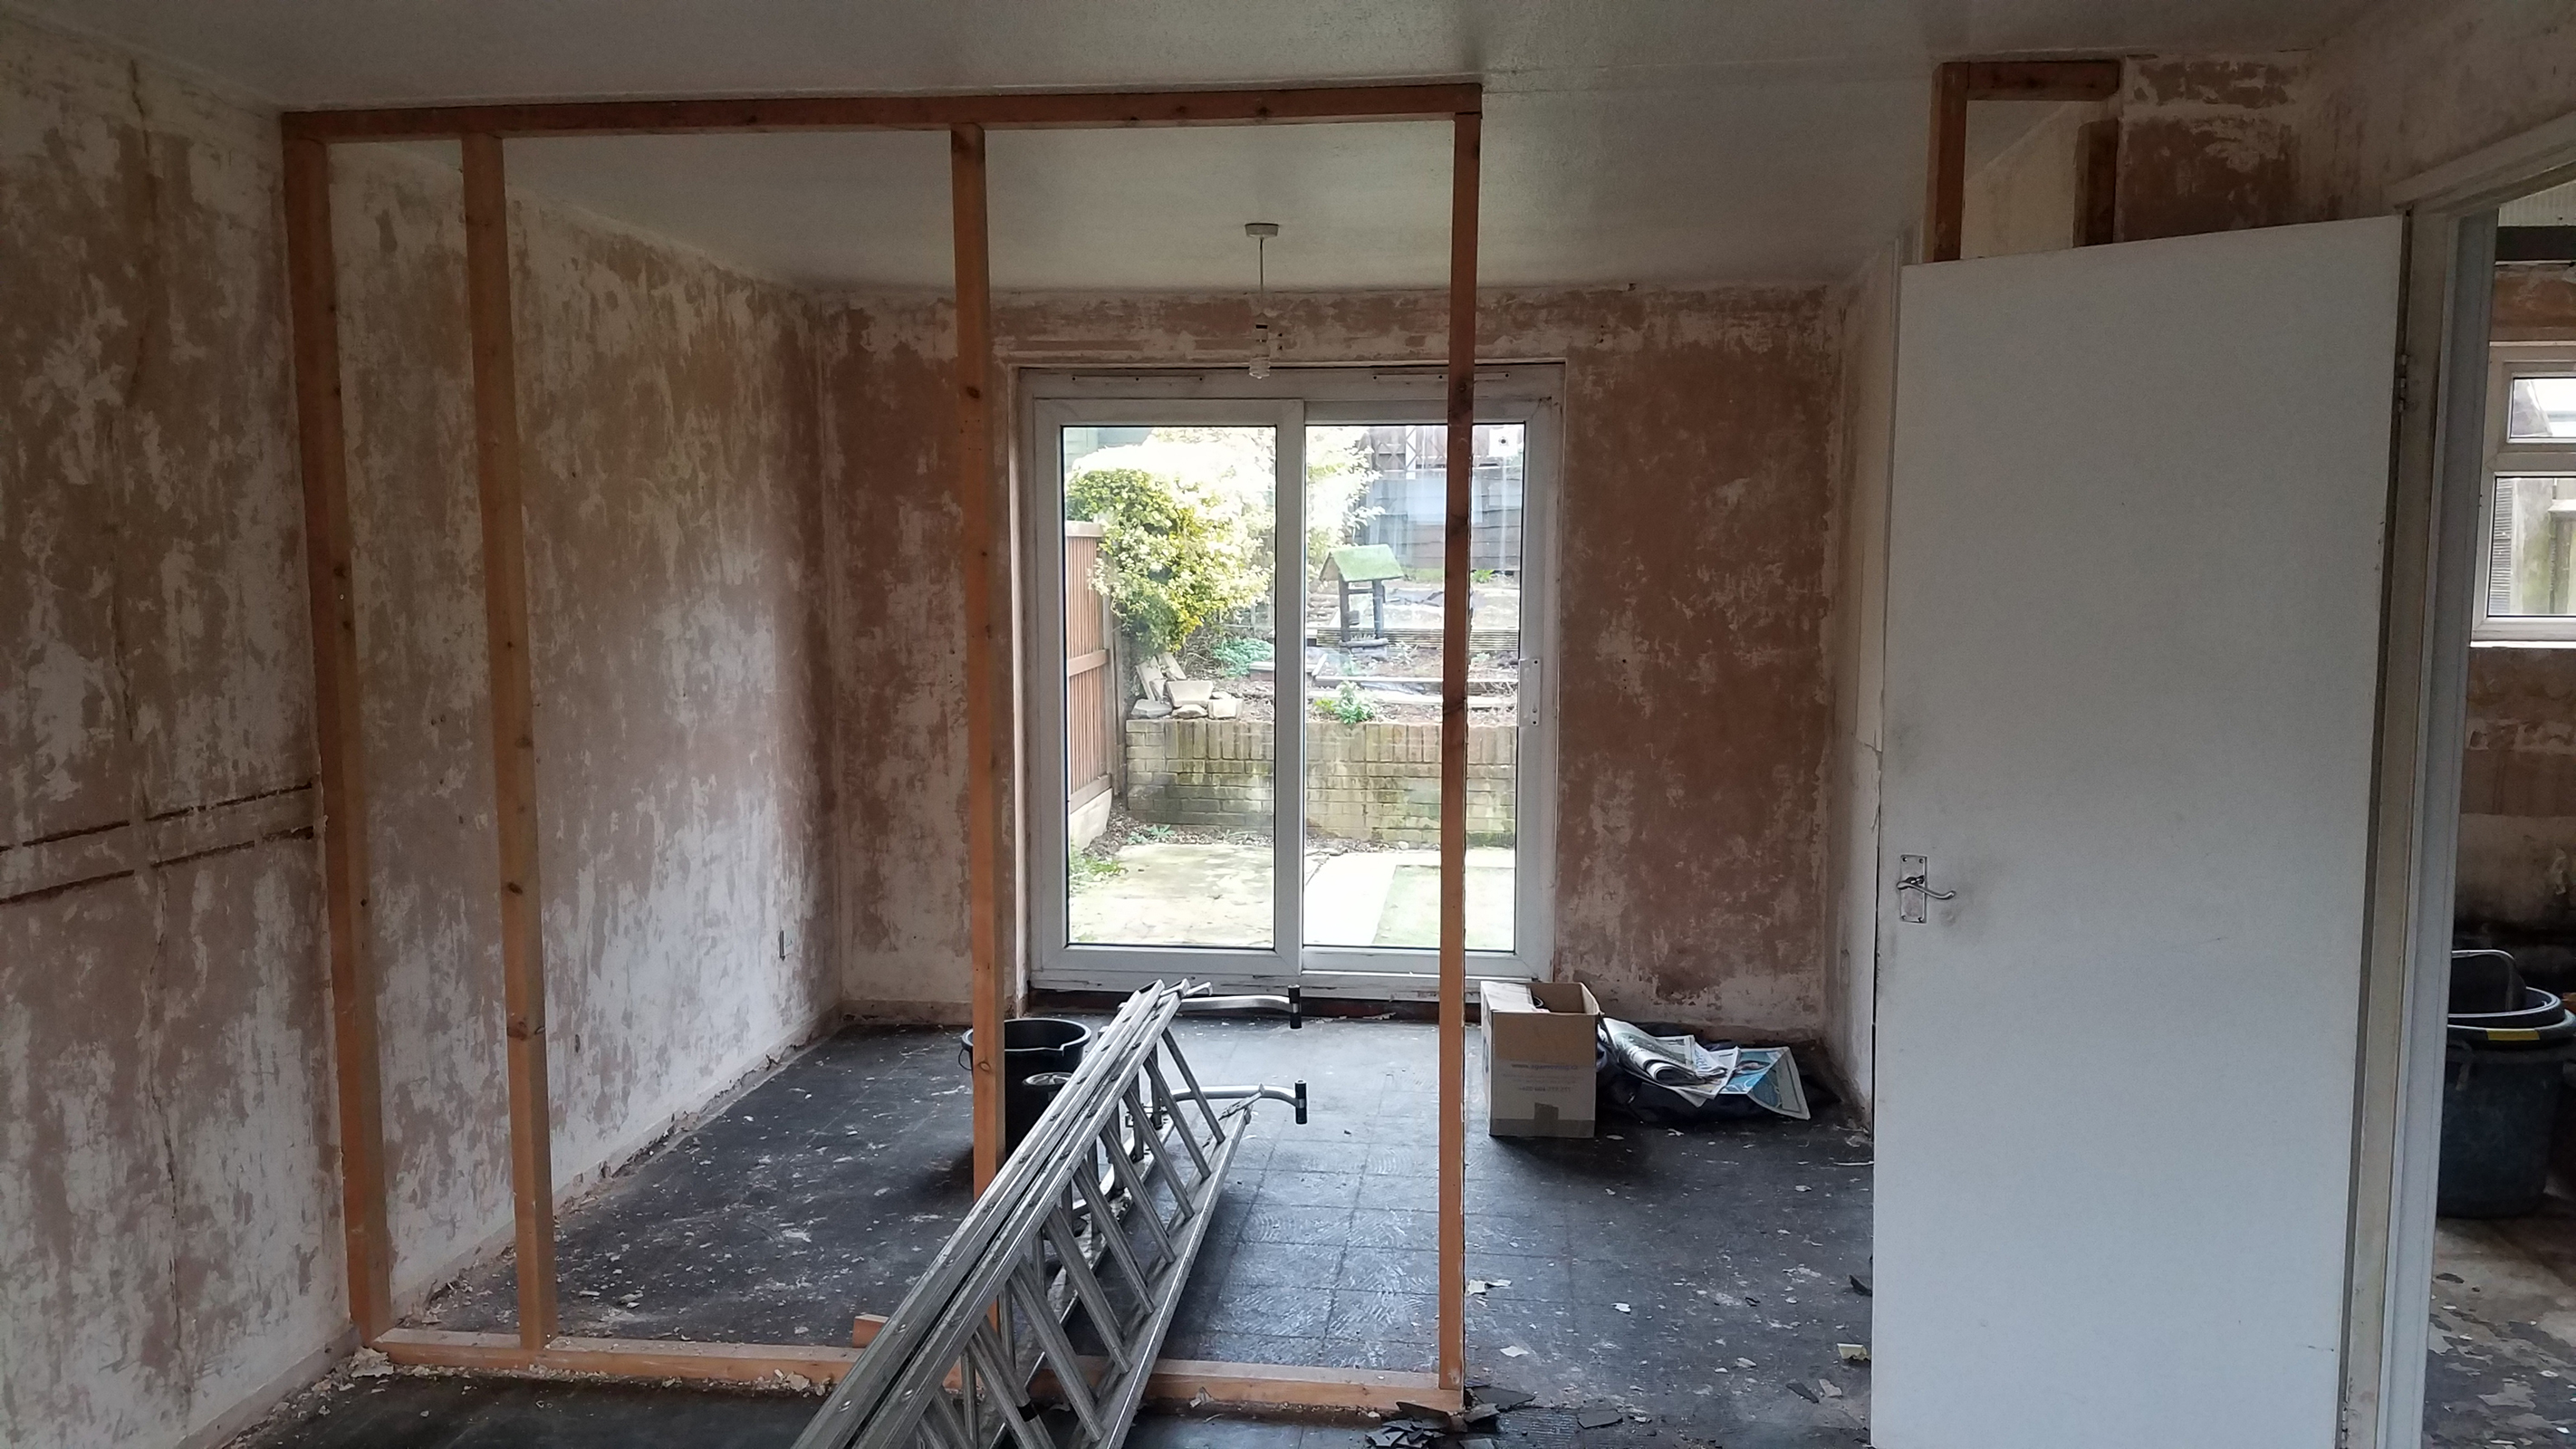
Partition walls are generally made from 75mm x 50mm or 100mm x 50mm of sawn timber. You will need a 'ceiling' or 'head' plate, which will be fixed to the ceiling joists. You will also fit a length of timber to the floor — called the 'floor' or 'sole' plate.
In addition, you will need to fit studs that will stand vertically between these plates. These should be equally spaced and fixed with nails. Finally, a series of noggings –short, horizontal pieces of timber – should be fixed horizontally between the studs to provide extra strength and rigidity to the frame.

How to Build a Stud Partition Wall
1. Once you have ascertained where the new wall will go, it is useful to use an electronic detector to work out where your joists, wires and pipework are located. If you are planning on building a wall that runs parallel with your joists it will need to stand directly above one of them. Next, mark the position for one edge of the stud wall on the floor or a skirting board.
2. Fix or hang a plumb line where the mark is and use this to draw a line on the wall right up to the ceiling. You should also make a mark on the ceiling.
3. Hammer a nail in the ceiling as close to the wall junction as you can before measuring and marking the other side of the ceiling. Draw a pencil or chalk line as a guide for the new head plate position using the two marks you have made as a guide.
4. Check the position of the joists again and mark the point where you will be fixing the new head plate (if the wall runs under a parallel joist, these should be at 400mm intervals.)
5. Cut the timber for the ceiling plate so that it fits exactly between the walls. Holding the plate in place, mark the fixing points along it.
6. Drill clearance holes for the screws at the marked points along the head plate before fixing it in position along the edge of the pencil or chalk line you made, using 100mm countersunk cross-head wood screws.
7. Next you need to measure and cut the floor plate timber — this will either fit between the walls or the skirting boards. You can then nail it to the floor at 400mm intervals. If you are fixing it to a solid floor, as opposed to joists, you'll have to use a drill with a masonry bit and use plugs and screws.
8. Now you can measure and cut 'studs.' Measure between the new head and floor plates at either side of the frame before cutting two studs. Place each of these next to the lines you drew on the walls. If either stud is to sit next to a skirting board, mark the depth of this on the stud and cut a notch out of it using a tenon saw so that it can be placed neatly over the skirting.
9. Use a drill to make clearance holes in the studs and mark the position of these on the walls. Ideally, you want the first fixing to be made 100mm up from the floor and 100mm down from the ceiling. Fixings should be around 410mm-450mm apart.
10. Drill into the points you marked on the walls, then insert plugs and position and screw in the two end studs.
11. Now you can fit the remaining vertical studs. Mark the floor plate to indicate where the studs will sit — 600mm apart. It is handy to nail a block of timber to the floor plate to one side of each vertical stud mark as it makes studs easier to fit.
12. Once you have measured and cut your studs, hold them against the block supports and attach them to the floor plate using 100mm nails which you should knock in at an angle from either side of the stud. You should attach them to the ceiling in the same way.
13. Now you can insert your noggings. Measure the pieces of wood to fit horizontally between your vertical studs and fit them roughly halfway between ceiling and floor, staggering them slightly to make nailing easier. If you are planning on fitting a socket or switch into a metal box within your wall, you can fit a noggin to support this. The position of noggings should also be planned out to support items of sanitaryware or heavy wall units.
14. Finally, once you have run any pipes or cables within the wall, you can fit your plasterboard face to either side of the frame. You should use 12.5mm thick plasterboard. Cut sheets to fit, remembering that if you are using standard plasterboard it will usually have a grey side and an ivory side — the latter of which should face outwards. Measure the sheets 12mm less than the floor-to-ceiling height.
15. Sheets can be fitted horizontally or vertically. If fitting vertically, ensure the joins meet at the centre of a stud. If fixing horizontally, nail the bottom row of boards to the frame before staggering the vertical joints. Fix boards at approx.150mm intervals using 32mm plasterboard nails and stay 15mm away from the edges.
16. The wall is now ready to be plastered and given its final decoration.
Building Solid Internal Partition Walls
It is important to realise that internal walls can be constructed in other ways too. Although the most common method is to use blockwork for load-bearing walls, and studwork elsewhere, you could, if you wished, use blockwork for a partition wall, although the downside of this route is that as it is heavy and often requires extra support at floor level.
It is also useful to note that stud walls don't have to be timber. Steel channels can also be used — they are lightweight and quick to construct.
Get the Homebuilding & Renovating Newsletter
Bring your dream home to life with expert advice, how to guides and design inspiration. Sign up for our newsletter and get two free tickets to a Homebuilding & Renovating Show near you.
Natasha was Homebuilding & Renovating’s Associate Content Editor and was a member of the Homebuilding team for over two decades. In her role on Homebuilding & Renovating she imparted her knowledge on a wide range of renovation topics, from window condensation to renovating bathrooms, to removing walls and adding an extension. She continues to write for Homebuilding on these topics, and more. An experienced journalist and renovation expert, she also writes for a number of other homes titles, including Homes & Gardens and Ideal Homes. Over the years Natasha has renovated and carried out a side extension to a Victorian terrace. She is currently living in the rural Edwardian cottage she renovated and extended on a largely DIY basis, living on site for the duration of the project.

