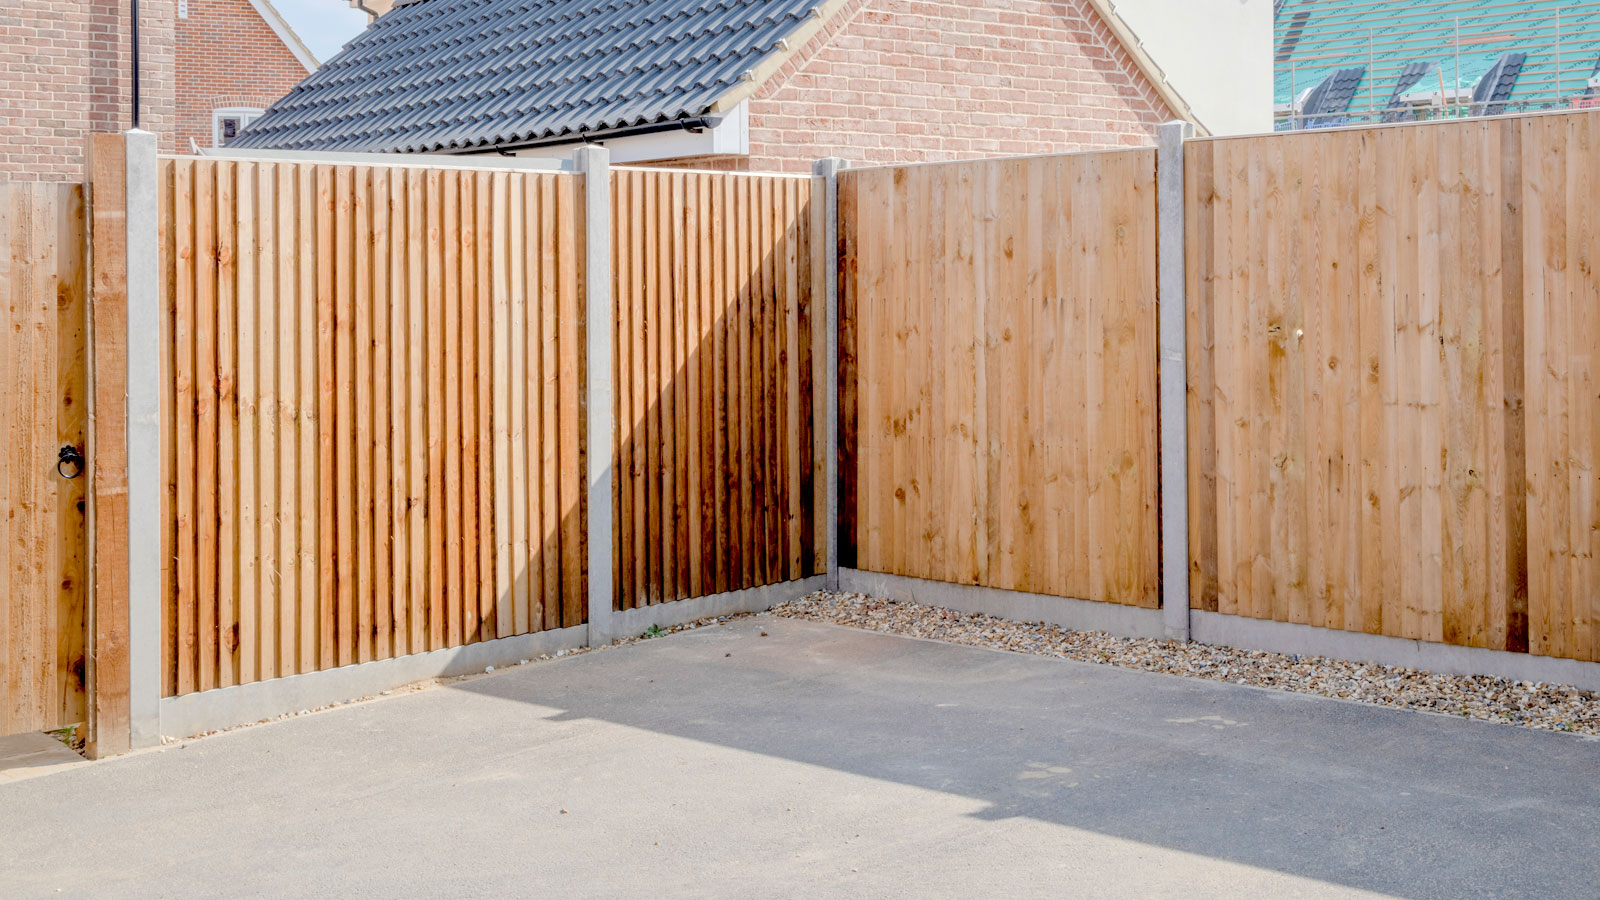
How to build a fence: Four steps to a smart new boundary
Knowing how to build a fence can save you serious money, which you can spend on better posts and panels. Get expert advice on how to plan, install and finish a fence

Fed up with your old fence? Need a new one? Learn how to build a fence and you can have a new boundary sitting around your home in no time at all. Whether you are starting from scratch or replacing an existing fence the same build principles apply to the process.
The subtle differences lie in what fence type and fence posts you are using. Wooden fence posts and concrete posts are the two common choices for holding up your panels. Here we reveal their pros and cons, how to install them, how to keep your fence straight and how to fix your fence panels for a long lasting finish.

Leigh has 20+ years of experience in the timber/ construction industry. Since joining Jacksons Fencing in 2019, he has been instrumental in leading the retail team, focusing on driving the timber division side of the business.
How to build a fence: Before you start
There’s a few things you need to think about before you start to build a fence. Some are more obvious than others, especially if you are starting from scratch rather than replacing as Leigh Barnes, Retail Manager at Jacksons Fencing explains: “Before diving into fence construction, consider what your requirements are from the fence. Do you want to increase light, privacy, or both?”
He continues, “Consider the product itself; you will only want to install a new fence once, so opt for quality timber with a long lifetime guarantee to ensure you won’t be replacing it every few years.”
Beyond the product there’s legal issues to consider as well. “Make sure you've snagged any necessary permits from local authorities. Also, double-check those property lines to avoid any neighbourly disputes down the road.”
4 essential steps to build a fence yourself
You need to plan ahead when building a fence. If you're replacing an existing fence like for like you will already know where it is going. If not, clear the space and level the ground where the fence is to go before you start installing a fence.
1. Measure up and mark
Start at one end and measure where the centre of each post is going to go. “Before starting to dig any fence post holes, a string line should be laid to mark out your fence line and keep the fence line straight.” explains Barnes.
But how far apart should the posts be? He continues, “As standard the majority of fence panels will be 1.83m wide, therefore fence posts should be installed to suit this width. Anything wider may compromise stability and not be suitable for standard size panels.”.
However, if you have different size panels, obviously your measurements for the centre of post will be different. If you have the room you can lay posts and fence panels on the ground to help visualise where they will go. Mark the centre post positions with stakes or line marker.
2. Dig hole for fence posts
Take note where the centre of the post is going to be and dig out around three times the size of the fence. So if you are using a 100mm x 100mm fence post your holes need to be around 300mm x 300mm. Dig at a slight angle so slightly smaller at the bottom.
How deep should a hole be? Barnes suggests, “As a general rule of thumb, fence posts should be installed 600mm into the ground. This depth provides adequate support for the fence above ground and stability against wind and ground movement, ensuring the fence remains upright over time”.
Use a post hole digger like this Roughneck Post Hole Digger from Amazon, a narrow spade or a fence post auger like this Einhell Power X-Change Cordless Fence Post Auger from Amazon to dig the hole.
3. Install fence posts
Add an inch or two of gravel into the bottom of the post hole to help with drainage and “Ensure every fence post sits in the centre of each post hole and is level on all sides.” suggests Barnes, before fixing the post into position.
Use a spirit level to ensure that the post is straight and nail a wooden baton to the post and push the other end into the ground to hold in place. Use a specialist fence post mix like this Blue Circle Postcrete from B&Q. You simply add it to water and it sets in 5-10 minutes, perfect for posts.
4. Fix panels and finish
Once the post mix is fully dried (see manufacturer's instructions) you can add your fence panels. How these are fixed will depend on what posts and panels are used. For example if you are using slotted concrete posts. You simply get up a ladder and slide the panel into place. This can be a two person job.
If you have wooden fence posts you can use long screws to fix through the panel into the post. Alternatively, you can use fence post clips like these Trellis U Bracket for Posts from B&Q. Once the panels have been fixed you can treat the fence with the best fence paint to protect the wood and add a contemporary colour.
FAQs
Should I use concrete posts or wooden posts?
When building or replacing a fence it's a toss up between using wooden or concrete posts. Both have their pros and cons, but which one should you use? Barnes is strongly in favour of using wooden posts, “A high-quality timber fence post, which has been correctly treated for in-ground contact, with a long lifetime guarantee, will last just as long as a concrete fence post. Opting to use timber which has a long-life guarantee, such as 25 years, ensures a net zero carbon footprint due to its longevity.”
He continues, “Concrete is one of the most destructive materials on Earth and the use of it should be heavily considered.” But concrete posts are considered robust, sturdy and longer lasting, but again they will need to be secured in the ground properly to be effective.
Cost wise, the price between wooden and concrete fence posts is negligible. Both cost around £10-£25 for 2.4m posts, depending on quality. But wooden posts are typically more secure.
Concrete posts are designed to slide a fence panel in – which can easily be lifted – “Timber fence panels can be secured to a timber fence post, increasing the overall security of a fence line, and will reduce the annoying rattle during windy conditions.” explains Barnes.
Do I need to add a gravel board to my fence?
Gravel boards like this wooden Blooma Lemhi Pressure treated Gravel board from B&Q, are boards that fit between the ground and a fence panel. They help protect a fence panel from ground moisture, so prolong the life of a fence panel. They are also available in concrete, but these are commonly more expensive.
While not compulsory, it makes sense to install a gravel board as they are typically cheaper to replace than a fence panel and easy to fit. If you are going to fit wooden gravel boards, lift a few millimetres above ground level to help water run under the board. Also, think of the local wildlife and cut a hole in one board large enough for a hedgehog to get through.
How high can a fence be without planning?
As a general guideline a fence needs to be over two metres before you need to consider getting planning permission for a fence. However, as you might expect it's not quite that straight forward as this.
If you're building a fence in your back garden and it's not adjacent to a highway used by vehicles the height limit is two metres. That's why most fence panels are 1.83m (this allows you to add a gravel board). A fence that is adjacent to a highway that is used by vehicles i.e front garden or driveway, is not allowed to be more than one metre high.
Want to know the costs for a new fence? Then check out our How Much Does it Cost to Install a Fence? guide. Need some inspiration and ideas for what type of fence you might want? Our Garden Fence Ideas and Driveway Fence Ideas are here to help.
Get the Homebuilding & Renovating Newsletter
Bring your dream home to life with expert advice, how to guides and design inspiration. Sign up for our newsletter and get two free tickets to a Homebuilding & Renovating Show near you.
Steve Jenkins is a freelance content creator with over two decades of experience working in digital and print and was previously the DIY content editor for Homebuilding & Renovating.
He is a keen DIYer with over 20 years of experience in transforming and renovating the many homes he has lived in. He specialises in painting and decorating, but has a wide range of skills gleaned from working in the building trade for around 10 years and spending time at night school learning how to plaster and plumb.
He has fitted kitchens, tiled bathrooms and kitchens, laid many floors, built partition walls, plastered walls, plumbed in bathrooms, worked on loft conversions and much more. And when he's not sure how to tackle a DIY project he has a wide network of friends – including plumbers, gas engineers, tilers, carpenters, painters and decorators, electricians and builders – in the trade to call upon.

