How to build a deck frame to give a solid base for boards
Knowing how to build a deck frame is key to ensuring the longevity of your deck. Here you can get some expert tips and techniques to make sure you get it right

When it's time for a smart new deck you need to know how to build a deck frame before you can add any finishing touches. A solid well-built deck frame may not take the plaudits for looking good, but without it your lovely new deck won’t stay looking good for long.
How long decking lasts will depend very much on how well-constructed your deck frame is. Here we reveal what timber you need, how to attach the frame to your home and what tools and measurements you’ll need to build a sound, secure deck frame.
How to build a deck frame: Where should it go?
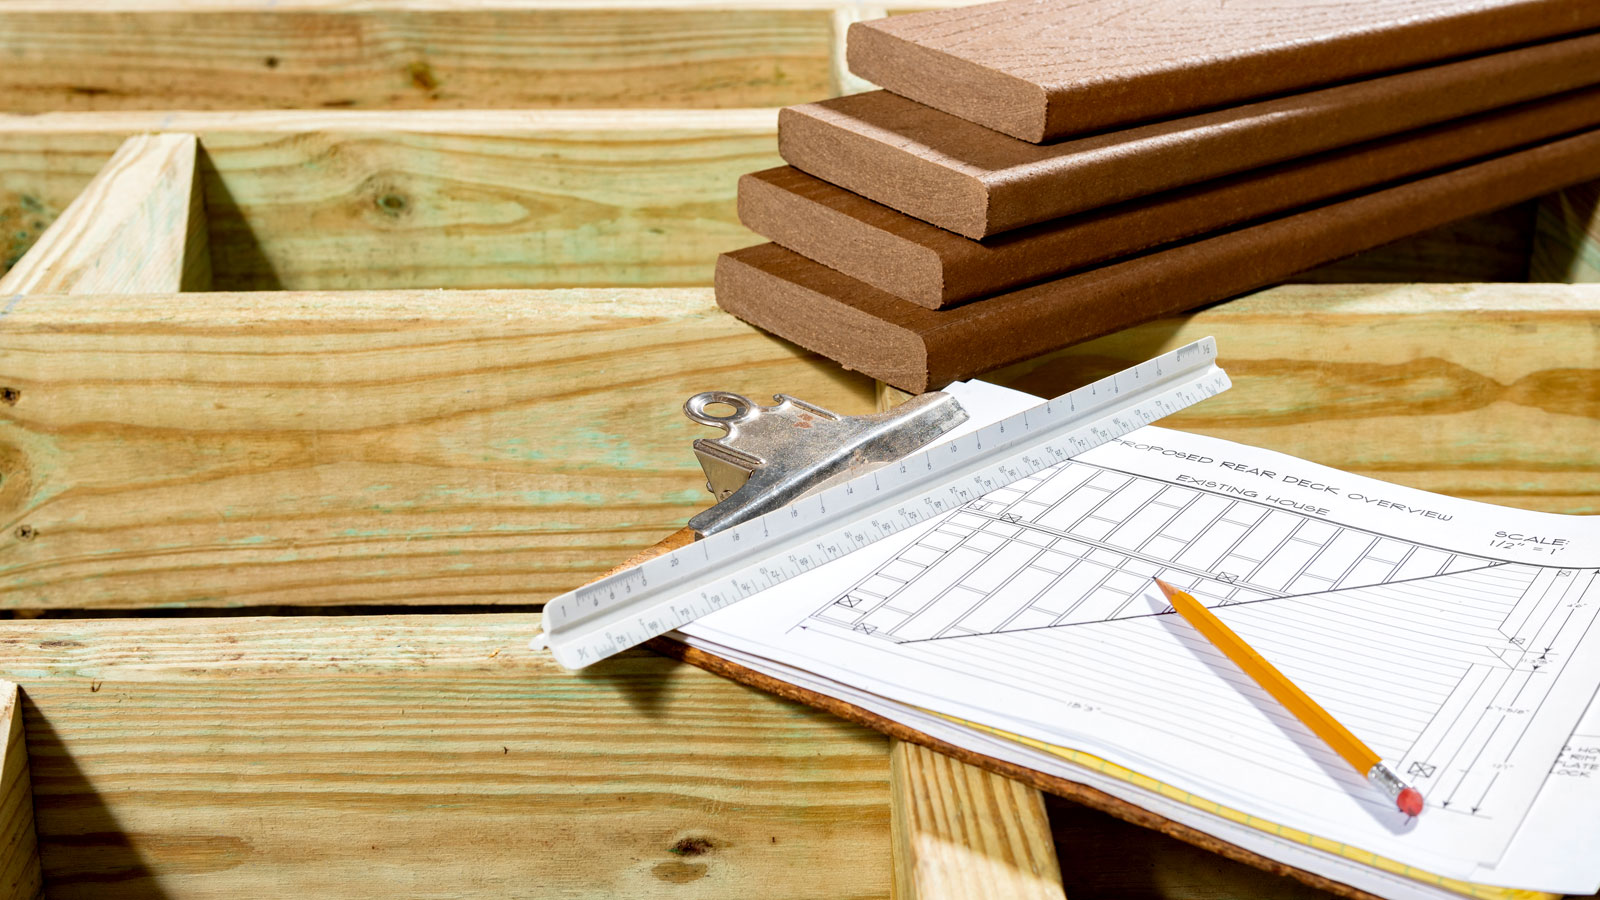
Before you even think about building a deck frame you need to decide on its position. Planning ahead will ensure that you (hopefully) don’t encounter any major issues further down the line. “You should always think about how you might want to use the space,” suggests Lee Heitzman, UK and Ireland Market Manager at Trex UK. “Where gets the most sunlight? Are you wanting to use the space for entertainment? And, check with your local council for guidelines on planning permission requirements.”
Do you want to access the deck directly from a door? Or is the door too low for a deck? Will the deck be under a tree or bushes? If it is falling leaves, bird droppings and general garden debris can drop onto the deck and stain and spoil the surface. So think carefully before you start.

Working in the industry since the age of 17, Lee is passionate about his work, helping grow Trex position in the UK whilst delivering training to stockists and installers.
How to build a deck frame: Step-by-step guide
Before you start, make sure that you have chosen a suitable spot to build and have all your tools – drill, screws, saw – and timber nearby and ready to go.
1. Prepare the ground
Before you build a deck frame you need to prep the area where it's being built. Assuming the area you are working in is reasonably flat and level, “You can mark it out with a series of string lines.” explains Heitzman. “This will allow you to mark where your posts will be located.” You can use any type of string, which can be easily purchased on sites such as Amazon.
He continues, “Once you have dug a hole for the posts – to a minimum of 600mm in depth, you can then concrete your posts in.” Just remember, “Ensure that they are at the required height and level.” adds Lee.
Structural posts should be positioned in each corner and every 1.5-1.8m. For example, if you have a 3m x 3m frame. you would have a post in each corner and one in-between at 1.5m and a post in the middle.
To finish the area Heitzman says, “Cover with a weed suppressant membrane and a layer of pea shingle to help weigh it down.” Again, weed membrane can be easily found on Amazon and pea shingle at your local building supplies store, such as Travis Perkins.
2. Add wall plate
A wall plate is used when building a deck frame that is connected to the house. As part of the outer frame, “It is a good idea to pack this off the wall using spacers to allow for airflow,” shares Heitzman. “You can also add TrexProtect tape to the back of the joist to give it protection against moisture.”
To attach the wall plate (which is effectively a joist), “Drill and use threaded bolts with a chemical resin solution to give you a strong connection”.
Use a spirit level and pencil to mark where the wall plate is going. Make sure that the top of the wall plate is at least the deck board depth plus 10mm, i.e 24mm + 10mm, below the bottom of any doors or access points.
Drill pilot holes (big enough for your screws/bolts) 50mm in from the top and bottom edge of the joist at approximately 600mm intervals.
3. Build the frame
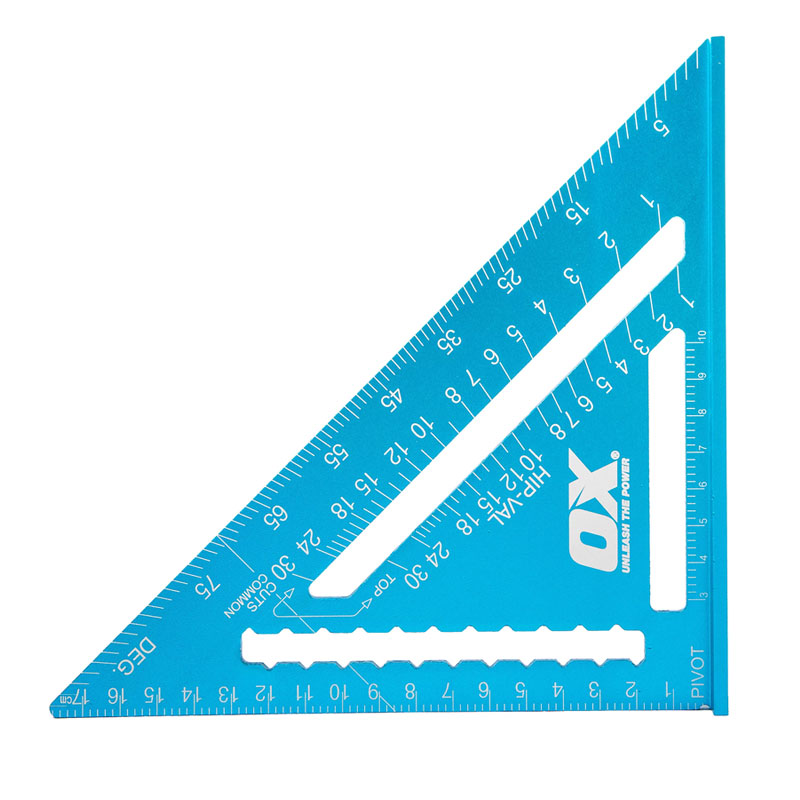
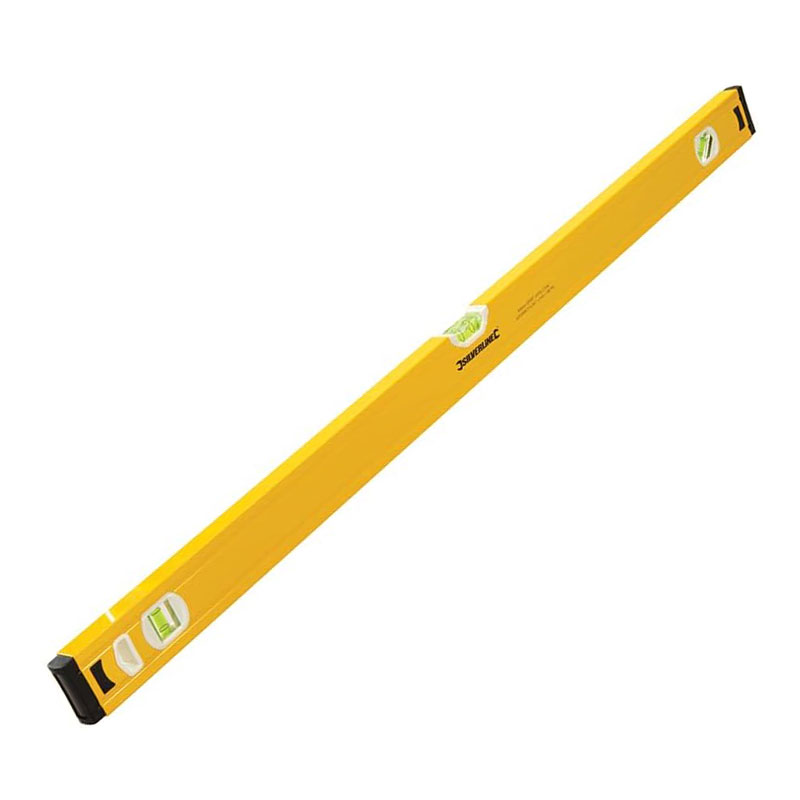
“When building the frame, you should use a framing square (or rafter square) to ensure the deck is square, and also use a spirit level to ensure your frame is level.” recommends Heitzman.
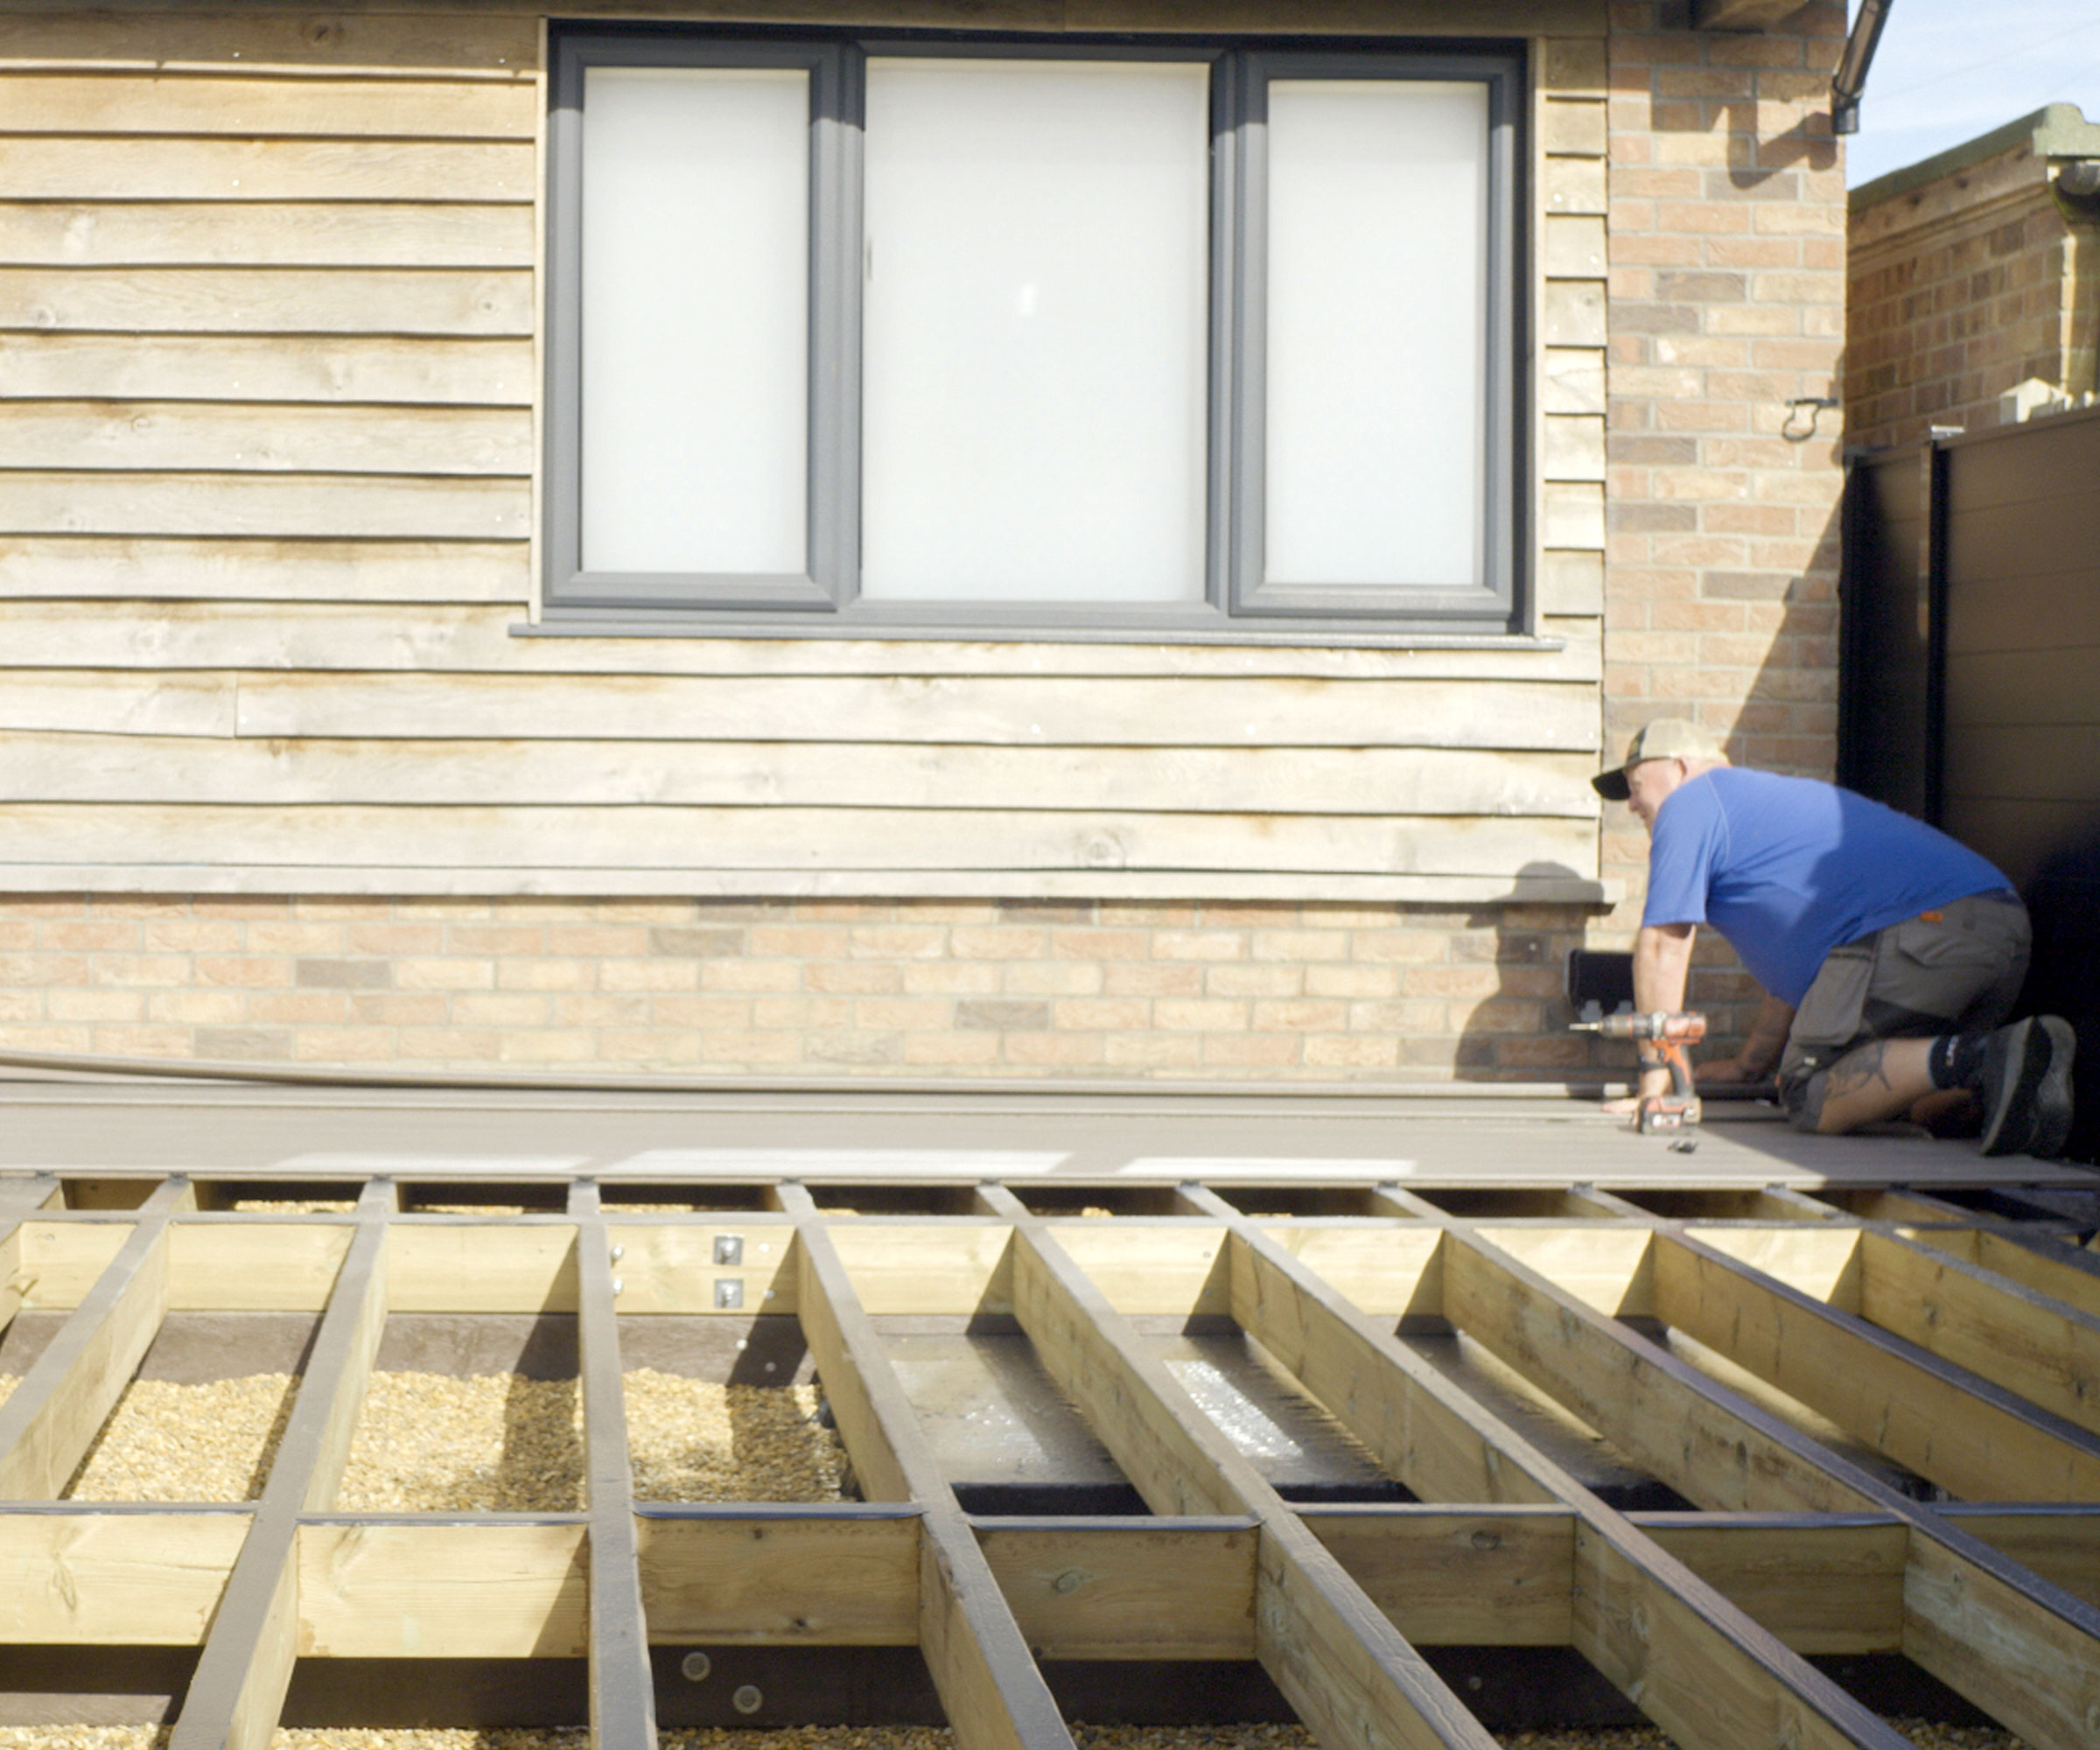
Cut the joists to size and lay out the frame and screw in at each corner with two screws. Remember to make sure that the frame is square. Now you need to start adding joists.
“Joist layout is determined by the design of your deck, but as a guide, wherever a deck board starts and ends, the first and last joist should be at a maximum of 250mm on centre, joists between that would need to be at a maximum of 400mm on centre,” continues Lee.
Secure the joists with large screws or use joist hangers to support the joist. Once all the joists are in place you need to add noggins. These are the short pieces of wood between joists. “Noggins are added to support the frame and stop lateral twist. Recommendations would be to add noggins every 800mm maximum.” shares Heitzman.
Use a square to mark a straight vertical line on the joist, then drill pilot holes using the best cordless drills around 50mm from top and bottom and screw in the noggin. Do this on both sides of the noggin.

Try these tools when building a deck frame

An ultra compact, lightweight cordless combi drill with two speeds and a 13mm keyless chuck for quick and easy changing of bits
FAQs
What size timber do I need for a decking frame?
The size of the timber you’ll need will depend on the size of the decking frame. But whatever size it is it will be the same size for the outer frame, joists, and noggins. But what size should they be? “The height of your deck in relation to the ground may play a part in deciding your joist height,” shares Heitzman. “But, a recommended minimum of 47mm x150mm is advised.”
And it's not just the size of the timber that is important as Heitzman adds, “Use a timber treated to UC4 for external use, and C24 strength graded is recommended to ensure the longevity of your frame. You should also treat every cut end of the frame.”
What does UC4 mean? UC4 means that the timber is pressure treated to a specific level that allows it to be used in the ground. UC4 timber has a warranty for 15 years. What does C24 mean? This refers to the strength of the timber as well as the appearance, density and moisture. In the UK you will find that C16 timber and C24 timber are the common choices, with C24 being stronger than C16.
What is the best way to construct a deck frame?
A deck frame needs to be securely fixed together as it can see heavy loads. “When screwing the frame together, it's vital to use construction grade fixings that have been tested for a high sheer point,” explains Heitzman.
“The deck frame will be heavy, construction grade fixings are designed to deal with the outside elements and high loads that are found in a deck. Remember, the deck will only last as long as the framing.”
100mm-150mm screws are recommended to ensure a good tight fit for the outer frame. Use an impact driver to drive the screws in. The joists and noggins can be attached using a technique known as toenailing. This is driving in a screw or nail at an angle.
Joists can also be attached with a joist hanger. These are typically the strongest, safest and easiest option to attach a joist to a deck frame. If using joist hangers make sure to get the right size fixings (nails, screws) to attach them to the frame and joists.
Does a deck frame need to be treated before adding boards?
If you have bought the right timber for your deck frame it should already be treated, “The frame should already be treated to UC4 for external use” shares Heitzman.
While it is a sensible idea to treat any exposed cuts, there is something else you should do. “Providing you have treated all cut ends, the last step would be to add TrexProtect tape (or similar) to the tops of all the timber,” explains Heitzman.
“This butyl-backed tape sticks to the surface and provides added protection by waterproofing your timber surfaces. When the decking fixings penetrate the tape, the butyl flows around the fixing to help make the connection watertight, greatly increasing the life of your subframe.”
Building a deck frame is just the beginning when adding a deck to your home. After adding your boards – should you choose wood or composite decking? – you need to think about decking maintenance and some smart decking lighting ideas to make it look good.
Get the Homebuilding & Renovating Newsletter
Bring your dream home to life with expert advice, how to guides and design inspiration. Sign up for our newsletter and get two free tickets to a Homebuilding & Renovating Show near you.
Steve Jenkins is a freelance content creator with over two decades of experience working in digital and print and was previously the DIY content editor for Homebuilding & Renovating.
He is a keen DIYer with over 20 years of experience in transforming and renovating the many homes he has lived in. He specialises in painting and decorating, but has a wide range of skills gleaned from working in the building trade for around 10 years and spending time at night school learning how to plaster and plumb.
He has fitted kitchens, tiled bathrooms and kitchens, laid many floors, built partition walls, plastered walls, plumbed in bathrooms, worked on loft conversions and much more. And when he's not sure how to tackle a DIY project he has a wide network of friends – including plumbers, gas engineers, tilers, carpenters, painters and decorators, electricians and builders – in the trade to call upon.


