How to build a dead hedge for the ultimate wildlife-friendly addition to your garden
Rather than throw your woody prunings onto a bonfire or take them to the tip, consider creating a “dead hedge” instead
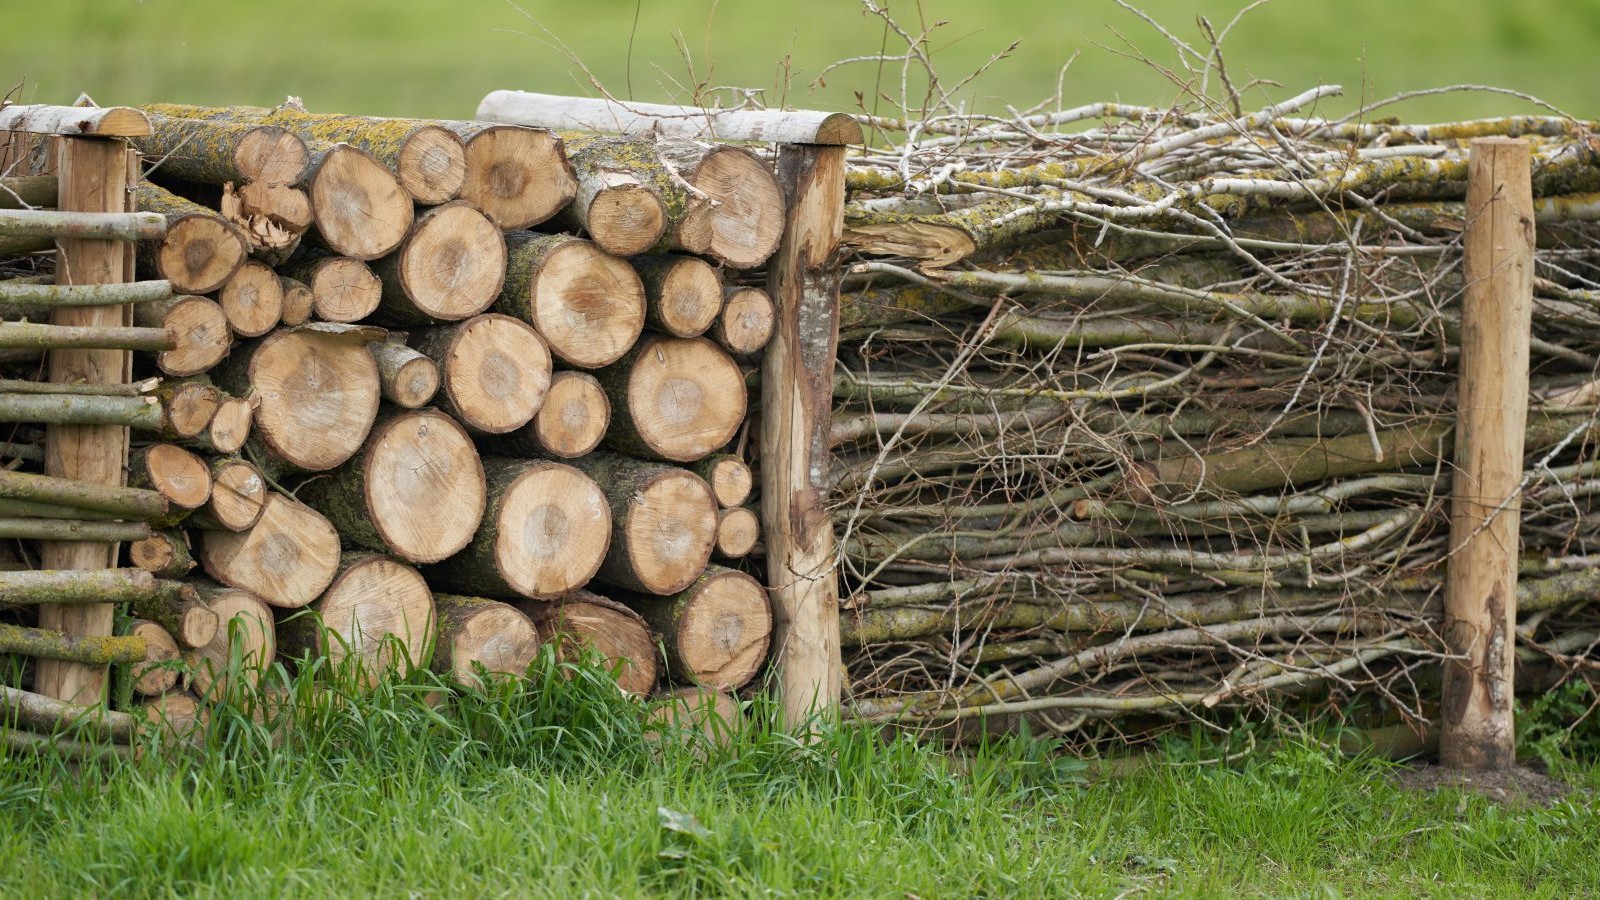
It might sound like a bit of an oxymoron, but dead hedges or “brash hedges” are full of life.
When branches and twigs are stacked to form a dead hedge, they don’t just sit there – they become a habitat. Over time, the wood material supports a whole community of life including insects, small mammals and birds. And far from being an eyesore, dead hedges add rustic charm to wildlife-friendly gardens, big or small.
Building a dead hedge is a practical, ecological, and aesthetic choice. Here's our step-by-step guide on how to build one.
What is a dead hedge?
Dead hedging is not the same as hedging laying. The latter is where living hedge plants are partially cut near the base and then bent over and interwoven to create a dense, living barrier. A dead hedge repurposes "brash" (woody offcuts from pruning shrubs and trimming or cutting down trees) to create a screen, barrier or partition.
“Think of a dead hedge as a home-made fence using cut, dead wood – I guess it’s the woody equivalent of a dry-stone wall, says RHS Horticultural Advisor, Nick Turrell. "A dead hedge can be as high or low as you need, so even in a small garden it's possible to have one, perhaps as edging in a wildlife border. And it doesn’t have to be straight, it can be curvilinear.”
A dead hedge is super eco-friendly too. “Using up the prunings from your garden prevents them being burnt on bonfires”, says Nick. "Even sending them to council recycling centres creates a carbon footprint – from the collection lorry and the power used by the industrial shredder”.

Nick has designed gardens across the UK, including Bowden Park Estate in Wiltshire. He has also presented gardening programmes on both television and radio for the BBC.
Materials for building a dead hedge
- Longer, thicker branches (to act as the structure)
- Shorter, smaller twigs and branches (to fill gaps)
- Pruning loppers or a saw (for cutting branches if needed)
How to build a dead hedge
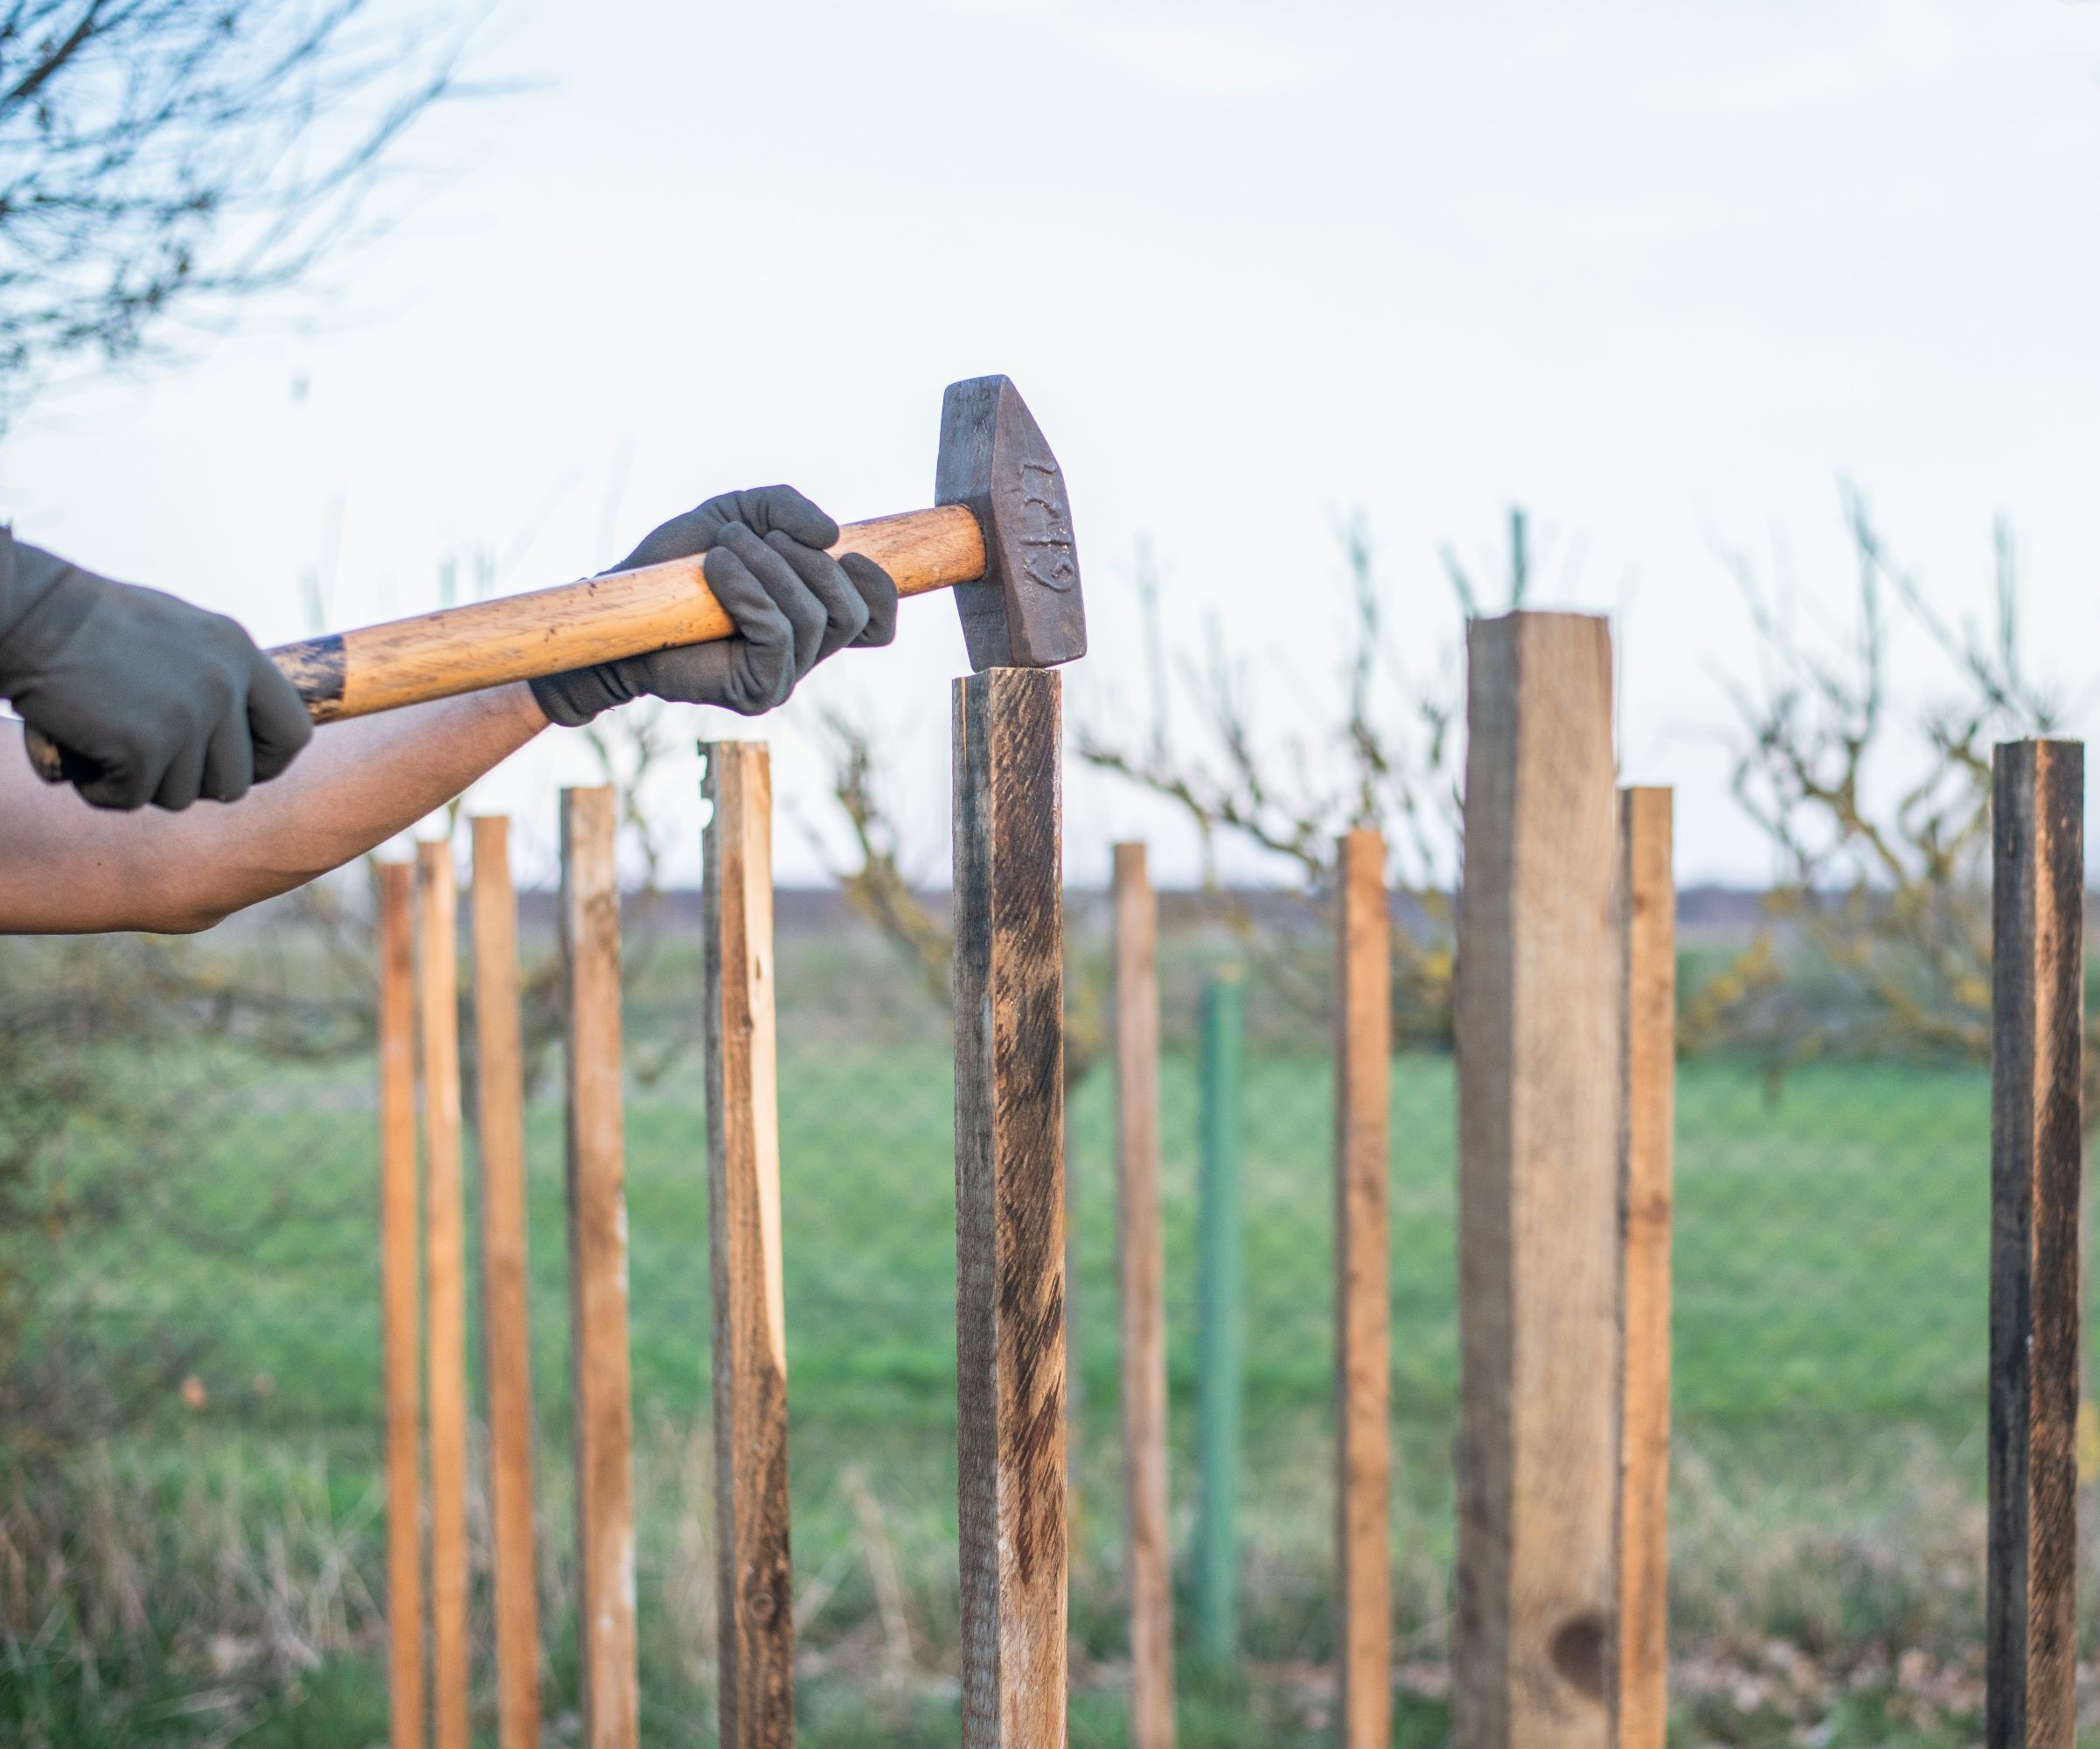
Dead hedges are dead easy to make. You can use either a single or a double row of uprights when making one. A single row will give a more lightweight or informal structure and is quicker to set up.
However, it can be harder to keep the brash in place unless you have lengthy branches that will span three or four posts. A double row of uprights requires more time initially to get the posts in, but then it’s very easy to stack the centre space with various lengths of deadwood.
1. Choose a location
Decide where you want to build the hedge and how big or small you want it to be, also whether you’re going to use a single or double row of uprights. Consider factors like wind direction (if you want it as a windbreak) or if you want to use the hedge to screen-off an unsightly area.
2. Prepare your materials
Gather fallen branches, twigs, and woody debris from around your garden or land. You can also prune branches from trees or shrubs if needed. Try to use a mix of sizes for texture and to fill gaps.
3. Add in the uprights
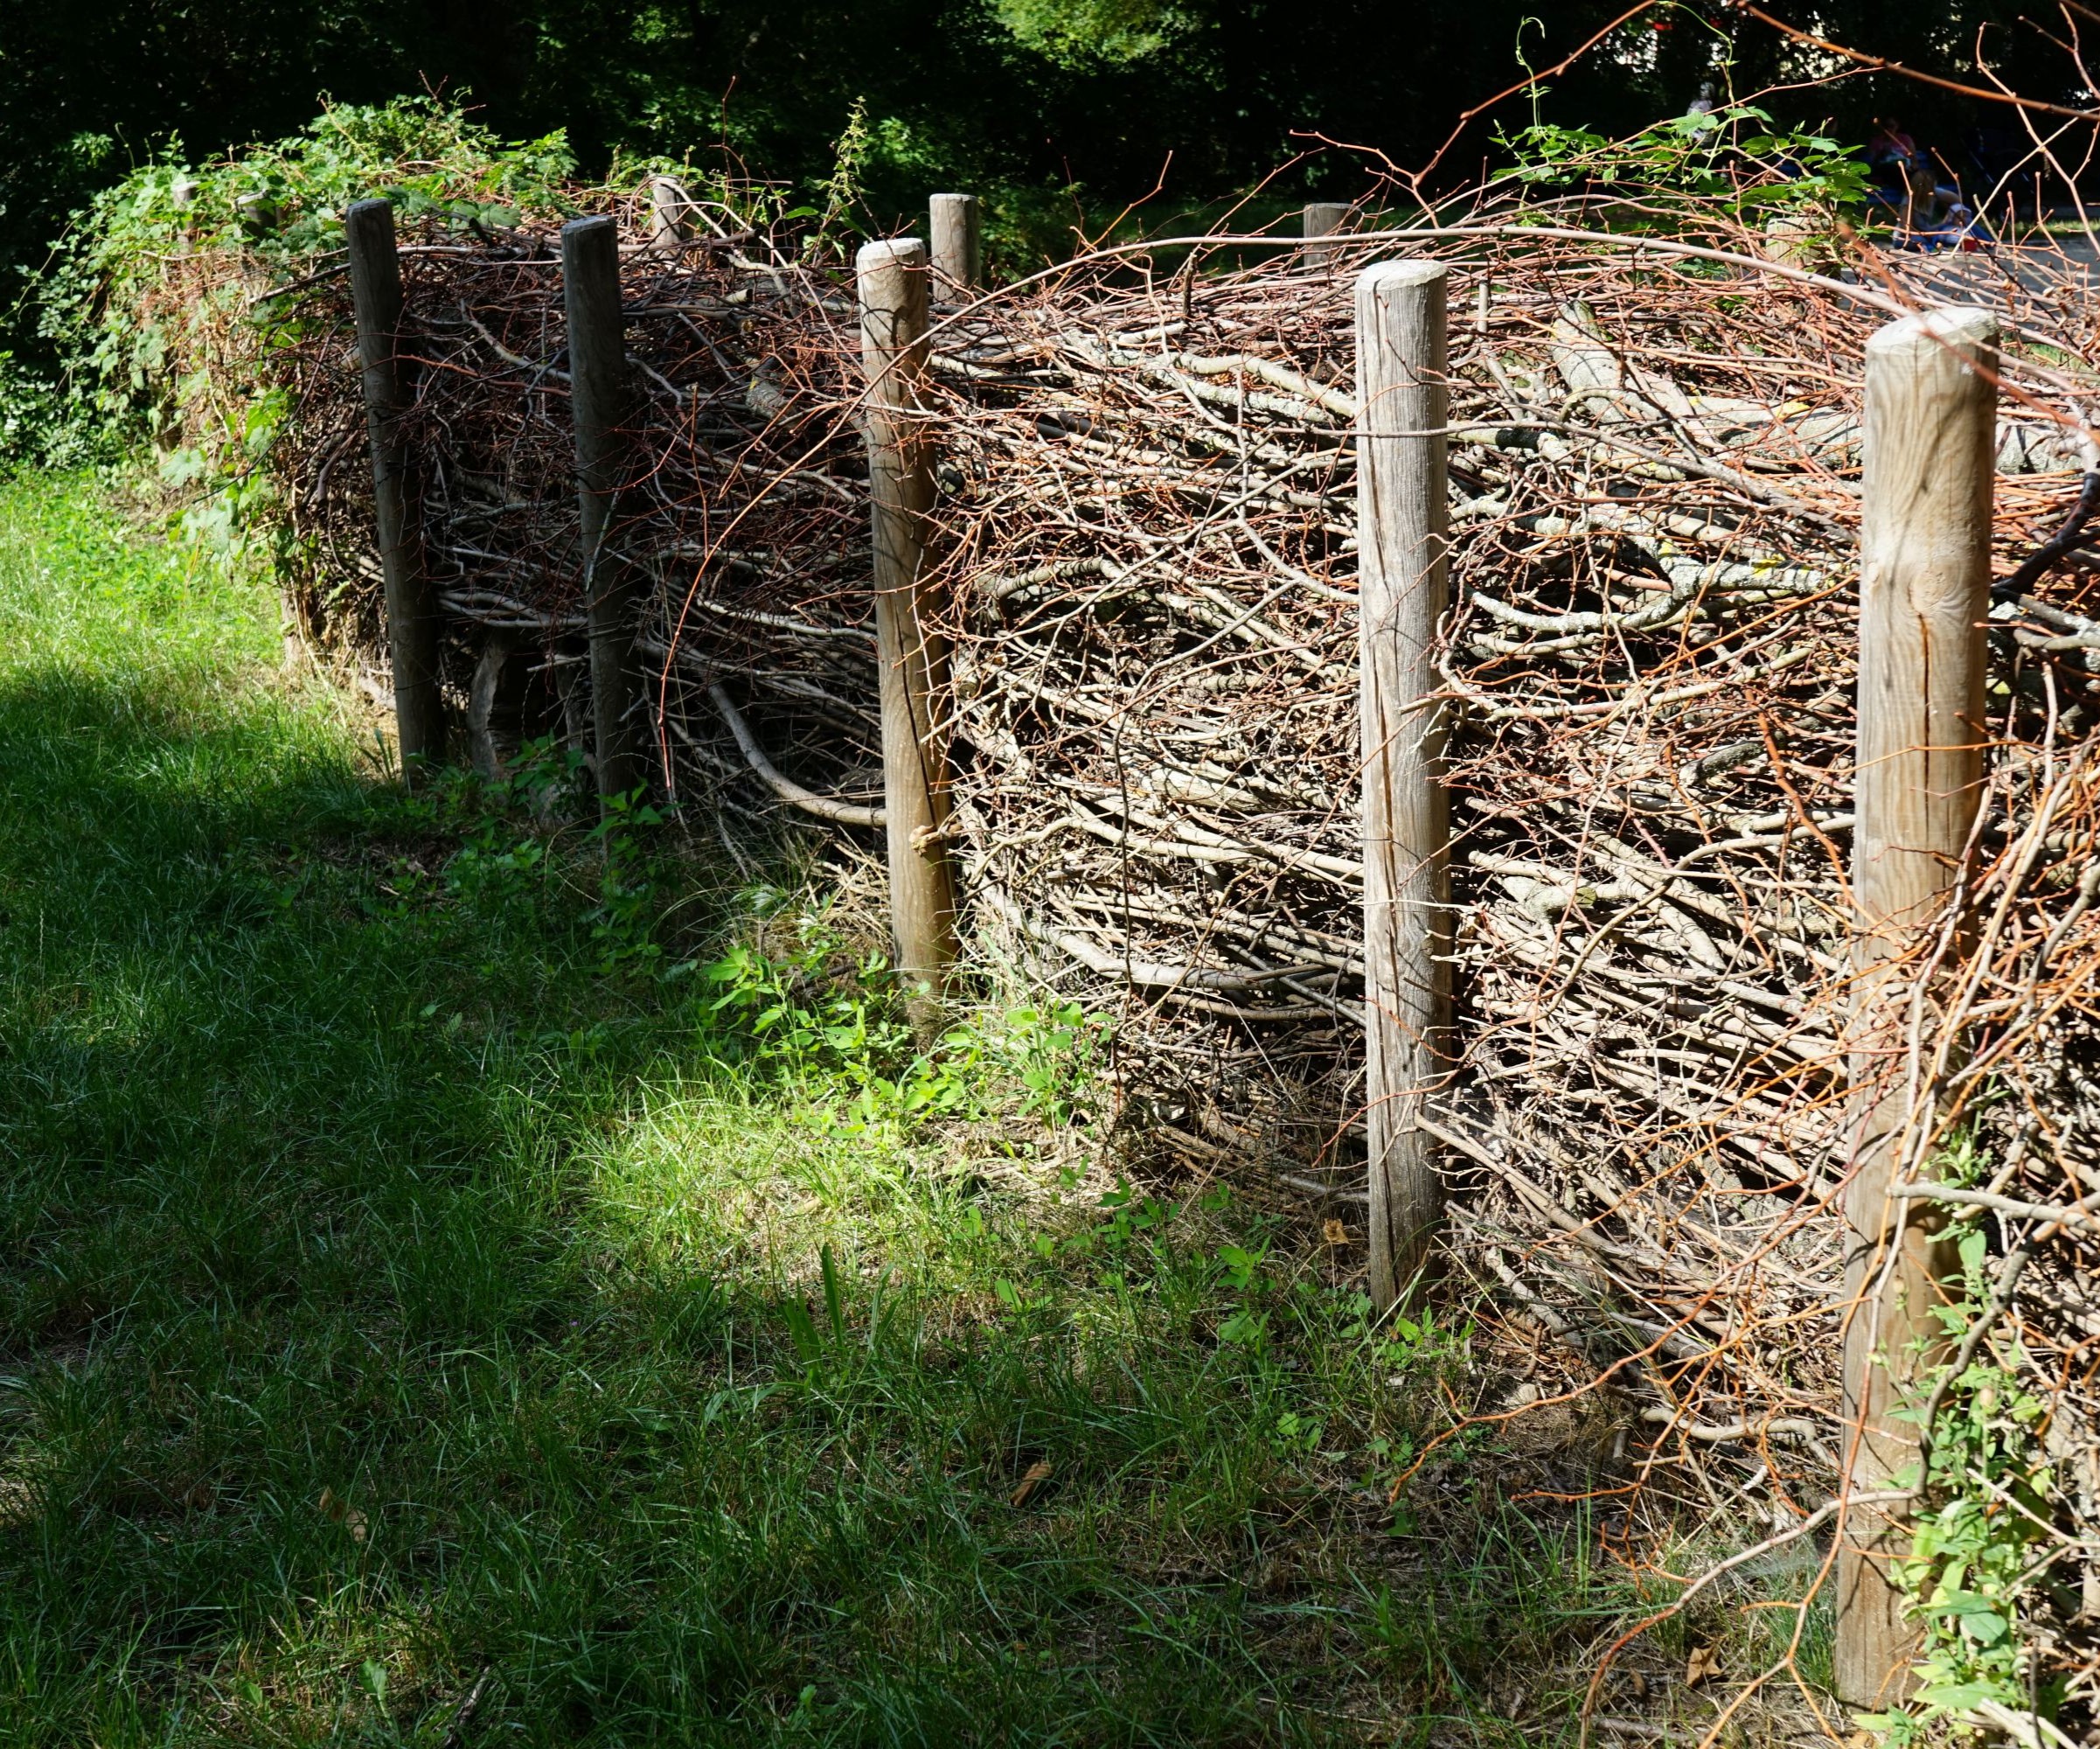
When it comes to getting the uprights into the ground, it’s easier to dig a hole, then place the upright in and backfill with soil, as this prevents the top of the upright having that ‘hammered’ look to it, advises Nick. The stakes need to be buried into the ground to about a third of their total length.
“Anything can be used as uprights”, add Nick. "I used chunky lengths of timber cut from a laurel when I made the dead hedges at RHS Wisley Garden – they’re not perfectly straight but I liked this as it made the hedge look more rustic. Freshly sawn timber might look a bit incongruous and jar on the eye.” Instead, look for local suppliers of coppiced posts and poles in your area or better yet, use any straighter branches you find when cutting larger hedges or trees with the best hedge trimmers.
The stakes need to be positioned approximately every 1 to 1.5 meters, either in a single or double row. To make weaving easier with a single row, slightly stagger the stakes – about 10-15 cm apart. With a double row, the space between the parallel rows is much wider, approximately 45 to 60 cm apart.
4. Create the structure
“A single row of uprights ideally needs long branches to weave through three, even four posts to make the hedge strong”, says a worker for a volunteer gardening group on Hampstead Heath, London. They build natural hedges to protect the Heath’s endangered wildlife. “The longer branches can be quite loosely woven and then you can fill in the gaps with brash and twigs”.
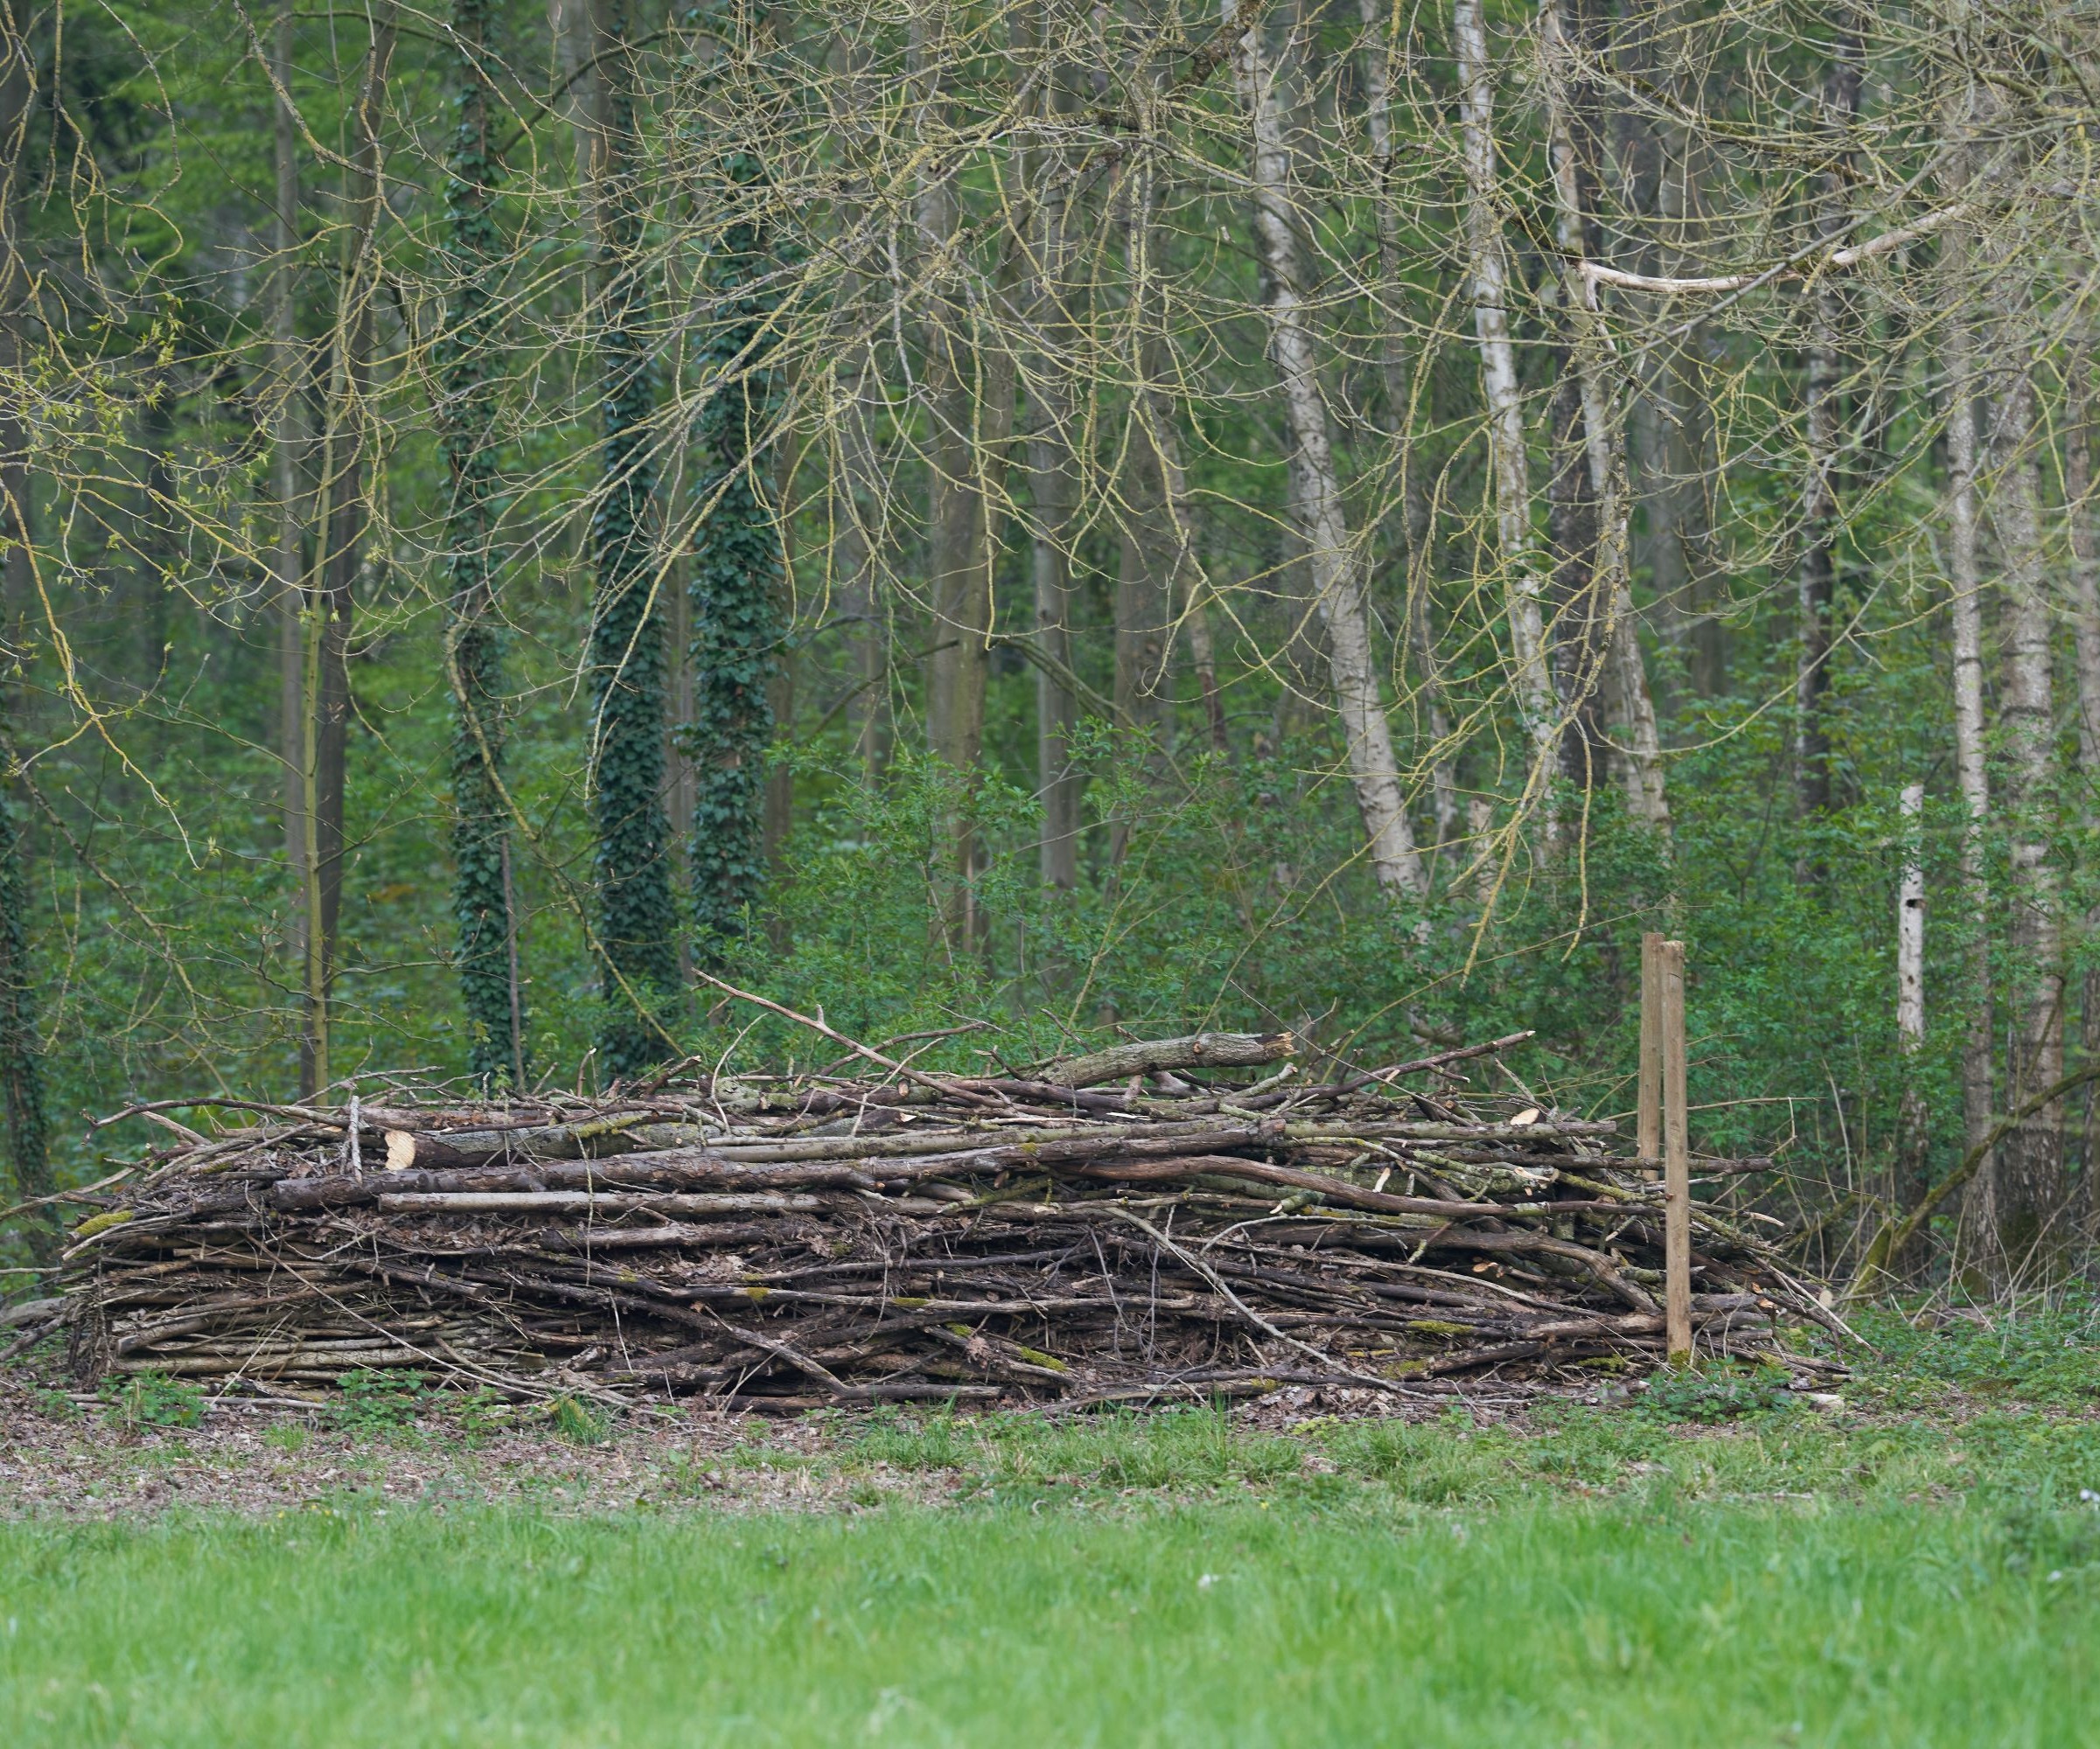
With a double row, you can simply stack any woody material you have into the space between the rows, either all at once or as you acquire woody prunings throughout the year. Try to keep the stack as dense as possible.

5. Fill in the Gaps
Continue adding smaller twigs or branches to fill in any gaps. You want to ensure that the hedge is dense enough to serve its purpose, whether it's for privacy, wind protection, or habitat for wildlife.
6. Maintenance
Over time, dead hedges can decay or lose their shape. You might need to occasionally add more twigs or branches to reinforce the structure or fill any new gaps that appear.
Additional tips for the wow factor
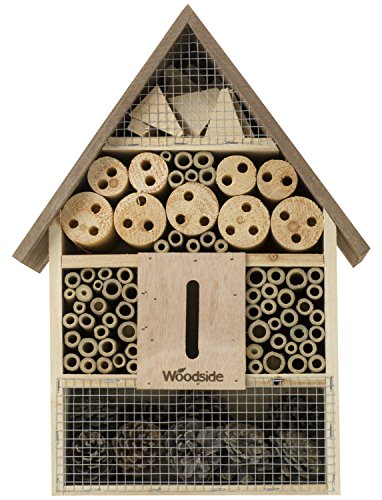
- Add in hedgehog houses: Tanya Anderson of Lovely Greens, an experienced organic gardener on the Isle of Man likes to add in old roofing tiles at the base of her dead hedge to create shelter for hedgehogs and other small mammals.
- Durability: Build up your hedge bit by bit, month by month, whenever you do a little pruning or tidying around the garden.
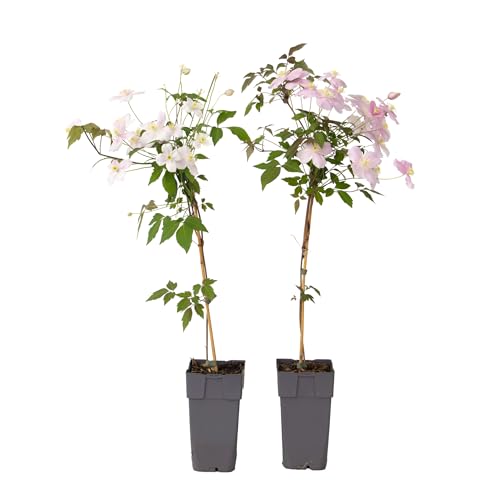
- Add some colour: The RSPB recommends climbing fence plants such as honeysuckle or Clematis Rehderiana over the hedge, or sowing a mini meadow nearby.
Shop climbing plants and hedgehog houses
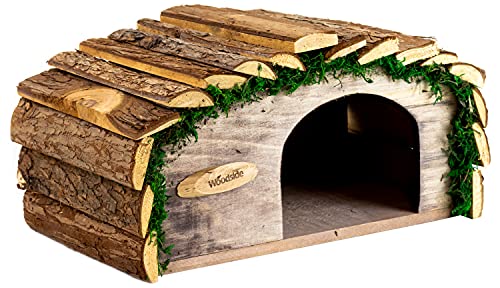
Place this in a nice, quiet and sheltered area and encourage hedgehogs to take up permanent residence in your garden. Safe for hibernation, breeding and staying away from predators.
While a dead hedge can be great for both wildlife as well as zoning or screening off sections of your garden, it might be worth considering other garden screening ideas too when it comes to the landscaping of the land around your home. You might also want to look at fast growing hedges for elsewhere in the garden.
Get the Homebuilding & Renovating Newsletter
Bring your dream home to life with expert advice, how to guides and design inspiration. Sign up for our newsletter and get two free tickets to a Homebuilding & Renovating Show near you.
Sally has worked in gardening journalism for over a decade and was the former Deputy editor of Amateur Gardening magazine. She has written gardening content for homesandgardens.com, Easy Gardens magazine, and The Garden magazine.
She has a degree in Horticulture from Writtle College, and loves both the creative and ecological aspects of garden making.
When Sally isn’t writing, she is gardening for local clients and her own little patch in Bournemouth. She is particularly interested in gardening for wellbeing and ways to transform a garden on a budget.
