How to build a brick BBQ for less than £150
Learn how to build a brick BBQ, in six steps, for a permanent structure to cook and grill your favourite foods on the next time the sun's out
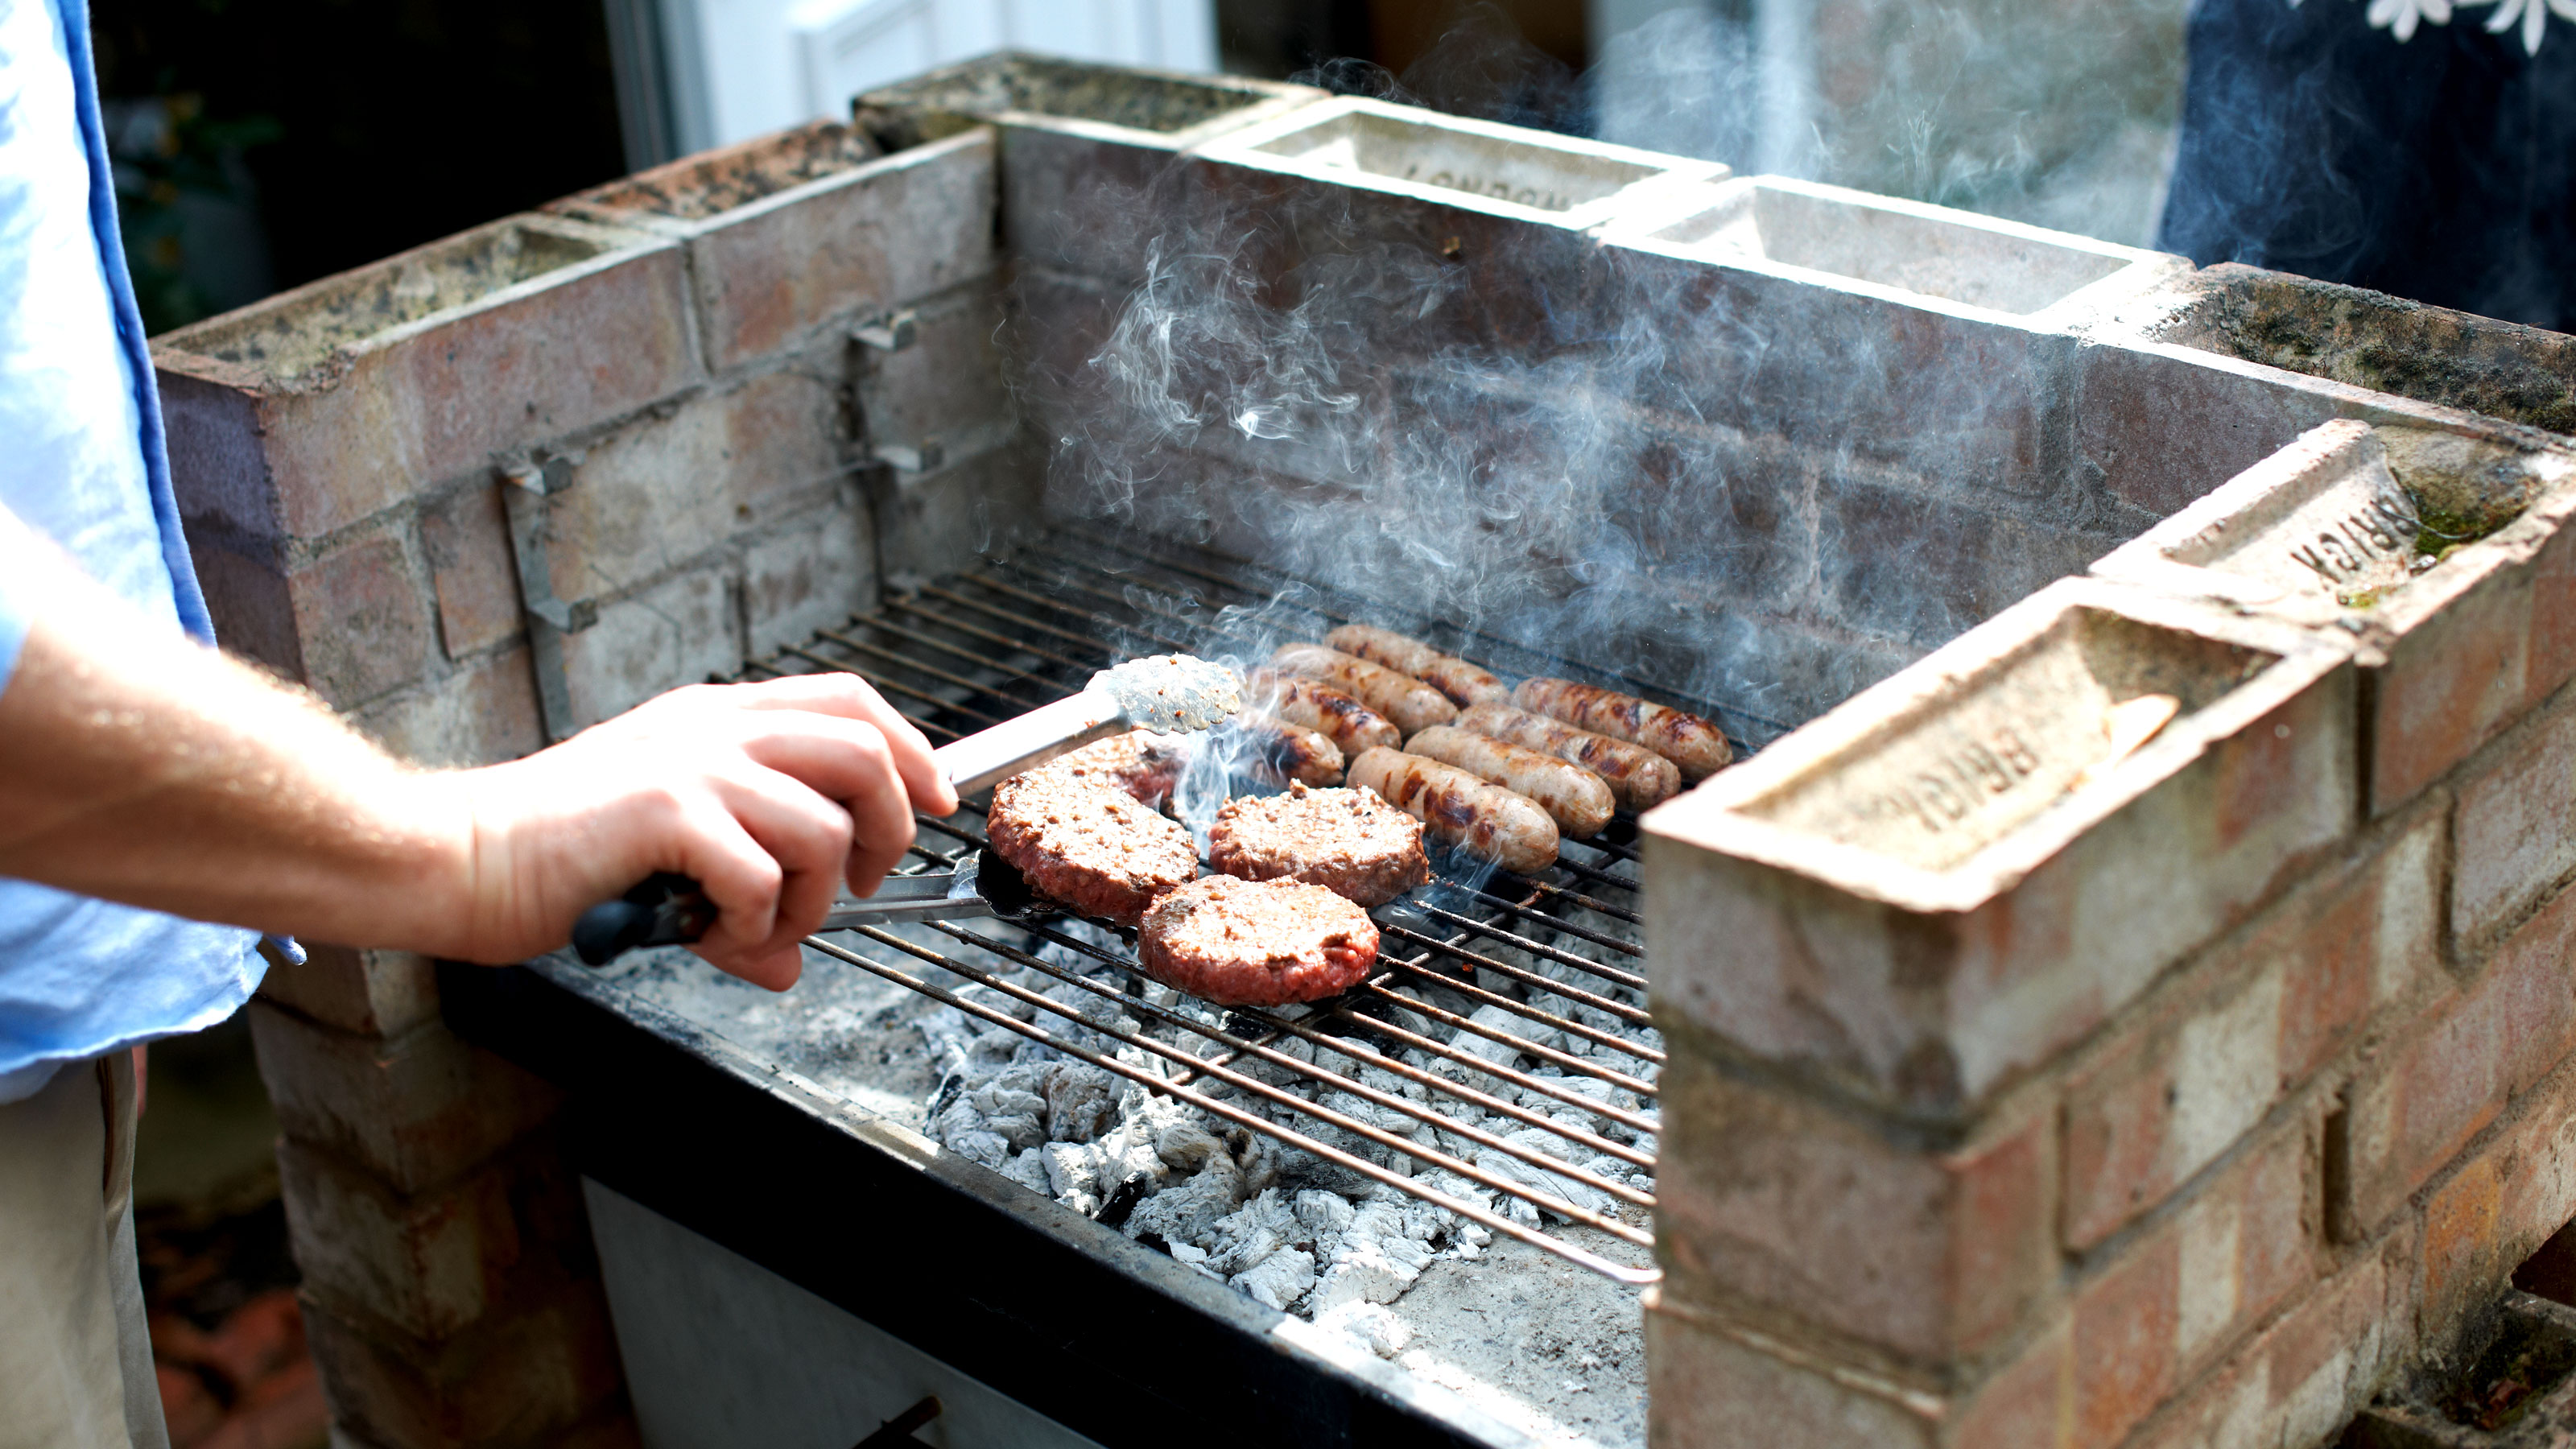
If you love a barbeque, then learning how to build a brick BBQ can be a great way to recreate that succulent smoky flavour that you can only get from cooking on an open fire. You can take a trip to your local DIY store to splash out on a budget barbeque. However, if you want a sturdy, long-lasting barbeque, brick could be the way forward.
Before you start you need to find the right spot to place your barbeque. Look to stay away from windy areas, shrubs, bushes and wooden fences. A secure base is essential and a well designed patio can provide the perfect platform.
Here we guide you through the process of building a brick barbeque and how much you can expect to pay.
How to build a brick BBQ in six steps
You'll need to pick a rain-free day to begin building your brick BBQ. Plus you need to ensure you have all materials and tools to hand, including:
- Bricks
- Sand and cement
- Brick trowel
- Pointing trowel
- BBQ grill kit
- Spirit level
- Spade
- Bucket
1. Decide where to build
Think about where you want to build your barbeque as it's going to be a permanent structure. Choose an area that’s flat – ideally on a patio or other area of hardstanding – away from the wind and fences. Ideally you'll want to build the BBQ near the kitchen — though this isn’t essential.
If you don’t have a flat, secure area you can lay a few slabs or learn how to lay a patio to create the base.
2. Work out the layout
Get your charcoal tray or cooking grill and lay on the floor where you want to build your barbeque. Place your bricks around the back edge and sides leaving a 10-15mm gap between the brick and the grill edge.
Make sure there is a gap of around 15mm between each brick. You will typically have four bricks at the back and two on each side. Use a chalk or similar to mark where the outer edge of the bricks lie and move the bricks to one side.
3. Mix up your mortar
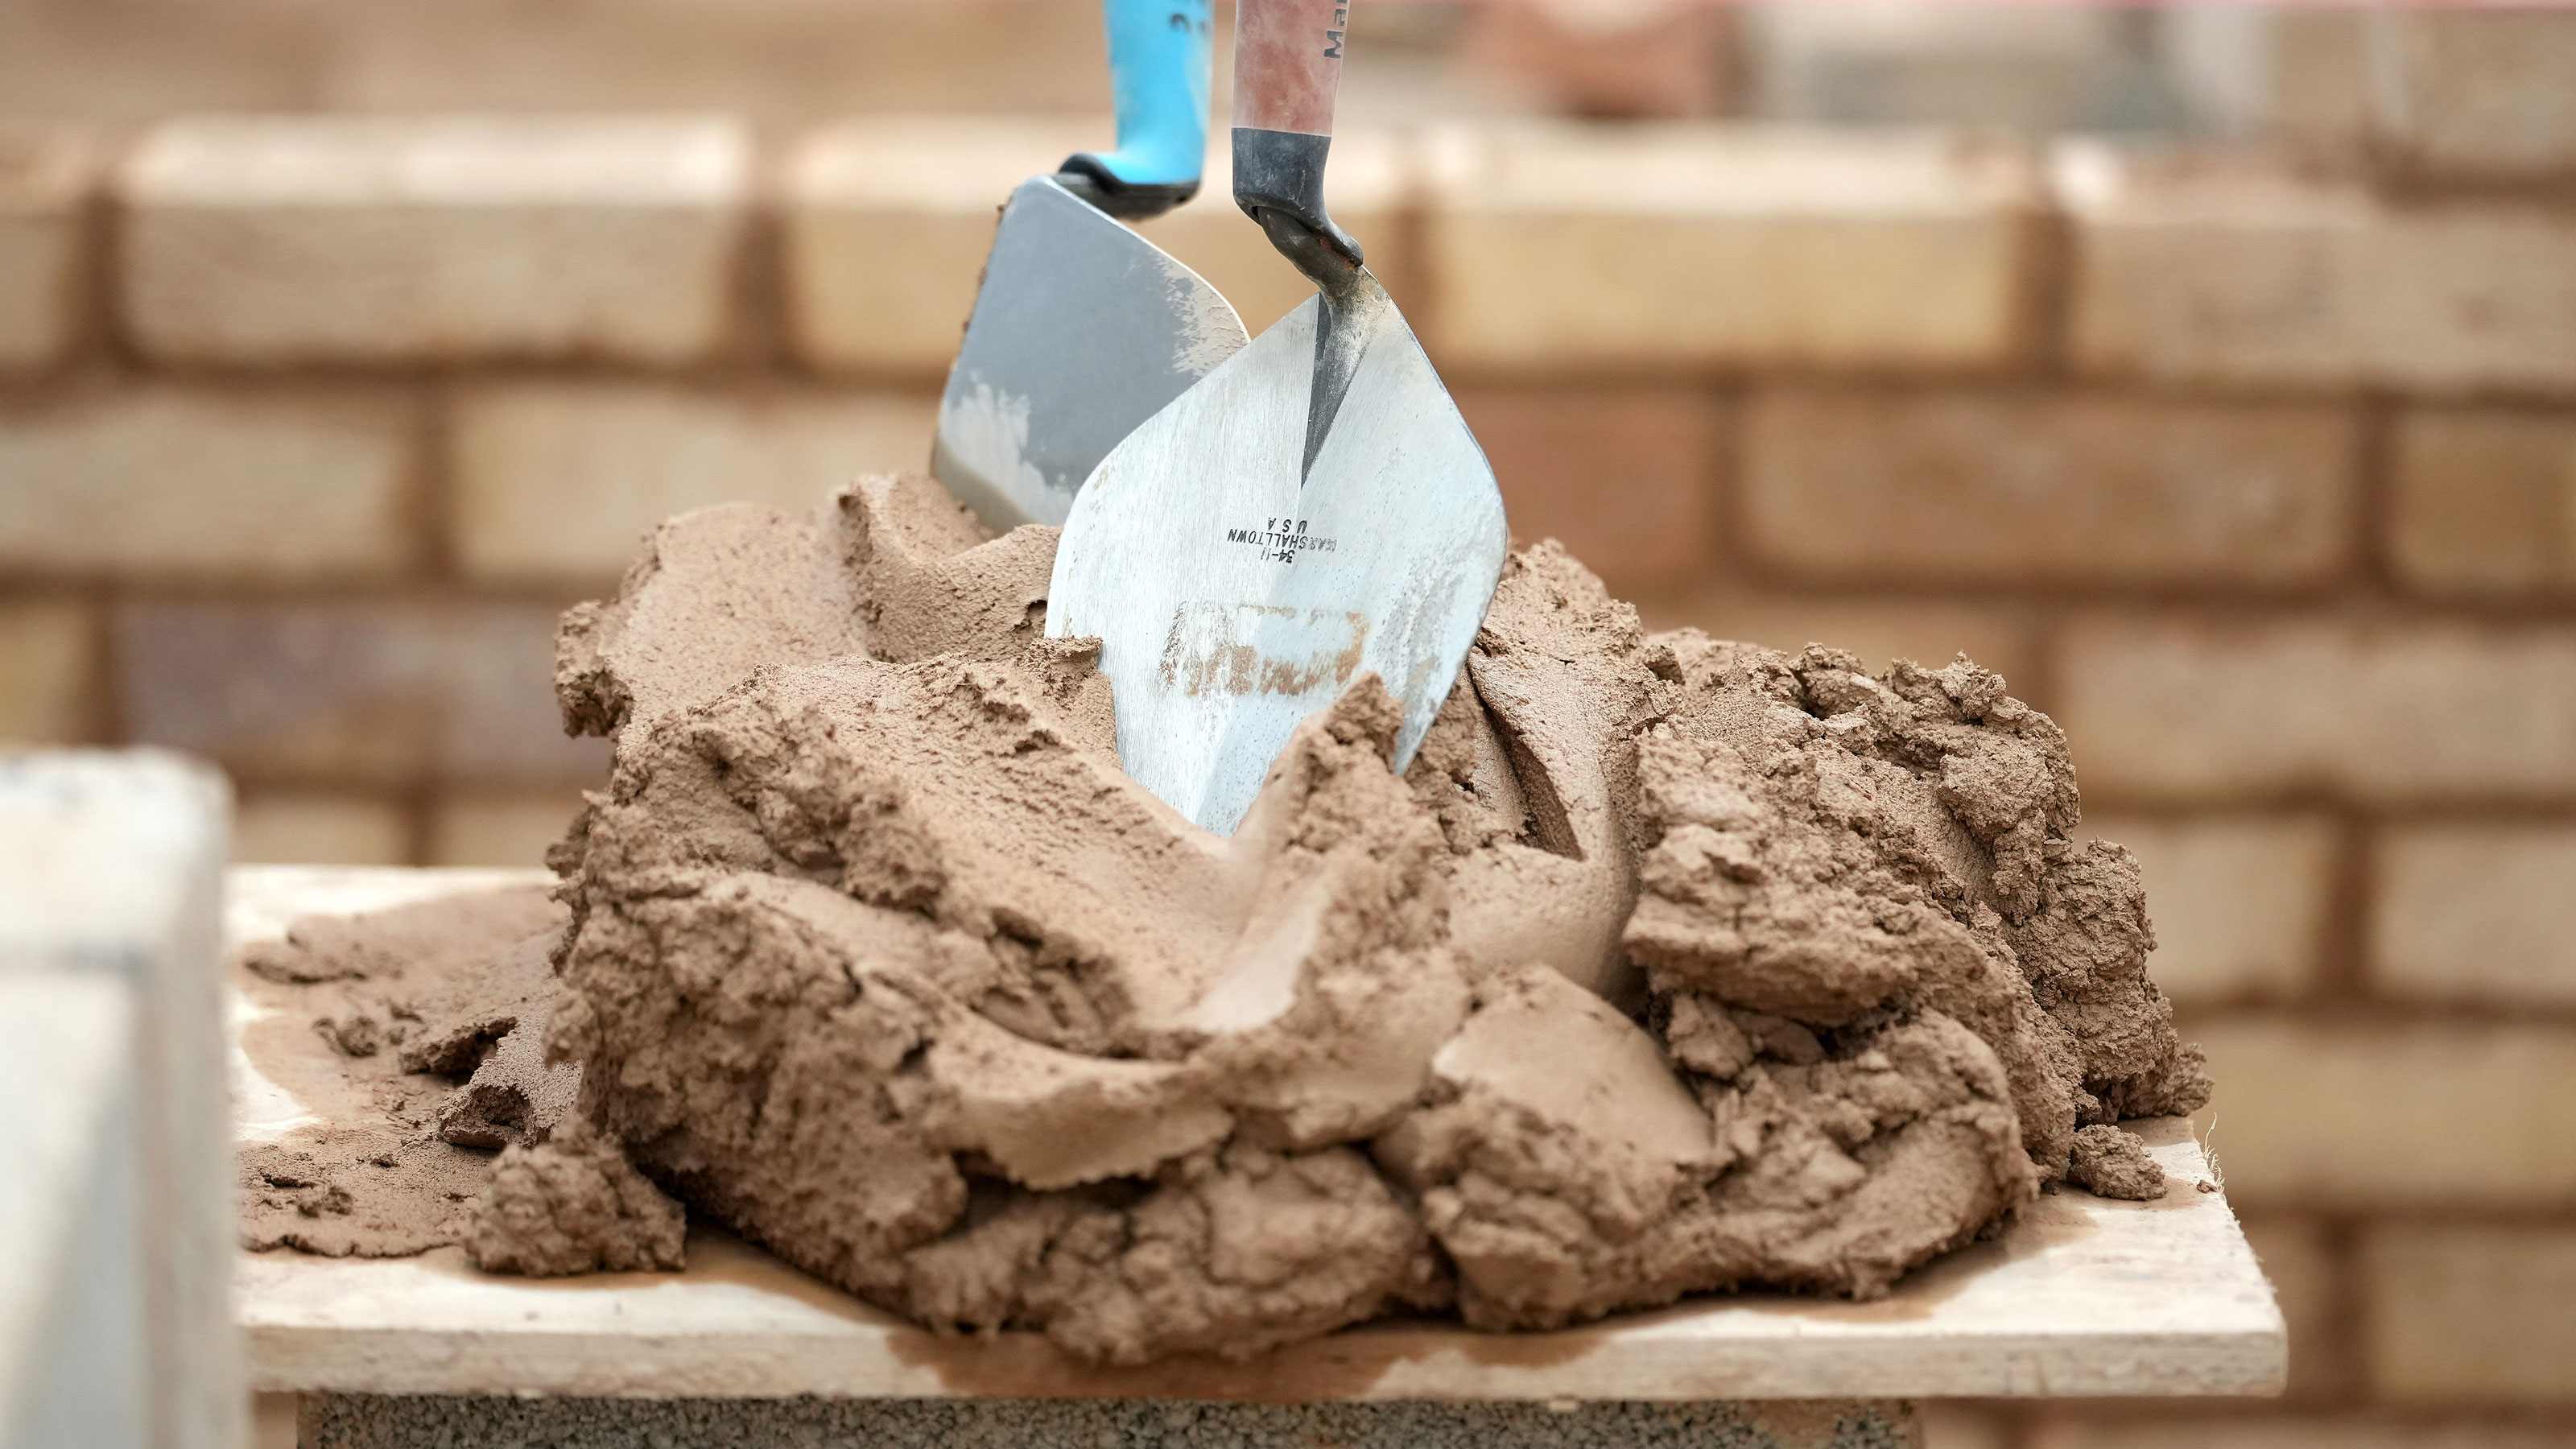
Get a large board or wheelbarrow and mix three parts sand to one part cement with a spade. Create a well in the middle of the dry mix and add a quarter of a bucket of water and mix together. If needed, add more water until the mortar is stiff and smooth and can be shaped in the hand.
Check our mortar mix guide for more information on getting the ratio and colour correct.
4. Lay the first course
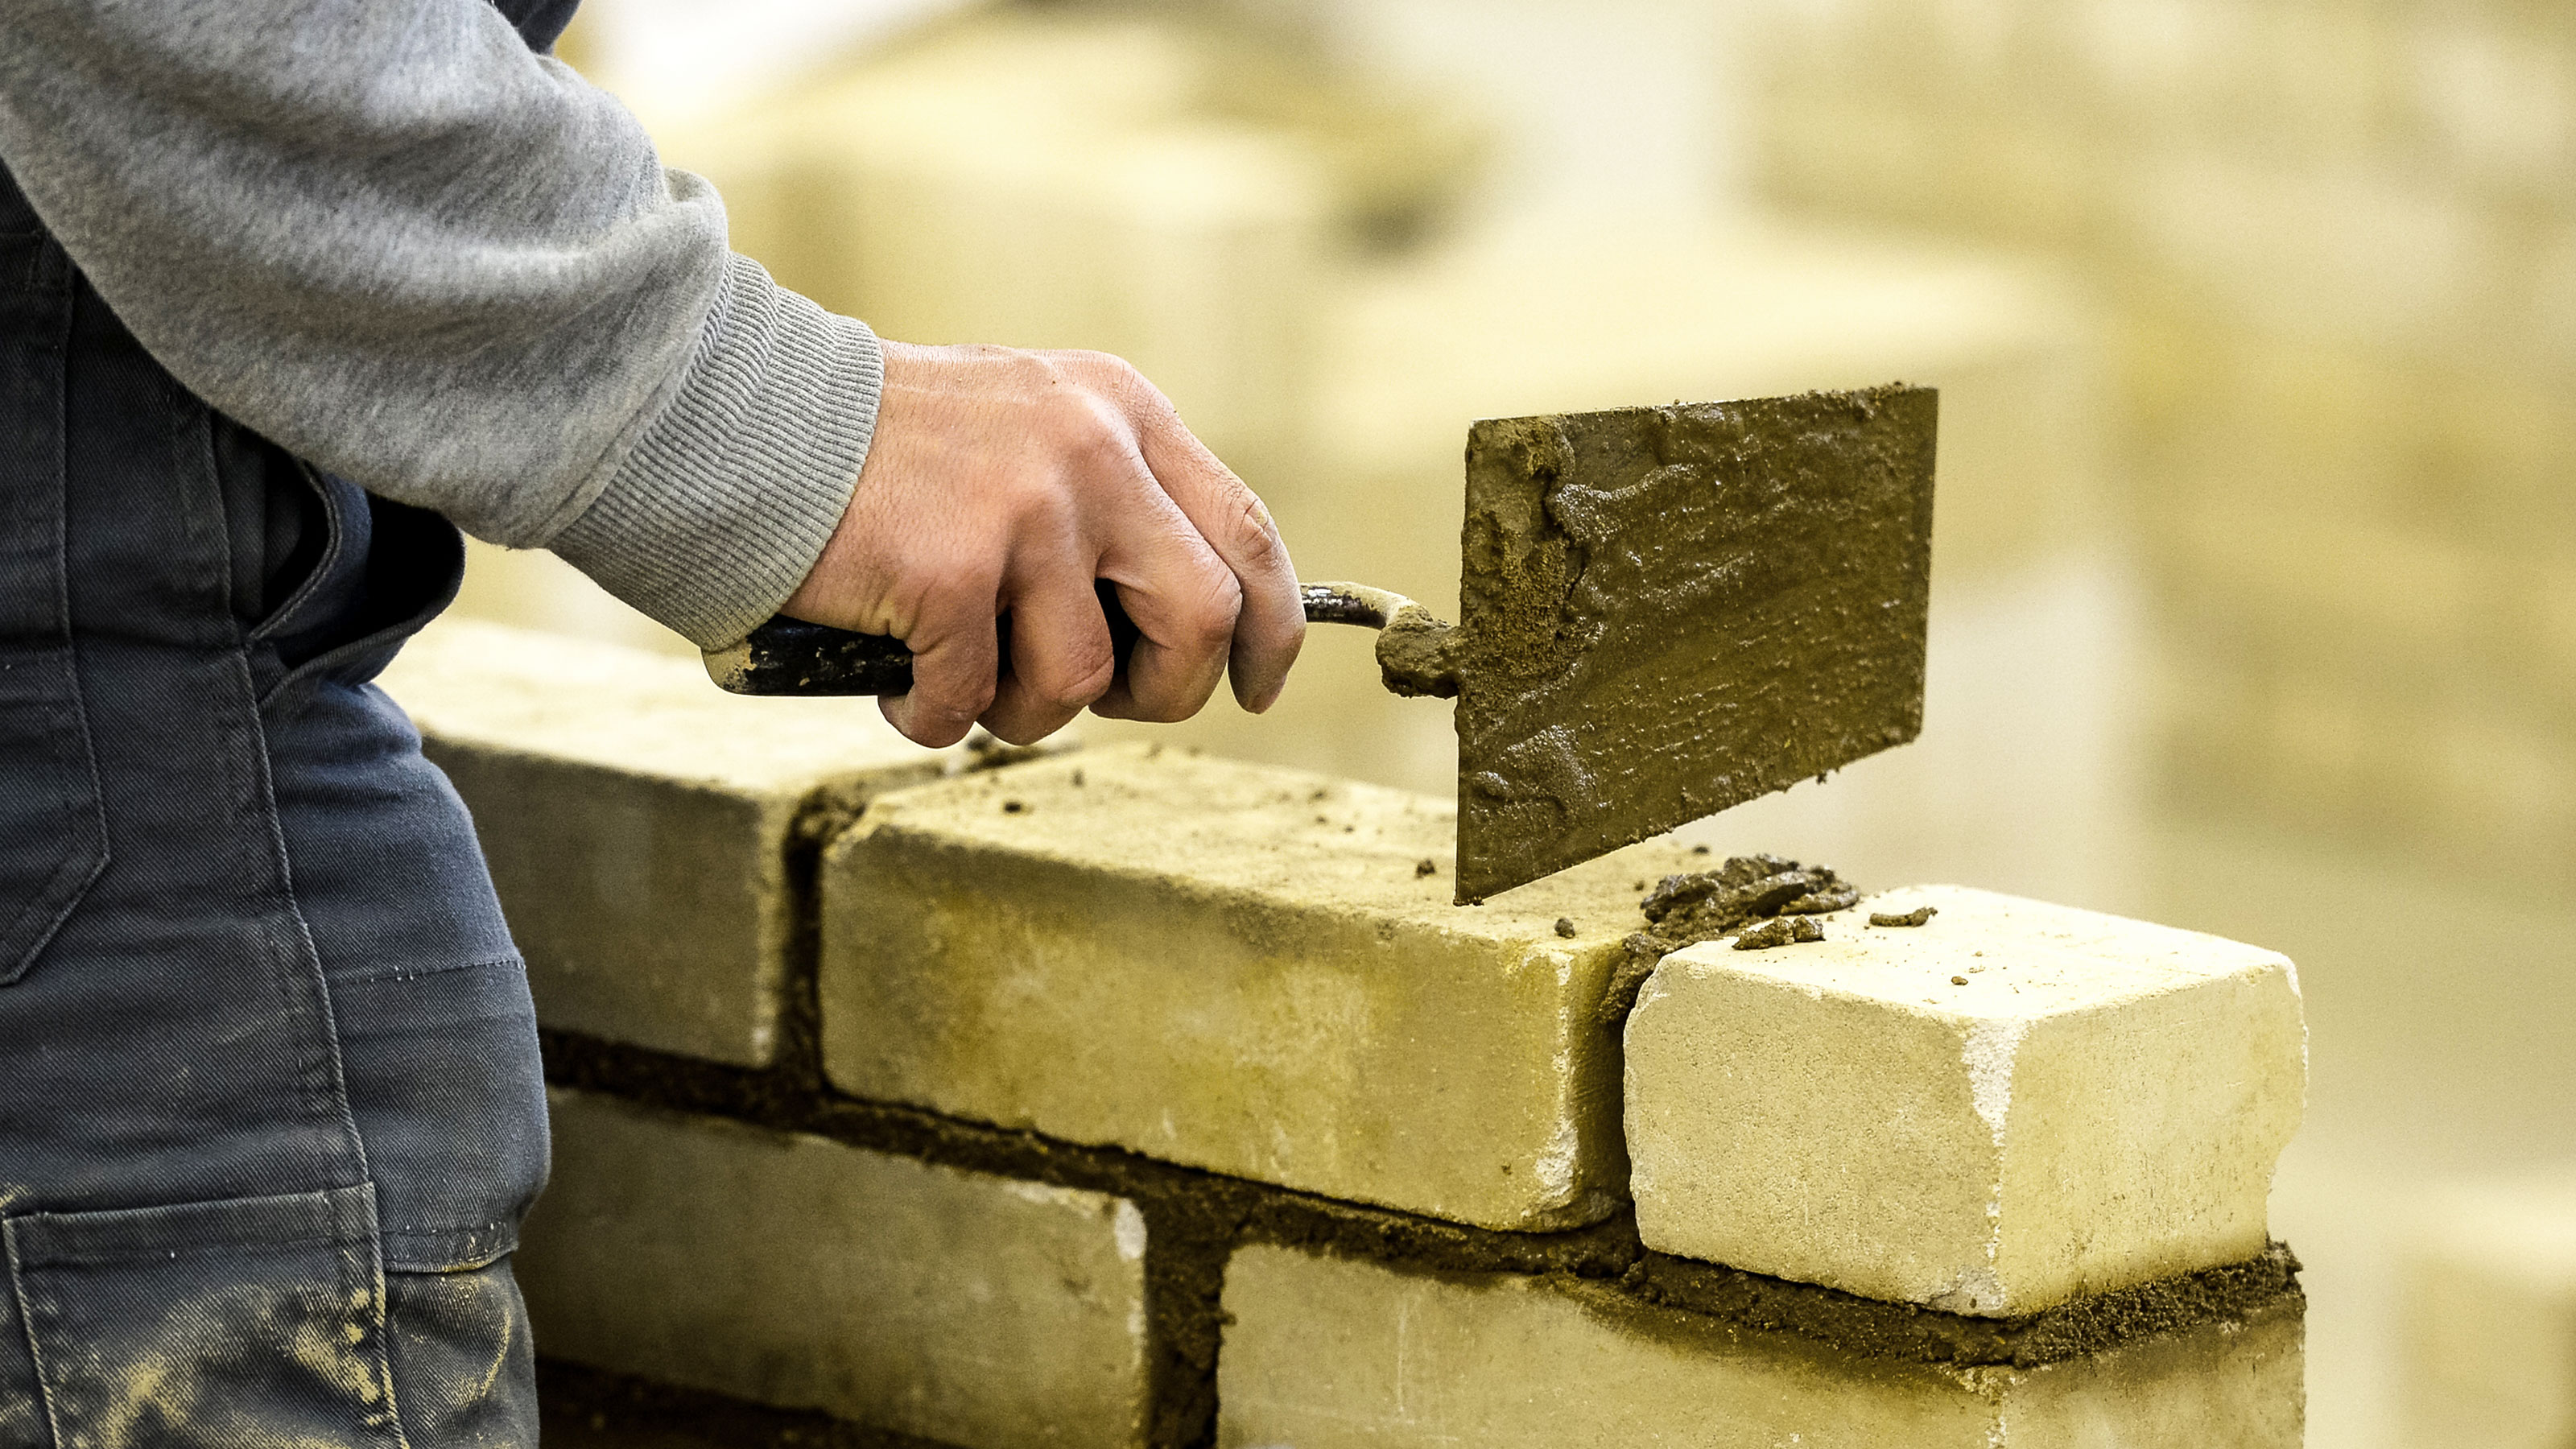
Using a brick trowel, get half a trowel's worth of mortar and flip it over with the trowel until it forms a long almost sausage-like shape. Then place the mortar on the base and spread out using the point until almost the width of the brick and around 20-25mm in height. Do this for one side and then lay your first brick directly on top of the mortar.
Tap down with the trowel until the mortar is around 15mm thick. Get a spirit level and make sure it’s level along the length and width. Remove any cement that oozes out with the trowel.
Now get the second brick and add mortar on one end and lay next to the other brick and level.
Repeat the process for the bricks along the back edge and other side. Make sure you check all the bricks are level. Use a long spirit level like the Silverline SL19 Spirit Level from Amazon to span the left and right front edges to ensure they are level.
Remove any excess mortar with the trowel. Check that the barbeque grill fits ensuring there is the right size gap all round.
5. Lay the next courses
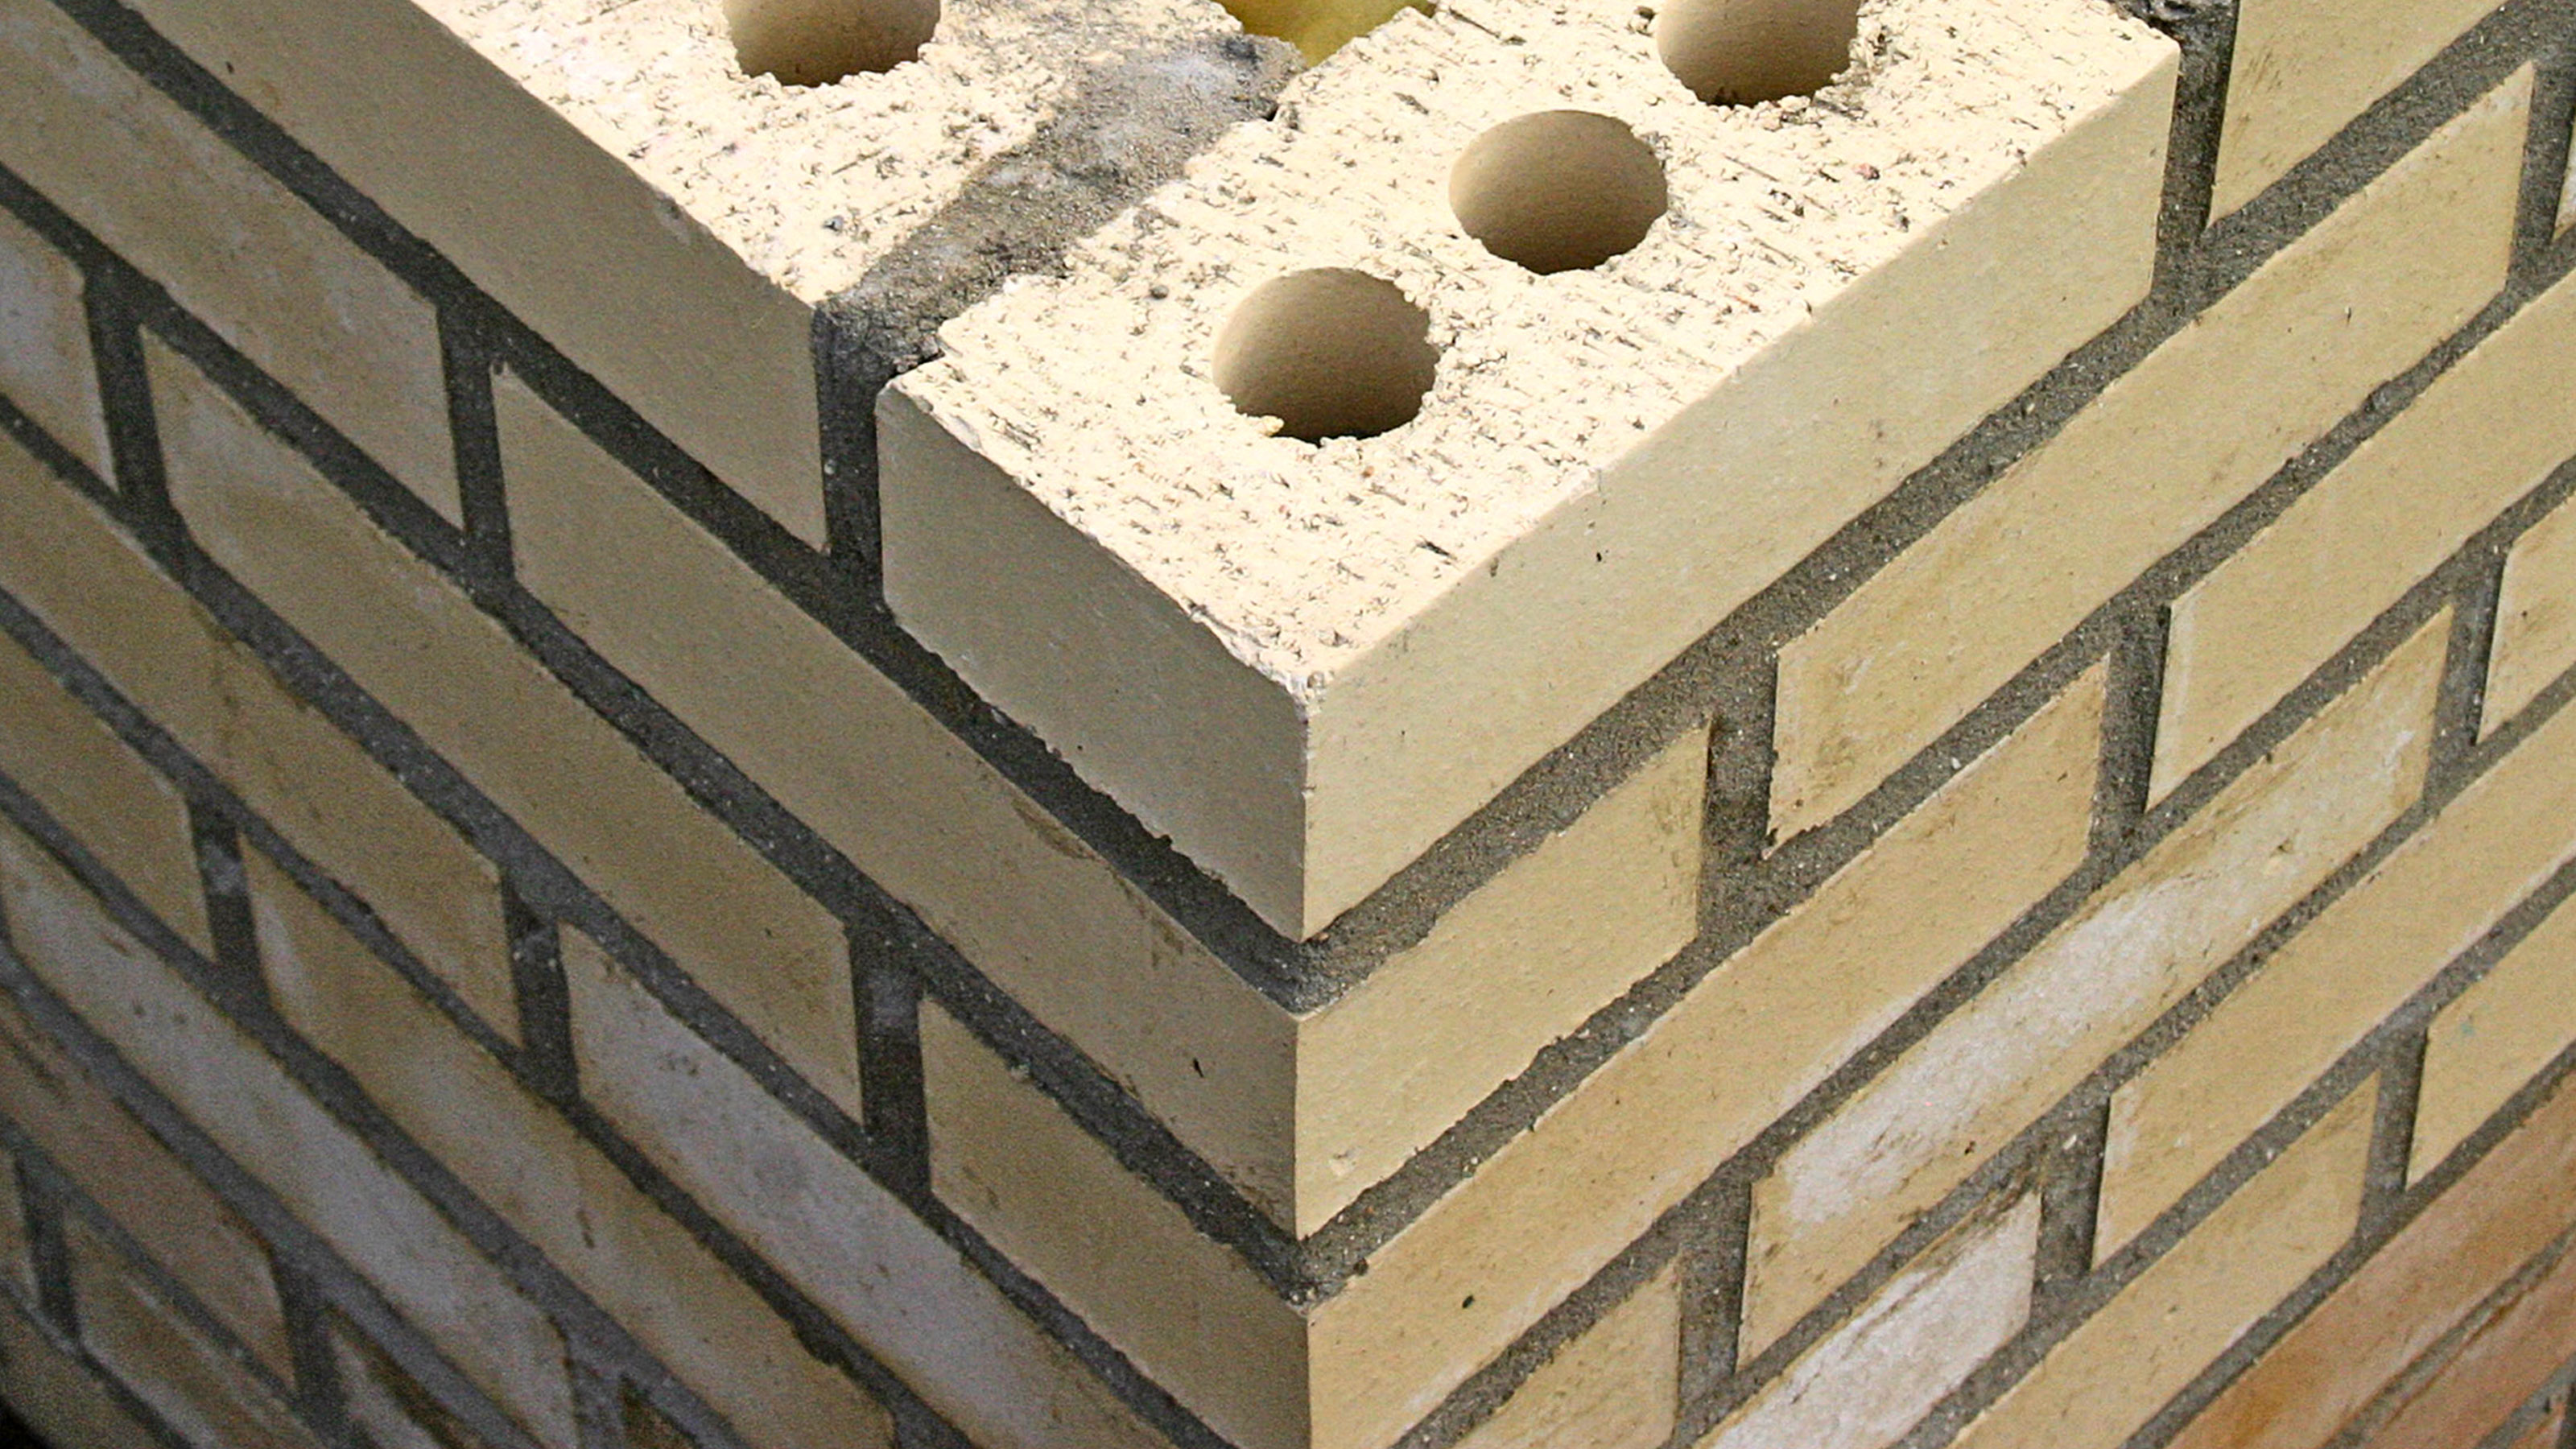
Start at one of the back corners and lay your mortar. The brick will be laid over half of the back brick and half of the side brick (see image below) to create a standard stretcher bond brick course pattern.
Make sure it’s level and finish the course. Now you have two courses, so check they are straight vertically using a spirit level.
This step will leave you with two half bricks at the front on both sides. Before finishing the front, you'll need a brick hammer like the Roughneck Drop Forged Brick Hammer from Amazon. Using the thin edge of the hammer, gently tap around the middle of the brick on all sides until it breaks.
Now add your mortar and finish the course. Repeat until you have four courses and leave to dry for an hour.
At this point your can use a pointing trowel to smooth out the mortar or a tuck pointer like the OX Pro Tuck Pointer from Amazon to mould the shape of the mortar. Finish by brushing down with a stiff hand brush.
6. Add final courses
It's time to add another three courses. On the eighth course, starting in the middle of each side, lay three bricks at a 90 degree angle to the wall. Make sure that the same amount of brick overhangs on both sides of the wall. These bricks will hold the charcoal tray.
Now add the remaining bricks. Again you will need to use a brick hammer to get the right size brick as the front of both sides.
To finish, add another standard course, then repeat the eighth course on the tenth course – this will hold the cooking grill – and finish with two more courses so you have a total of twelve courses.
You need to leave the new structure for at least 24 hours before using it. Ideally leave your brick BBQ to dry for a week.
Can you build a BBQ with normal bricks?
Yes you can if your ‘normal' bricks are standard red clay house bricks that have been fired. These are typically resistant to high temperatures and should last a good few years. Bricks made from concrete are not recommended as these cannot withstand the temperatures that will be produced by a brick BBQ.
Admittedly, you can use any sort of brick you want for the parts of the barbeque that aren't going to be exposed to naked flames and heat, but for aesthetic purposes it makes sense to use the same brick throughout.
How many bricks will I need to build a BBQ?
This depends on how big you want to build your barbeque. But as a general rule if you are building just a base for the charcoal shelf and cooking grills you will need around eight to 10 bricks per course. Typically you will need 12 courses for a standard barbeque with a few extras for breakages and waste.
So in total you will need around 100 to 130 bricks depending on how deep the barbeque is.
Can you build a brick BBQ without cement?
If you don’t think your DIY skills are up to scratch, or want a quicker simpler solution you can build a simple brick barbeque without the need for mortar. The weight of each layer of bricks will be enough to keep the barbeque in place, though the top layer will be relatively loose and easily knocked out of place. Plus, overall it will not be as strong or secure as brick barbeque built using mortar, so not ideally advised.
When building without mortar you ideally want to pick the same size brick so the barbeque will fit together better and give a sturdier end product. If using reclaimed bricks or old bricks you have lying around make sure all the old mortar has been removed to get crisp clean edges.
How much does it cost to build a brick BBQ?
This depends very much on your starting point. Do you have a secure flat surface to place the barbeque on? Do you have the right tools for the job? Are you going to build it yourself or pay a professional?
Assuming you have a flat secure base to build on, are only purchasing bricks and barbeque components – charcoal shelf and cooking grills like this Built In Charcoal BBQ from Argos – and doing the work yourself you can pay as little as around £130.
But if you want a bigger barbeque and more robust components like this DIY Brick BBQ Kit from Amazon, expect to be paying a minimum of £200.
If you need – or want – to call in trades to get the job done, expect to pay around £200-£250 a day for a bricklayer. You may be able to get a local handyman to do the job for less.
Get the Homebuilding & Renovating Newsletter
Bring your dream home to life with expert advice, how to guides and design inspiration. Sign up for our newsletter and get two free tickets to a Homebuilding & Renovating Show near you.
Steve Jenkins is a freelance content creator with over two decades of experience working in digital and print and was previously the DIY content editor for Homebuilding & Renovating.
He is a keen DIYer with over 20 years of experience in transforming and renovating the many homes he has lived in. He specialises in painting and decorating, but has a wide range of skills gleaned from working in the building trade for around 10 years and spending time at night school learning how to plaster and plumb.
He has fitted kitchens, tiled bathrooms and kitchens, laid many floors, built partition walls, plastered walls, plumbed in bathrooms, worked on loft conversions and much more. And when he's not sure how to tackle a DIY project he has a wide network of friends – including plumbers, gas engineers, tilers, carpenters, painters and decorators, electricians and builders – in the trade to call upon.

