How long does an extension take? A complete guide to timelines and stages
Keep your project on track with our expert guide to how long an extension takes – including key stages and potential setbacks
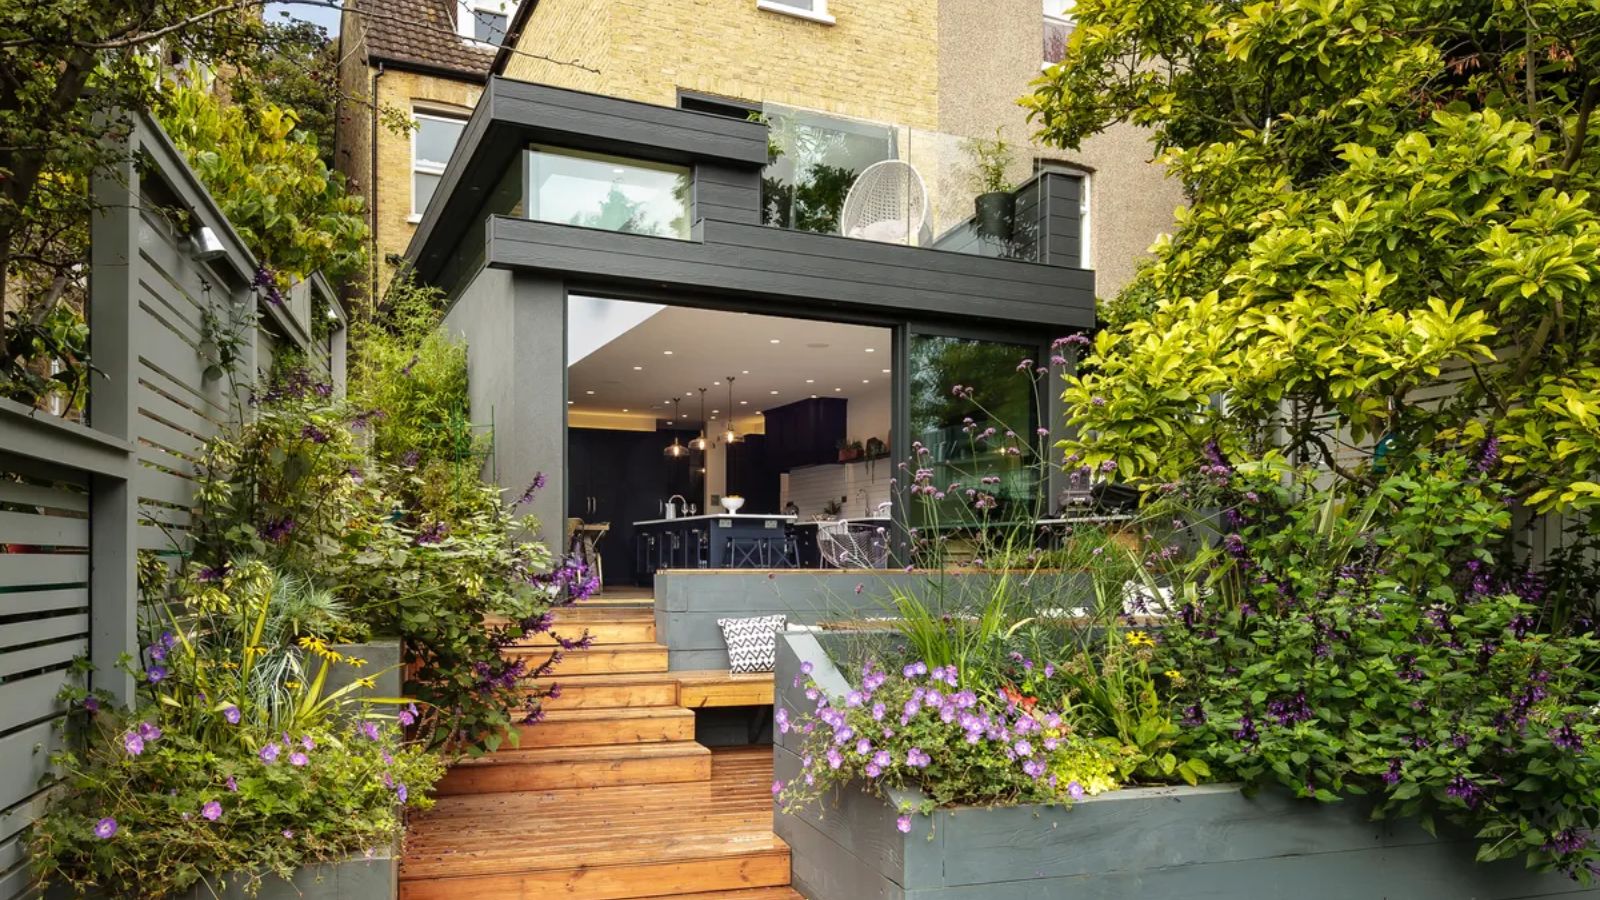
Adding extra space to your home is an exciting prospect, but understanding the timelines involved is essential if you want your project to go smoothly. From design and planning permission to the final touches, the time it takes for each phase of an extension can vary based on several factors. So, how long does an extension take?
With no two projects being the same, the length of each stage can differ depending on the complexity of the build and any unexpected delays. Careful planning and communication are key to avoiding hold-ups and ensuring each step progresses smoothly.
A well-planned house extension can make all the difference in achieving your dream space without unnecessary delays. This guide will walk you through typical timeframes, common challenges, and provide expert tips to keep your project on track.
How long does an extension take?
The time required for a home extension will depend on its complexity and scale, ranging from a few months to over a year if you have your sights set on a particularly complex end result. Factors such as the design process, construction phases, and even the weather can all affect how long your project will take.
Graham Ford, planning permission expert and Founder of Graham Ford Architects, suggests, "From the initial briefing to completion of the build, allow yourself a year." His estimate accounts for the time it takes to develop a well-thought-out design, navigate planning permissions, and ensure a quality build that meets building regulations for an extension.

Graham, founder of Graham Ford Architects, has over 22 years' experience in residential, academic, and institutional projects, including the London 2012 Olympics. He holds a PhD from RMIT University and multiple design awards. Graham is also an expert in planning permission and the renovation of historic buildings.
However, there’s certainly no one-size-fits-all answer. Timelines can vary significantly based on whether your extension is a straightforward single-storey build or a more involved two-storey addition with internal alterations. For example, simpler projects might move faster, while those involving structural changes, custom finishes, or tricky site conditions can add weeks or even months to the overall schedule.
Below, we’ll break down each stage of the process in more detail.
How long does each type of extension take?
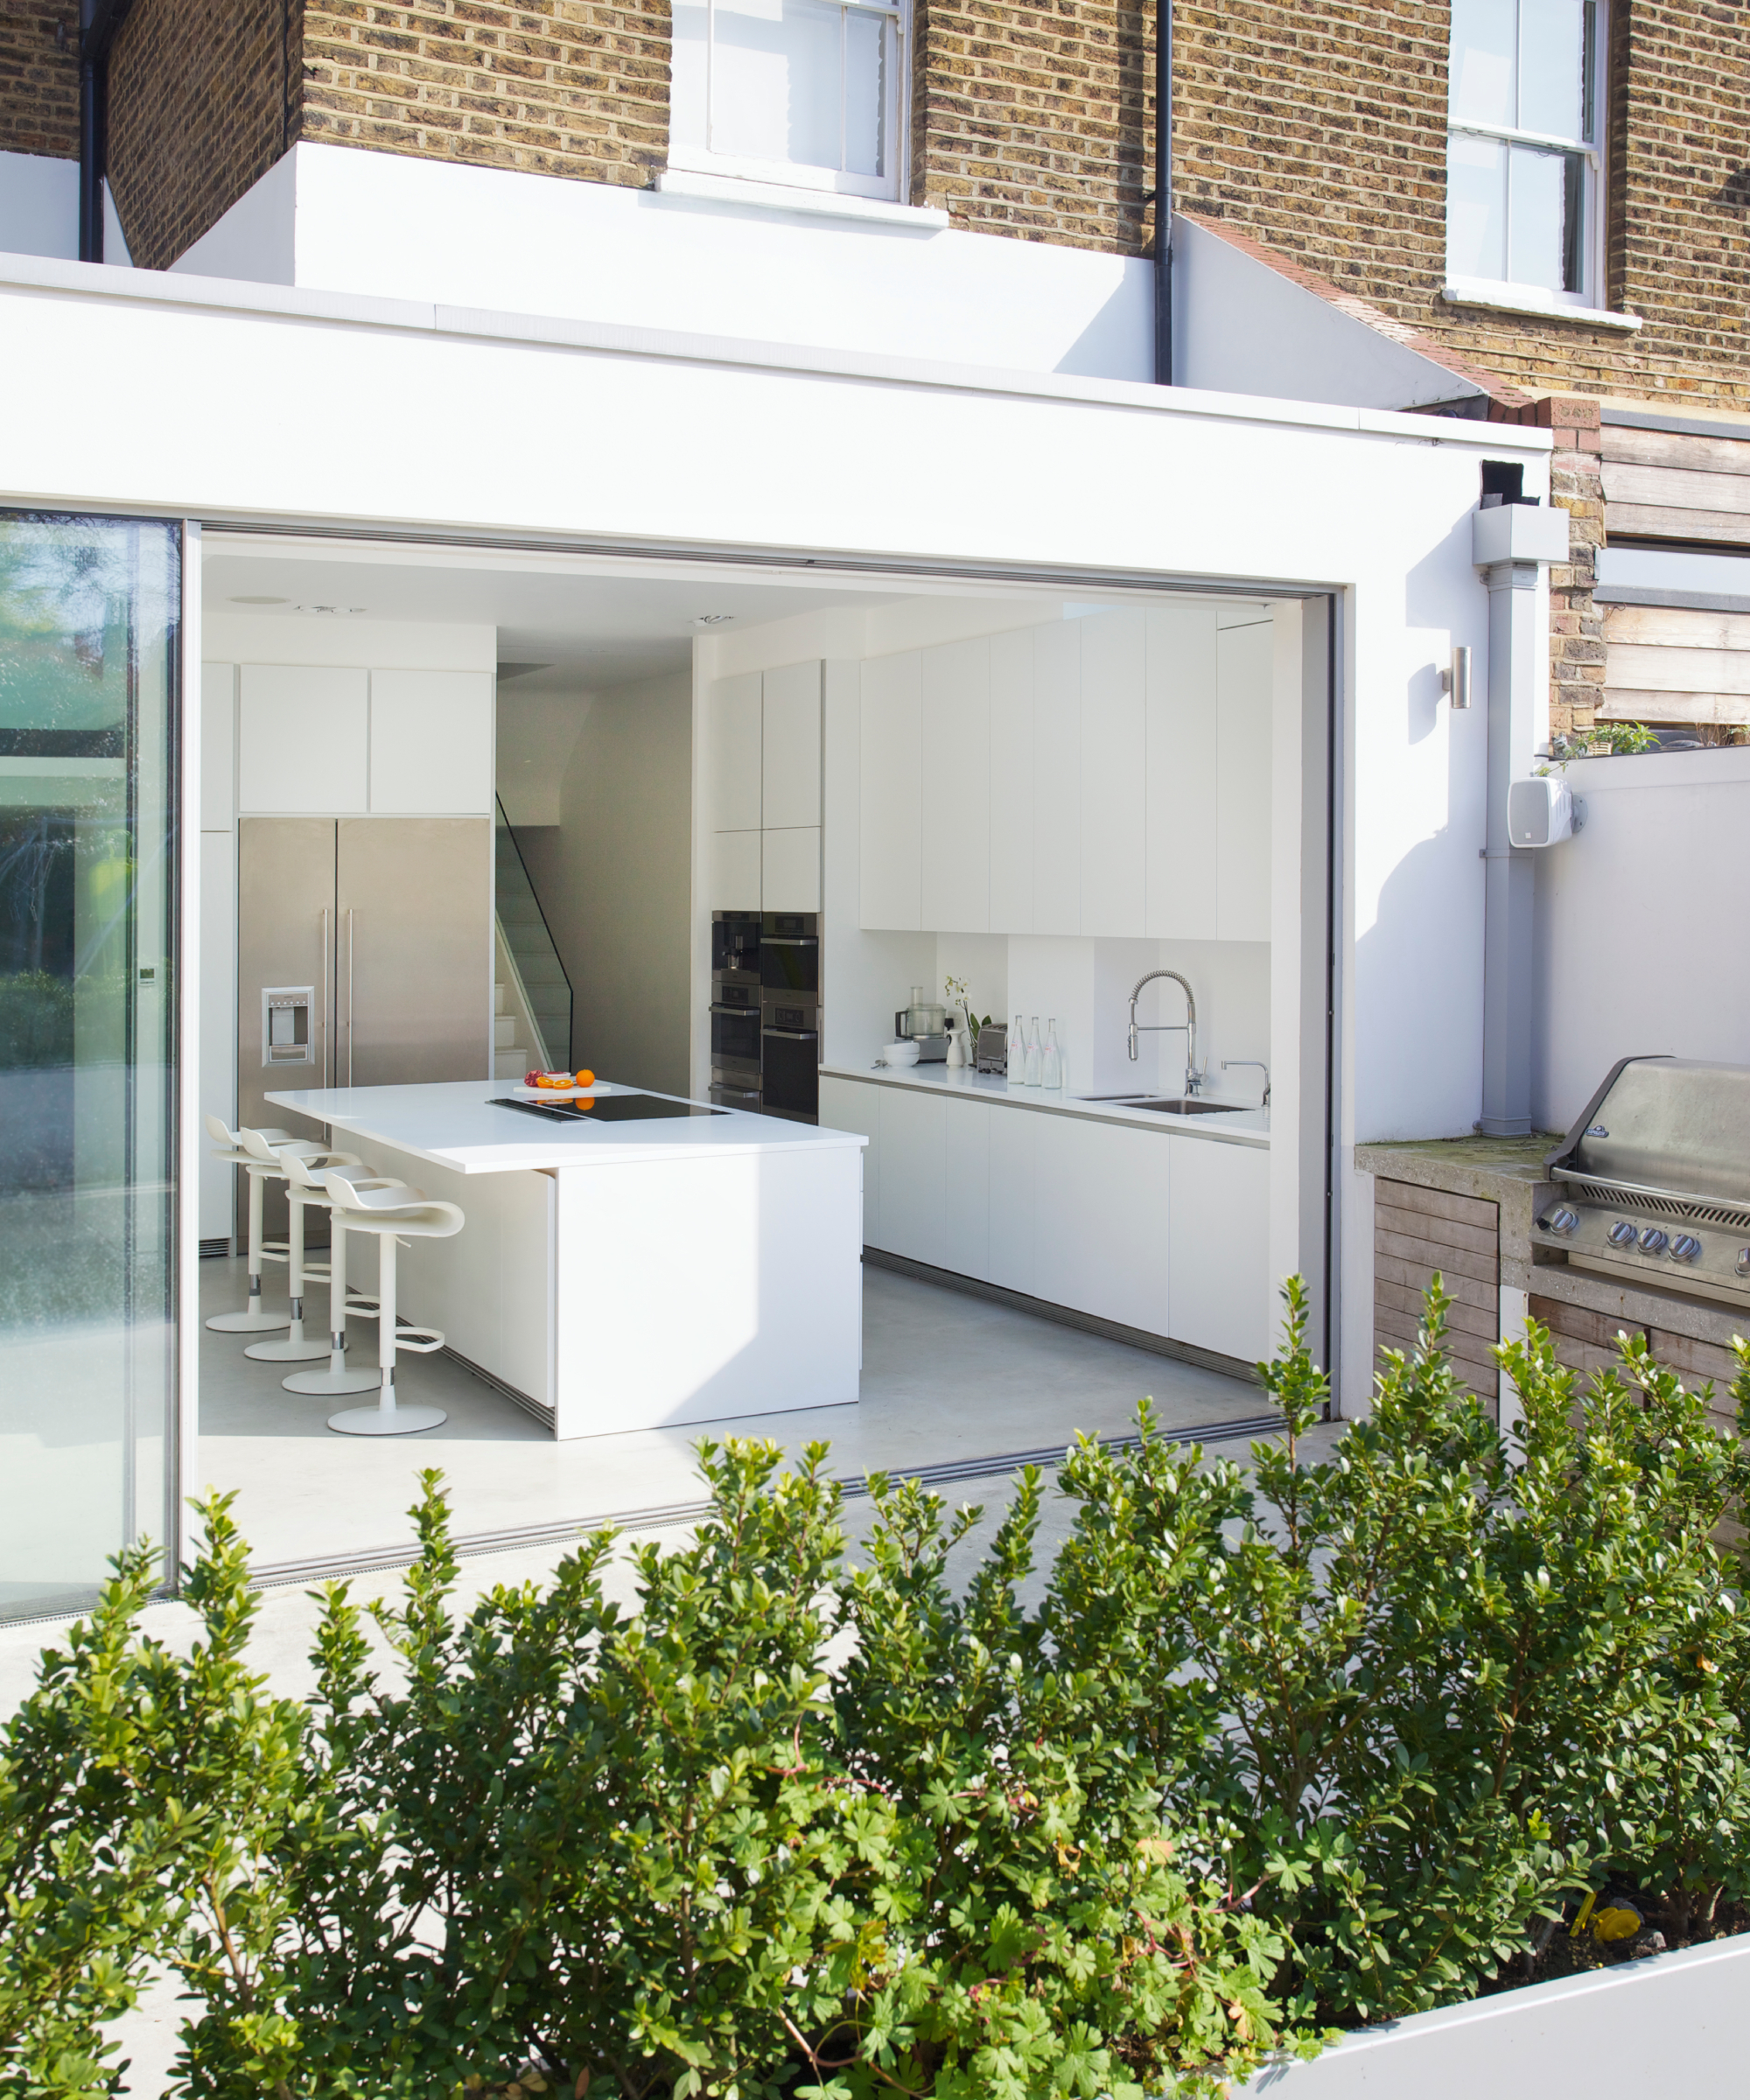
Single-storey extensions
A single-storey extension is often the quicker option, especially if it involves minimal internal work. Rachel Moors, managing director of Adamsons construction, advises that “building a single-storey extension without a kitchen usually takes around 6-8 weeks.” This estimate includes basic construction, such as building walls, roofing, and installing windows and doors.
However, adding a kitchen or making internal alterations can extend this timeline. Rachel notes, “A single-storey extension with a kitchen and internal alterations can take 8-16 weeks, depending on the scope of work.” Factors like plumbing, electrical installations, and fitting bespoke cabinetry can add time to the build, especially if delays in materials or appliances arise.

Rachel Moors is the Managing Director of Adamsons, a family-owned construction company with over 40 years of experience in home renovations and extensions. Having re-joined the company in 2005, Rachel has been instrumental in overseeing a wide range of residential projects, from kitchen installations to large-scale extensions.
Two-storey extensions
Two-storey extensions typically involve more time and planning due to the structural considerations required to support an additional level. According to Rachel Moors, “construction of a two-storey extension – without internal work – can be completed in about 8-12 weeks.” This timeline generally covers the foundational work, constructing the additional storey, and making the new space watertight.
However, if the project includes adding bathrooms, making significant internal alterations, or integrating the new space with the existing structure, it can extend to six months or more. As Ryan Windsor and Giovanni Patania, directors of WindsorPatania Architects note, “A typical single or double extension with a simpler design may take about 6-12 months from start to finish, with 3-4 months of on-site construction alone.” This estimate includes additional time for potential challenges, like integrating plumbing for bathrooms or customising internal layouts.

Ryan Windsor and Giovanni Patania are the Directors of WindsorPatania, an award-winning RIBA Chartered architectural firm based in London, Cambridge, and Milan. Giovanni, originally from Siena, Italy, has a distinguished career that includes leading roles at Foster + Partners, where he worked on iconic Apple stores such as the flagship location on the Champs-Élysées in Paris. Ryan Windsor, Development Director, brings extensive experience in real estate, having started his property development career at just 17 years old
How long does each stage of an extension take?
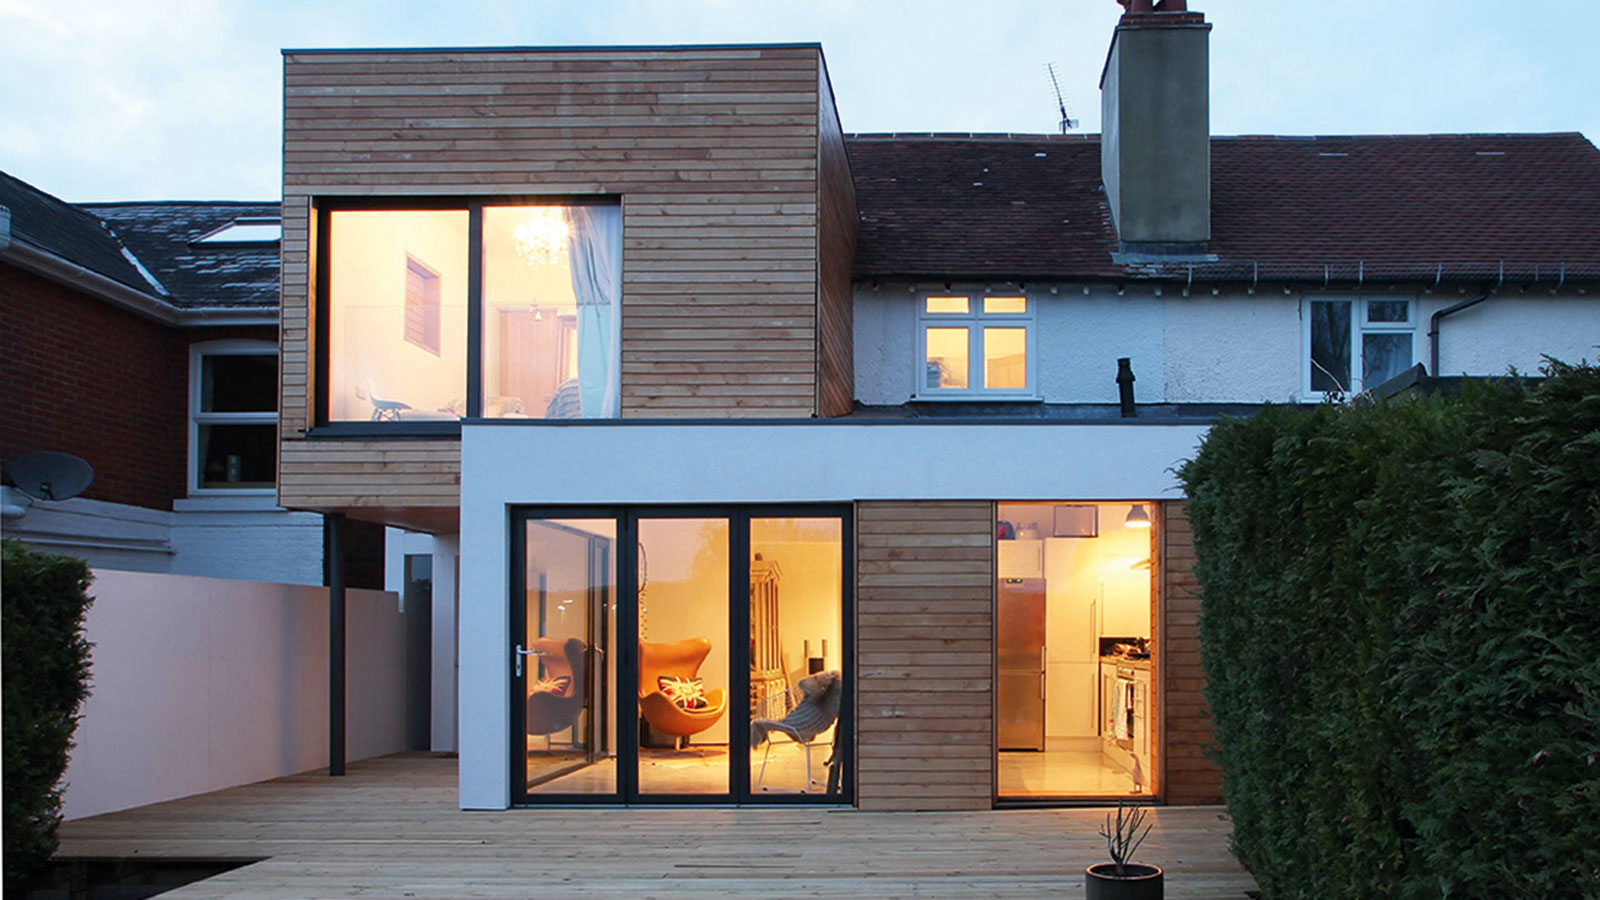
Each stage of building an extension has its own timeframe, and knowing what to expect can help keep your project on track. Here's what our experts say:
The design phase
Creating detailed extension plans is essential if you want to bring your vision to life and avoid surprises later on. Graham Ford notes that "preparing a full set of drawings, a design and access statement, and other required documents takes at least 2 months."
If you have existing plans or a clear idea of your extension, this process may move faster. However, new designs or complex projects can stretch the design phase to 2-3 months. During this time, you’ll collaborate with your architect to finalise every detail, from layout to materials.
The planning permission phase
Navigating the planning permission process can be one of the lengthier stages of building your extension, especially if you live in an area with strict regulations or neighbour concerns. Planning expert, Graham Ford suggests, “allowing at least 3 months as timeframes vary a lot depending on where you live.”
To speed things up, ensure your application is as complete as possible and work closely with your architect to meet local council requirements. Being prepared with a detailed application can help avoid delays caused by additional requests for information.
For help and guidance on navigating planning permission, consider joining the Homebuilding Planning Hub.
Building regulations approval
Before construction can begin, you’ll also need to obtain building regulations approval for your extension, which ensures that the extension meets safety and structural standards.
Ryan Windsor notes that “pre-construction building regulations approval typically takes around 2 weeks,” though it may vary depending on the complexity of your project. And Rachel Moors adds that inspections will occur at several stages throughout the build, such as foundations, slab, and pre-plaster phases.
Staying in close communication with your building inspector can help ensure each stage is signed off promptly, avoiding unnecessary hold-ups.
Tendering and mobilisation
Once your plans are approved, it’s time to find the right contractor. The tendering process involves comparing quotes and selecting a builder who can deliver your vision within budget. Graham Ford recommends allowing "1 month for tendering and another for the builder to start work."
This mobilisation period allows the contractor to organise their team, order materials, and prepare the site. If you’re in a competitive market or have specific requirements, it may take longer to find the right fit, so starting this process as early as possible is a good idea.
Timeframes for the construction phase
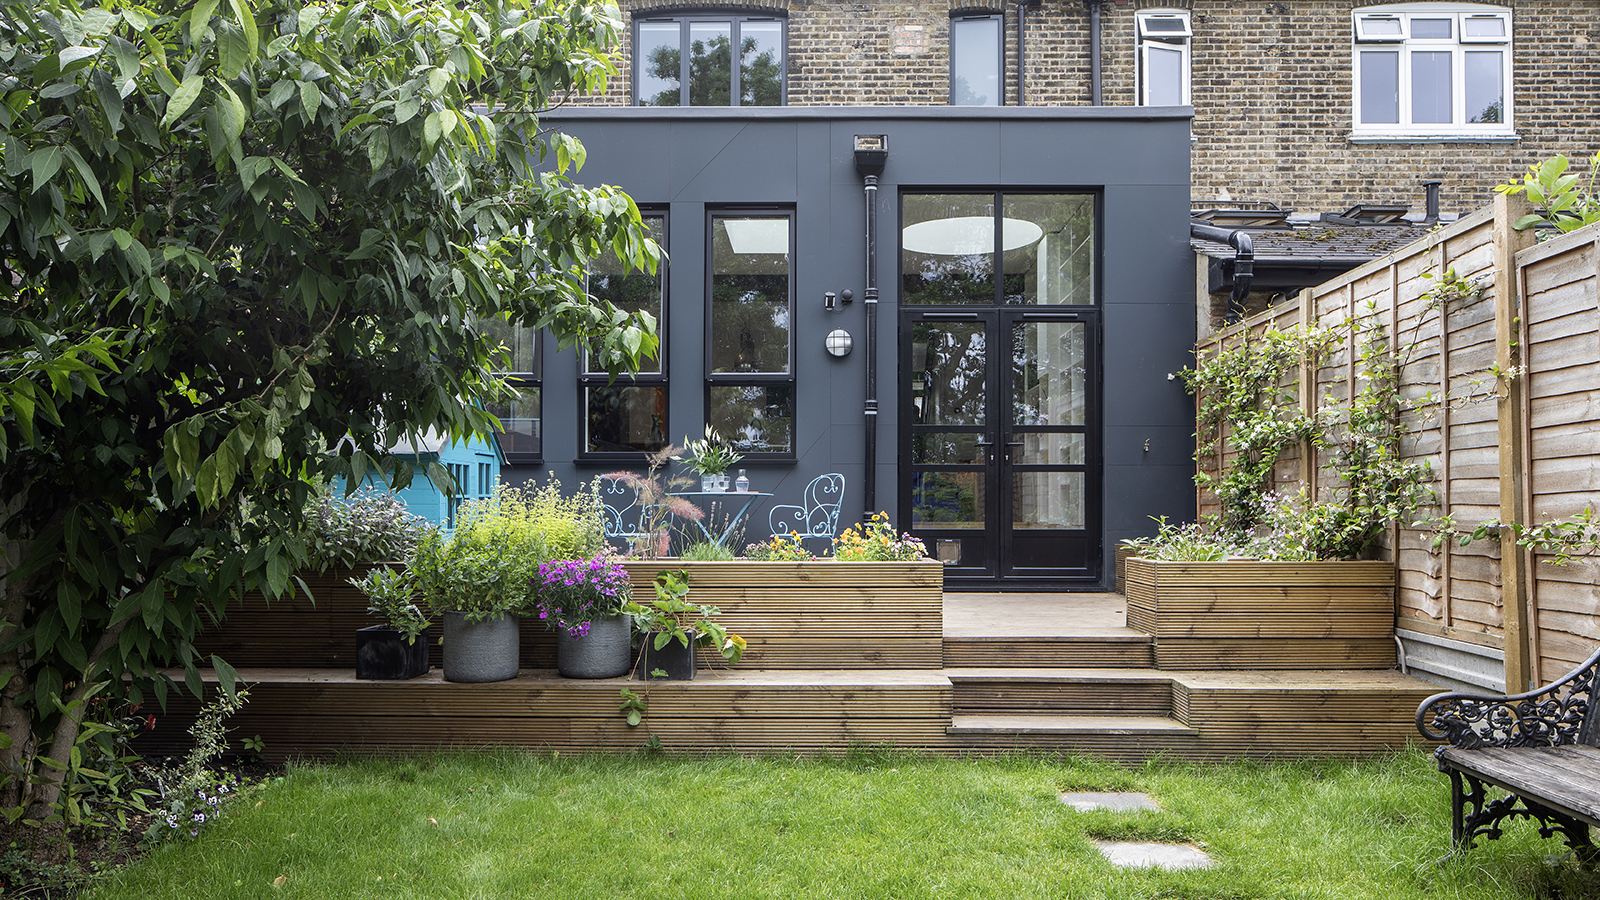
The construction phase is when all the planning and preparation comes to life, and the duration of this phase depends on the type and complexity of your extension. Once the construction of your extension begins, timelines can be broken down into several critical phases:
Foundations and groundworks
Laying the groundwork is an important first step, as it sets the foundation (literally) for everything that follows. According to Rachel Moors, “It should take no longer than 1 week to dig and pour extension foundations, depending on the project's size and ground conditions.” However, difficult soil conditions or tight access for machinery can stretch this timeframe to a couple of weeks. To avoid delays, consider a soil survey early in the planning process – this can identify potential challenges before construction begins.
Making the structure watertight
Once the foundations are in place, the next goal is to get the building to a watertight stage, which includes erecting walls, installing windows and doors, and finishing the roof. This is crucial for protecting the interior from weather, allowing work to continue inside.
Giovanni Patania estimates 2-3 weeks for this stage, though complex roof designs or weather interruptions can extend this timeline. Graham Ford suggests allowing "4 weeks for the above-ground structure and roof," ensuring that no corners are cut when sealing your new space against the elements.
First fix stage (electrics & plumbing)
The first fix stage involves installing the ‘bones’ of your new extension, like cables, pipes, and ventilation systems, before walls and floors are closed up. Rachel Moors notes that “first fix electrics and plumbing are usually completed in 2-3 days,” but this can vary depending on the complexity of the design.
Ryan Windsor suggests that for larger projects, this stage could take 4-6 weeks, particularly if the extension requires rerouting existing plumbing or upgrading the electrical system. Planning out the location of sockets, switches, and plumbing fixtures in advance can help speed up this phase.
Second fix stage
The second fix stage involves bringing the visible elements to life – installing light fittings, radiators, and kitchen units, as well as connecting up the electrics and plumbing.
Ryan Windsor advises that this stage takes 4-6 weeks, as attention to detail is essential for a quality finish and rushing this stage can lead to mistakes. He recommends allowing time for the tradespeople to work carefully and ensure that all fixtures and fittings are on-site and ready to go, so the team isn’t waiting on deliveries.
Final touches and decoration
This stage is when your vision truly starts to come together. Painting, installing flooring, tiling, and any remaining decorative touches happen now.
Giovanni Patania suggests it should take around "6-8 weeks for decorating and finishing touches," allowing time for paint and finishes to cure properly. He also recommends using this time to do a walkthrough and make note of any minor adjustments that might be needed before the final project sign-off.
Snagging stage
The snagging stage is the final part of the process, making sure any minor issues or defects are addressed before you settle in. Graham Ford allows "1 month for snagging to fix up defects like small cracks in plaster."
During this period, contractors may need to revisit the site to touch up paint, adjust doors, or fix small leaks. It’s worth being thorough in this phase because addressing these small issues at this stage can save time and hassle down the line.
Factors that can delay your extension
Several factors can cause delays during an extension project. Here are some potential setbacks our experts have highlighted:
Poor weather conditions
“Adverse conditions can slow down work, especially in the early stages,” says Rachel Moors. Rain or snow can delay groundwork, excavation, and concrete pouring, making it difficult to stick to the original timeline. Even during later stages, extreme temperatures can impact how certain materials set, such as concrete or plaster, leading to further delays. "It’s always wise to build in some weather-related buffer time, especially if construction is planned through winter months," she adds.
Material delays
Supply chain disruptions can impact the availability of key materials, causing setbacks. Ryan Windsor highlights that “clients choosing custom or hard-to-find materials can face longer waits.” Whether it’s a unique tile or a specific type of window, sourcing specialised materials can take time - especially if they’re coming from abroad. To prevent these hold-ups, work with your builder to finalise choices early and have materials ordered well before they’re needed on-site (ensuring you have sufficient space to store them in the meantime).
Labour shortages
Finding skilled workers is essential if you want to maintain progress. Rachel Moors points out that a "lack of skilled labour can slow down the project, particularly in specialised trades like electricians, plumbers, or plasterers." When tradespeople are in high demand, it can be difficult to secure time slots that align with your project’s needs. To avoid this, confirm your builder's team well in advance, and consider booking specialists as soon as planning permission is approved.
Unforeseen issues
Hidden obstacles like unexpected ground conditions or structural challenges can slow progress. For example, poor soil conditions may require deeper foundations, or hidden structural defects in older homes might need attention before proceeding with the build. Graham Ford stresses the importance of detailed planning to minimise surprises. A thorough soil survey and structural assessment can help identify potential problems before construction begins, saving time and reducing stress.
Homeowner requests
Changes made after construction starts can significantly impact the timeline. Rachel Moors recommends finalising decisions before work begins to avoid disruptions. Last-minute changes – whether it’s a decision to add extra sockets or switch up the layout – can require reordering materials or adjusting the work schedule. While minor tweaks are to be expected, large-scale redesigns can seriously set you back. Yes, you want your dream extension – but try not to become a nightmare client in the process!
5 tips for keeping your extension on schedule
Staying on schedule requires careful planning and collaboration. Here’s what the experts recommend:
1. Plan ahead
“Ensure all design decisions and material choices are finalised before the build begins,” advises Rachel Moors. This includes everything from selecting floor tiles and cabinetry to finalising the paint colours and fixtures.
When these decisions are made in advance, you avoid the risk of mid-project changes that can cause delays and drive up costs. Planning ahead also means working closely with your architect and builders to make sure your vision is fully translated into the construction plans. "The more details you can iron out before breaking ground, the smoother the build will be."
2. Choose experienced professionals
Finding good builders and working with experienced professionals can ensure the project stays on track and help navigate any challenges. A skilled contractor or builder will not only bring expertise to the job but will also have a network of reliable tradespeople and suppliers. This can be crucial for staying on schedule, especially if issues come up with materials or unexpected structural challenges.
When in doubt, look for a professional with a solid portfolio of completed projects similar to yours, and don’t be afraid to ask for references or visit past worksites to see their craftsmanship firsthand.
3. Use an architect to manage the build
If you've read this far, you may be wondering, do I need an architect for my extension or can I build an extension by myself? There are pros and cons to making this decision – predominantly related to costs and your own experience going into an extension project. However, Graham Ford suggests that having an architect manage the build can keep things running smoothly. “Don’t try to do this yourself unless you have a lot of experience in project management of construction projects," he warns.
An architect can oversee everything from design adjustments to liaising with contractors, ensuring the build aligns with your vision and stays within budget. They can also help manage unforeseen issues, like structural challenges or design tweaks, so you don’t have to juggle these while making critical decisions. Having a professional in your corner means less stress for you and a more cohesive build.
Extra tip: It's a good idea to assess your architect ahead of time and ensure their style and approach aligns with your vision for the project. Arrange initial meetings to discuss their past projects, ask about their experience with similar builds, and understand how they communicate with both clients and contractors.
4. Maintain open communication
Clear, open communication throughout every step is essential for a successful extension. Regular site meetings with your contractor can help address issues promptly, ensuring everyone is on the same page. Rachel Moors emphasises the importance of “a good working relationship with your construction team.” Take time to establish a weekly check-in or progress report system with your builder, so you’re aware of what’s happening at each stage. This also provides an opportunity to discuss any concerns before they become bigger issues.
5. Prepare a contingency budget
"Make sure you have a contingency to allow for unexpected issues that can arise during the project," advises Graham Ford. While it’s tempting to focus solely on your dream finishes and fittings, setting aside an extra 10-15% of your total extension budget can be a lifesaver if surprises pop up – like discovering structural issues or needing to upgrade plumbing.
While it's very possible to build an extension on a budget without compromising quality, having an extra buffer can prevent financial stress and keep progress steady.
FAQs
Are there online resources for managing an extension timeline?
Yes, there are several online resources that can help you keep track of your extension timelines and stay organised throughout the project. Many websites offer detailed guides, planning tools, and timeline trackers that can simplify the process of managing each stage of your build.
The Homebuilding Extension Planner offers a comprehensive guide to planning your project. It breaks down each phase, from initial design and securing planning permission to construction and final inspections, providing estimated timeframes for each.
There are also plenty of online apps available for project management, such as Trello or Monday.com, which can be tailored to suit a home renovation project, allowing you to create to-do lists, track progress, and set reminders for important dates. If you are planning on project managing your own extension, you will likely find these resources very helpful!
With careful planning and the right expert guidance, you can keep your project on schedule and create stunning extensions for every budget. For inspiration, take a look at these kitchen extension ideas and brilliant glass extensions.
Get the Homebuilding & Renovating Newsletter
Bring your dream home to life with expert advice, how to guides and design inspiration. Sign up for our newsletter and get two free tickets to a Homebuilding & Renovating Show near you.

Gabriella is an interiors journalist and has a wealth of experience creating interiors and renovation content. She was Homebuilding & Renovating's former Assistant Editor as well as the former Head of Solved at sister brand Homes & Gardens, where she wrote and edited content addressing key renovation, DIY and interior questions.
She’s spent the past decade crafting copy for interiors publications, award-winning architects, and leading UK homeware brands. She also served as the Content Manager for the ethical homeware brand Nkuku.
Gabriella is a DIY enthusiast and a lover of all things interior design. She has a particular passion for historic buildings and listed properties, and she is currently in the process of renovating a Grade II-listed Victorian coach house in the West Country.
