Grouting floor tiles: All you need to know to do a pro job
When it comes to grouting floor tiles you need to use the right grout, the right tools and the right application to get a smooth smart finish. We show you how

Grouting floor tiles will be the finishing touch to a newly tiled floor. It will not only make the floor look fresh, it will serve as the glue that holds the floor together. It will stop your tiles moving in different directions and will stop water seeping under the tiles and compromising the adhesive.
If you know how to tile a wall then you will know how to grout a wall. The process for grouting floor tiles is similar but there are some key differences that you need to know to make sure that you get the right finish that will do the job it is supposed to do.
Here we give the lowdown on grout choice, what tools you’ll need and how to apply and finish the grout.
Grouting floor tiles: the tools that you’ll need
- Grout
- Grout float or grout spreader
- Bucket x 2
- Sponge
- Rubber gloves
How to grout floor tiles: a step-by-step guide
1. Mix up your grout
Get a bucket or container and mix up the grout as instructed by the manufacturer. Mix up enough grout to cover around two or three square metres at a time. Use a brick trowel or similar to mix the grout. It should have an easy to spread consistency, that takes a couple of seconds to fall off the trowel; you don't want your grout to be runny.
2. Spread and fill joints
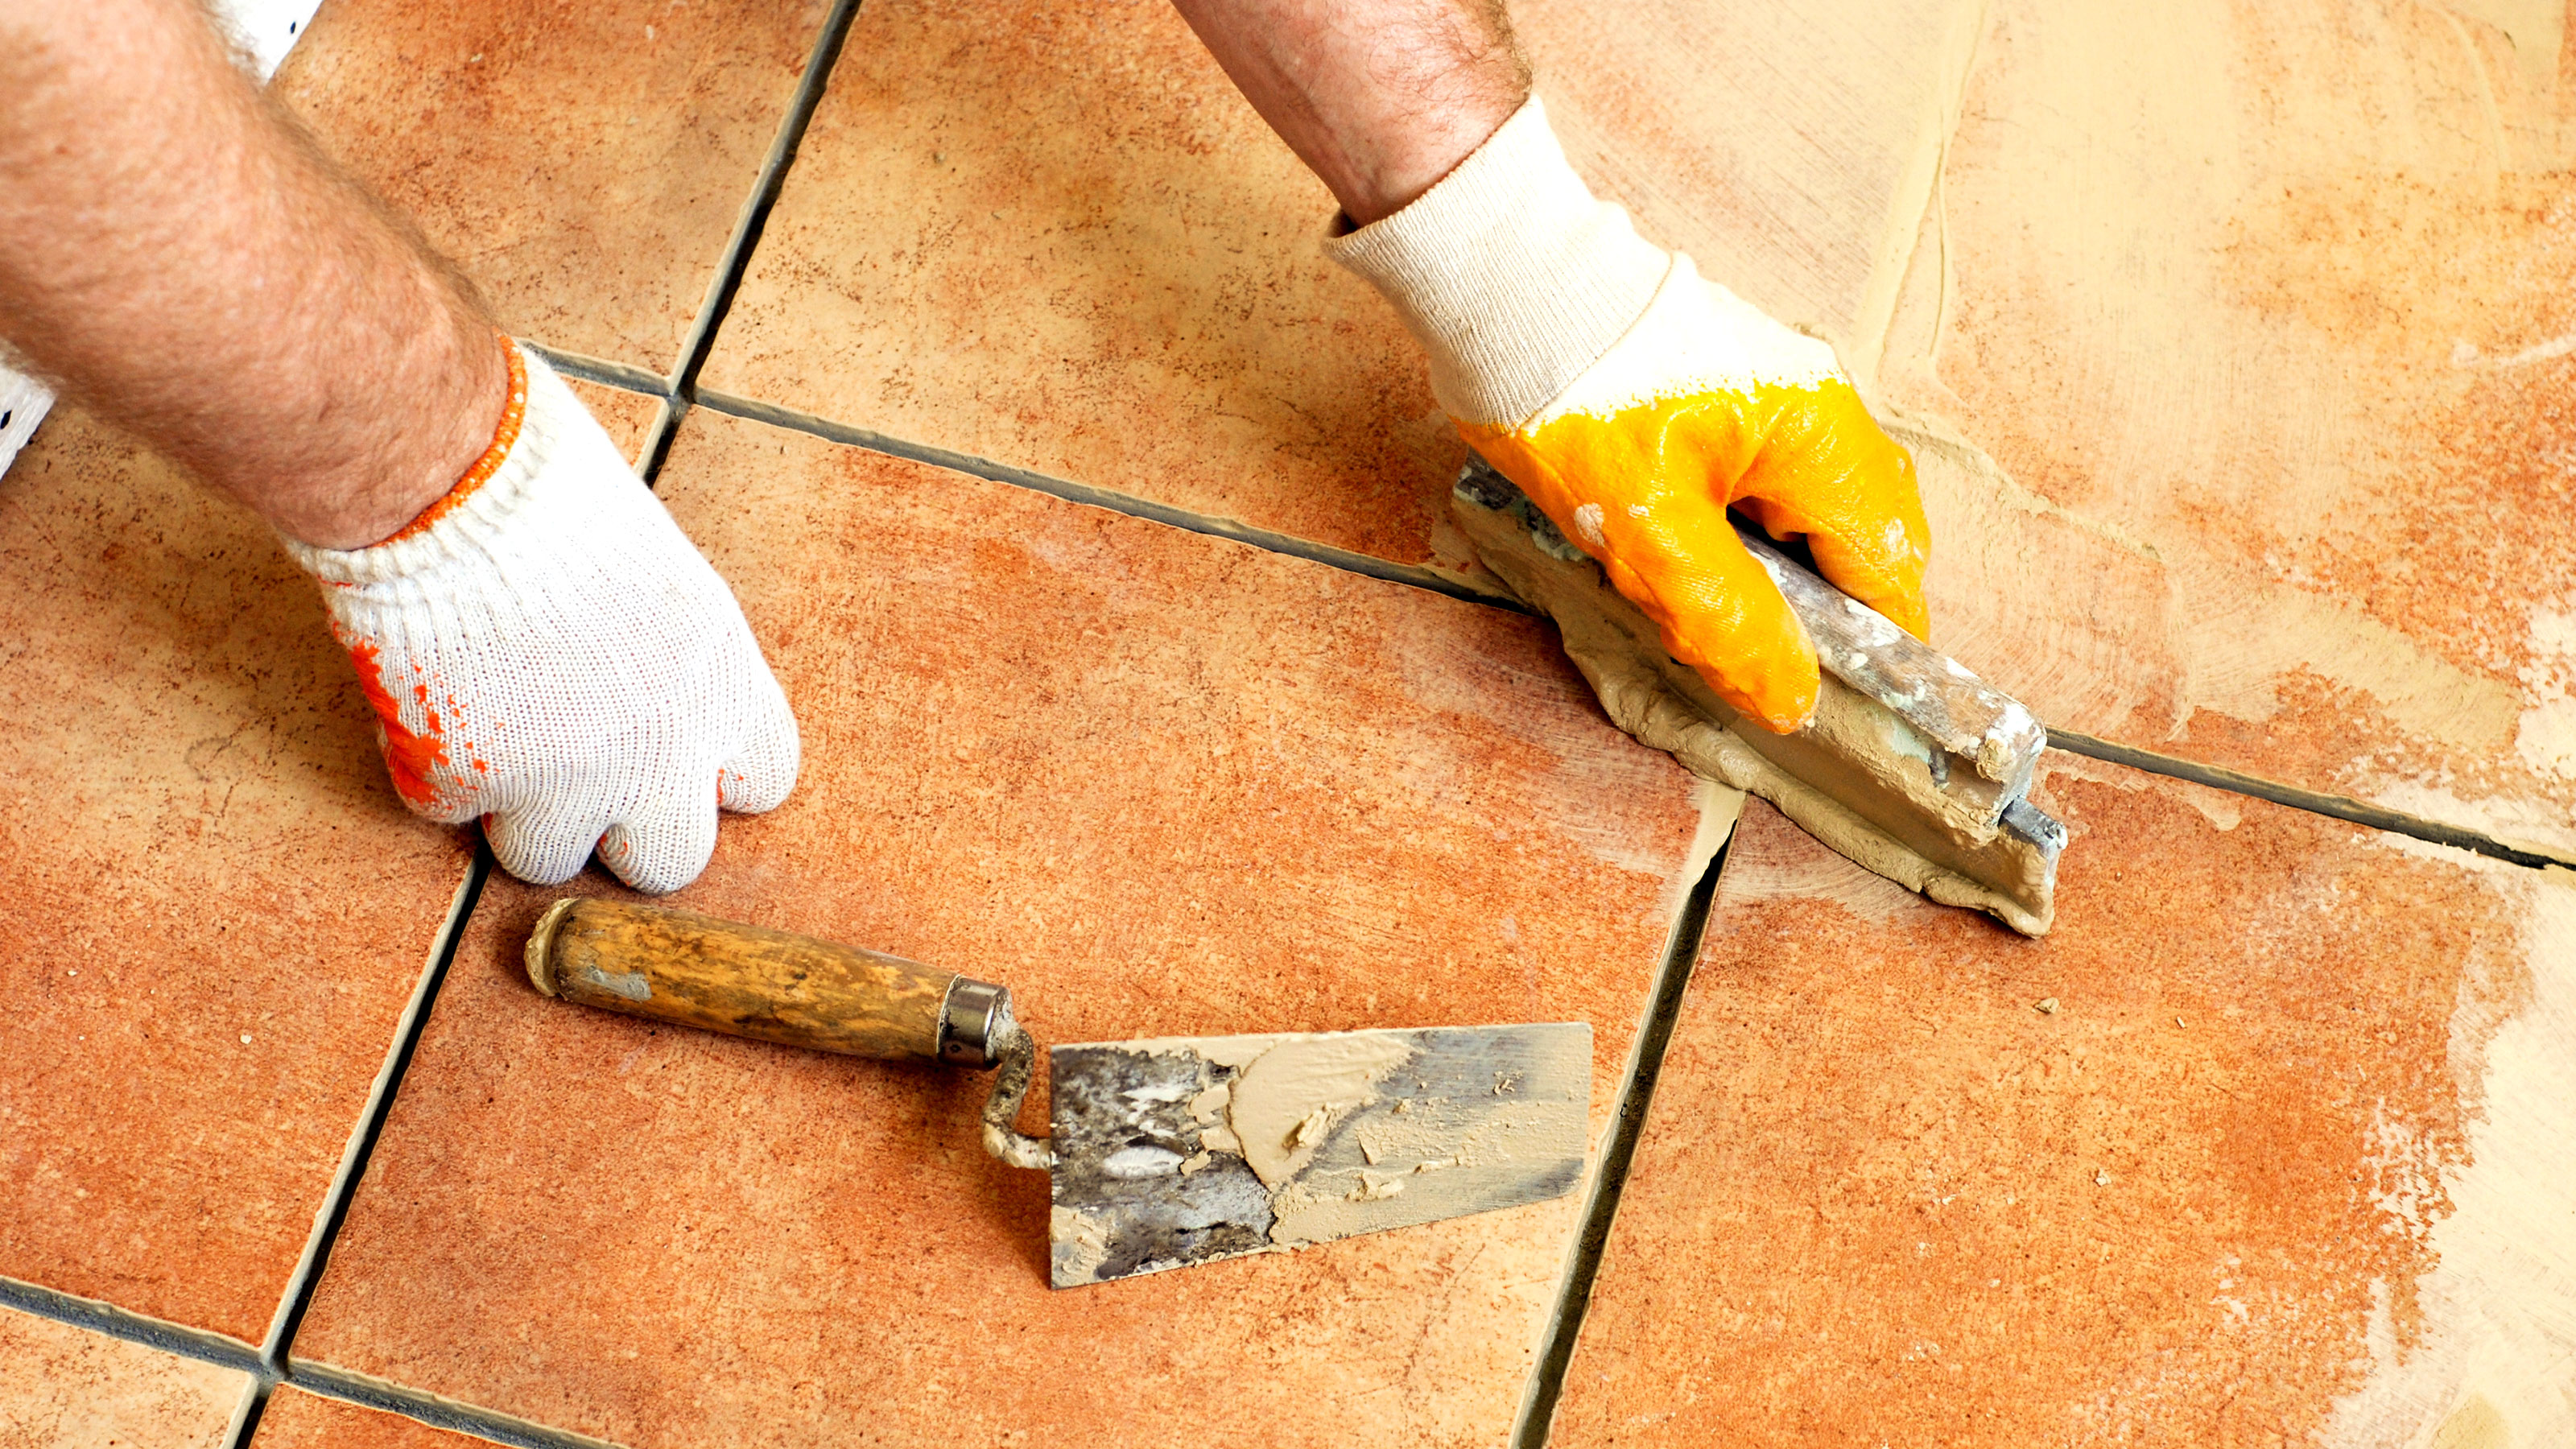
Start in the far corner with your back to the door. Put a couple of trowel fulls of grout on the floor. With your grout float, work the grout into the joints with a diagonal movement in both directions.
Once the joint is filled go back over and remove as much as you can from the tiles but still leaving the grout in the joints. Repeat the process across the floor.
3. Clean up and finish
Leave the grout to stiffen up a little, this should take around 15-30 minutes depending on the grout and size of the joint. Now use your other bucket and fill with clean water.
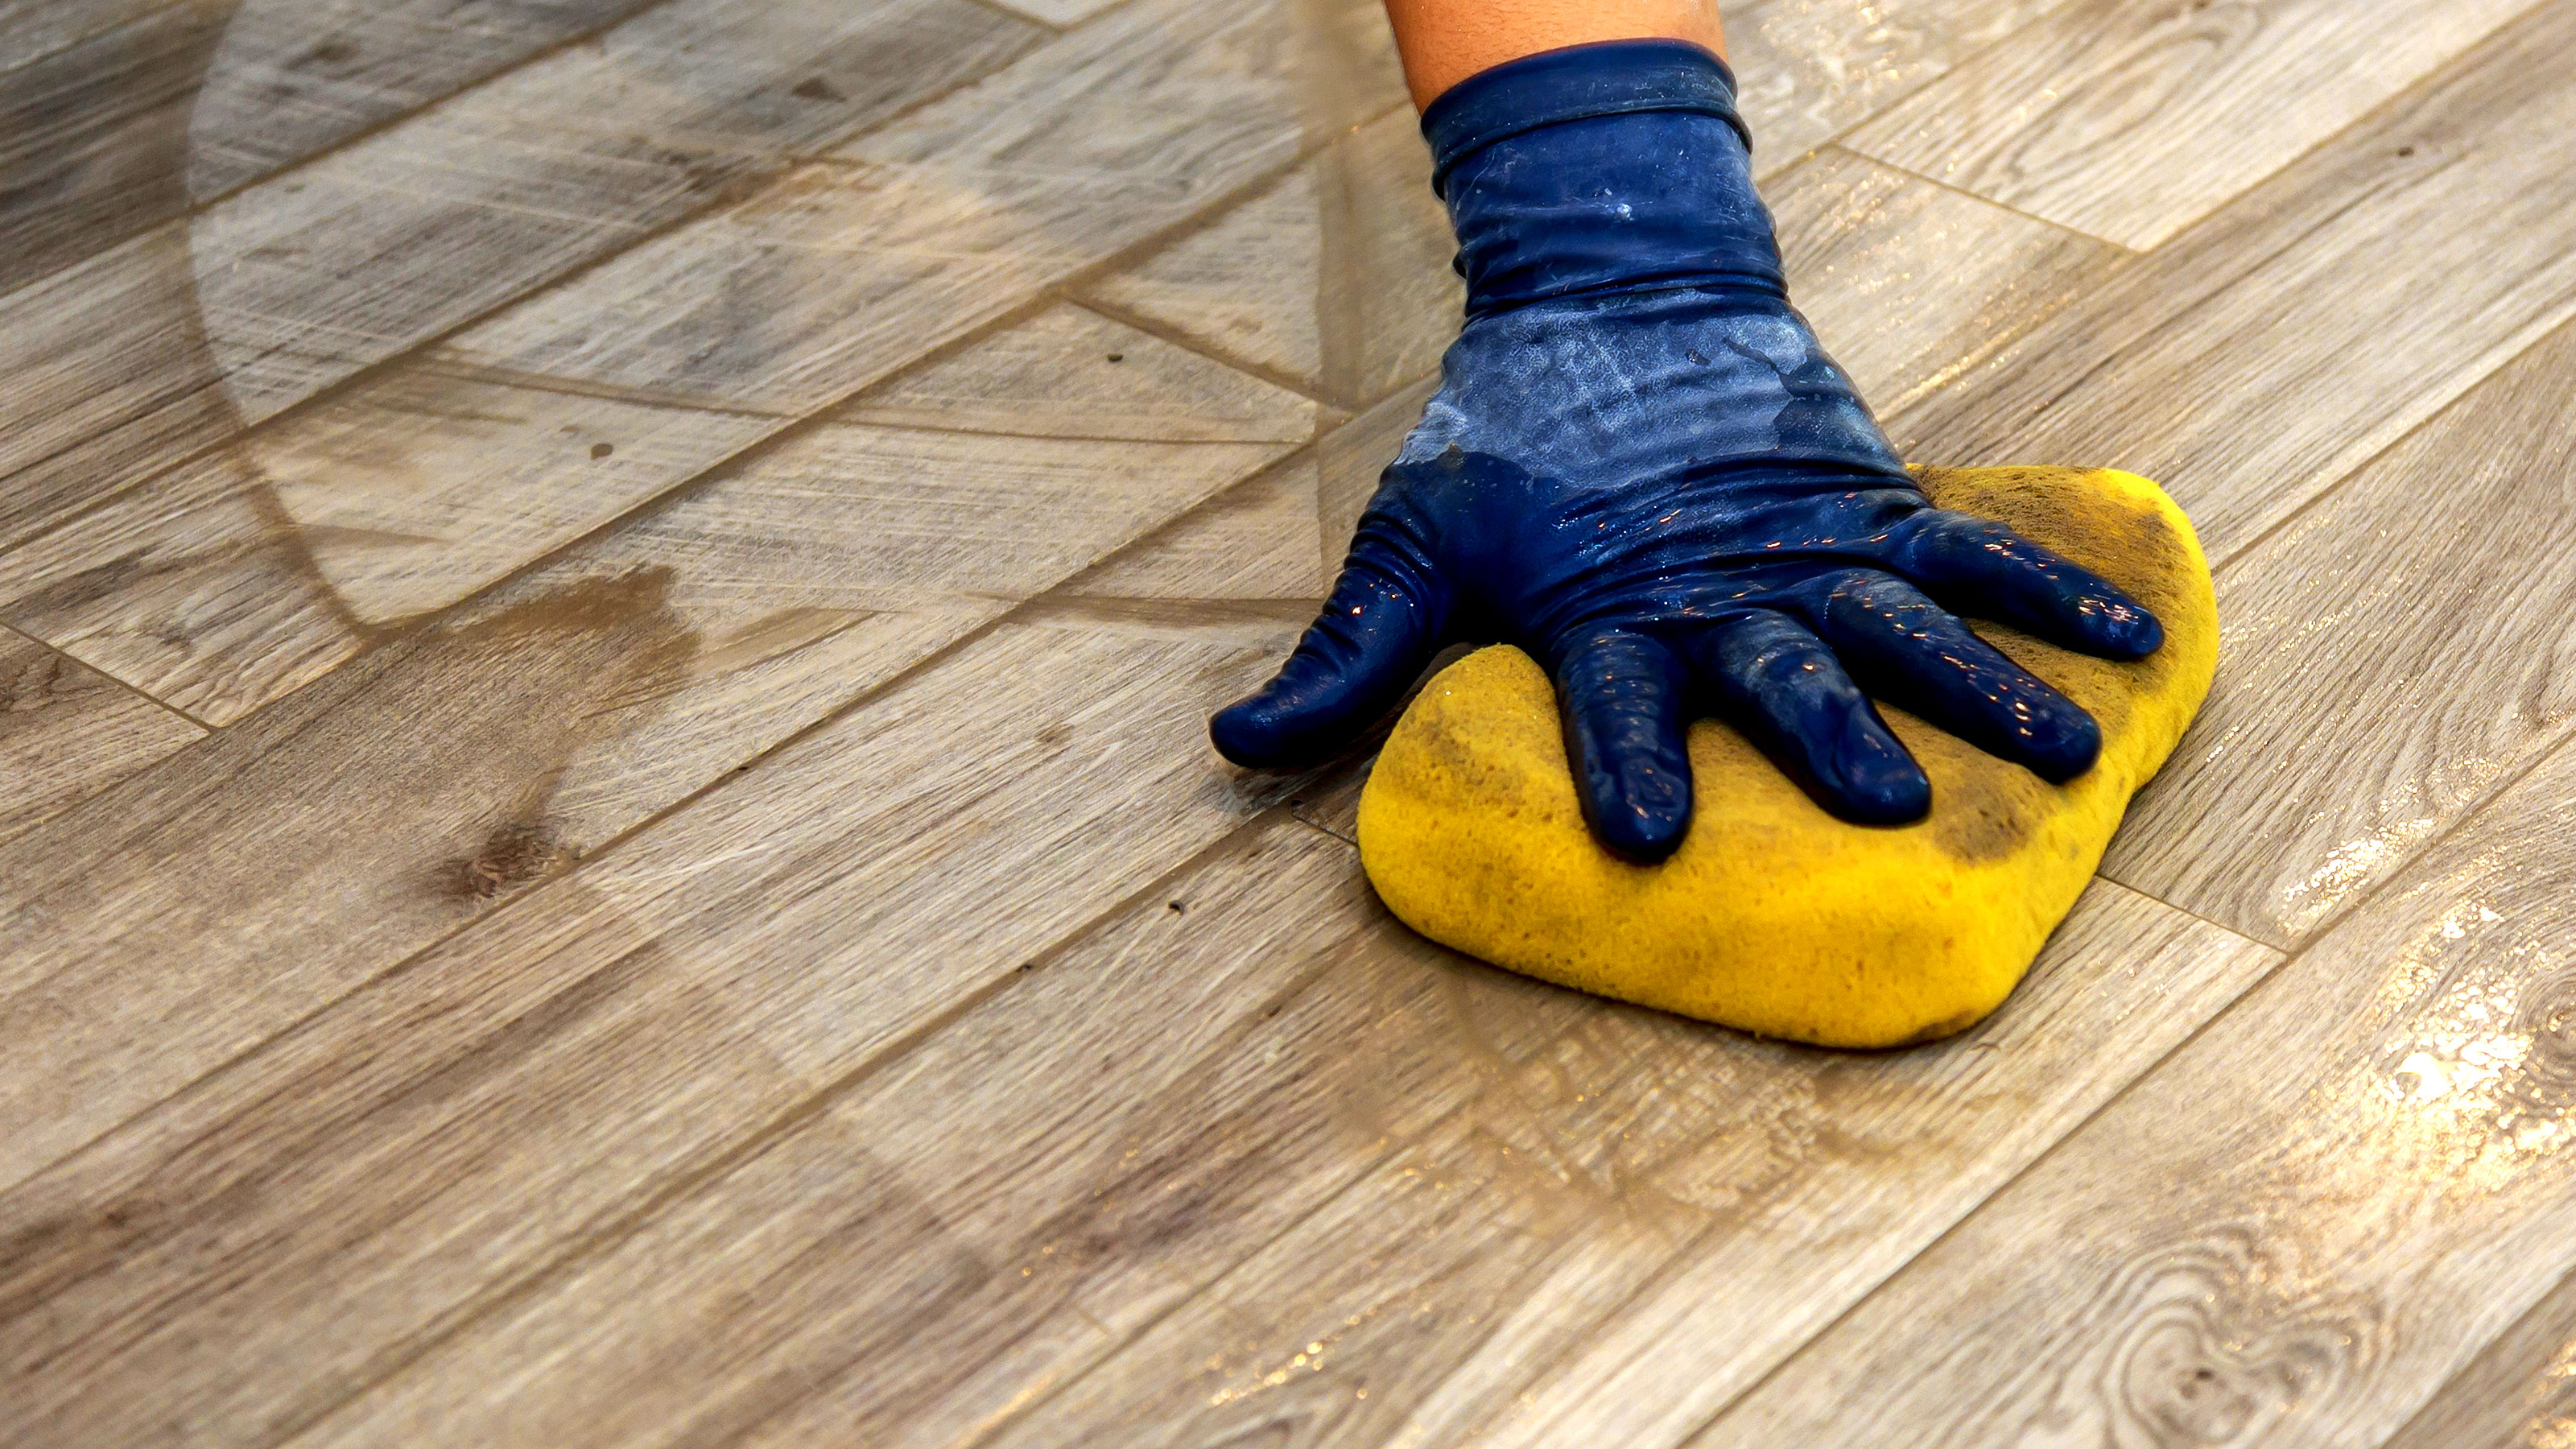
Put on rubber gloves and soak the sponge and wring out and wipe the floor. Go across the joints to start with and then gently along the joints. Repeat this until most of the grout on the tiles has gone.
At this stage you can use a brick jointer to shape the grout by simply running it along the joint. This might push a little grout out onto the tiles; remove with a damp sponge if this happens.
Now leave the grout to dry for a few hours or longer. Get a clean cloth and wipe the tiles to get rid of the film of grout wash. You will now be left with a shiny new tiled floor.

What kind of grout do you need for floor tiles?
What grout you use for floor tiles will depend on the size of the joint. If you have small joints typically 2mm, 3mm or 5mm joints – the sizes typically found on walls –then you can use wall tile grout.
If a high traffic area or area that will get damp regularly use a grout that is water resistant, waterproof or specially made for bathrooms.
For joints larger than 5mm you will need a sanded grout. The sand in the grout will create a stronger, more durable bond and won’t shrink as much, meaning that it won't crack and pull away from the tile leaving gaps. This is suitable for areas that are exposed to a lot of water inside or outside.
It is worth noting that different grouts can have different mixing ratios so you’ll need to know how to mix grout by checking the manufacturer's instructions.
You can go old school and use a simple sand and cement mix. This is typically used for exterior jobs as it only has one colour and generally isn't attractive as grout.

How much grout do I need?
Measure up your floor to see how many square metres you're going to have to cover. As a general guideline, a 5kg bag of grout will cover around 10-15m2. However, you may need a little more especially if you have large joints to fill. To be on the safe side add around 10-20% more than you think you need.
Do I need to seal floor grout?
Adding a sealant to grout will increase its longevity and help it stay looking good for longer. A grout sealant helps protect the grout from general wear and tear, keeps it cleaner for longer and will stop it absorbing water. Keeping water out will help protect against stains and stop mildew and mould forming, too.
However, it only really needs to be used in areas with high traffic and in contact with water on a regular basis. And it is only used with cement-based tile grout. It is also worth noting that the grout sealer doesn’t last forever: In high traffic areas it will need reapplying around every two years. It will last longer in lower traffic areas.
If you decide not to add sealant you can use one of the best grout cleaners on the market to restore your grout when needed.
How do you remove old grout?
Removing old grout means regrouting tiles and this is a messy job. So make sure that you have a dustpan and brush handy at all times. First remove any furniture or obstacles so you have a clear floor space to work in.
You can chip out old grout with a hammer and screwdriver but a grout removal tool is a better option. This has a metal blade with a rough edge. Place on the tile grout and use a sawing motion and angle left and right to remove the grout.
This is a labour-intensive process especially if you have a large floor so you might want to think about investing in an electric grout removal tool to get the job done faster.
Get the Homebuilding & Renovating Newsletter
Bring your dream home to life with expert advice, how to guides and design inspiration. Sign up for our newsletter and get two free tickets to a Homebuilding & Renovating Show near you.
Steve Jenkins is a freelance content creator with over two decades of experience working in digital and print and was previously the DIY content editor for Homebuilding & Renovating.
He is a keen DIYer with over 20 years of experience in transforming and renovating the many homes he has lived in. He specialises in painting and decorating, but has a wide range of skills gleaned from working in the building trade for around 10 years and spending time at night school learning how to plaster and plumb.
He has fitted kitchens, tiled bathrooms and kitchens, laid many floors, built partition walls, plastered walls, plumbed in bathrooms, worked on loft conversions and much more. And when he's not sure how to tackle a DIY project he has a wide network of friends – including plumbers, gas engineers, tilers, carpenters, painters and decorators, electricians and builders – in the trade to call upon.

