Flat roof extensions: An expert guide
Flat roof extensions require extra attention due to their structure, insulation and covering. Chartered surveyor, Ian Rock shares his advice for achieving a successful, low-maintenance solution
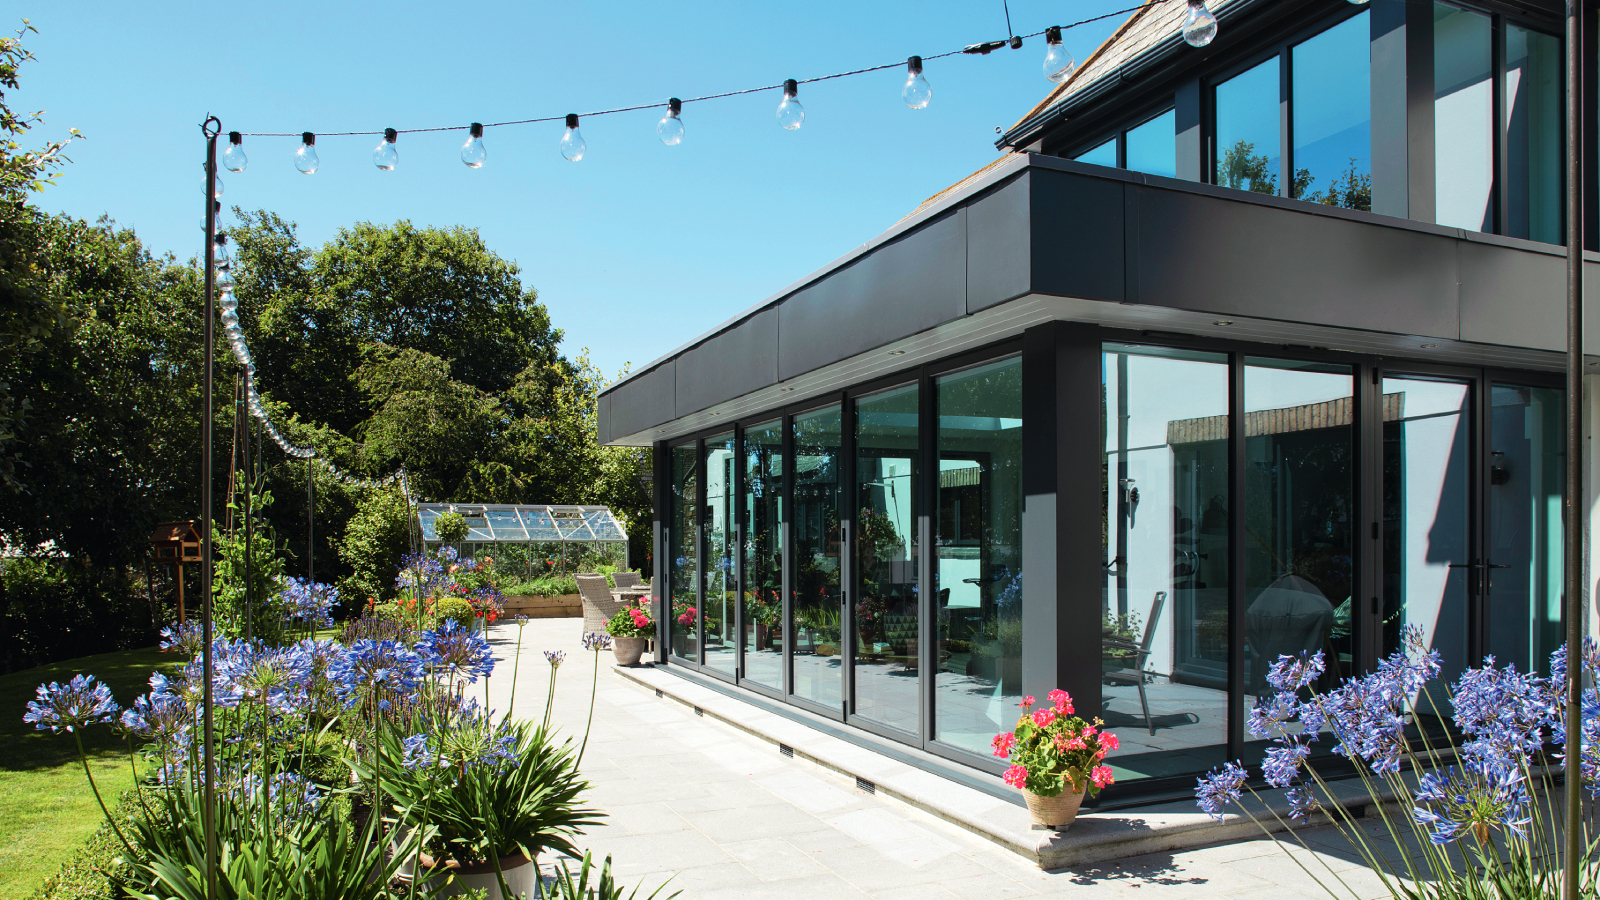
Flat roof extensions can provide a simple, cost-effective solution that ticks all the right boxes, especially for many smaller house extensions. The comparative ease of constructing flat roof extensions and their discreet visual impact can save having to shell out for a more expensive tiled roof in many cases.
Flat roofs can also come in handy where using a bulky pitched roof when building an extension would overshadow or block existing windows. There may even be an added bonus where the space can be utilised as a balcony, subject of course to planning permission and Building Regulations.
The main concern with flat roofs when building an extension is their unenviable reputation for developing problems. Unless carefully designed and constructed they are notoriously prone to leakage and heat loss, along with defects like sagging decks, ponding water and prolific plant growth. Which may explain why insurers tend to be wary of properties endowed with large areas of flat roofing.
Thankfully such concerns can be dispelled by taking the trouble to consider the three main aspects of flat roof extensions: the structure, insulation and coverings.
Getting the structure right
Extension flat roofs are normally constructed like timber floors, in essence comprising a series of joists with a timber deck plonked on top. Obviously, it’s essential to get the size, type and spacing of joists right. (These can be calculated with reference to published span tables — see the Right Survey website.)
Building regulations will normally require a structural engineer’s calculations to demonstrate that the completed structure will be able to support the various loadings and resist wind uplift. The design will also need to accommodate any roof windows – where the joists need to be cut, trimmed, and strengthened – as well as factoring in additional loadings, such as where foot traffic is anticipated.
Flat roof joists are conventionally cut from standard C16 or C24 treated softwood, or less commonly can comprise manufactured I-joists or Posi-joists, or even concrete block and beam construction. They're normally spaced at 400mm or 600mm centres and in most cases will span the shortest distance between the walls.
Where spans exceed 2.5m, additional strutting or noggins are required between the joists to prevent twisting. Joists are normally supported using steel joist hangers, or on timber wall plates, or on beams or lintels above openings.
Calculating the fall
Probably the most important design consideration is getting your roof pitch right and ensuring that the flat roof has a suitable slope or ‘fall’ to disperse rainwater. Get this wrong and you’ll be looking at water accumulating in puddles causing premature deterioration. The Building Regulations encourage a minimum fall of 1:40 (i.e. 40 units in length for every one unit drop in height) although the minimum fall required according to BS 6229, a British Standard for flat roofs, is a shallower 1:80.
Standard practice involves placing wedge-shaped tapered strips of timber known as ‘firrings’ along the top of horizontal joists. For consistency it’s best to get your timber supplier to pre-cut these (for a small fee). Of course there’s nothing to stop you placing the firrings at right angles running across the tops of the joists, although this can potentially lead to localised weakness where they’re a bit on the thin side.
There are other ways you can go about achieving a suitable slope. Probably the simplest method is to position the joists at the required slope in the first instance. But this means your ceiling will also slope, which arguably can make the extension feel a bit like a separate ‘garden room’ that’s been tacked onto the house.
If you’ve got a fairly simple rectangular extension, another option is to use ready-made tapered insulation boards with a built-in slope designed to be laid on top of the joists.
Installing the deck
Whichever method you choose, once the skeleton is in place the next stage involves installing the deck on top.
Traditionally this might comprise softwood floorboards with a protective coating of bitumen. Less happily, some older flat roofs used chipboard panels, now prohibited due to their tendency to deteriorate with age and exposure to moisture.
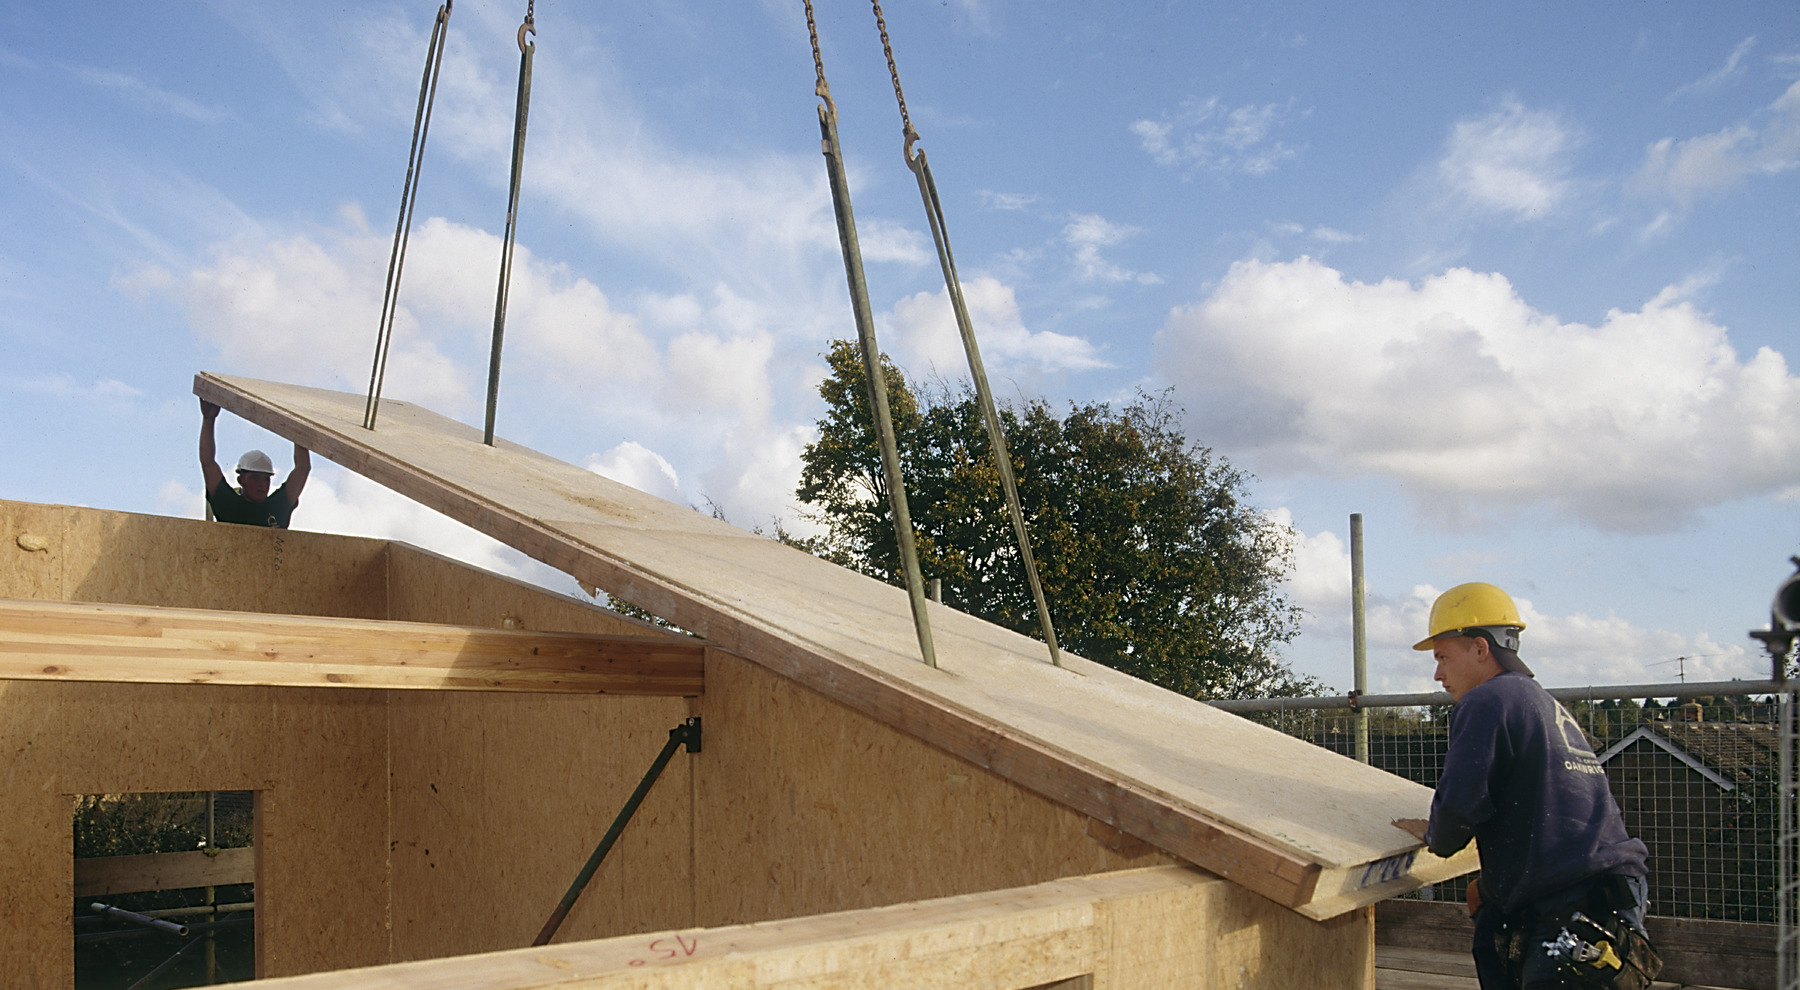
Modern decks typically comprise minimum 18mm-thick sheets of exterior grade weather and boil-proof (WBP) marine plywood, or 18mm oriented strand board (OSB) laid over the joists.
Other materials you can use include rigid ‘woodwool slabs’ (timber and cement based), reinforced concrete or profiled metal decking. Or you could opt for structural insulated panels (SIPs), which provide a ready-made pre-insulated flat roof.
Alternatively, if you want to defy convention the deck stage could be skipped altogether by specifying special super-rigid insulation boards designed to be laid directly over the joists performing the combined role of deck and insulation in one. An example is PIR rigid insulation boards faced with plywood.
Insulating your flat roof
To comply with Part L of the Building Regulations, a key point when it comes to knowing how to insulate a flat roof is that it must achieve U values of 0.15 W/m²K or lower.
Traditionally, in terms of the type of roof structure, flat roofs were constructed with ‘cold decks’, where the spaces between the joists were packed with mineral wool-type insulation placed above the ceiling, like a conventional loft.
With this type of roof insulation method it’s essential to provide sufficient ventilation to dispel any damaging moisture that gets in, so a cross-flow of air is needed above the insulation layer, normally via eaves vents.
Today, most flat roofs are constructed with ‘warm decks’ (aka ‘warm roofs’, where insulation is placed on top of the roof deck) which are simpler to build and are capable of achieving far better thermal efficiency.
Warm Roof Construction
The first step when constructing a warm roof is to seal it with a polythene vapour barrier membrane placed on top of the deck. This is to prevent any risk of moisture from humid air in the rooms below percolating through and getting trapped in the wooden structure. It also improves airtightness. The insulation can then be placed on top, for example 100mm-thick rigid PIR (polyisocyanurate) boards.
But there’s a wide range of materials capable of achieving stipulated U values on flat roofs, such as extruded polystyrene boards or compressed glass-fibre with interlocking edges designed to improve airtightness and structural rigidity.
Equivalent natural materials include rigid boards of wood-fibre or compressed hemp-fibre. Or, as mentioned earlier, special preformed tapered insulation boards can be used to achieve the required sloping surface.
One conundrum with warm roofs is how best to utilise the vacant space between the joists. Like a floor void this is an ideal space for running services such as electric cables, recessed lighting and pipes, but otherwise is largely vacant. So while it’s still exposed, before the plasterboard ceiling is installed, it makes sense to line the underside of the deck with extra insulation such as multi-foil. Or you could opt to leave the lower timber joists exposed, and apply the plasterboard ceiling a little higher by instead lining between the joists. To comply with Building Regs you would need appropriate fire protection for any exposed structural members.
Finally, before the surface roof covering is applied, it’s good practice to provide a firm base by boarding over the insulation, for example with sheets of 12mm plywood decking or 9mm OSB3. This, in effect, sandwiches the insulation in between two sheets of boarding, rather like a SIPs panel.
Choosing a flat roof cover

Weighing up the relative merits of different roof coverings in terms of their cost, performance and appearance isn’t always straightforward. But one thing’s for sure - workmanship and detailing are key to longevity. And the more inaccessible a roof is, the more important it is to specify a durable, long-life covering with a guarantee, because each time future re-covering is needed it will entail substantial costs on scaffolding and labour. So saving money using materials with a lifespan less than about 25 years on areas such as roof dormers is likely to be a major false economy.
Torch-on Felt Flat Roof
Modern felt systems are a big improvement on notoriously thin ‘pour and roll’ bitumen felts of yesteryear that were glued together with liquid bitumen. These modern felts are laid using a large blow-torch that heats the underside of the felt, melting it onto the roof structure below (it’s advisable to check that contractors are fully insured for work involving flames). Applied in layers, professional installers generally use more robust three layer felts which contain integral bitumen.
Torch-on felts are still one of the least expensive coverings, and being applied hot means they’re easier to form around penetrations and corners. Popular colours include green, brown, grey and purple. A lifespan of 20 years or more should be achievable if professionally applied and well maintained.
EPDM Rubberised Roofing
Widely used and easy to install, ethylene propylene diene monomer (EPDM) artificial rubber is delivered in cut-to-size rolls with their own flashing systems. This can normally be installed in a single seamless layer without joins, so it should be leak-free.
It is usually bonded to the substrate with adhesive and, done well, can last 30 to 50 years. The material is lightweight, reasonably stretchy and very durable. Costs are typically around 25% dearer than for a quality felt roof.
Fibreglass Glass Reinforced Plastic (GRP)
GRP consists of liquid polyester resin applied to large mats of glass fibre to form a tough laminate. The material is lightweight, strong, jointless, and easily moulded, making it good for sealing around complex shapes. It has a reasonable appearance with a wide choice of colours, but is relatively expensive. Most fibreglass roof guarantees are for 20 or 25 years.
Other Single Ply Membranes
‘Single ply’ means any roof covering applied in one layer. Along with sheet rubber and fibreglass, the most common materials are PVC-based — Sarnafil being the best known brand. These have the advantage of being lightweight, flexible, resistant to UV with a life expectancy of 30 to 50 years, but are a relatively expensive type of covering fitted by approved installers.
Mastic Asphalt
One of the most durable and long lasting coverings, asphalt is widely used where flat roof terraces are walked over, often laid as a base layer beneath paving slabs.
Applied hot, asphalt can be laid on rigid structures such as concrete, timber and metal and can be worked around details like curves, upstands and rooflights. But asphalt is relatively heavy, with implications for the supporting structure, and costs around 30% more than a quality felt roof. The durability of bituminous coatings has improved in recent years with claimed lifespans of up to 50 years.
Sheet Metal
Cladding flat or shallow-pitched roofs in metals such as lead, zinc or copper was traditionally the most durable form of protection, but comparatively expensive. The metal sheets are laid in sections with movement joints in between.
One recent innovation is stainless steel interlocking panels coated to resemble zinc or lead, but genuine lead sheet is still the best choice if your budget can stretch to it.
Green Flat Roofs
Green roofs are rare on extensions because of their cost and complexity, but incorporating grasses, sedums and mosses can make a delightful feature. They require a root barrier to prevent the plants interacting with the waterproofing beneath, and a drainage layer to retain water. Along with the need for much stronger decks and special edging to stop the vegetation leaking away, this makes a green roof a great, but expensive option.
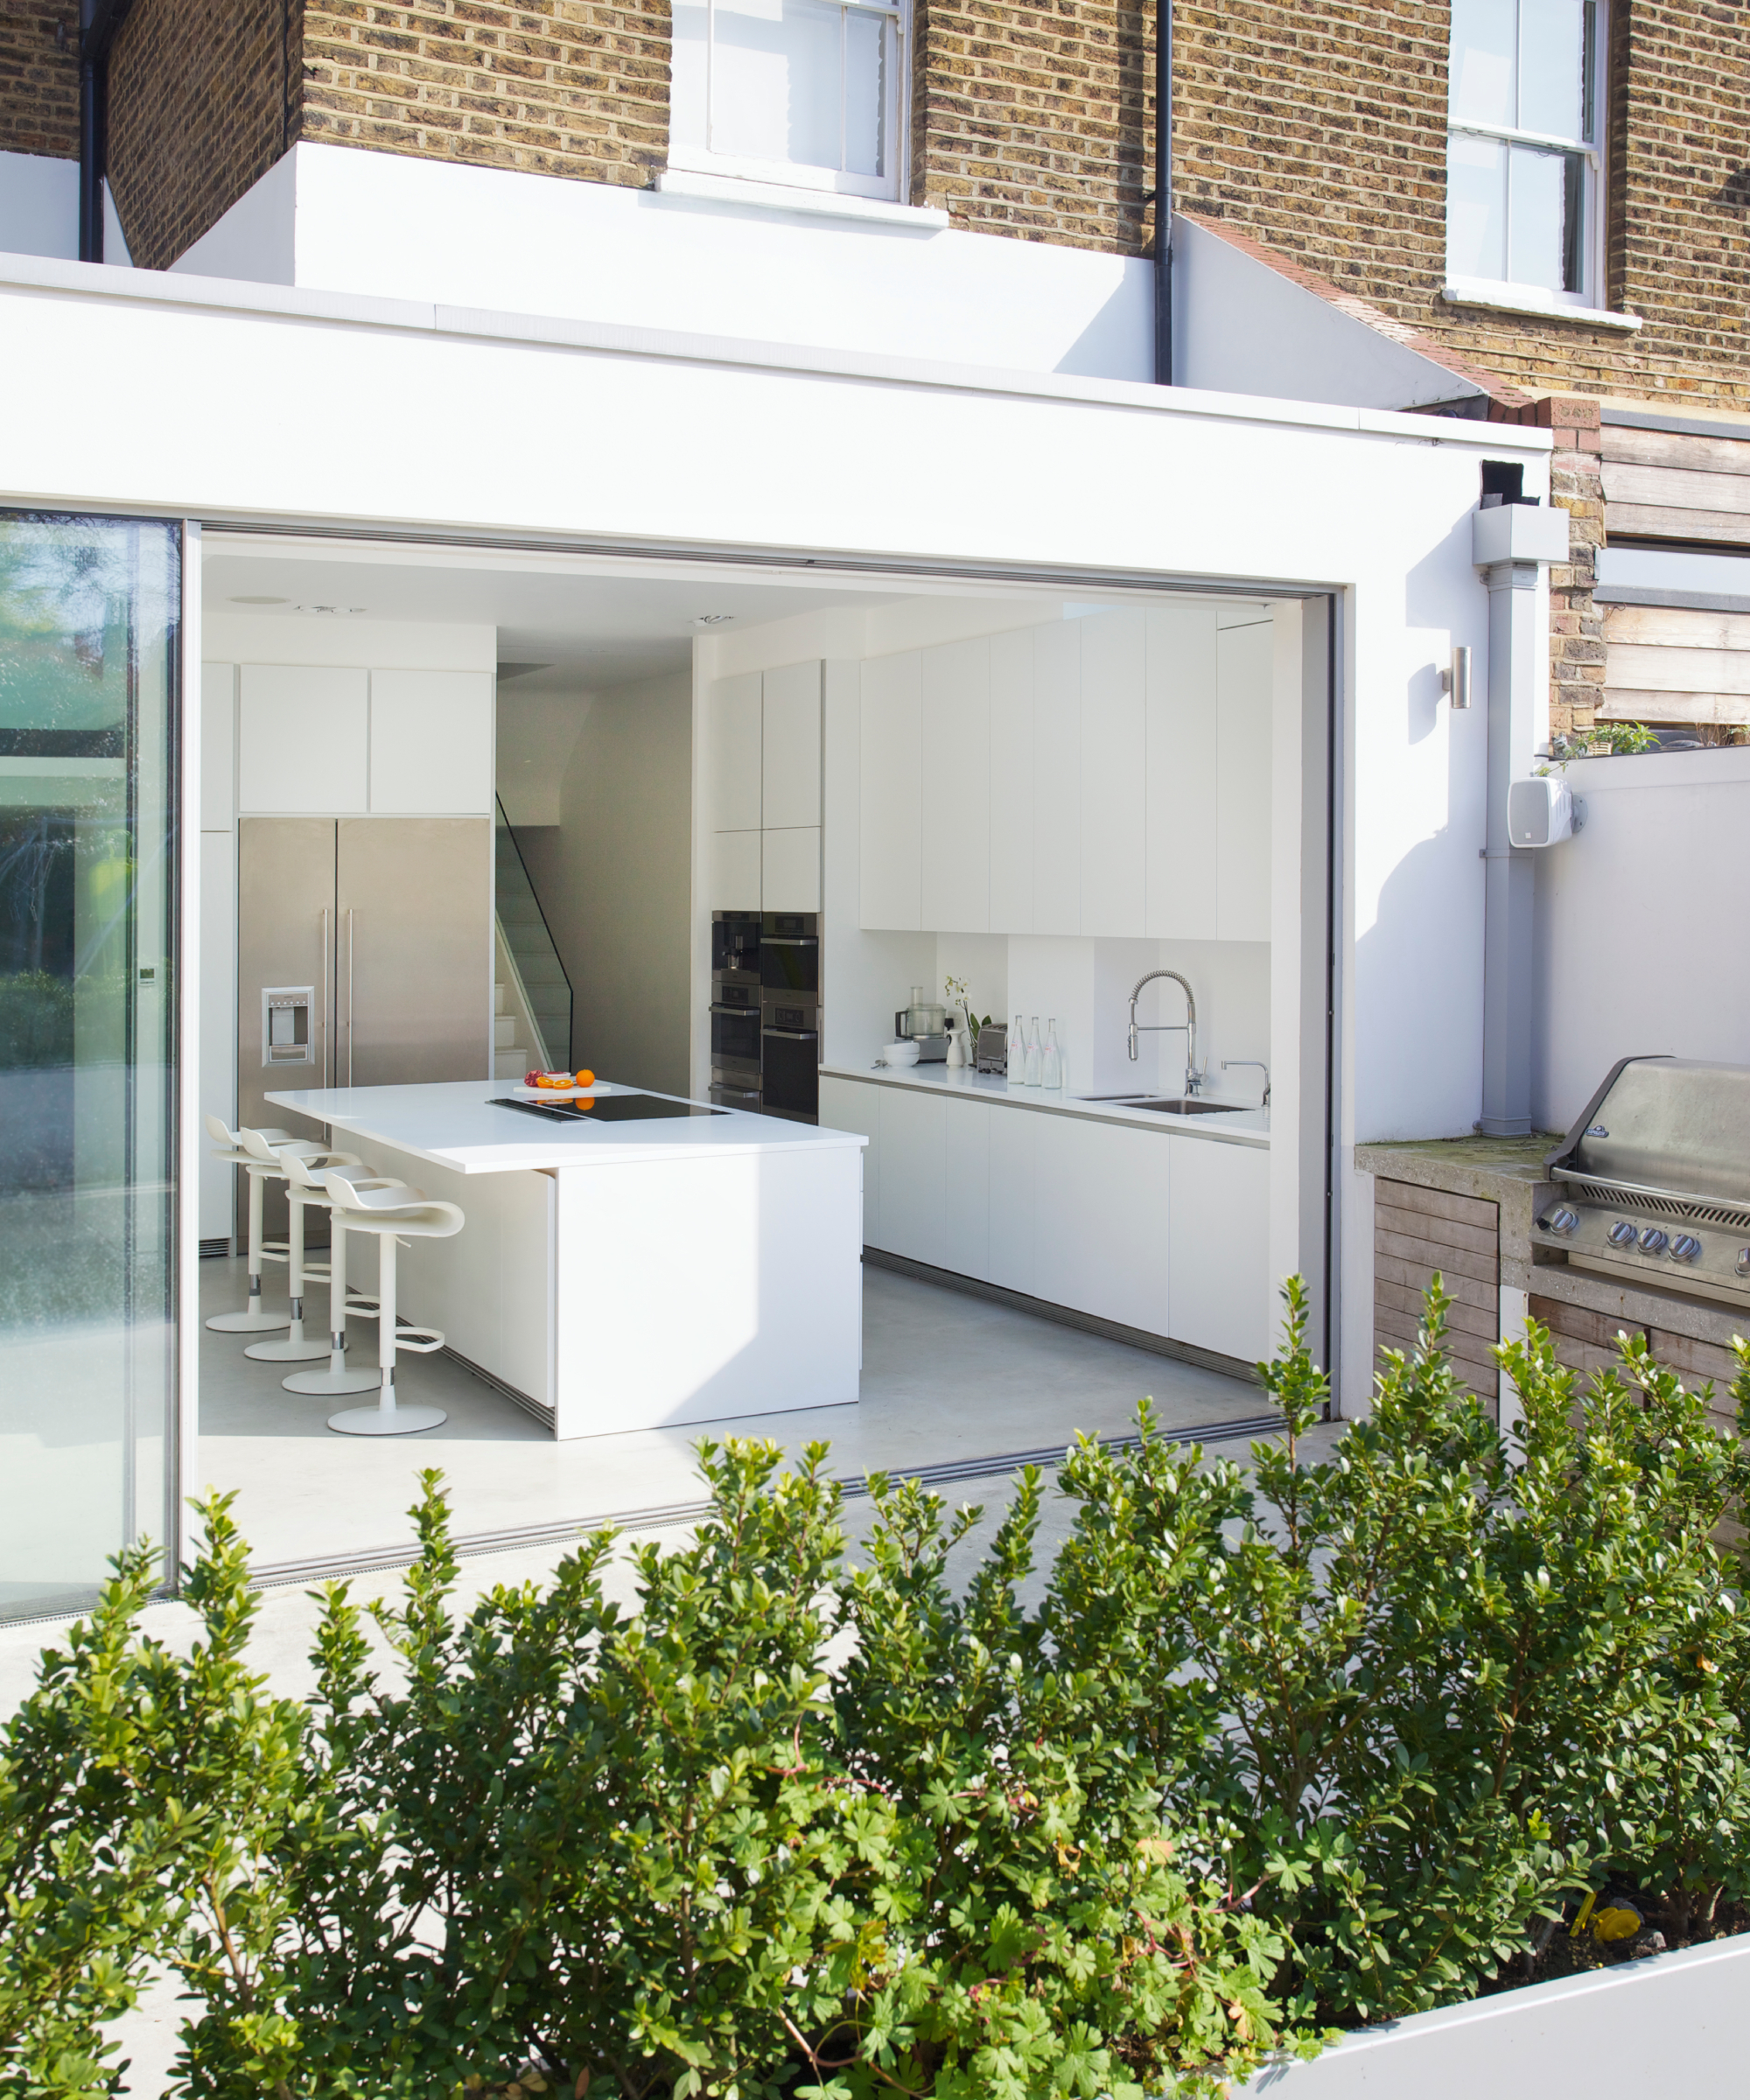
Walk-on flat roofs
The idea of utilising your flat roof as a walk-on terrace can be very appealing. But it’s essential that roofs of this type are designed from the outset specifically for their intended purpose, and not simply modified at a later date as an afterthought.
Planning permission for extensions is always a primary consideration because roof terraces inherently give rise to a certain amount of overlooking, which can be potentially contentious depending on the precise locational circumstances.
A structural engineer will then need to calculate all the loadings, including the additional weight of heavy-duty deck coverings. They will need to consider the maximum number of people likely to utilise the new terrace along with possible extra weight of garden furniture etc, as well as seasonal factors such as snow loads.
Compared to a standard flat roof, walk-on roofs typically require larger C24 timber joists spaced closer together (e.g. at 400mm centres) or with additional support at mid span from internal beams etc. For larger terraces concrete beam and block construction is likely to be a better option.
The surface floor finish will need to withstand friends and family traipsing around in a variety of footwear, some with the potential to puncture conventional materials. Purpose-made paving slabs can be specified to provide a suitably robust and weather-resistant floor surface. Some materials such as lightweight porcelain tiles can be laid on pads rather than fully bonded to allow water to flow beneath them (although there’s a potential risk of hidden blockages developing over time).
The extension design will of course need to allow for a suitable exterior door opening to provide access, taking into account issues such as security, glazing and thermal efficiency. Finally, the design needs to provide suitable protection from falling, e.g. in the form of parapet walls or balcony railings. To comply with Building Regulations, normally at least 1100mm high above the floor surface.
Flat roof costs
Approximate material costs per square metre are as follows, but are for the material only and exclude labour and any items such as scaffolding, roof structure and flashings.
| Material | Cost per m2 |
| Torch on felt | £35 - £70 |
| EDPM Rubber | £60 - £90 |
| Fibreglass | £80 - £110 |
| Single ply PVC/Sarnfill | £85 - £100 |
| Sheet metal/lead | £100 - £145 |
| Mastic asphalt & slabs* | £100 - £120 |
| Green roofs* | £90 - £120 |
* Excludes additional costs of upgraded structure, decking and detailing
Additional considerations
With all types of flat roof extensions getting the detailing right at junctions is essential to prevent water ingress and ensure longevity.
Junctions, upstands and cavity trays
Most types of roof covering membrane need to be designed to avoid sharp angles where the deck meets adjoining walls, and taken up the wall at least 150mm to form an ‘upstand’ above the roof surface. It’s good practice to fit lead flashings at junctions and to cover upstands to ensure watertight joints at walls and intersections. Also, where new extensions abut existing cavity walls, a cavity tray should be fitted in the wall to intercept and channel away any damp within the cavity.
Guttering
It's also essential to pay attention to the guttering. To ensure the rainwater is directed towards the gutters, the sides of the roof surface parallel to the direction of flow (i.e. not above the gutter) should have small raised upstands along their edges. Larger roofs sometimes incorporate internal outlets, but these are best avoided because there’s a high probability that neglect over time will lead to damp problems, even where they’re correctly fitted with leaf guards.
There are often key mistakes made during the construction process that can lead to long term problems with roofs. Having a checklist to hand can help prevent future issues.
1. Ensure there is sufficient slope to avoid rainwater collecting on the surface
2. Avoid the use of cheap felt coverings which may only have a 10 year lifespan
3. Make sure the detailing at junctions is done well to avoid leaks and damp ingress
4. Check that there is adequate insulation to reduce the risk of heat loss, condensation and mould
5. If you are renovating a property with a traditional cold roof structure get an expert to check there is sufficient ventilation
Get the Homebuilding & Renovating Newsletter
Bring your dream home to life with expert advice, how to guides and design inspiration. Sign up for our newsletter and get two free tickets to a Homebuilding & Renovating Show near you.
Chartered surveyor Ian Rock MRICS is a director is Rightsurvey.co.uk and the author of eight popular Haynes House Manuals, including the Home Extension Manual, the Self Build Manual and Period Property Manual.
Ian is also the founder of Zennor Consultants. In addition to providing house surveys, Zennor Consultants provide professional guidance on property refurbishment and maintenance as well as advising on the design and construction of home extensions and loft conversions, including planning and Building Regulations compliance.
Ian has recently added a 100m2 extension to his home; he designed and project managed the build and completed much of the interior fit-out on a DIY basis.

