How to tackle fitting a kitchen worktop in this step-by-step guide
Discover the know-how for fitting a kitchen worktop including the tools you’ll need and how to get a clean cut
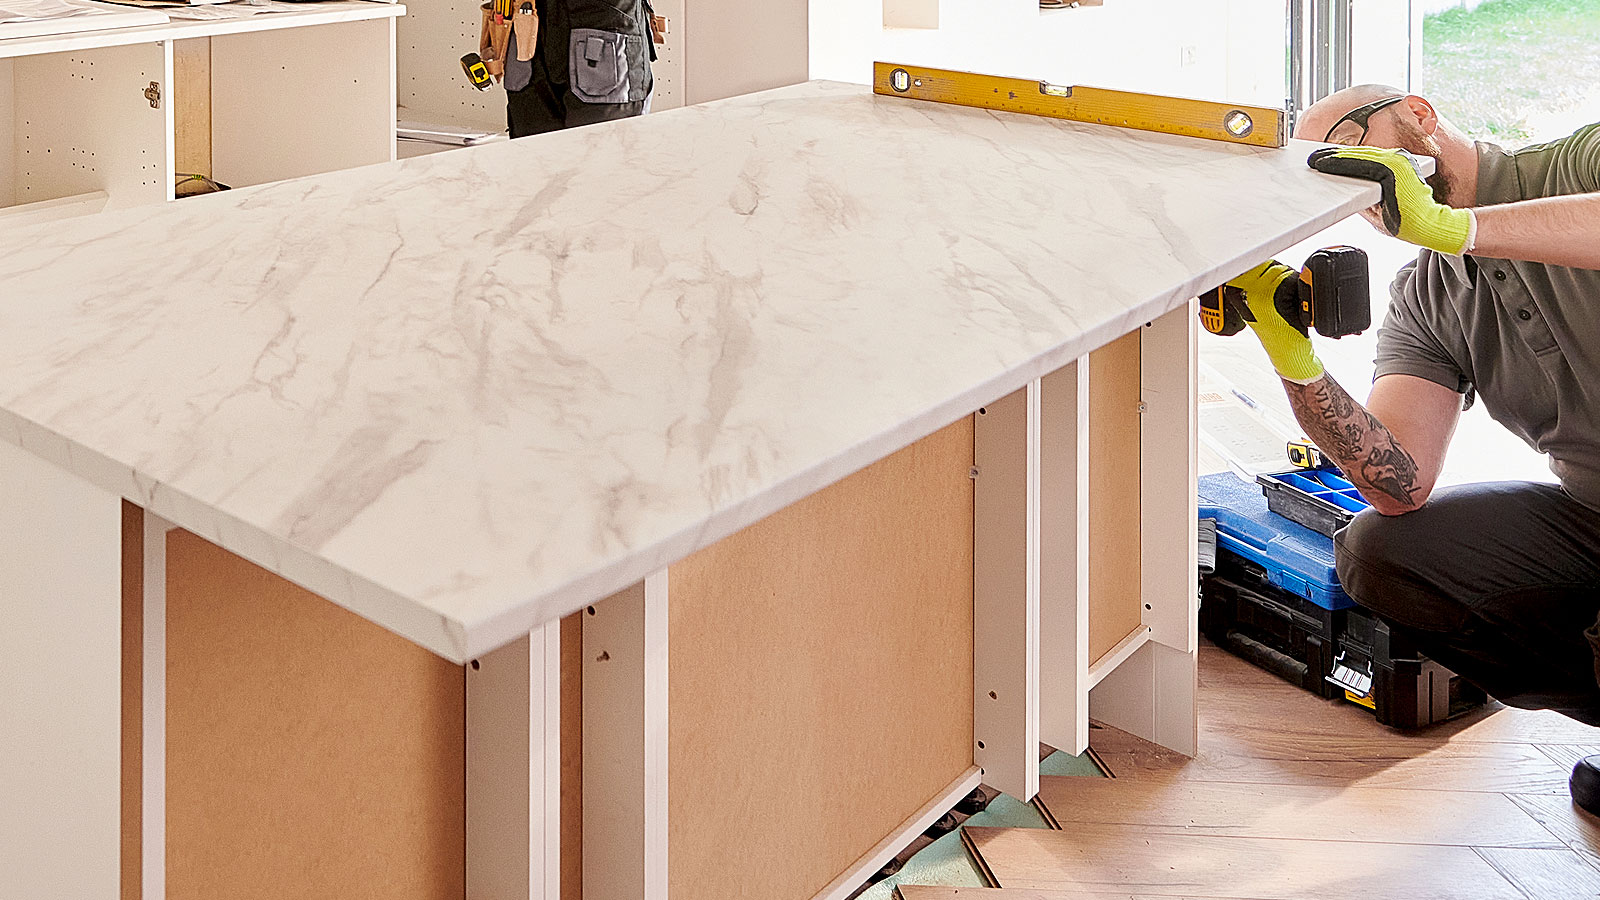
Fitting a kitchen worktop is an essential part of installing a kitchen and what you choose can have a real impact on the finished look. And, there’s plenty to choose from to help get that dream kitchen. But, some are not as easy to install as others.
Laminate and solid wood kitchen worktops are easier to tackle than granite, quartz and marble. We recommend leaving stone worktops to the professionals. But if you’re handy with a power saw then fitting a wooden worktop will be a DIY task that you can tackle with the help of this guide.
Tools you’ll need for fitting a kitchen worktop
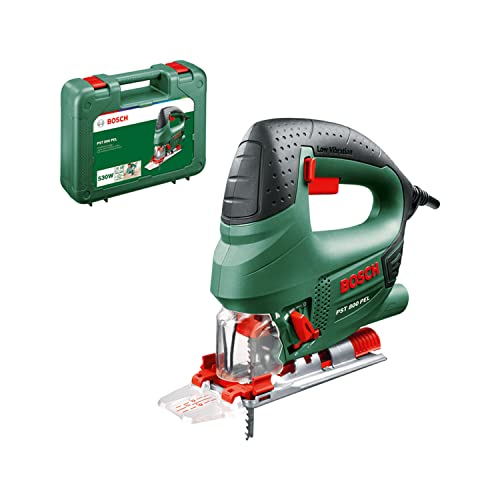
When fitting a kitchen worktop there are a whole number of tools that you will need to make sure that you get a clean neat finish. Key to success is a circular saw and jigsaw.
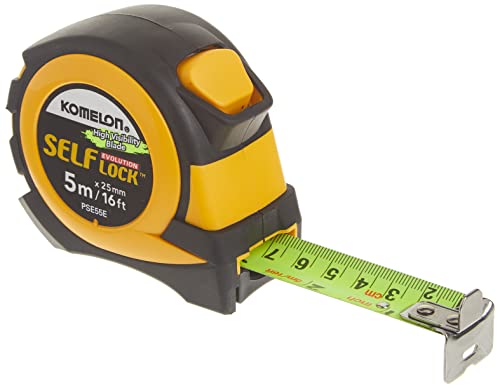
But you will also need a tape measure, drill, clamps like this IRWIN Quick-Grip Woodworking Clamps set from Amazon, screwdrivers, utility knife like this Amazon Basics Durable Folding Utility Knife, mallet, spanners and silicone sealant. And don’t forget your safety gear including goggles and dust masks like these Site P2 Valved Disposable dust masks from B&Q.
Try these tools for fitting a kitchen worktop
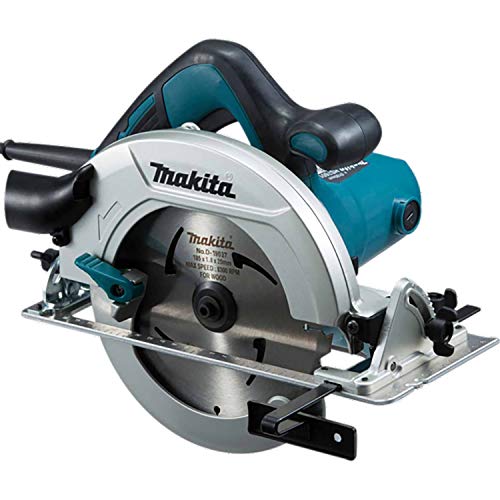
A corded circular saw with aluminium safety cover, base plate and blade cover. Has a cutting dpeth of 66mm at 90 degrees and 46mm at 45 degrees.
How to fit a kitchen worktop

Penelope Jacobs is a kitchen design expert with over 15 years worth of experience in the field. She works closely with clients to make their visions come to life at a price that suits their budget.
1. Measure up
Before you fit a kitchen worktop you will need to measure up as Penelope Jacobs, kitchen design expert for MyJobQuote shares, “The first step in preparing to fit a kitchen worktop is to measure out the space that you have available, and consider what size your fitting should be.”
She adds, “It is always advisable to measure twice to ensure accuracy, as this means that, when you reach the more difficult cutting stage, you will only have to do it once.” Remember to leave a 10-20mm overhang if an end panel.
2. Cutting kitchen worktop
Place your worktop upside down on a stable surface, for example on a couple of saw horses, like this Excel Steel Sawhorse Heavy Duty Twin Pack from Amazon. Jacobs says, “When trimming to length, mark a cutting line to match your measurements on the underside with a pencil, and then cut using a circular saw.” This will give you a cleaner edge on the top surface that you see.
To help get a straight edge use a guide such as a factory cut piece of timber with a straight edge and clamp into place. Make sure to check the blade lines up with your measurements.
When finished cutting Jacobs says. “After cutting, the worktop will probably be left with rough edges, so it is important to smooth these down using a file or sandpaper.”
3. Install kitchen worktop
First make sure that your kitchen cabinets are level. Now you can place the worktop on top of the cabinets, “Ensuring that the overhang is even across all lengths”, says Jacobs, “If it is, proceed to check fastening positions.”
She adds, “Worktops can be clamped into place on the base units and secured by drilling holes and fitting screws to tighten the two pieces together.”
Use metal or plastic angled brackets like these Polypropylene (PP) Assembly joints from B&Q to attach the worktop to the cabinet. A common method is to use these at the back of the cabinets and use screws to attach through the front rail.
Make sure to use the right size screws so that they don't come through the top of the worktop. On drawer cabinets you typically screw through the front and back rails to attach the worktop.
How to join two worktops together
Kitchen worktops will often need to be joined together to get the perfect fit. These can be two straight lengths for long expanses of worktop or corner joins to continue around the kitchen.
There are typically two methods for joining worktops. Thomas Oldham, Co-founder of UK Construction Blog explains how to create almost invisible joins, “For straight joins, carve precise recesses with a router, apply waterproof adhesive, and insert bolts.” He adds, “A router is invaluable for neat bolt recesses when joining worktops.”
The bolt recesses are on the underside of the worktop and are often round. You will also need to cut a channel for the bolt when using joining bolts like these Worktop Connecting Jointing Bolts from B&Q. Make sure to get the depth right, don’t over do it.
Oldham shares how to do corners, “For corners, make sure to cut the mitres at 45 degrees. Once the adhesive is applied, finish the job carefully, keeping the edges neat, especially near sinks. The result will be a polished, professional-looking finish."
An alternative and simpler option, though not so professional-looking in my opinion, is to use a joining strip like this Black Worktop End Cap Joint Strip from B&Q. Make sure to get the right depth and cut to fit.

Thomas has worked in the engineering and construction industry for over a decade, working on large scale projects for global clients such as Ford, Audi and Jaguar. He has spent the past four years using his expertise to develop the UK Construction Blog.
How to seal laminate kitchen worktop edges
There are typically two options for laminate worktops: laminate edging strips or a worktop end cap. An end cap like this GoodHome Nantua Silver effect Aluminium alloy Worktop end cap is easier to fit. Just cut to fit and screw into place.
To install an edging strip, apply adhesive, clamp into place, wipe off any excess adhesive and leave to dry. To finish, use a sharp blade to cut off excess and fine grade sandpaper.
FAQs
What is the easiest worktop to install?
Kitchen worktops come in a variety of guises with laminate, solid wood, marble and granite being the popular options. Wooden worktops are much easier to cut than stone and DIYers rarely have the correct tools or skills to cut stone, marble and granite. Penelope Jacobs says, “Stone and granite worktops should only ever be cut by a qualified professional”.
These are expensive items so measuring and cutting needs to be done correctly, otherwise it could prove expensive. Matt Weatherill, Head of Installations, Wren Contracts shares, “Wren uses the latest cutting-edge, laser templating technology, which captures exact measurements, even in complex or irregularly shaped spaces, ensuring that the worktop fits perfectly the first time.”

Matt has extensive experience in the kitchen, bedroom, and bathroom sectors and has been instrumental in driving the rapid and strategic growth of the business. With over five years at Wren, Matt has established a strong reputation for his leadership, attention to detail and ability to deliver innovative, market-leading solutions on time and on plan for housebuilders and developers of all sizes.
Do worktops sit directly on kitchen cabinets?
Standard everyday kitchen worktops sit directly on top of kitchen cabinets. They provide support and stability and offer the opportunity for the worktop and cabinet to be attached to each other to ensure the worktop stays in place.
What is the standard height for kitchen worktops?
The standard height can vary but Weatherill points out the popular option, “When considering the height of your worktops, 90cm is the recommended height” But this is not set in stone, “However, this can be completely tailored to your needs. If you are in need of a more accessible height, Wren Kitchens can help ensure your kitchen is completely bespoke.”
Kitchen cabinets typically come with adjustable legs and these often have around 40-50mm of play.
How much overhang should a kitchen worktop have?
Kitchen worktops typically sit on top of kitchen cabinets and always have an overhang at the front. Oldham says, “Start by measuring the cabinets carefully, leaving about 20 to 30mm for an overhang. Mark the saw lines on the underside of the worktop to help avoid visible chips when cutting.
Weatherill reinforces the point, “Ensure that your worktop has an overhang of at least 10-30mm to avoid any spillages falling directly onto the face of the cabinets.”
Doors are typically 20mm thick, so 30mm overhang on a cabinet will leave you with 10mm overhang when doors are added.
A new worktop can help transform a kitchen. Check out our kitchen remodel ideas, 30 Clever kitchen ideas to Make Your Space Work Harder and bespoke kitchens guides for inspiration.
Get the Homebuilding & Renovating Newsletter
Bring your dream home to life with expert advice, how to guides and design inspiration. Sign up for our newsletter and get two free tickets to a Homebuilding & Renovating Show near you.
Steve Jenkins is a freelance content creator with over two decades of experience working in digital and print and was previously the DIY content editor for Homebuilding & Renovating.
He is a keen DIYer with over 20 years of experience in transforming and renovating the many homes he has lived in. He specialises in painting and decorating, but has a wide range of skills gleaned from working in the building trade for around 10 years and spending time at night school learning how to plaster and plumb.
He has fitted kitchens, tiled bathrooms and kitchens, laid many floors, built partition walls, plastered walls, plumbed in bathrooms, worked on loft conversions and much more. And when he's not sure how to tackle a DIY project he has a wide network of friends – including plumbers, gas engineers, tilers, carpenters, painters and decorators, electricians and builders – in the trade to call upon.
