Fitting a kitchen sink yourself? How to do it and the materials and tools you need to use
Fitting a kitchen sink is a task than a confident DIYer can tackle, just make sure to read our guide before you start
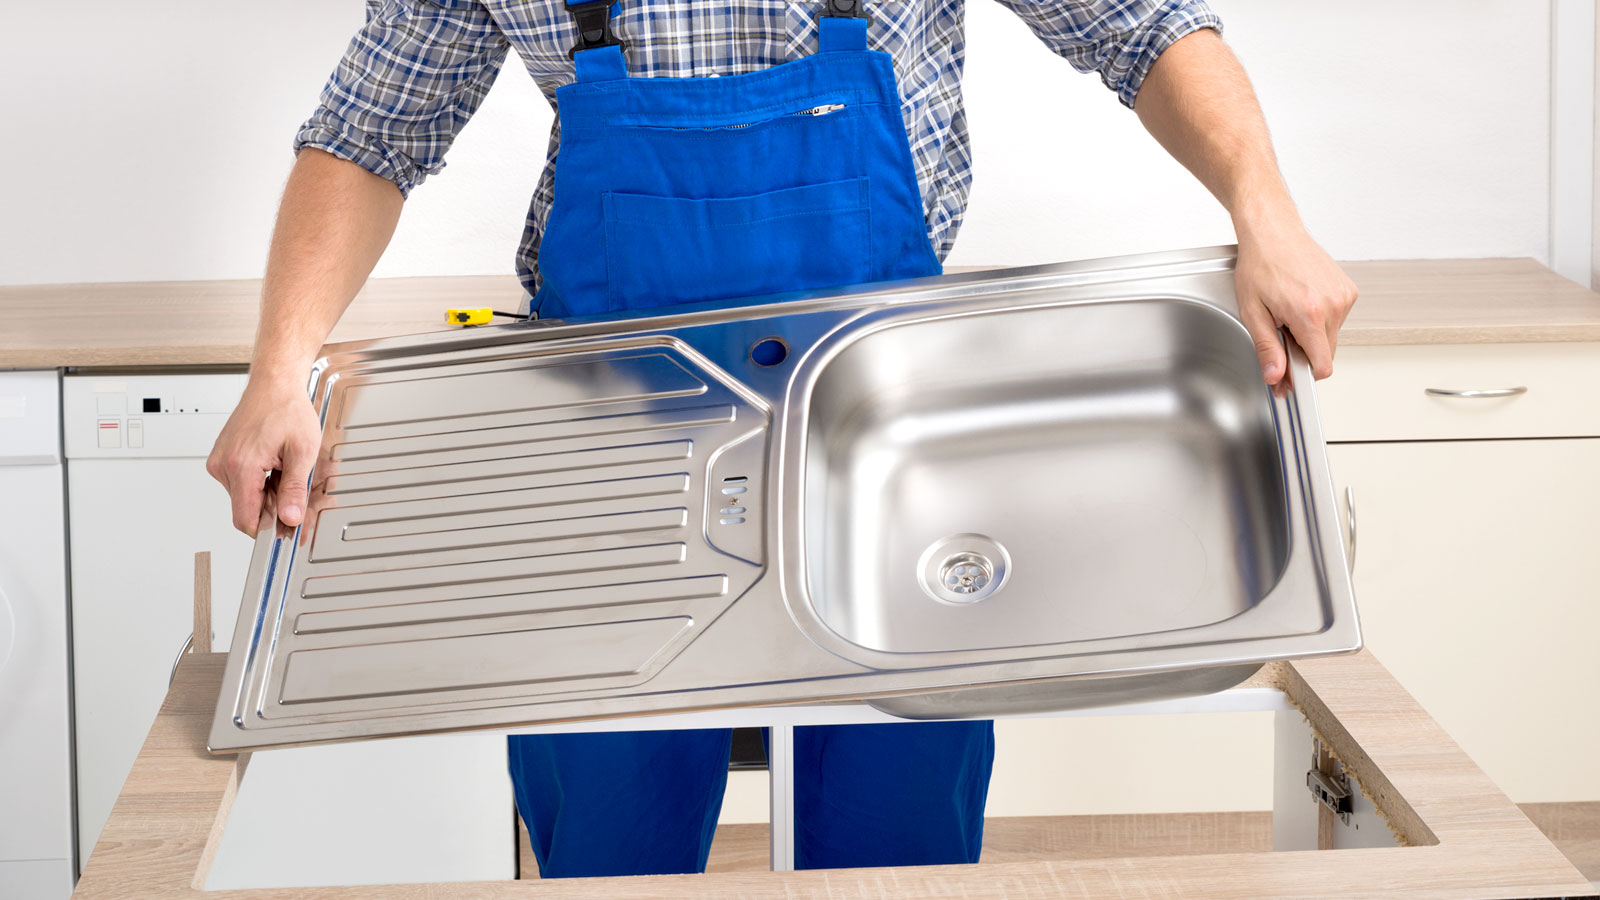
Fitting a kitchen sink can help transform the appeal of your kitchen. But a new sink isn’t just a pretty addition, it will also be a practical solution as well. You can invest in a like-for-like replacement to freshen up your kitchen, or you can upgrade your current kitchen sink to fit in neatly with your new kitchen remodel ideas.
But whatever type of kitchen sink you choose it will need to take the place of the old sink. This could be a quick DIY job if the measurements match up. Or, it may require the assistance of a professional if the worktop and pipework need to be modified.

Dan Weston leads Franke’s Field Service team, ensuring customers across the UK receive expert technical support. With extensive experience at Franke, Dan specialises in diagnosing and repairing products like instant boiling water taps, cooker hoods and waste disposal units. He also provides retailer training on product installations and technical advice, ensuring seamless service and customer satisfaction.
Fitting a kitchen sink. What type should I choose?
Before you think about fitting a kitchen sink you need to think about what type of sink you are going to need. There are a few factors to consider as Dan Weston, Field Service Team Leader at Franke UK explains, “If you’re keeping the existing worktop, the most important factor is that the sink fits the exact dimensions of the current cut-out.” He adds, “This ensures it can be plumbed in easily and the tap installed without issues.”
Plumbing expert David Cruz at MyJobQuote.co.uk adds that you could change the type of sink if you wish, “You could switch from a stainless steel sink to a matt black resin or white ceramic sink that’s a similar style and size. You may also be able to replace a standard sink and drainer with a 1.5 sink that has two bowls if space allows.”
But you don't have to stick to the same size sink. You can choose a different size sink, there will just be more work involved as Weston shares, “For new worktops, laminate surfaces can be cut to fit a larger sink.” If you want a stone sink cutout enlarged you will need to call in a professional.

David has worked in the plumbing industry for over fifteen years. David has worked on countless domestic and commercial projects as a plumbing expert and gas-safe engineer. David also works closely with MyJobQuote to provide expert plumbing knowledge to homeowners, tradespeople and news outlets.
Try these tools for fitting a kitchen sink
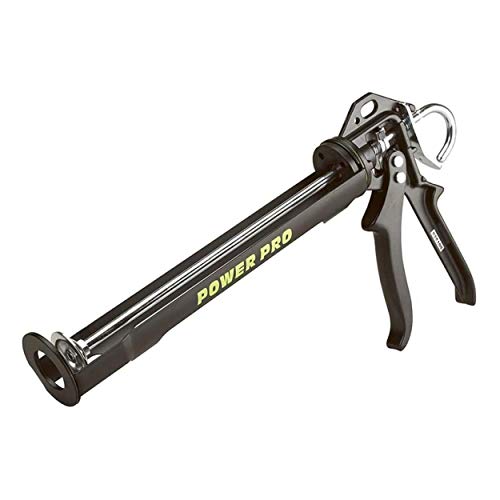
A high quality, heavy duty skeleton sealant gun for standard cartridges. A high thrust ratio allows for quick, consistent application of sealant.
10 steps to fitting a kitchen sink
1. Sort pipework
If you are installing new cabinets for a new kitchen sink you need to check any pipework. Weston says, “It is essential to ensure that the pipework is positioned correctly before any cabinetry is installed.” He adds, “This includes not only the pipework for the sink itself but also any additional requirements, such as connections for a dishwasher or an instant boiling water tap.”
2. Assemble parts
If simply replacing the old kitchen sink with a new one the first step is to check and assemble parts as Cruz shares, “It’s best to do as much of the assembly as possible before you fit the sink, as the space under your sink will be limited.”
He adds, “It’s a good idea to attach the waste kit to your sink first – this is the plughole section and flexible pipework that connects to the overflow.” He adds, “If your sink comes with fixing clips, attach these to the edges.”
3. Fit tap
It's common to fit a new kitchen tap at the same time as fitting a new kitchen sink. If this is the case Cruz says, “If you’re also replacing the kitchen tap, it’s a good idea to fit this to the sink before fitting, as it will be fiddly to do later on.”
He adds, “Your tap should come with assembly instructions, but you may need to fit the threaded bar and flexible hoses to the base of the tap, before feeding them through the hole in the sink. You should then have a washer and fixing nut to secure the tap to the sink.”
4. Turn off water supply
Before you start fitting a kitchen sink make sure to switch off the water supply as Cruz shares, “Next, clear some space around and underneath your sink, laying down a sheet or an old towel to catch drips and debris.”
He adds, “Before you disconnect anything, turn off your hot and cold water supply using the isolation valves under the sink. If you don’t have isolation valves fitted, turn the supply off using the stopcock.” Run the taps to check the water is off.
5. Disconnect pipework
Before removing the sink you will need to disconnect any connections as Cruz explains, “Unscrew the waste pipe, trap and fittings that are connected to your old sink and set these aside. Now disconnect your tap and locate the fixing clips that hold your old sink in place – a head torch is helpful for this task – and undo them.”
He adds, “You should now be able to lift your old sink out from the worktop. If there’s a silicone seal around the edge of the sink, you may need to carefully score this with a utility knife first."
6. Clean worktop
Once the old kitchen sink has been removed Cruz says, “Give the worktop area around the cut-out a good clean with a suitable kitchen cleaner.” Use a scraper like this Stanley Plastic Window Scraper from Amazon to remove the sealant and then clean with white spirit to remove any residue.
7. Enlarge sink cut out
You only need to do this if you are fitting a larger sink than the old, Cruz explains how, “If the cut-out isn’t quite the right size for your new sink, you may need to use a jigsaw to enlarge it.” He adds, “It’s important to use a down-cut wood blade on laminated worktops to avoid splintering the edges. Also the edges of your cut-out may also need sealing afterwards, to prevent water damage.”
8. Fit and seal new sink
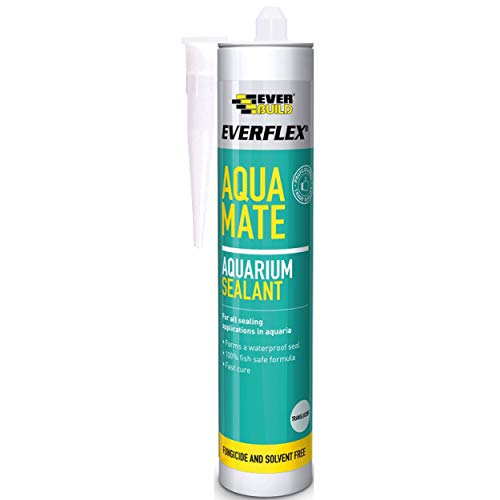
Now it’s time to fit the sink, but before you drop in the new sink Cruz says, “If there’s a sealing strip with your sink kit, apply this to the underside of your sink first. Alternatively, you can use silicone sealant.” To finish, “Make sure everything lines up OK and tighten the sink’s retaining clips.”
9. Reconnect taps
With the sink in place it's time to reconnect the water supply and waste as Cruz explains, “Connect your tap to your hot and cold water supply. Often, this is simply a case of connecting your tap’s flexible hoses to the isolation valves at the end of your hot and cold water pipes. These fittings can be tightened with an adjustable wrench.”
10. Reconnect pipes and test
To finish Cruz says, “Screw all of your plastic waste components together – complete with the appropriate seals – and run the water to check for leaks.” He adds, “The most thorough way to do this is to fill your sink and then release all of the water in one go.”
FAQs

Justin Cornforth is the owner of Ace Home Co, a family-owned company founded in 2017. With a strong emphasis on professionalism and expertise, Justin continues to lead his team in exceeding customer expectations and ensuring that all plumbing, electrical, heating, and air needs are met with excellence.
What is the best way to seal a kitchen sink to a countertop?
A sink needs to be sealed so that water doesn’t seep between the edge of the sink and the cutout. Justin Cornforth, CEO at Ace Home Co reveals the best option, “The best material to use is 100% silicone caulk. Don’t choose anything like acrylic caulk, painter’s caulk, or plumber’s putty for this purpose.”
He recommends a clear sealant, “Clear silicone works best in most cases because it blends seamlessly with any sink or countertop material and doesn't change color over time. If your sink or countertop is white, I still recommend clear silicone caulk because white caulk may stain and become yellow with use.
What type of cabinet do I need underneath a sink?
Ideally you want to go with a base unit that is specifically tailored for a kitchen sink as Cornforth shares, “You must use a sink base cabinet that is specifically designed to leave room for plumbing and the sink basin.”
The main difference in the UK is the back panel on a base unit is shorter to accommodate pipework. However the panel may need to be modified to fit your pipework. This Kitchen Sink Cabinet Cupboard Under Sink Base from B&Q has an open back for ease of use.
Cornforth says, “If you’re installing a Belfast sink, you need a cabinet with a cutout to support the sink’s exposed front—a regular cabinet won’t hold up.” He adds, “As for materials, choose moisture-resistant plywood or a cabinet with a water-resistant coating like laminate or melamine.”
How much does it cost for a plumber to fit a kitchen sink?
A plumber typically charges around £50-£80 an hour, but this will vary depending on experience and location. You should expect to pay around £100-£200 for labour for the fitting of a new like-for-like replacement.
If the price is to include materials (sink and tap) you should expect to pay a minimum of £300. Obviously this price will rise depending on the cost of the chosen sink and taps, and the complexity of the job. Get quotes from two or three trades to get a more accurate price for your specific job.
You’ve decided you want a new kitchen sink, but not sure what you want. Check out our best kitchen sinks guide and What is a Belfast sink for insight and inspiration. If you need to add a new tap check out how to do it in our How to replace a tap guide.
Get the Homebuilding & Renovating Newsletter
Bring your dream home to life with expert advice, how to guides and design inspiration. Sign up for our newsletter and get two free tickets to a Homebuilding & Renovating Show near you.
Steve Jenkins is a freelance content creator with over two decades of experience working in digital and print and was previously the DIY content editor for Homebuilding & Renovating.
He is a keen DIYer with over 20 years of experience in transforming and renovating the many homes he has lived in. He specialises in painting and decorating, but has a wide range of skills gleaned from working in the building trade for around 10 years and spending time at night school learning how to plaster and plumb.
He has fitted kitchens, tiled bathrooms and kitchens, laid many floors, built partition walls, plastered walls, plumbed in bathrooms, worked on loft conversions and much more. And when he's not sure how to tackle a DIY project he has a wide network of friends – including plumbers, gas engineers, tilers, carpenters, painters and decorators, electricians and builders – in the trade to call upon.
