Fitting a kitchen: a handy how-to guide on installing your new design
Whether you're looking to fit a kitchen on a DIY basis or plan to call in the experts, follow our handy how-to guide to help remove the stress

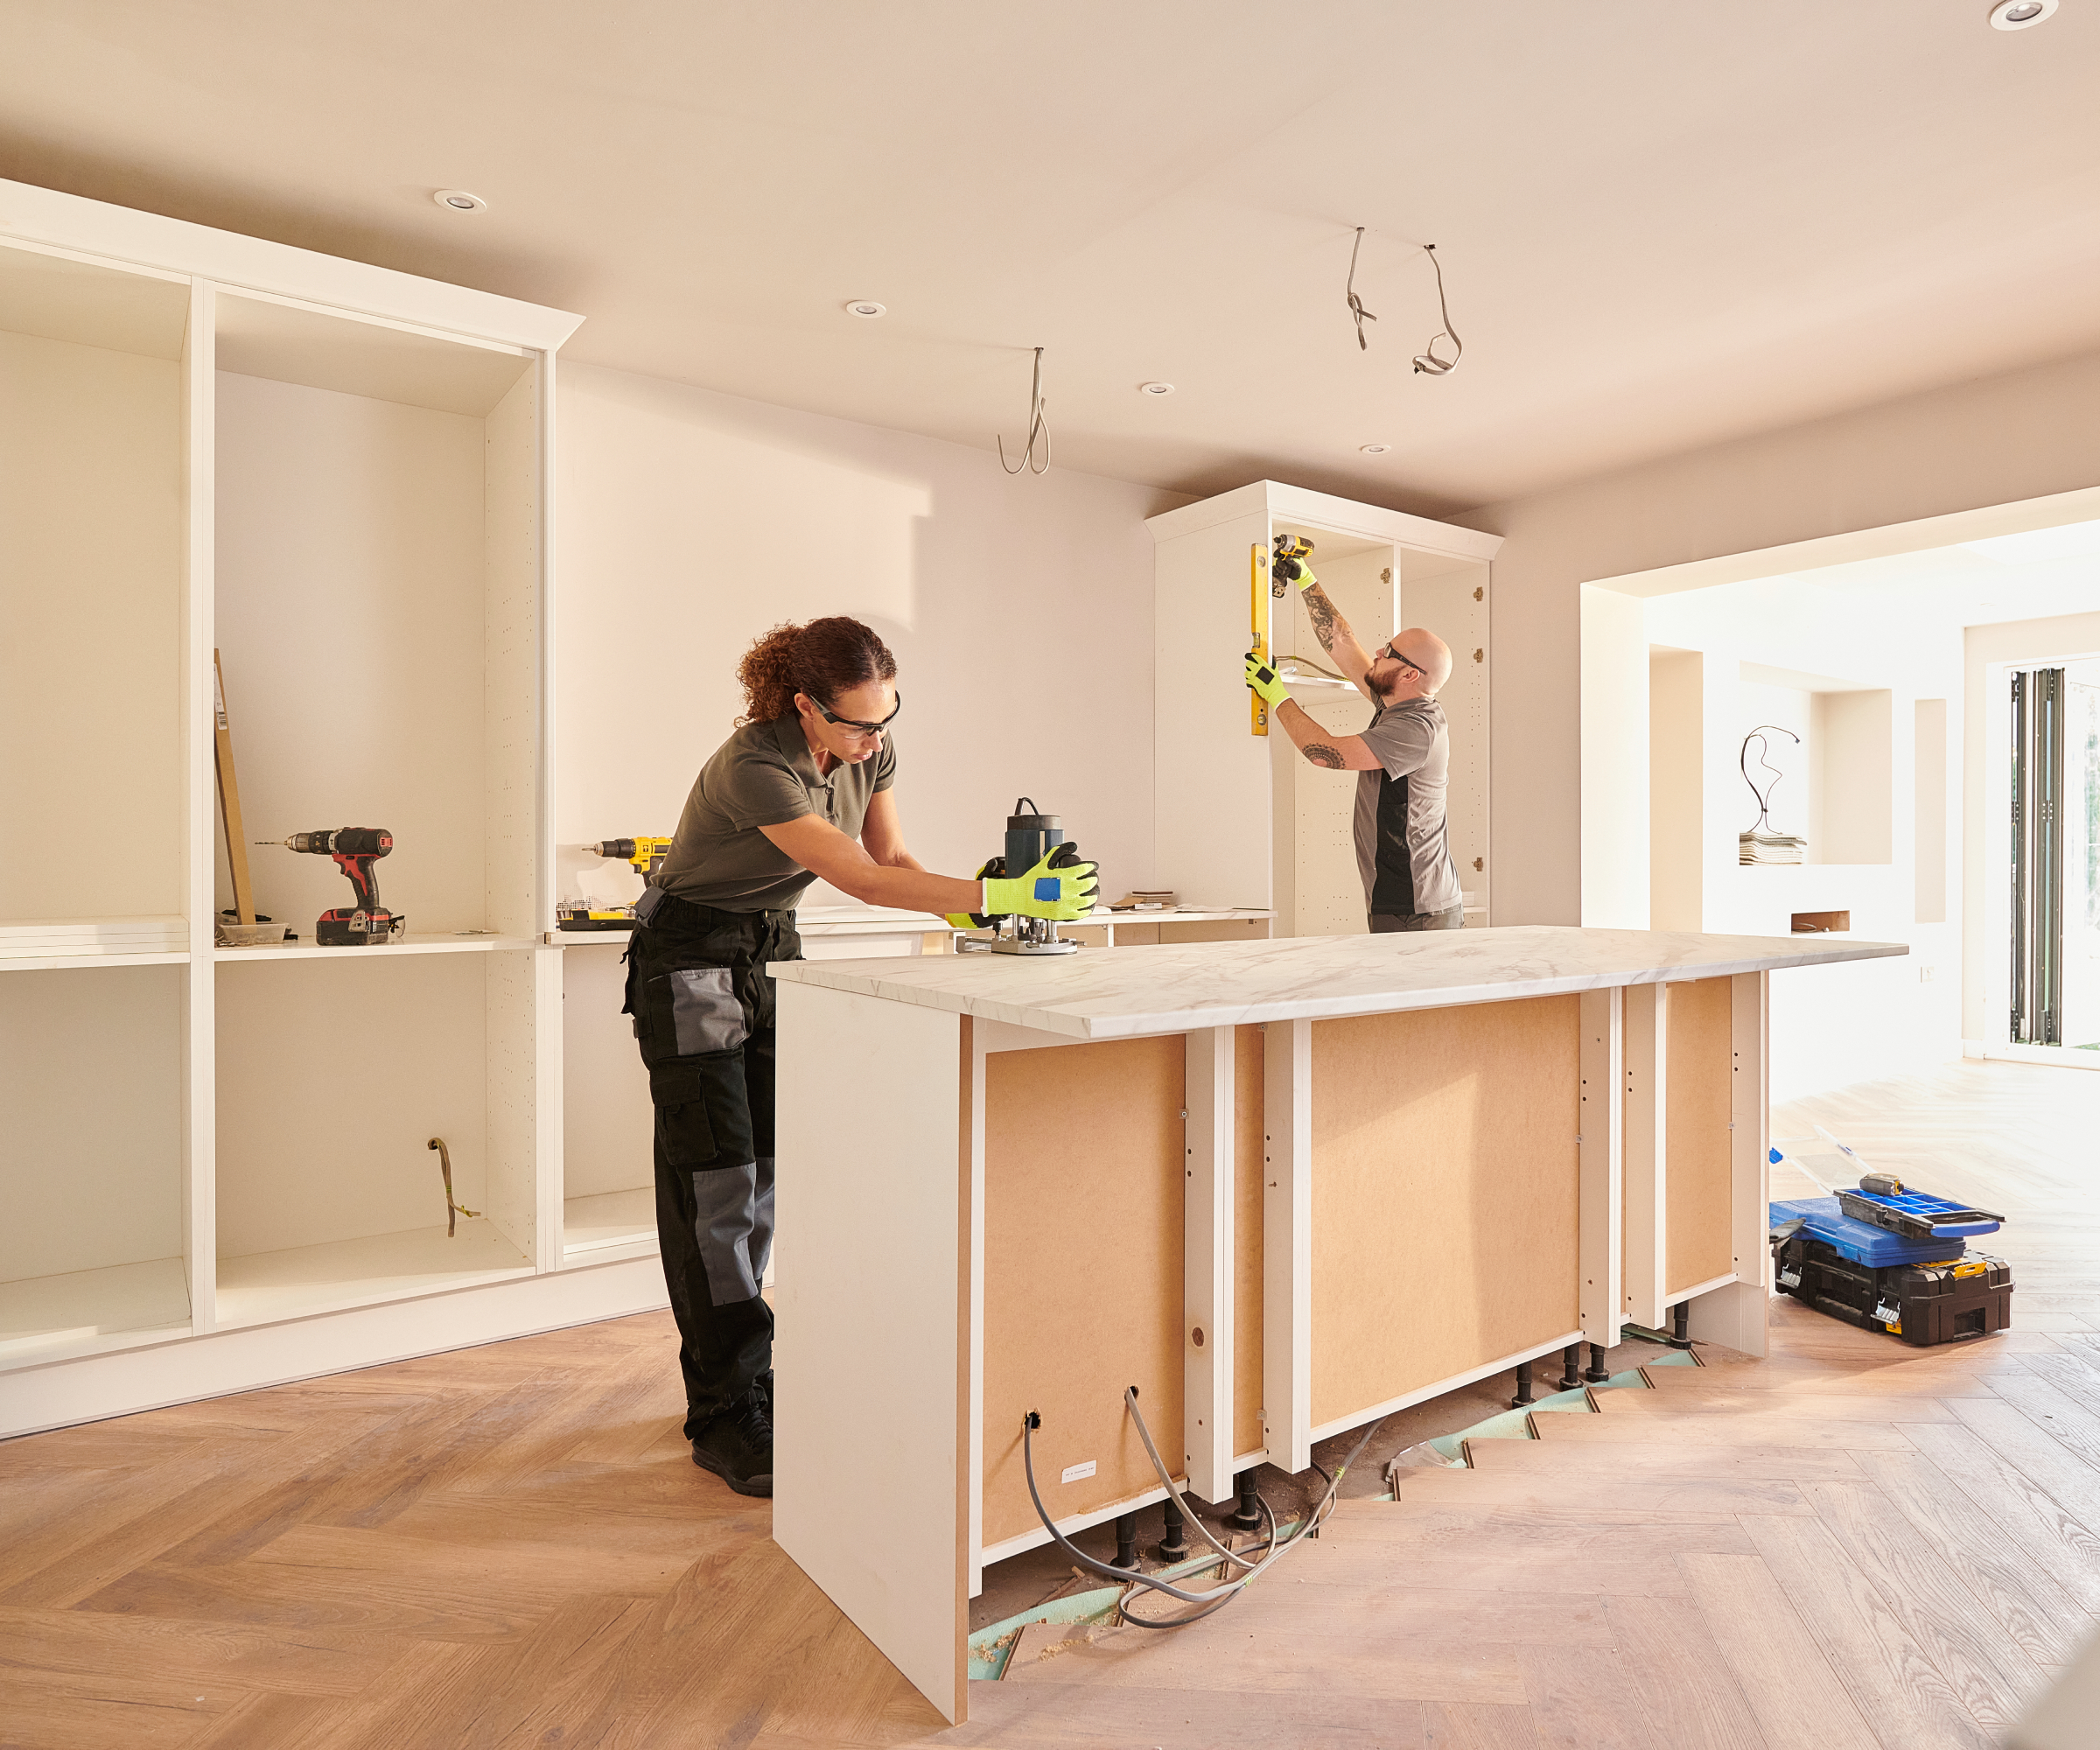
Although the initial stages of kitchen design can be fun, with time spent pouring over colours, finishes and deciding which appliances you need, fitting a kitchen well is an equally integral part of the process.
With so many different components involved in a new kitchen including plumbing and electrics, get it wrong and you could be facing problems larger than simply wondering how to fix a wonky cupboard door.
The good news is, when you're equipped with the right knowledge, creating your dream kitchen is within reach. Simply follow our handy guide to kitchen fitting for a stress-free route to success.
Expert tips for fitting a kitchen
Our guide explains the various routes you can take when fitting your new kitchen, as well as answering questions on the overall costs of installing it and how long it's likely to take.
The route you choose might be influenced by the funds and time you have available as well as your DIY skills. A new kitchen is a big investment, however, so it pays to get the installation right first time if you want your dream kitchen ideas to look as good as possible.
DIY versus professional
If you're wondering where to spend and where to save on your new kitchen, you could be deciding whether this is a job you are going to tackle yourself, or leave to a professional.
It's a decision you need to make early on, as it can influence which kitchen supplier you choose (some may only offer a supply and fit option). It's also worth asking them if installing the kitchen yourself will have an impact on any warranties.
The reality is that while fitting a kitchen is actually a job well within the capabilities of most people, not everyone has the time, tools, general DIY knowledge or, quite frankly, the desire to do so.
The good news is, if any of these instances apply to you, there are plenty of other options, including:
- A fitter from – or recommended by – the company you are buying the kitchen from
- A local, independent kitchen fitter
- A tradesperson who includes kitchen fitting in their skills
- A skilled joiner
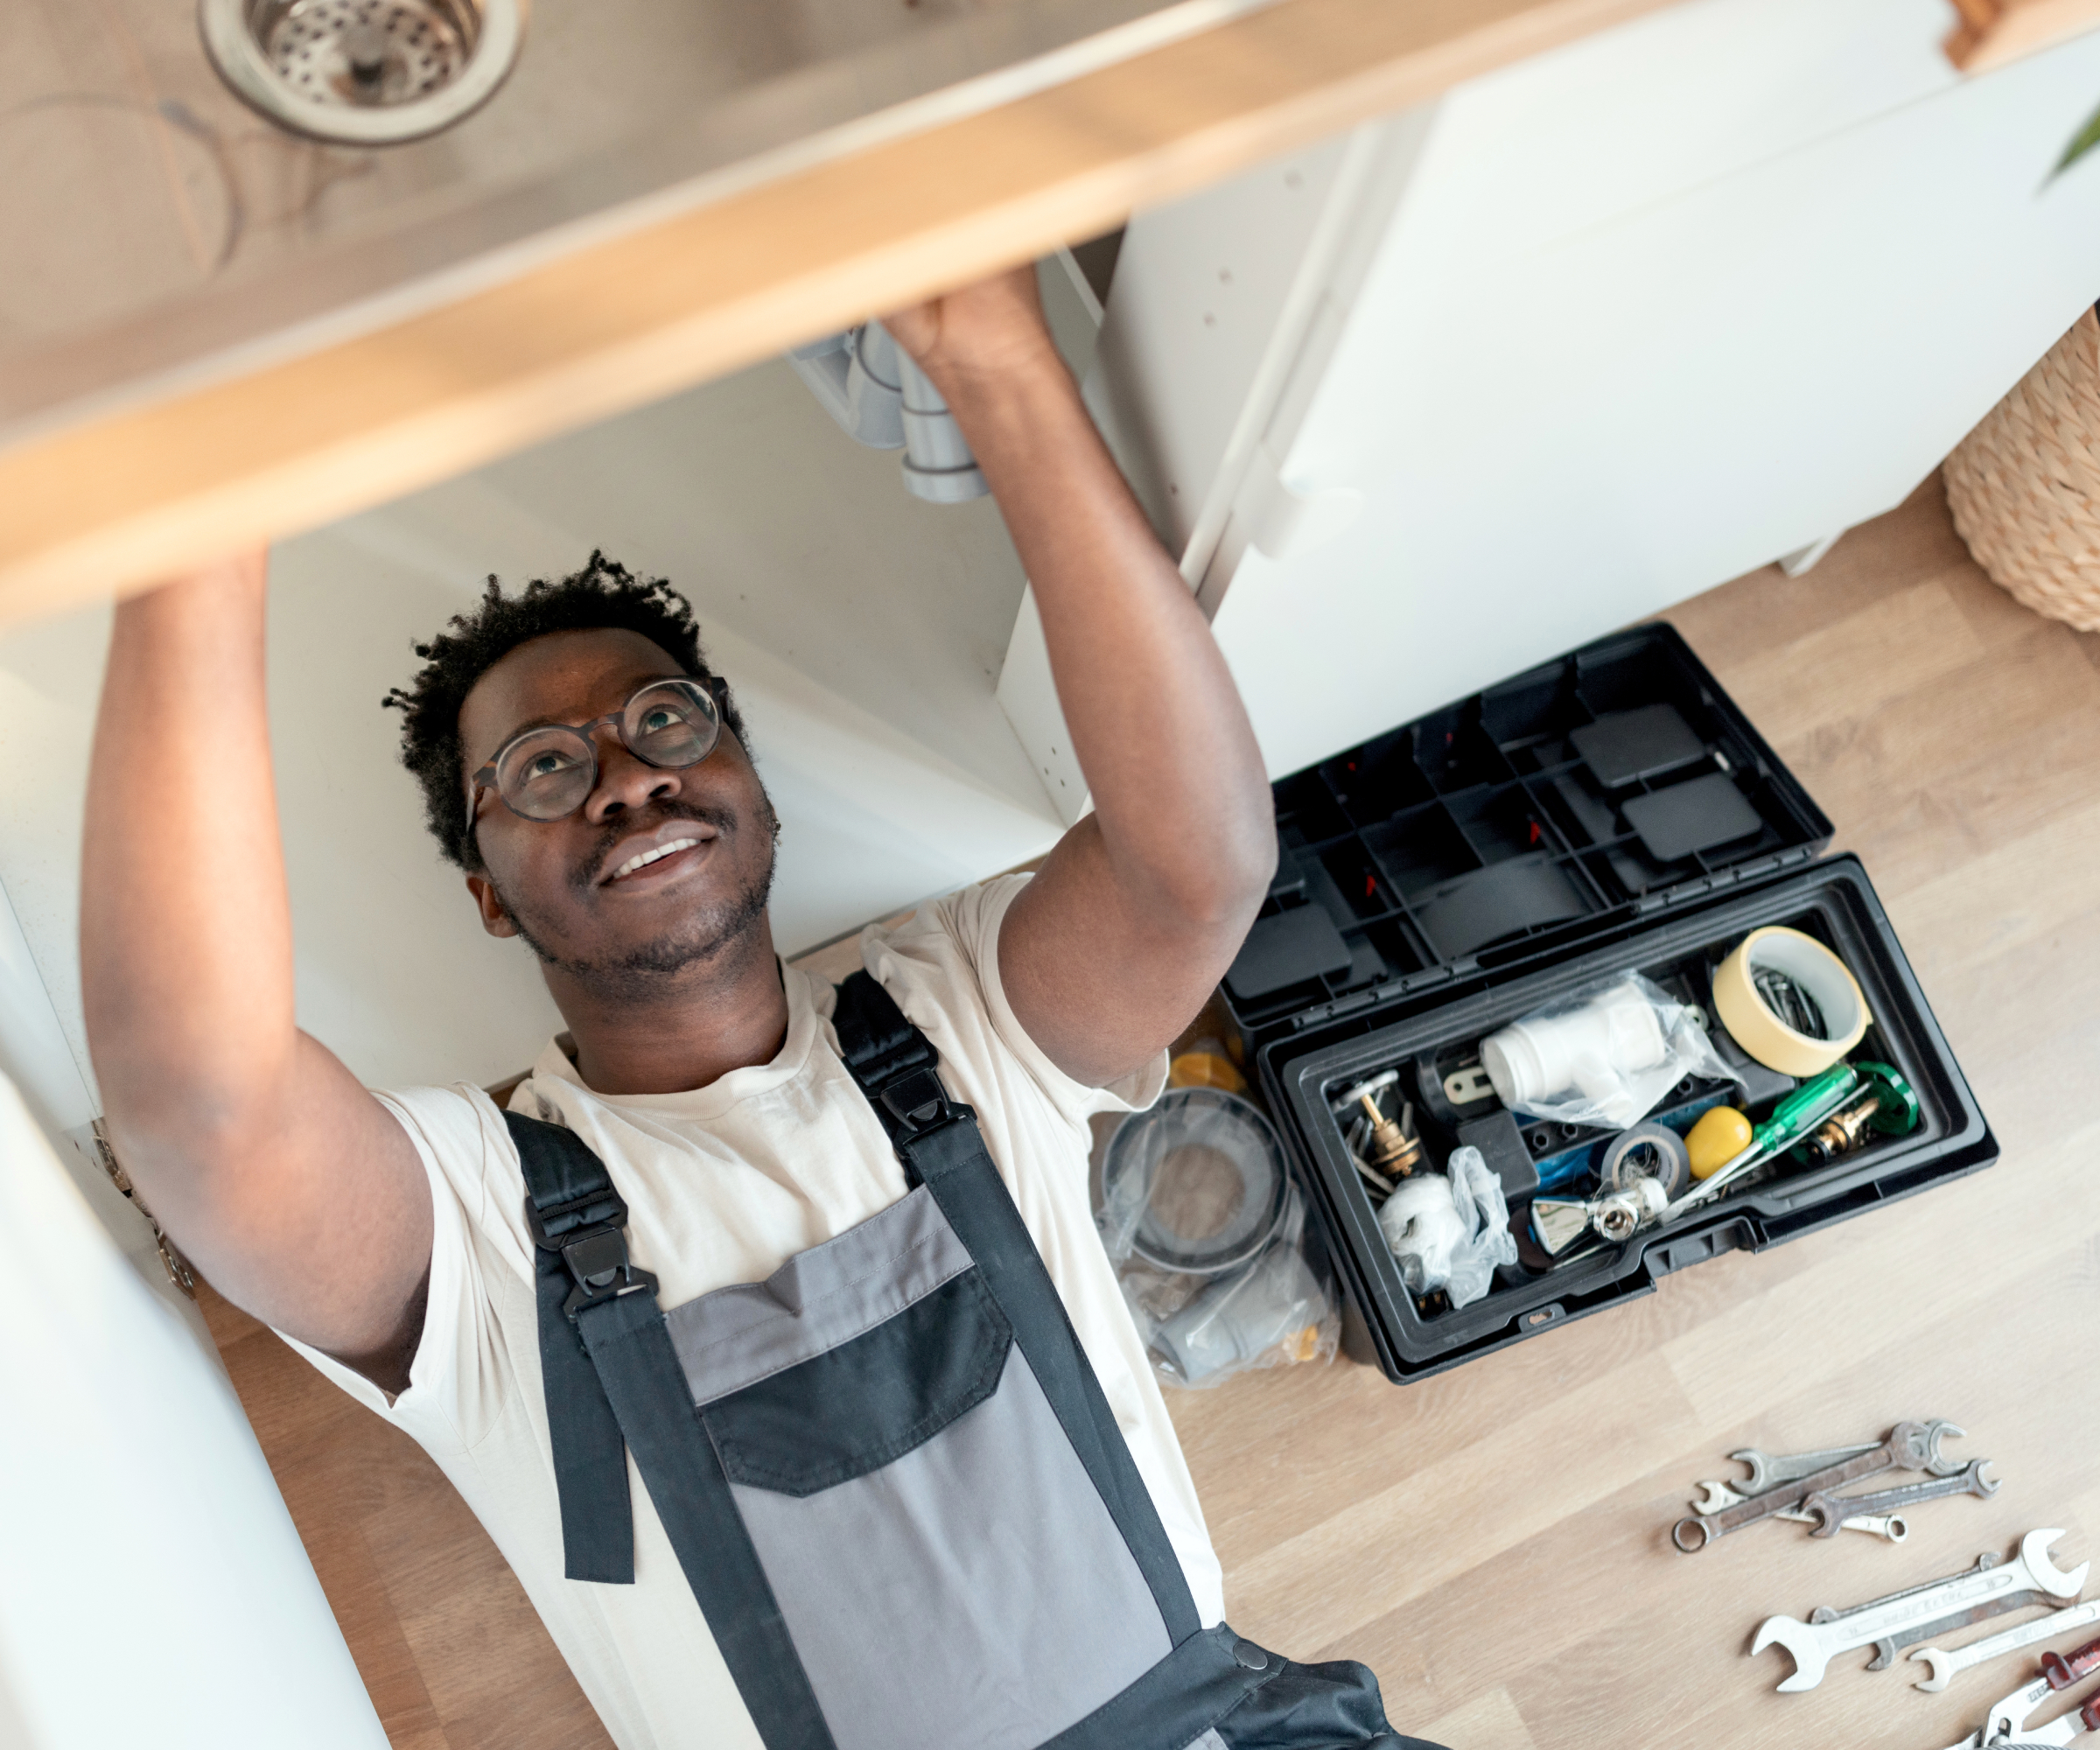
It's also not unusual to find a plumber or electrician who has had experience in the field and might be able to do the work for you.
As these two trades are quite significantly involved in bringing a kitchen to life – they will always be needed on site to deal with water supply and installing appliances and lighting – many have developed the ability to also fit the kitchen units themselves.
However, whatever route you decide to take, the key to a successful project is ensuring all the various tradespeople working on your project know who is doing what and when.
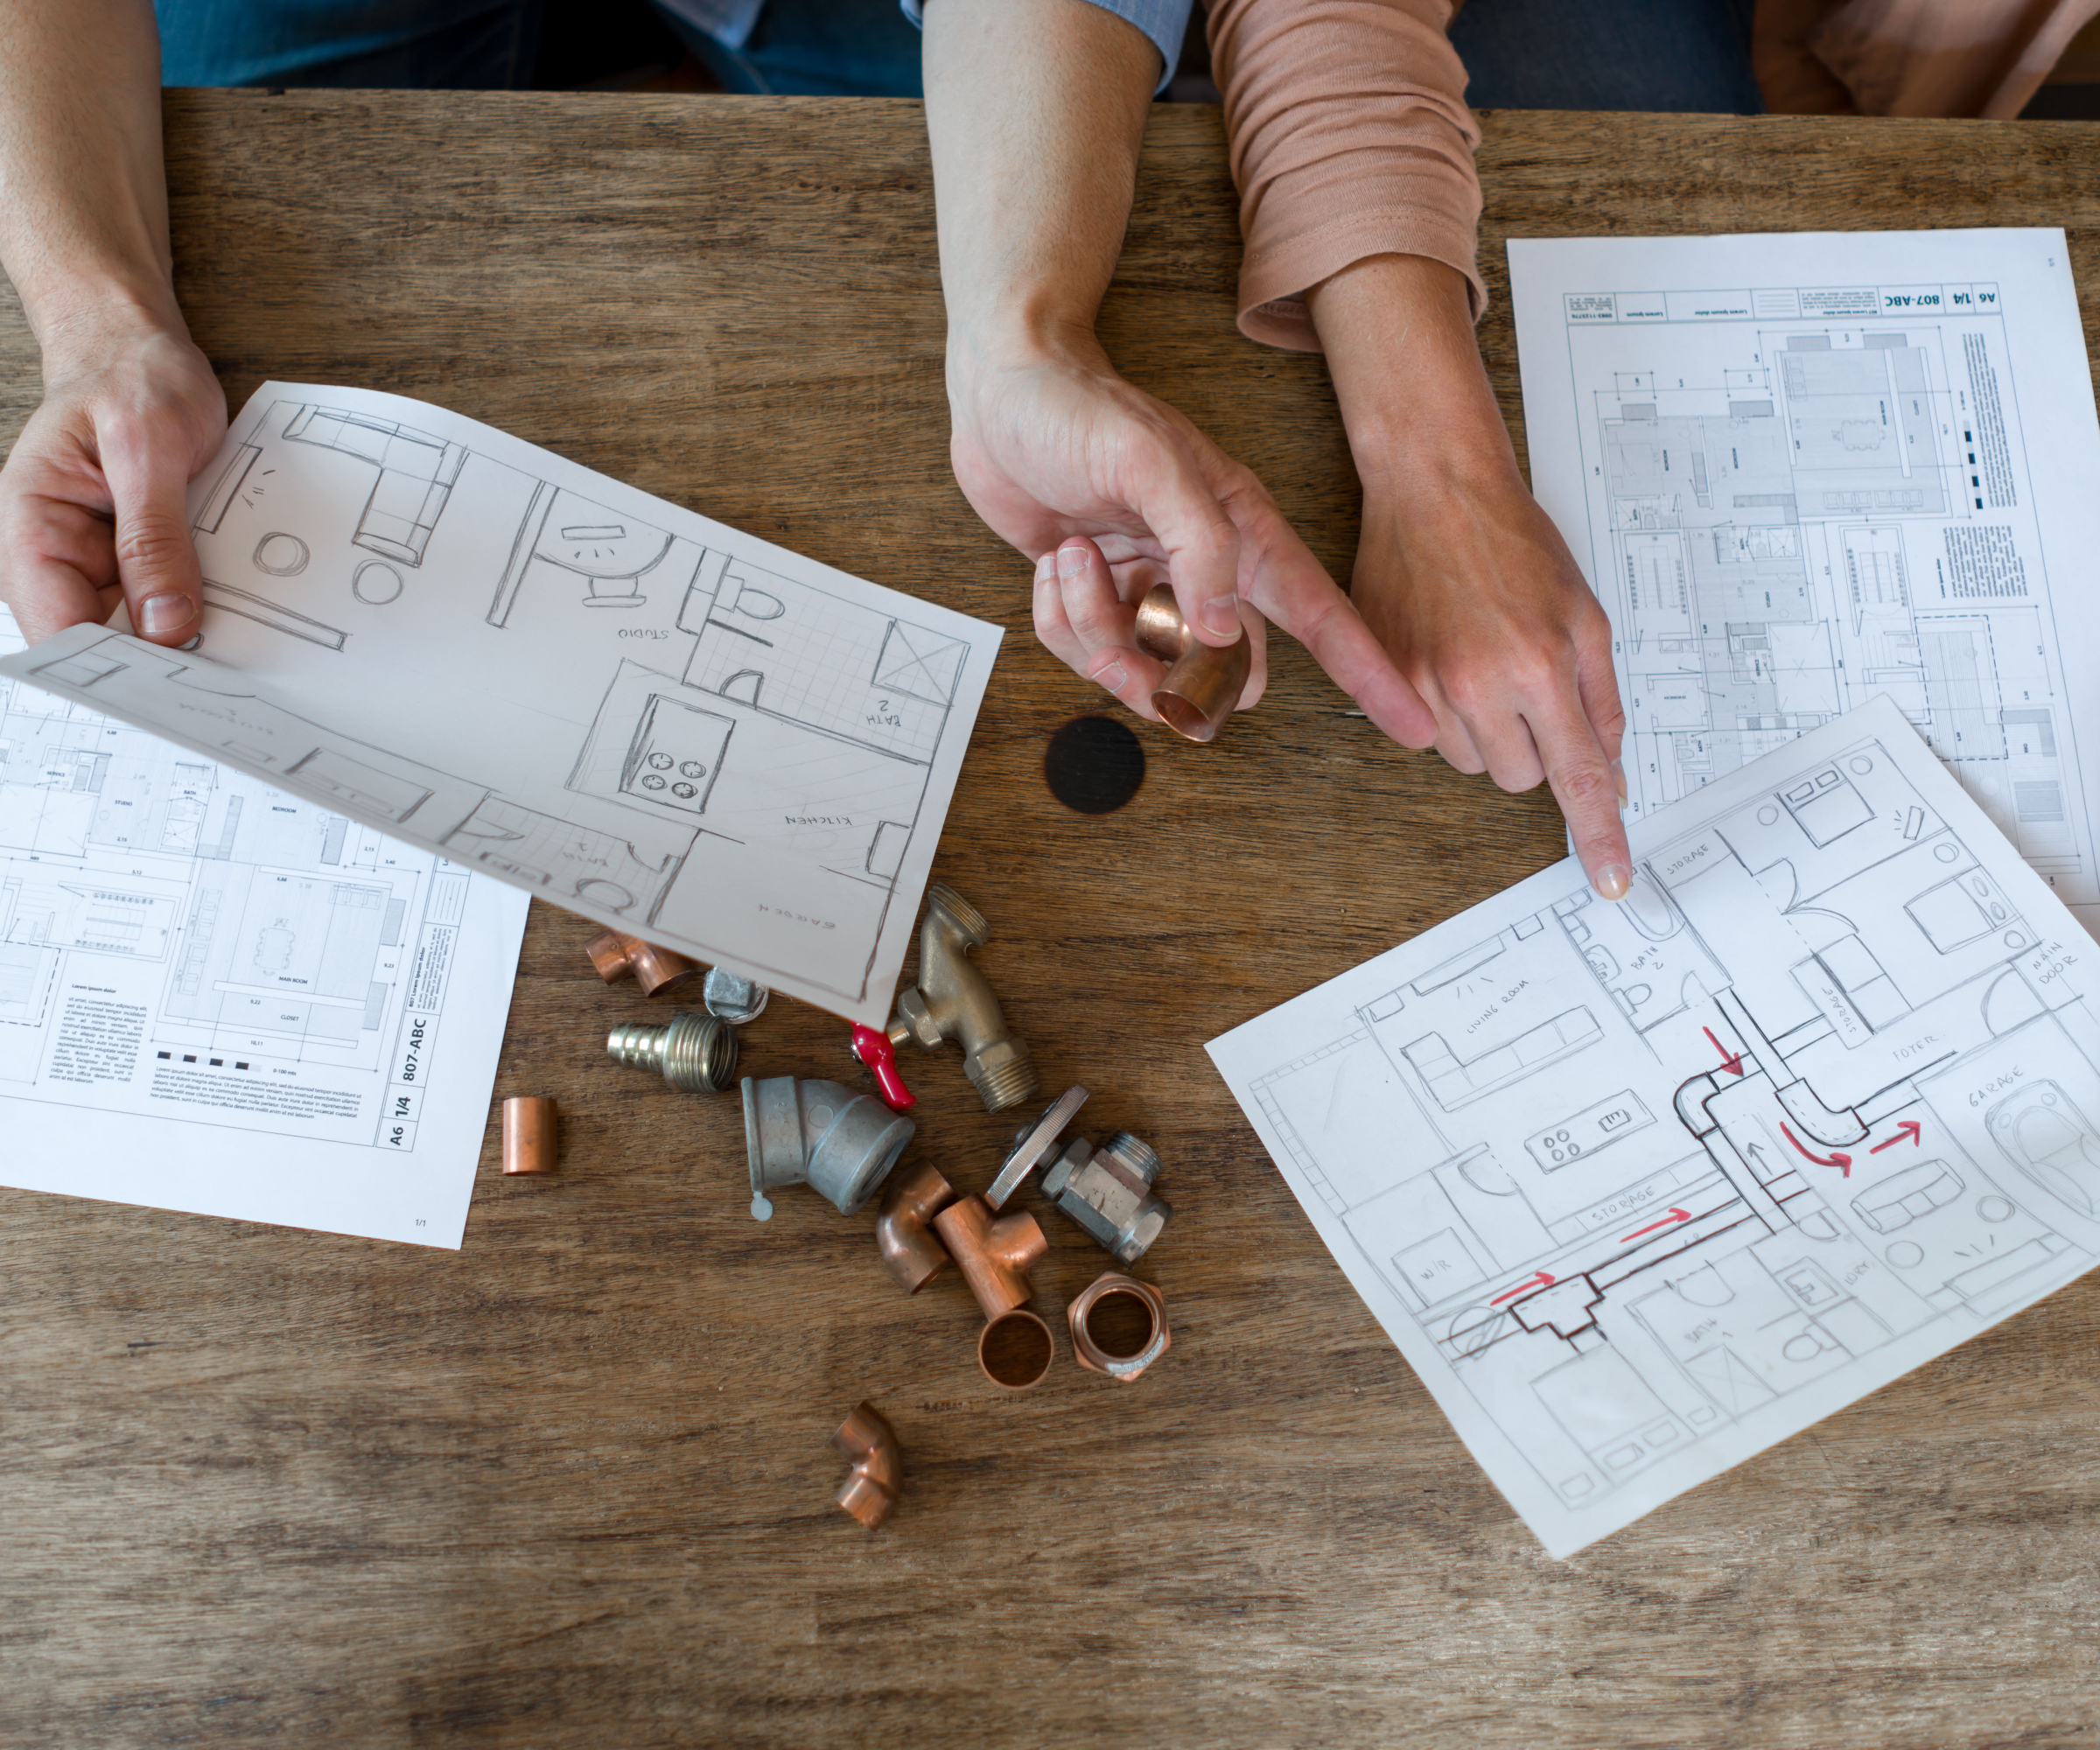
How long does kitchen fitting take?
Again, this will depend on the size of the kitchen, who is carrying out the work and whether the kitchen fitting is part of a larger project such as a self-build, kitchen extension or full-home renovation.
However, a straightforward kitchen installation (i.e a kitchen replacement) can be expected to take between three days to a week. Longer if the room is larger and you are adding anything extra such as a kitchen island.
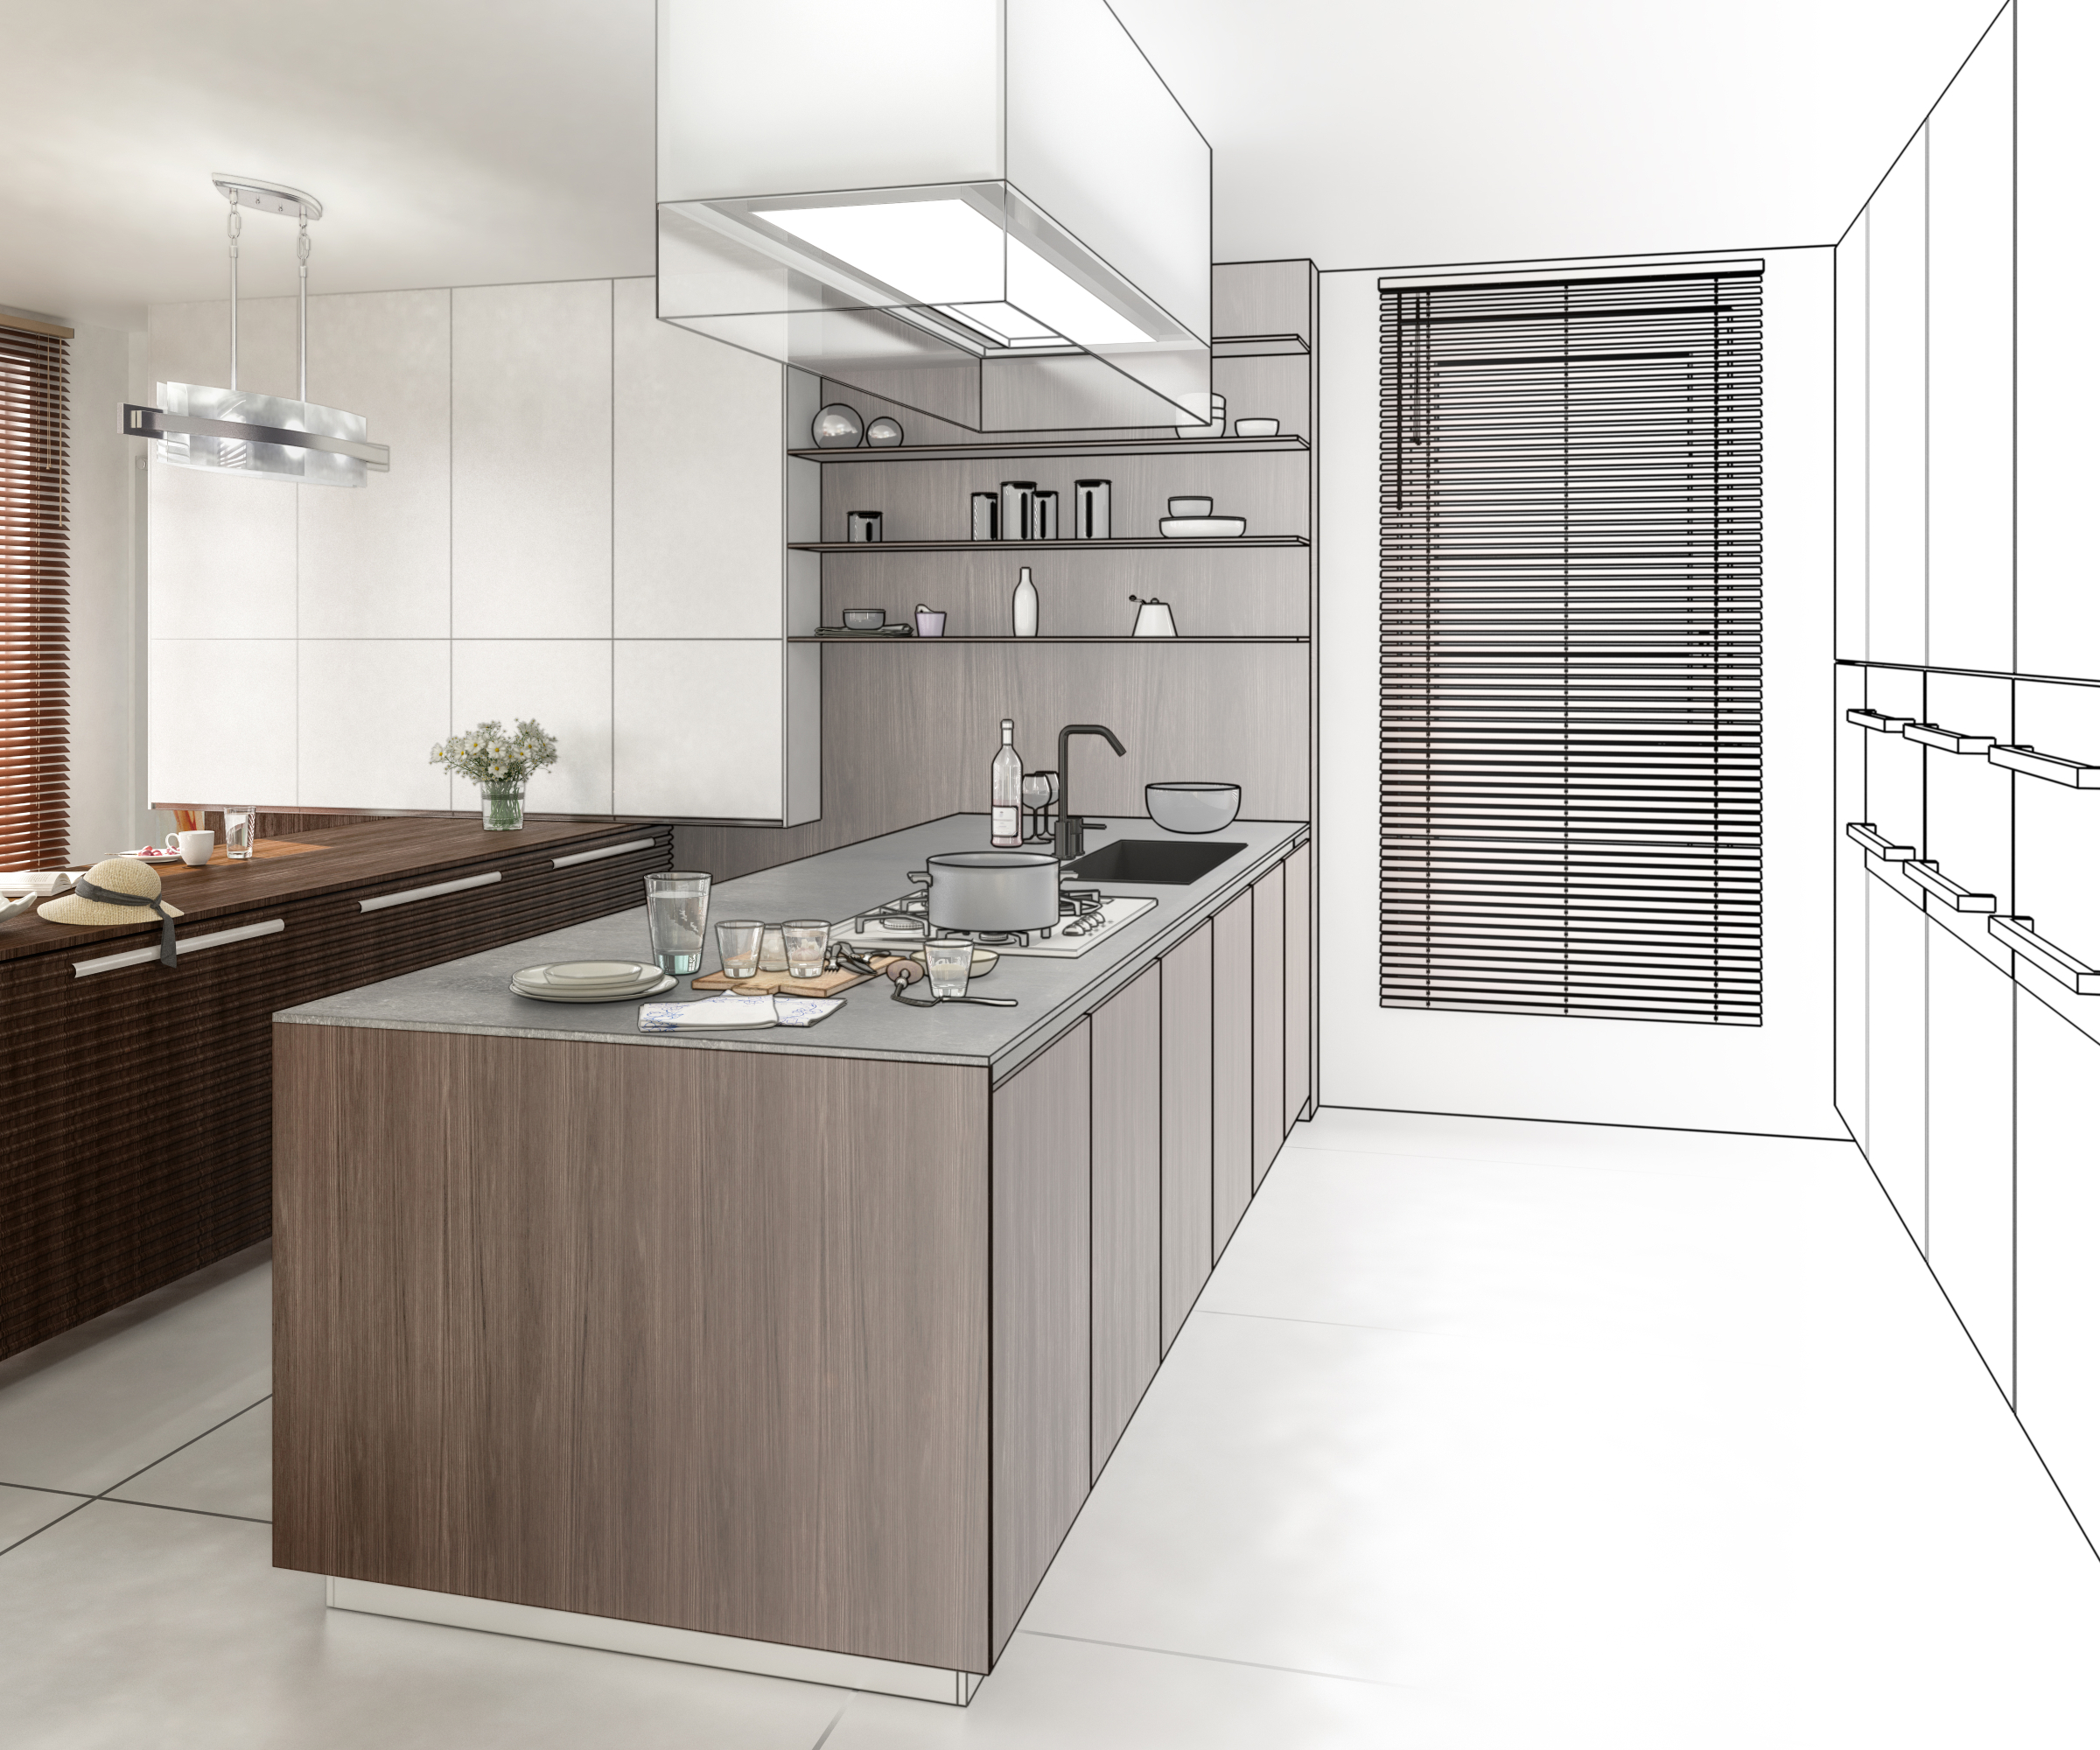
Step-by-step guide to fitting a kitchen yourself
Should you decide to take the plunge and fit your kitchen on a DIY basis then you would certainly not be alone, as this is a task often undertaken by self-builders, renovators and remodellers alike.
Renovating expert, Amy Reeves who along with her partner successfully installed her own kitchen, shares the key steps you should take to get it right to turn your dream into reality.

Amy began working for Homebuilding & Renovating in 2018 and has a large interest in sustainable building methods. Interviewing countless self-builders, renovators and extenders about their experiences for Homebuilding & Renovating magazine gave her plenty of inspiration when it came to renovating her own a mid-century home, together with her partner.
1. Prepare the room before you start
To make the actual fitting process far easier, preparation is key and should include the following:
- Remove the old units
- Disconnect the power and waste
- Level the floors and tile or fit your new choice of flooring (although some people choose to tile the floor after the kitchen is fitted)
- Plaster any walls that need repairing
- Paint at least one initial coat on the walls and ceilings before the units are fitted
2. Mark out the walls
Use a spirit level, mark on the walls where the top of the base units will be
and remember to allow for the unit legs measurements when working out height.
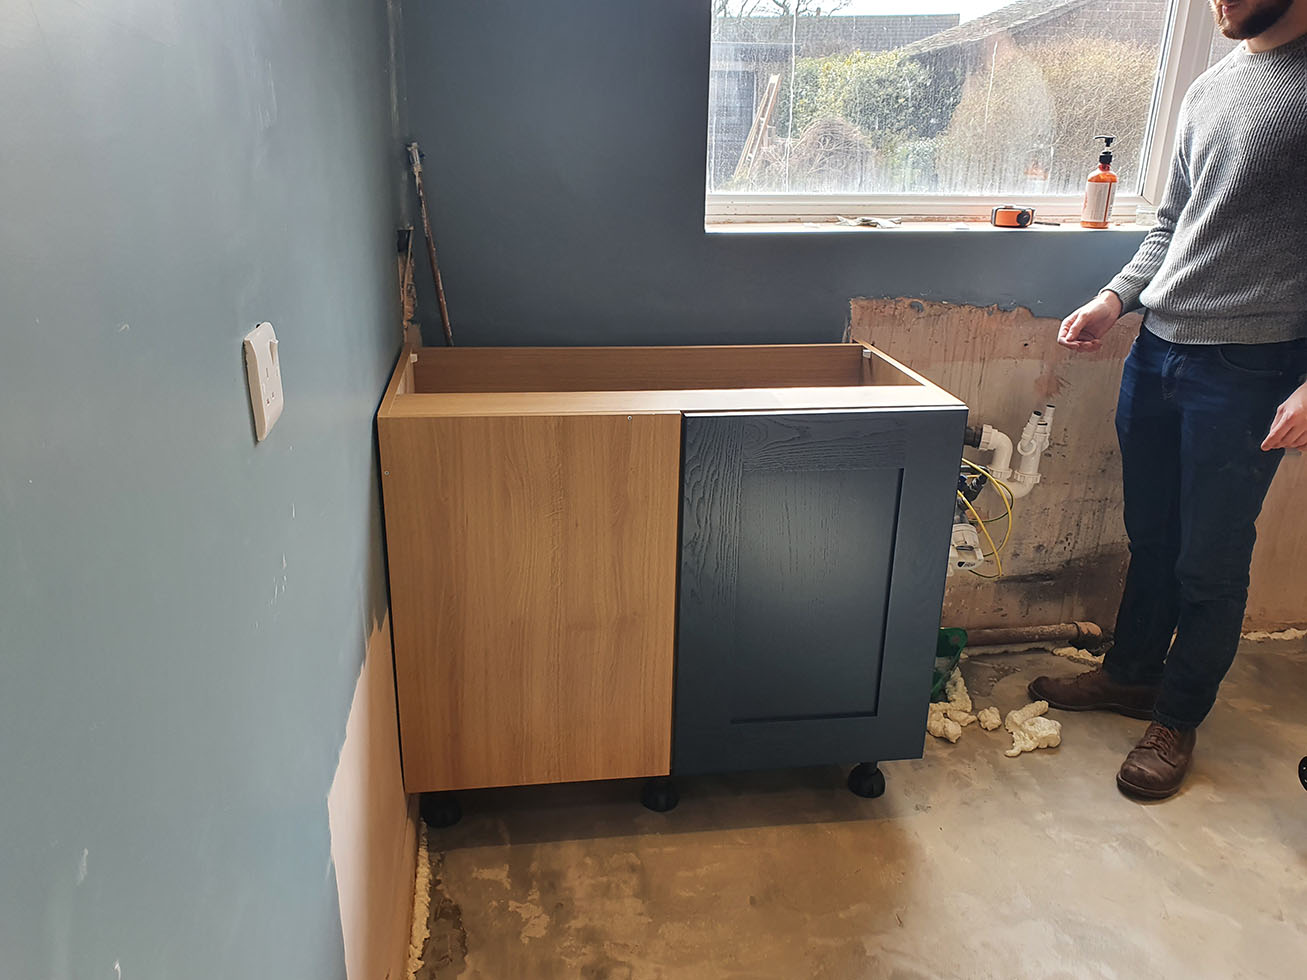
3. Start from one corner
Move the base units into place, starting from one corner of the room and move along the walls.
As the majority of base unit carcasses are supplied with adjustable legs, rotate them until the height aligns with the mark on the wall; and then check again that the units are level.
Unless you are using a unit designed specifically for a corner, you will also need to use a corner post when you turn a corner to avoid there being a gap.
4. Fix adjoining carcasses together
How this is done will depend on the kitchen design and units you have purchased, but usually units are first clamped, then screwed together through holes that are eventually hidden behind the door hinges.
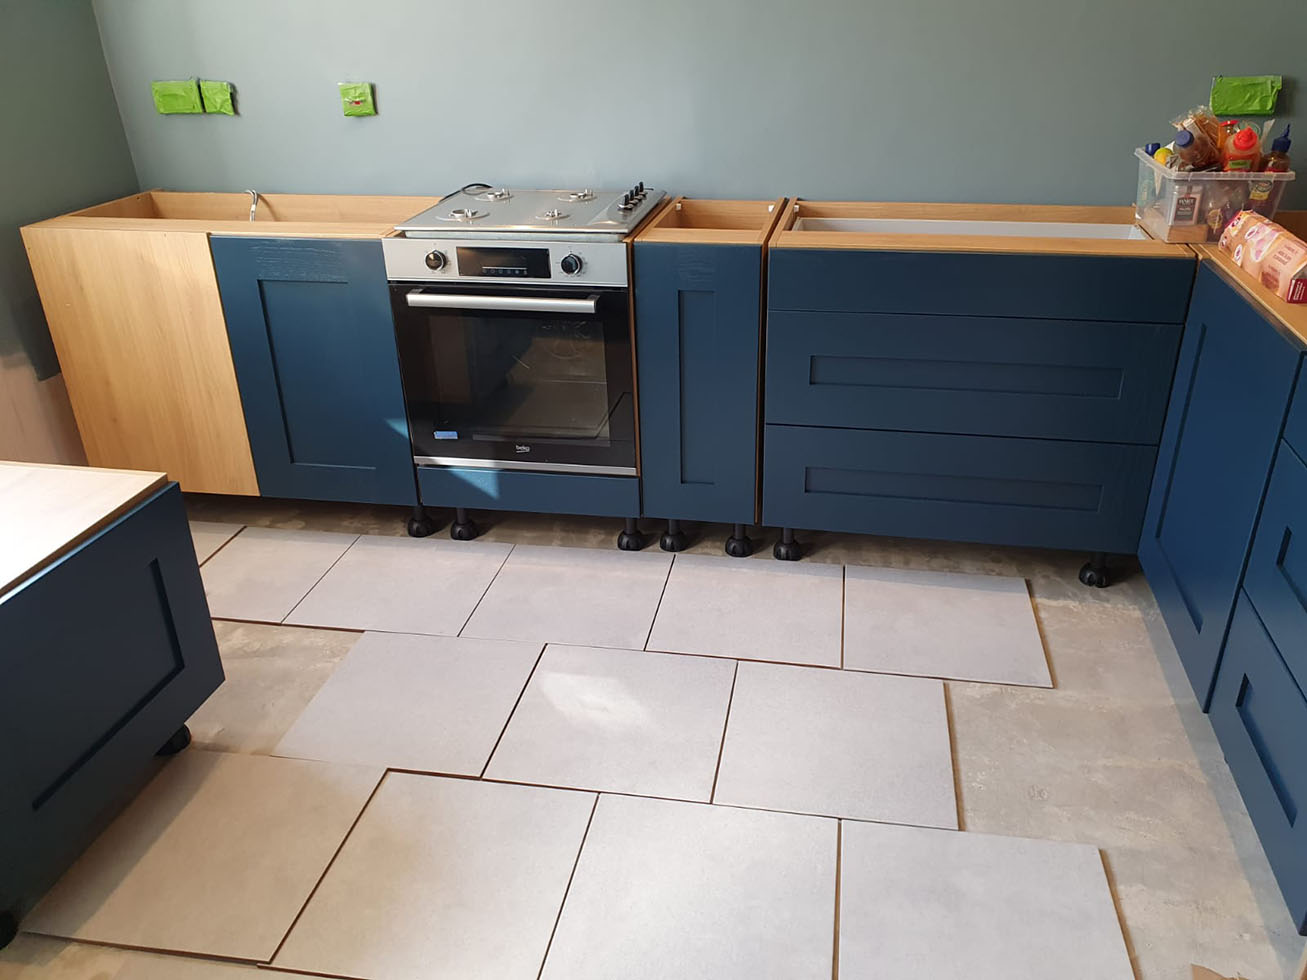
5. Secure base units to the wall
Fix the base units to the wall using brackets to ensure they do not move and are considered safe. Remember that you will need to use wall plugs if you are fixing to masonry, but you can use plasterboard fixings if you are going straight into plasterboard.
6. Attach the brackets for the wall units
Again, use a spirit level to mark a horizontal line for the bottom edge of the wall units or any wall shelves. To ensure you leave sufficient space beneath, measure up from the top of the base units and take into account your worktop depth.
Fix wall brackets to the wall (most wall units need two, one in each top corner) and then hook the wall units to the brackets and make level.
Join adjoining wall units using the same process as you used for the base units.
7. Attach doors, plinths and kickboards
Once all your kitchen unit carcuses are in place, fit doors and door fronts, along with plinths or kickboards – unless of course you've opted for LED lights in your kickboards in which case you'll need to ensure the electrician is on site to fit them safely.
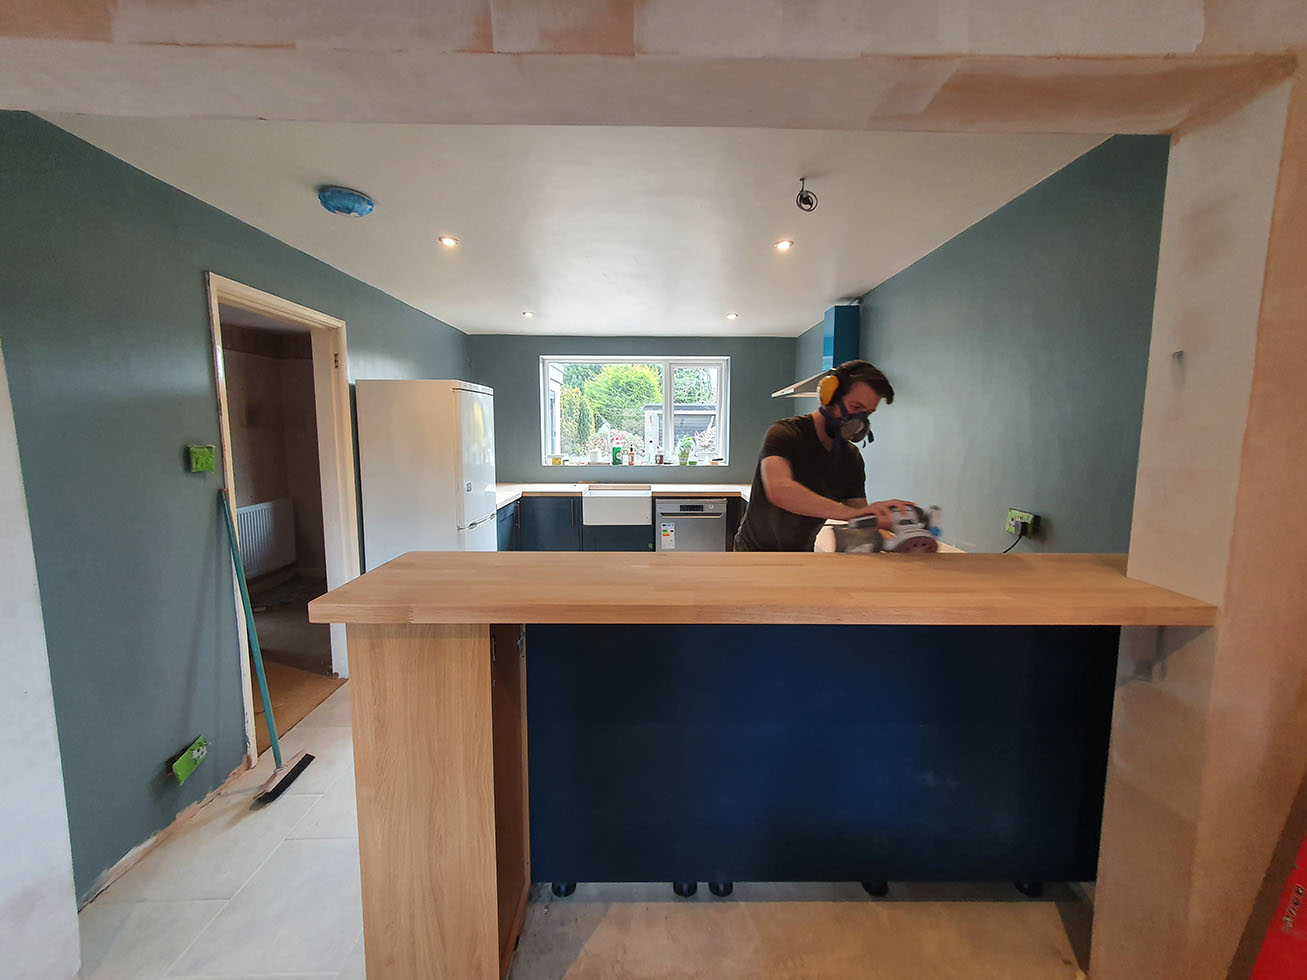
8. Install your worktop
Finally the worktop can be fitted. Laminate worktops are easy to cut and fit for an experienced DIYer, but timber, stone and composites will all benefit from a professional touch.
FAQs
What are standard kitchen measurements?
The following standard kitchen sizes will come in useful when fitting a kitchen:
- The standard finished height of base units is 910mm, with 150mm for plinths, 720mm for base units and 40mm for worktops
- Units are usually 600mm deep and have widths that are multiples of 100mm or 150mm
- Most appliances are 600mm wide
- Wall-mounted units are usually 300mm deep
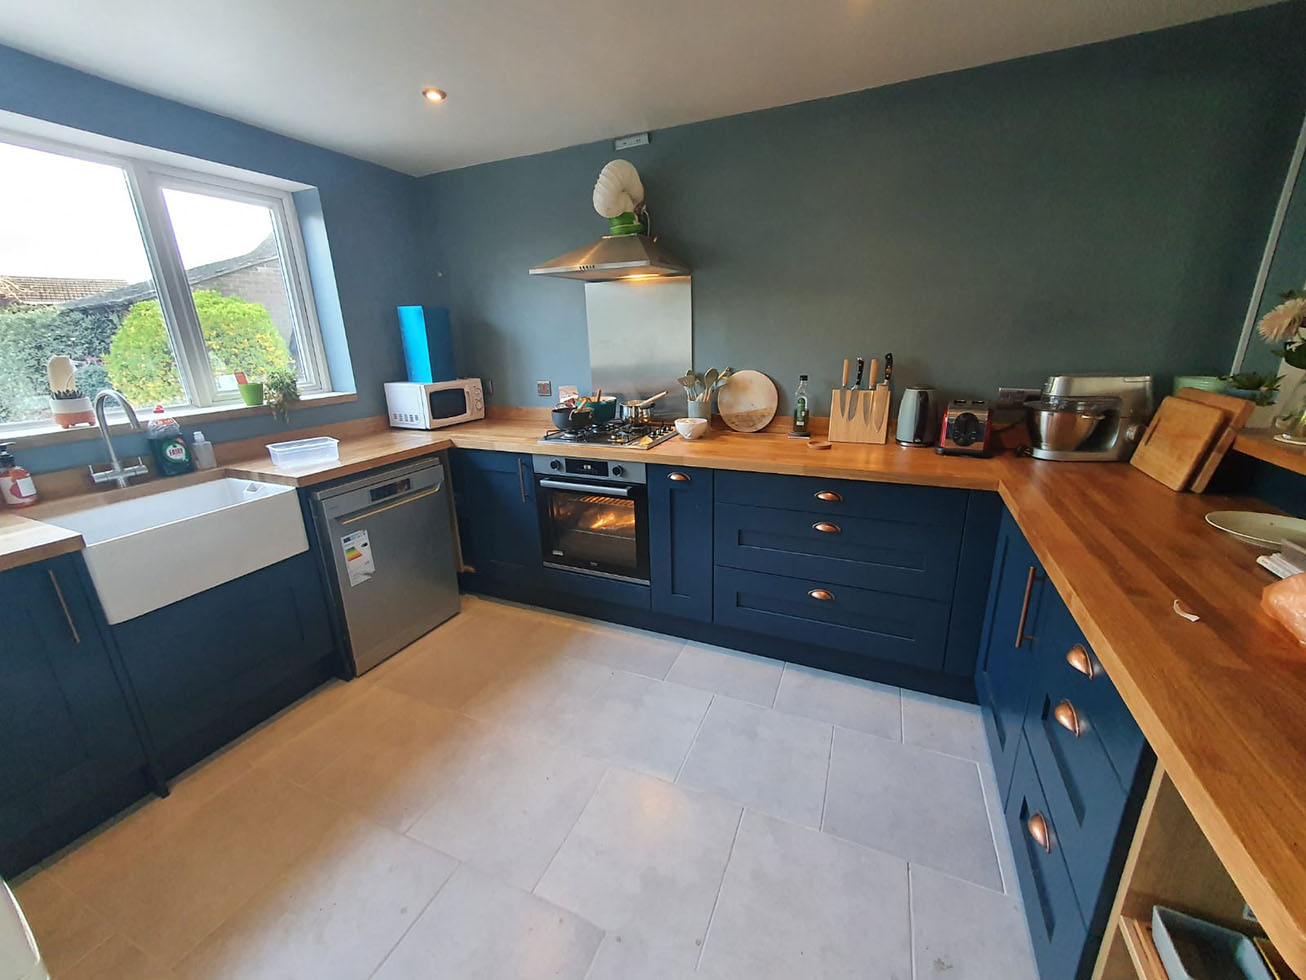
Feeling more confident that a new kitchen is in reach? Check out our small kitchen ideas for a more compact culinary space and weigh up whether you need a small kitchen diner idea instead.
Get the Homebuilding & Renovating Newsletter
Bring your dream home to life with expert advice, how to guides and design inspiration. Sign up for our newsletter and get two free tickets to a Homebuilding & Renovating Show near you.
Natasha was Homebuilding & Renovating’s Associate Content Editor and was a member of the Homebuilding team for over two decades. In her role on Homebuilding & Renovating she imparted her knowledge on a wide range of renovation topics, from window condensation to renovating bathrooms, to removing walls and adding an extension. She continues to write for Homebuilding on these topics, and more. An experienced journalist and renovation expert, she also writes for a number of other homes titles, including Homes & Gardens and Ideal Homes. Over the years Natasha has renovated and carried out a side extension to a Victorian terrace. She is currently living in the rural Edwardian cottage she renovated and extended on a largely DIY basis, living on site for the duration of the project.
- Sarah HarleyAssistant Editor

