False Ceilings Explained: What are They and How to Build One
There are many instances where false ceilings are required — we take you through how, where and why they are built and talk costs too

There are several reasons why building false ceilings – also known as suspended ceilings – can be necessary.
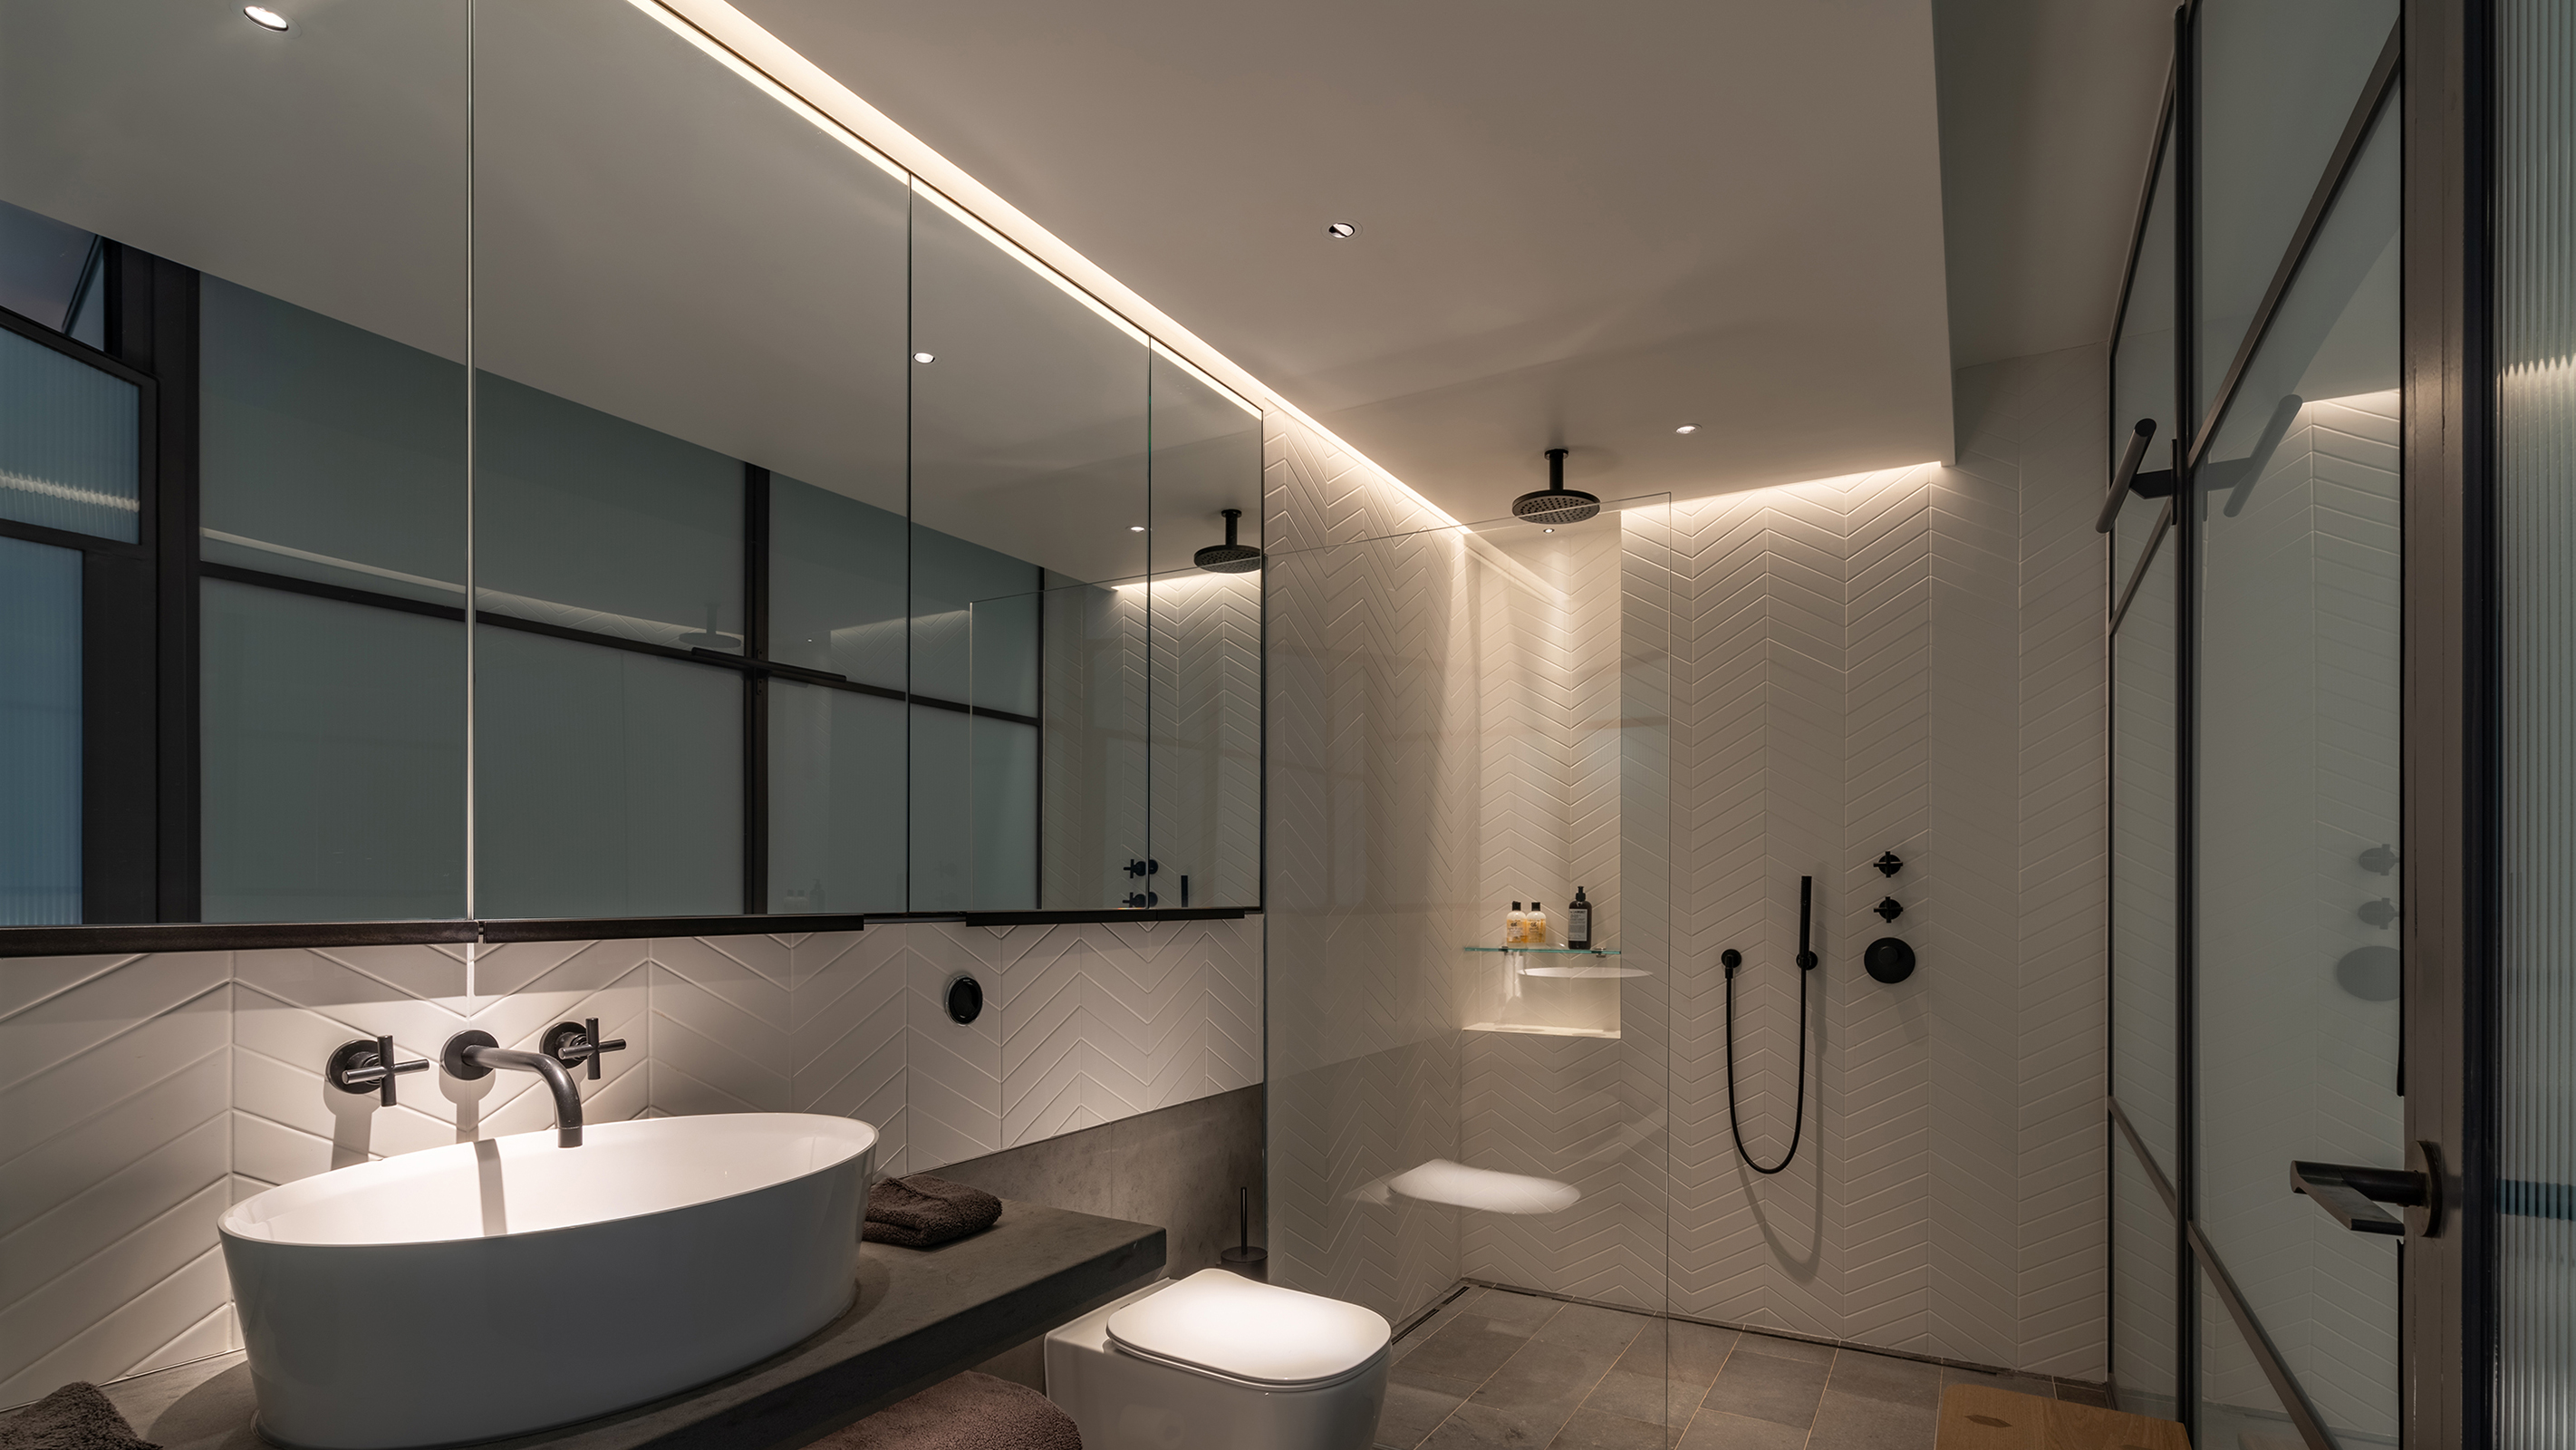
They are actually a really useful solution to a number of issues thrown up by renovation projects and can usually be quickly and cost-effectively constructed — often on a DIY basis. This type of ceiling can also be used to conceal lighting, extractor fans and so on, or even as an architectural feature in their own right.
There are a couple of main ways that false ceilings are constructed and our guide offers step-by-step instructions on how to build a false ceiling using timber studs, as well as explaining where and how these ceiling can be used.
What is a False Ceiling?
False ceilings are constructed beneath the original ceiling. A void, the depth of which will vary depending on your requirements, is created between the existing, original, ceiling and the new one.
The most common reasons why false ceilings are built are:
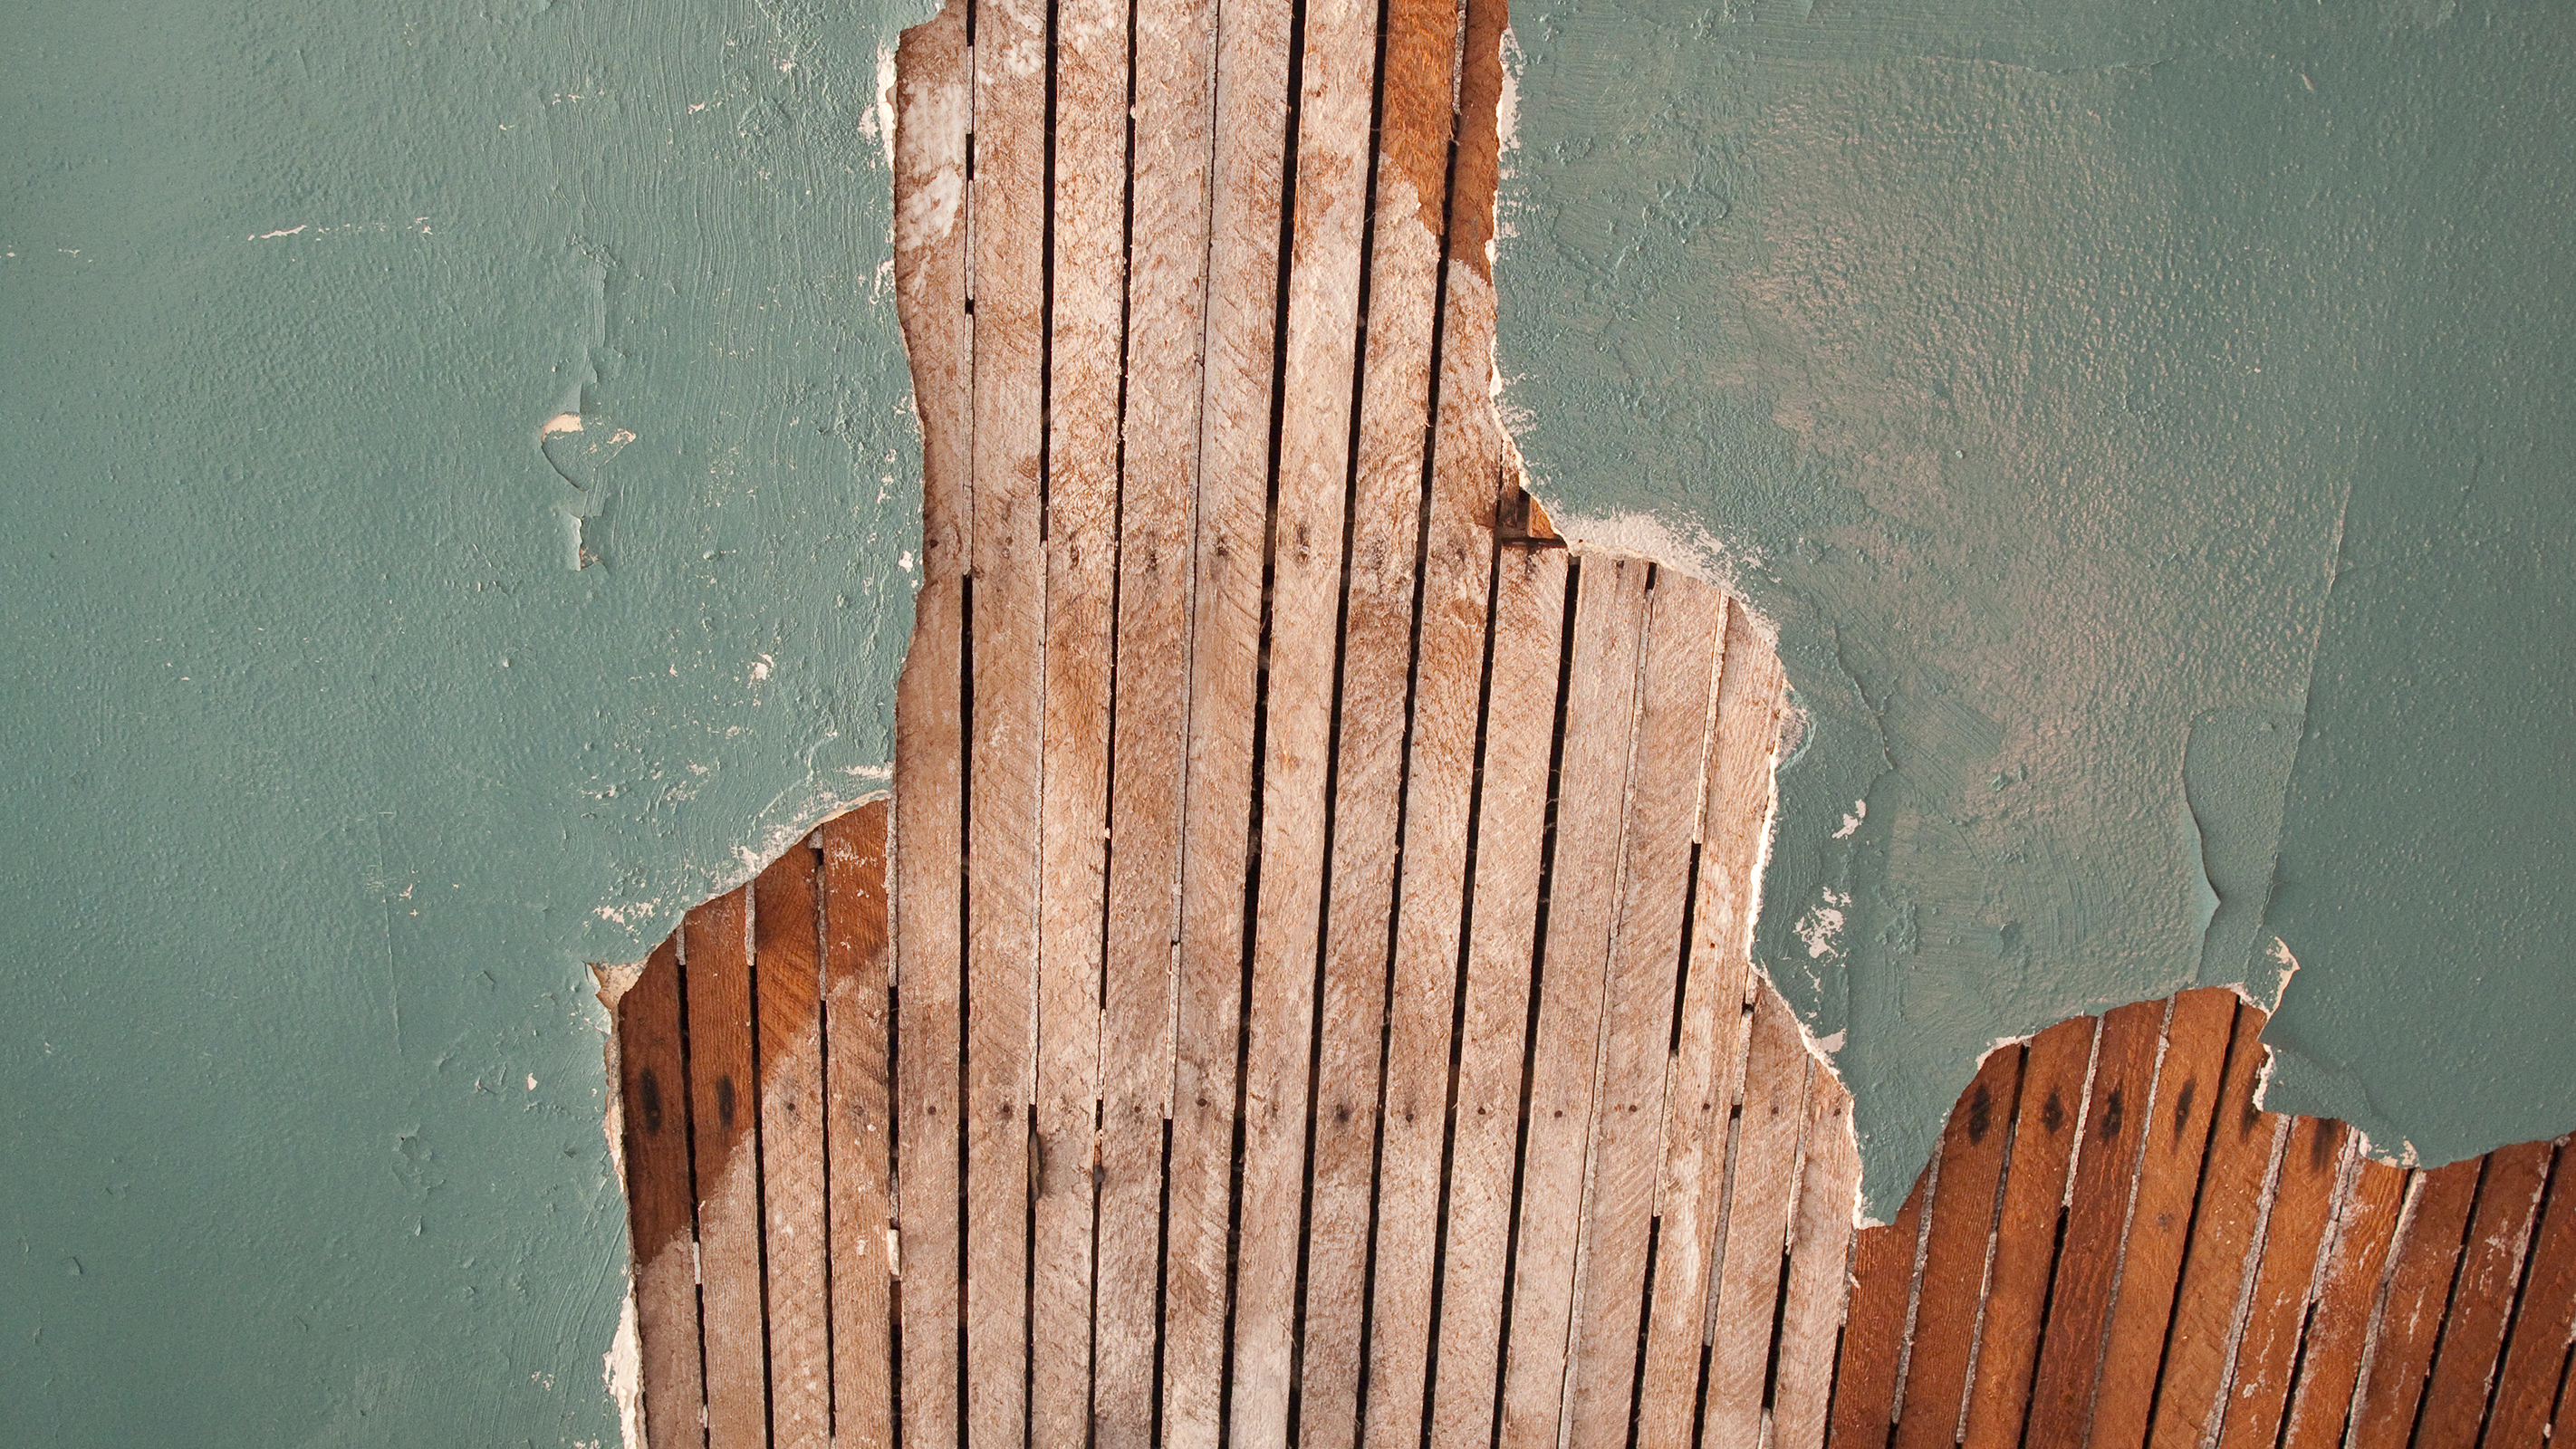
- To cover a damaged ceiling that can't be boarded over
- To conceal pipes or wires
- To run ducting for a kitchen extractor hood, MVHR (mechanical ventilation with heat recovery) ducting or an air conditioning unit within
- To hide structural beams or lintels
- To create architectural interest
- To make fitting recessed downlights simpler
- For soundproofing a ceiling — particularly if working with a concrete ceiling where fixing soundproofing materials directly to the solid surface can be tricky
False ceilings are most commonly created using plasterboard that is attached to either timber battens or metal framing (MF).
Sometimes, false ceilings are constructed by fixing new plasterboard directly to an existing ceiling by drilling up into the old plasterboard, directly into the existing joists overhead. This is known as 'overboarding' and is often done to conceal an unattractive ceiling — it saves the mess of pulling down the old one and won't lower your ceiling height too much.
However, if the old ceiling is very badly damaged, this will not be an option. In this case, you have two choices. You can either take down the old ceiling – something that is often necessary with damaged old lath and plaster ceilings – leaving the joists exposed, ready to fix into, or, alternatively, build a suspended false ceiling beneath, as detailed here.

Is a Metal or Timber Frame Best For a False Ceiling?
There are two main ways to build a false ceiling. The traditional method is to build a frame, attached to the existing ceiling, using timber battens. Sheets of plasterboard can then be attached to this.
The second method is similar, but uses a metal frame instead. The metal frame is created using a combination of channels, hangers, brackets and clips and can still be fitted on a DIY basis.
Both work well and in most cases, which is used comes down to personal preference. Those favouring metal framing site the fact that it is lightweight, moisture resistant and completely straight as their reasons. It is also a useful alternative to timber when very large spans are being covered.
When it comes to timber false ceilings, if you know how to build a stud wall, you are halfway there when it comes to understanding how to construct one — it is basically the same process carried out on a horizontal surface as opposed to a vertical one.
How to Build a False Ceiling: Step-by-Step
If you fancy trying your handing at building a false – suspended – ceiling, our step-by-step guide is here to take you through the process.
- Work out the height at which you want your new ceiling to sit. This should be the lowest point needed — below where any ducting will sit, for example.
- Using a laser or spirit level, mark the new ceiling's height all around the perimeter of the room.
- Measure four lengths of wood, 3"x2" timbers are most commonly used, to the fit each wall.
- If there are electrical channels fixed to the wall, you may need to take notches out of the timbers to run around these.
- Work around the room, fixing lengths of timber all around the perimeter. You will need to place plugs in the wall, then use 4" long screws to fix the timber to the wall. Work until you have one, level frame all the way around.
- With the frame in place you can begin to fit studs, made from 3"x2" timber, within it — they should be at between 400mm - 600mm centres. When measuring these, go just a little longer than required so that you can knock them tightly into place when fitting into the frame.
- You should now skew screw (screw in at an angle) the studs between the frame — aim for three screws at each end.
- Once all the studs are fixed in place, it is time to strengthen the frame. It is wise, at this stage, to slide a piece of 3" x 2" timber the length of the ceiling, above the studwork, running at an opposite direction. You can then screw up from the bottom of the studs below into this. Finally, place noggins at regular intervals between the studs.
- Before you begin to put your plasterboard up, mark on the wall where the studs are so you know where your screws should go.
- Measure and cut your plasterboard.
- It's time to find out how to plasterboard a ceiling. Screw or nail your plasterboard into place, sinking screw or nail heads just below the surface but no so far as to tear the paper. Staggering the plasterboard sheets will add strength.
- The next step is to tape the joints and skim the plasterboard ceiling. This might be a job for a professional plasterer if you've not tried your hand at plastering before.
- Once the plaster is dry, painting the ceiling is typically the final step.

What Does a False Ceiling Cost?
The price you pay for your new false ceiling will depend on the type of frame you use, the size of your room and the materials you decide to purchase, as well as whether you decide to take the DIY route.
However, on average, professionals charge between £20-£30/m2 and you could usually expect this to include materials.
This does not take into consideration the additional cost if you wish to install elements such as an extractor hood or LED lighting within your false ceiling.
Get the Homebuilding & Renovating Newsletter
Bring your dream home to life with expert advice, how to guides and design inspiration. Sign up for our newsletter and get two free tickets to a Homebuilding & Renovating Show near you.
Natasha was Homebuilding & Renovating’s Associate Content Editor and was a member of the Homebuilding team for over two decades. In her role on Homebuilding & Renovating she imparted her knowledge on a wide range of renovation topics, from window condensation to renovating bathrooms, to removing walls and adding an extension. She continues to write for Homebuilding on these topics, and more. An experienced journalist and renovation expert, she also writes for a number of other homes titles, including Homes & Gardens and Ideal Homes. Over the years Natasha has renovated and carried out a side extension to a Victorian terrace. She is currently living in the rural Edwardian cottage she renovated and extended on a largely DIY basis, living on site for the duration of the project.

