How to identify and treat dry rot in your home — plus how to prevent it
Untreated dry rot can rapidly spread causing extensive damage to structural timber and wooden fixtures. Chartered surveyor, Ian Rock shares his expert advice for dealing with dry rot
Discovering that the property you want to buy is afflicted by dry rot can be enough to induce a panic attack in all but the most optimistic of home buyers.
To make matters worse, at the slightest suspicion of damp and fungal decay, mortgage lenders commonly insist on specialist reports that prescribe expensive remedial treatments, some of which our expert believes do more harm than good.
Here Chartered Surveyor Ian Rock explains everything you need to know about dry rot, including how to identify it, how to treat it as well as how to prevent it in the future.
Dry rot
Dry rot fungi is a type of brown rot that feeds by sucking moisture out of affected wood, leaving it relatively dry and shrivelled (hence the origin of the name). Research the latin name for it - ‘serpula lacrymans’ - and you’ll likely come across horror stories about whole buildings engulfed by malignant fungi spreading through thick walls leading to structural collapse.
Left untreated it can undoubtedly cause major problems.
Identifying dry rot
In its early stages, identifying dry rot is not always easy because it can look very similar to less damaging wet rot. Because its appearance is constantly changing throughout the lifecycle it often gets misdiagnosed, leading to inappropriate treatments.
Initial signs to the onset of rot include irregularities in the surface of joinery and hairline splitting along and across the grain of the wood that a knife blade can easily penetrate.
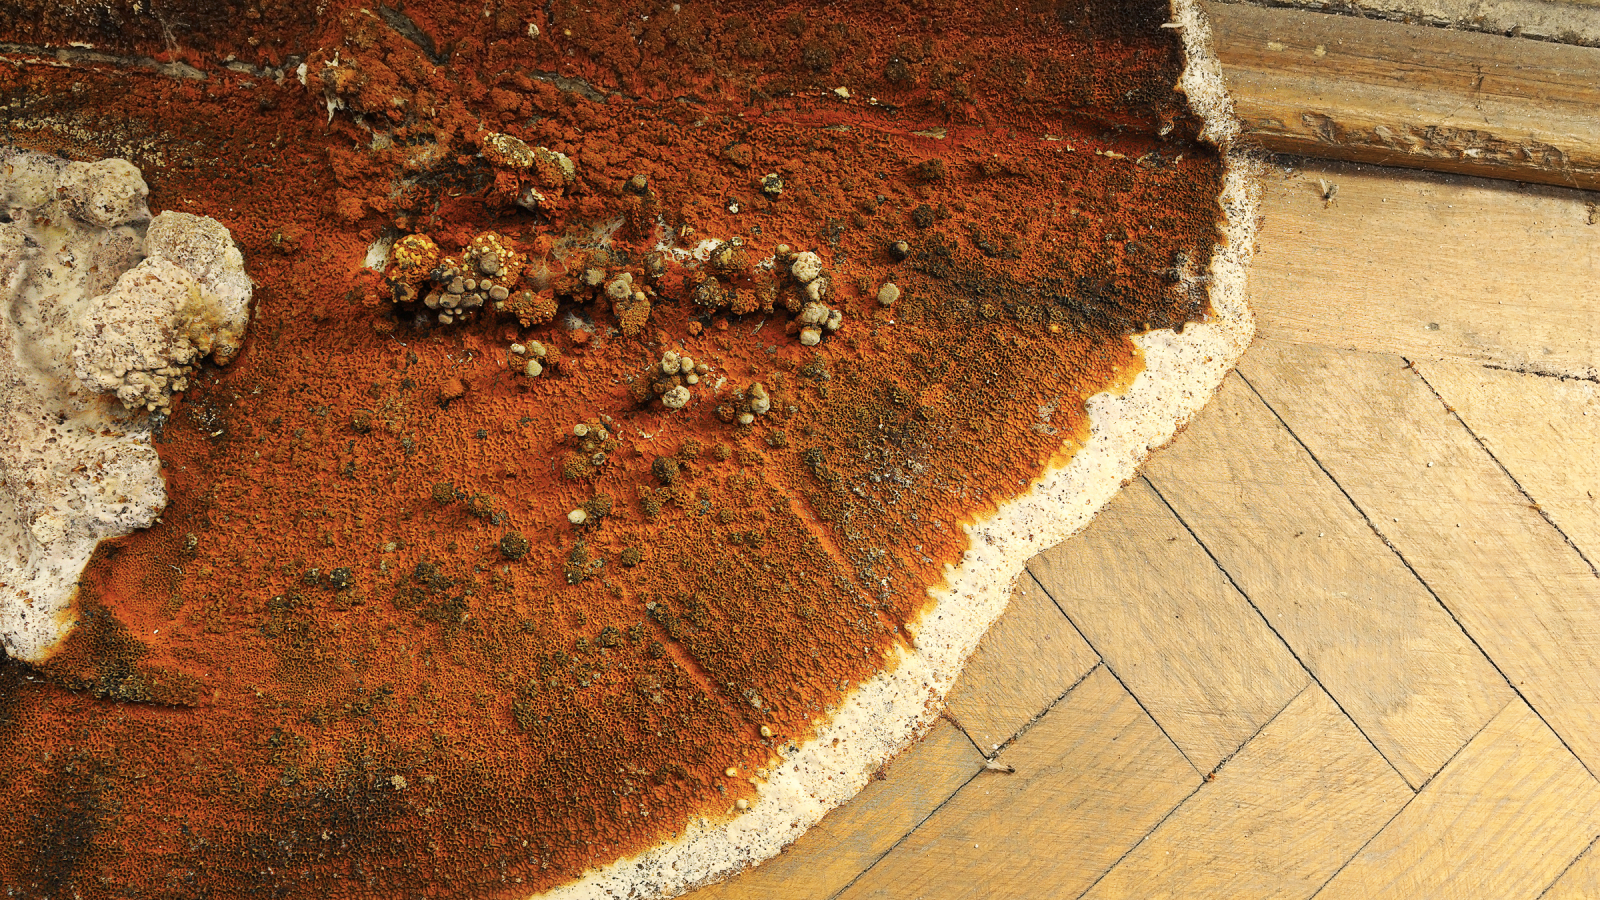
To the trained nose, the presence of dry rot may be detected by its distinctive mushroom-like smell. More commonly, identification becomes considerably easier once it develops distinctive cobweb like strands of white or grey hyphae that morph into mycelial growth - that look a bit like tufts of cotton wool with colourful patches.
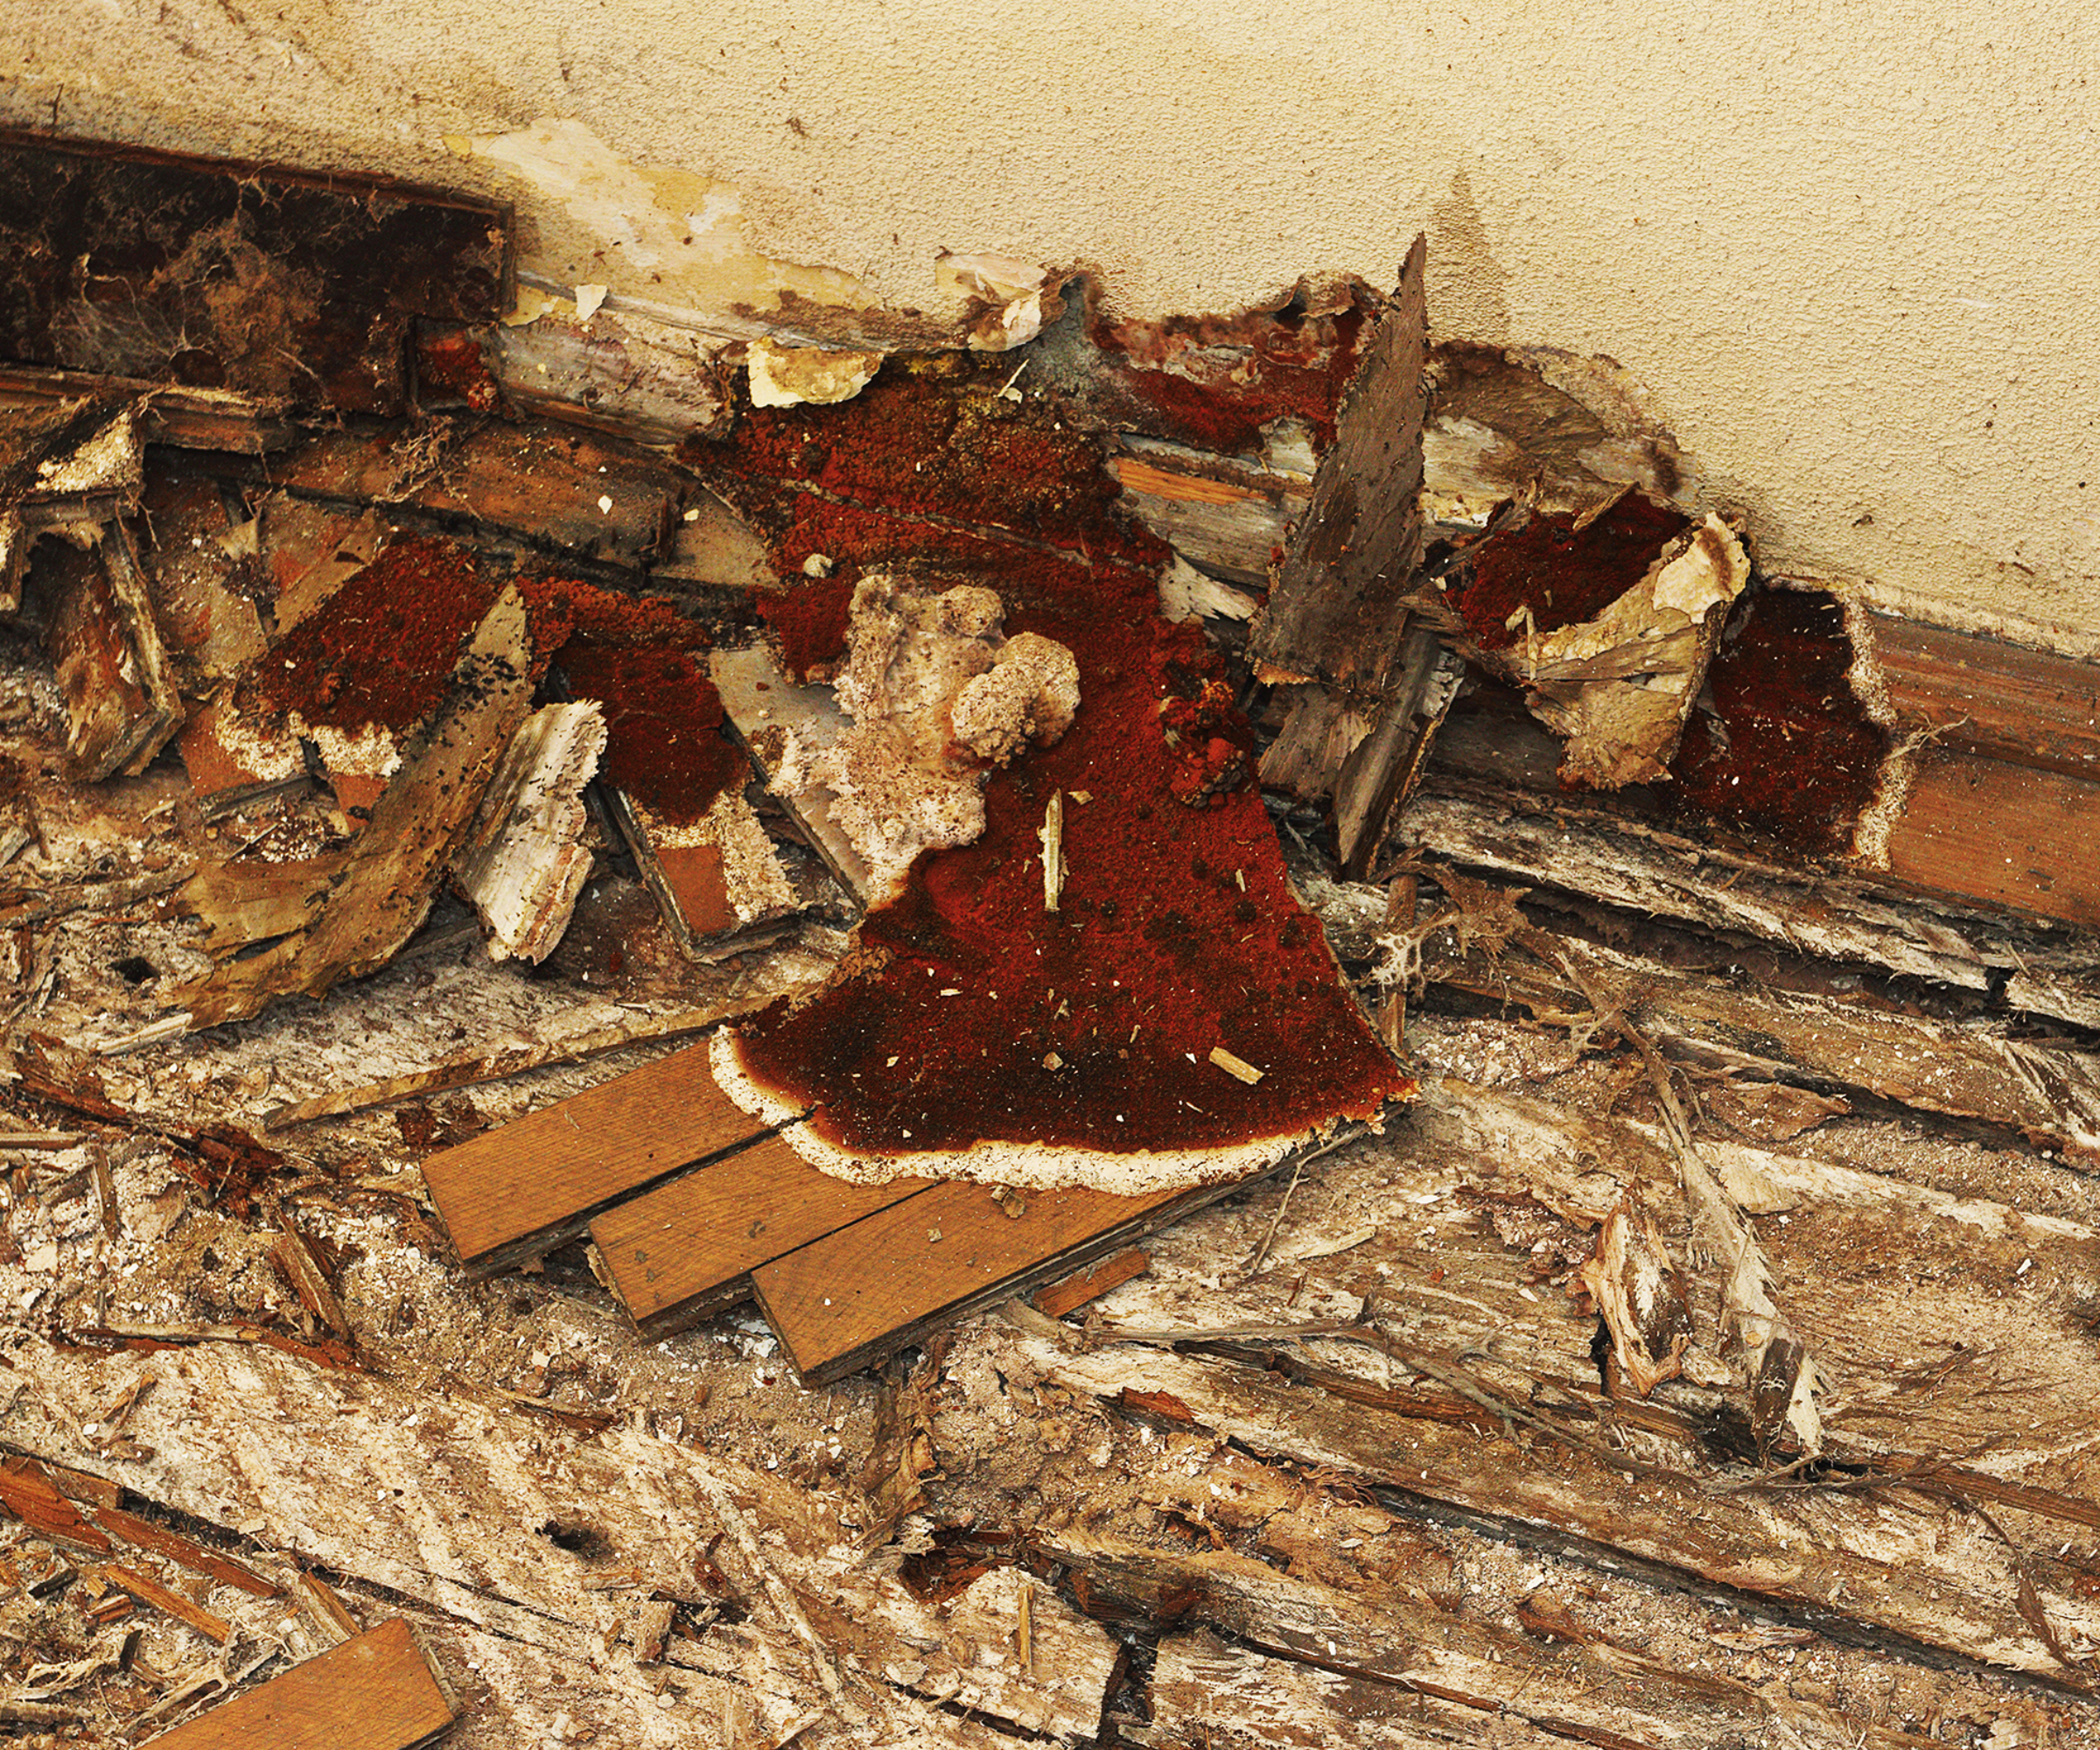
In its final stages the mycelium morphs into a pancake-like ‘fruiting body’ that emits millions of spores in the form of red dust, starting the cycle over again.
Decayed wood takes on a darker brown, crumbly appearance with deep cuboidal cracking and, if handled, the affected wood will disintegrate into powder.
Causes of dry rot
The term ‘dry rot’ is in fact a bit misleading because all wood-destroying fungi need a certain amount of moisture for decay to take hold. And even though dry rot is not to be confused with wet rot, it is also a type of fungi that thrives in moist conditions attacking timber to extract nutrients (cellulose or lignin).
A key point to note here is that for timber to initially become vulnerable to attack it needs a persistently high moisture content. Once established however, the fungi can remain active in timber with a lower moisture content of only around 20%.
In suitable conditions spores can germinate within a couple of weeks. Left untreated, rampant fungal growth can eventually spread throughout a building, travelling 2-3m in a year.
Where dry rot is often found
If you know what causes damp in a house, you won't be surprised that the most common place to find outbreaks of dry rot is in damp cellars and sub-floor voids particularly where ventilation has been blocked.
Roof spaces also sometimes play host where water leaks from defective flashings etc have been allowed to persist resulting in high humidity, again compounded by poor ventilation. Hidden from plain sight, the fungus may be quietly spreading and eating away at structural timbers such as joists or rafters before homeowners notice any signs of infestation.
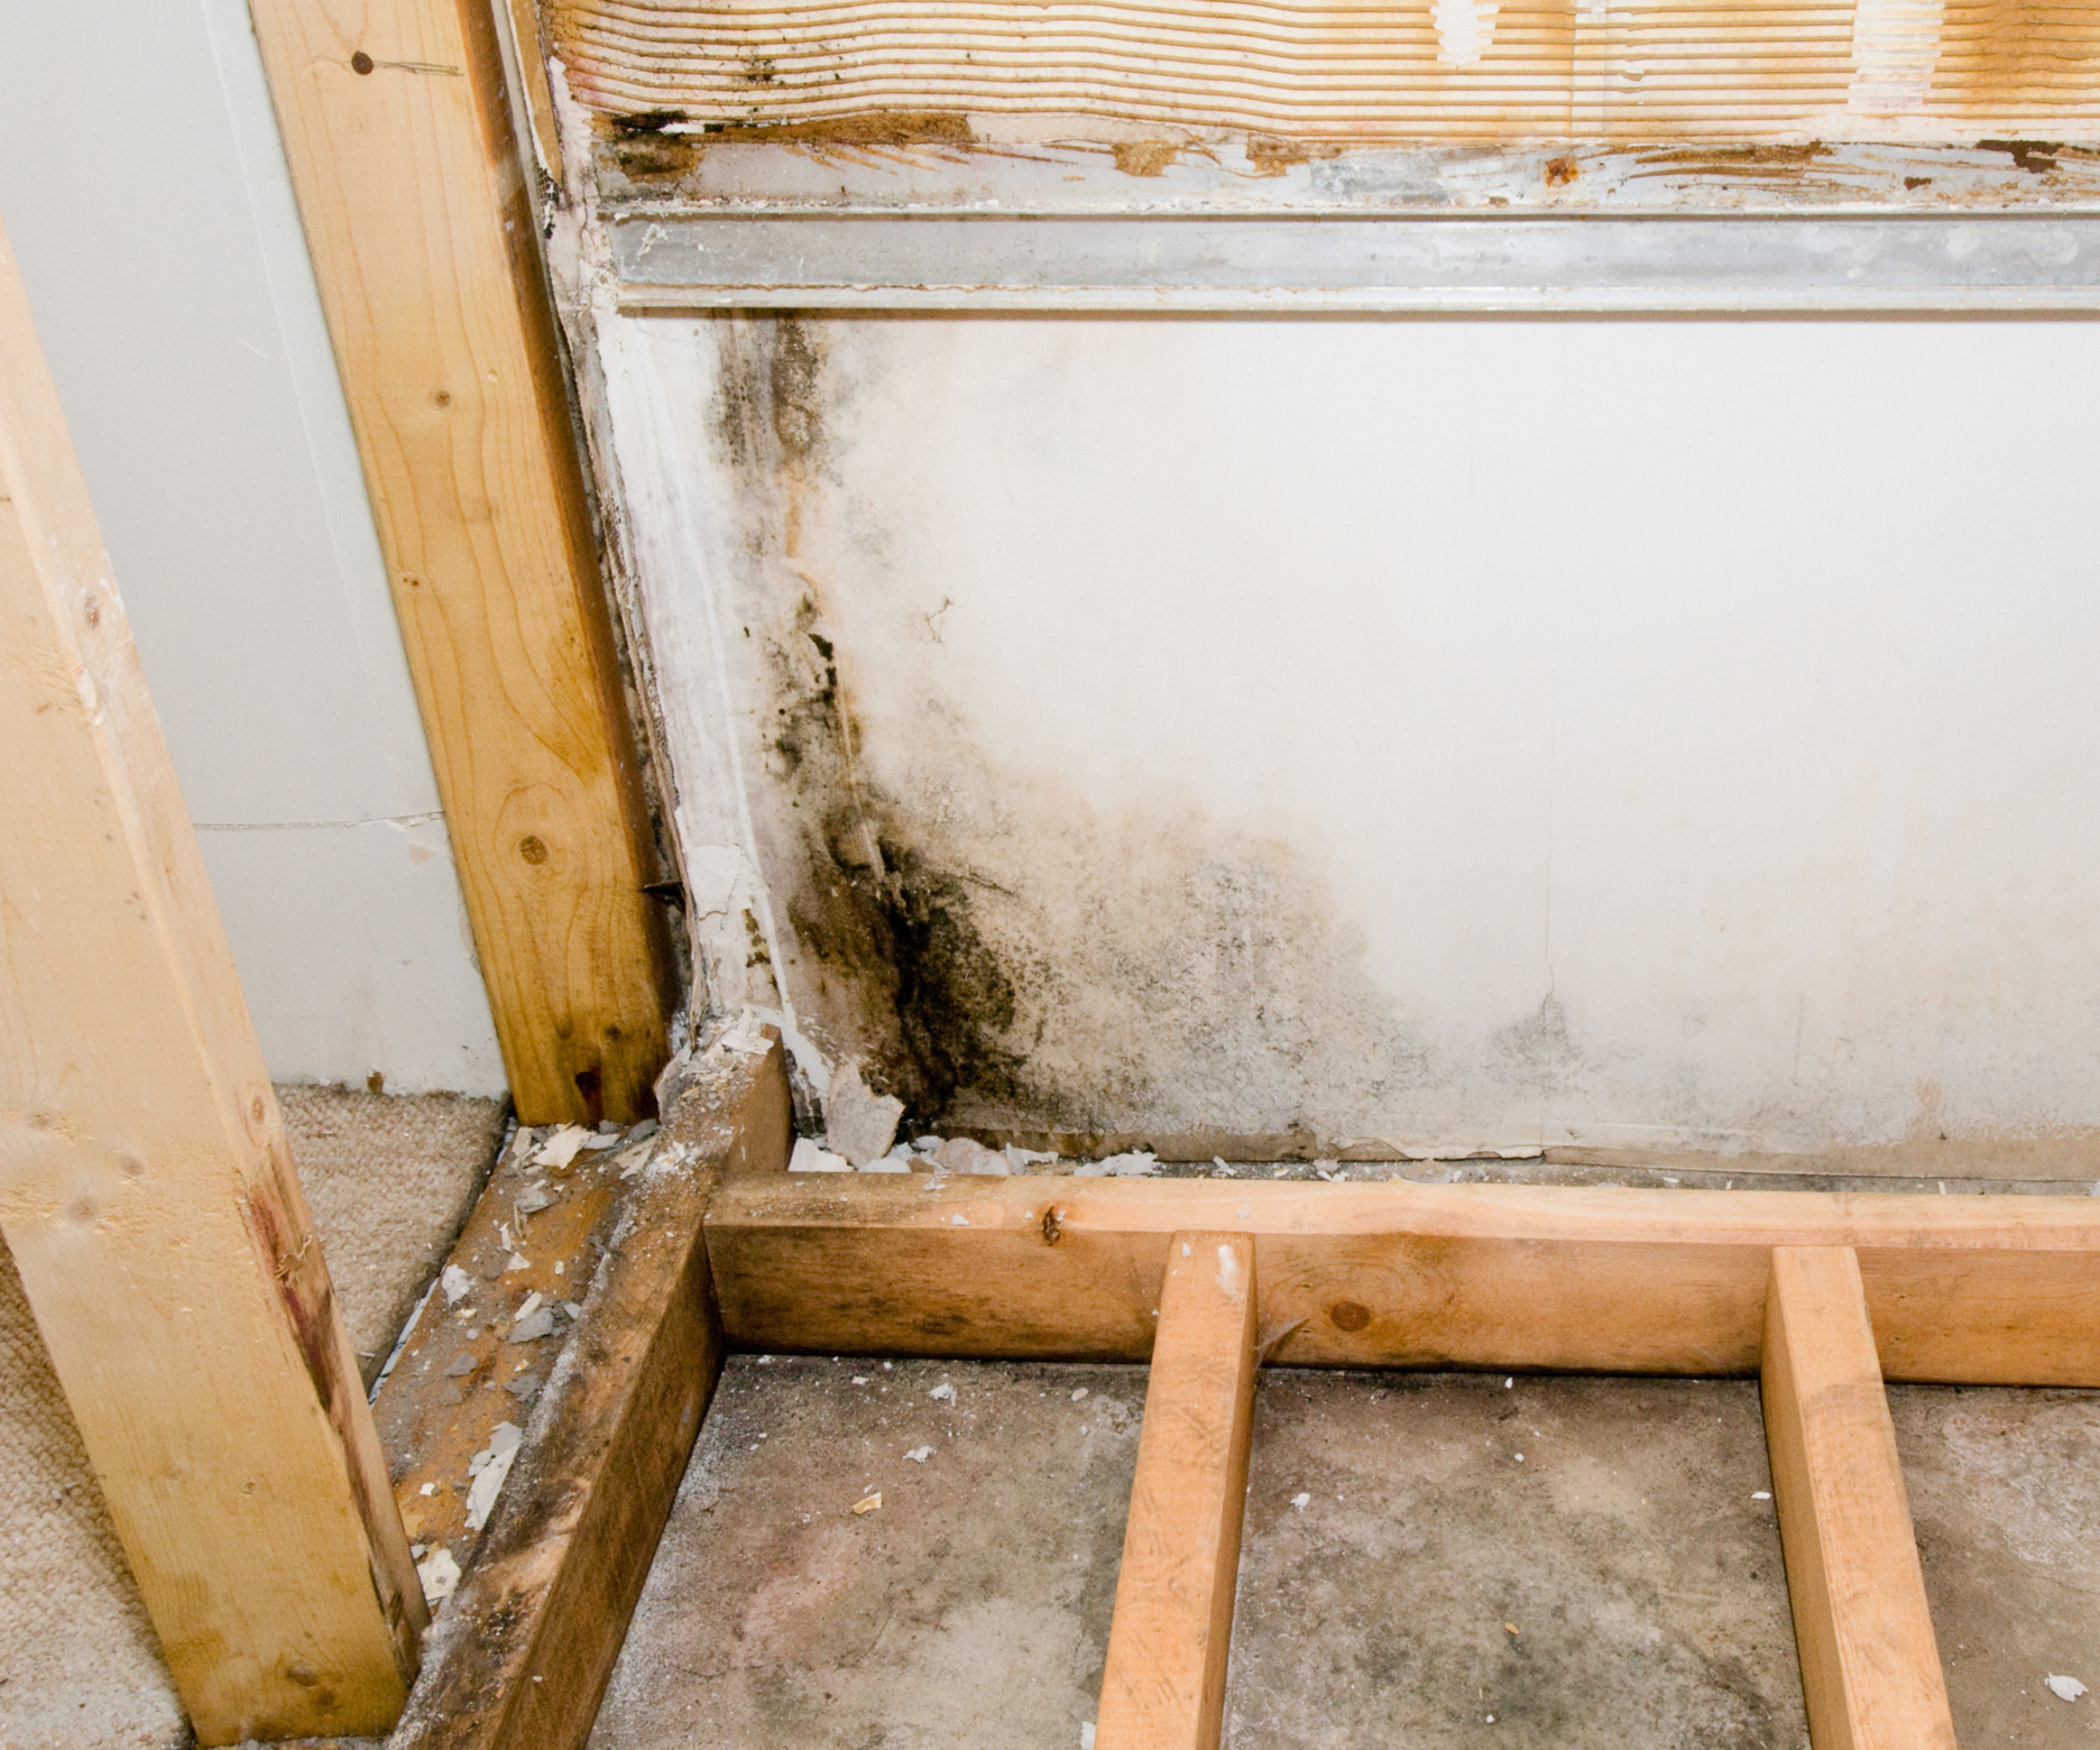
Symptoms of rot are more readily visible in skirting boards, wood panelling or timber studwork. Defects such as concealed plumbing leaks or poorly sealed baths and shower trays can promote ideal conditions for rot to develop in adjacent timbers.
Although masonry contains no nutrients for the fungi to consume, once the mycelial growth becomes rampant, it can colonise porous brick or stone walls spreading through mortar joints in search of timber to attack, especially in older properties.
Treating dry rot
Firms specialising in ‘Timber & Damp’ remedial work have traditionally applied copious quantities of chemical sprays combined with aggressive cutting out of timbers often well beyond the suspected outbreak.
Current thinking is more in line with the approach favoured by conservationists which wherever possible avoids the use of chemicals. As well as the risk of toxicity, another argument against volume application of chemical treatments is that most are borne in water, which isn’t ideal given that rot thrives in damp conditions.
Step one: Diagnosis
As with all defects, the first step should always be to diagnose the true cause of the problem. Fungal decay normally stops once the moisture content of timber is consistently below about 20% so the primary task is to identify and remedy the source(s) of dampness.
Step two: Remove timbers with dry rot
Any decayed or fungus-covered timber should be cut out and removed from the building and the whole area vacuumed to remove dust and spores.
Step three: Fix damp problems
Once the problem has been identified, make sure any leaks from pipework and sanitary fittings are remedied and make sure you know how to treat damp to prevent future outbreaks.
Equally important is the provision of effective home ventilation, unblocking air bricks in walls for example to ensure the problem does not return.
Step four: Dry out affected areas
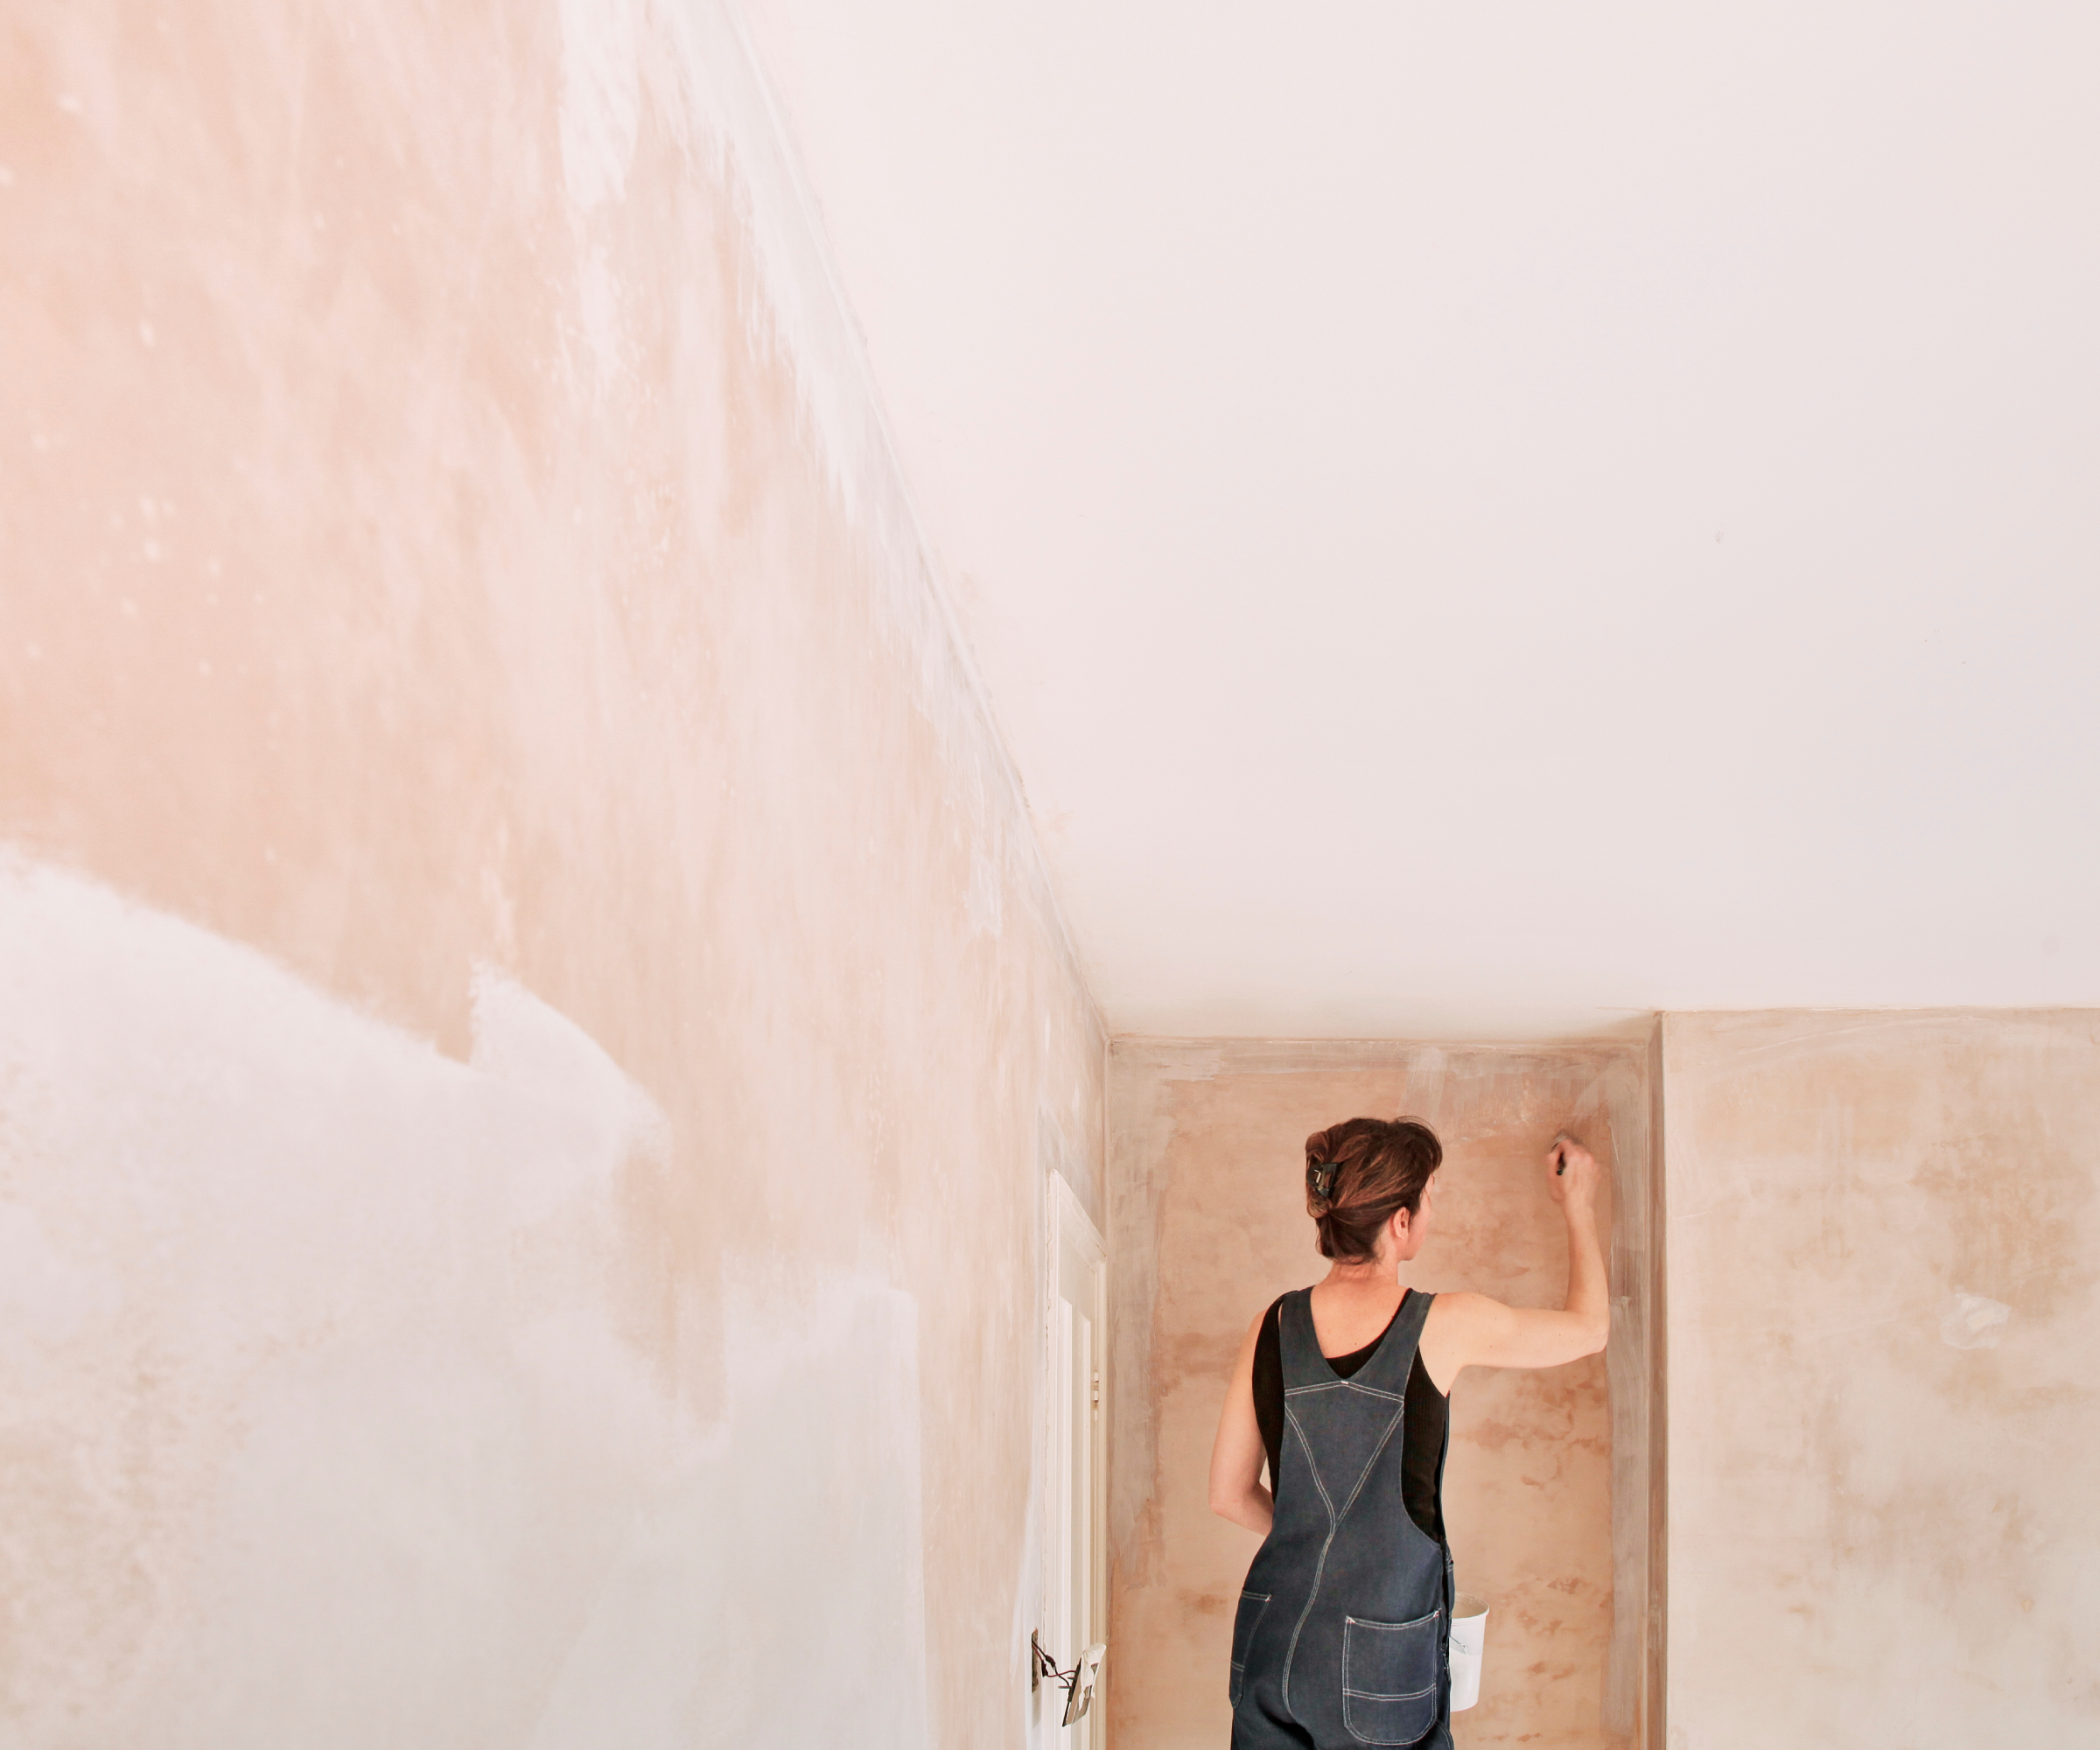
The next step is to dry out walls and floors in the vicinity of the outbreak to reduce humidity, perhaps with the aid of the best dehumidifier to speed up the process. The area affected must be given time to fully dry out before any replastering is attempted.
Any timbers remaining in contact with potentially damp walls need to be protected with a damp proof course (DPS). In extreme cases surface application of fungicidal preservative may be required but should be applied sparingly to protect timbers while the atmosphere is drying out, and should be low odour and HSE approved.
Step five: Protection
Replacement timbers should be pre-treated, or in some cases epoxy resin techniques may be used for the repair of decayed beam ends, joint stabilisation and crack repairs.
In period properties, preservation of the building’s historic fabric should always be a primary consideration.
Preventing dry rot
Any areas of dampness that the fungus can feed on must be identified and remedied.
In period properties this means replacing modern cement or gypsum-based materials that can trap condensation in old walls and replacing them with suitable lime plasters, renders or mortar.
Given that prevention is better than cure, catching any outbreak of dry rot as early as possible in its lifecycle is key. If you're investigating house survey costs, make sure you instruct an RICS home survey. It should be money well spent.
Dry rot treatment costs
The cost of treating an outbreak of dry rot will very much depend on the extent of the infestation. The three key stages are: inspection, treatment, and reconstruction.
Typical prices range from around £1,500 to £5,000 but can potentially be much higher. In a worst case scenario at least partial removal of kitchen or bathroom fittings could be required to access and treat rampant fungal decay.
If any decayed structural timbers need to be replaced or strengthened this will also significantly inflate the cost, plus of course any necessary pipework repairs, damp proofing, replastering and decorating.
For more help and advice on dealing with mould and damp related problems, find out how to clean mould off wood and how to remove mould from a ceiling.
Get the Homebuilding & Renovating Newsletter
Bring your dream home to life with expert advice, how to guides and design inspiration. Sign up for our newsletter and get two free tickets to a Homebuilding & Renovating Show near you.
Chartered surveyor Ian Rock MRICS is a director is Rightsurvey.co.uk and the author of eight popular Haynes House Manuals, including the Home Extension Manual, the Self Build Manual and Period Property Manual.
Ian is also the founder of Zennor Consultants. In addition to providing house surveys, Zennor Consultants provide professional guidance on property refurbishment and maintenance as well as advising on the design and construction of home extensions and loft conversions, including planning and Building Regulations compliance.
Ian has recently added a 100m2 extension to his home; he designed and project managed the build and completed much of the interior fit-out on a DIY basis.

