Drilling into Tile: How to Avoid Cracking
Looking for advice for drilling into tiles in your bathroom or kitchen? Try these tips from our DIY expert to avoid cracks and ensure your drill is up to the job
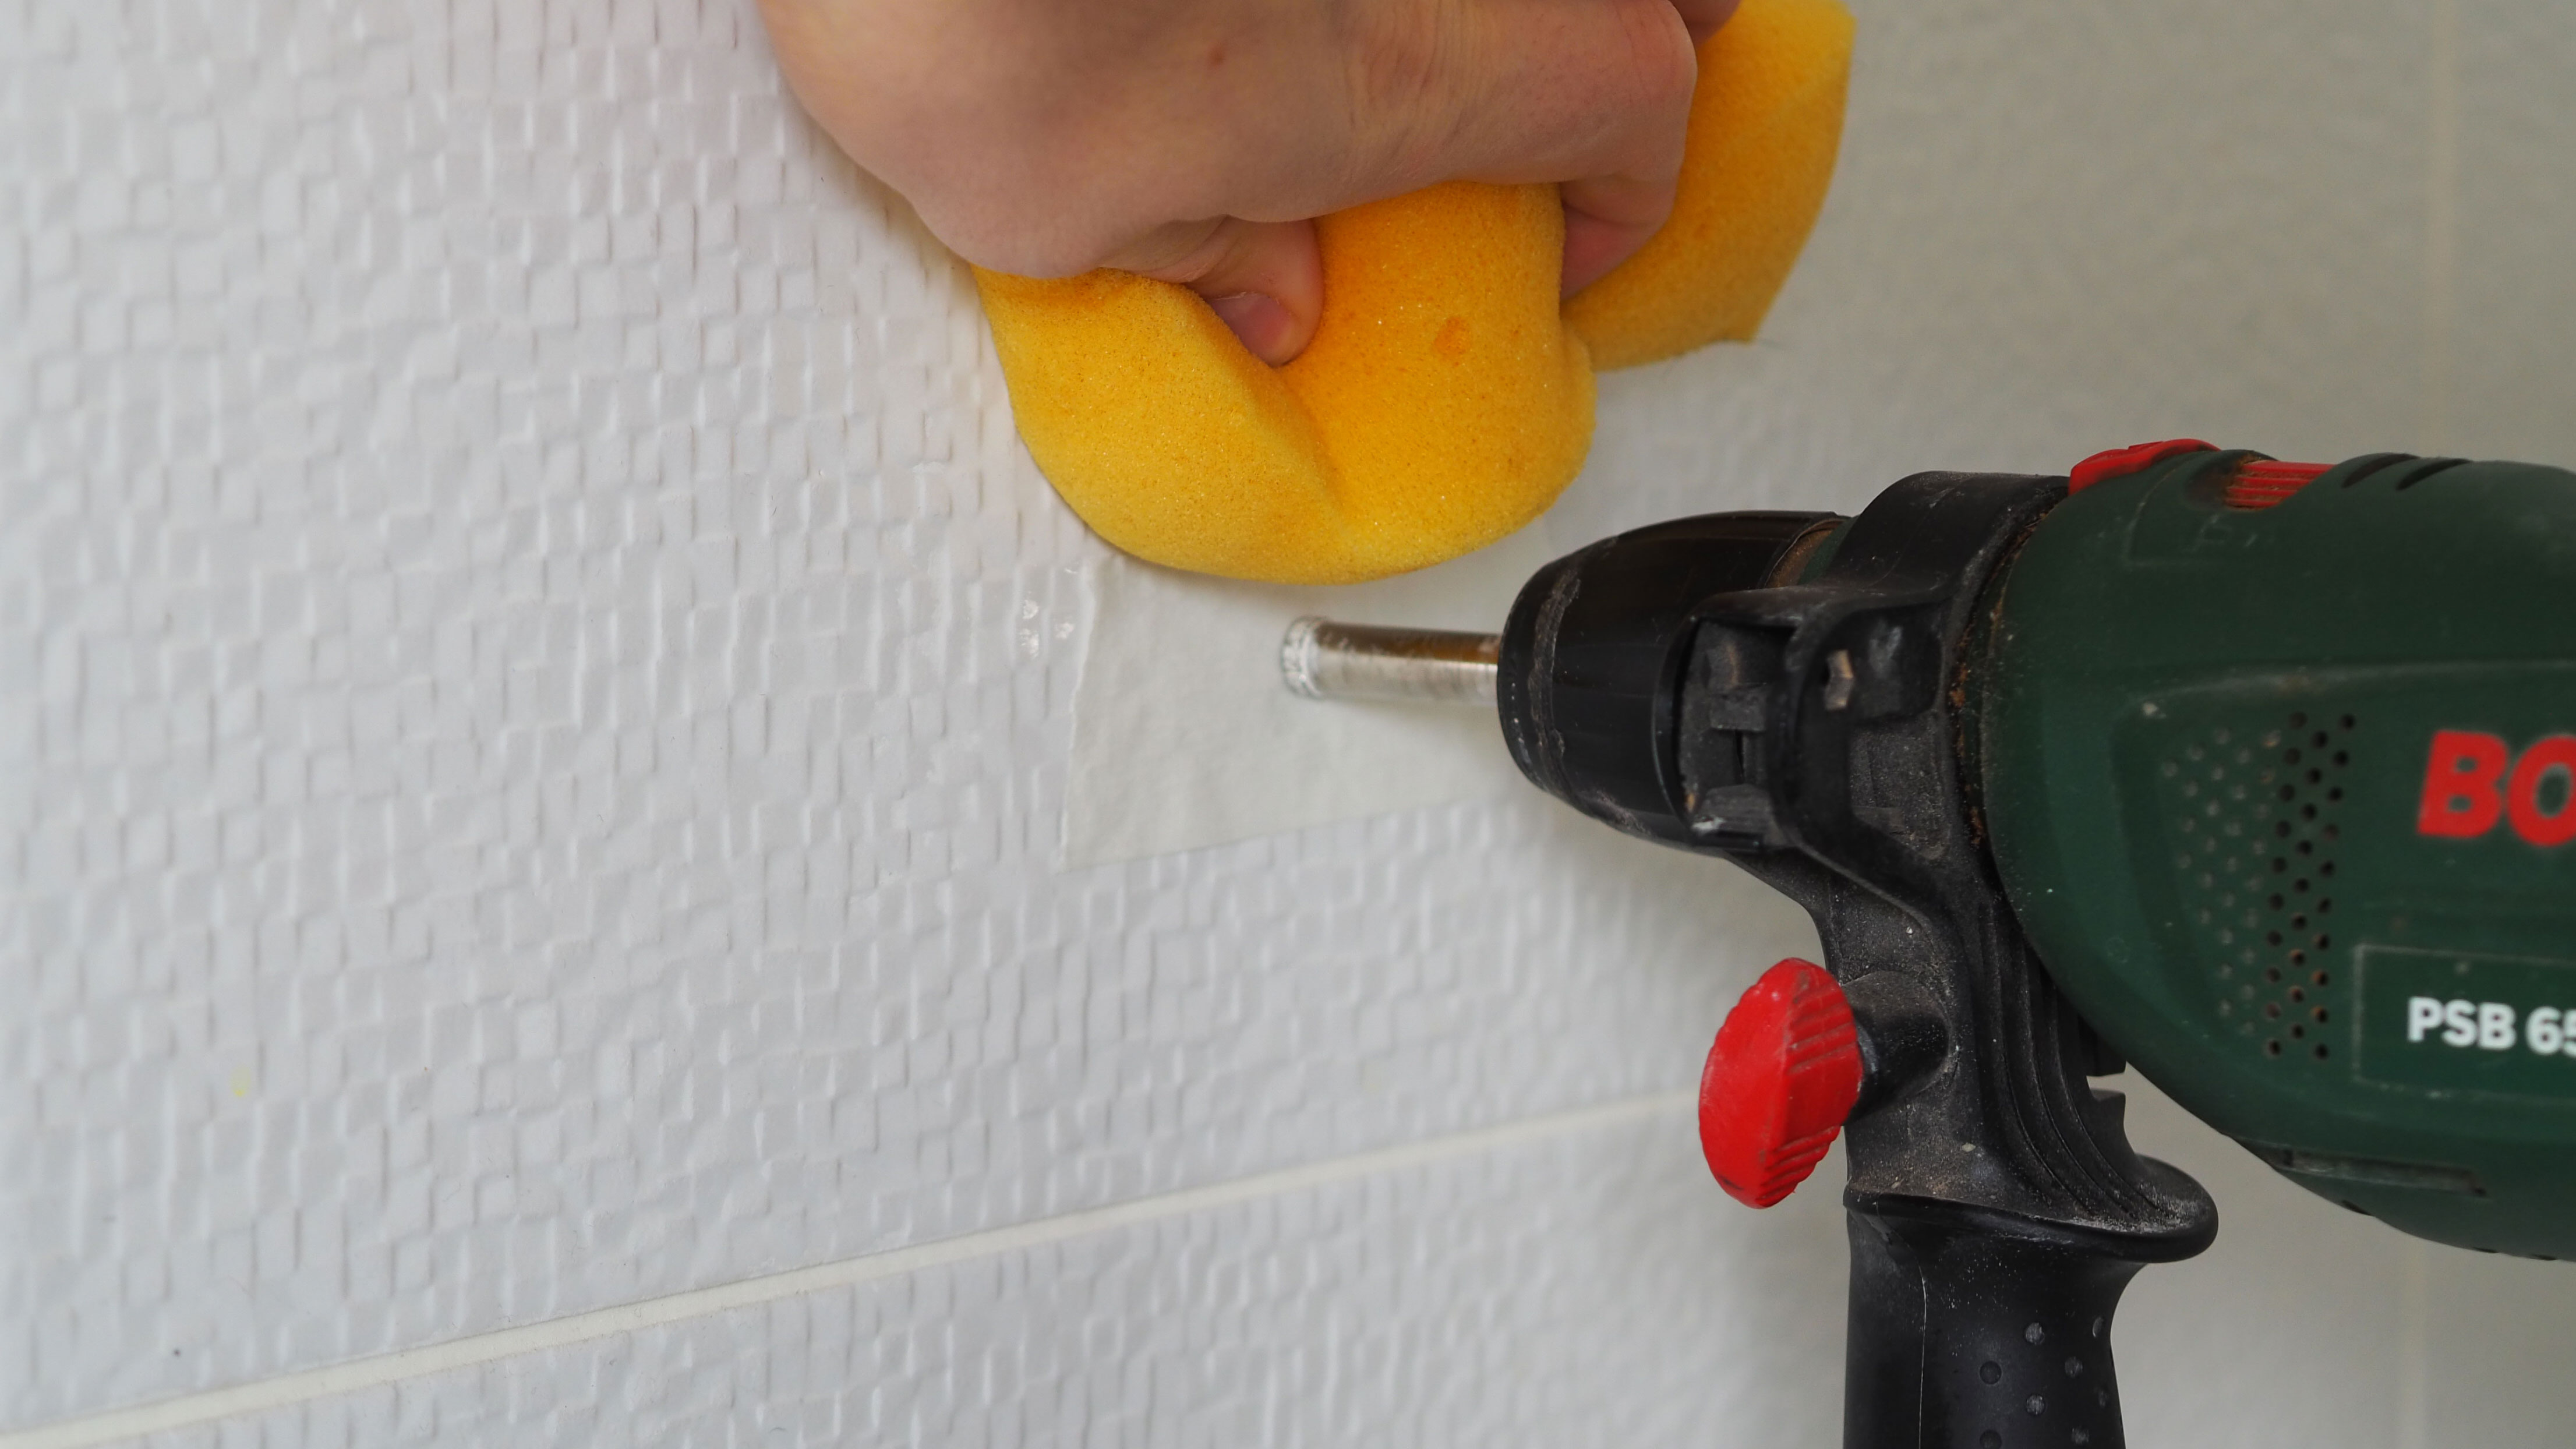
Drilling into tiles is relatively easy when you use the right tools, but it has the potential to cause issues if it goes wrong. There’s a small chance that you could cause a crack in a tile, meaning it’d need to be replaced, while incorrectly placed holes can’t be filled and painted in the same way that they can on a plastered wall.
However, drilling into tile will be unavoidable in some instances, such as where you need to hang a mirror or shelf on a tiled wall, or for fitting a shower enclosure or screen over a bath. Larger holes will also be required when tiling a bathroom to fit around pipes. It's possible to drill tiles both before installation and when they're on the walls, largely this will depend on when and why you need to drill holes.
Arm yourself with your best cordless drill and a few other supplies and follow our DIY step by step guide, plus some expert tips to try to ensure you get a good initial catch on a glossy tile surface and how to drill larger holes in tiled walls.
What Drill Bit do you use for Drilling Into Tile?
Drilling into tile requires a specialist drill bit, but there are a few options open to you depending on the type of tile you’ve chosen. This mostly boils down to a difference between natural stone and porcelain vs ceramic tiles.
Carbide tipped drill bits are the cheaper, more widely available of the two, however, they’re only really suited to softer ceramic tiles. Carbide drill bits for tiles tend to be spear-shaped.
Diamond tipped drill bits are more expensive, but can be used for drilling into the majority of porcelain and natural stone tiles. Diamond tipped drill bits tend to be circular with diamonds around the rim of the drill bit.
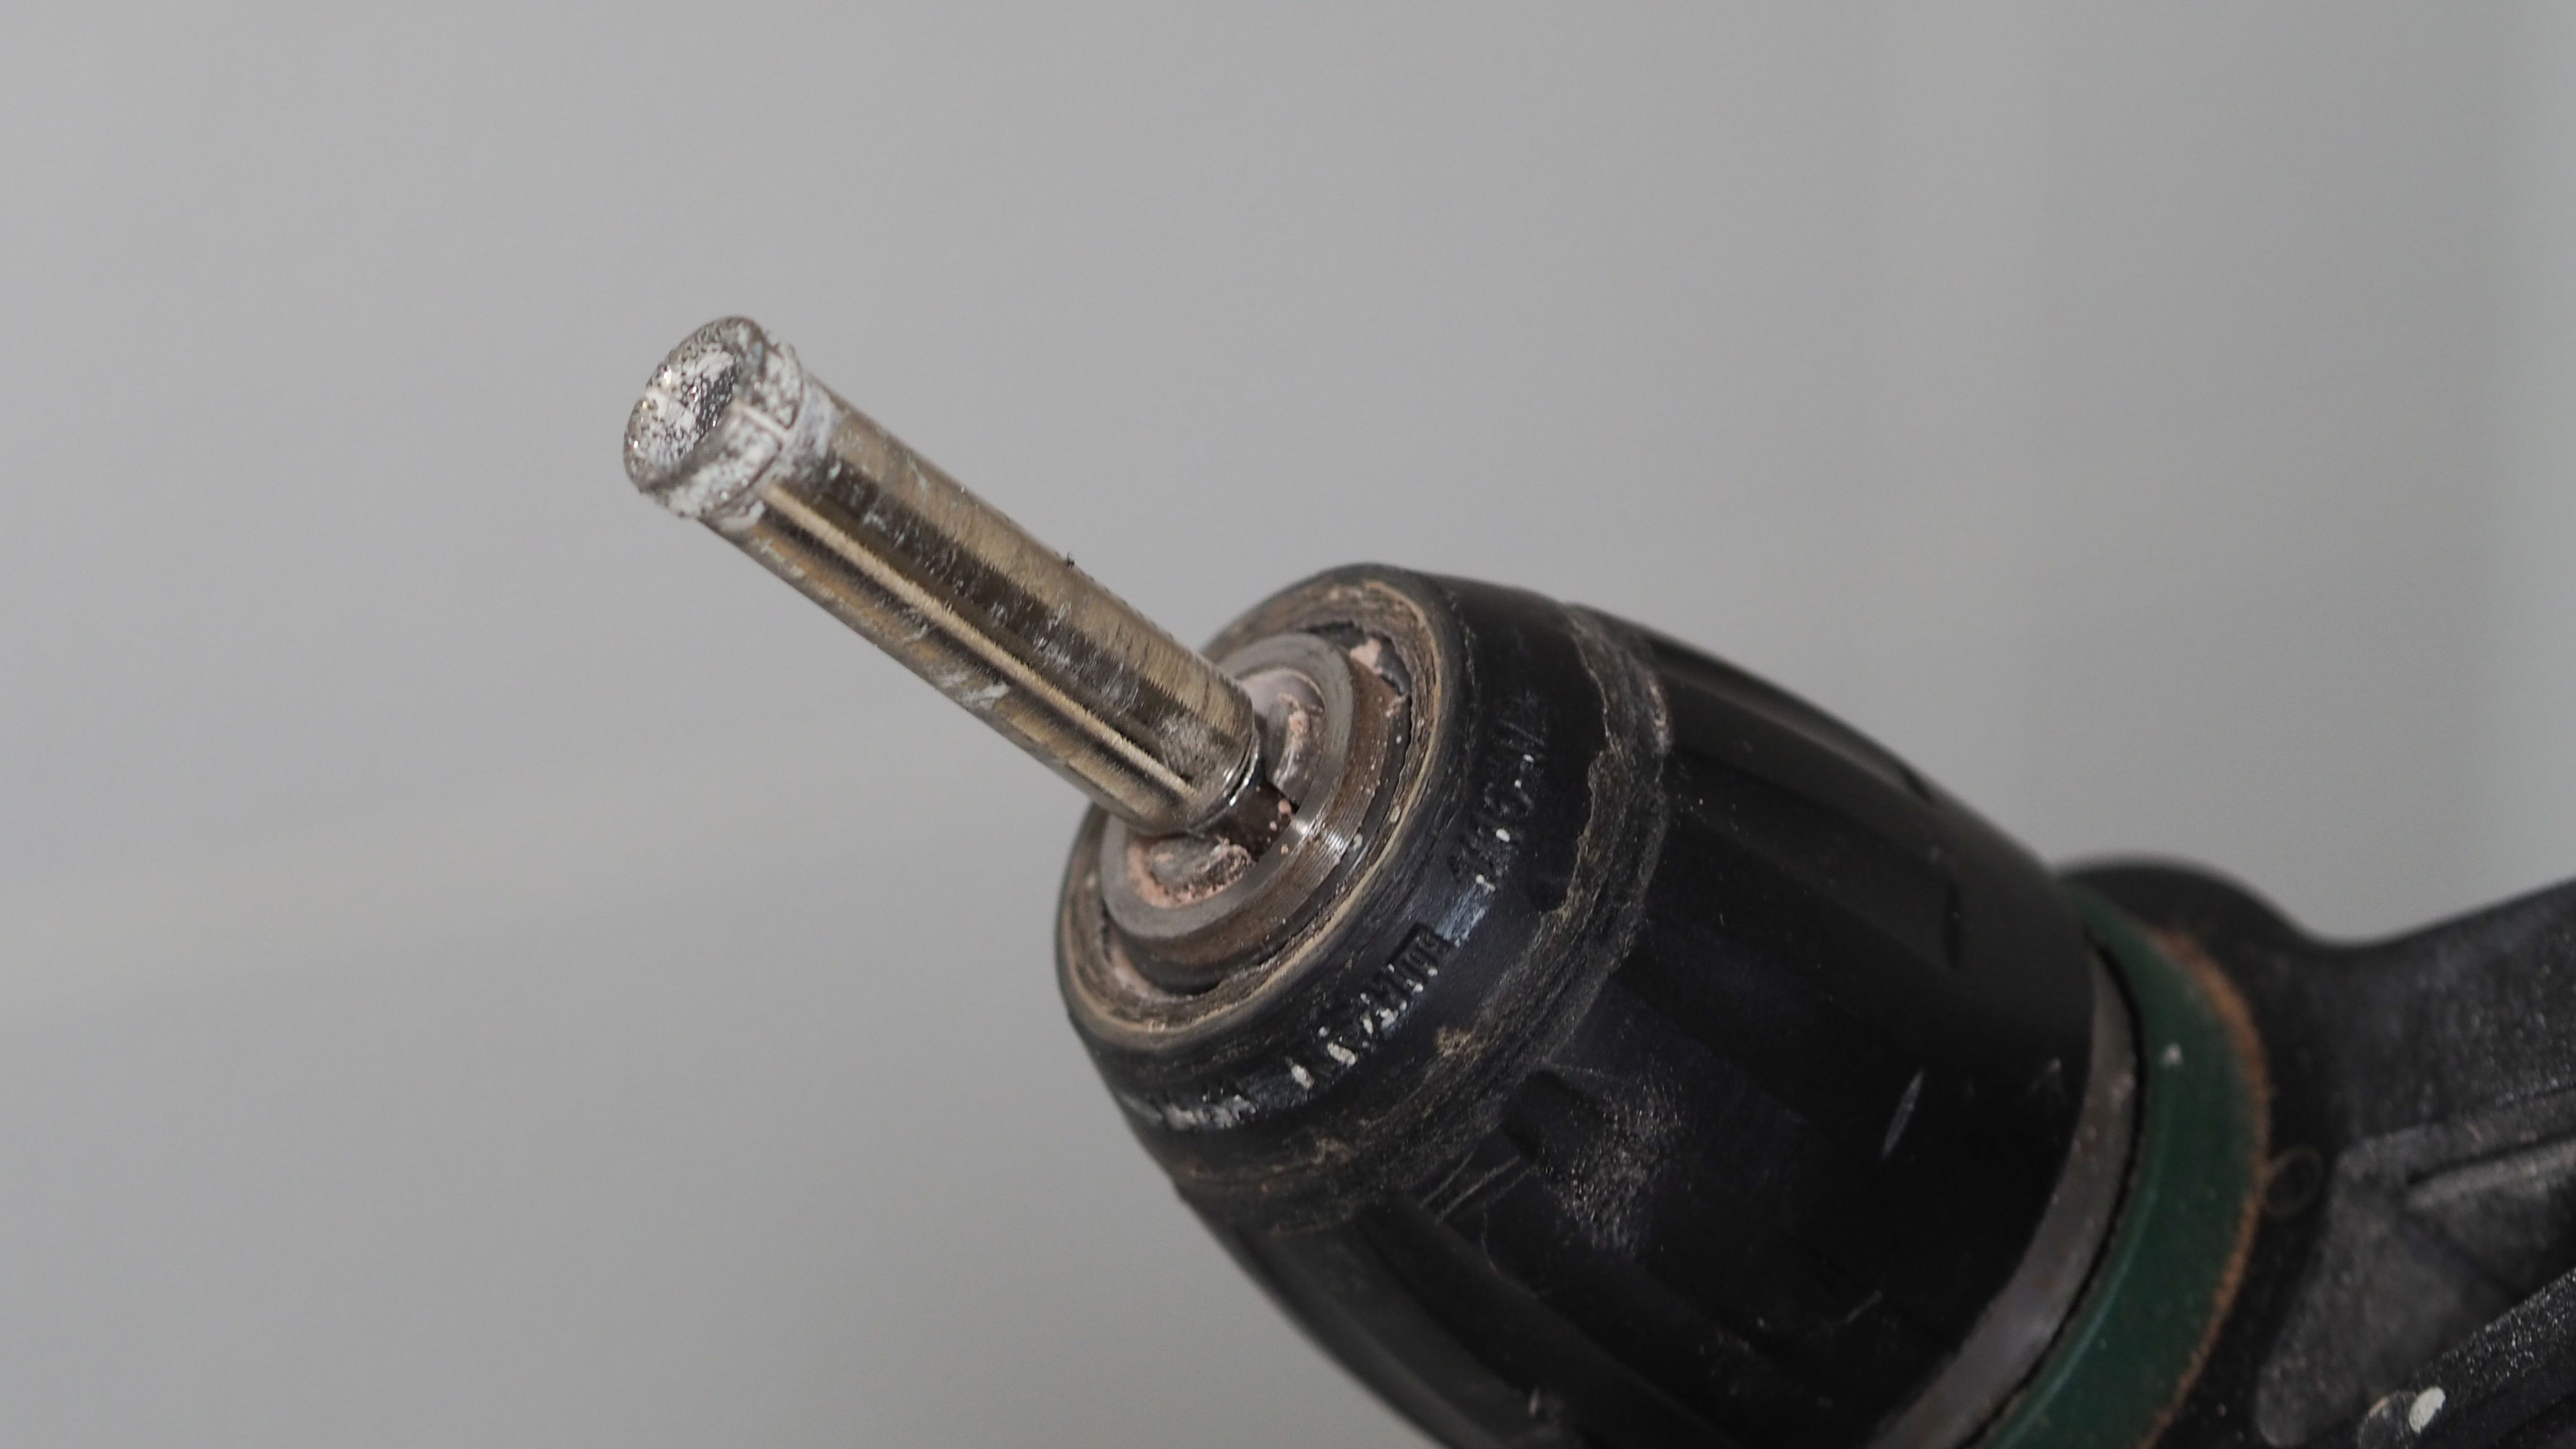
Avoid worn out drill bits that have been well-used for better results. This means that you’ll need to keep an eye on your drill bit while using it too. For the average homeowner drilling into tiles, one drill bit should do your job fine, but professional tilers may have to use multiple drill bits across a job, with a relatively high cost per hole of drilling into tile.
Regardless of the drill bit you use, drilling into tile will require a bit of elbow grease on your part, so be prepared for that.
Can you use a Regular Drill for Drilling Into Tile?
Elbow grease doesn’t necessarily translate into a high-powered drill when drilling into tile. A standard cordless drill might be your best choice for the job in order to avoid cracking the tile.
And should you use the hammer function when drilling into tile? No, never use the hammer function as this is sure to cause cracks. Make sure your drill is set to its standard drill mode.
It’s also possible to use an angle grinder for drilling into tile. It’s possible to purchase specialist drill bits for this purpose, which don’t require water for cooling down the bit. This is often referred to as dry drilling tile.
How to Drill Into Tile
We’re using an example of a diamond tipped drill bit and a porcelain tile for this purpose, but largely the technique is the same for carbide drill bits and ceramic tiles.
1. Measure out Where the Hole Needs to be Drilled
First up, you'll need to measure and mark out where you want to drill the hole. As part of this, it's important to use a wall detector, not only to find out where the studs are (if hanging something on a timber frame wall), but also ensuring there are no cables or pipes behind the wall that you may cause damage to.
2. Get a Catch on the Tile Surface
One of the biggest challenges when drilling into tile is getting a catch on the surface — particularly important when drilling tiles with a glossy surface. Without it, your drill will slip around, both failing to drill a hole and potentially damaging the surface of the tile.
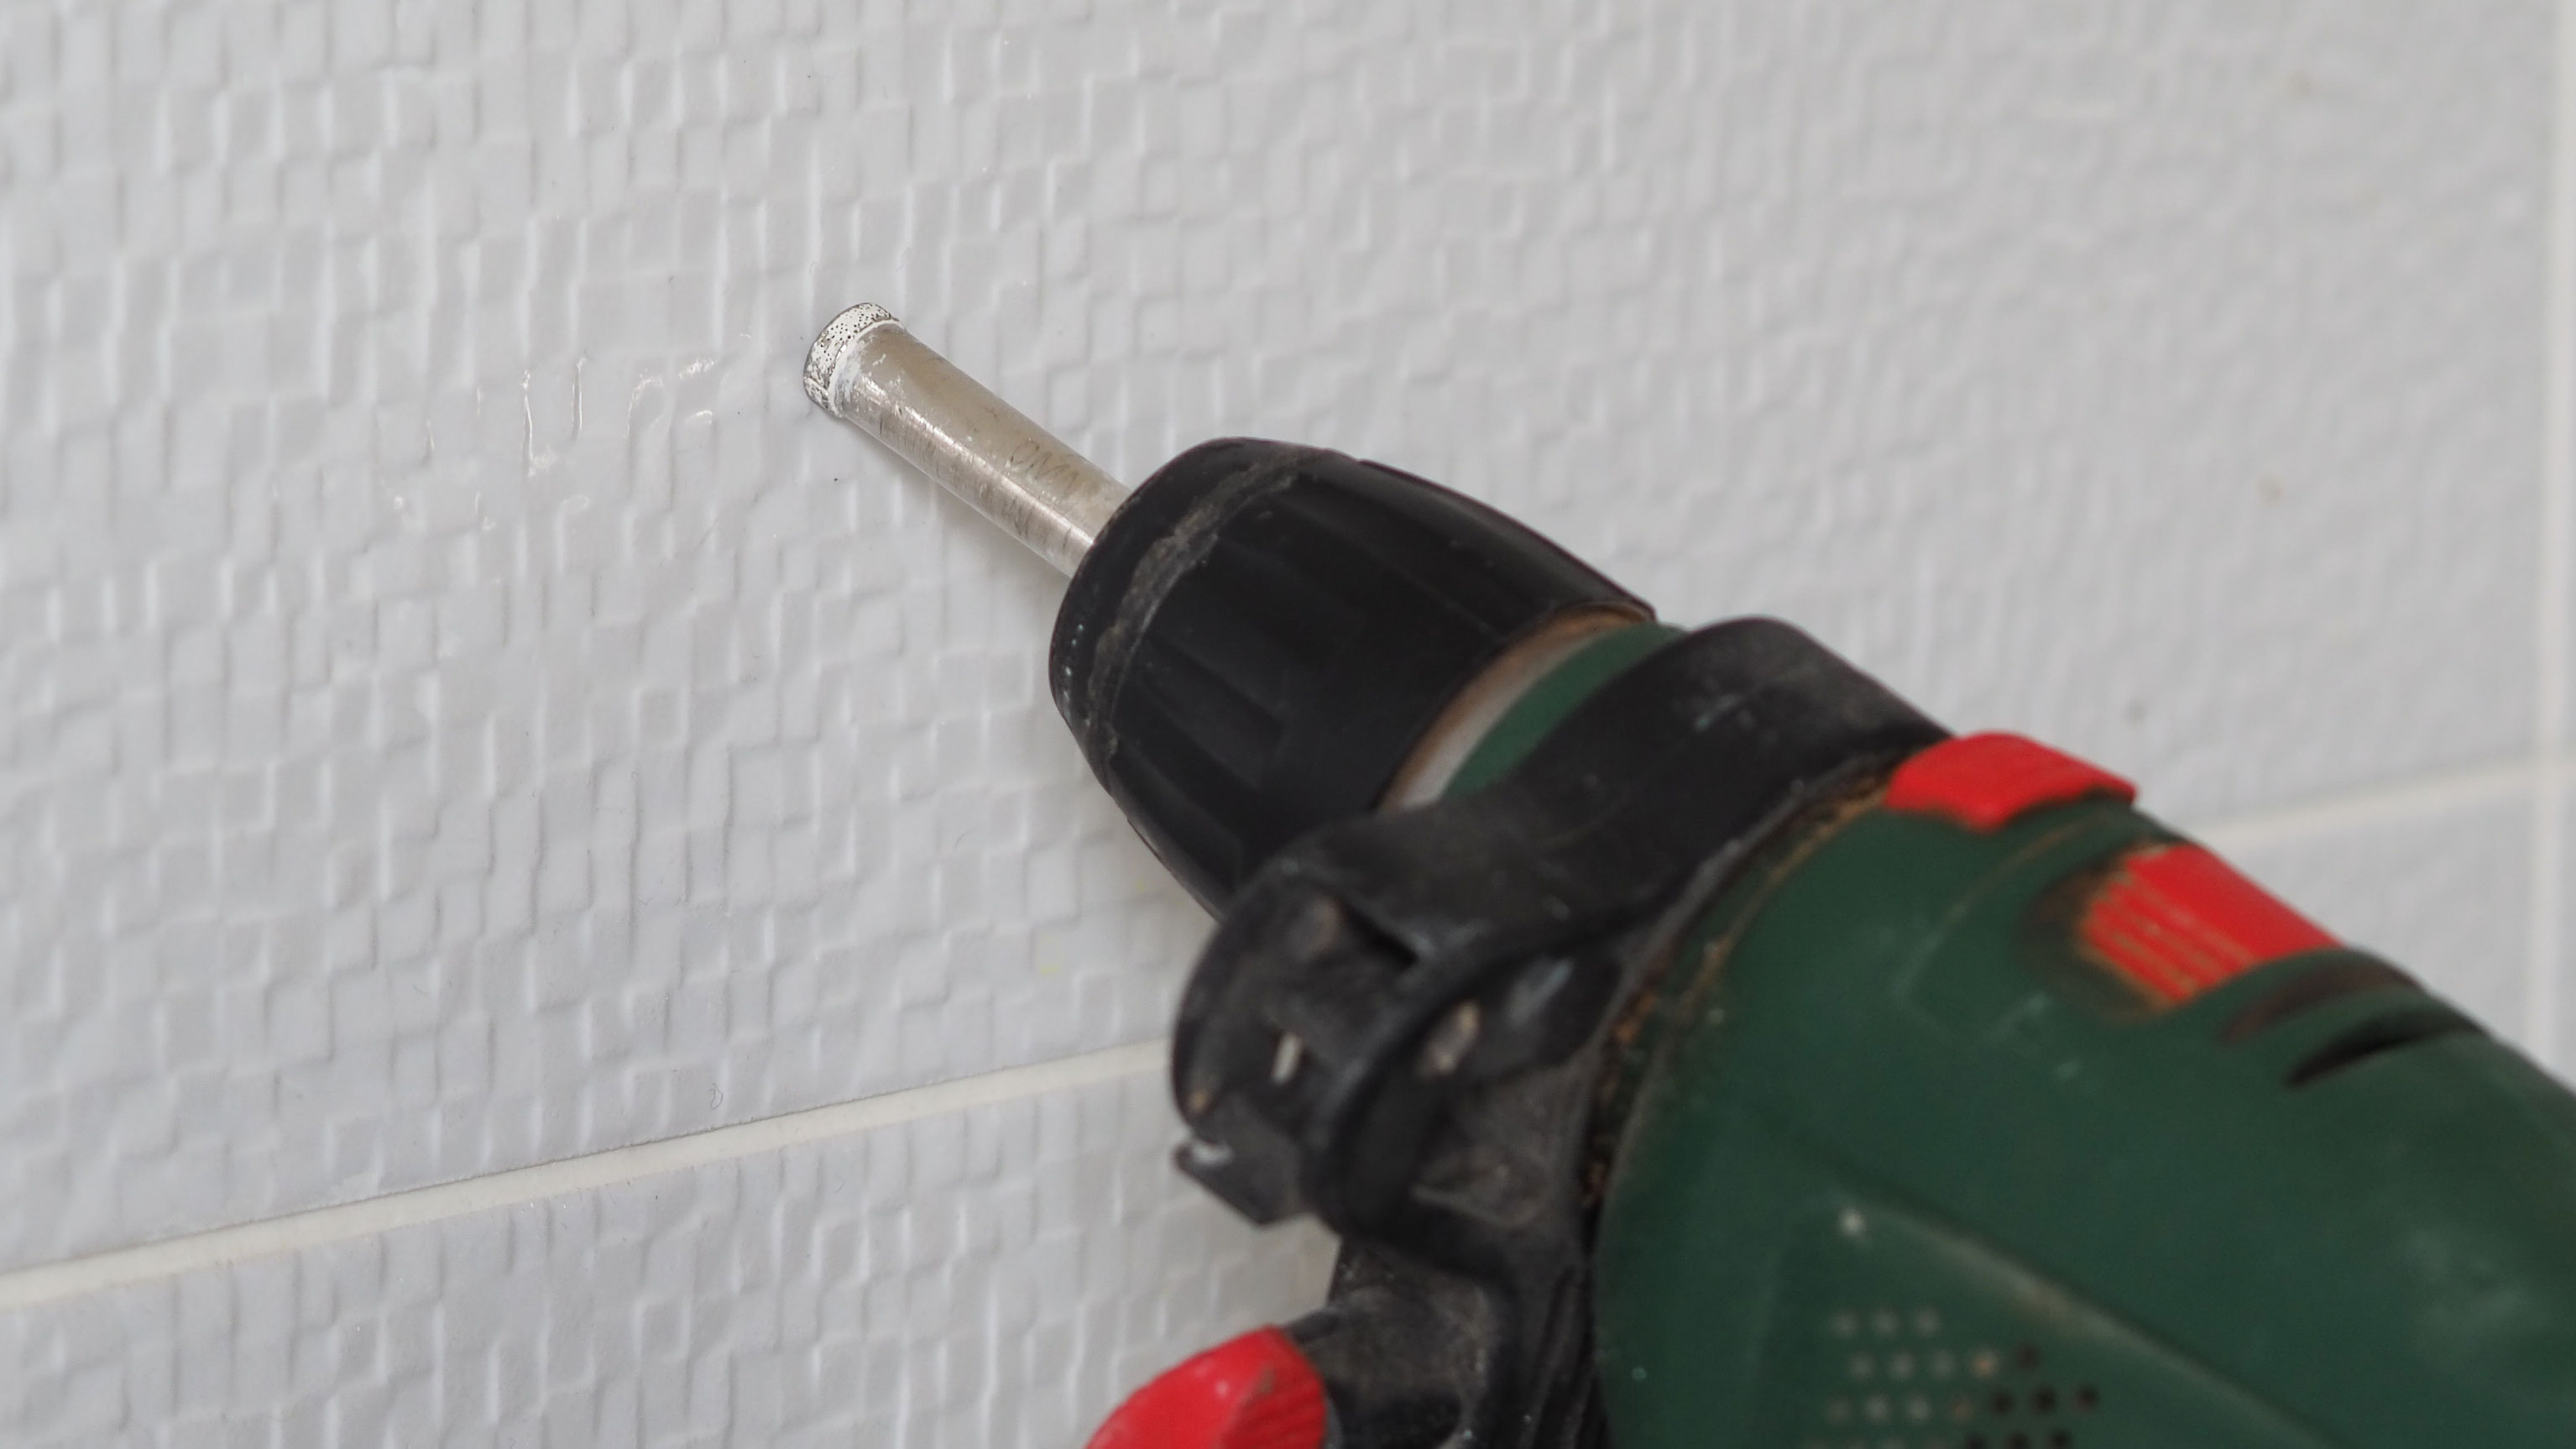
There's a few ways you can improve the initial catch on the tile. Option 1 is to angle the drill so that only one side is on the mark you want to drill. Engage the drill at this angle and it should start to make an indent into the tile, without slipping around. Once the drill has got through the gloss surface of the tile, you can then apply the drill normally and continue.
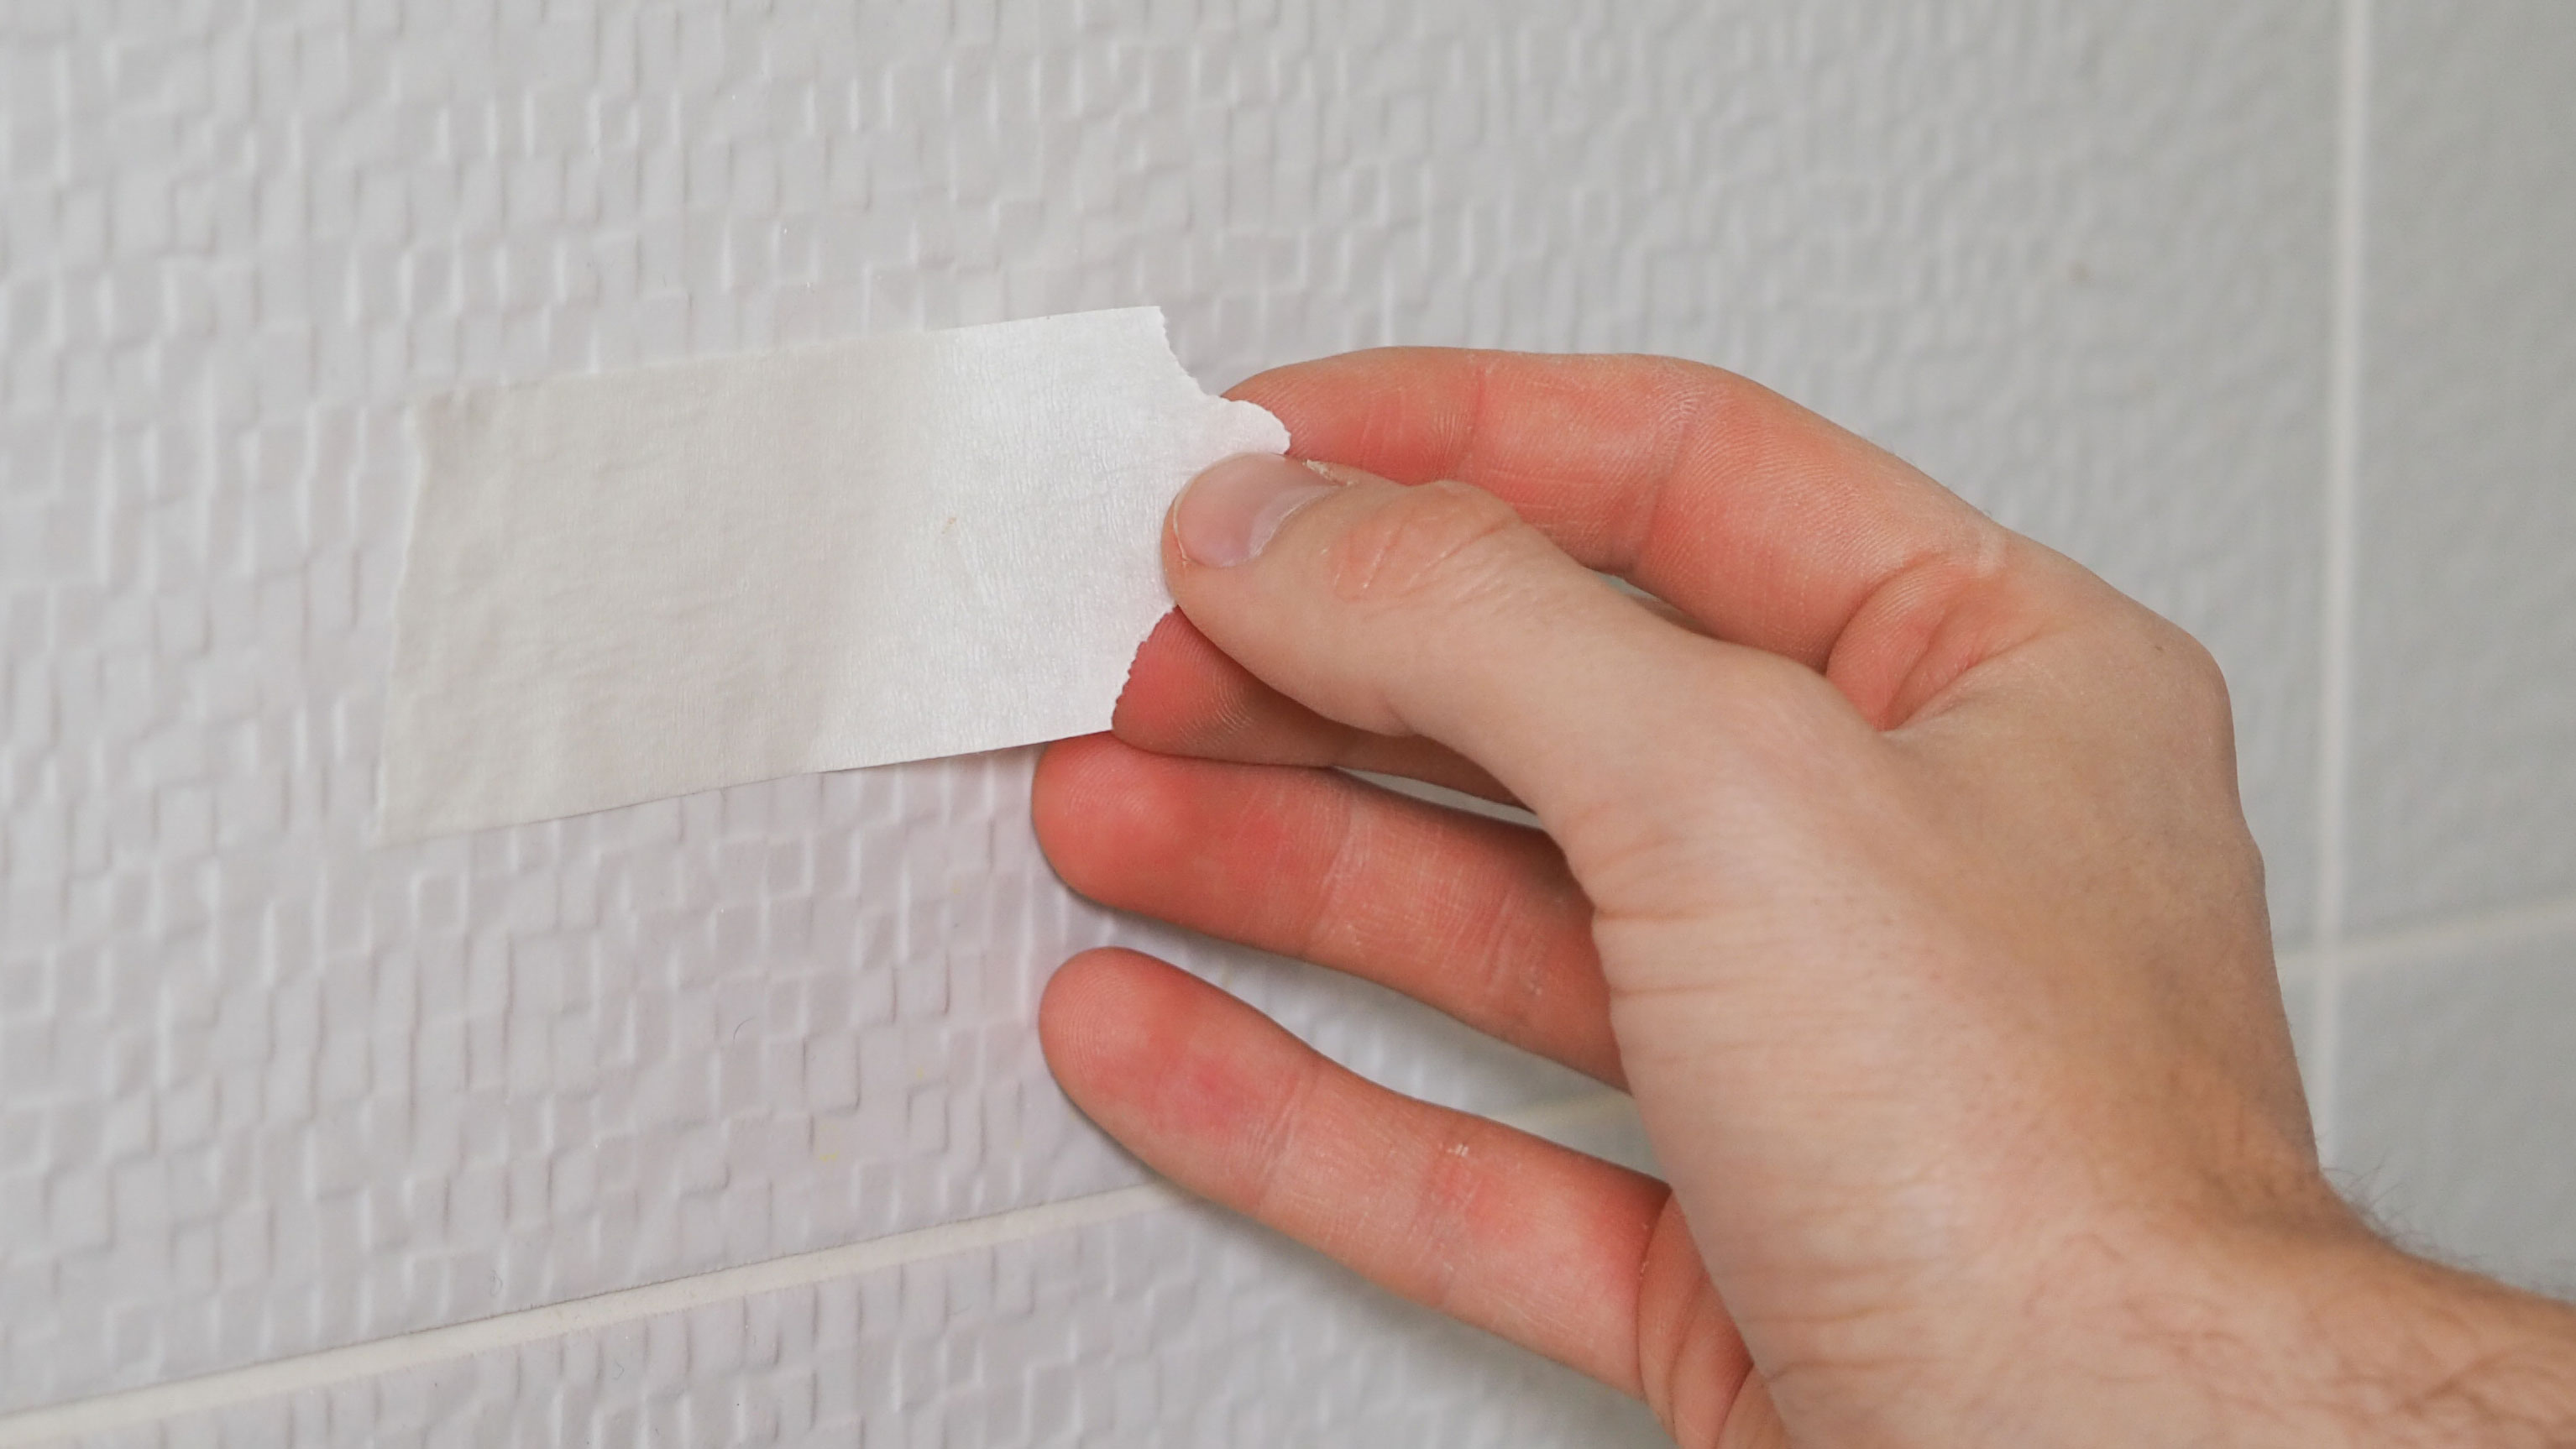
Your second option is to place a piece of masking tape on the tile and drill into that. This will help give you a better surface to grip into with your drill bit to start off.
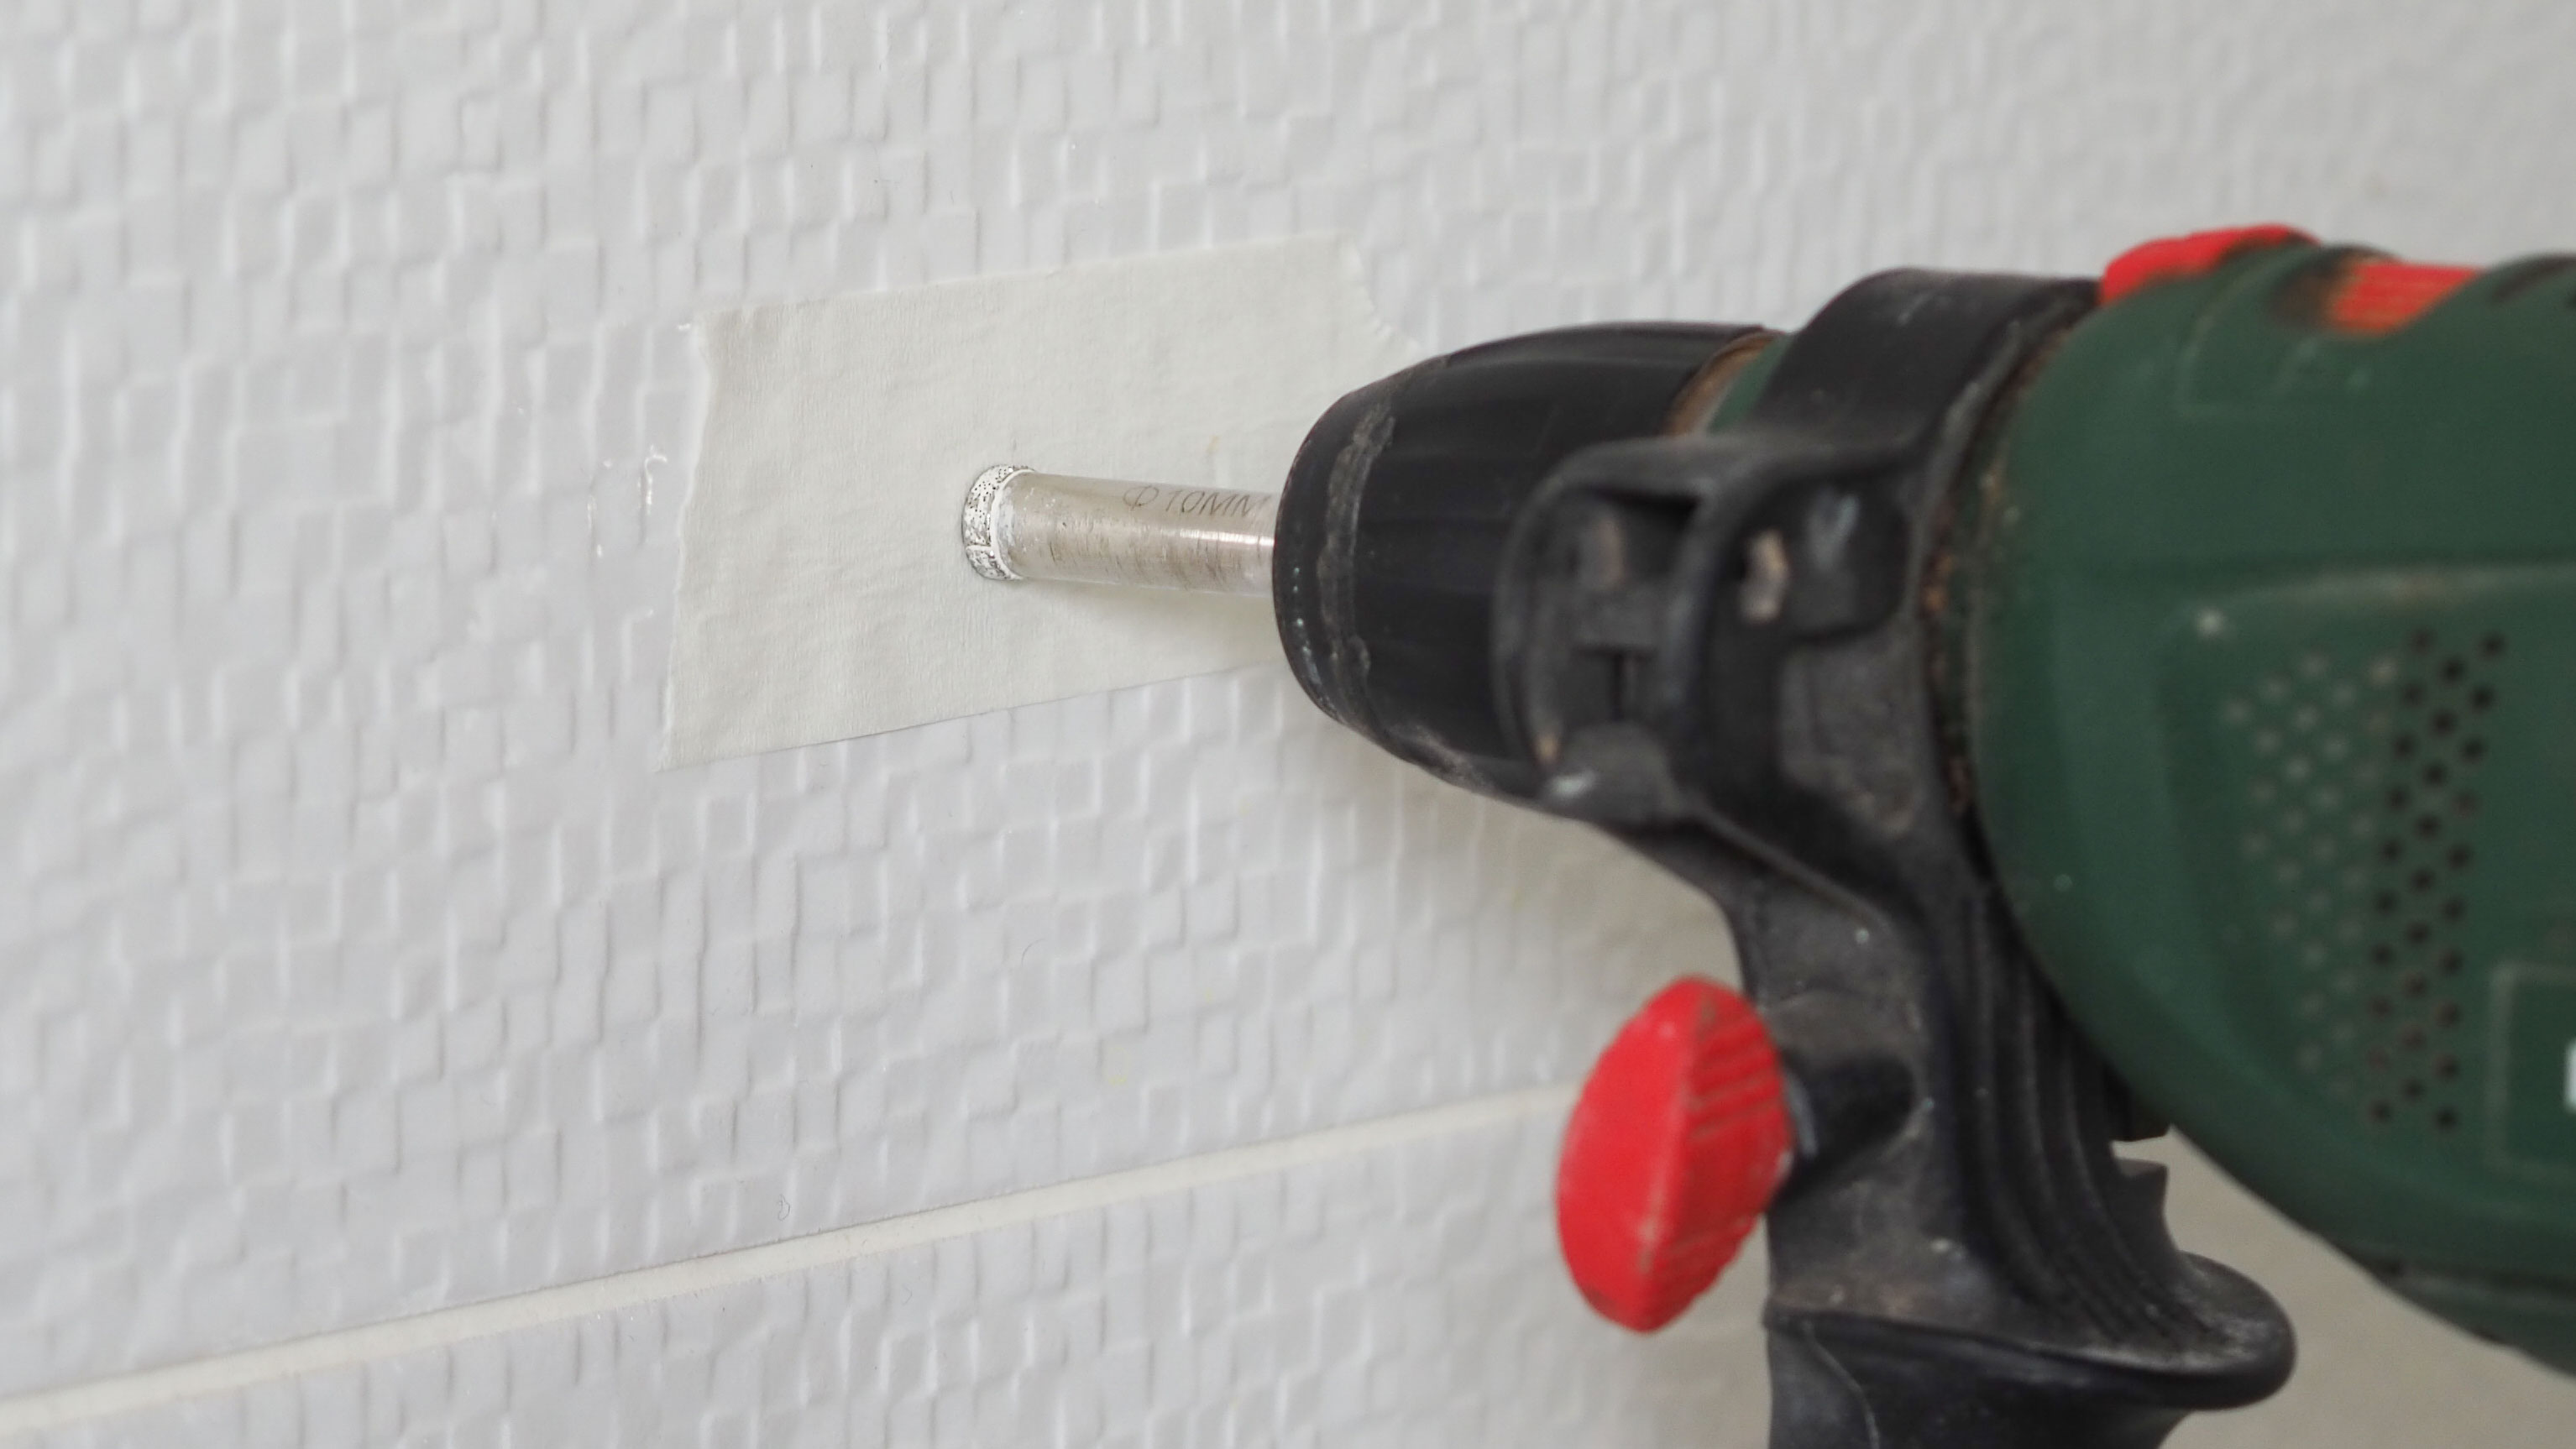
You can also buy drill bit guides for tiles that give you an easy and efficient way to stop your drill bit from slipping when drilling into tiles.
3. Cool the Drill bit as you Drill
Once you're ready to drill through the tile, you'll need to have a way to cool down the drill bit. This is because the tile surface is very hard, and drilling into it will heat up the drill bit, which can cause both your drill to overheat and the bit to not drill any further.
For professionals drilling lots of holes into tiles, there are cooling systems designed for this, however, handily for DIYers, all you really need is a wet sponge. Simply hold above and squeeze water slowly onto the bit while drilling, or you can hold the sponge directly against the drill bit, whichever you prefer.

4. Change the Drill bit When You're Through the Tile
Once you've drilled through the tile itself, you'll want to change the drill bit for whatever the wall behind the tiles is. Whether it's a brick wall or timber joists, choose a drill bit accordingly.
How do I Drill Larger Holes into Tiles?
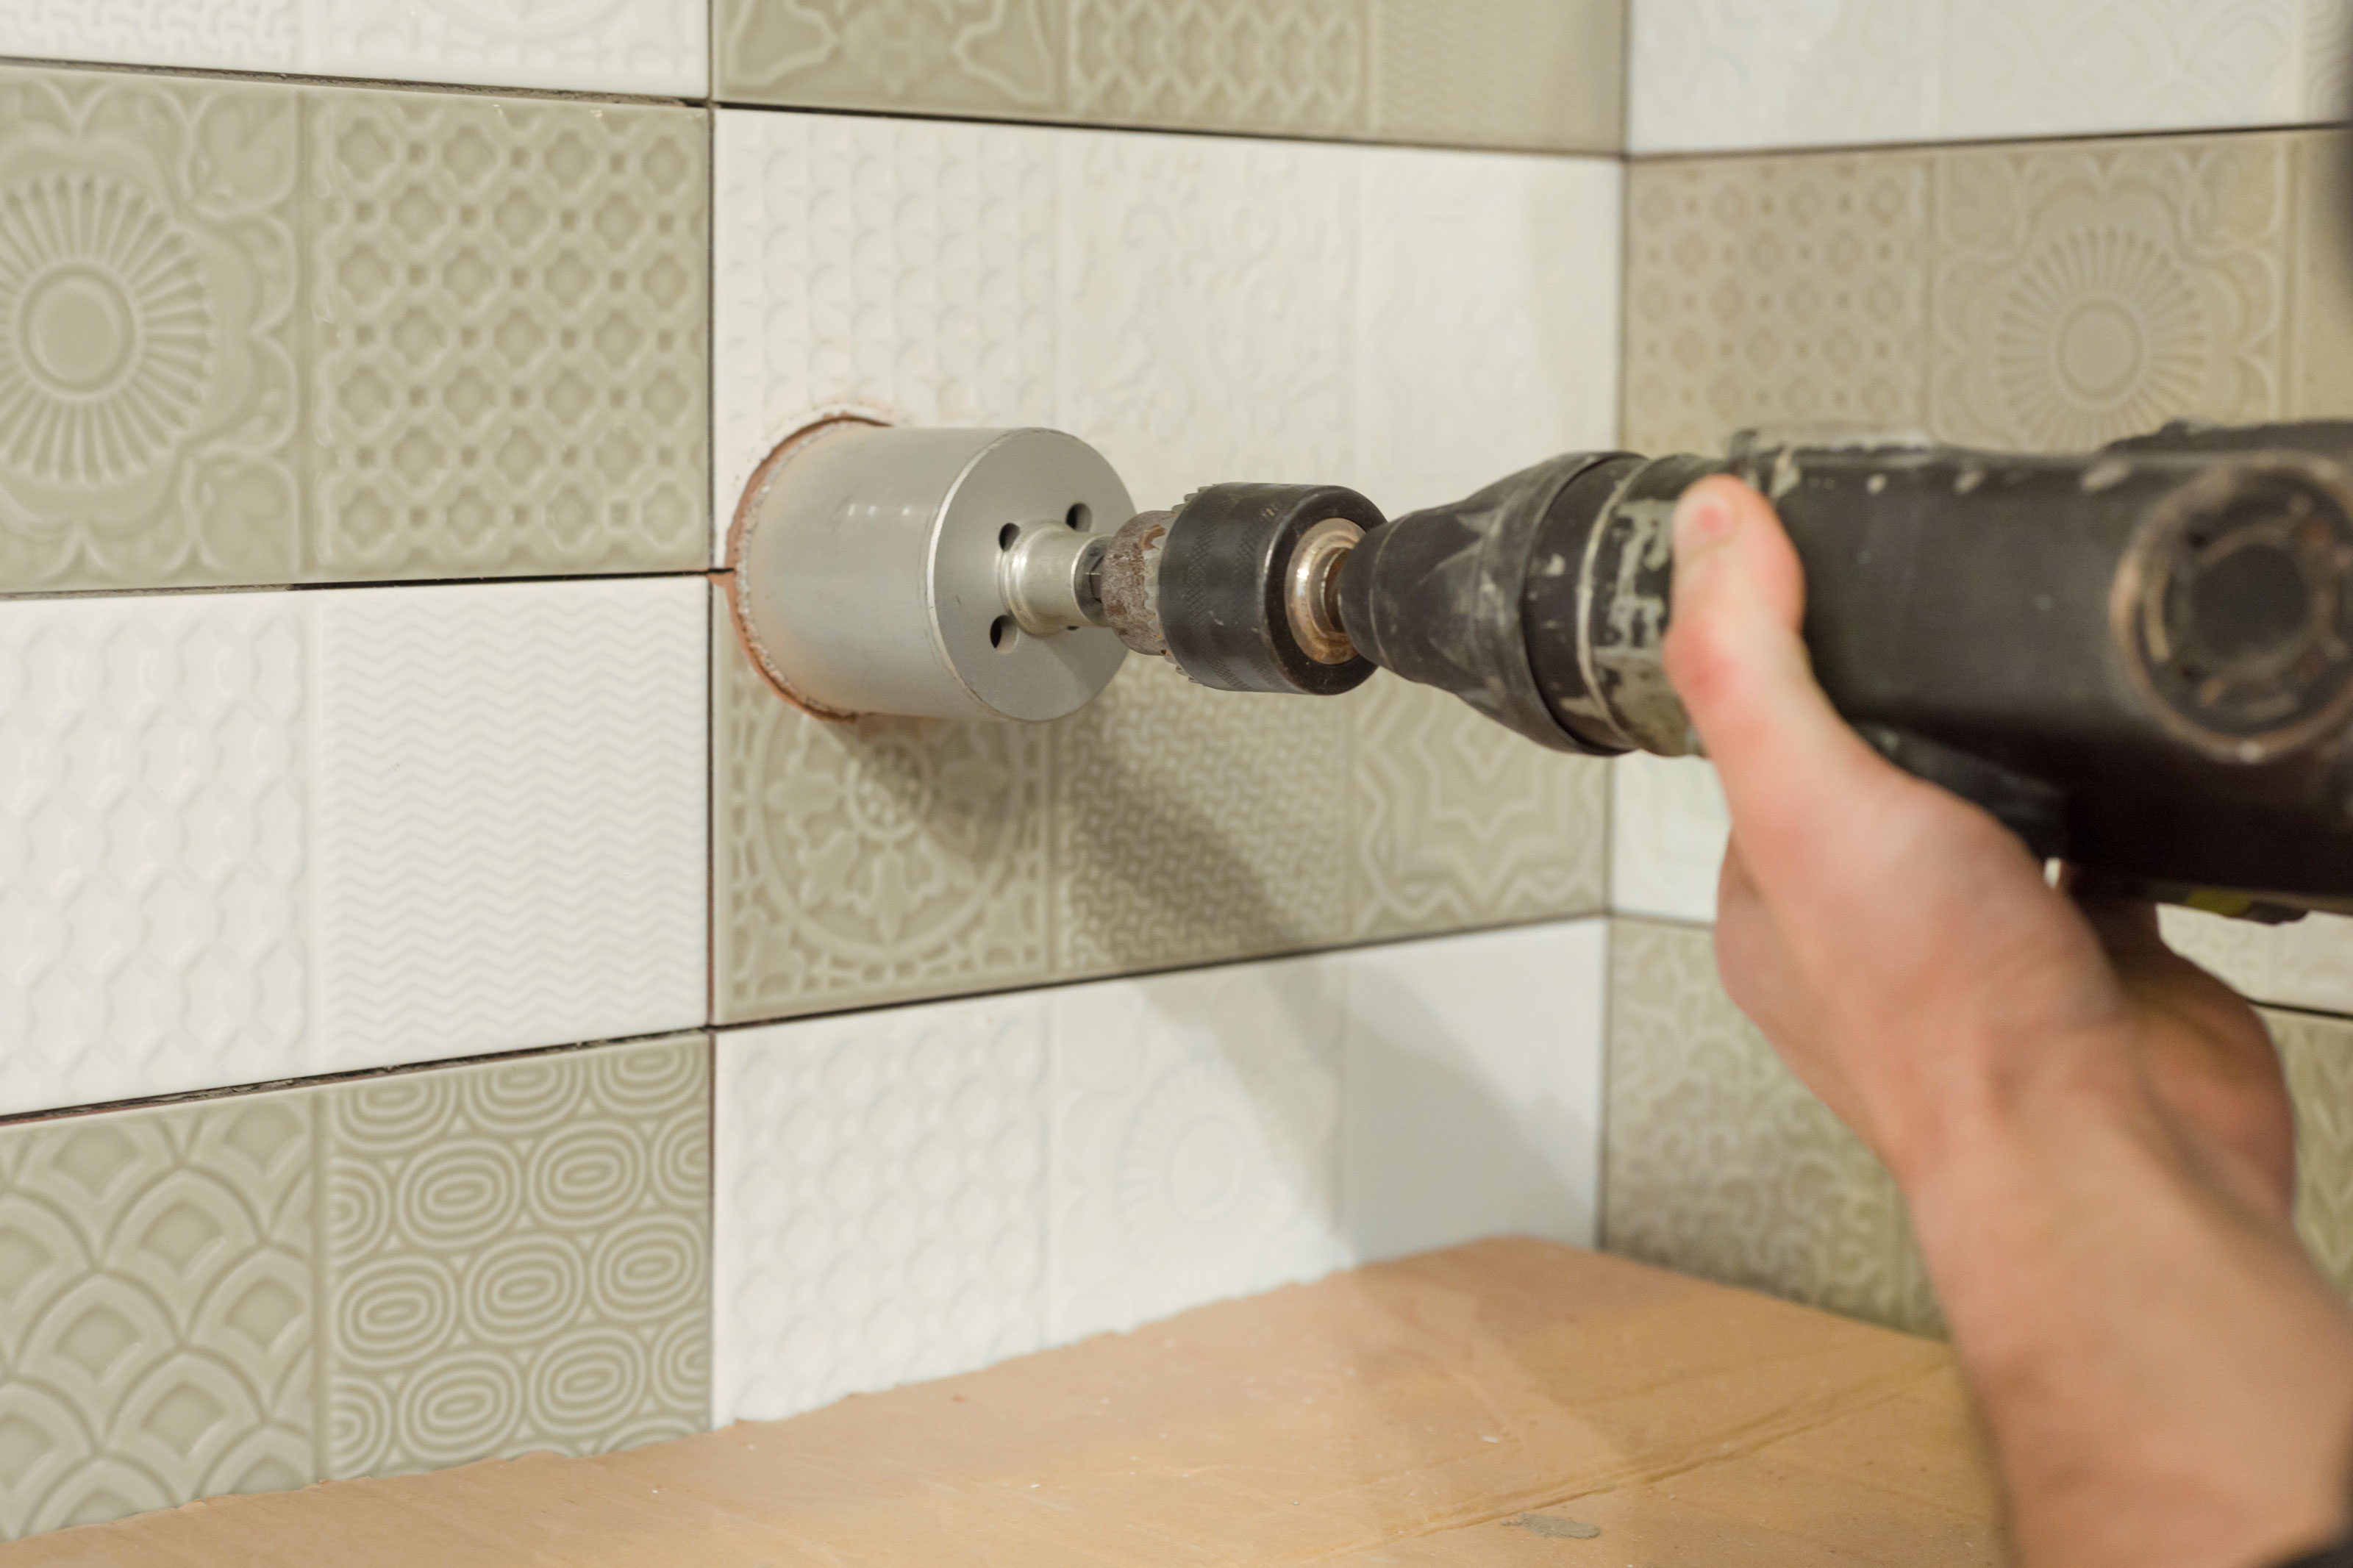
There are several methods making larger holes in tiles, from drilling with a diamond tipped hole saw, to cutting a hole with an angle grinder fitted with an appropriate blade.
A diamond hole saw is likely to be the most efficient method for cutting holes for pipes, and is used in the same way as smaller diamond drill bits.
Get the Homebuilding & Renovating Newsletter
Bring your dream home to life with expert advice, how to guides and design inspiration. Sign up for our newsletter and get two free tickets to a Homebuilding & Renovating Show near you.
Luke Arthur Wells is an award-winning interiors blogger and stylist. His blog has been one of Vuelio's top 10 interior blogs for four years running, and he recently won the Best Creative Skill category at the Amara Interior Blog Awards. Luke has worked with some of the UK's biggest brands, from John Lewis and Made to Farrow & Ball and B&Q. He's a big DIYer, and loves coming up with creative woodwork projects for his home, a Victorian terrace renovation in Essex.

