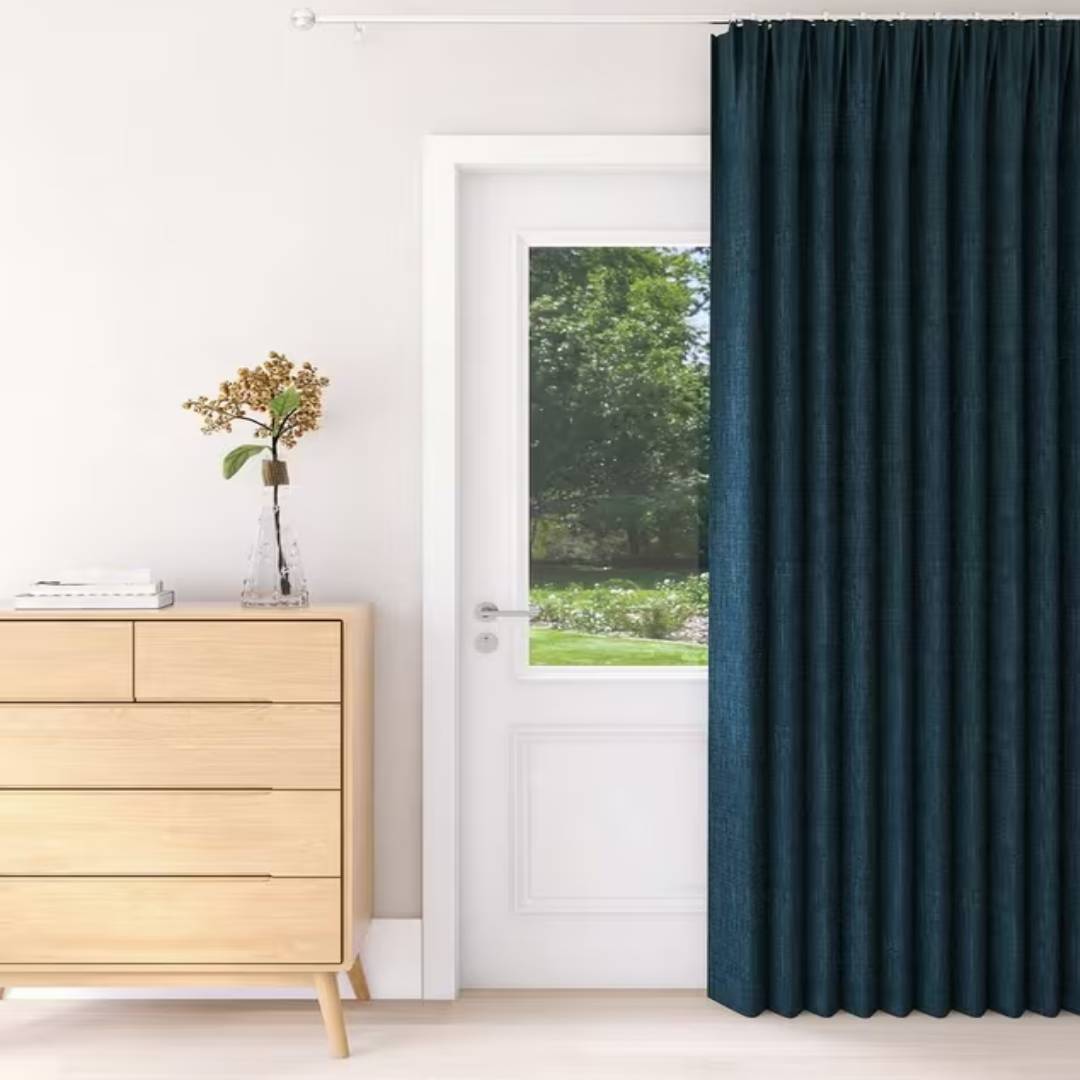
9 cheap and easy DIY methods for draught proofing windows
Draught proofing windows is an essential job when the temperature drops. Here are the 9 best ways of doing it yourself

Draught proofing windows is not a job to ignore if you want your house to feel warm and toasty now that the temperature is dropping. But it's not just your comfort levels that will improve by carrying out this task – your bank balance will see the difference too.
Draught proofing around windows and doors could save you around £40 a year, according to the Energy Saving Trust, a figure they base on a typical gas-fuelled semi-detached property in England, Scotland or Wales.
And although you really need to take a whole house approach to draught proofing your home to see the maximum benefits, your windows are a very good place to start – and a job you can easily tackle yourself.
Here, we give you the 9 best ways to keep cold winds out, and the heat you're paying for safely inside your home.
When to call in professional help for draught proofing windows
While there are several approaches you can take to draught proof your windows yourself, if you have more of a serious problem such as broken or faulty windows or old single glazed wooden windows, you may need to consider calling in the professionals.
Making a long term investment into double glazing costs or even triple glazing may seem expensive now, but can reap rewards in the long run.
But, if it's more a case of ensuring your windows are as draught free as possible, there are a number of inexpensive ways of maximising the performance of your windows. By employing even just one of these draught proofing techniques you should notice a marked difference in how warm your home feels, helping to make sure it doesn't fall below the recommended minimum house temperature and making the overall ambient temperature more comfortable.
Looking for maximum improvements? Combine a couple of the methods to feel even more of a difference.
DIY methods for draught proofing windows
1. Buy self-adhesive draught strips to apply yourself
One of the best-known and most commonly used methods for draught proofing windows is to attach weather seals or weather stripping between the windows and their frames and this is most certainly a technique worth considering when looking at how to insulate your house.
This is a speedy and effective technique, but the best part is how inexpensive it is too – self-adhesive rolls of draught seal can be picked up for as little as around £3 per roll. Many are sold rolls ready to be cut to length to suit your windows and come in different colours to suit your window style.
When choosing and applying weather strips like this, it is important to make sure the strip is the correct size for your window – too big and it will get squashed and prevent your windows from shutting, too small and there will still be gaps for draughts to find their way through.
You'll also need to make sure your windows are prepped prior to installing any type of draught excluder. Homebuilding's DIY expert, Steve Jenkins offers the following advice.
"Self adhesive draught strips are a quick, easy and cost effective way to stop draughts around doors and windows," agrees Steve, "but before you add them you need to make sure that the surface is clean and free of dirt and dust.
"For uPVC windows use washing up liquid, warm water and a kitchen sponge, and if needed, use the scouring pad on the sponge to get the surface clean. Then wipe dry and leave for ten minutes to air dry. Alternatively you can use a sugar soap solution to get rid of grease and grime.
The same principle applies to wooden windows and doors says Steve with the following words of caution.
"However, if there is loose paint on the frames you need to get rid of this. Scrape, sand and repaint, make sure to leave for at least 48 hours before applying any strips.
"One quick tip when it comes to application is to draw a faint pencil line – using the edge of the window/door as a guide – onto the frame where the strip is to go" suggests Steve. "This way, when you open the door or window you know where to apply the strips for a good fit.
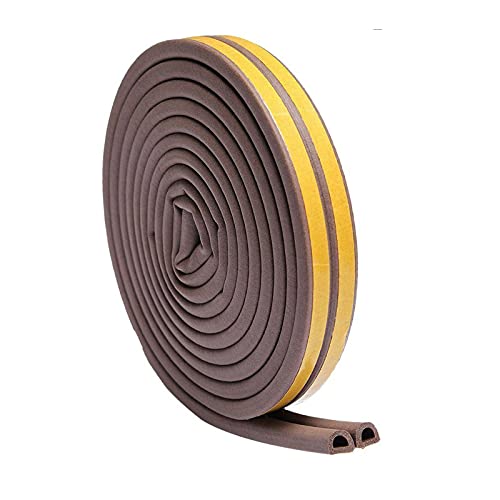
This self-adhesive draught excluder strip costs just £3.89 per roll and can be used on doors and windows. It is also available in white.

Steve is Homebuilding's resident DIY expert with over 20 years of experience in transforming and renovating homes. He specialises in painting and decorating, but has a wide range of skills gleaned from working in the building trade.
2. Use brush seals or wiper strips instead
Brush seals, spring metal and v-strips are all great alternatives to self-adhesive foam weather seals – usually costing just a few pounds more.
Brush seals differ from foam weather seals in that they are usually sold in two parts. They often consist of a a self-adhesive 'pile carrier', which is a rebated plastic or metal strip that is designed to be fixed to the window frame. The second part is a fluffy brush or 'pile' strip that is fixed to the window and this slots into the carrier when the window is closed to prevent draughts.
Like draught seals, this type of product may well need replacing after a few years, depending on wear and tear. Wiper strips, as the name suggests, work in a similar way but feature a rubber 'wiper' in place of the brush.
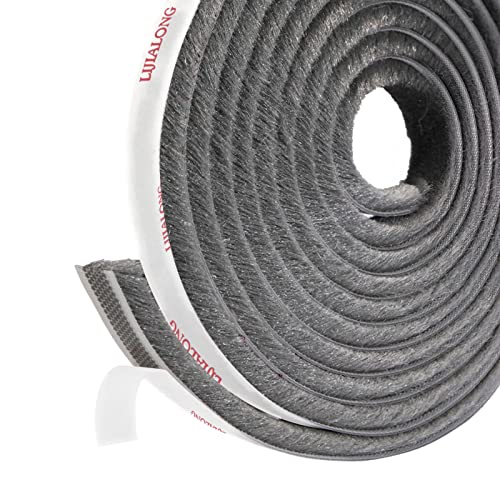
This brush strip can be used for the dual purpose of insulating doors and windows and comes in grey, black, brown or white
3. Caulk or silicone is ideal for sealing gaps
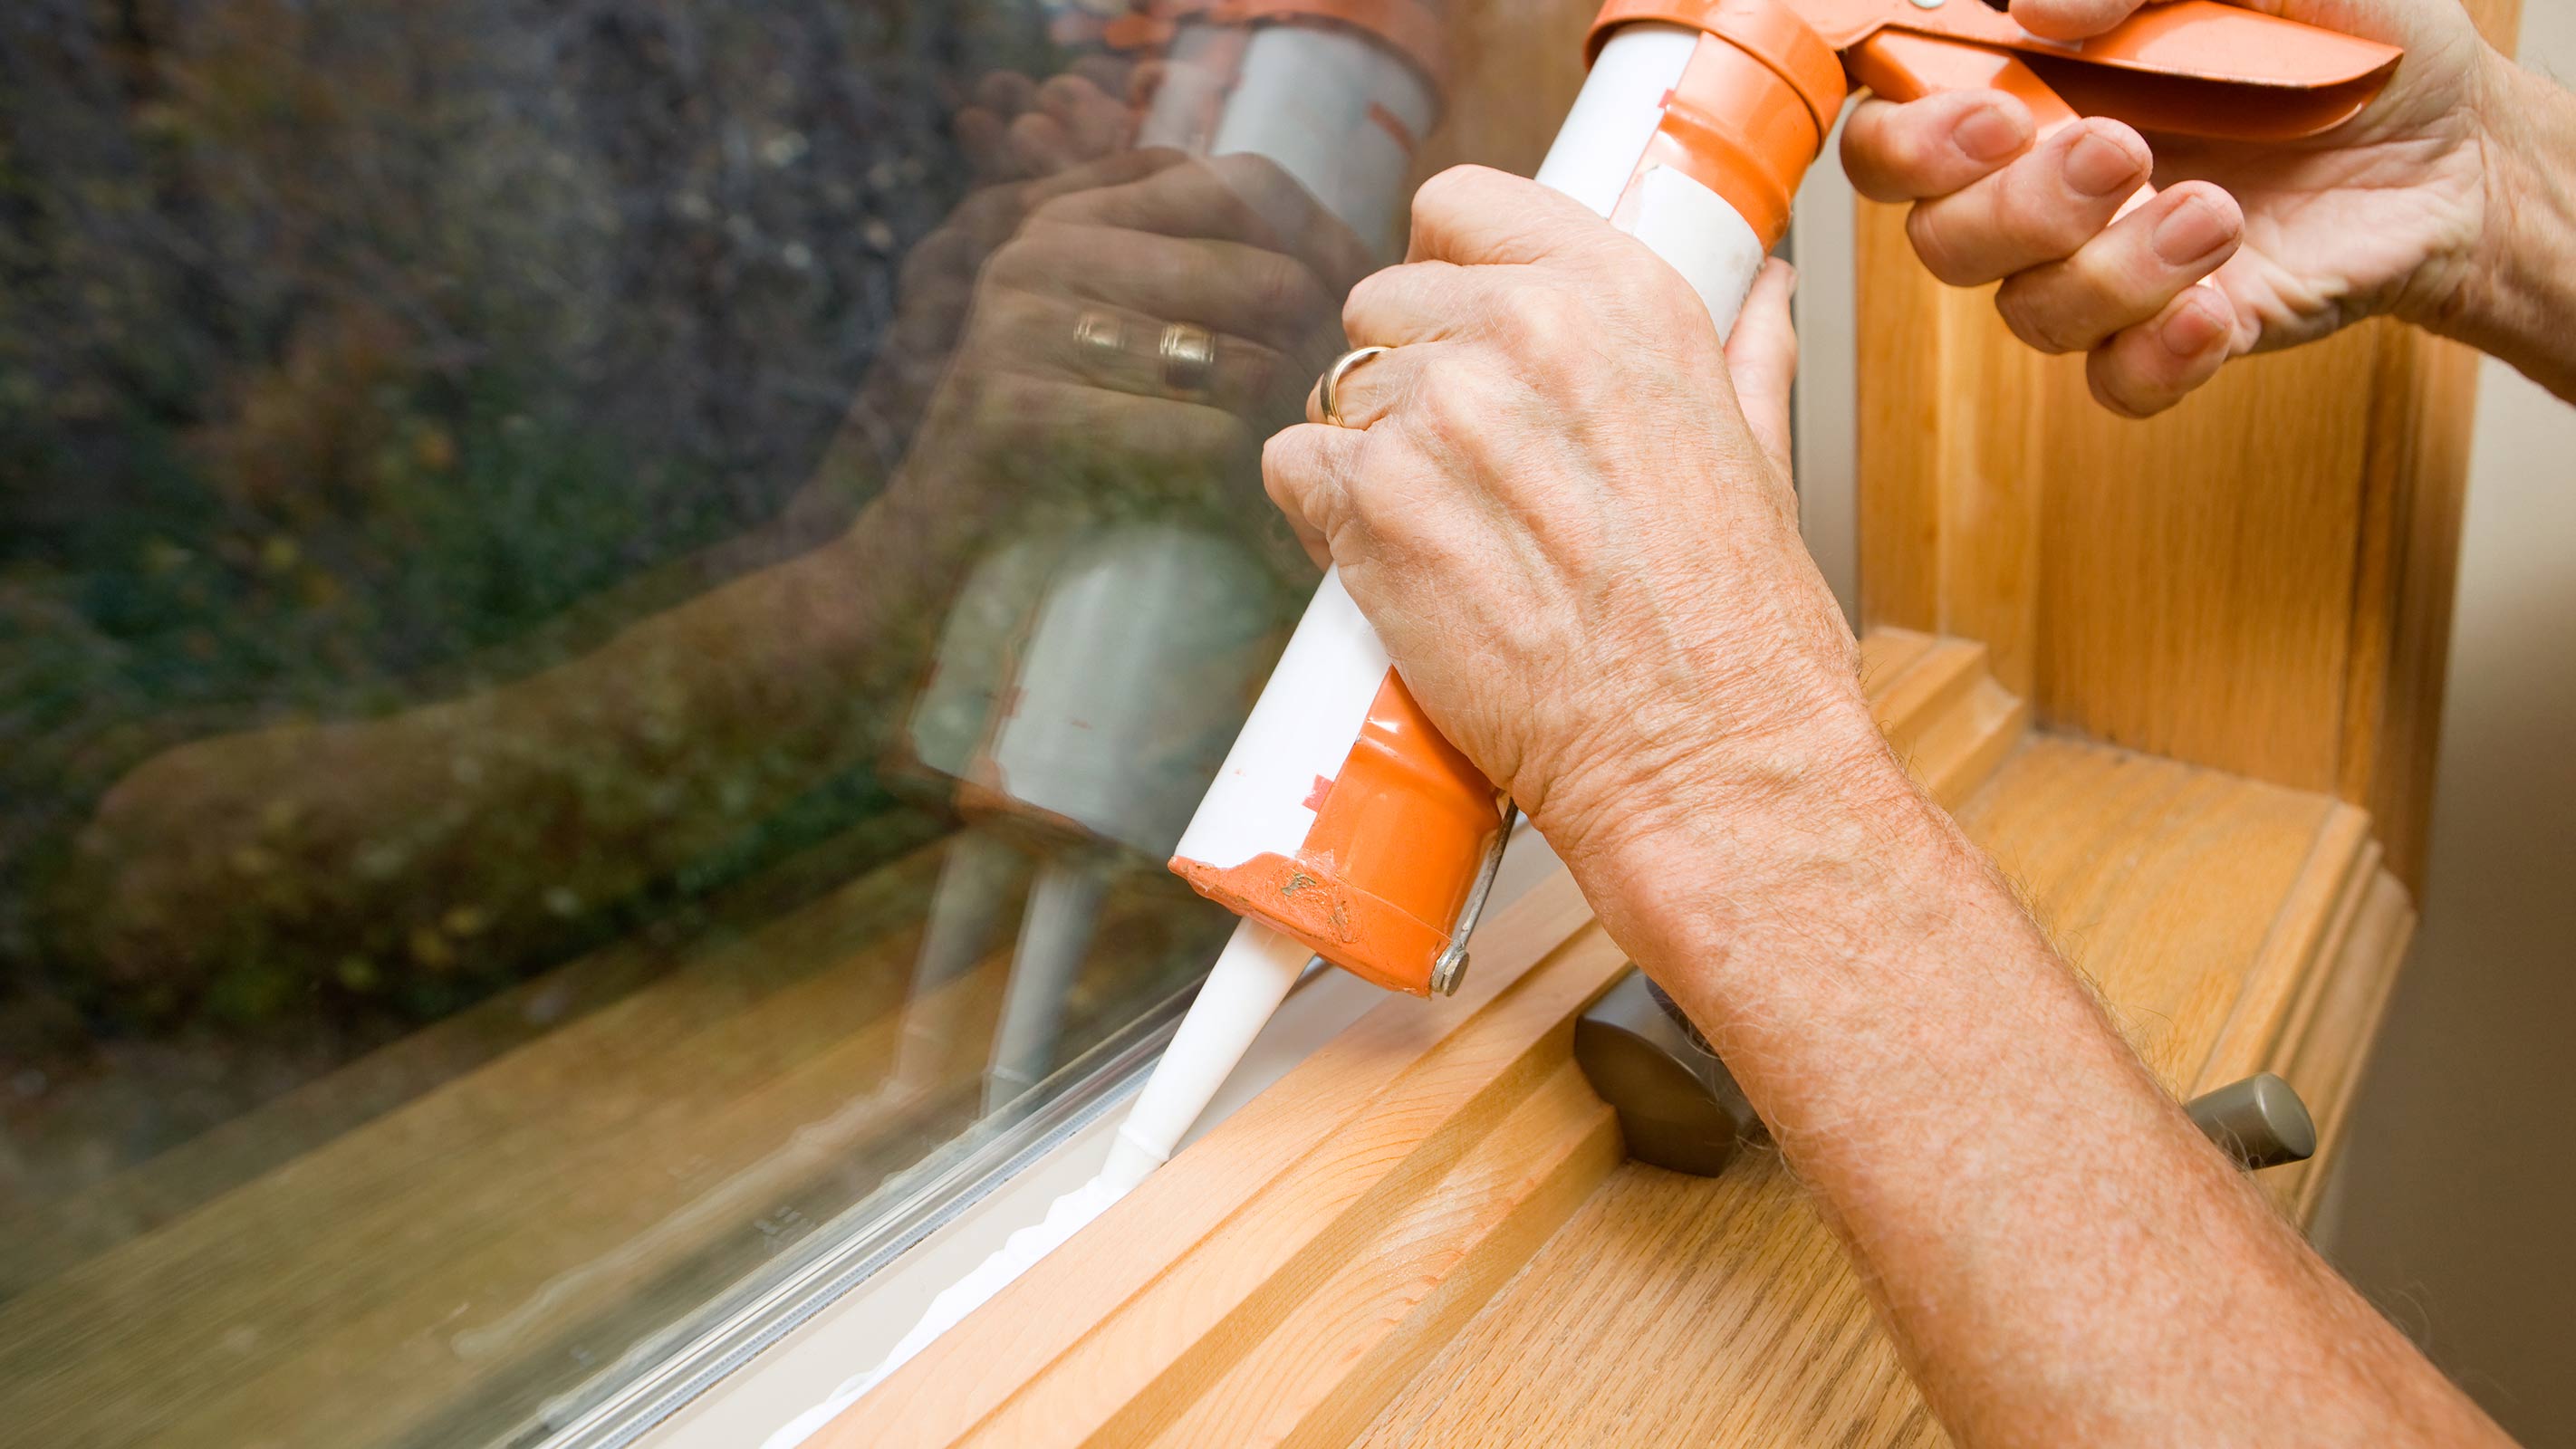
Caulk is useful for many DIY jobs around the home – draught proofing included.
When caulking windows, use a silicone gun to apply it to any gaps you might find between the window frame and wall, along with the joins in and around the frame.
If you don't mind your windows being fixed shut (obviously this won't be an option if the window in question is required as a fire escape), then you might also like to consider sealing them up with silicone sealant.
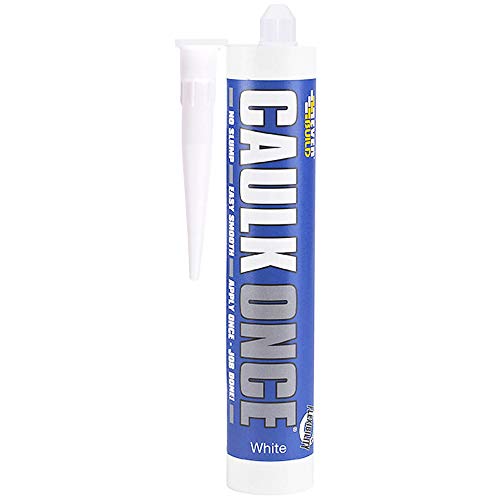
This white caulk is best applied using a silicone gun and can help to seal up draughty spots around your window frames
4. Attach insulating window film to the glass
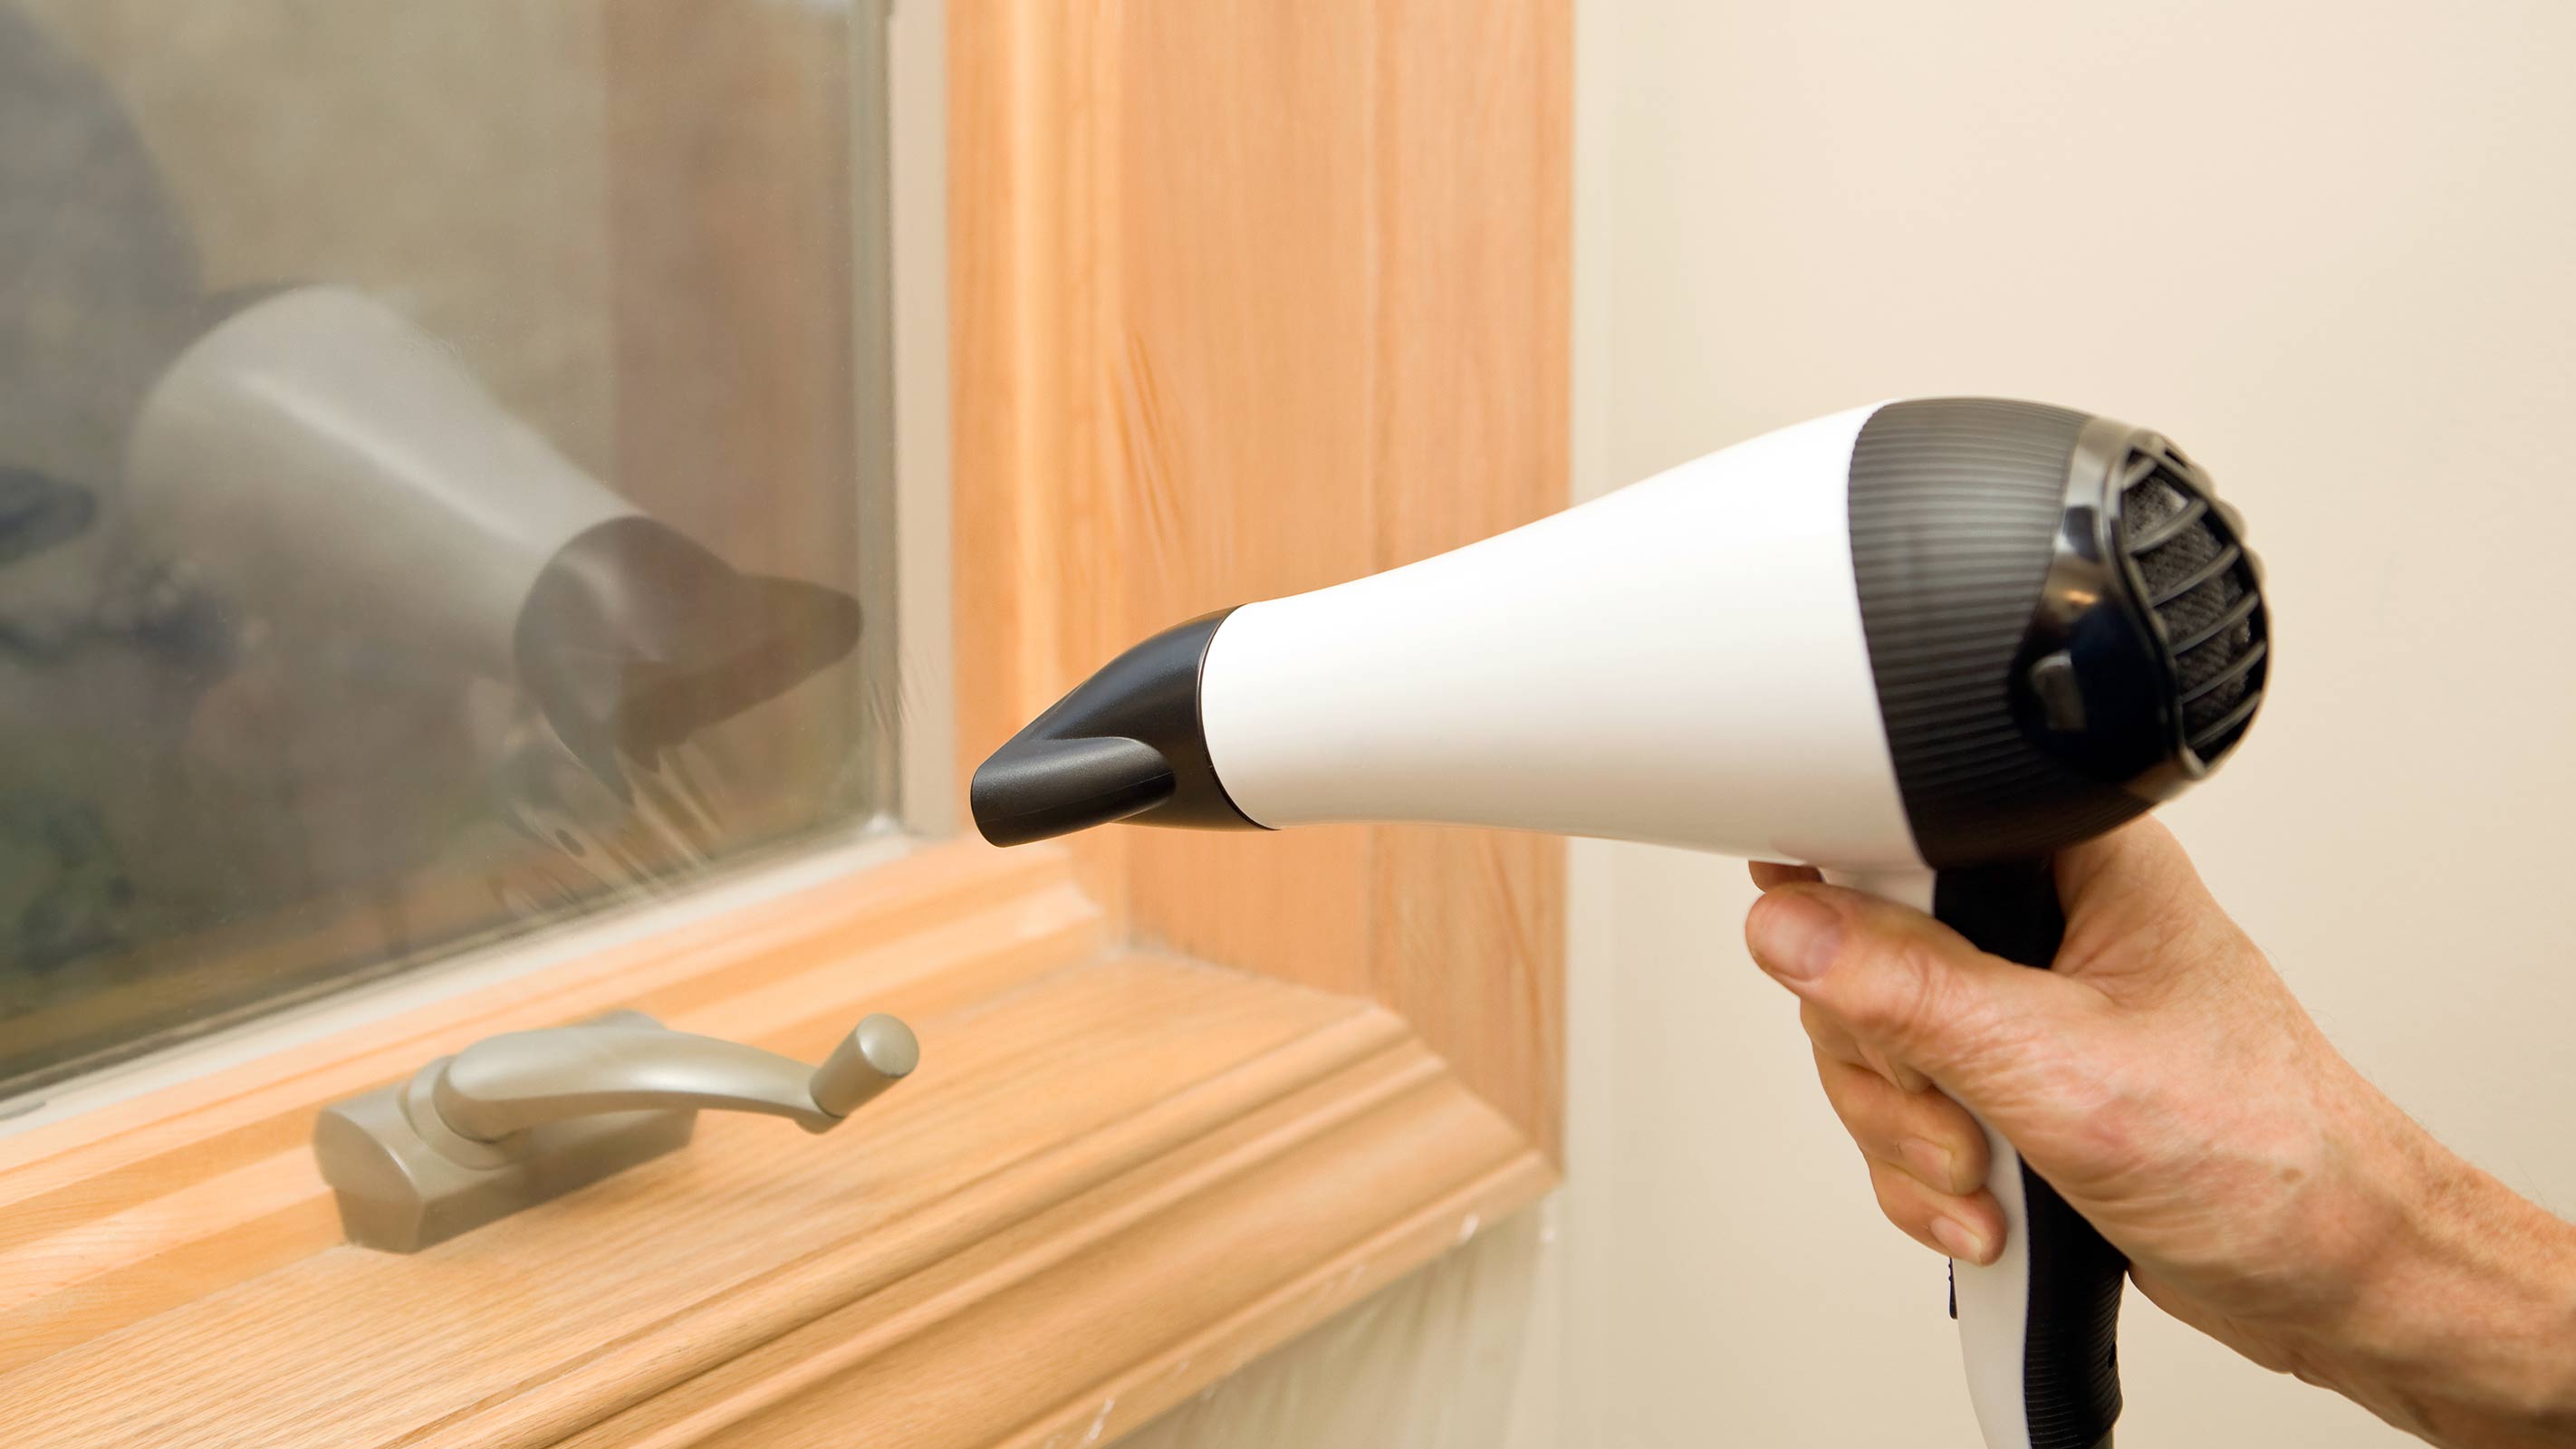
Although window film is often thought of as a way of adding a level of privacy to windows, or as a decorative touch, if you buy the right product, it can also help when it comes to keeping your home warmer.
Make sure you purchase window insulation film, rather than just the decorative stuff, and it's another cheap method that is simple to carry out on a DIY basis – plus the film can be removed should it no longer be needed.
Made from plastic, thermal window insulation film is usually sold in kit form, complete with the tape that is used to fix it into place – although some products are entirely self-adhesive.
There are a couple of points to note if you want to ensure this method of insulating windows is successful. Most importantly, make sure your windows are scrupulously clean before applying it and ensure you closely follow the manufacturer's instructions. When is comes to measuring the film to the correct size, the instructions will often state that a little allowance in size is left around the edges.
You will also need to be very careful about ensuring there are no creases or wrinkles in the film and you will often find that you need to apply heat to shrink it for a tight fit – a hairdryer comes in handy here.
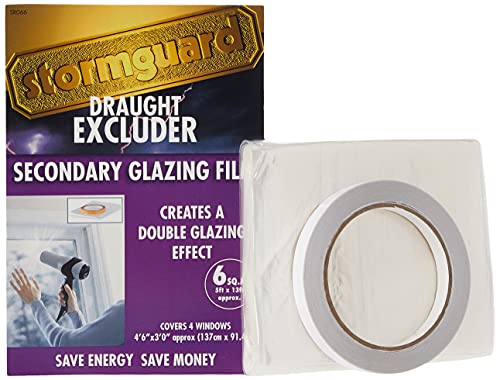
Providing up to 6sqm of window coverage, this window insulation film can be removed in the warmer months
5. Consider an easy-fit temporary window sealing product
There are some really useful products now available that are designed to completely seal up any gaps in windows, but that can be easily removed once the warmer weather makes an appearance again.
These temporary flexible sealers usually comes with all the kit needed to fit it. It can be used on windows with gaps between 2mm-7mm and, once fitted, expands to fill the space. It is easy to remove and, usefully, can be used more than once.
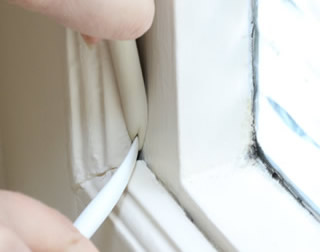
One of the most well known brands, Gap Seal offers easy draught proofing measures with no messy adhesive required
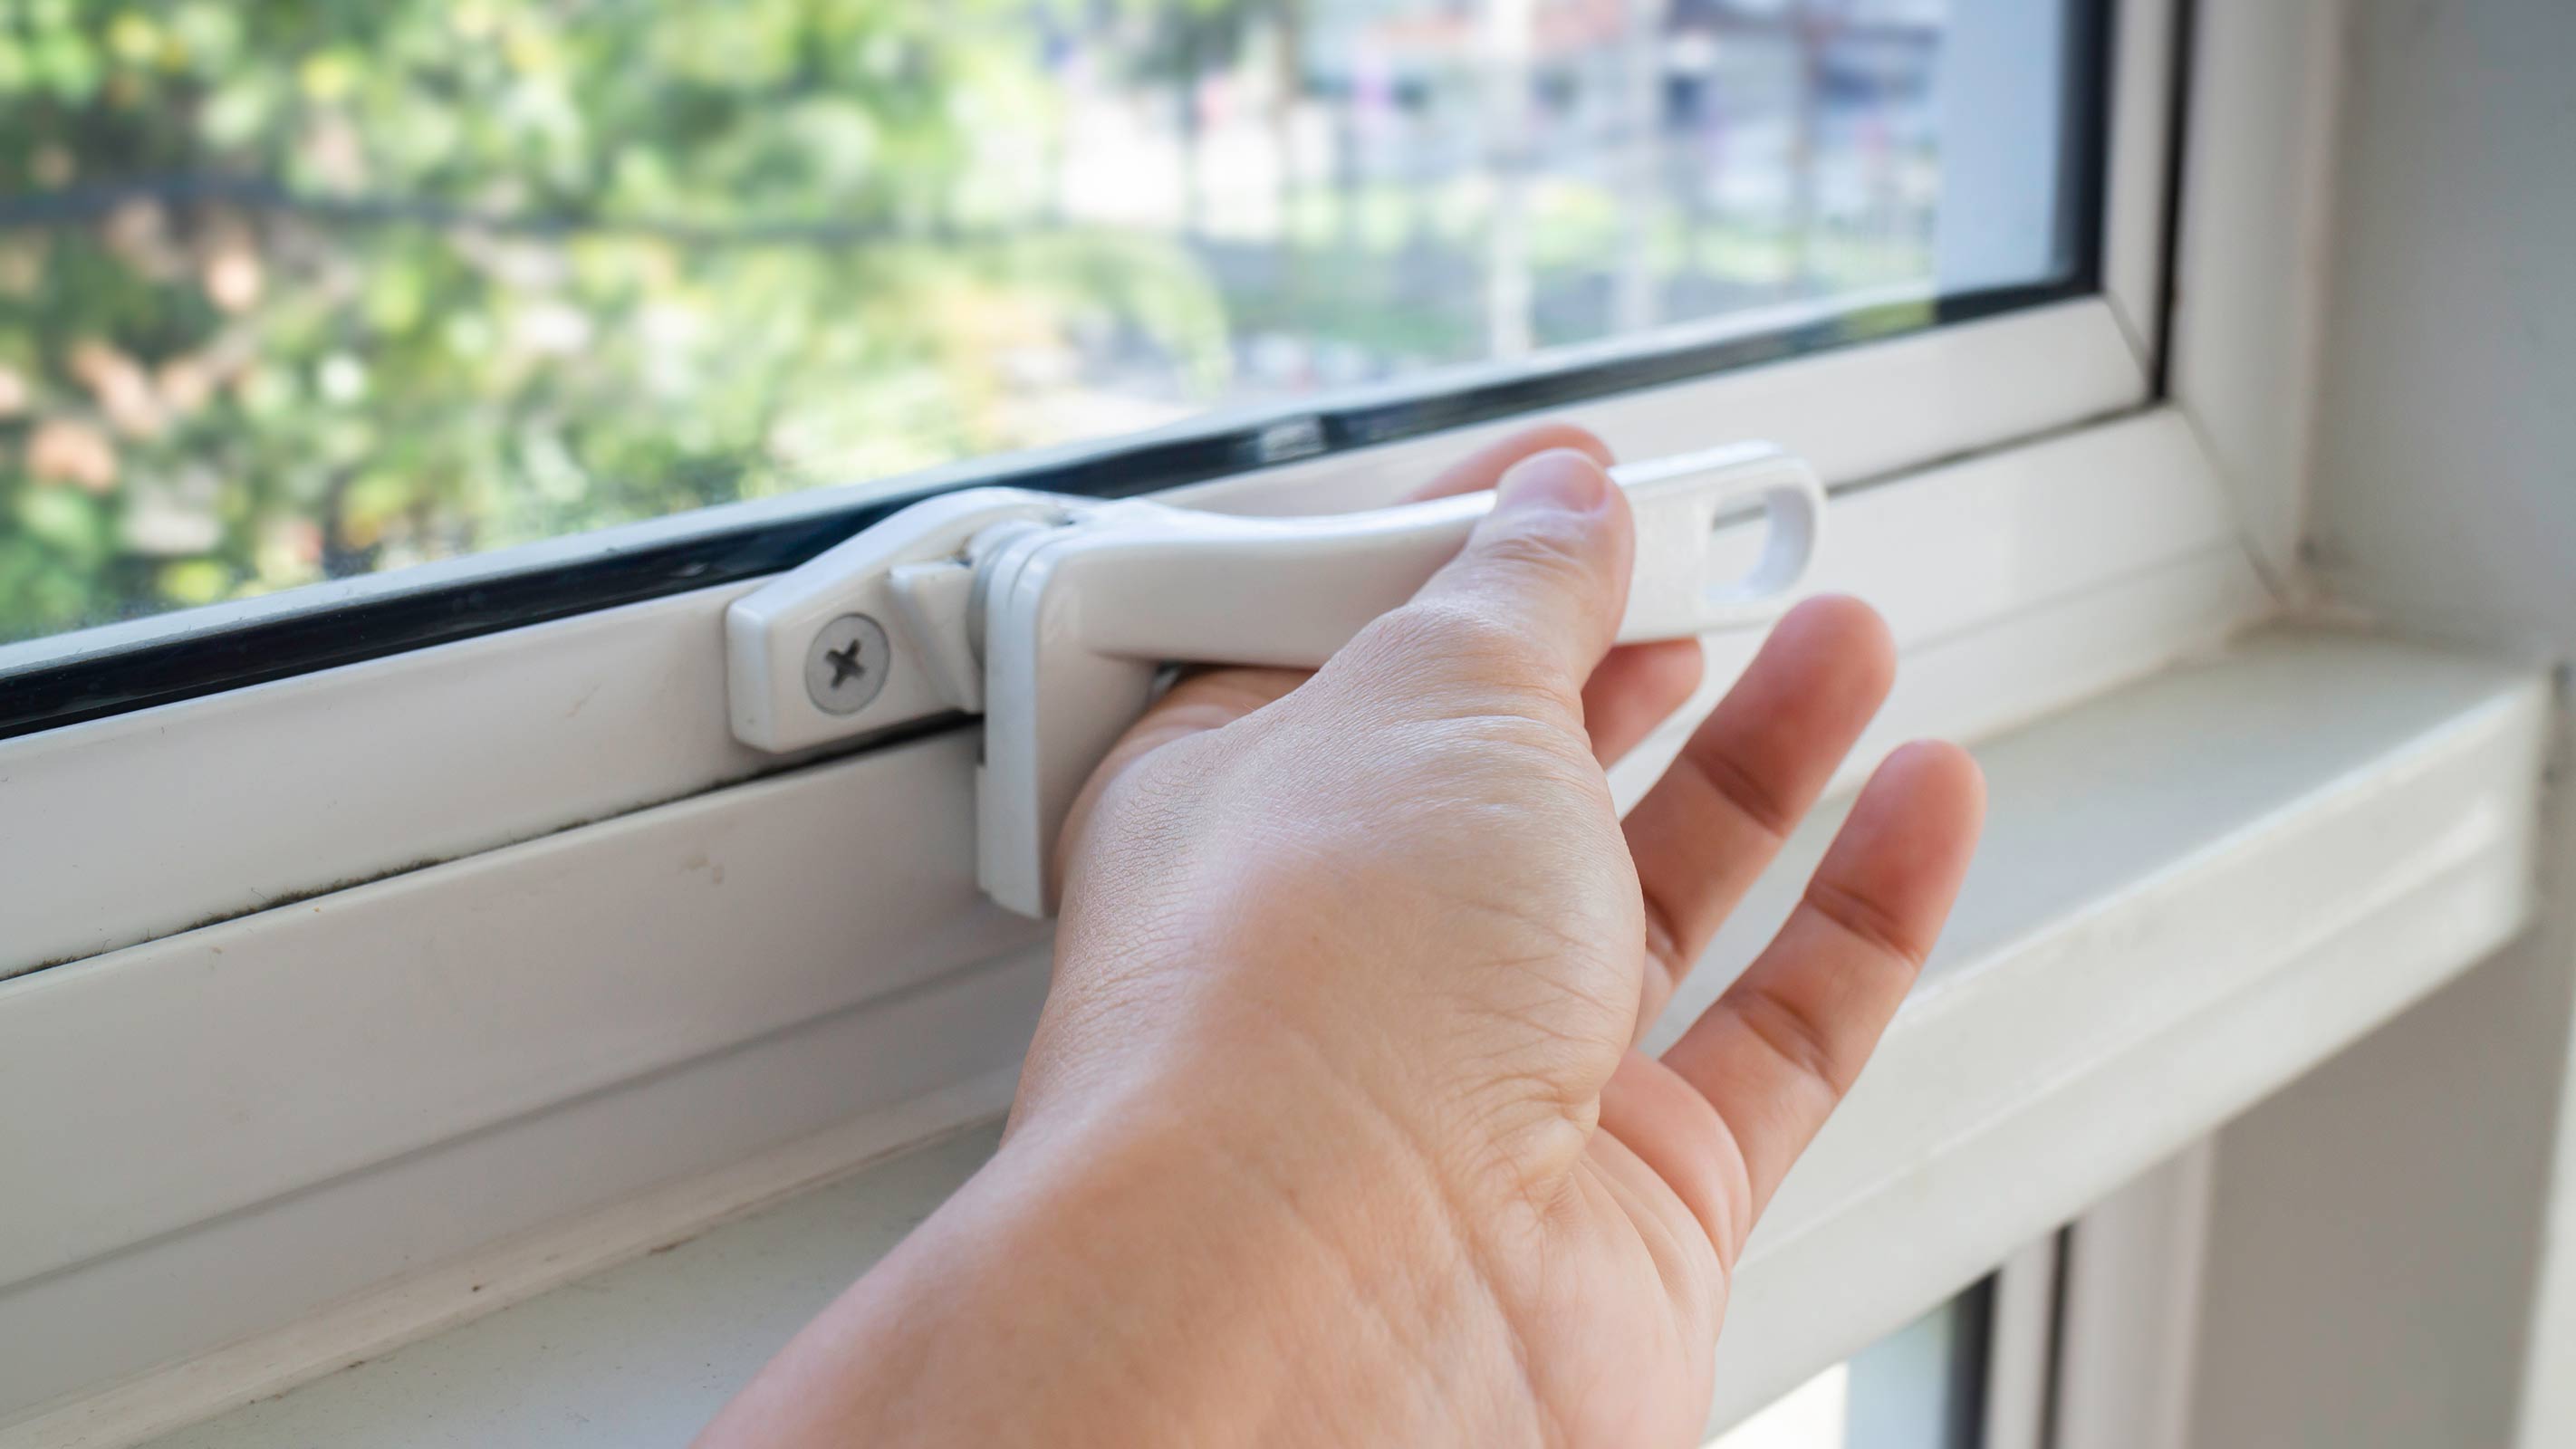
6. Make sure your locks and hinges are in good working order
Poorly fitted windows are always going to to be one of the main culprits of a draughty home, but there are some simple ways to solve the problem.
Hinges and locks are particularly bothersome, but addressing any issues with those that have become loose or damaged will really help reduce draughts.
In the case of hinges, it is often all down to maintenance. Cleaning and lubricating them a couple of times a year should avoid a build up of rust and you will also be able to check that they have not come unaligned to reveal gaps. If there are large gaps between the frames and the window you may need new hinges.
Check your window's locks too – in many cases, faulty locks can prevent windows from shutting properly. Not only will this cause draughts, but it could also invalidate your home insurance policy.
In some cases, locks may just need tightening, while in others you might need entirely new ones.
7. Hang thermal curtains in front of windows and doors
It is surprising just how effective thermal curtains and blinds can be in improving comfort levels and the energy efficiency of a house. What's more, they can also be used by those looking at how to prevent overheating in homes in the summer.
Be sure to buy a high quality product for the best results – you should look for curtains made from at least three layers. In the case of thermal blinds, be on the look out for those with small honeycomb pockets that are designed to trap and hold on to warm air.
If you are concerned about the cost of new curtains, you might like to consider buying just the thermal linings. Although these vary in how they attach to existing curtains, those that are designed to clip on, make the whole process super simple. Check out our guide on 'do thermal curtains' work for more information.
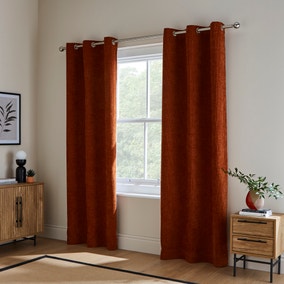
These rich burnt orange curtains will help keep the heat in
8. Block out the cold with a draught snake
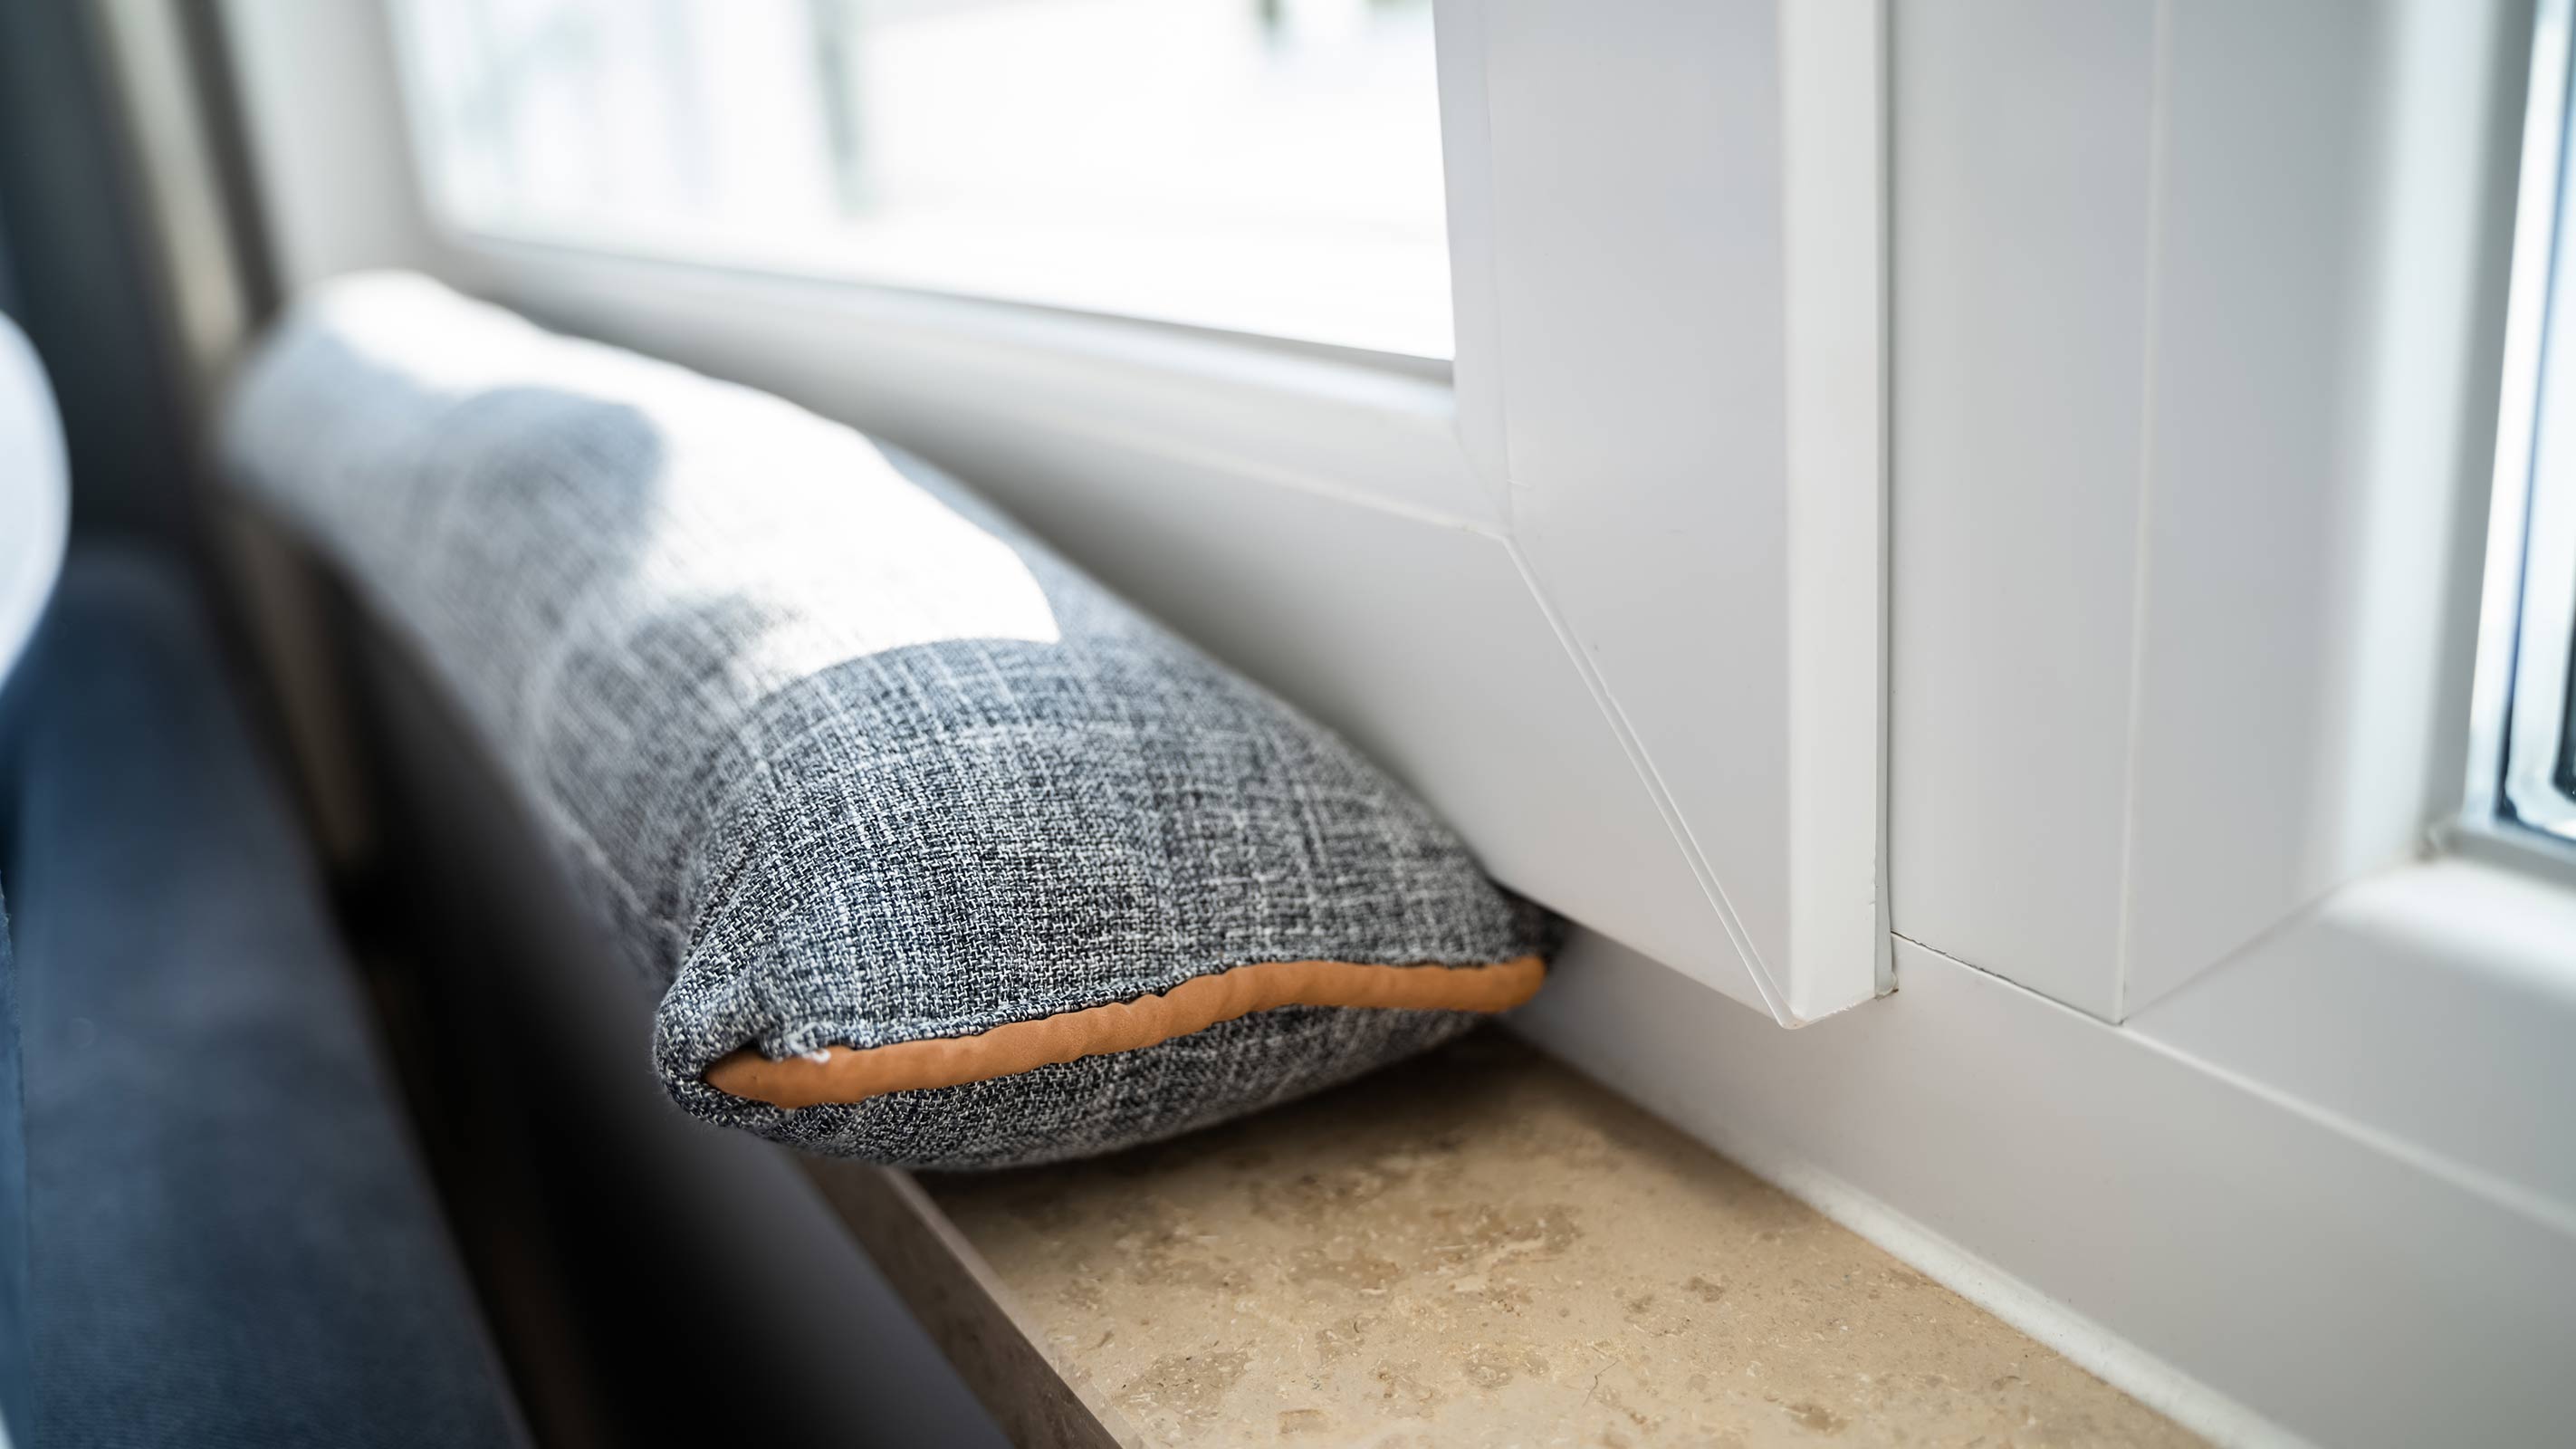
Draught snakes (also known as draught excluders) don't involve any fiddly installation and are usually pretty affordable too. They are basically long, cylindrical cushions that are designed to be placed on window cills or on the floor in front of doors to cover any gaps.
It is important to get one that is the right length for your windows – some people also choose to make them themselves. If crafting isn't your strength, try this Teddy Bear Double Draught Excluder from Dunelm instead.
9. Try the bubble wrap trick if you've got some spare
This is not a method that will appeal to everyone, but bubble wrapping windows is worth considering if you are after a cheap, effective and simply way of insulating your windows.
Those in the know suggest misting the windows with water before taping bubble wrap (bubble side to glass) to the window.
Homebuilding & Renovating's Amy Willis, who is currently renovating a period property in rural Suffolk, tried the method out.
"This did work to impressive effect," says Amy. "Prior to doing it, I could feel the draught and afterwards, nothing — and the space next to the window was noticeably warmer. Time will tell if it means I can keep the heating off for longer but my home is currently reading a comfortable 17 degrees when a couple of days ago this had dipped to 15.5 degrees.
"One thing I would add, however is that the bubble wrap looks terrible."
Other solutions to draught proofing windows
Consider installing secondary glazing
Compared to the other methods in this guide, secondary glazing might not be as cheap to get installed, but is a great alternative to fitting new double glazing. It can also be achievable on a DIY basis and usually acceptable in the eyes of conservation officers when it comes to listed properties, or those in conservation areas.
There are several different types of secondary glazing – some are designed to act as a temporary way of preventing draughts and can be easily taken in and out as required, while others are fixed into place permanently. It is also possible to fit secondary glazing that slides or opens just like regular windows. In all cases, installing secondary glazing commonly involves adding a slimline, second window to the inside of existing window frames.
In terms of materials, secondary glazing comes with frames in all kinds of materials to suit most homes, including uPVC, aluminium and timber. In the past, homeowners were often concerned that fitting secondary glazing could ruin the elegant good looks of original windows and so was a method shunned by those looking at how to draught proof sash windows. However, there are now several specialist companies offering bespoke secondary glazing units designed to tie in nicely with existing windows.
And, although some people choose to fit secondary glazing on a DIY basis, it is often a job that is handed over to the professionals.
Finally, it is worth noting that, should you live on a busy road, secondary glazing can also add a soundproofing layer as well as reducing draughts..
Of course, when insulating windows, it also makes sense to look at other areas of your home that could do with the same kind of treatment. Top of your hit list should be draught proofing a front door, your letterbox, chimney and loft.
But, while it is undoubtedly important to prevent draughts from getting into your home, you also need to ensure that your home is still properly ventilated so that you don't end up having to look at how to prevent window condensation or deal with a mould or damp problem.
Be sure never to block window trickle vents in your insulation efforts and make sure you're aware of the areas in a home never to insulate and why.
Get the Homebuilding & Renovating Newsletter
Bring your dream home to life with expert advice, how to guides and design inspiration. Sign up for our newsletter and get two free tickets to a Homebuilding & Renovating Show near you.
Natasha was Homebuilding & Renovating’s Associate Content Editor and was a member of the Homebuilding team for over two decades. In her role on Homebuilding & Renovating she imparted her knowledge on a wide range of renovation topics, from window condensation to renovating bathrooms, to removing walls and adding an extension. She continues to write for Homebuilding on these topics, and more. An experienced journalist and renovation expert, she also writes for a number of other homes titles, including Homes & Gardens and Ideal Homes. Over the years Natasha has renovated and carried out a side extension to a Victorian terrace. She is currently living in the rural Edwardian cottage she renovated and extended on a largely DIY basis, living on site for the duration of the project.
- Sarah HarleyAssistant Editor

