Draught Proofing: 11 Ways to Eliminate Draughts
Draught proofing is a quick and cost-effective way of improving your home's thermal efficiency. Here's how to vanquish draughts for good

Draught proofing your home remains the cheapest and easiest means of improving thermal efficiency when renovating a house — and many of the costs involved can be recovered in the first year.
Draught proofing is generally considered to be DIY work — if you can handle a screw driver and a silicone gun you should be fine. If you choose to employ people to do the work just bear in mind that it is not complex and does not need expensive specialist skills.
How to Find Draughts for Draught Proofing?
Finding draughts is usually a twostep process. The obvious sources, like letter boxes, rattle-y sash windows, wooden doors that have shrunk over time and even redundant air bricks, will present themselves readily. Your local DIY store will have shelves of appropriate materials to fix these — as will many online sources. These need to be fixed before searching out the more tricky sources.
The second step is to invest in a smoke pen. An online search will find a plethora at around £20, such as this Arctic Smoke Pen from Amazon — don’t pay more unless you intend to take this up as a profession.
Pick a day when there is air movement outside, but not a gale, and the house is up to its usual temperature. Light your smoke pen and wander around the house allowing the smoke trail to lead you to the source of the draught.
Areas to focus on are floor boards, skirting boards, where window and door frames meet the wall and the ceiling-to-wall junctions. The less obvious areas are keyholes, kitchen cupboards (where pipes are likely to penetrate walls), loft hatches and downlights.
Mark every draught source and visit your DIY shed, or go online, and look for suitable remedial products. Believe it or not, your problem will not be unique — every possible draught has been considered and appropriate products produced.
Where to Buy Draught Proofing Supplies
Shop draught excluders on Amazon
Shop draught excluders at Robert Dyas
Ventilation Vs Draughts: What's the Difference?
The difference between draughts and ventilation is one of control. Draughts are uncontrolled, while ventilation is ours to switch on and off at will. Home ventilation in the form of extractor fans and cooker hoods will ensure that condensation is properly dealt with, at source.
Thereafter, the movement of people around the house, moving in and out, and naturally opening and closing windows and doors will deal with other ventilation needs.
Controlled ventilation will reduce condensation, maintain a healthy atmosphere and prevent damp and mould growth by letting in air where it is needed. Draughts, however, let in too much air in the wrong place at the wrong time, making draught proofing the cheapest and most effective way to save energy, and money, especially in older buildings
How to Draught Proof Your Home
1. Draught Proofing Doors
Fit draught proofing strips between the door and the frame, often a brush to the bottom and rubber strips either screwed or glued to the frame.
2. Add Brush or Rubber Strips to Windows
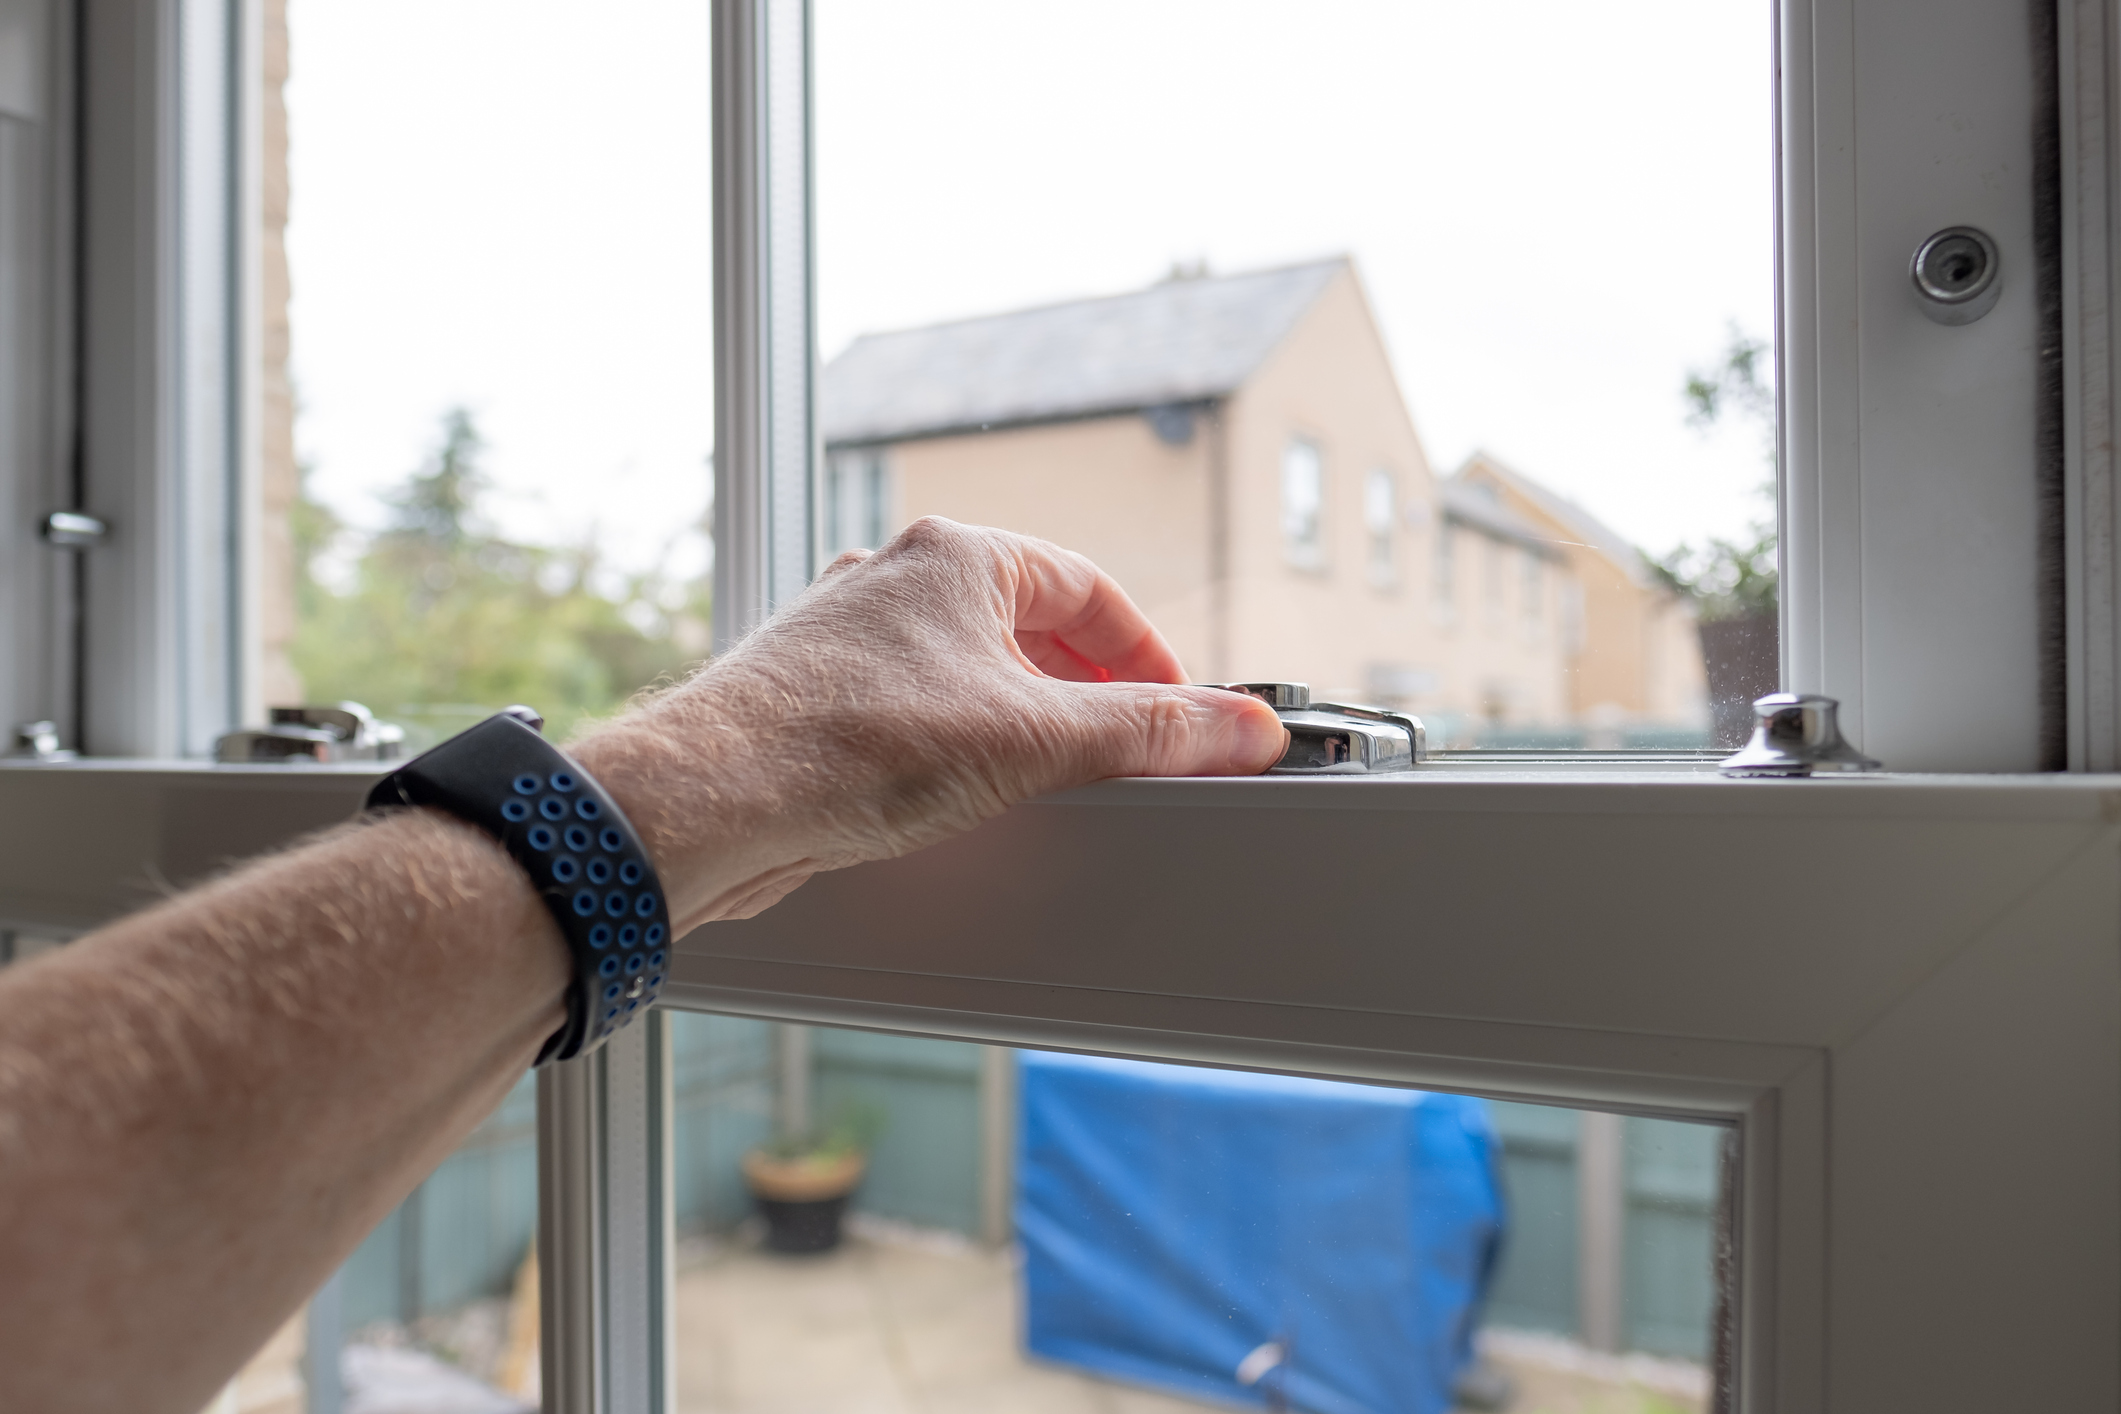
Brush strips that are fixed to sliding sash windows and rubber strips for casement windows are both effective.
3. Consider Secondary Glazing to Draught Proof Windows
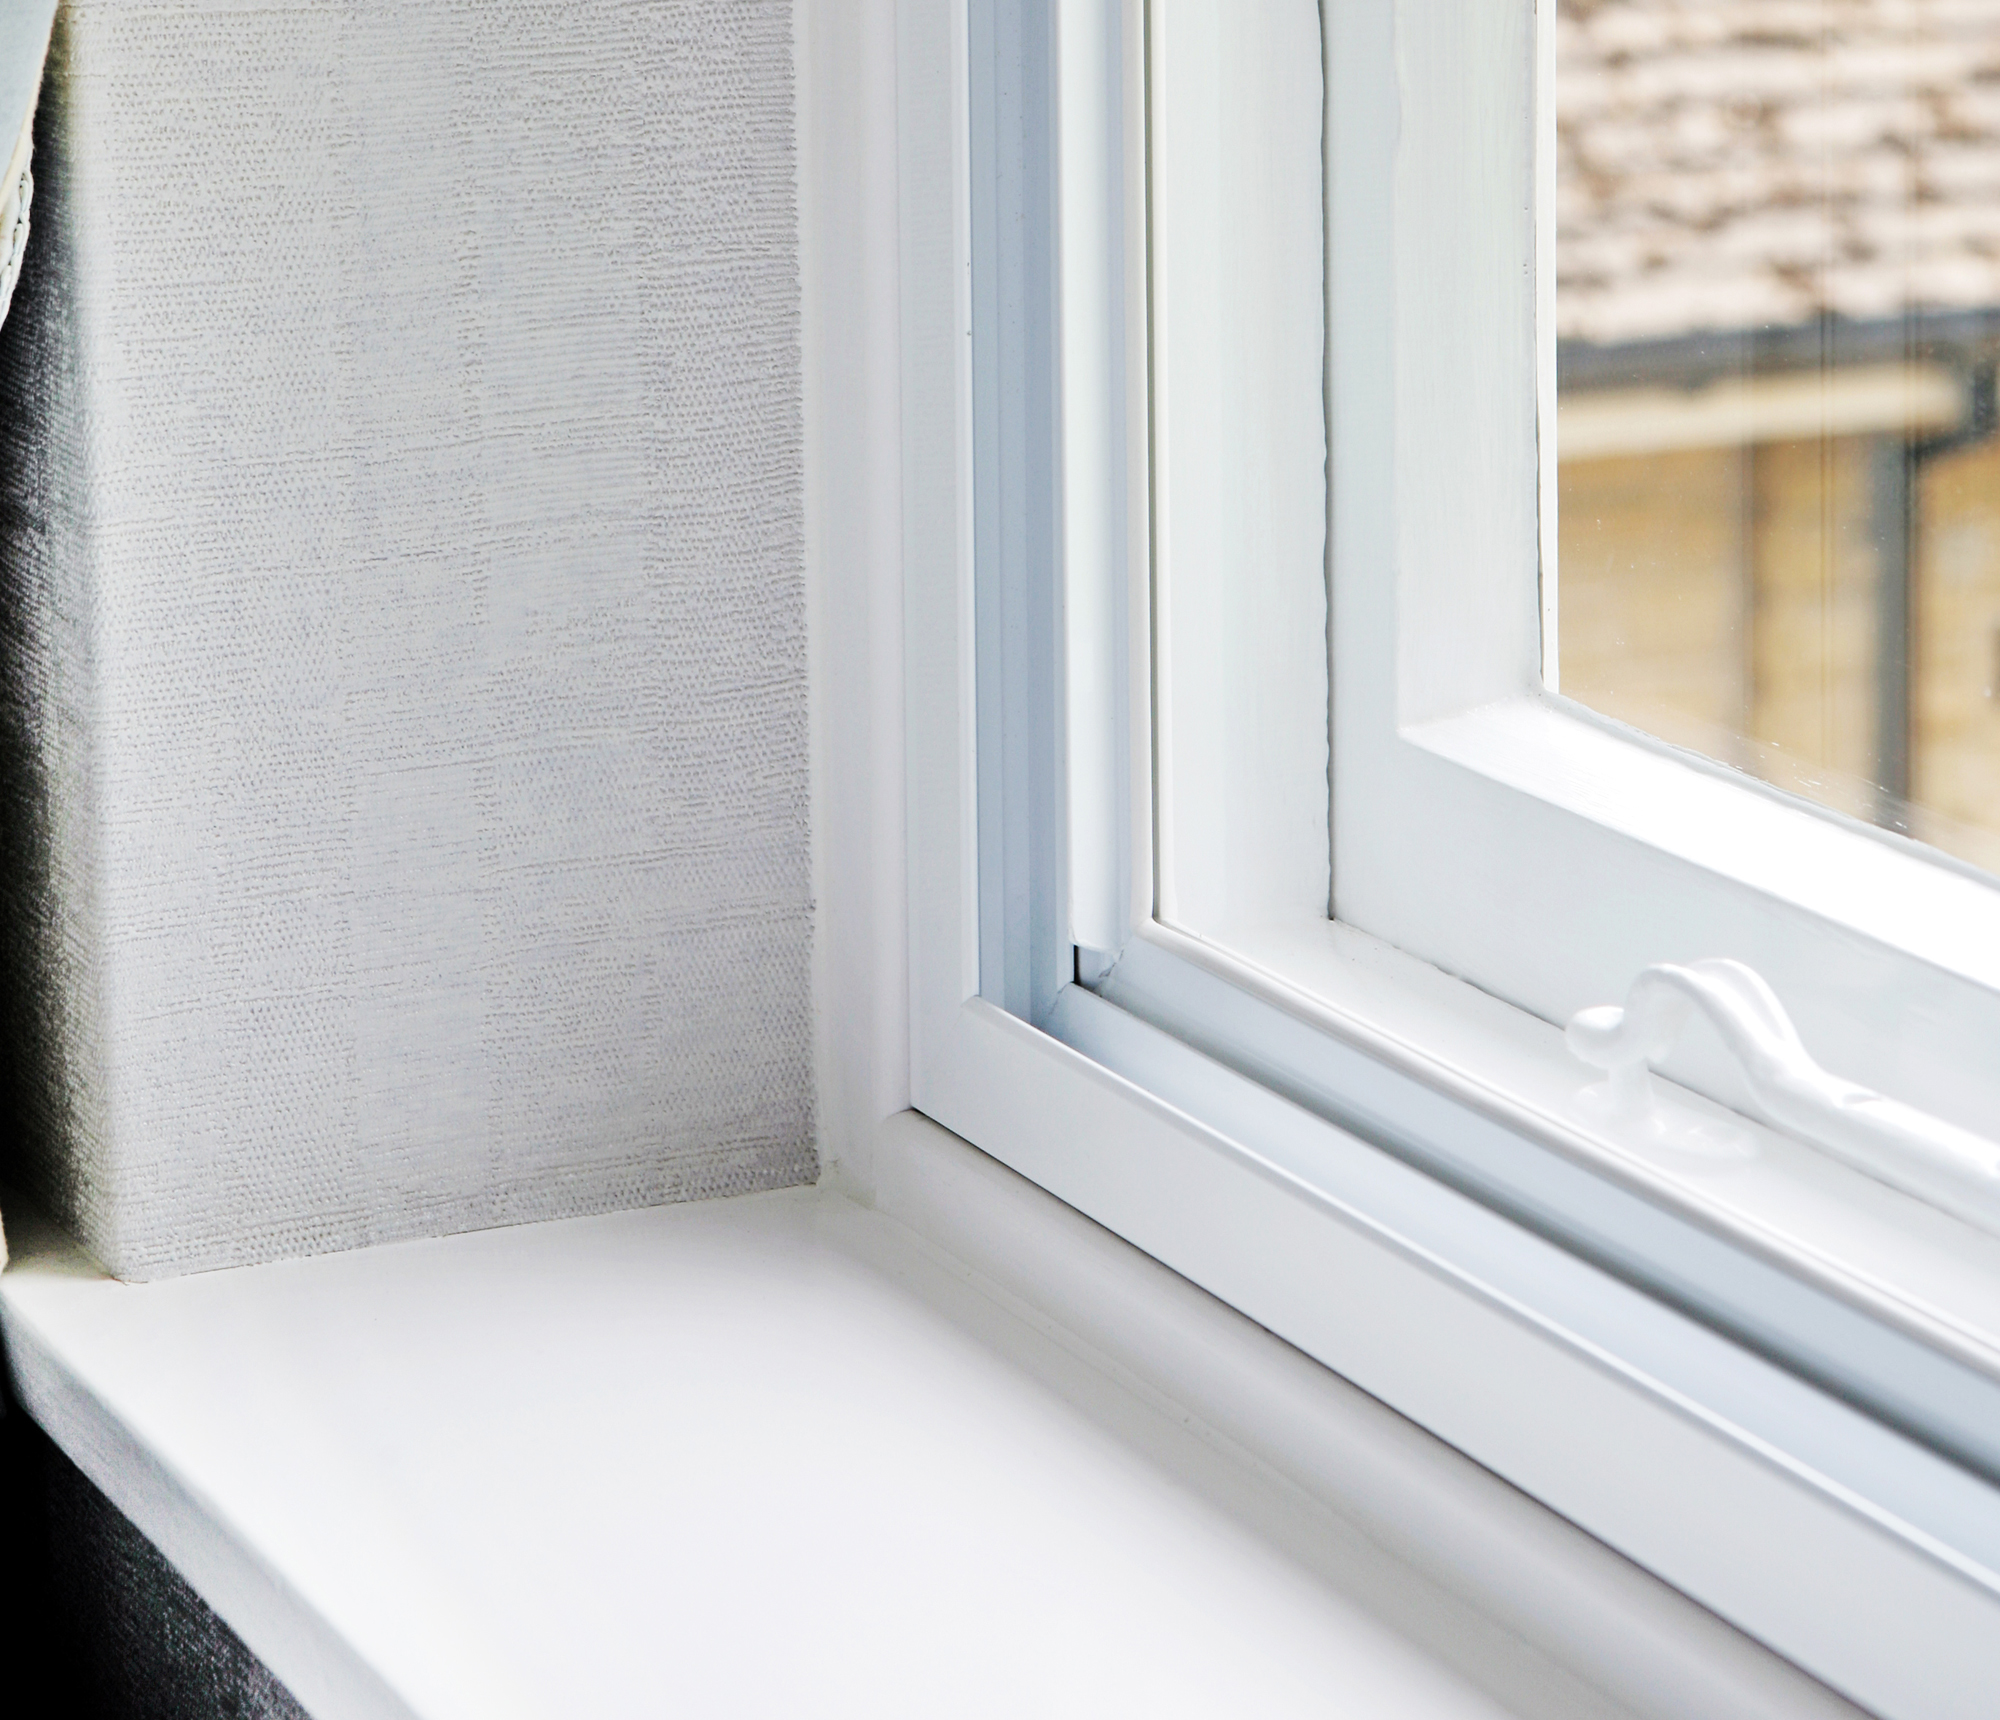
In the case of sash windows with glazing bars, there can be too many gaps to deal with individually and consideration could be given to secondary glazing — an effective draught proofing solution that also significantly reduces heat loss.
4. Draught Proofing Skirting Boards and Floorboards
All cracks and gaps in skirting boards and frame-to-wall joints can be treated with decorator’s caulk or silicone. Standard silicone will dry and shrink over time allowing the draught to return. Specific airtight silicone overcomes this problem, though it is more expensive.
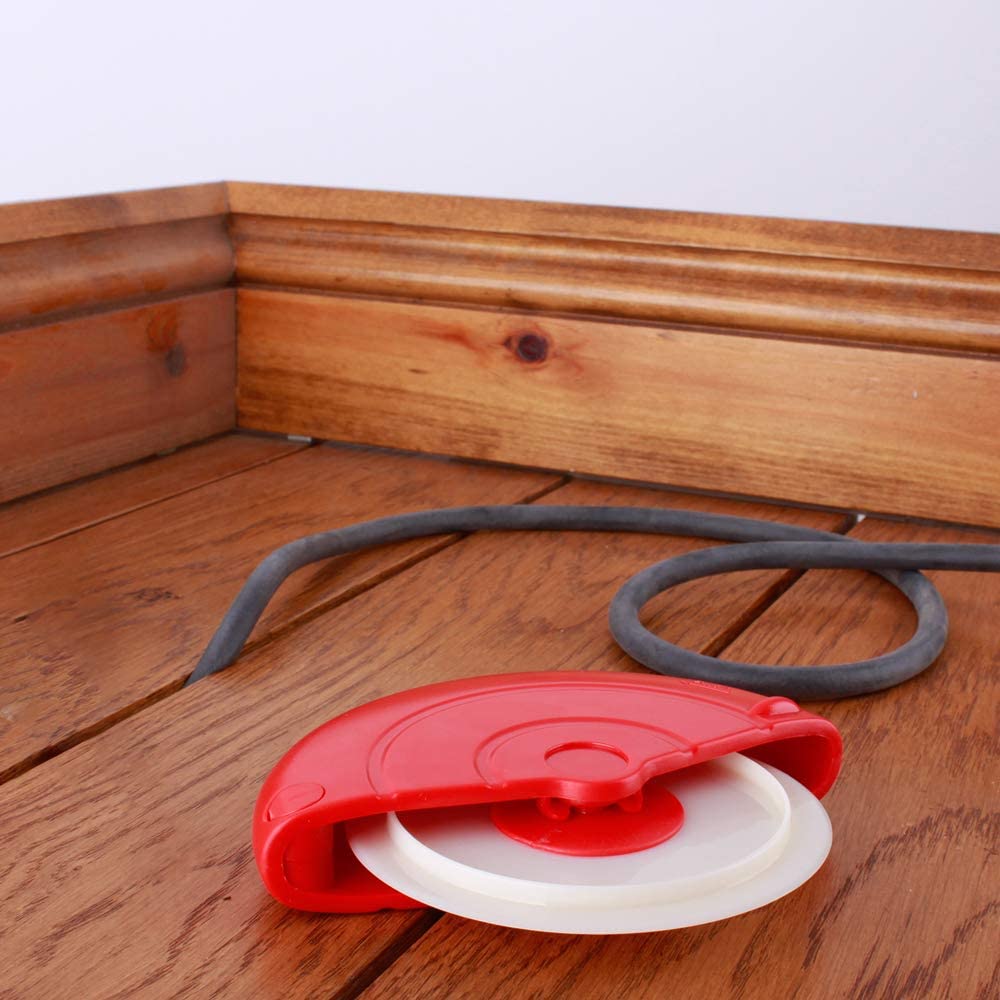
Floorboards are a little more tricky. Some DIYers recommend filling the gaps between floorboards with a mix of glue and saw dust; however, there are simple systems to use such as Draughtex from Amazon, which allows you to keep your floorboards in their same state, while draught proofing the gaps in between.
5. Add Insulation Under Floorboards
A better option for draughty floors would be, where possible, to install insulation below the floorboards. Ideally, use a semi-rigid material like Knauf Dritherm or Rockwool RW3 for insulating floors — there are also a number of natural insulation options.
This can be cut slightly oversize and squeezed into place to ensure draughts are sealed.
6. How to Draught Proof Downlights
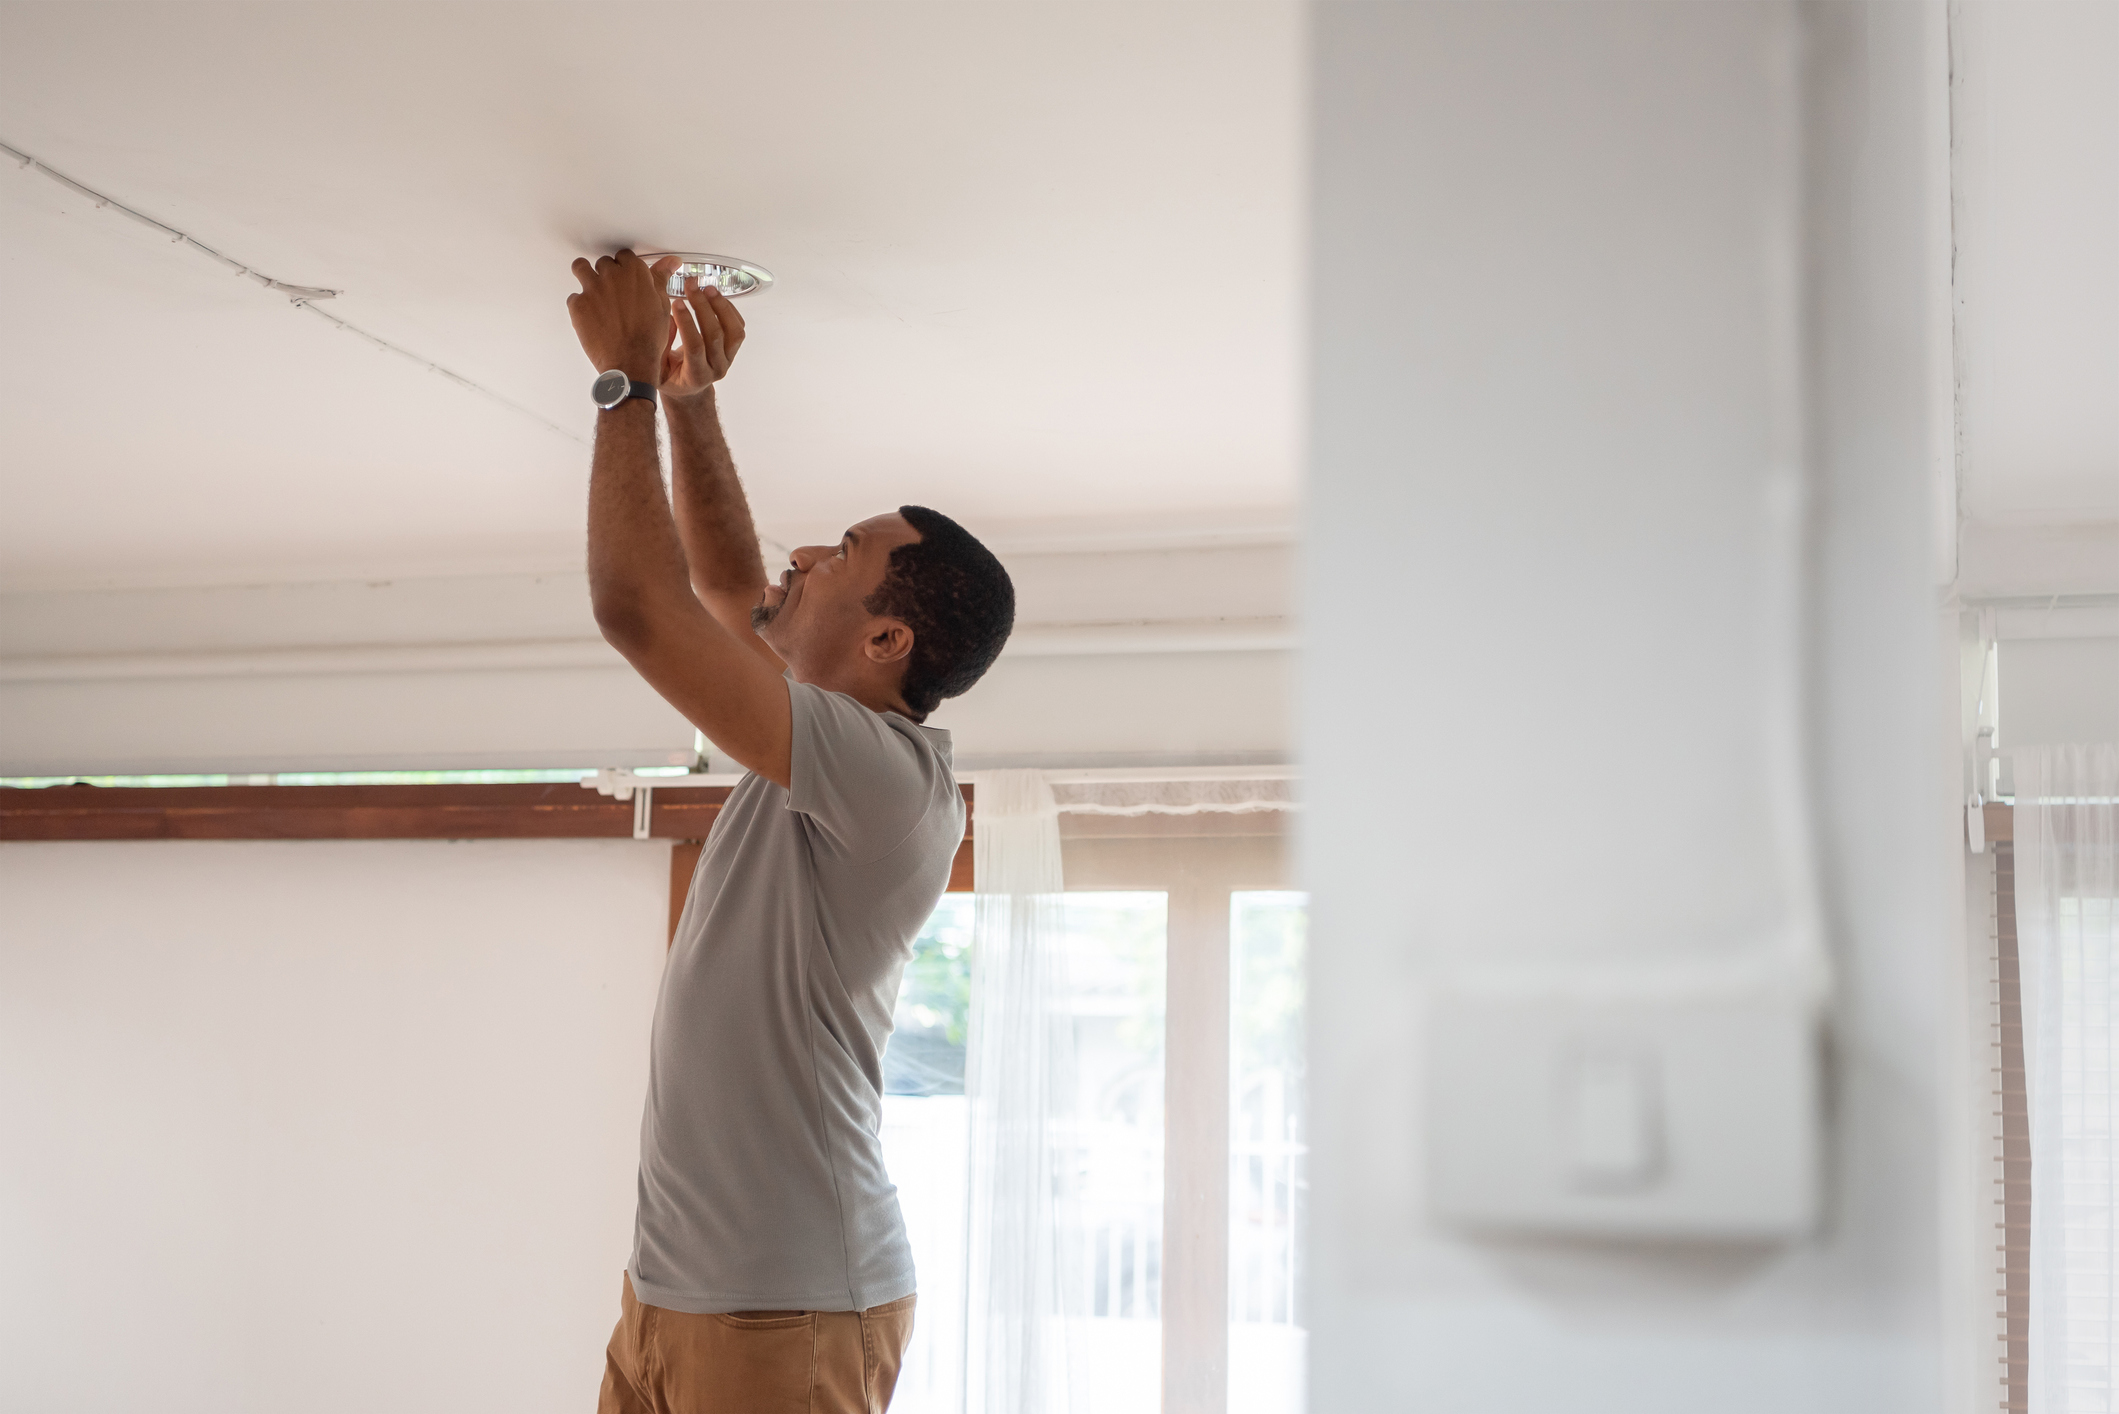
There are specialist products for the likes of downlights. Try these Thermahood downlight covers from Amazon, which prevent draughts and stop heat loss into the attic.
7. How to Draught Proof Letterboxes and Keyholes
Brushed letterbox excluders are commonly used on letterboxes to avoid draughts, but there are also magnetic styles available. Keyhole covers are relatively easy to find.
8. Ideas for Draught Proofing a Loft Hatch
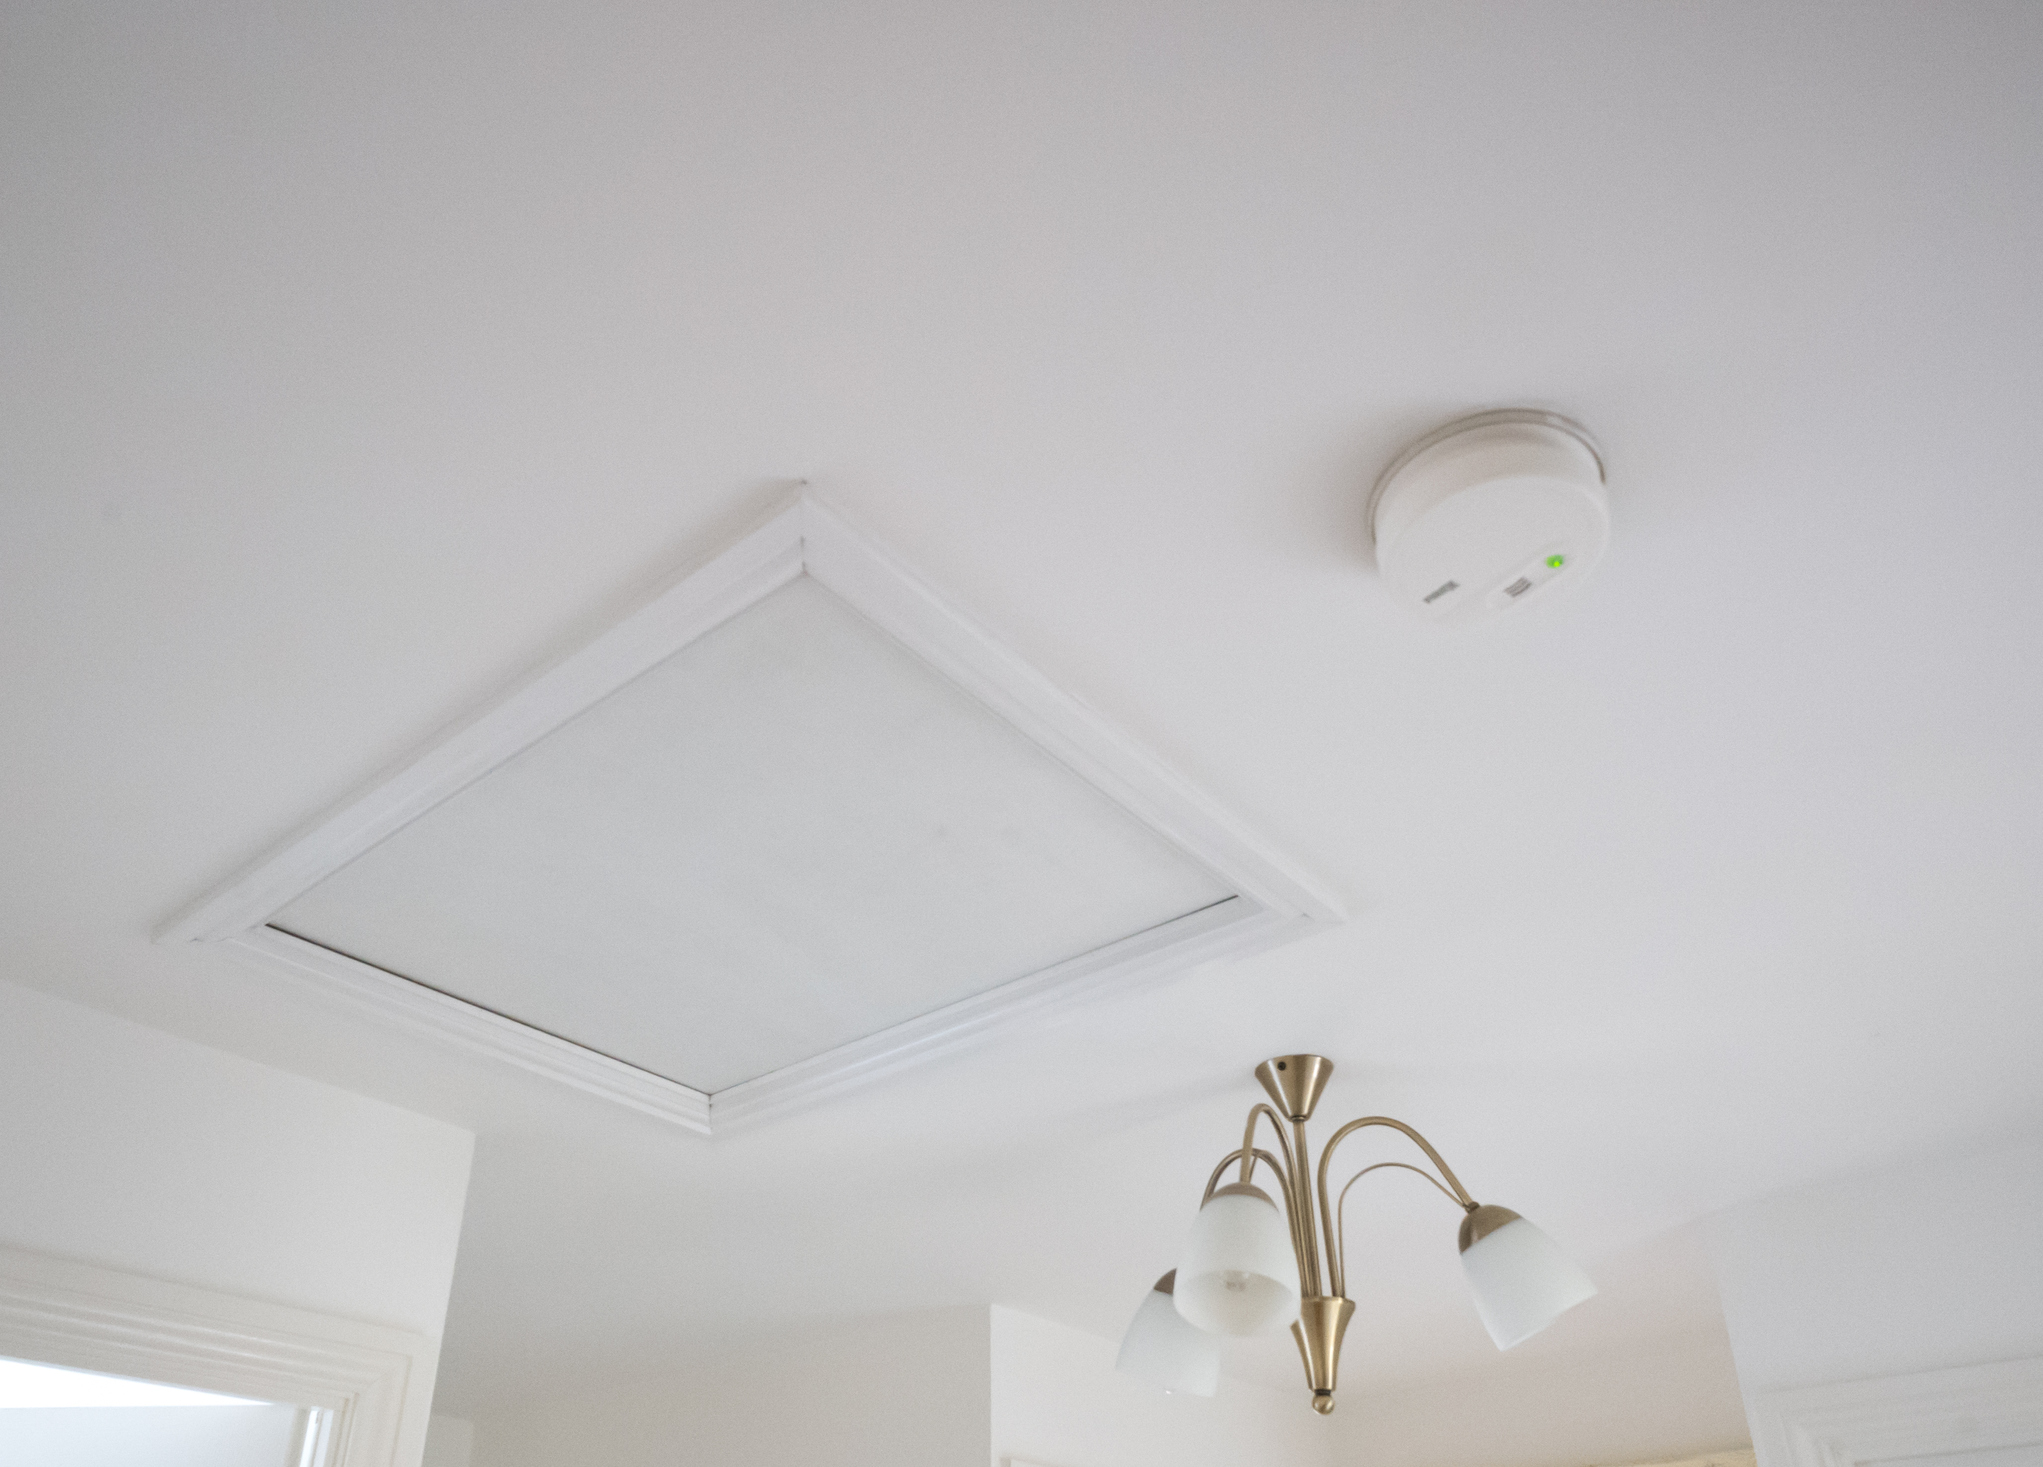
When it comes to loft hatches, some are better draught proofed and insulated than others. Making sure you buy the right one when installing is the best place to start, with an insulation drop down door and catch points around the perimeter of the frame to prevent air leakage.
However, it is possible to buy draught excluders designed for used around loft hatches. These Stormguard Hatch Door Draught Excluder Seal Strips from Amazon from Amazon should do the trick.
9. How to Draught Proof Pipe and Cable Installations
The solution is generally airtight silicone or an airtight duct tape — specialist products provide a long-term solution.
10. Choose a Log Burning Stove Over an Open Fire

The purpose of a chimney is to draw air to feed the fire and to take the smoke away from the room. As a consequence, an unused chimney is both a source of a draught and a means of exacerbating other draughts.
If the fireplace is used then consider installing a log burning stove and sealing the chimney around the flue. This cuts out the draughts and gives more efficient heating.
11. Seal an Unused Chimney
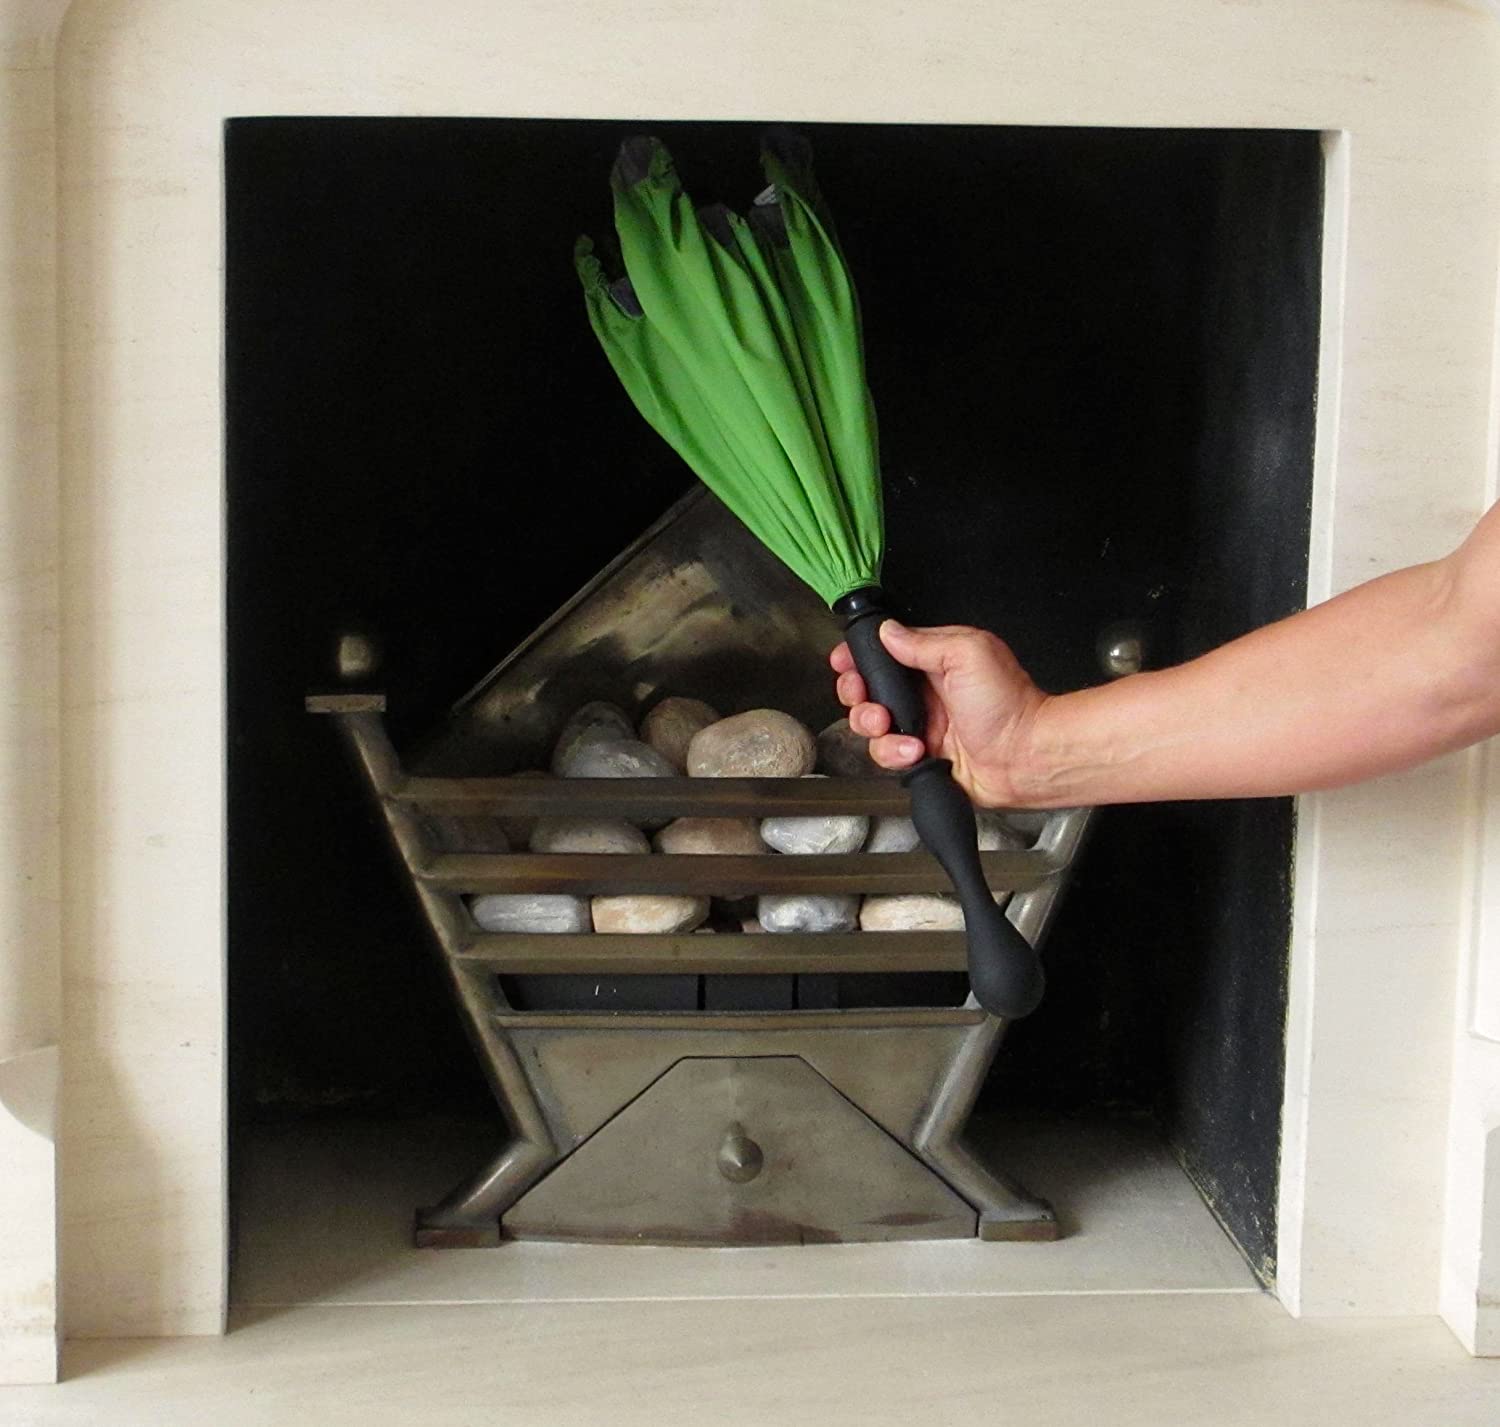
If it is not used then get the chimney sealed (in this case a professional will be needed) top and bottom.
If that is not practical then there are temporary chimney blockers that are cheap and effective. There are a few options available, including chimney balloons, chimney sheep and chimney umbrellas.
Get the Homebuilding & Renovating Newsletter
Bring your dream home to life with expert advice, how to guides and design inspiration. Sign up for our newsletter and get two free tickets to a Homebuilding & Renovating Show near you.
Tim is an expert in sustainable building methods and energy efficiency in residential homes and writes on the subject for magazines and national newspapers. He is the author of The Sustainable Building Bible, Simply Sustainable Homes and Anaerobic Digestion - Making Biogas - Making Energy: The Earthscan Expert Guide.
His interest in renewable energy and sustainability was first inspired by visits to the Royal Festival Hall heat pump and the Edmonton heat-from-waste projects. In 1979
this initial burst of enthusiasm lead to him trying (and failing) to build a biogas digester to convert pig manure into fuel, at a Kent oast-house, his first conversion project.
Moving in 2002 to a small-holding in South Wales, providing as it did access to a wider range of natural resources, fanned his enthusiasm for sustainability. He went on to install renewable technology at the property, including biomass boiler and wind turbine.
He formally ran energy efficiency consultancy WeatherWorks and was a speaker and expert at the Homebuilding & Renovating Shows across the country.

