The best ways to draught proof a letterbox
Is there such as thing as a draught proof letterbox? We explain how to do it while still allowing your letters to be posted through

A draught proof letterbox can make all the difference when it comes to how warm your home feels — and we are here to help you get one. Whether you are looking for ways to upgrade your existing letterbox to make it more energy efficient, or are in the market for a completely new letterbox, our guide will explain the options.
Draught proofing your home is not a job that needs to be time consuming or expensive – plus most of the suggestions given here are very do-able on a DIY basis, meaning you won’t have to wait for the services of a professional.
Read on for the top ways to draught proof a letterbox to ensure that your entrance hall offers a warm welcome.
Why do I need a draught proof letterbox?
You might think that draught proofing a letterbox would not have much of an effect on the comfort levels of your home — but you would be wrong.
According to Energy Saving Trust, draught proofing around your windows and doors could save you approximately £30 a year (based on an average gas-fuelled semi-detached UK home). While there are several important steps to take when insulating windows and doors in order to ensure they are properly draught resistant, focusing on the letterbox is a great place to start.
1. Use a letterbox draught excluder
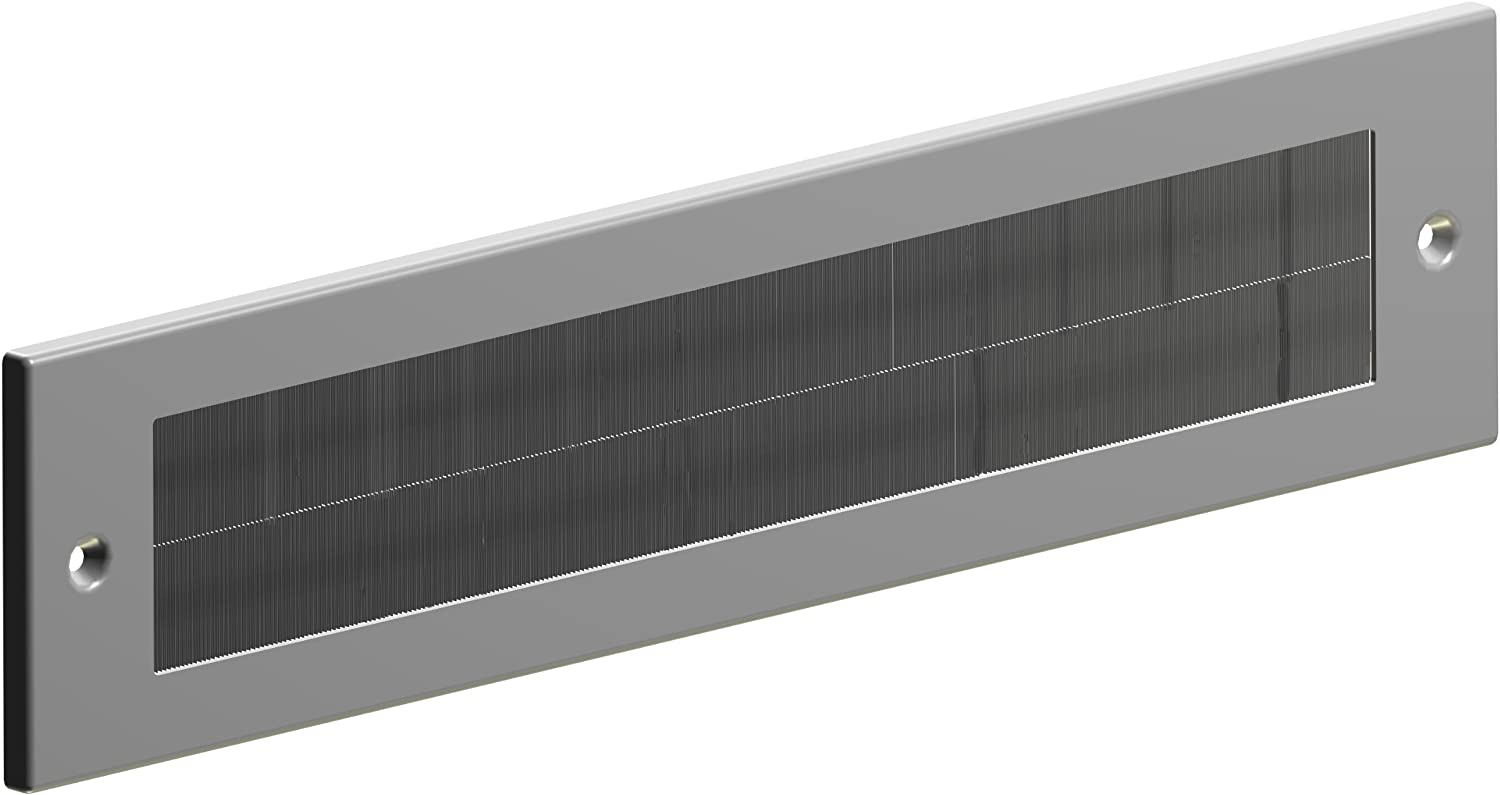
Letterbox draught excluders (see the example in the image below that you can buy on Amazon) are easy to come by and are available in a range of sizes, materials and styles to fit in with any front door ideas.
Although designs vary, the majority incorporate intermeshing brush strips designed to stop cold breezes entering your house — the best quality models will also have hinged flaps that cover these bristles and further minimise heat loss. Look out for letterbox draught excluders with thick, study bristles.
Most of these draught excluders are designed to be fitted to the inside of a door and are supplied with pre-drilled holes to make installation simple.

2. Consider a magnetic letterbox draught excluder
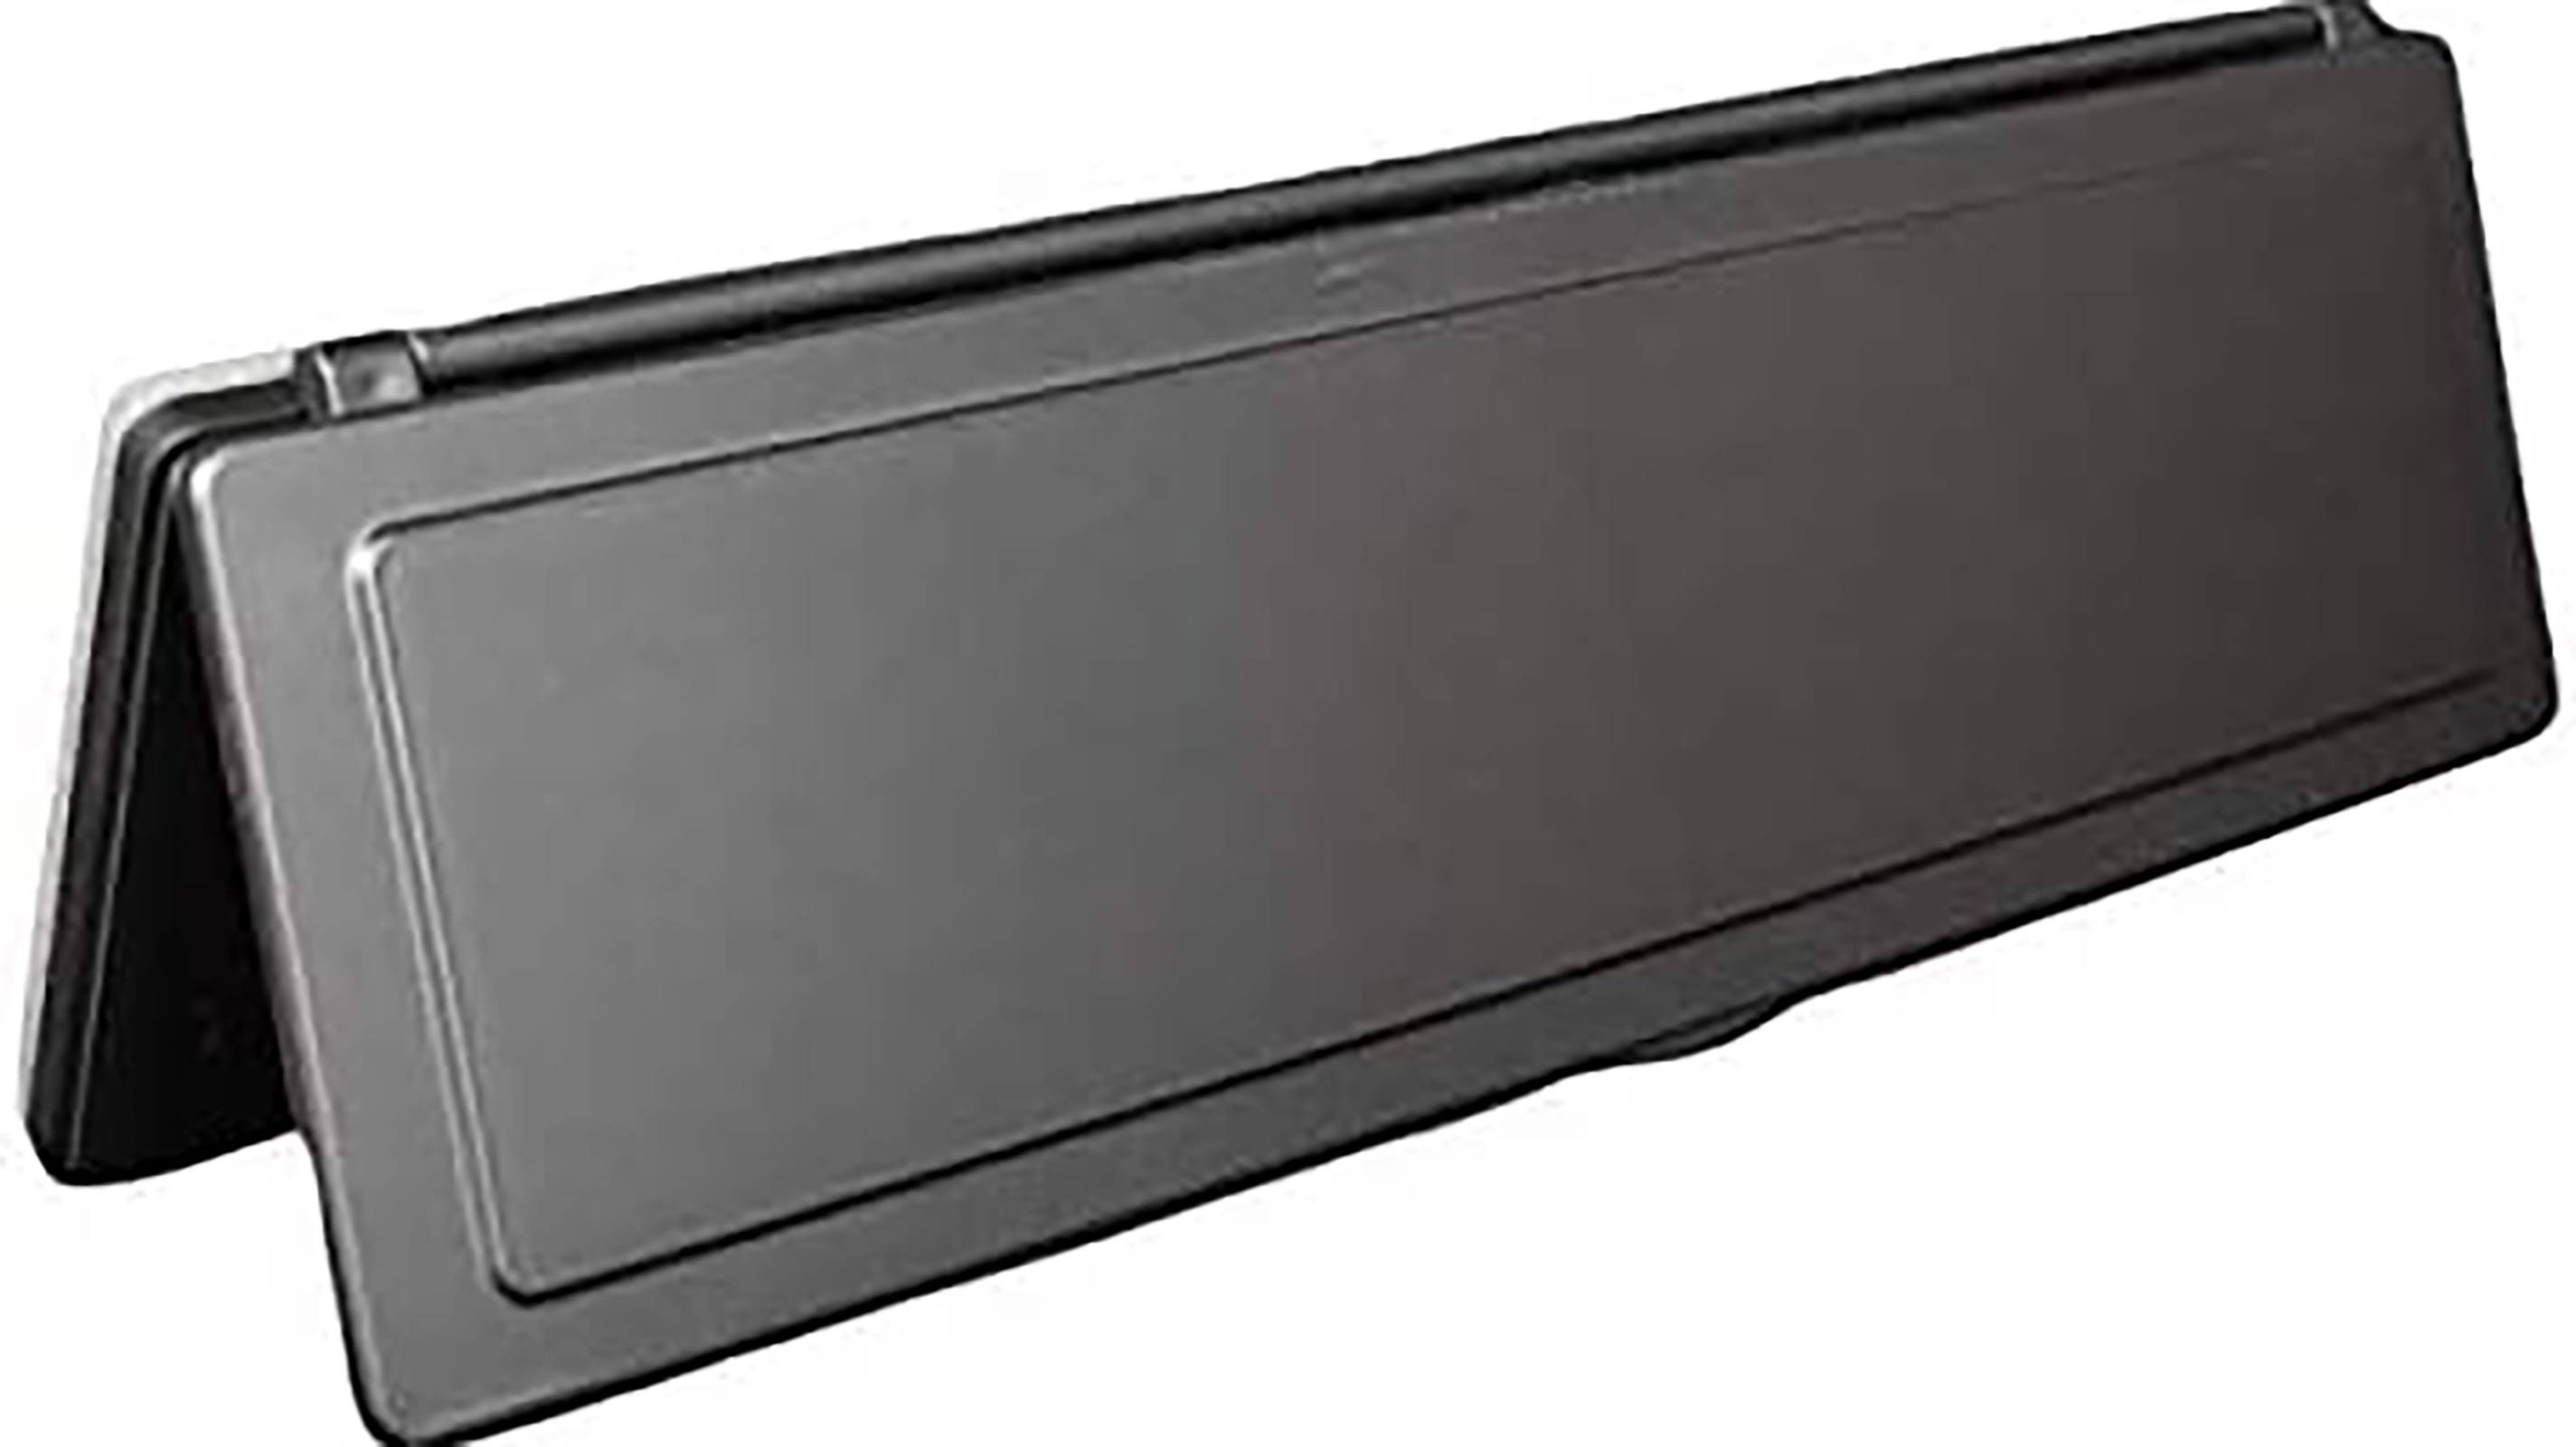
Magnetic draught excluders are designed to seal your letterbox completely when it is closed and often don’t incorporate brush strips which can make it easier for letters and parcels to be posted through. The Magflap letterbox draught excluder, for example, can be fitted to the inside or outside of your door and is easy to install on a DIY basis.

3. Fit a new letterbox
You might prefer the idea of installing an entirely new letterbox, as opposed to upgrading an existing one. In this case, the old letterbox will need to be removed to make way for your replacement. Be sure to choose one that is fully weather sealed and fitted with brushes — and make sure it fits the existing opening perfectly.
Make sure you buy a letterbox that is either the same size (you can fit it inside the same hole in your door) or if you buy a larger one, bear in mind that you will need to cut a bigger hole in your door.
4. Fit a wall-mounted letterbox
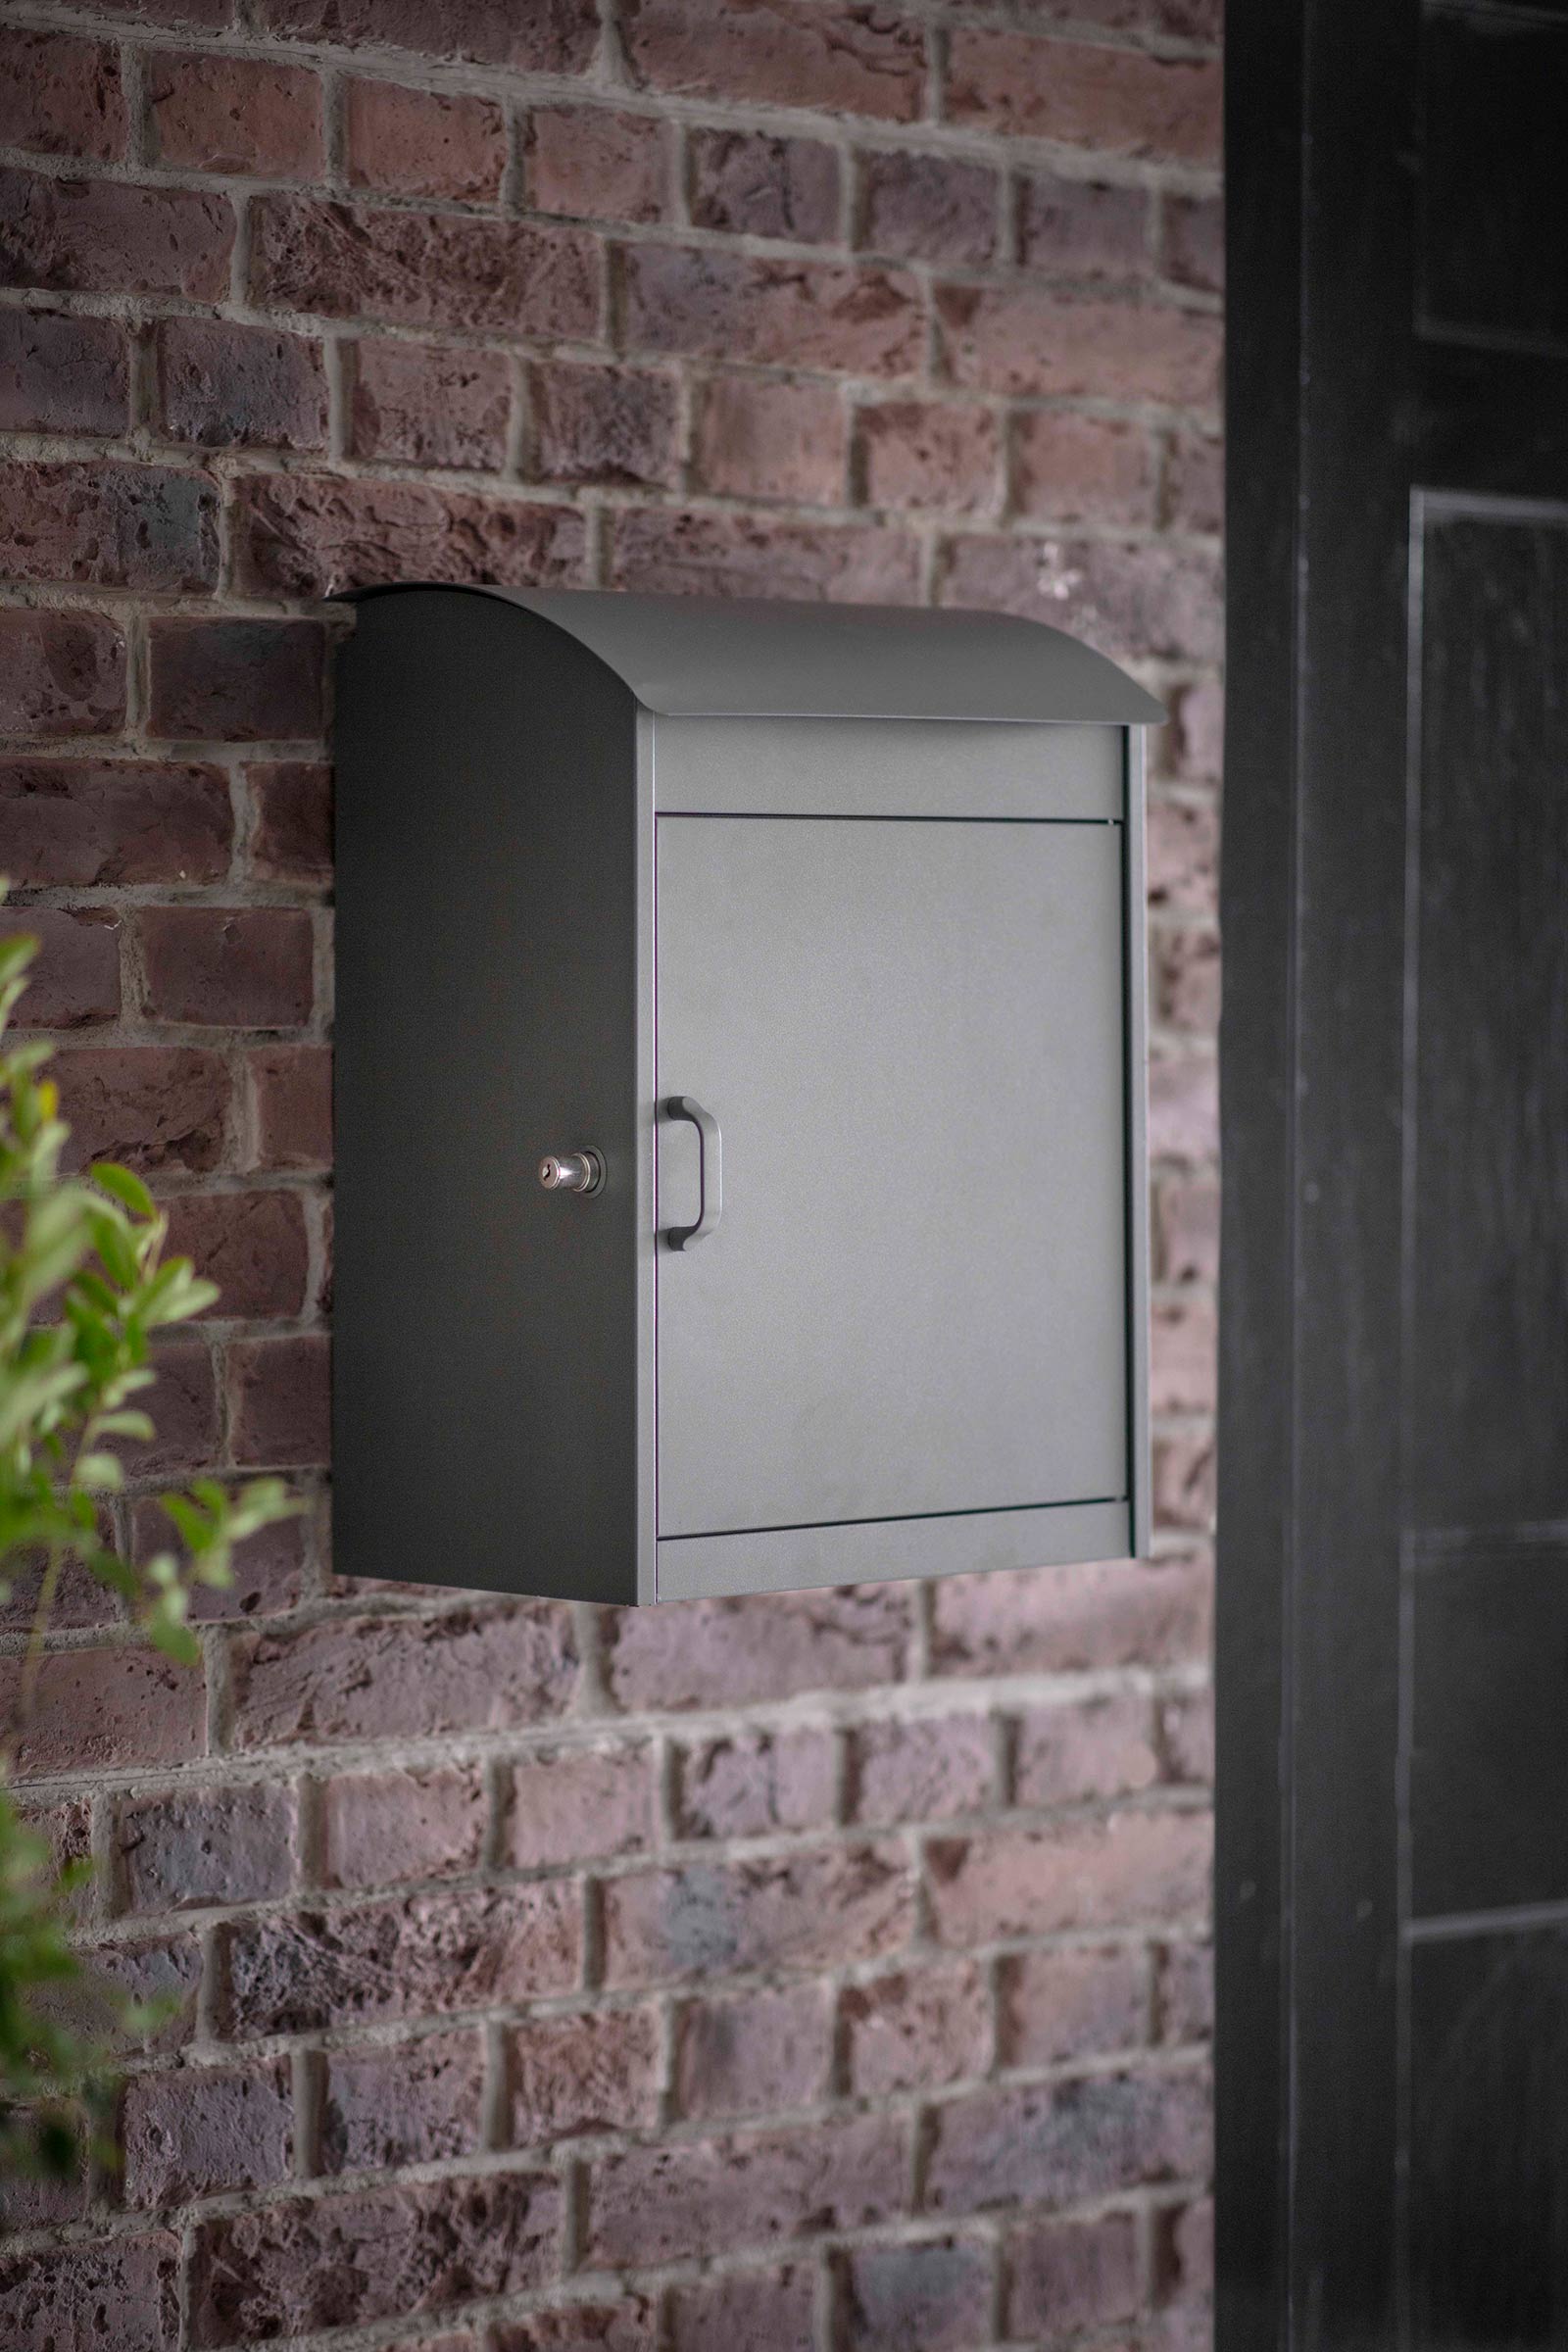
Finally, many people choose to do away with a letterbox in their front door entirely, instead opting for an external, wall-mounted design next to the door or fitted to a gate post. The obvious benefit of this is that there is one less opening to the great outdoors to worry about in your house. The downside is that you will need to venture outside to retrieve your mail. You will also need to make it clear that your old letterbox is out of action and sealed or buy and fit (not always easy) a new door.

5. Don’t forget to draught proof key holes and door frames
It would be a waste of time and money to draught proof your letterbox and then fail to seal up the rest of your front door.
When it comes to draught proofing a front door, use draught strips around the perimeter of the door, Stormguard's two pack of extra thick weatherstrip in brown (or white) on Amazon are great for this, fit brush strips under the door and remember to cover the keyhole with a covered escutcheon, like this one in silver for £3.49 from Carlisle Brass on Amazon. Heavy curtains and padded draught excluders will further protect your home from pesky draughts.
Get the Homebuilding & Renovating Newsletter
Bring your dream home to life with expert advice, how to guides and design inspiration. Sign up for our newsletter and get two free tickets to a Homebuilding & Renovating Show near you.
Natasha was Homebuilding & Renovating’s Associate Content Editor and was a member of the Homebuilding team for over two decades. In her role on Homebuilding & Renovating she imparted her knowledge on a wide range of renovation topics, from window condensation to renovating bathrooms, to removing walls and adding an extension. She continues to write for Homebuilding on these topics, and more. An experienced journalist and renovation expert, she also writes for a number of other homes titles, including Homes & Gardens and Ideal Homes. Over the years Natasha has renovated and carried out a side extension to a Victorian terrace. She is currently living in the rural Edwardian cottage she renovated and extended on a largely DIY basis, living on site for the duration of the project.

