Dot and Dab Plasterboard: A How-To Guide for Smooth Walls
Looking to dot and dab for a quick and cheap way to cover up brick and block walls. We tell you what tools you need and how to do it

Want to know how to dot and dab plasterboard? Then you have come to the right place. It's a technique that isn’t as difficult as you might first think. Any competent DIYer will be able to tackle it with relish and enthusiasm and you might well be surprised at how good the results look.
Dot and dabbing plasterboard is a prelude to skimming or plastering walls so you need to get it right. Get it wrong and the plasterboard could pull away from the wall under the weight of the plaster. And nobody wants to see their beautifully painted wall suddenly heading towards them when they are comfortably sitting watching TV.
But why use dot and dab? "They speed up your build as less water gets used, so drying out times are vastly increased," reveals Gary Blackburn, Plaster Support Manager at Saint Gobain. "It also gives flexibility of the various types of plasterboards available to use e.g. noise, moisture, vapour, fire, and thermal boards. And waste boards can be recycled."
Follow our step-by-step guide to find out how to prep your walls, mix the adhesive and measure up for the perfect finish.
Dot and Dab Plasterboard: The Tools You’ll Need For the Job
- Long spirt level (1.2m or larger)
- Pencil
- Two builders buckets
- Featheredge (optional)
- Trowel
- Hawk
- Tape measure
- Stanley knife
- Plasterboard saw
- Bucket trowel
- Kitchen sponge
Dot and Dab Plasterboard: A Step-By-Step Guide
1. Prep the wall
Before you start you need to seal up the wall especially if it's new brick, block or plaster. These can soak up the moisture in the dot and dab mix making it less effective. Use a PVA and water mixture of around 5 to 1 and paint the wall and wait for the PVA to dry.
2. Measure up and cut plasterboard
The plasterboard adhesive will dry pretty quickly so it makes sense to cut the plasterboard so it's ready to go when needed. Work from one corner and measure out where each sheet of plasterboard – when upright – will go.
Plasterboard typically comes in 1,200mm x 2,400mm sheets. So you will probably only need to make minimal cuts if plasterboarding a straight wall with no windows or doors.
If you have to make a cut for a window or door, measure how far the edges are from the last whole board and mark on the plasterboard with a pencil. Now lie the board on the floor and use a straight edge, i.e. a spirit level, and use a Stanley knife to make the cuts.
3. Mix up the adhesive
To stick the plasterboard to the wall you will need a plasterboard adhesive. Mix up in a clean bucket as instructed. Mix to a consistency that won't slip off the hawk. Use a bucket trowel to add the adhesive to the hawk.
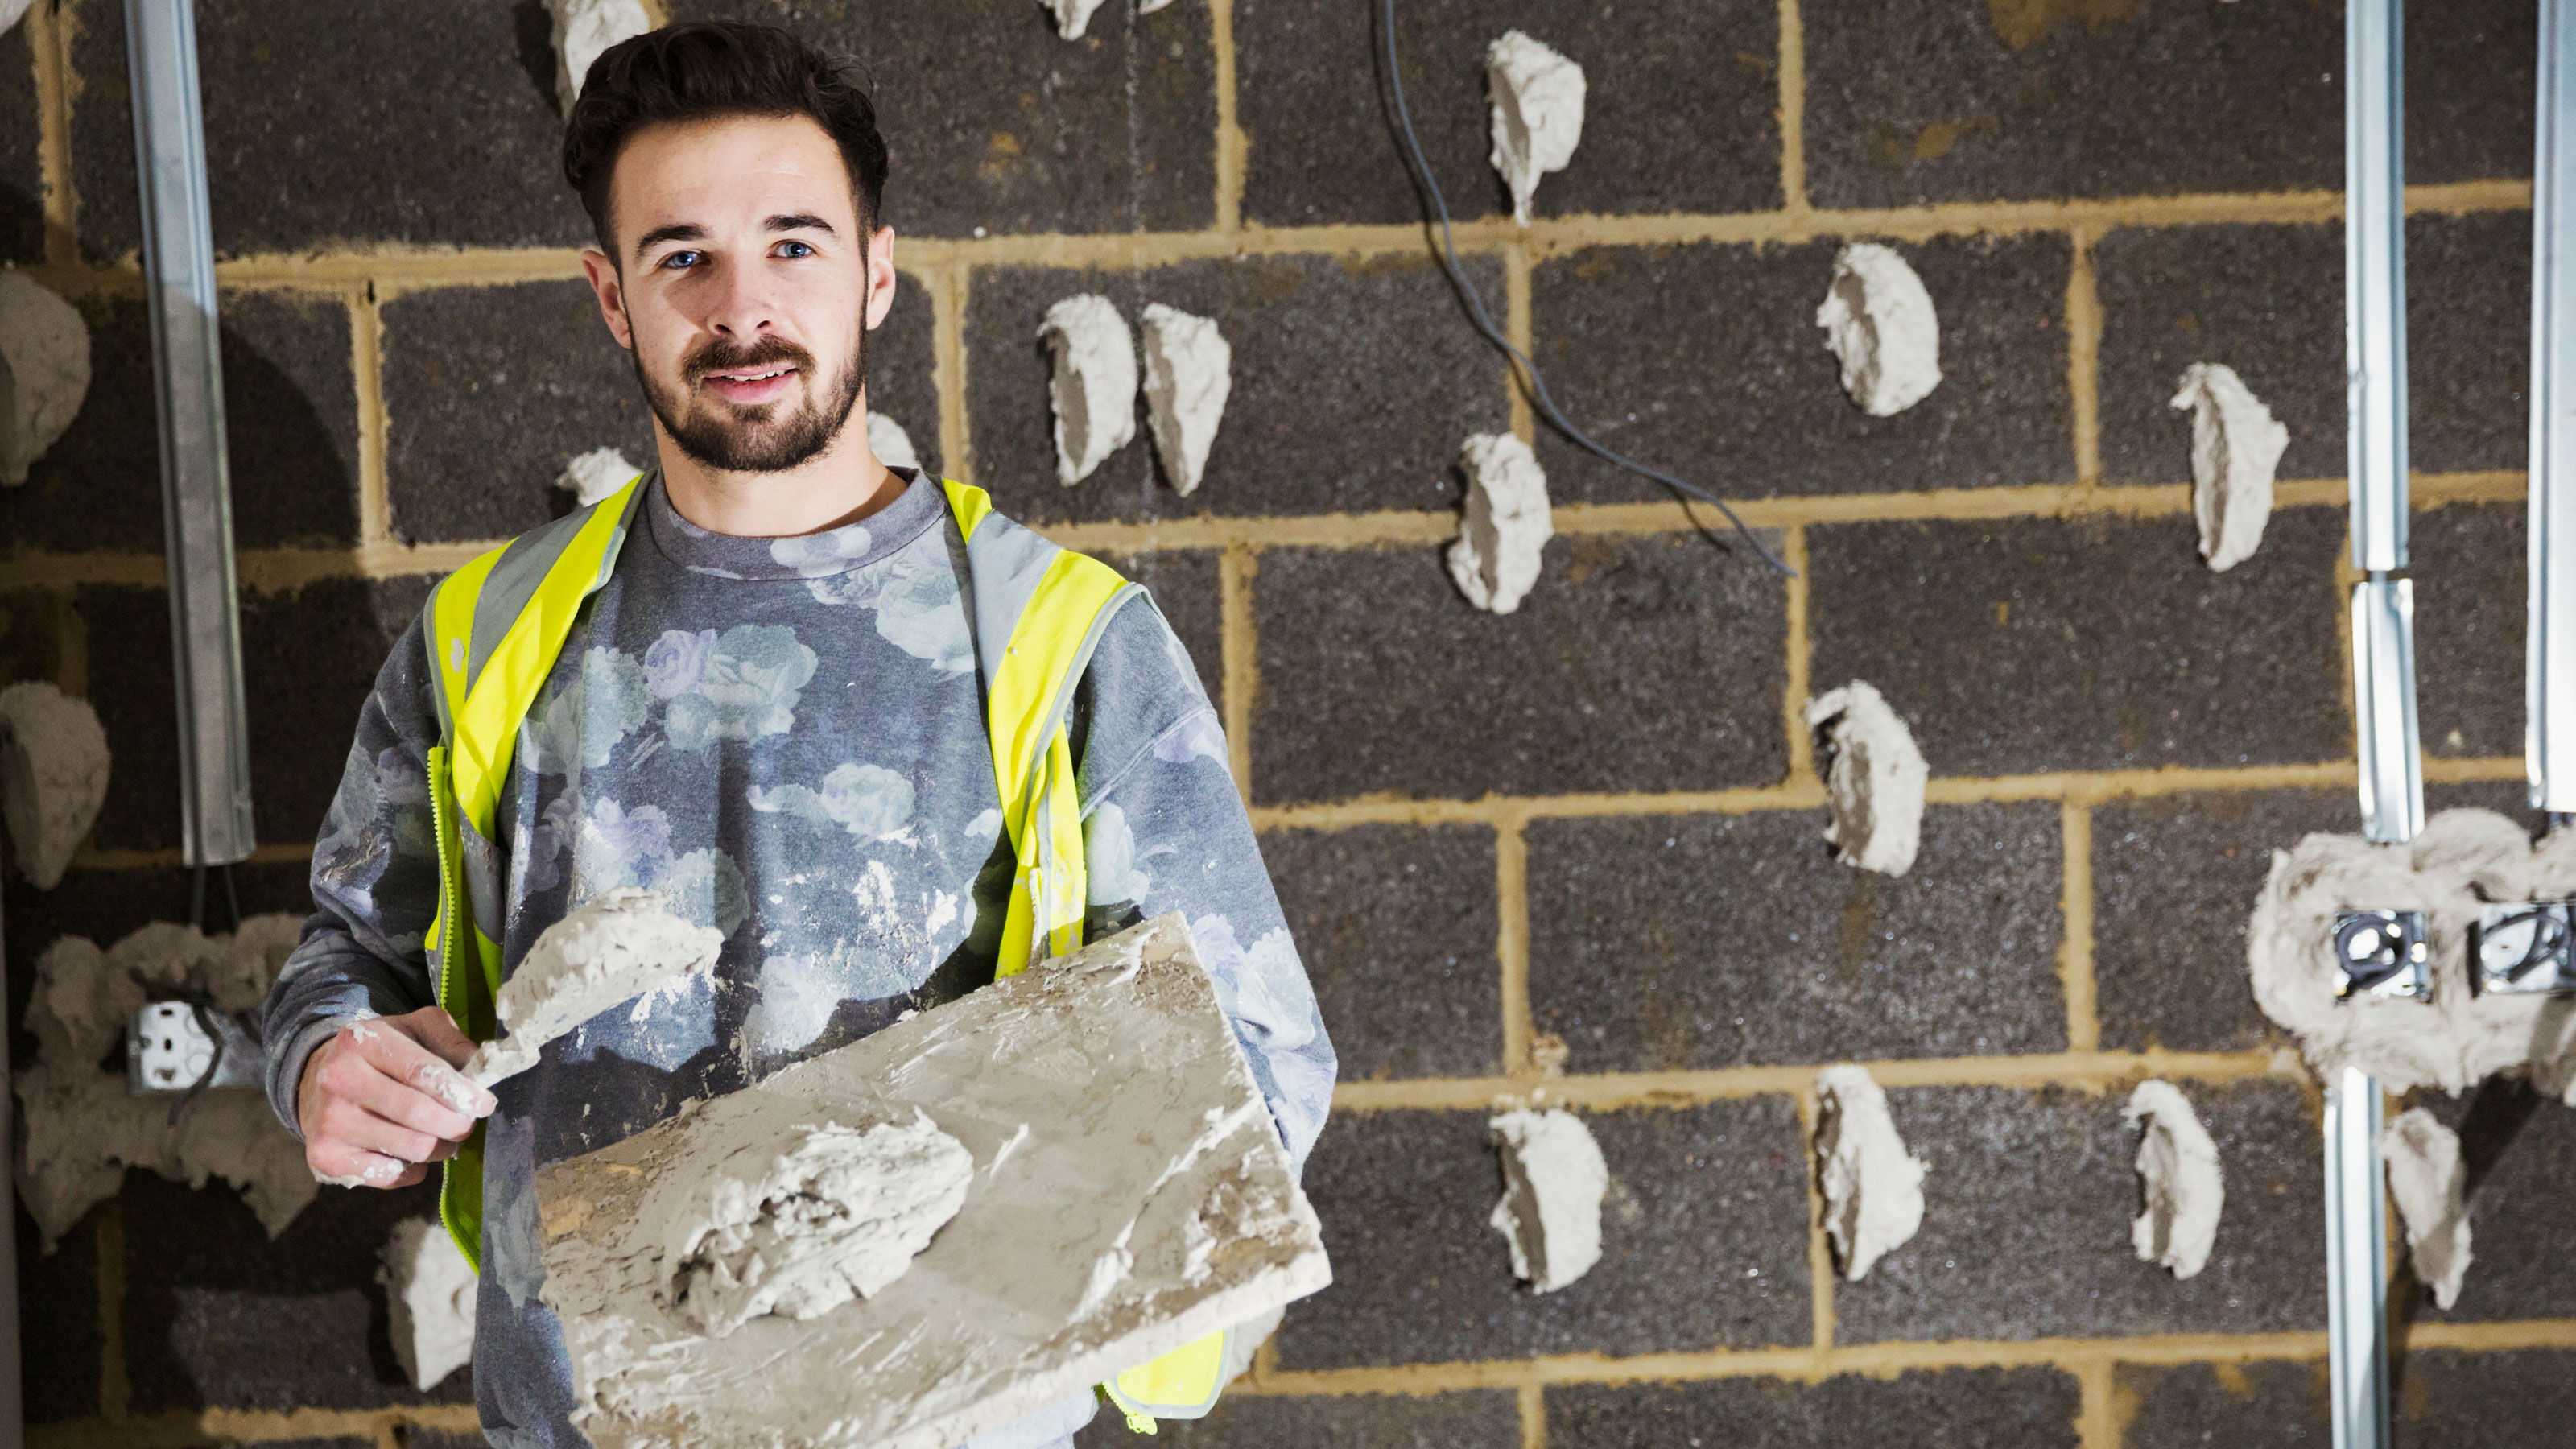
Start at the top left and dab on around half a trowel worth of adhesive. Repeat this across the top of the wall making sure you use the same amount each time and leave no gaps.
Now apply rows of dabs of adhesive around every 12 inches. Or rows of four evenly spaced dabs for each board. Keep adding a row every 12 inches until you get to the bottom. Add a line of adhesive along the bottom for extra security. Repeat for other boards.
4. Put up plasterboard
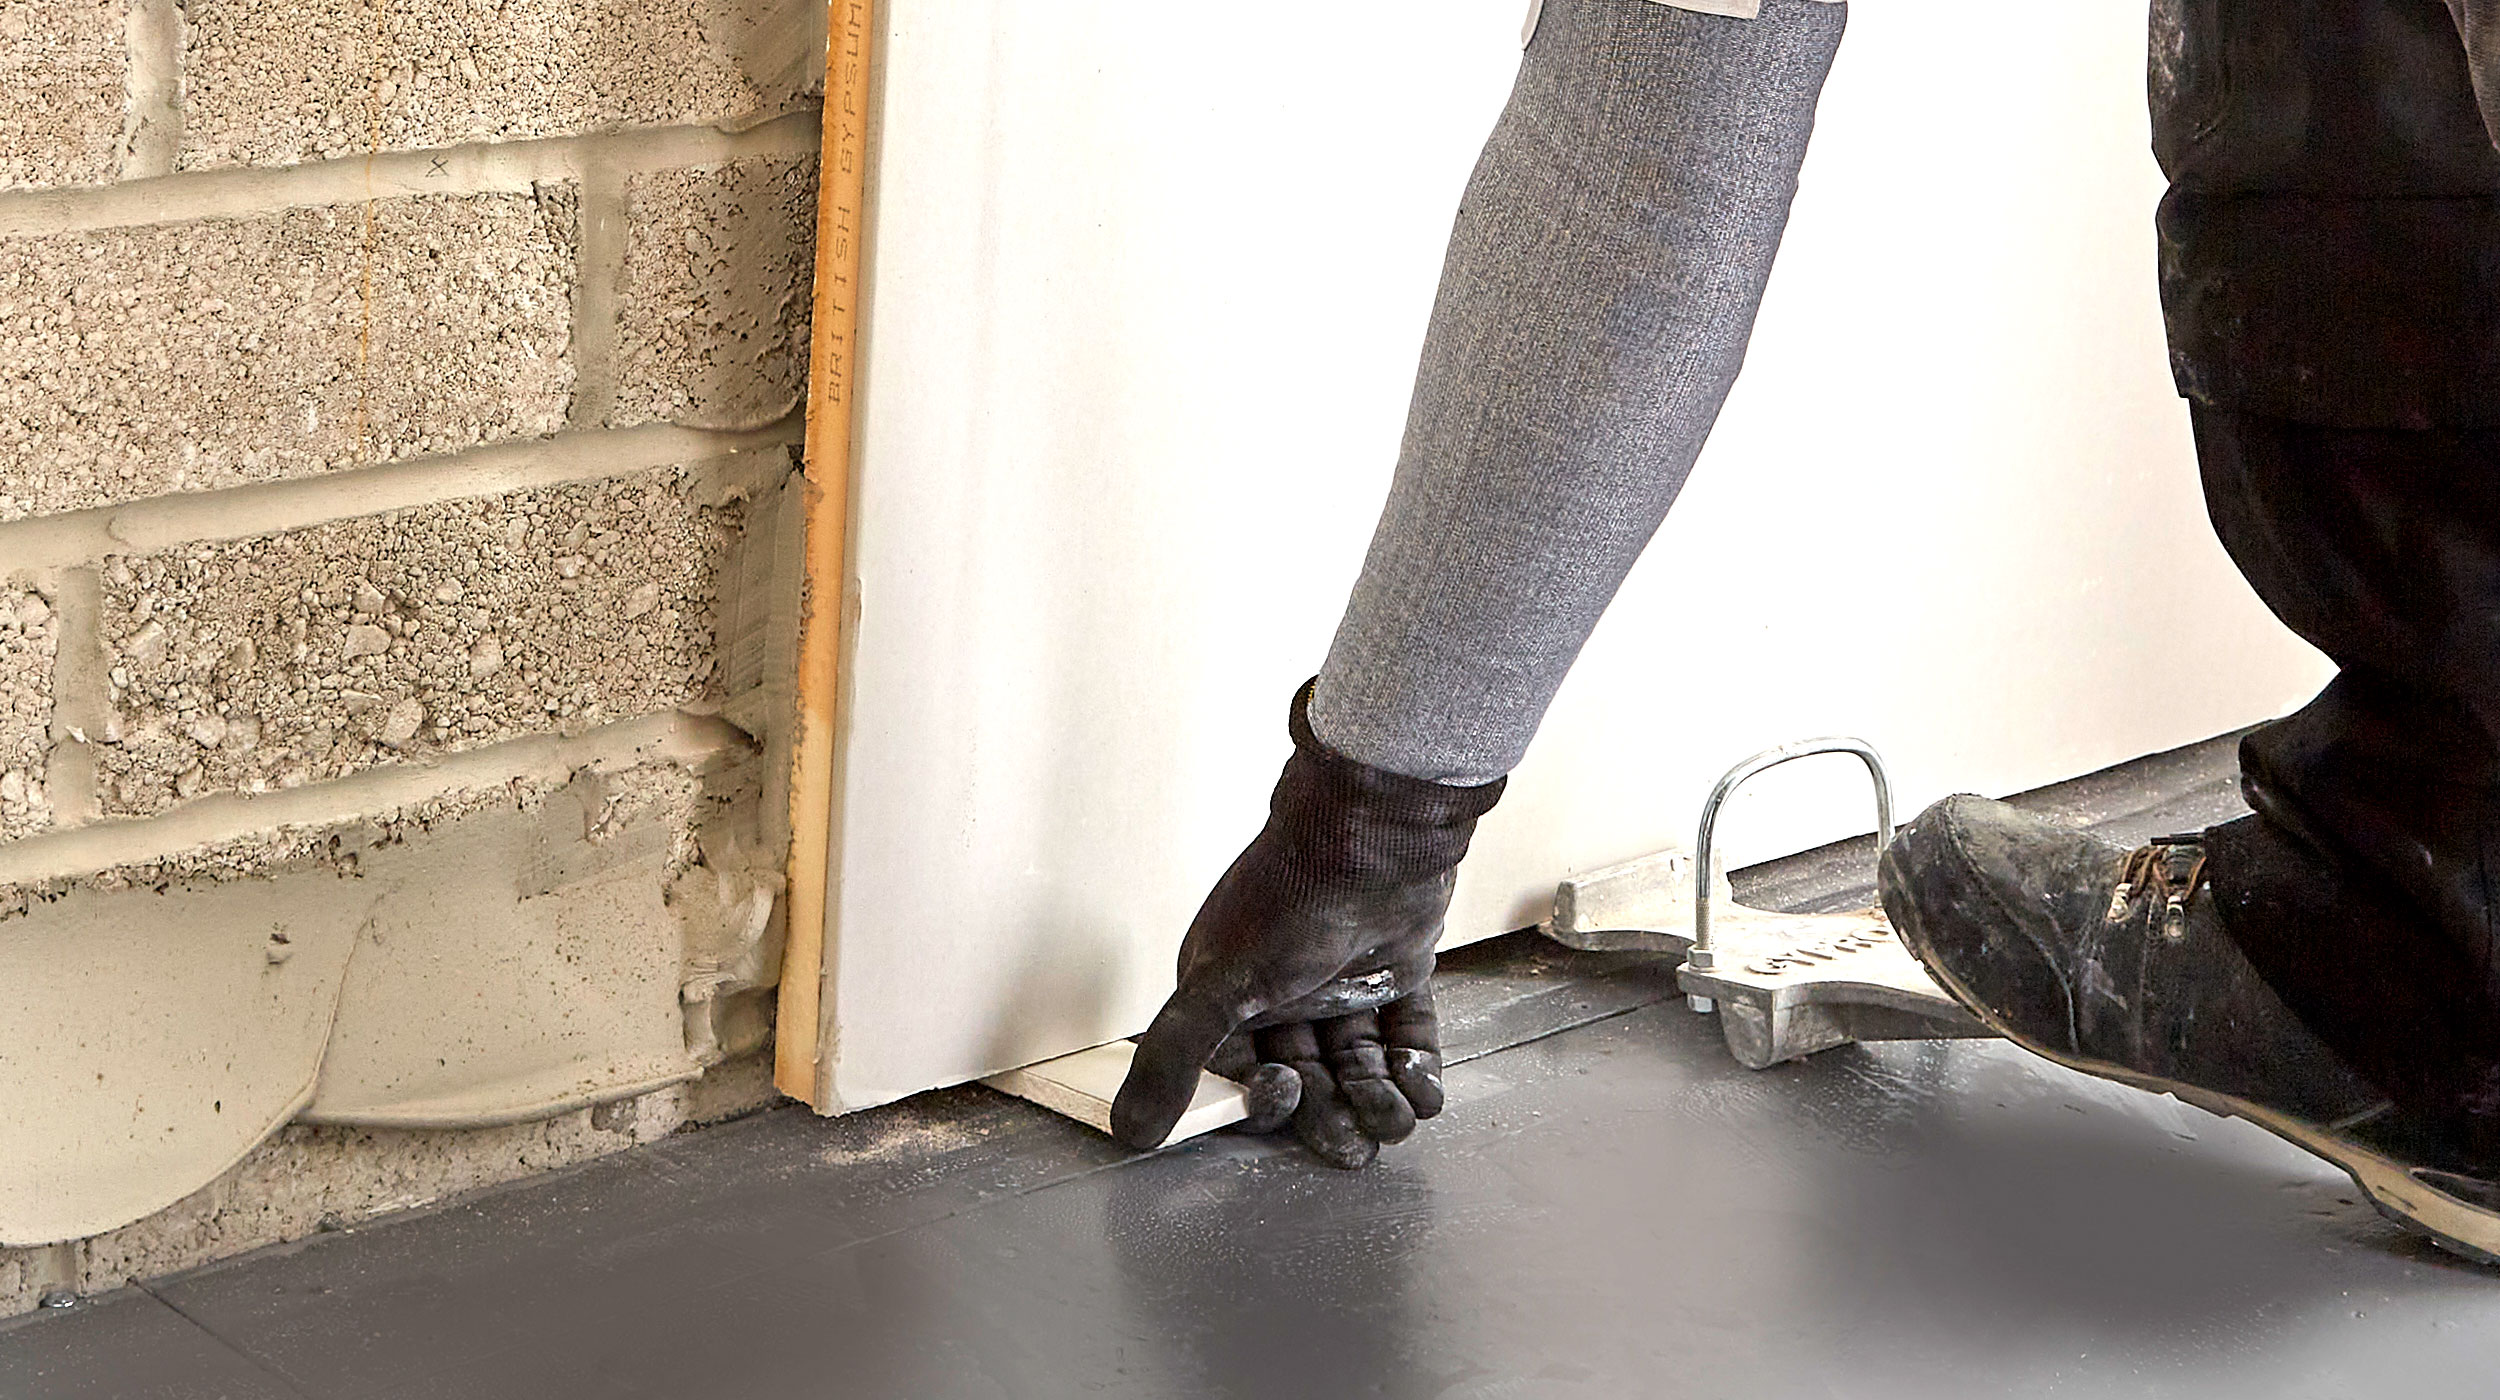
Get a couple of offcuts of plasterboard and place them on the floor. These will keep the plasterboard off the floor and leave a small gap. Position the plasterboard on the offcuts and press firmly against the wall.
Now get a long spirit level and see how level and square the board is. Place the level vertically on one side and see how level from bottom to top and repeat this process on the other side. Use a featheredge to tap the plasterboard into a level position.
Test with the level again and make any fine adjustments with the featheredge until the plasterboard is square. Pay special attention to the first board — if this is out so will the others be. Now repeat with the other boards. Leave to dry for 24 hours and it will be ready to skim.

Is Dot And Dab Better Than Plastering?
Dob and dab and wet plastering both have their pros and cons. Putting up plasterboard is much quicker and cheaper than plastering. You dab on your adhesive, place your plasterboard and leave to dry. When ready you can skim a plasterboard wall quickly to get the final finish. It's an ideal choice for most internal walls.
However, when weighing up wet plaster vs drylining – or dot and dab as it's also known – it is important to note that dot and dab is not as durable and robust as wet plastering. Nor is it as airtight, which might be a key consideration if you're building a new eco home. This method takes longer and is more expensive, but is a good choice if you can afford it.
How Do I Cut Around Electrical Sockets?
There are two commonly used methods. One is to place the plasterboard in position against the wall and give it a tap near where the socket is. This leaves an imprint on the back of the plasterboard which you can cut around before you put the plasterboard up. This would be a good time to swap a socket or install a new one.
The other method is to cut out after the board is up. You will need to be more careful that you don’t cut any wires. Get a long spirit level, line up level on the top of the socket and mark on the corner of the nearest wall.
Do the same on the bottom of the socket. Make your marks a couple of inches long so they don't get hidden. Now use the spirit level vertically and mark the floor where the two ends meet the floor.
Once the plasterboard is in position use the marks on the floor and wall and draw lines on the plasterboard using the spirit level. This will show where the socket is situated. Finally, cut out carefully with a plasterboard saw.
Can I Dot And Dab Plasterboard to a Ceiling?
While dot and dab is effective on walls it isn’t a good choice for ceilings. The adhesive doesn’t have enough strength to keep it secure, which means it could fall down.
When putting plasterboard on a ceiling you will need to attach the board securely with plasterboard screws (such as the Diall Carbon steel Fine Plasterboard screw from B&Q) also known as drywall screws.
Get the Homebuilding & Renovating Newsletter
Bring your dream home to life with expert advice, how to guides and design inspiration. Sign up for our newsletter and get two free tickets to a Homebuilding & Renovating Show near you.
Steve Jenkins is a freelance content creator with over two decades of experience working in digital and print and was previously the DIY content editor for Homebuilding & Renovating.
He is a keen DIYer with over 20 years of experience in transforming and renovating the many homes he has lived in. He specialises in painting and decorating, but has a wide range of skills gleaned from working in the building trade for around 10 years and spending time at night school learning how to plaster and plumb.
He has fitted kitchens, tiled bathrooms and kitchens, laid many floors, built partition walls, plastered walls, plumbed in bathrooms, worked on loft conversions and much more. And when he's not sure how to tackle a DIY project he has a wide network of friends – including plumbers, gas engineers, tilers, carpenters, painters and decorators, electricians and builders – in the trade to call upon.

