DIY Wall Panelling: How to Panel a Wall Step-by-Step
Considering DIY wall panelling for your home? This beginner's guide will walk you through the process of installing MDF Shaker wall panelling step-by-step
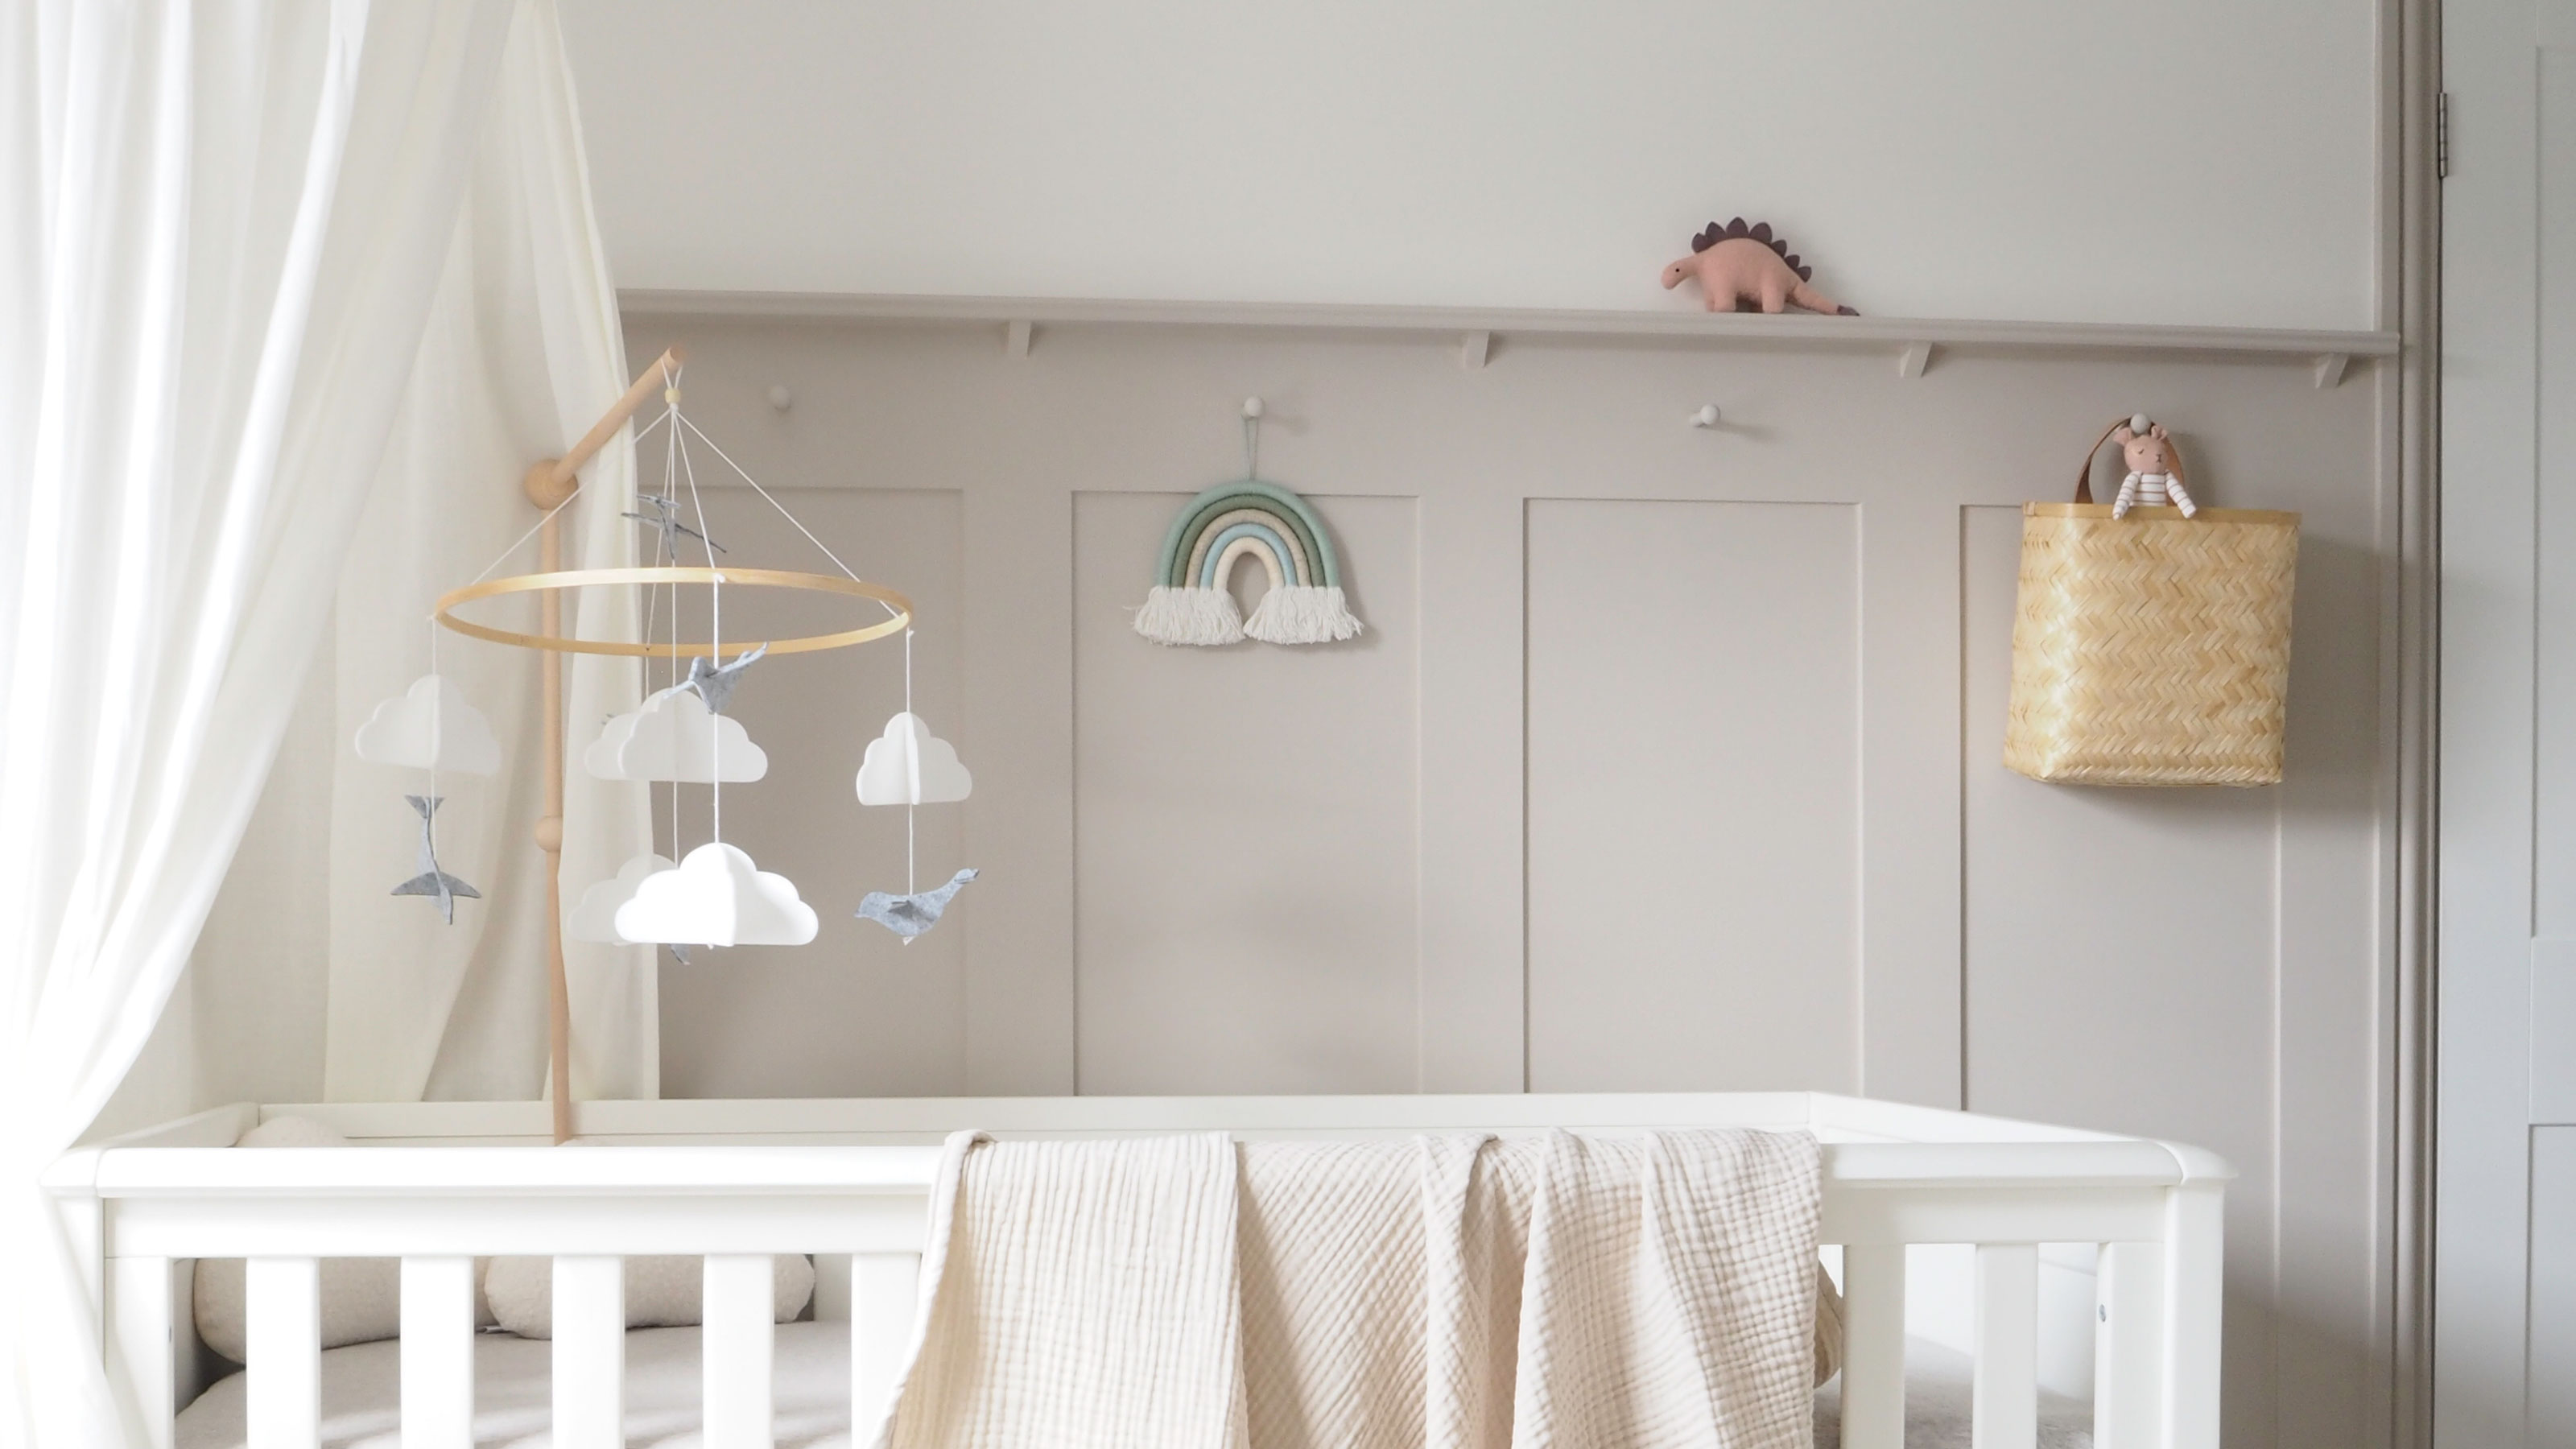
DIY wall panelling is a huge trend at the moment — and it comes in all kinds of styles so that there's one to suit every home. From contemporary slats to a more traditional Shaker style, one of the reasons it's some popular is that it's actually very easy to install, but it's sure to absolutely transform your space.
If you're considering wall panelling ideas for your space, then we've got a brilliant tutorial for you for a three-quarter Shaker style panelling, made using MDF.
From how to cut the strips to how to install, plus some helpful finishing tips, here's everything you need to know to bring characterful DIY wall panelling into your space.
What Tools do you Need for DIY Wall Panelling?
- Circular saw
- Mitre saw
- Cutting table
- Tape measure
- Ruler square
- Drill
- Jigsaw
- Instant grab adhesive
- Spirit level
- Laser level (optional)
- Mitre glue (optional)
- Multi-purpose filler
- Fine sandpaper
- MDF primer
When it comes to choosing paint for your panelling, you'll want to look at a hardy trim paint, such as your best skirting board paint, in eggshell, satin or gloss. The wall behind can be painted in the same paint, giving the effect of a fully panelled wall.
How Can I Cut MDF for Wall Panelling?
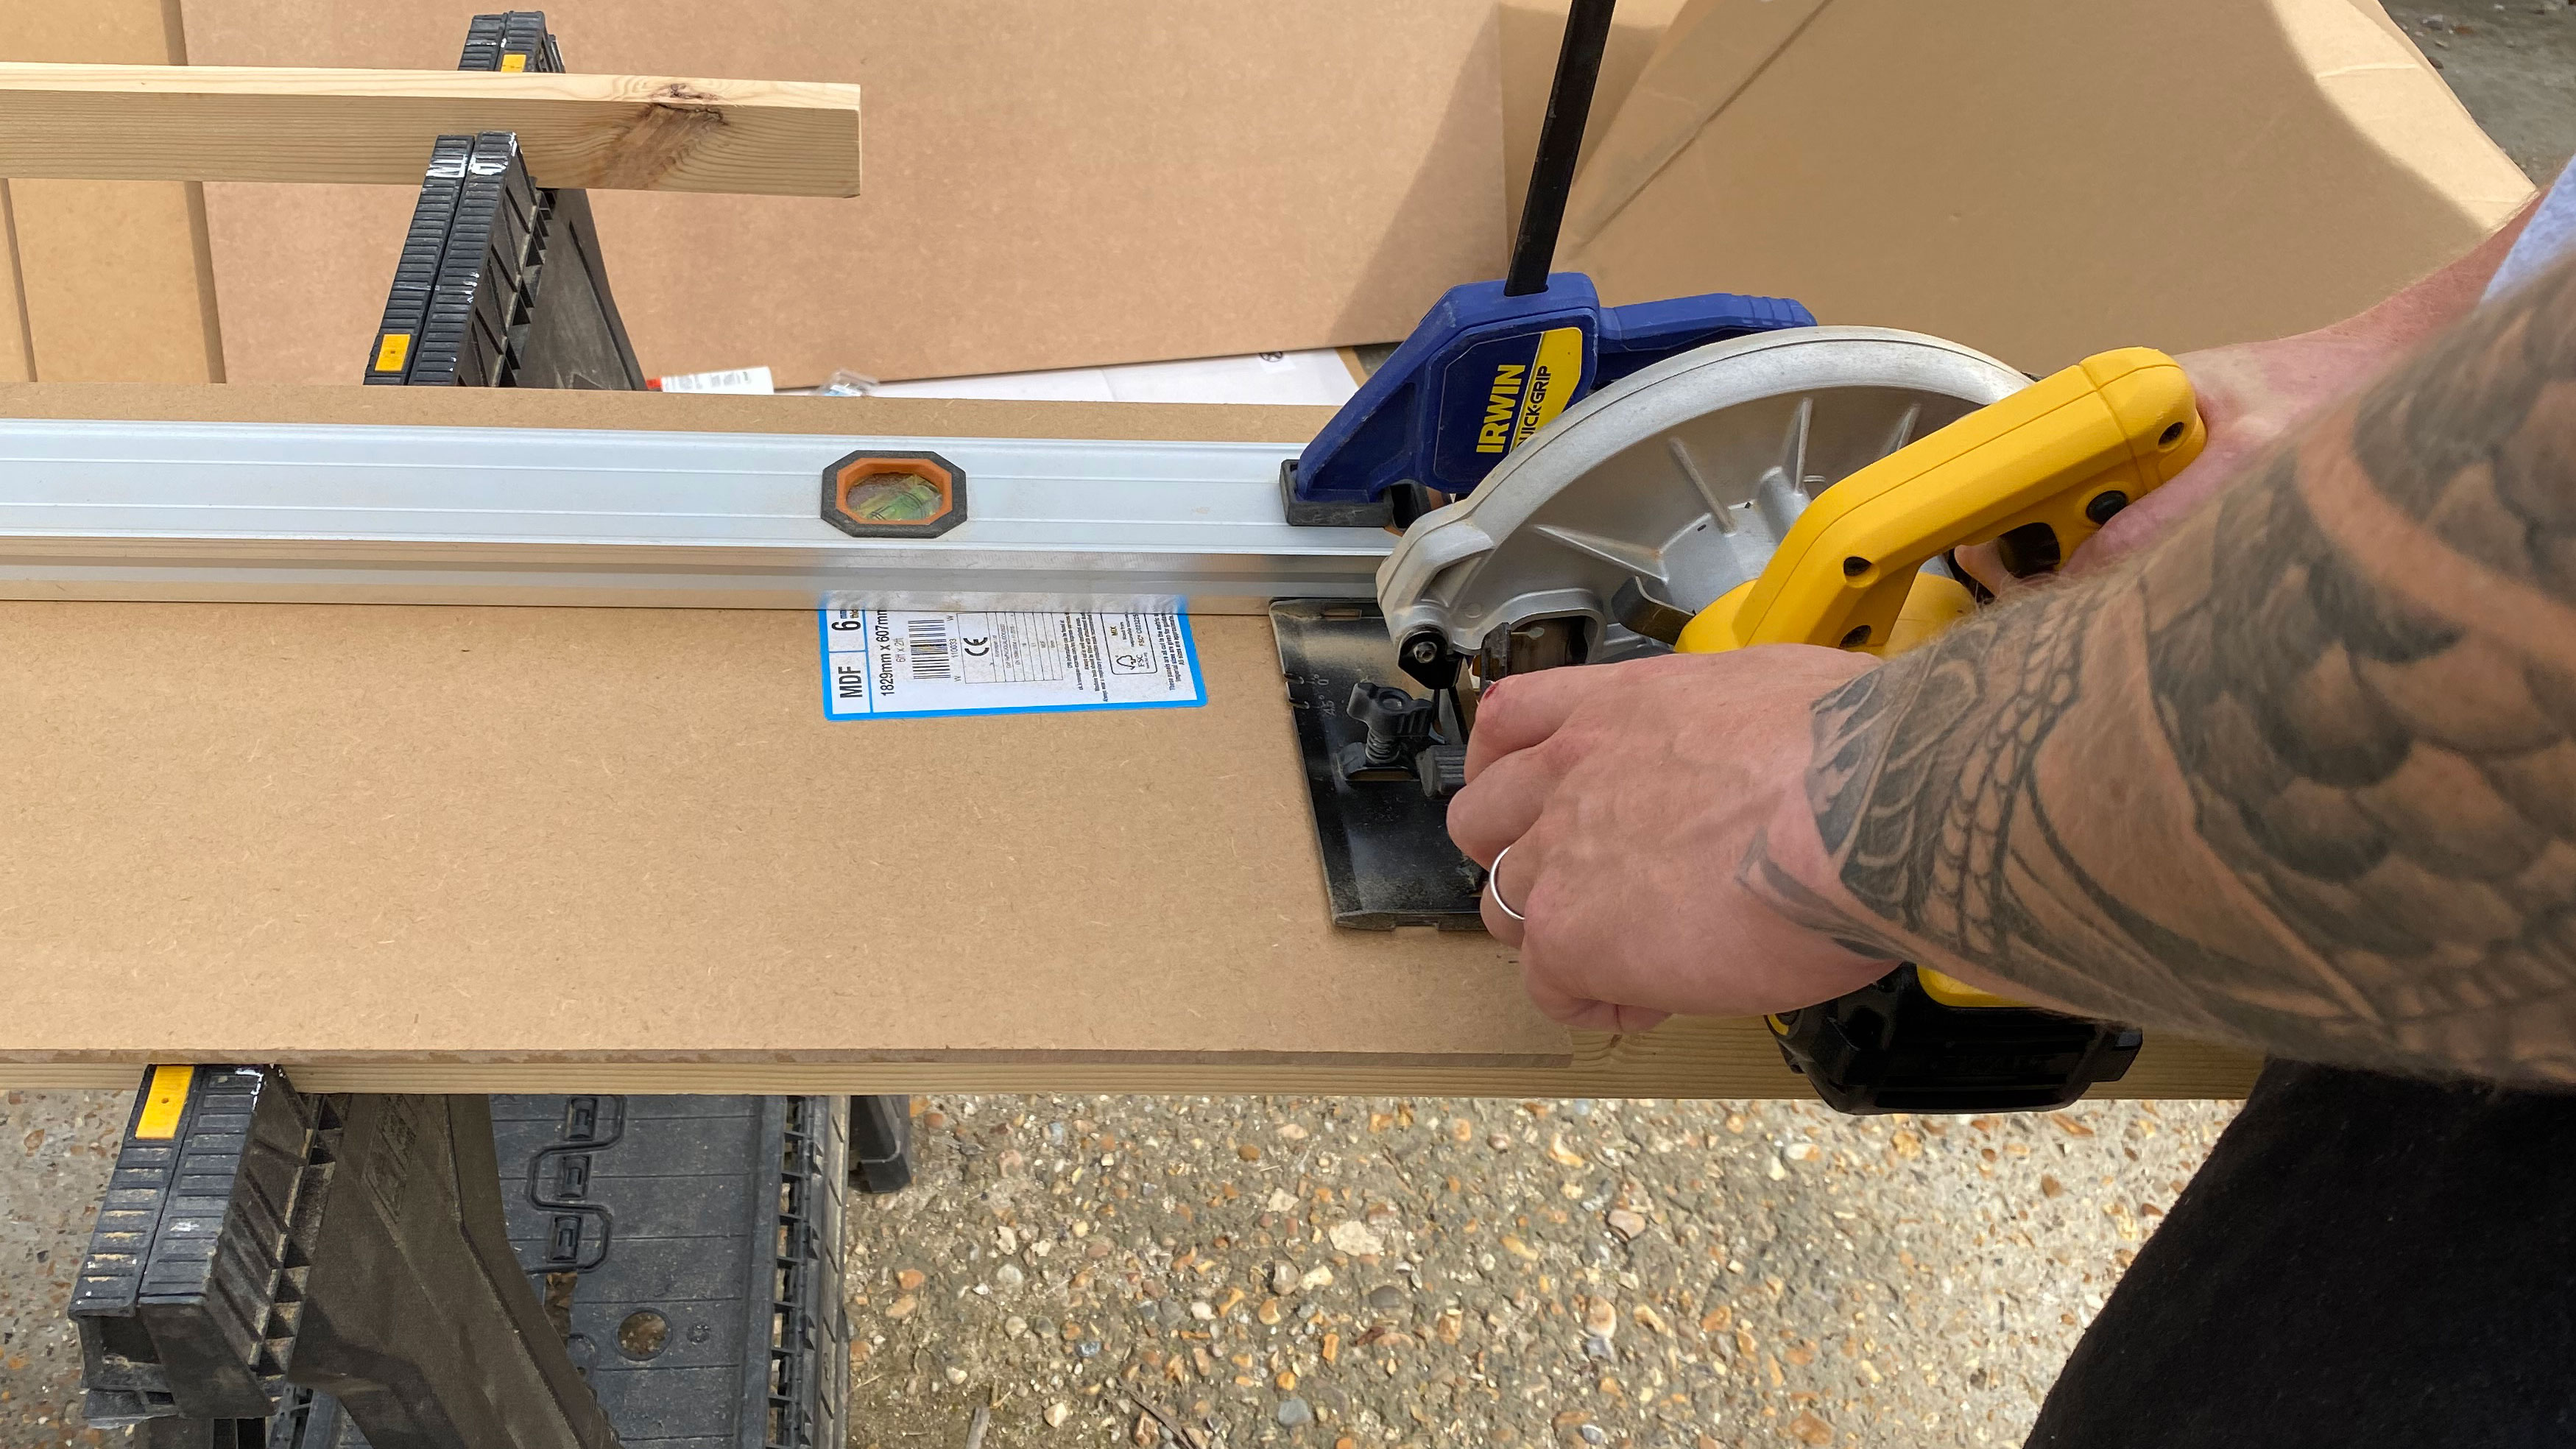
Cutting the long strips of MDF required for DIY wall panelling isn’t the easiest job for a beginner. You’ll require a circular or table saw in order to cut your panelling strips. You won’t be able to do it with the likes of a jigsaw, and a mitre saw, while easier to operate than a table or circular saw, won’t be able to cut to the lengths you need.
Of course, you can invest in a saw set-up to cut panelling no problem, as we did for this DIY guide; however, it might be power tool overkill for the ordinary DIYer. Instead, consider either asking a carpenter to cut the MDF for you (but install it yourself), or you can find timber cutting services at most large DIY stores, such as B&Q and Homebase.
One other option is to buy the MDF panel strips pre-cut. This use to be something you could only do online through specialist panelling retailers - and these retailers are good, as they offer the widest selection of styles and kits that make the process even easier - but kits have also started to sneak their way into DIY stores, like these pre-cut Shaker panel packs from Homebase.
What Styles of Wall Panelling are There to Choose from?
There are all kinds of DIY wall panelling styles to choose from. This includes a simple Shaker style, which we’ll be focusing on in this article and also comes in a variety of shapes and designs, alongside tongue and groove, contemporary slatted panelling and beading wall panelling, to name a few.
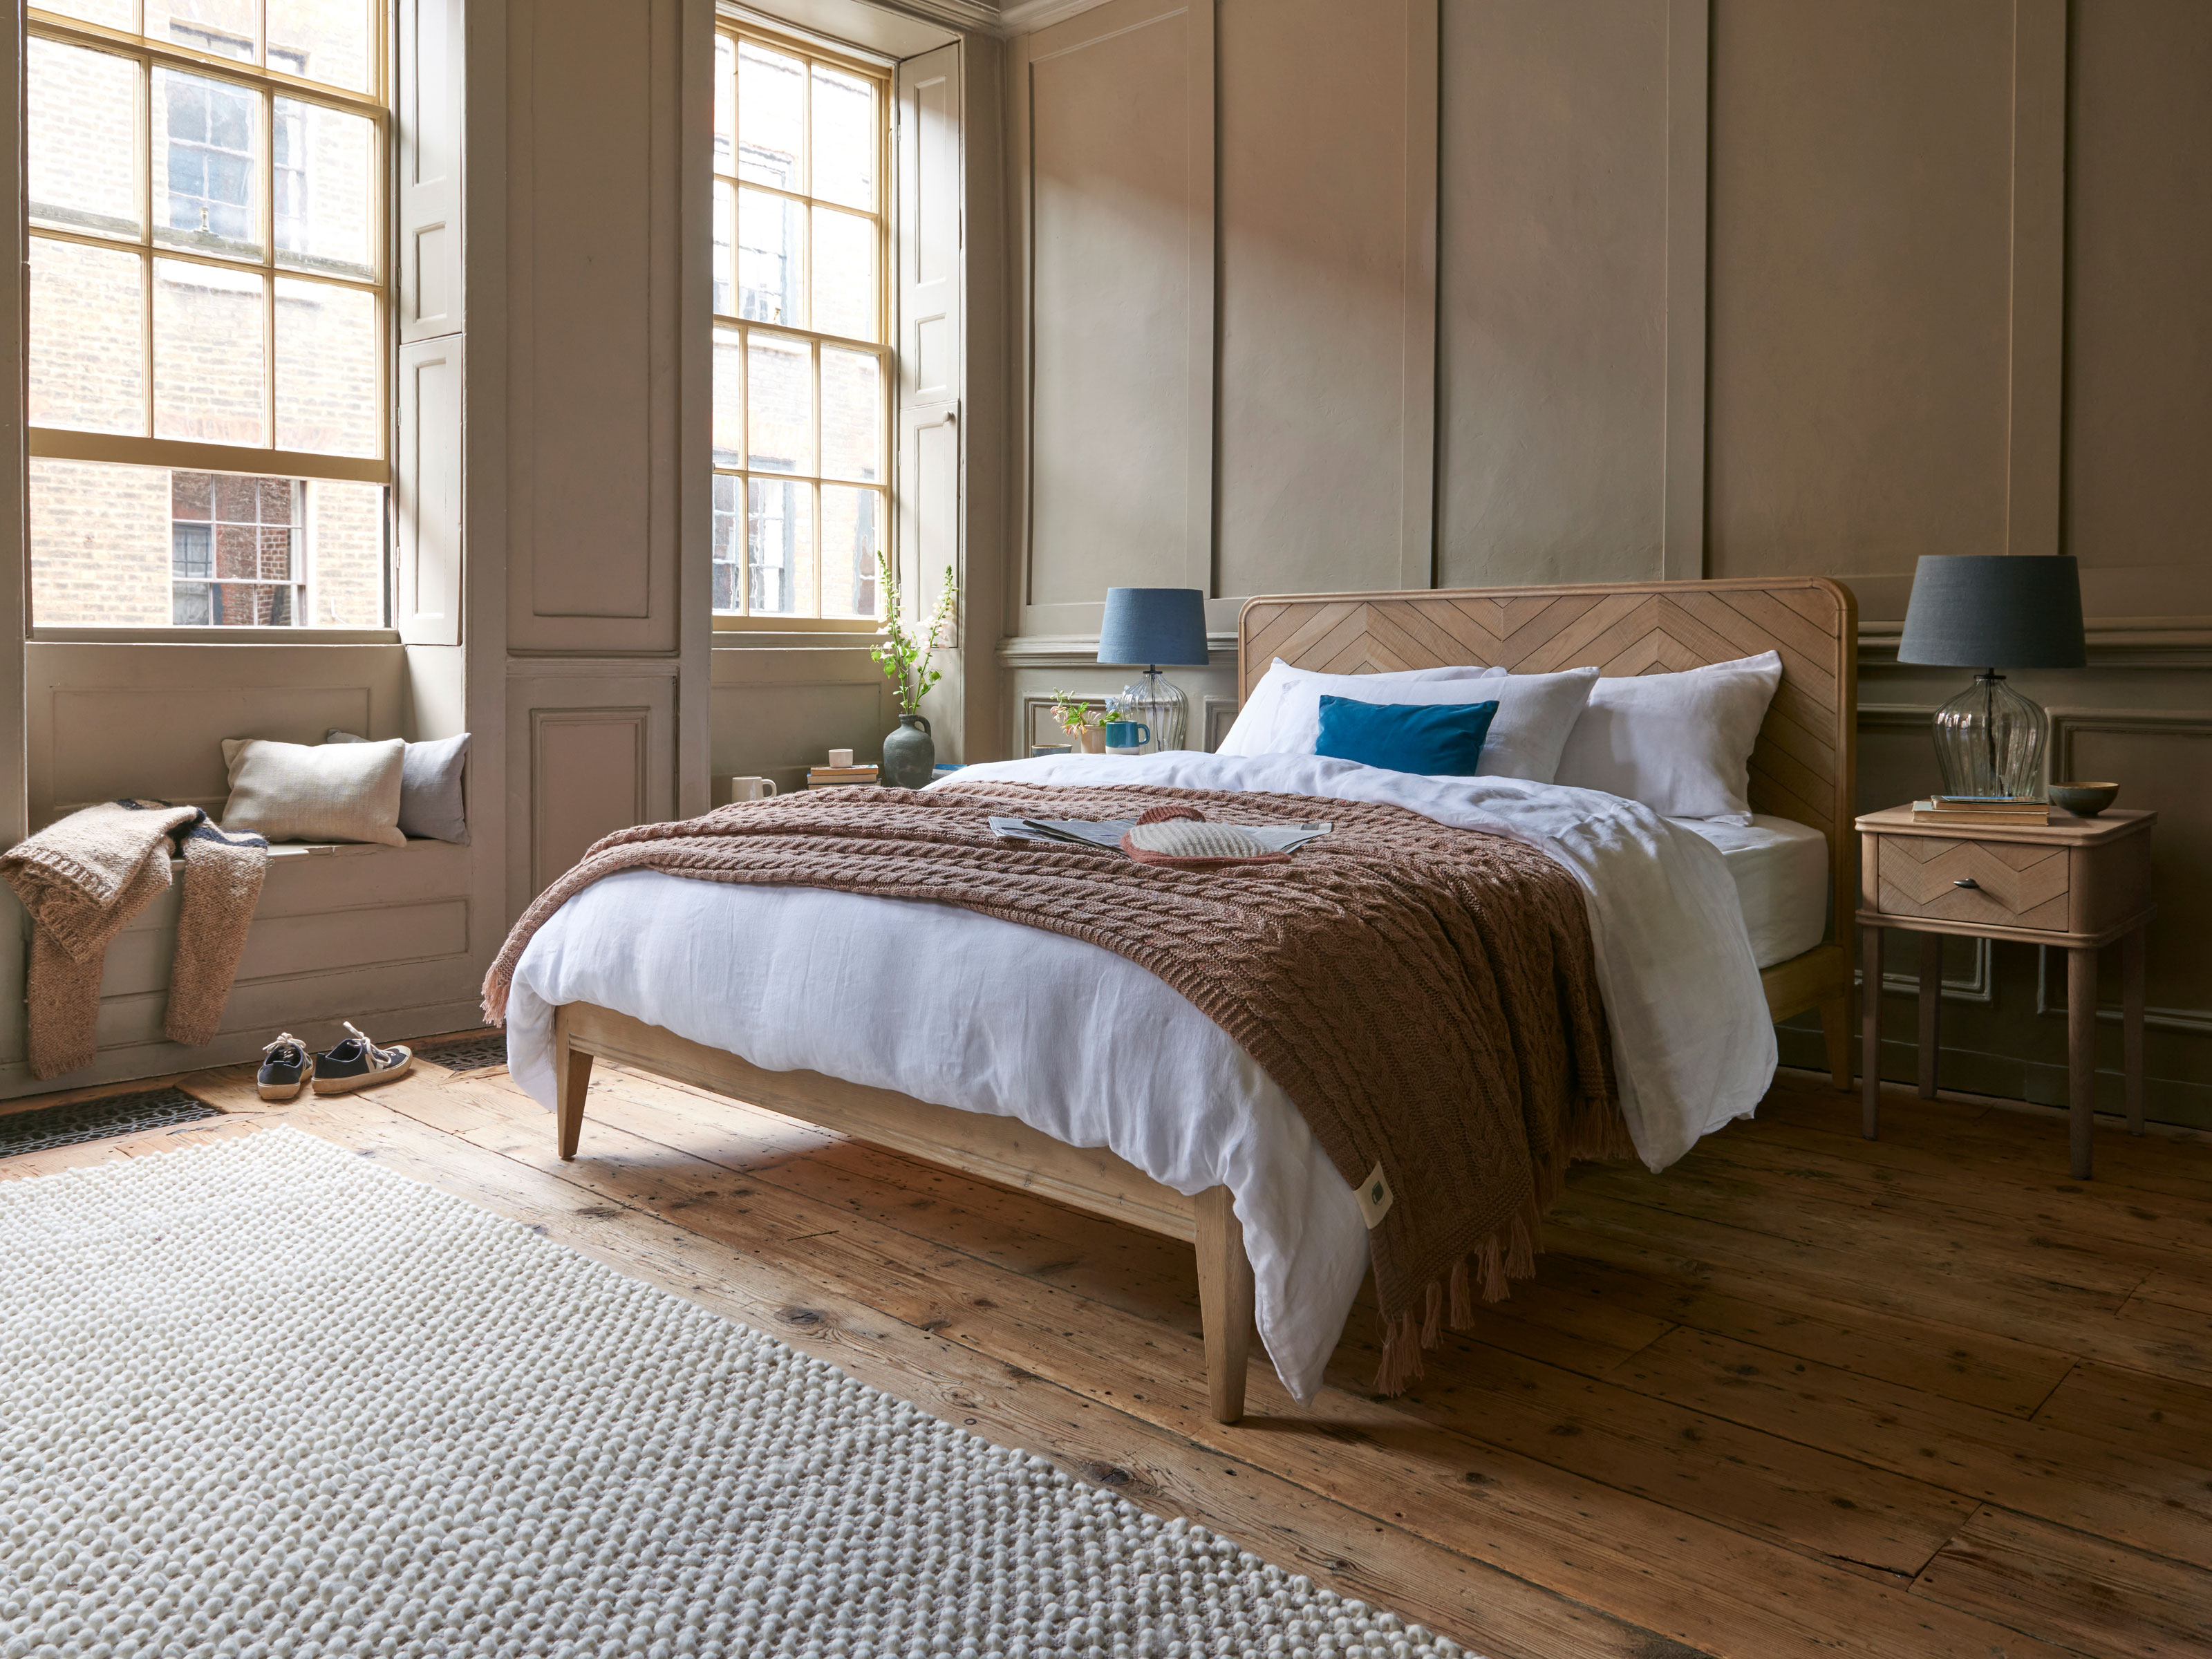
Shaker styles can be finished in a variety of different ways, possibly with moulded rails or decorative beading within each panel, and as a full wall or half wall, depending on where it is and what your preference is.
No matter which style you choose, the basic premise is the same for installing DIY wall panelling - sticking some sheet material or timber to a wall and paint over the whole lot - and the steps for the different types of Shaker panelling are quite similar
How to Cut a Plug Socket Hole in Wall Panelling
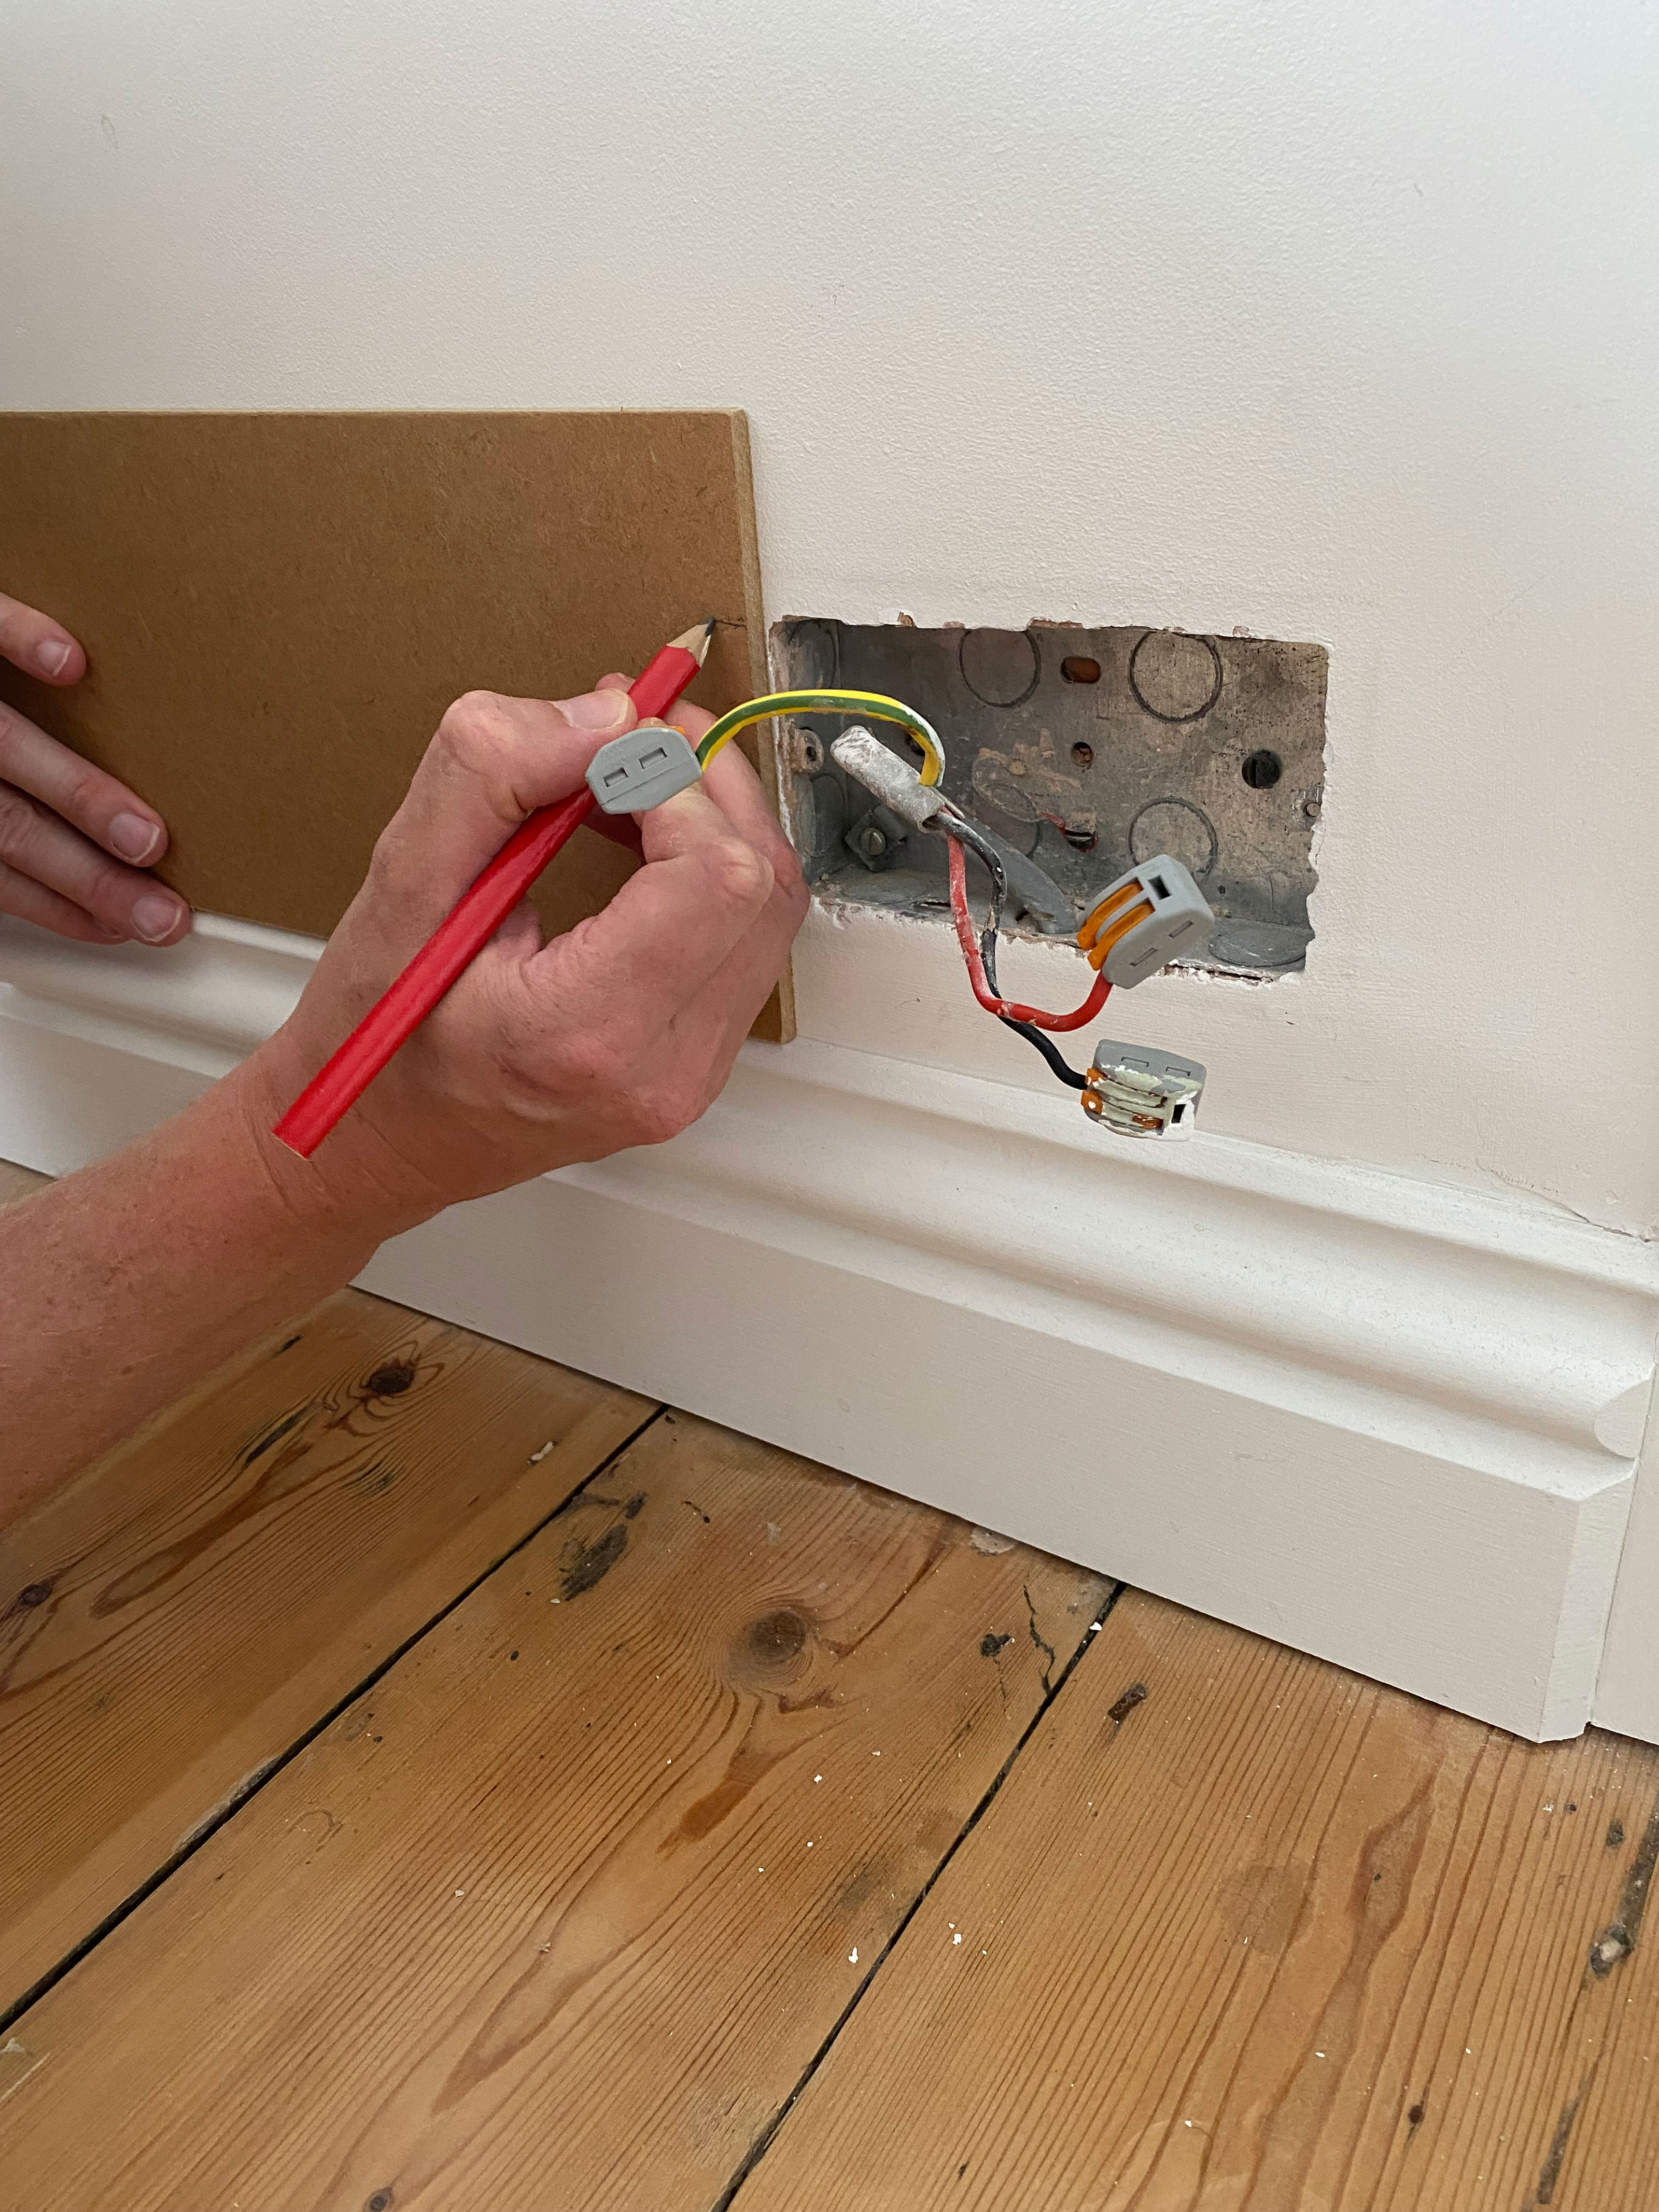
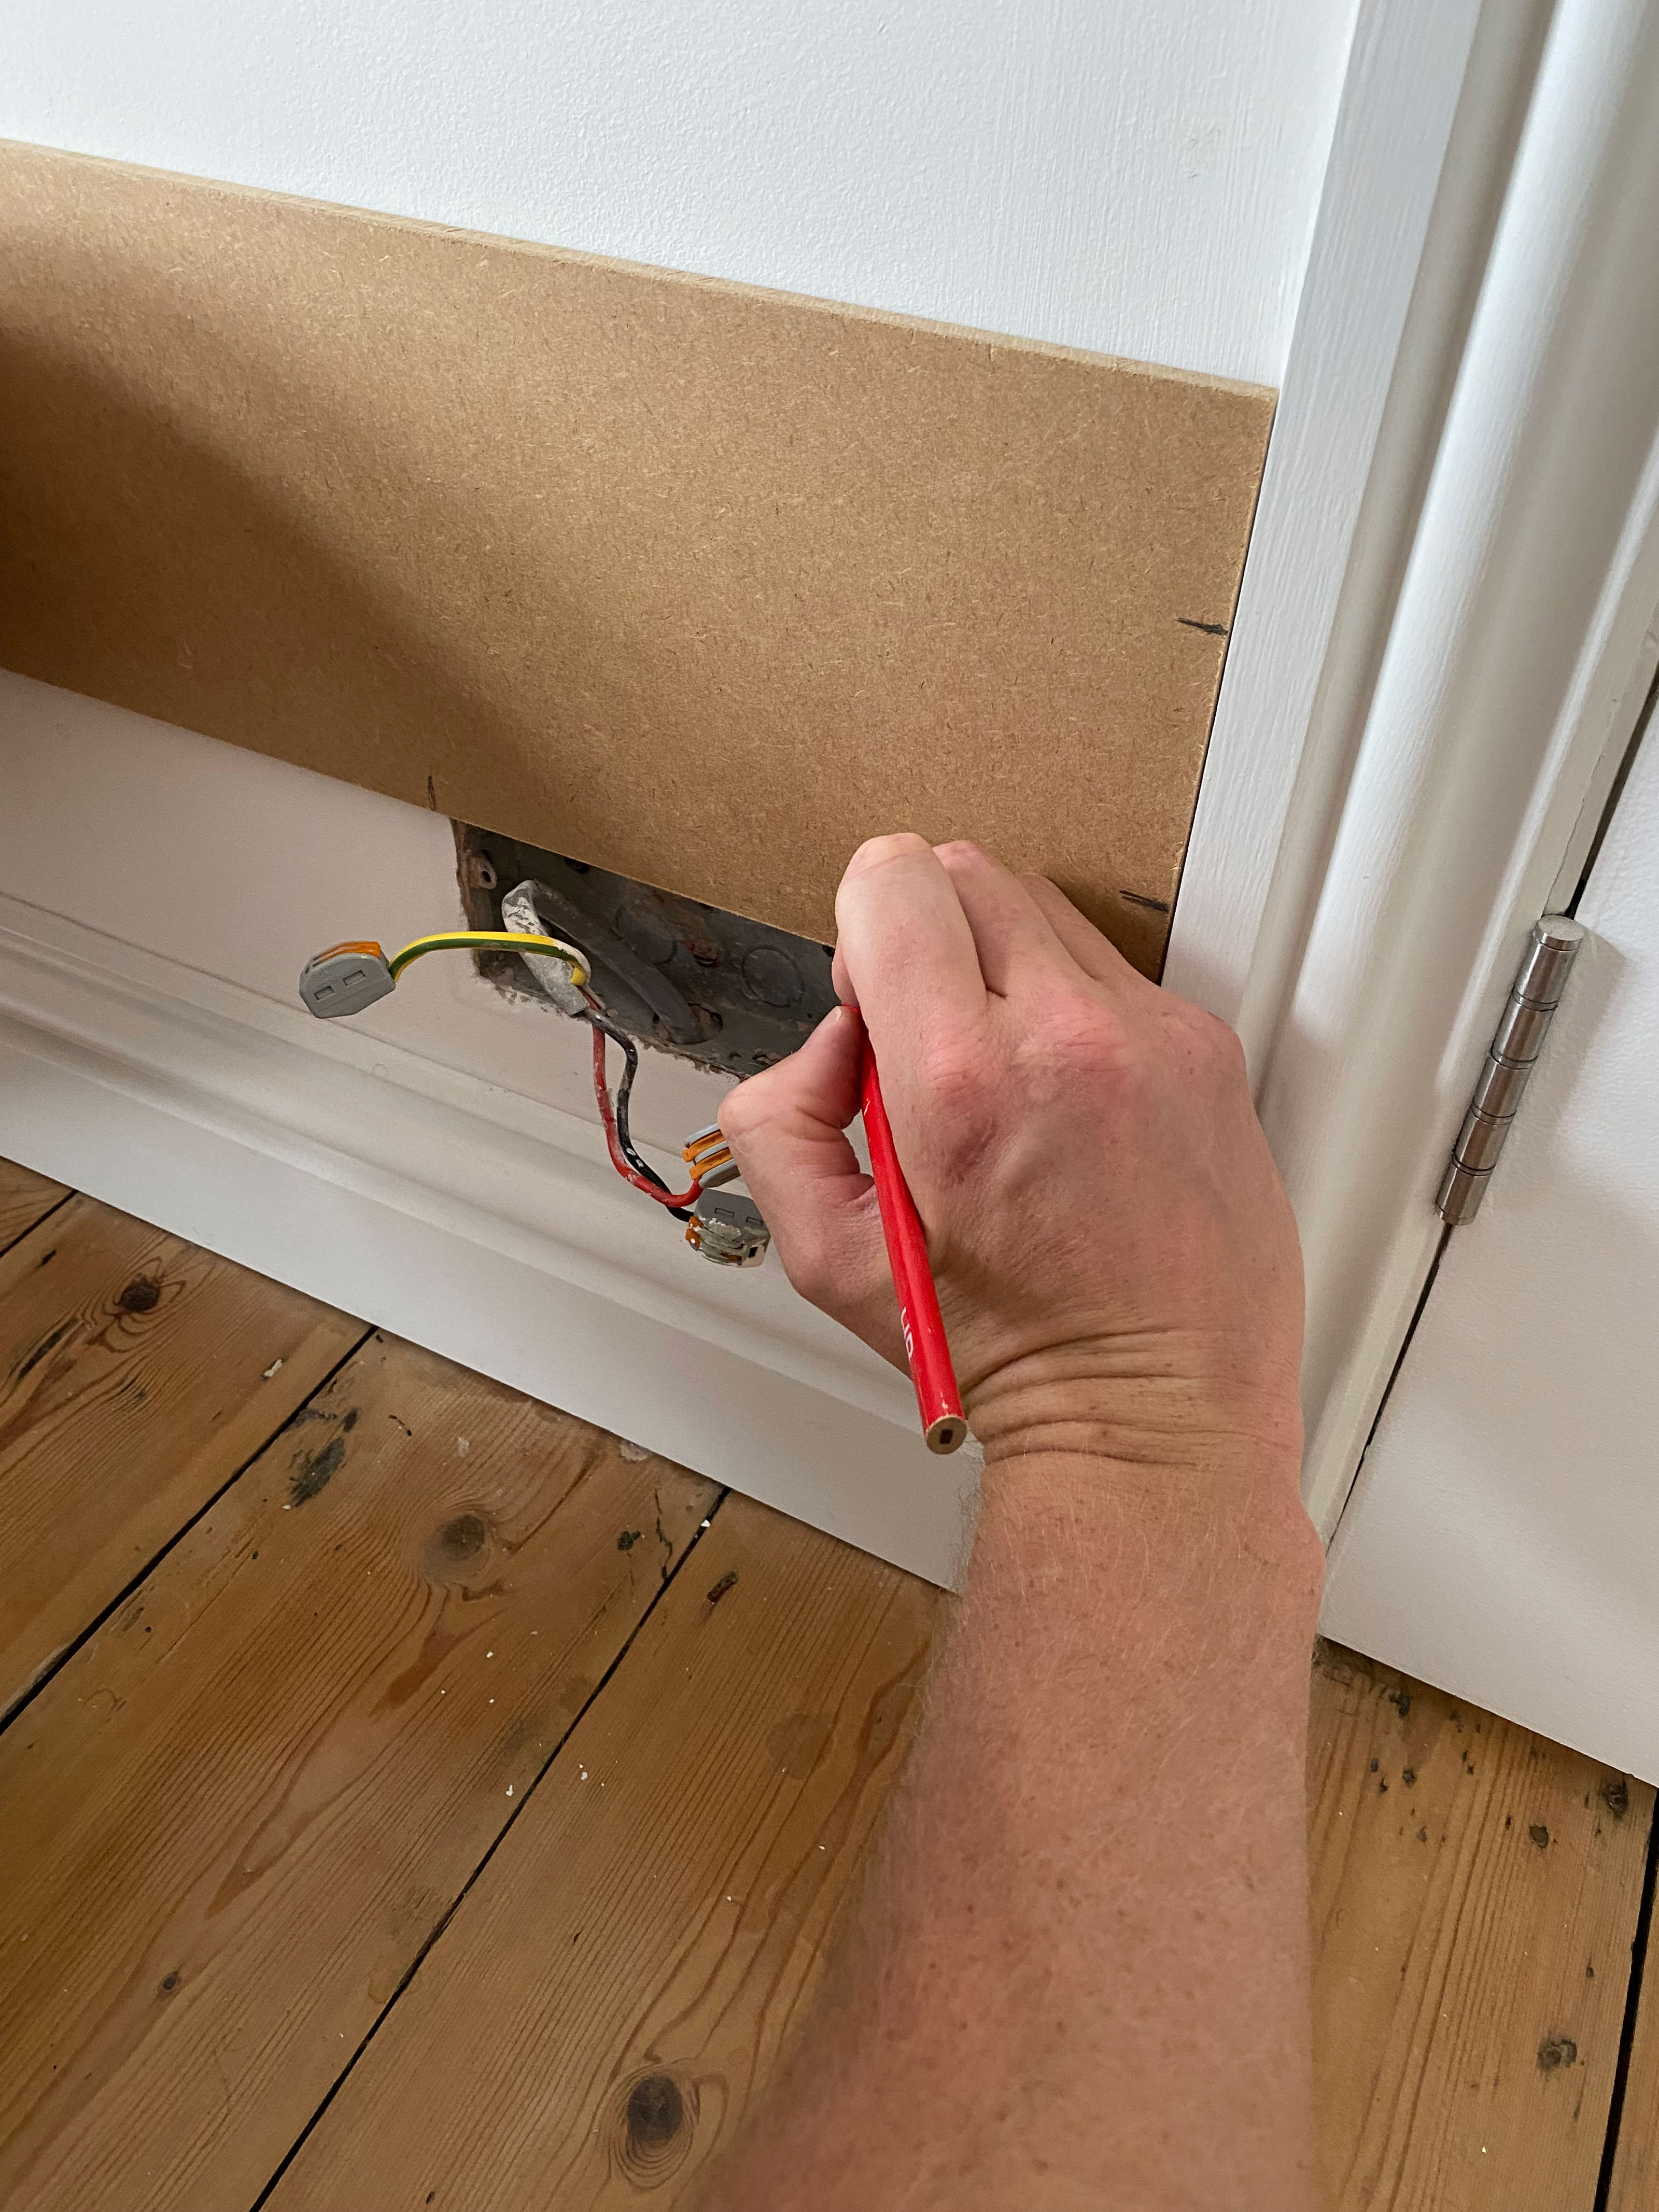
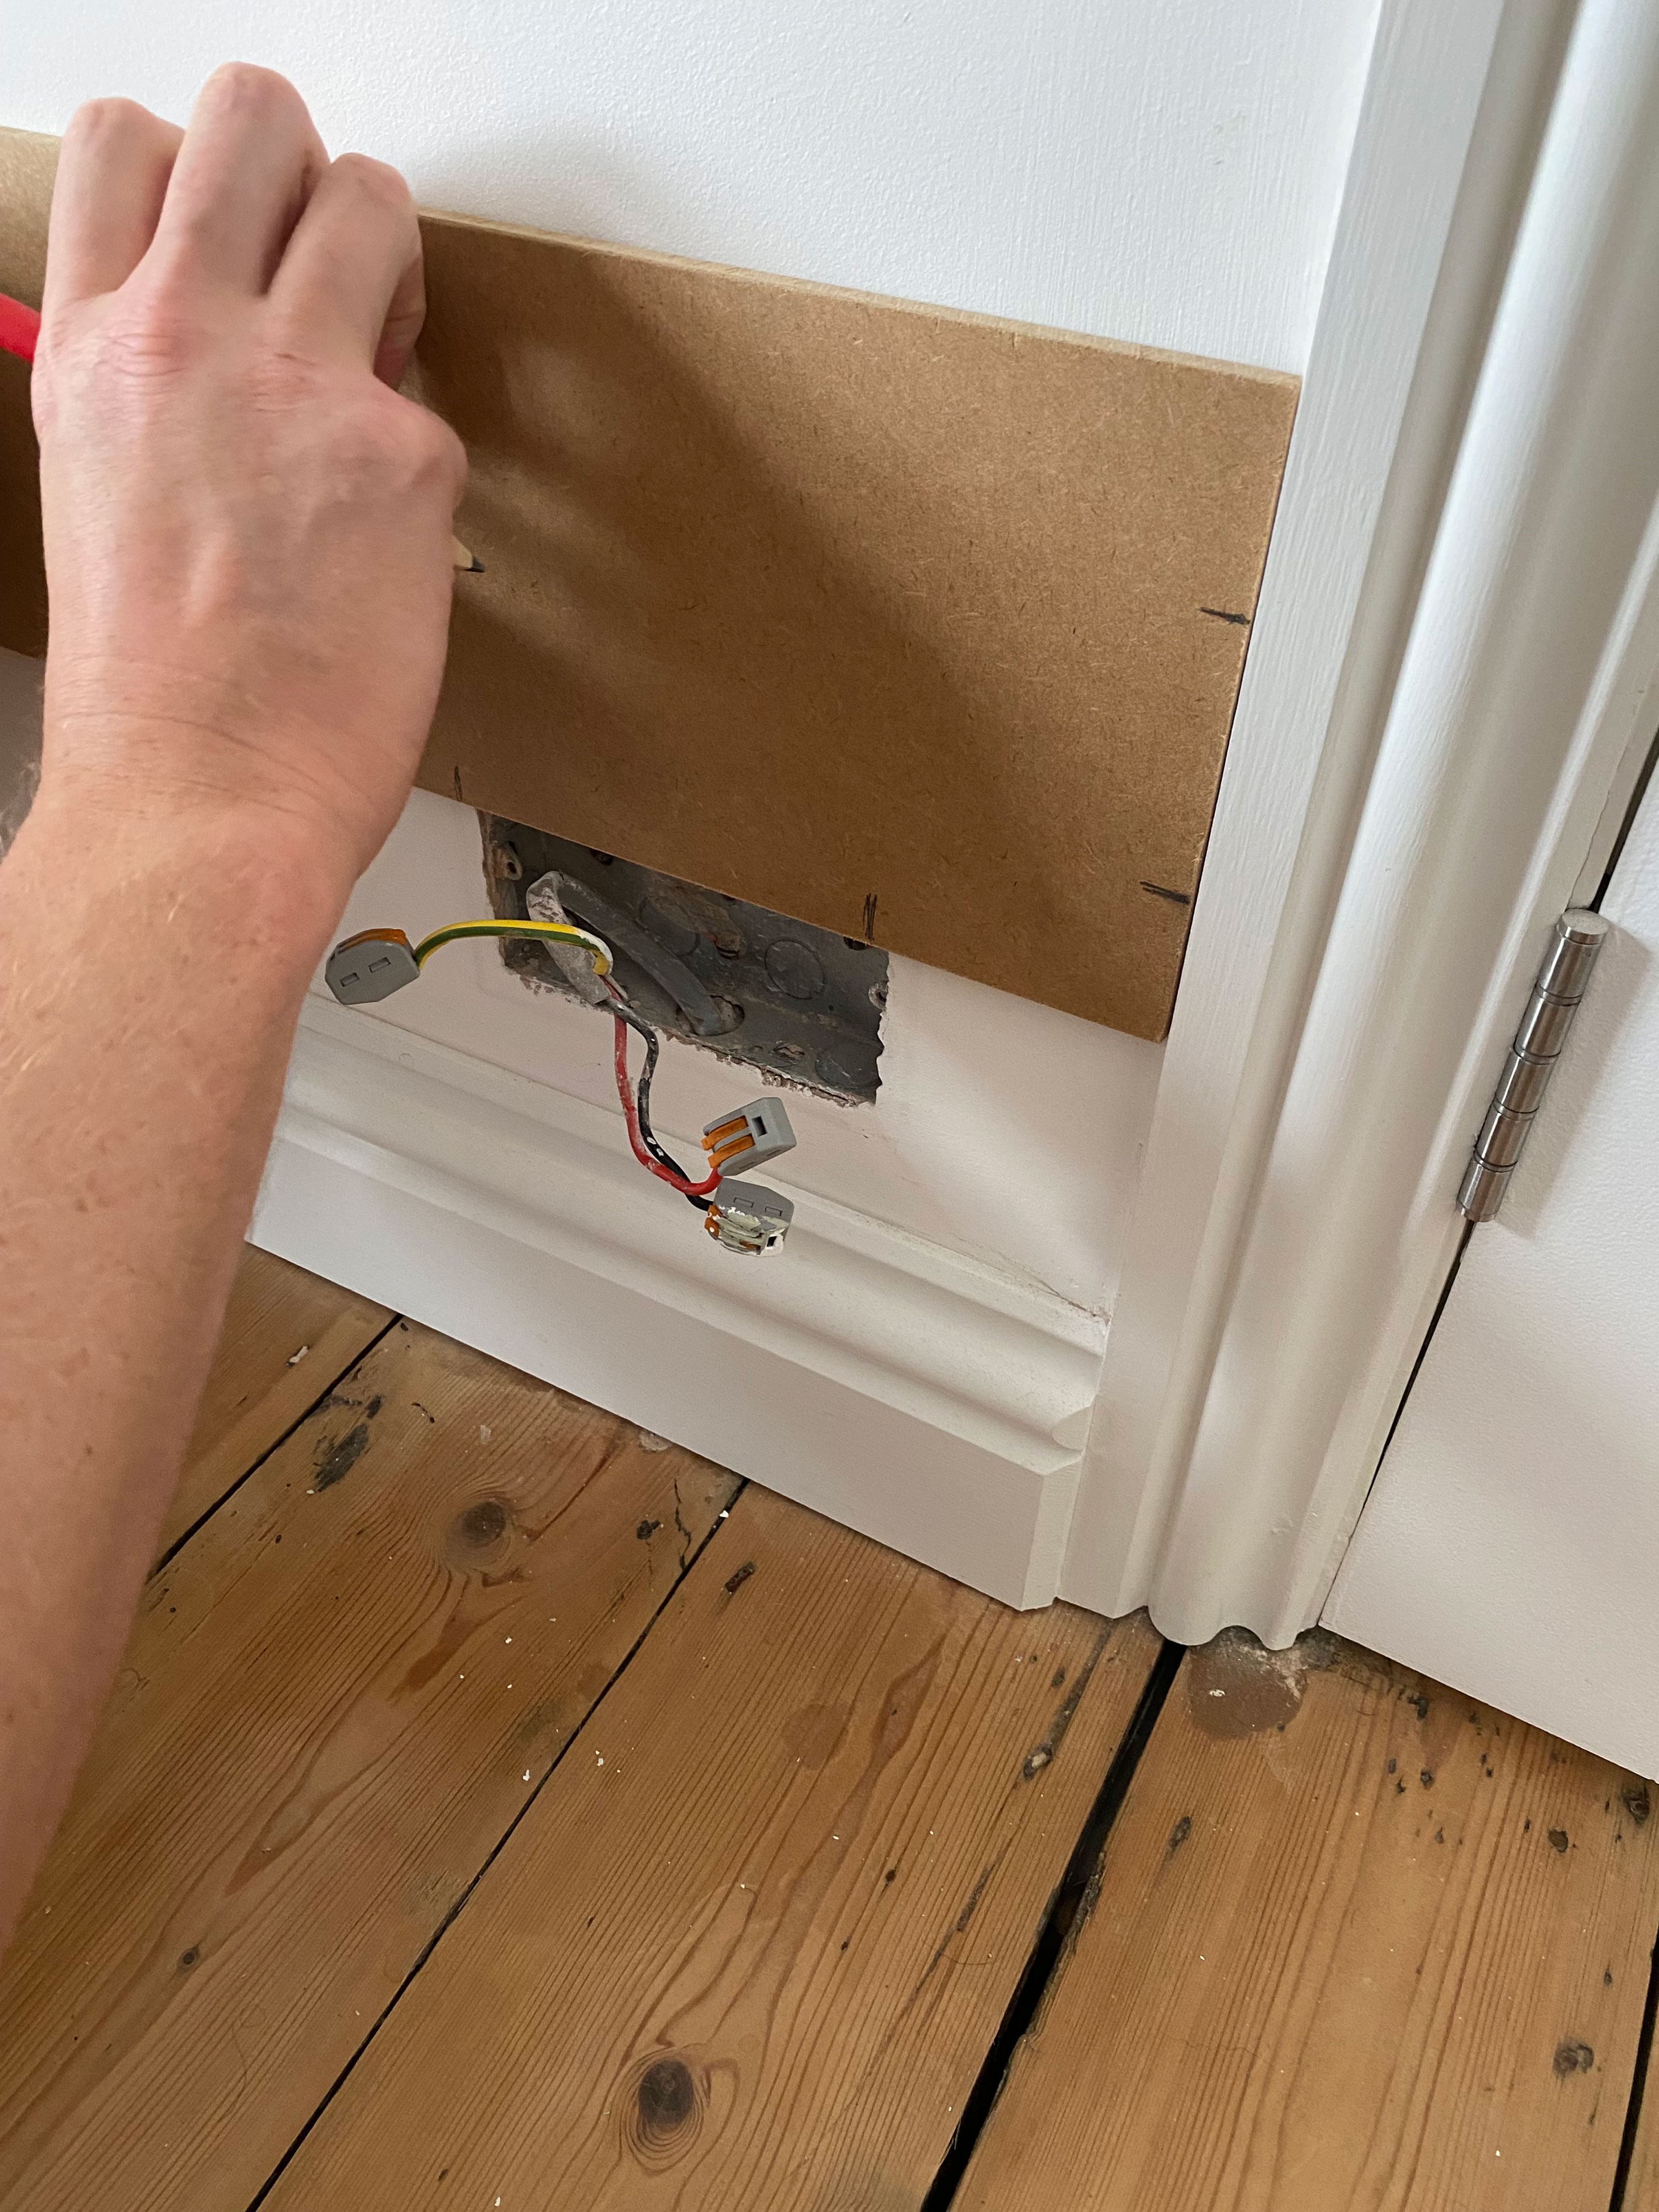
When installing panelling, you may find that your MDF strips fall where a light switch or plug socket is located. For a better finish to your project, you'll need to cut a hole in your panelling for the socket. We recommend always using a qualified electrician to remove sockets or switch — they'll be able to cap these off for you while you panel the wall if necessary.
1. Once you've cut a strip where the socket or switch is, we'll need to mark where the socket sits. Do this by making marks on the edge of your wood with a pencil by butting it up to the side and then above the socket.
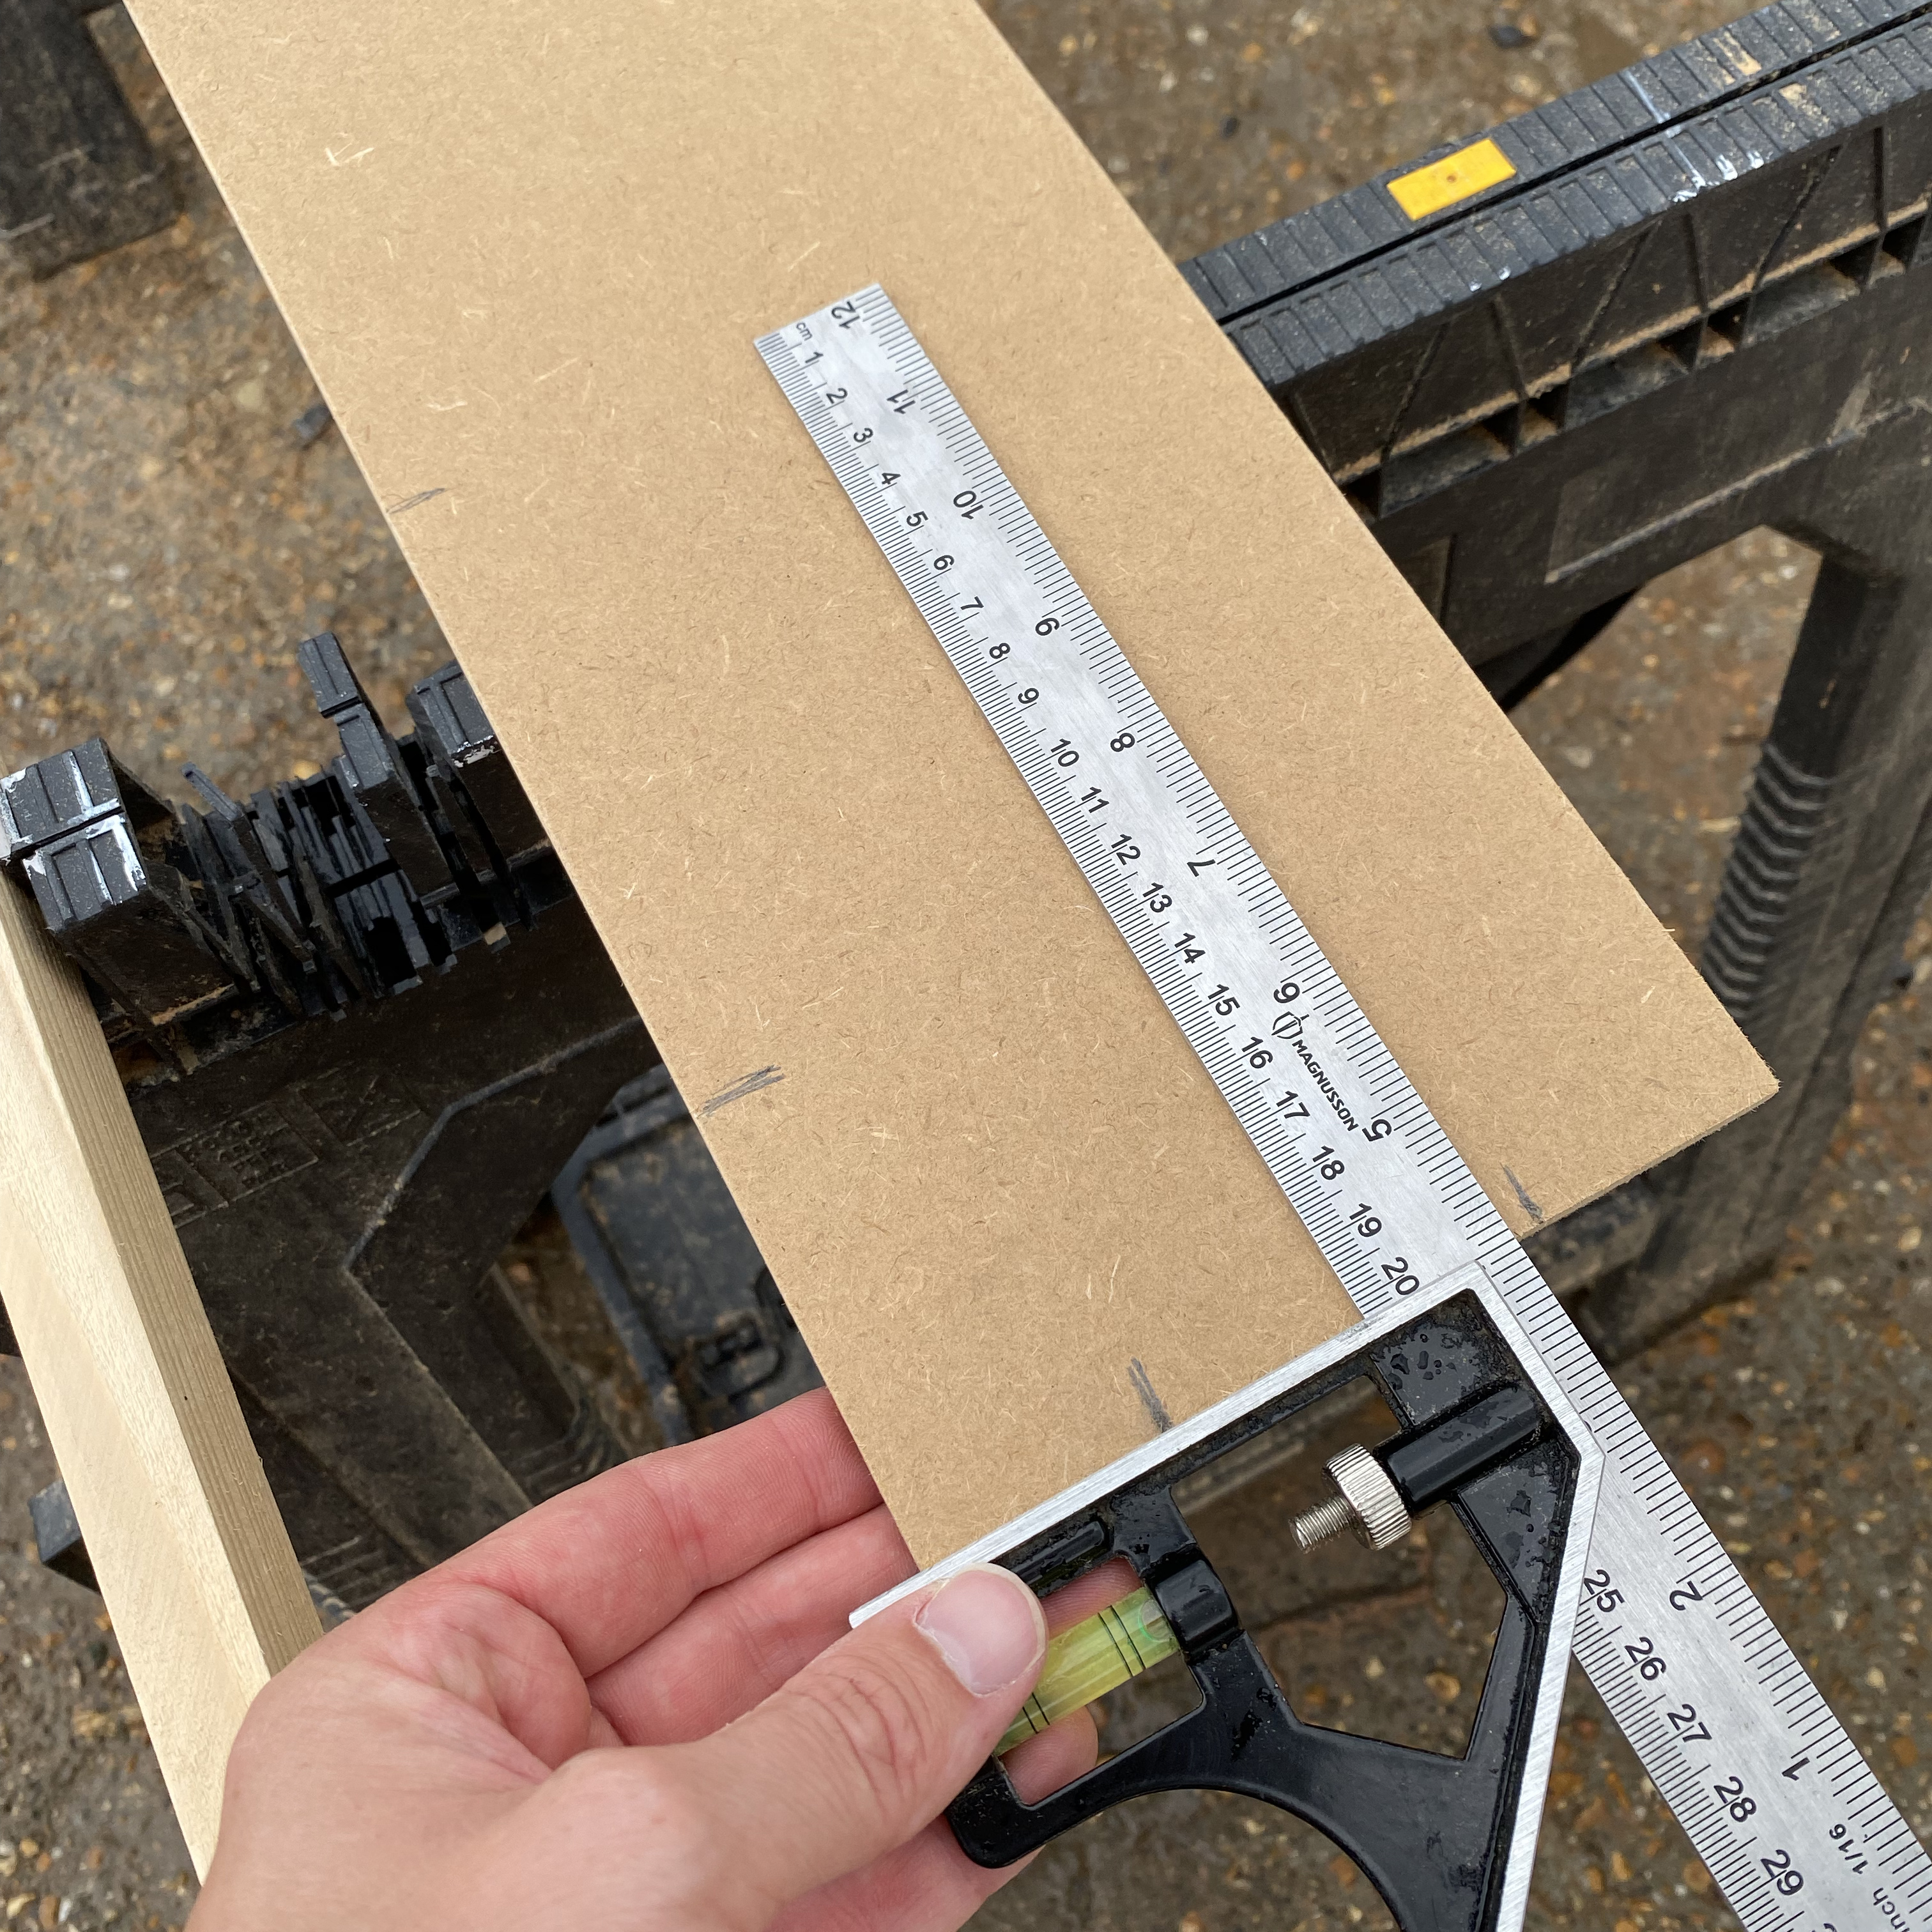
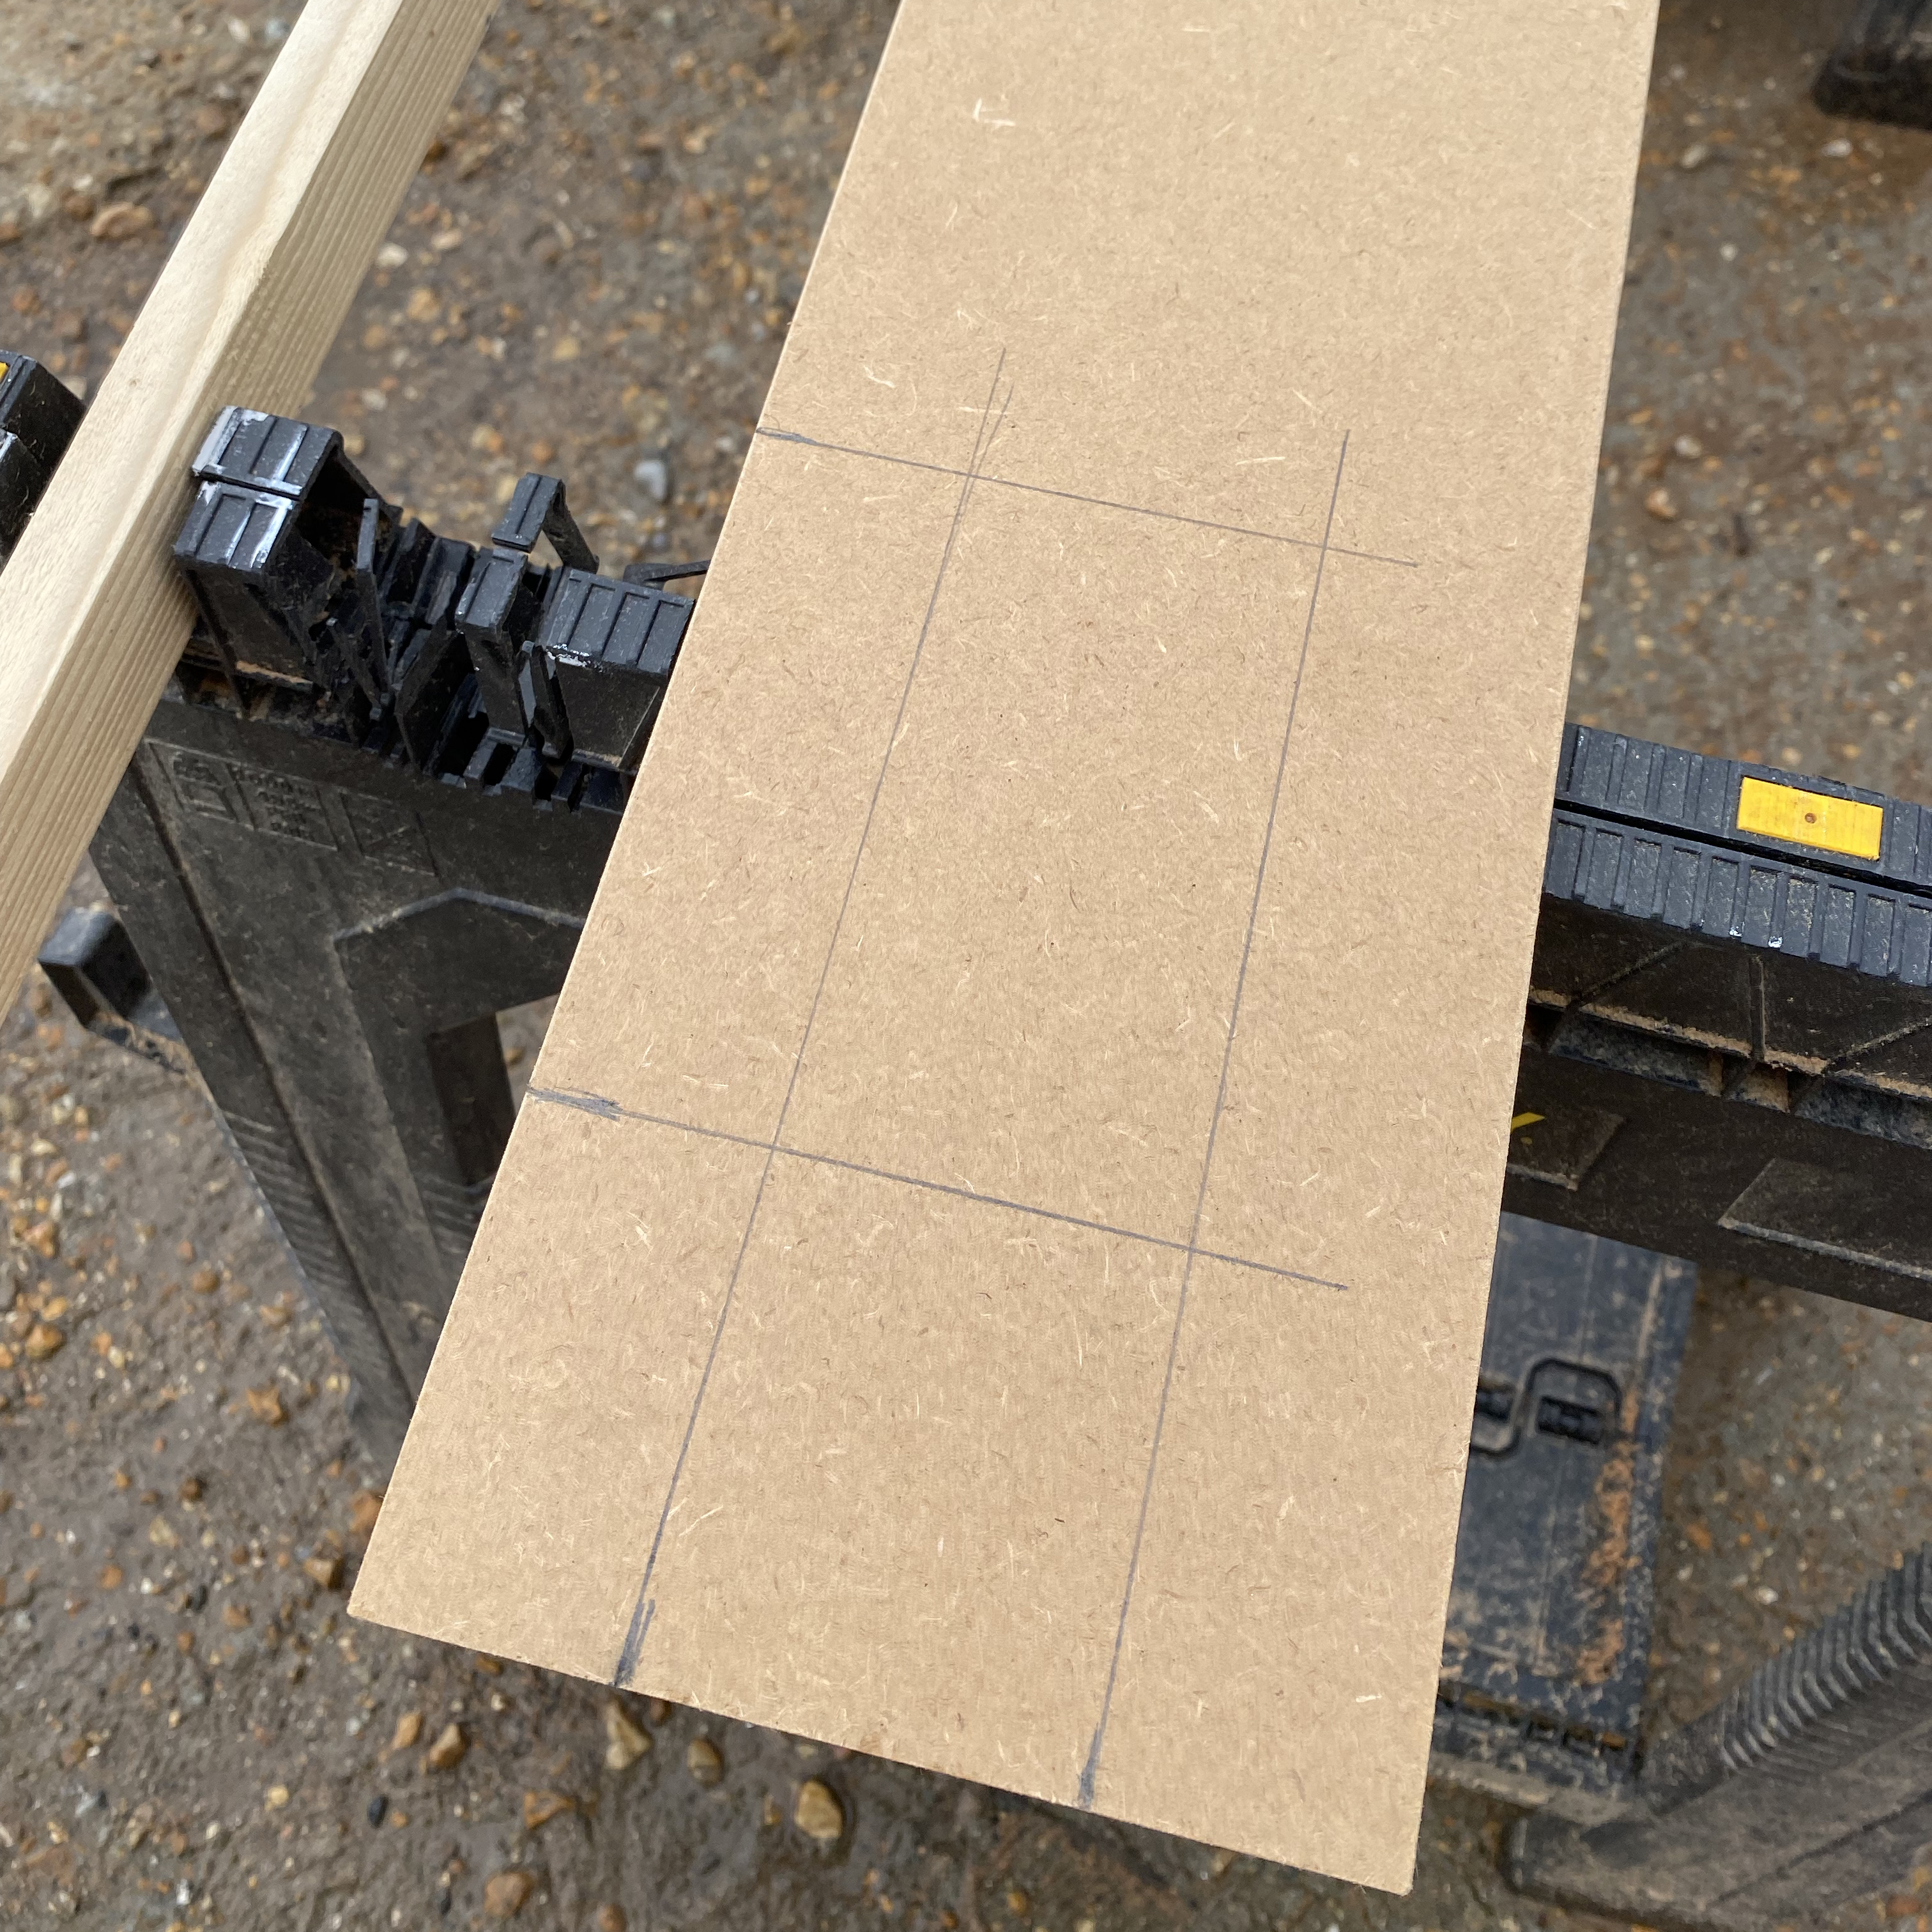
2. Use a square set, or other ruler or straight line, to pencil in the lines of the box using your marks as a guide.
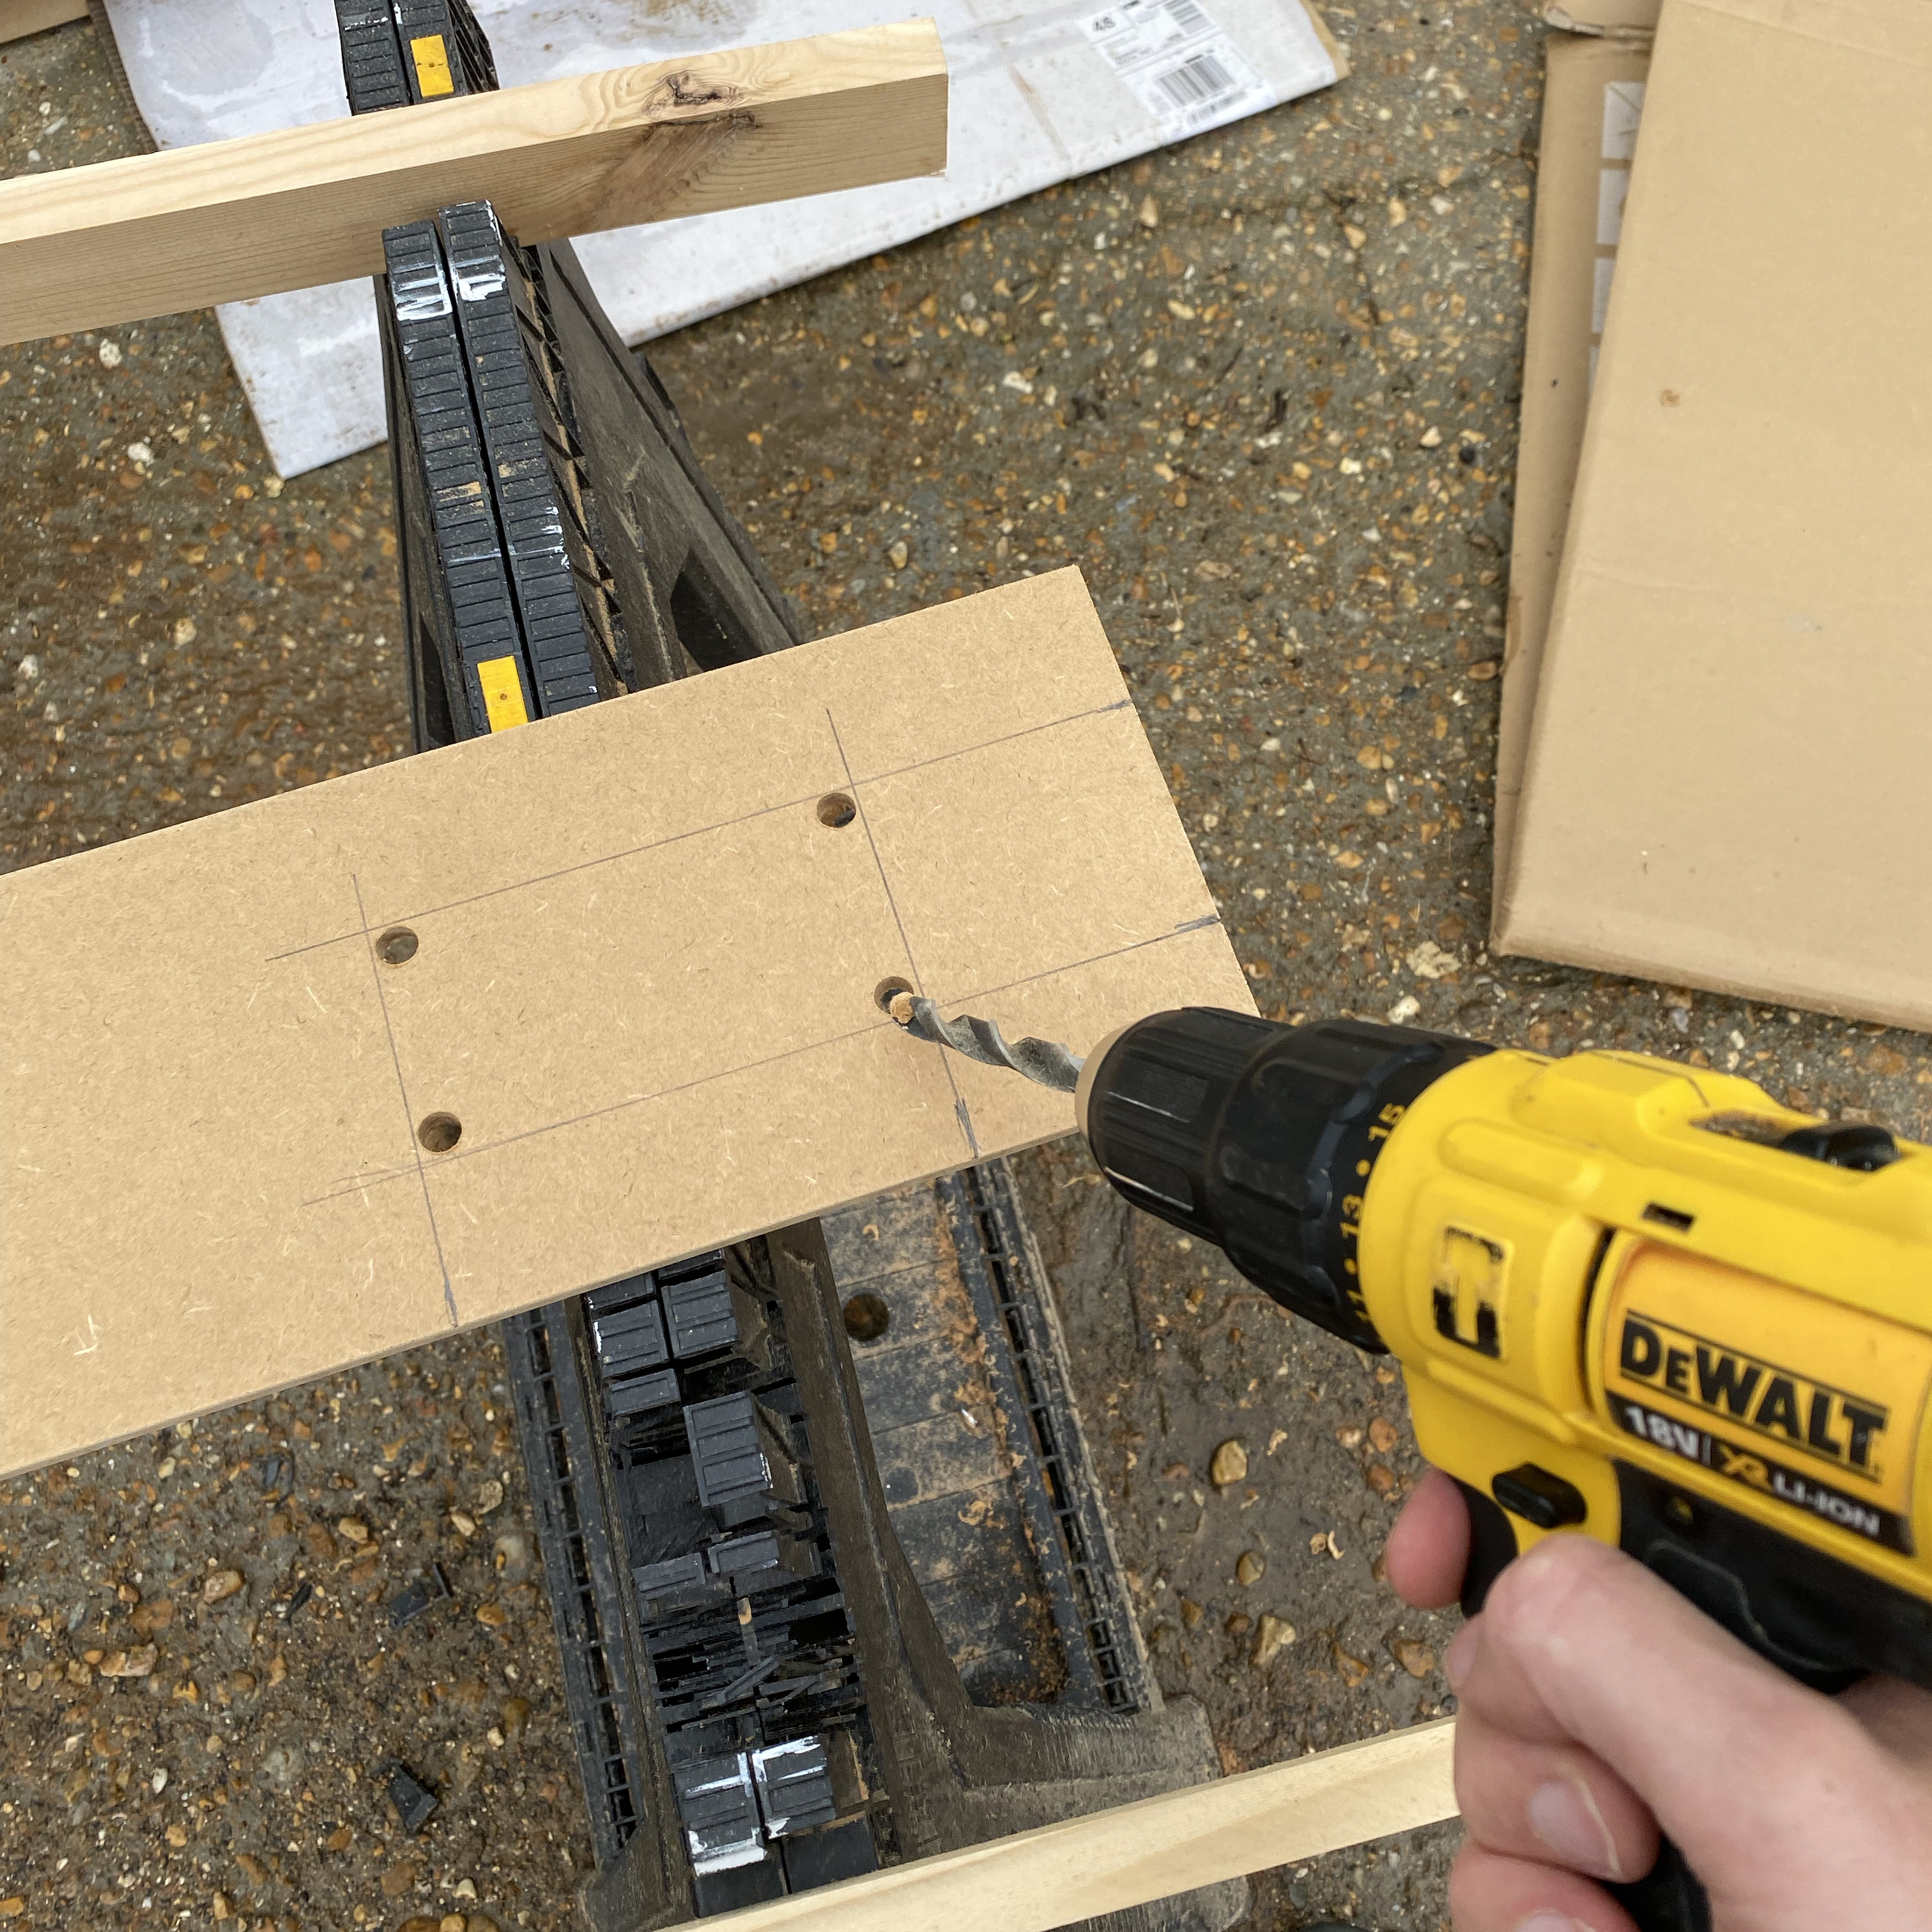
3. When you have a square or rectangle, drill into each corner using a wood drill bit. The drill bit should make a hole large enough for you to fit your jigsaw blade into.
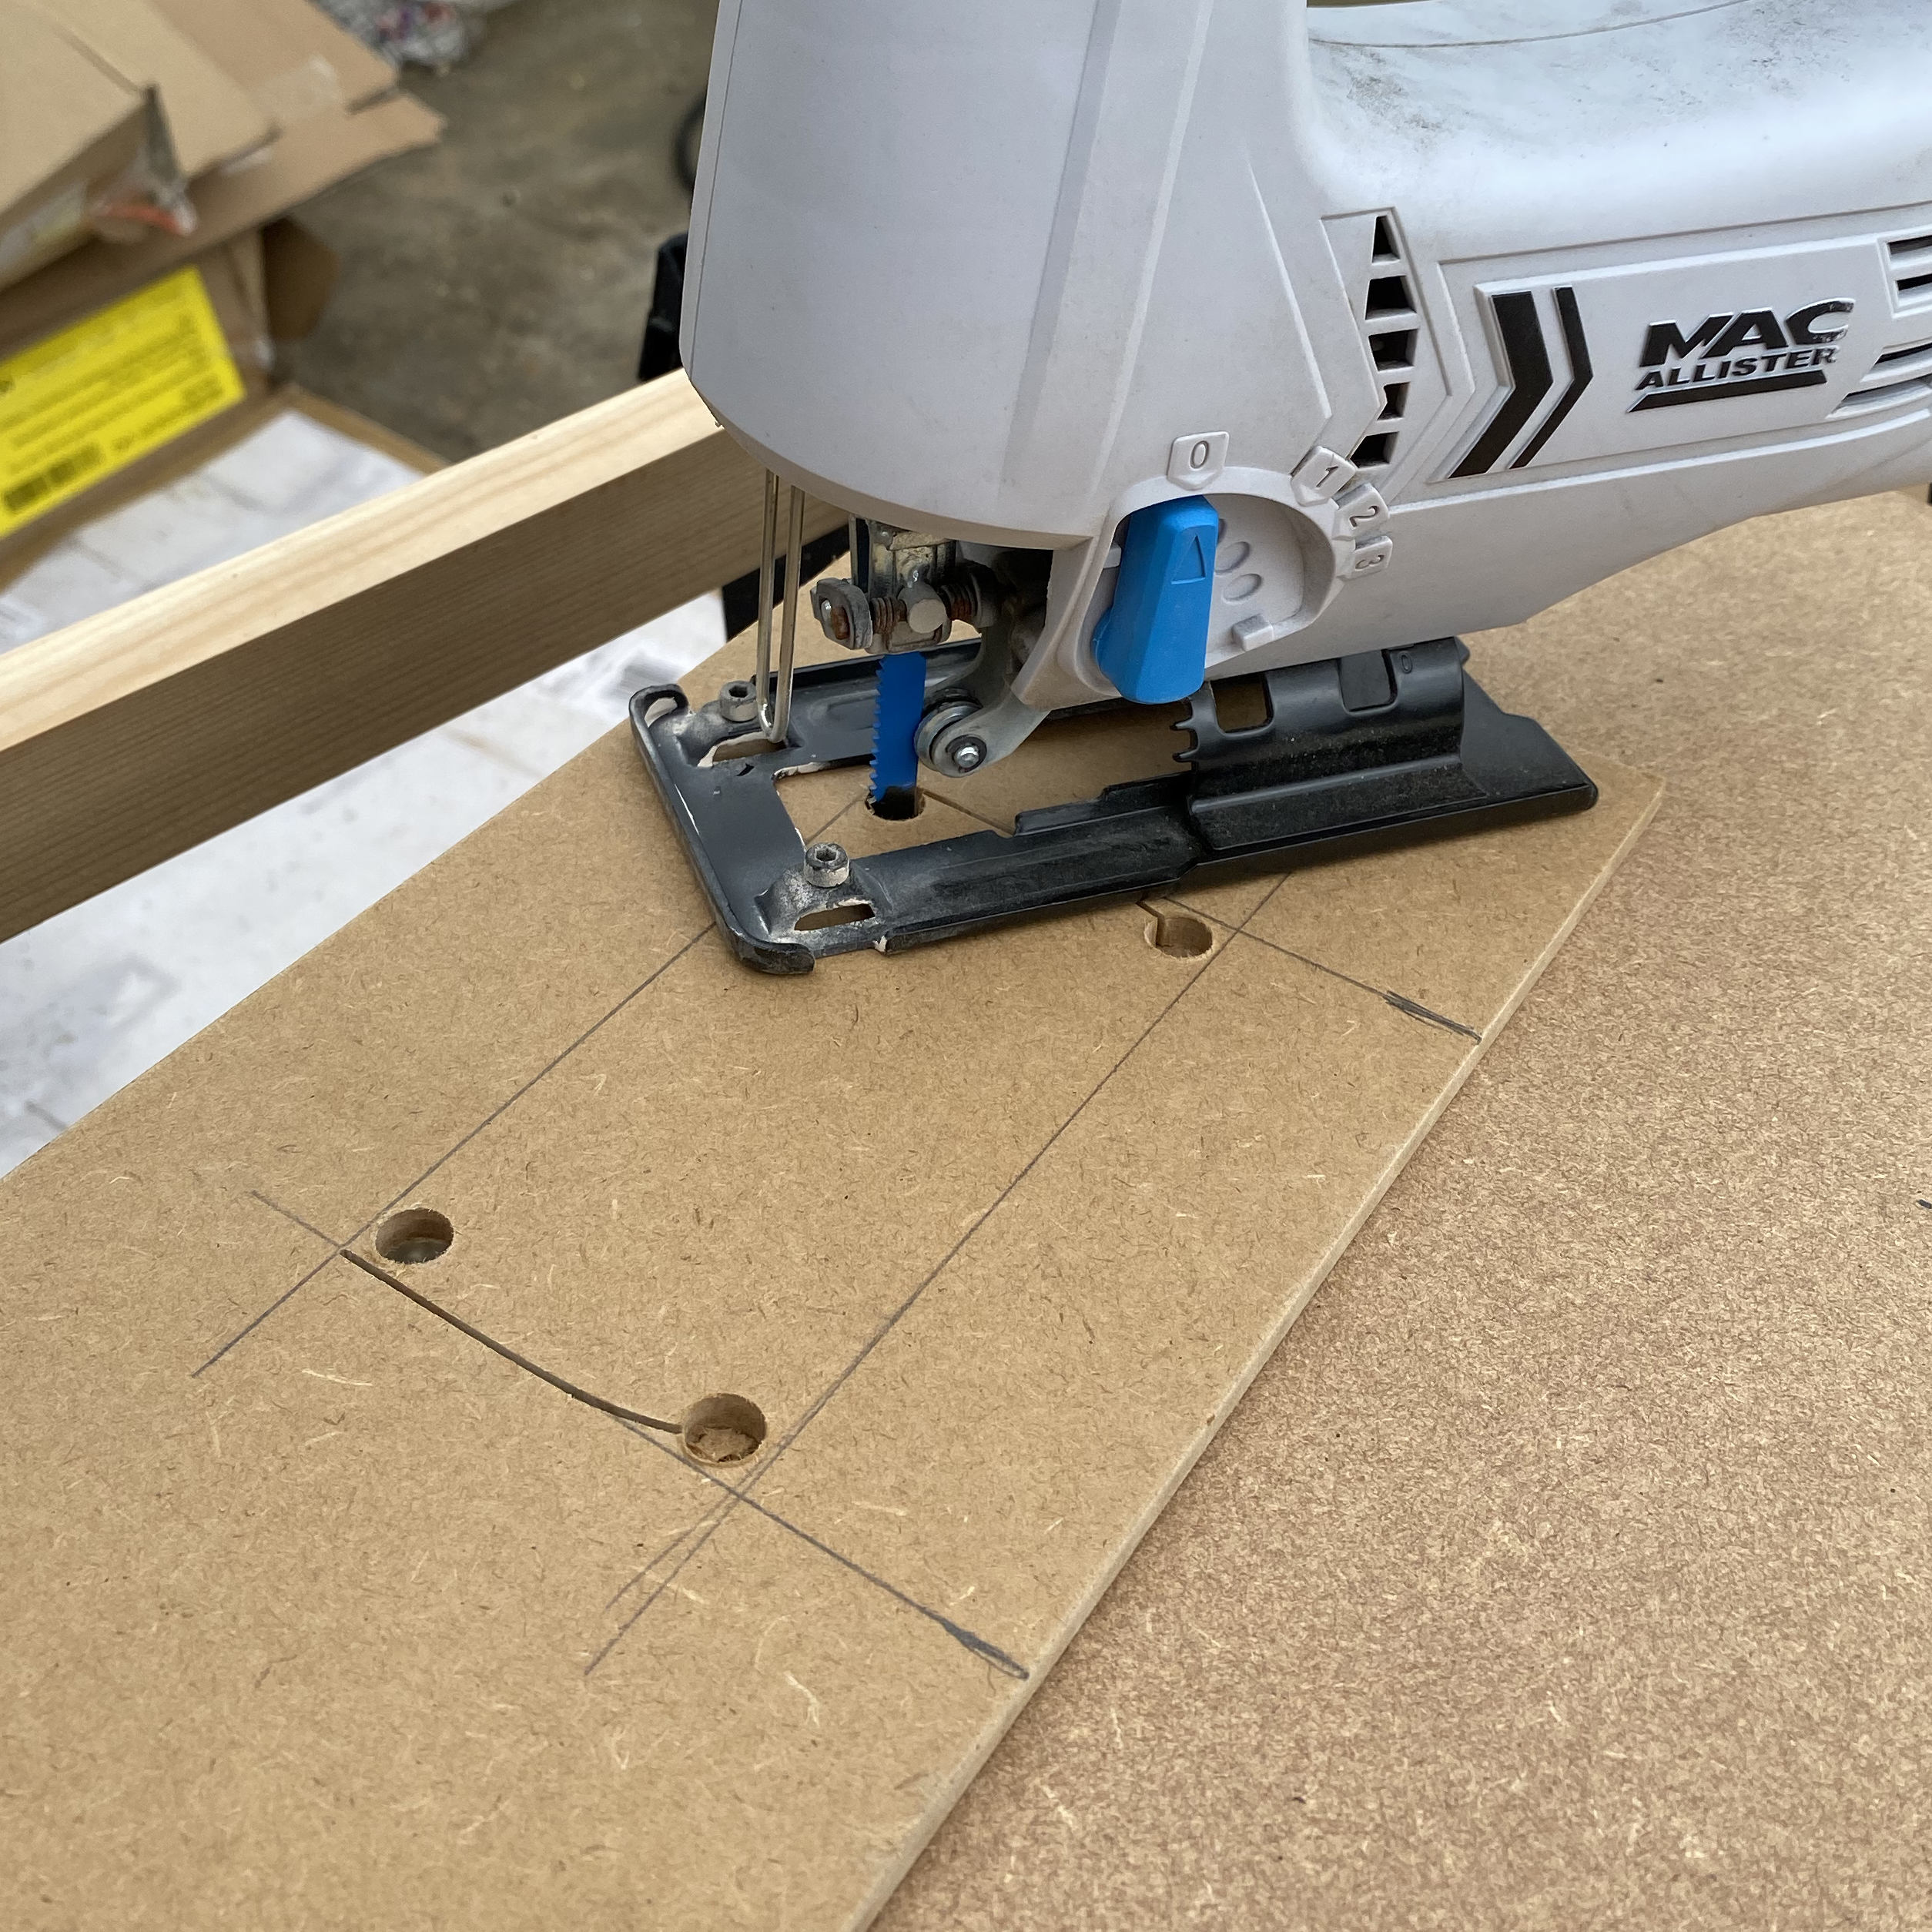
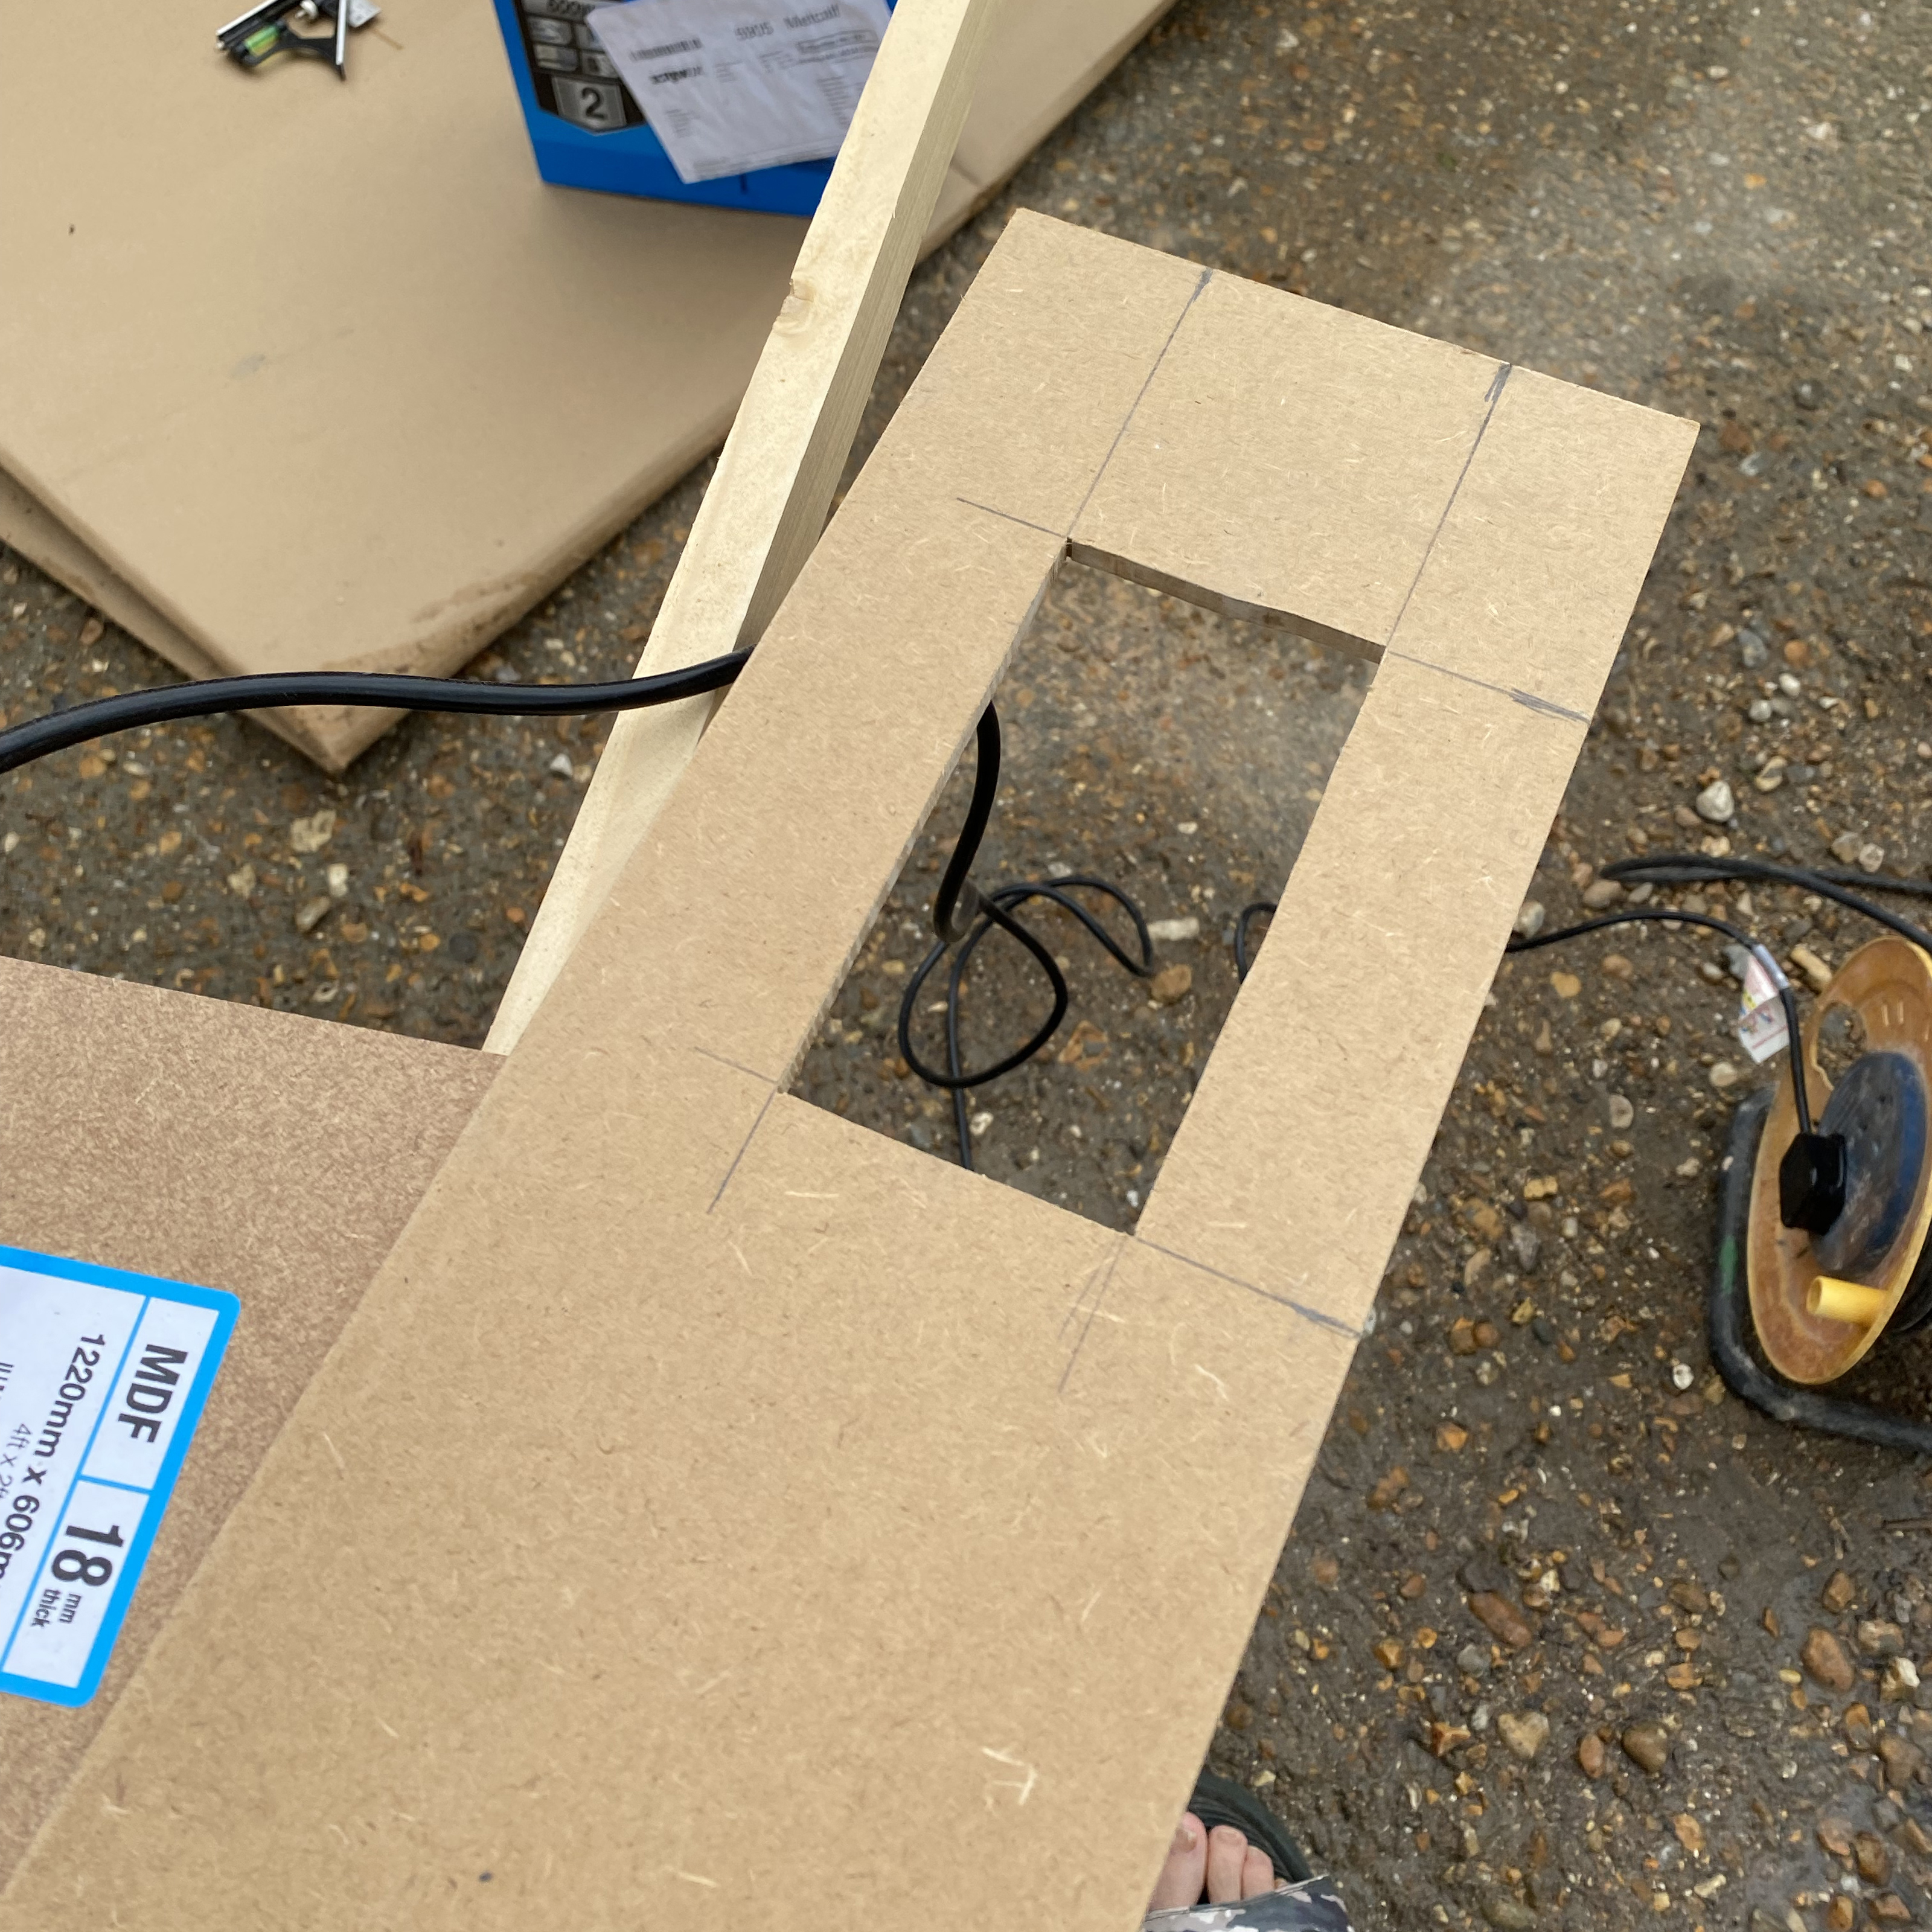
4. With your jigsaw, follow the lines of your box and cut out the hole for the socket.
How to Install Shaker Wall Panelling
It's worth noting that we made our longer strips of panelling out of smaller sections, helping with transporting the MDF and also access into the room, but it's possible to use one single strip of MDF for the top and base board.
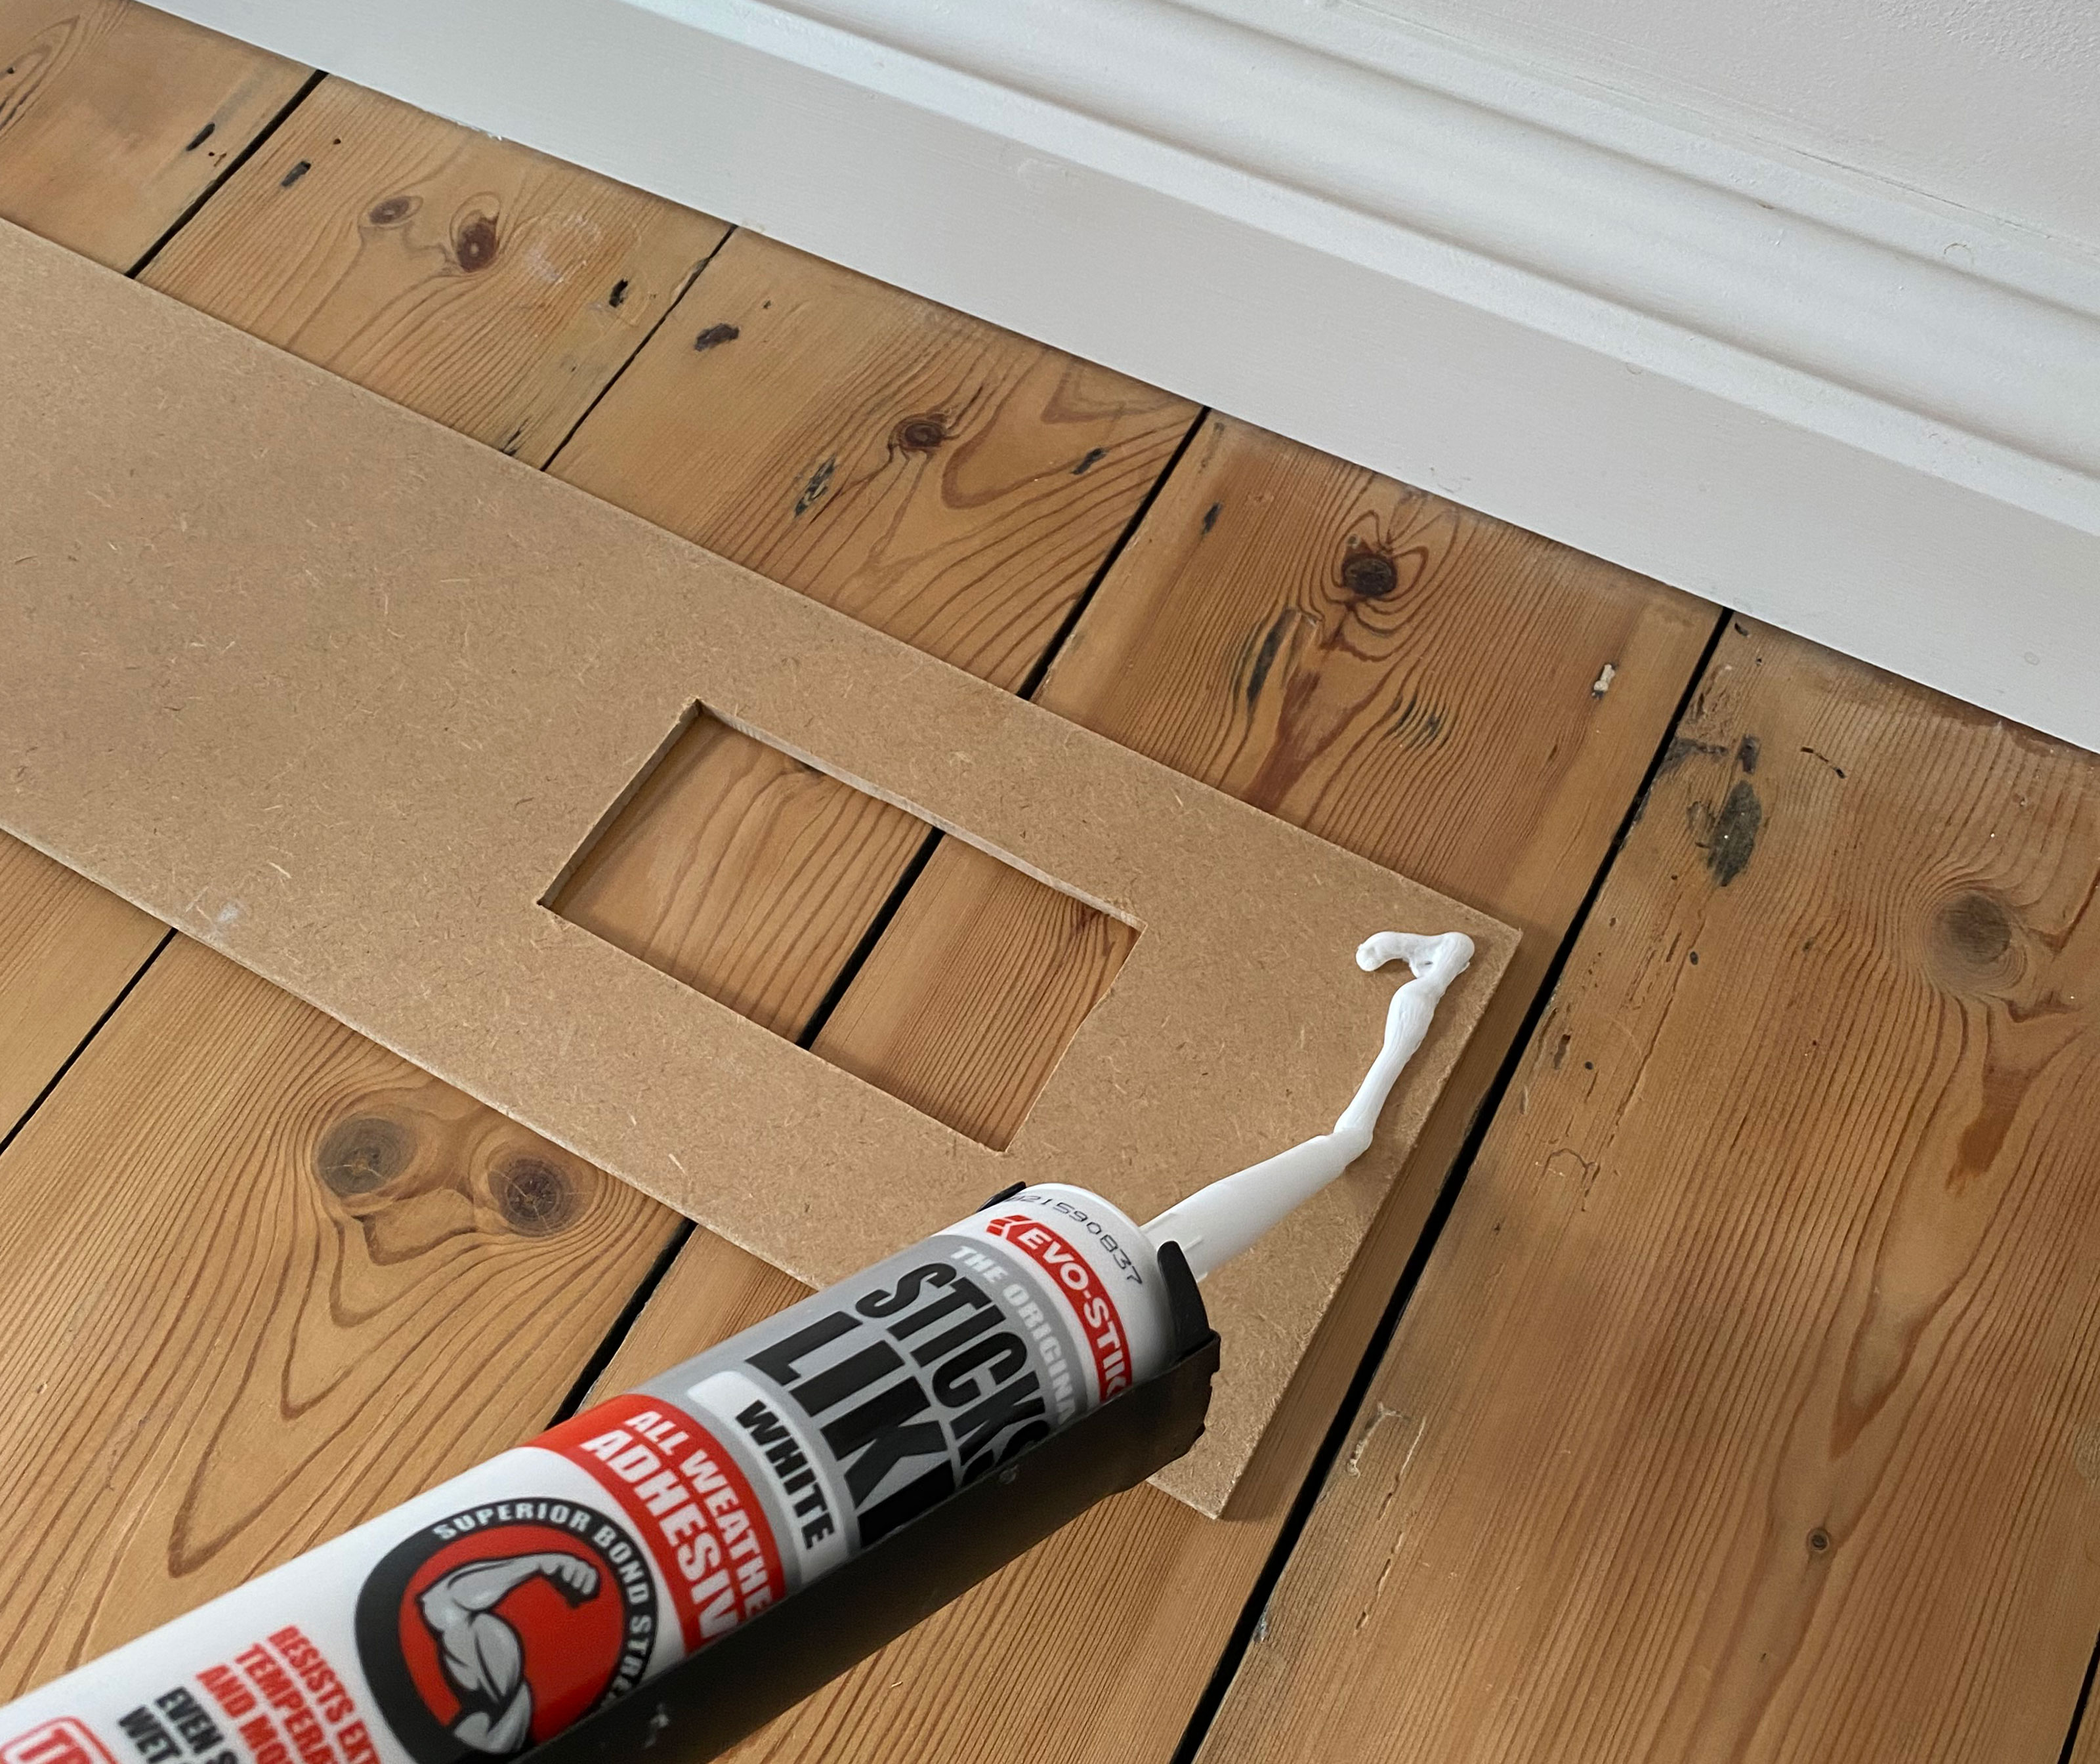
1. Apply your instant grab adhesive to the back of the base board, press onto wall above the skirting board. Pull away to activate the glue's bond and then press back onto the wall. Make sure that it is making contact with the wall on every part of the board, before leaving to dry. You can carry on installing the panelling while each bit dries.
2. Using a long spirit level or laser guide, then continue on to fix the upper strip to the wall in the same way.
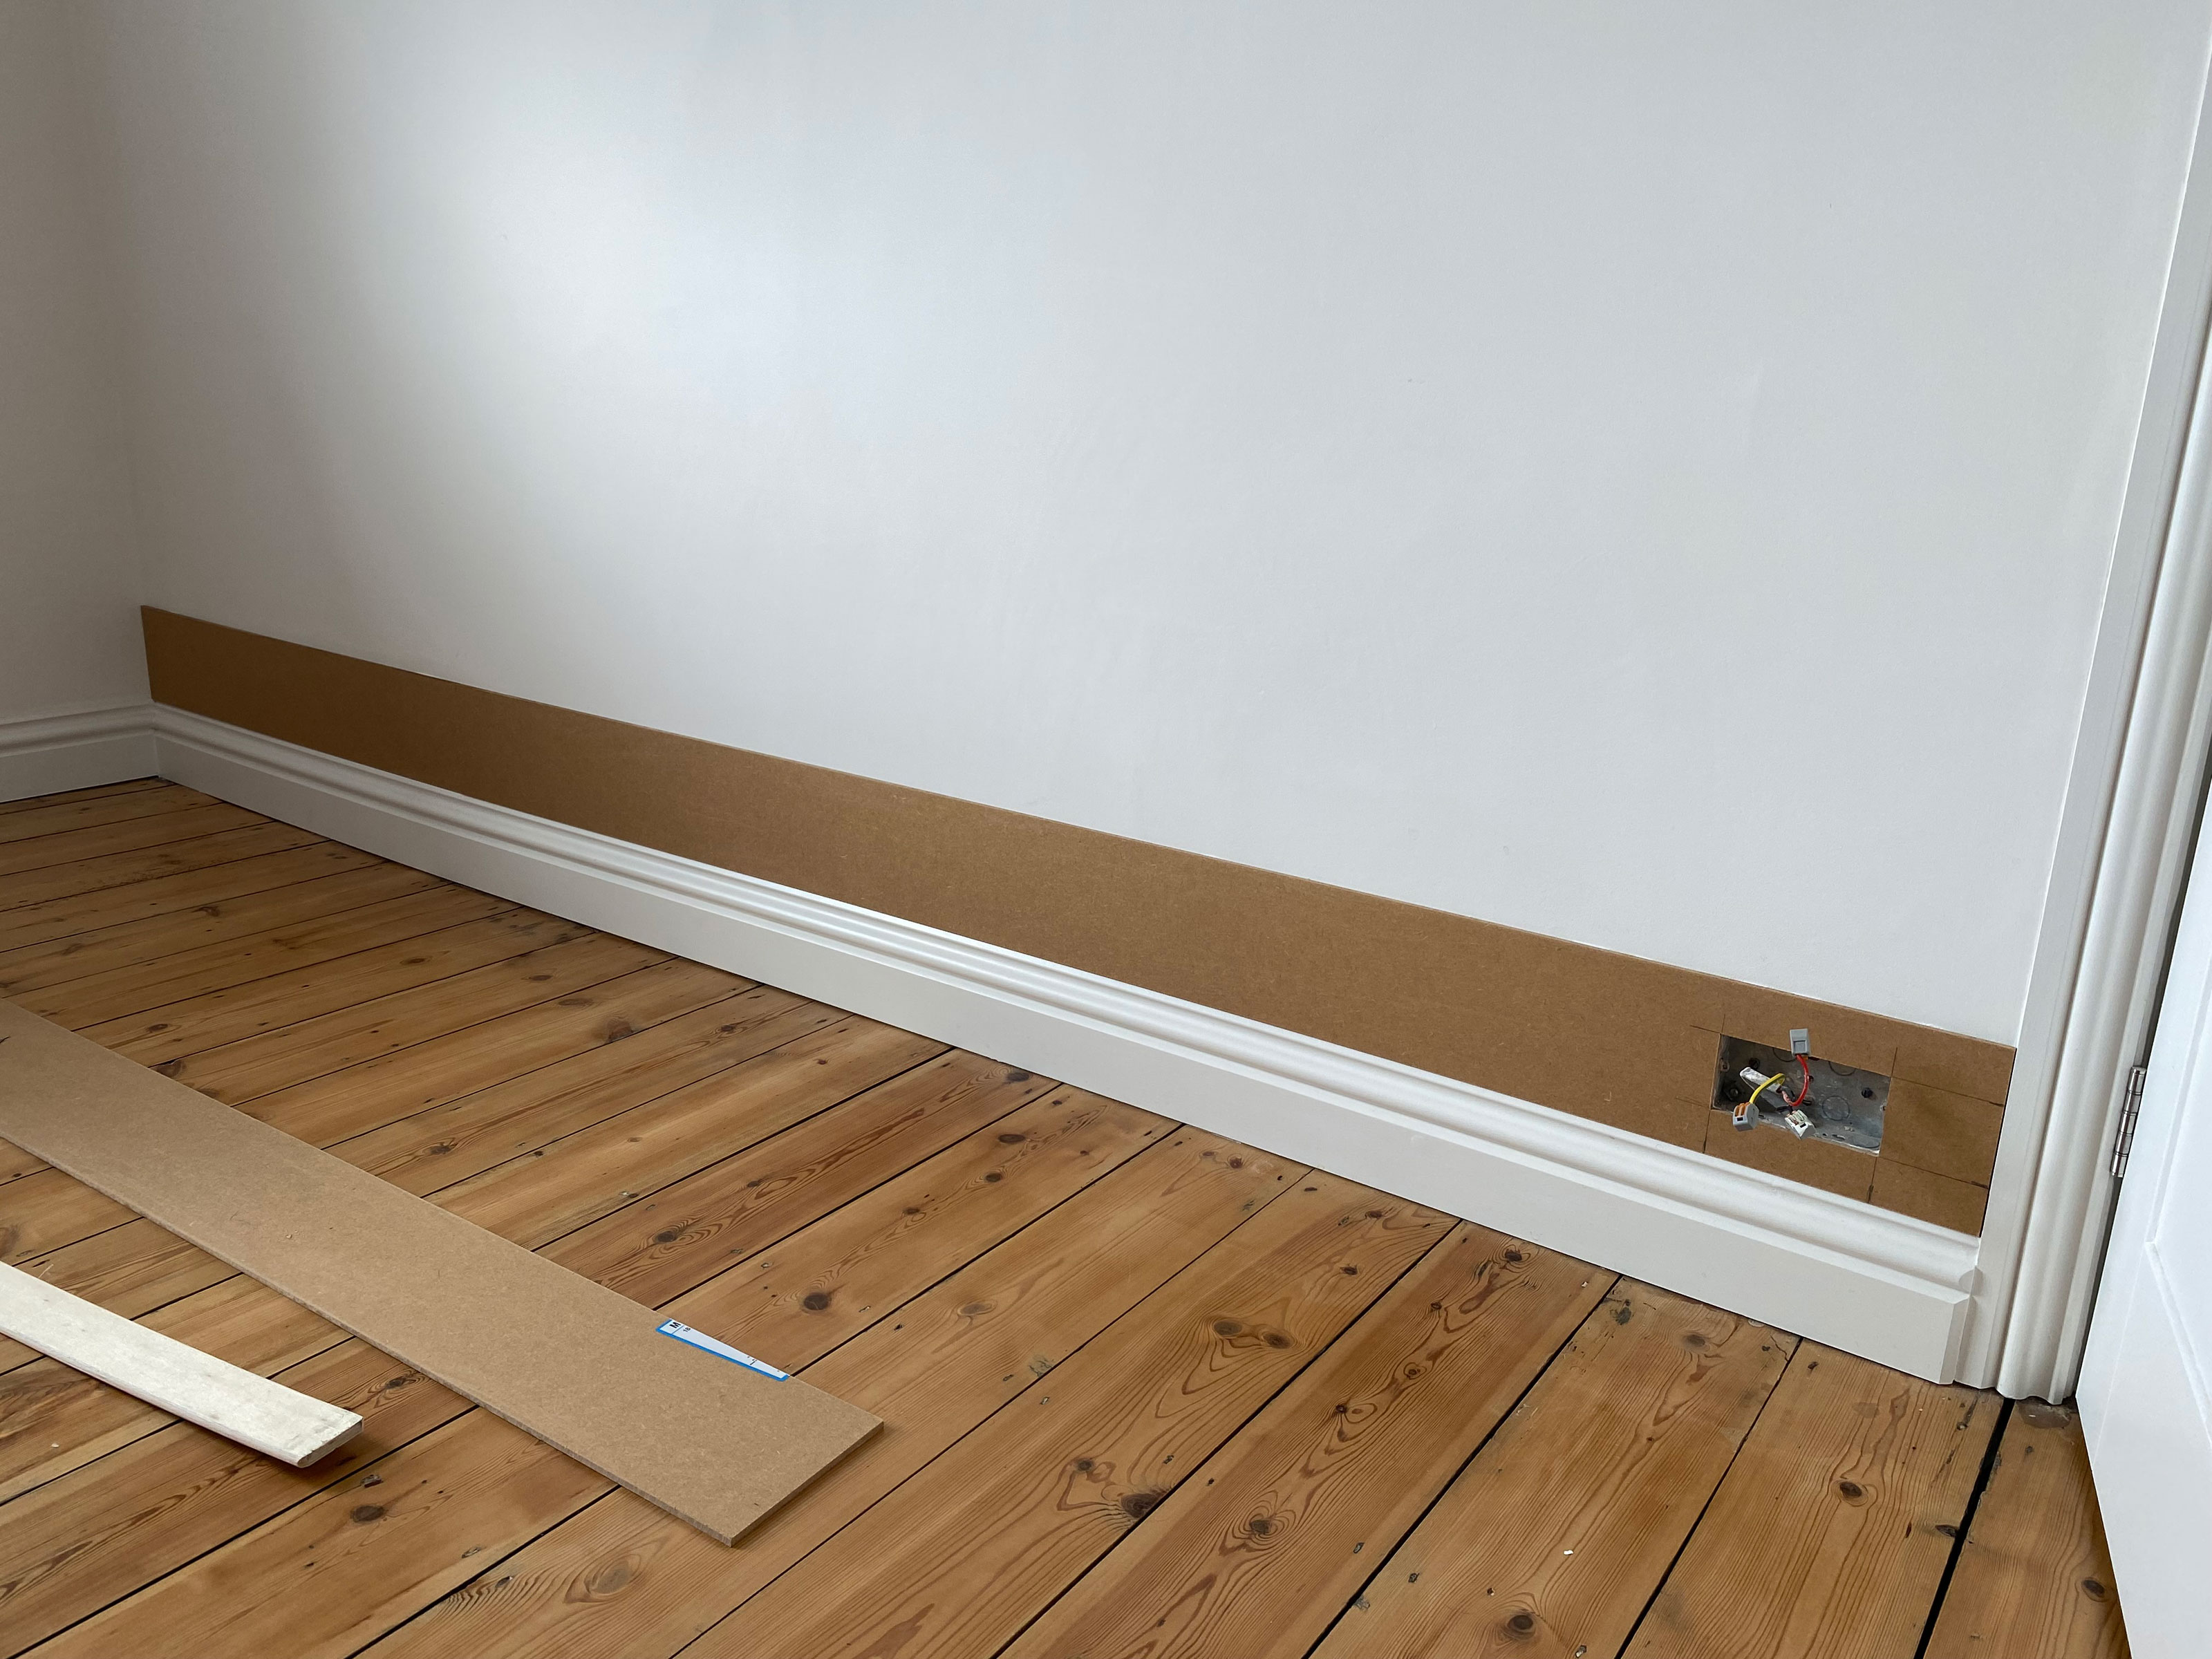
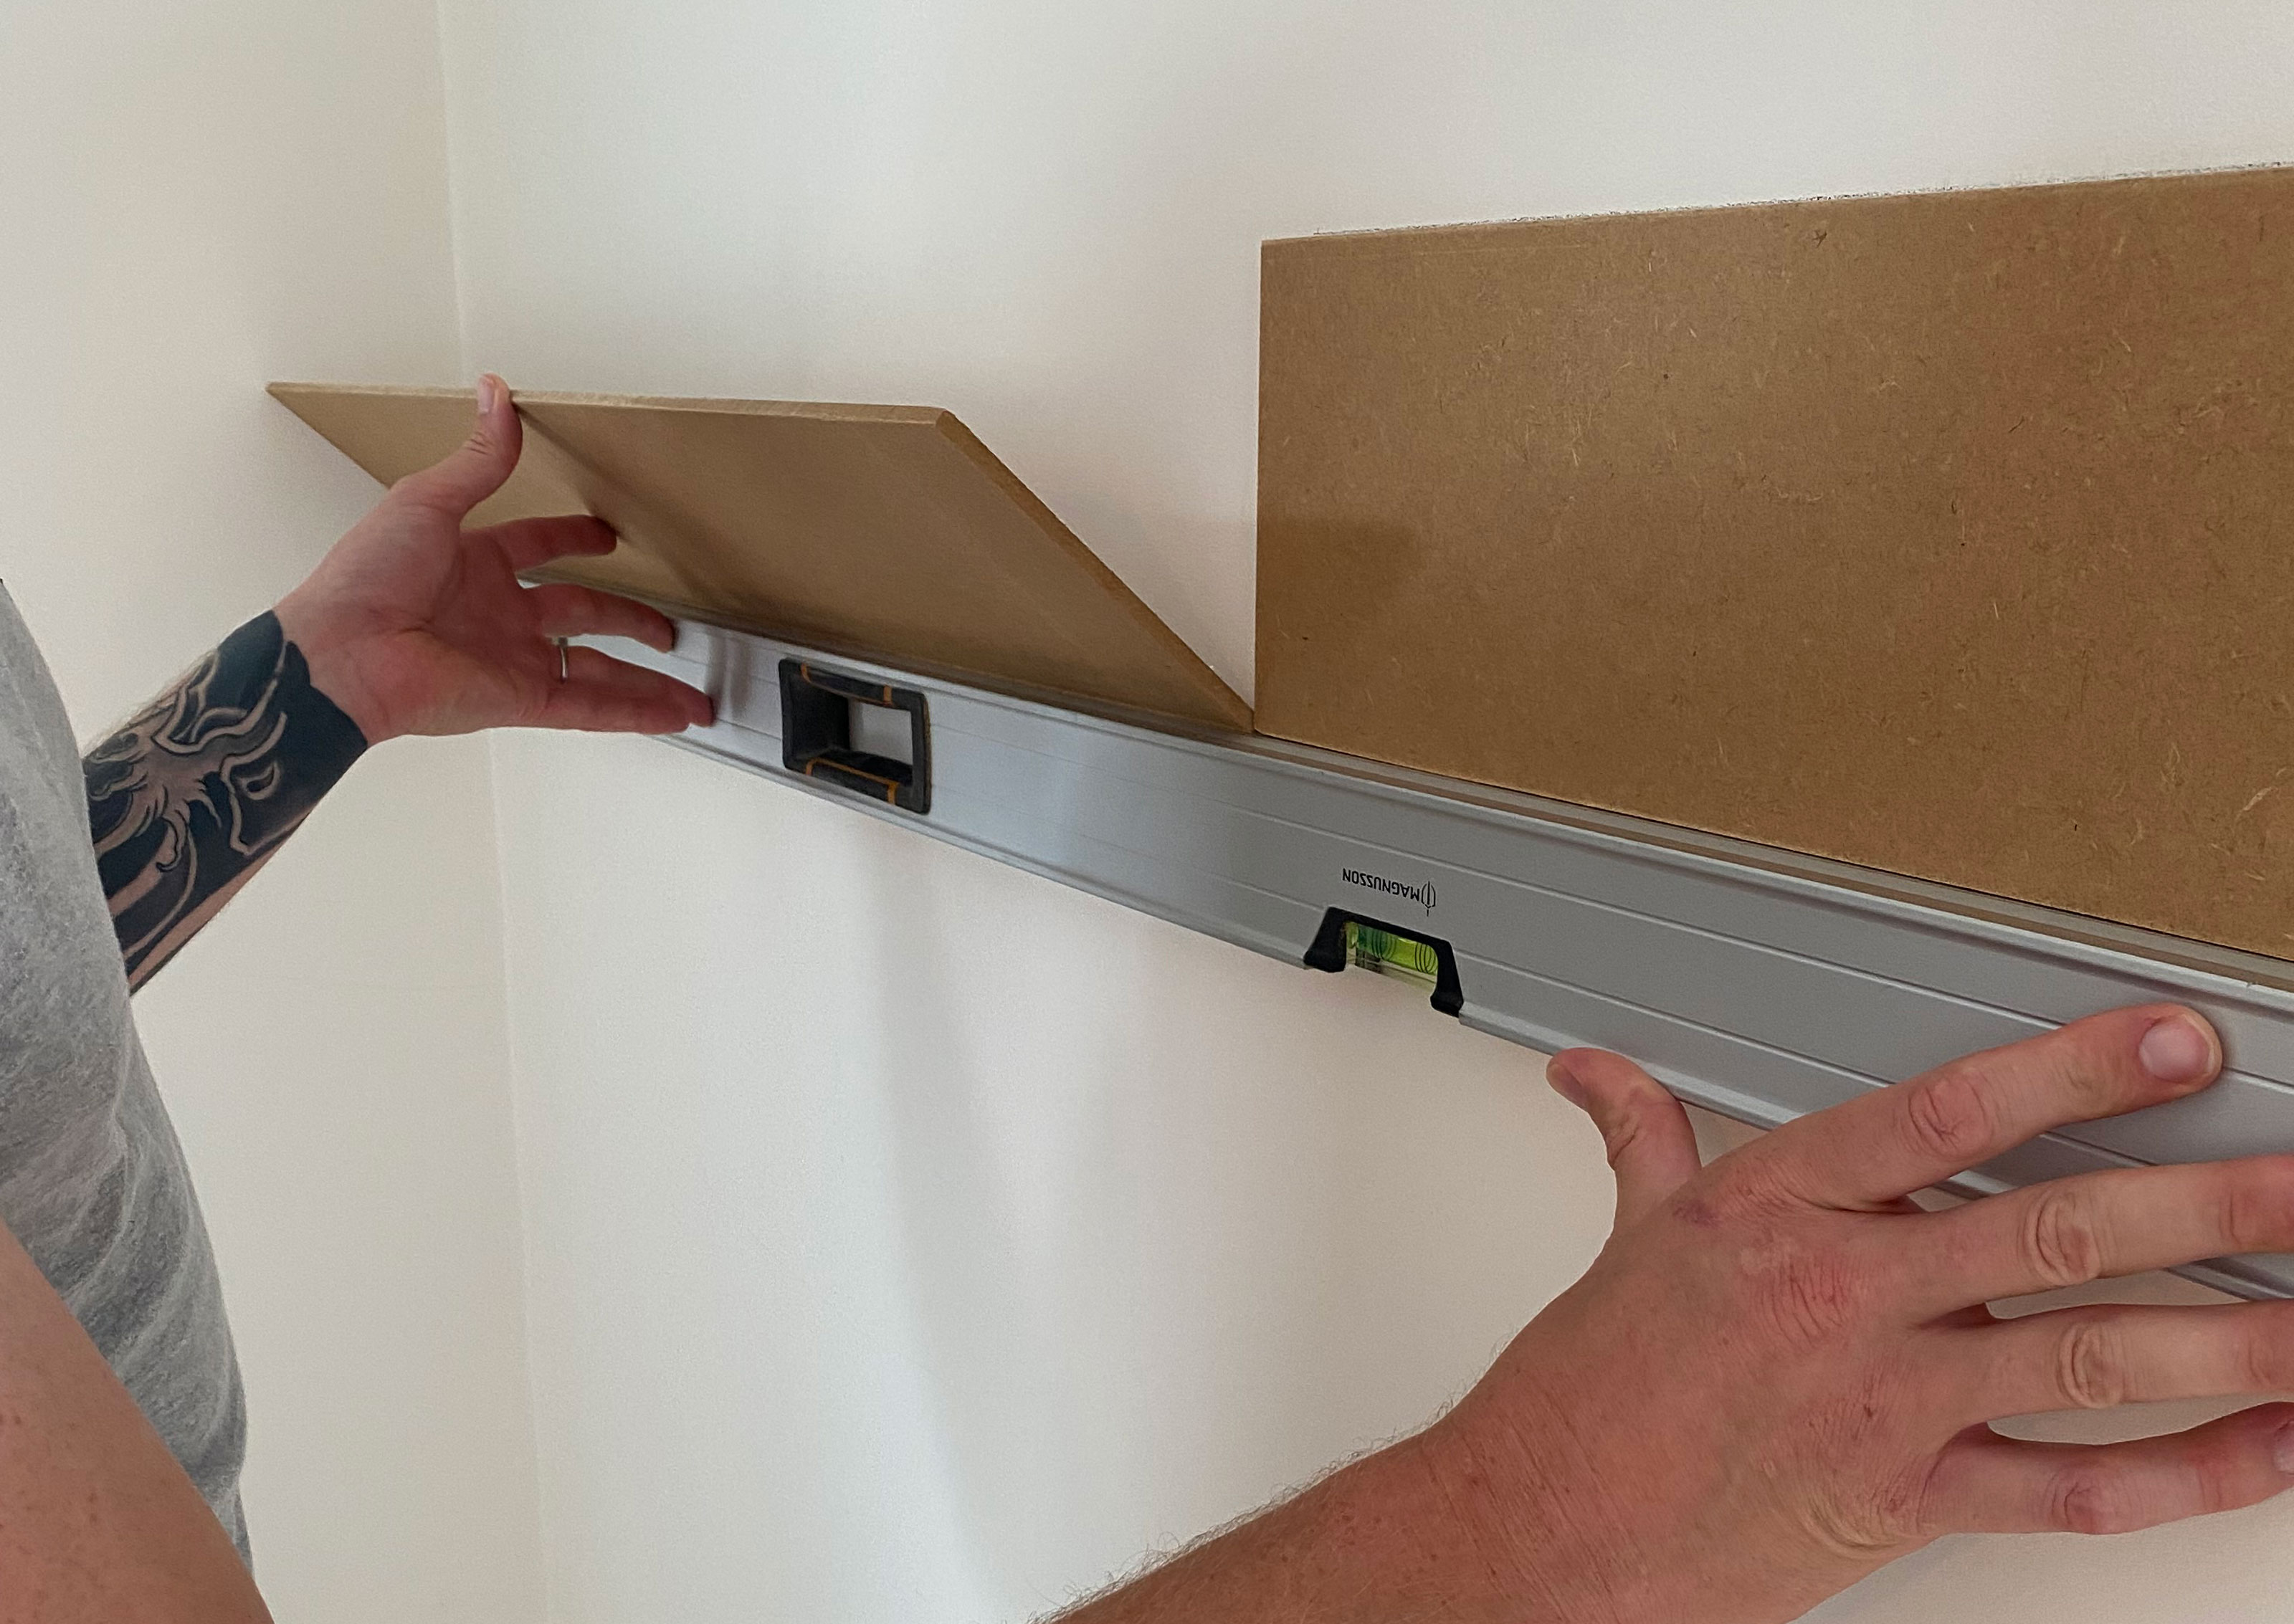
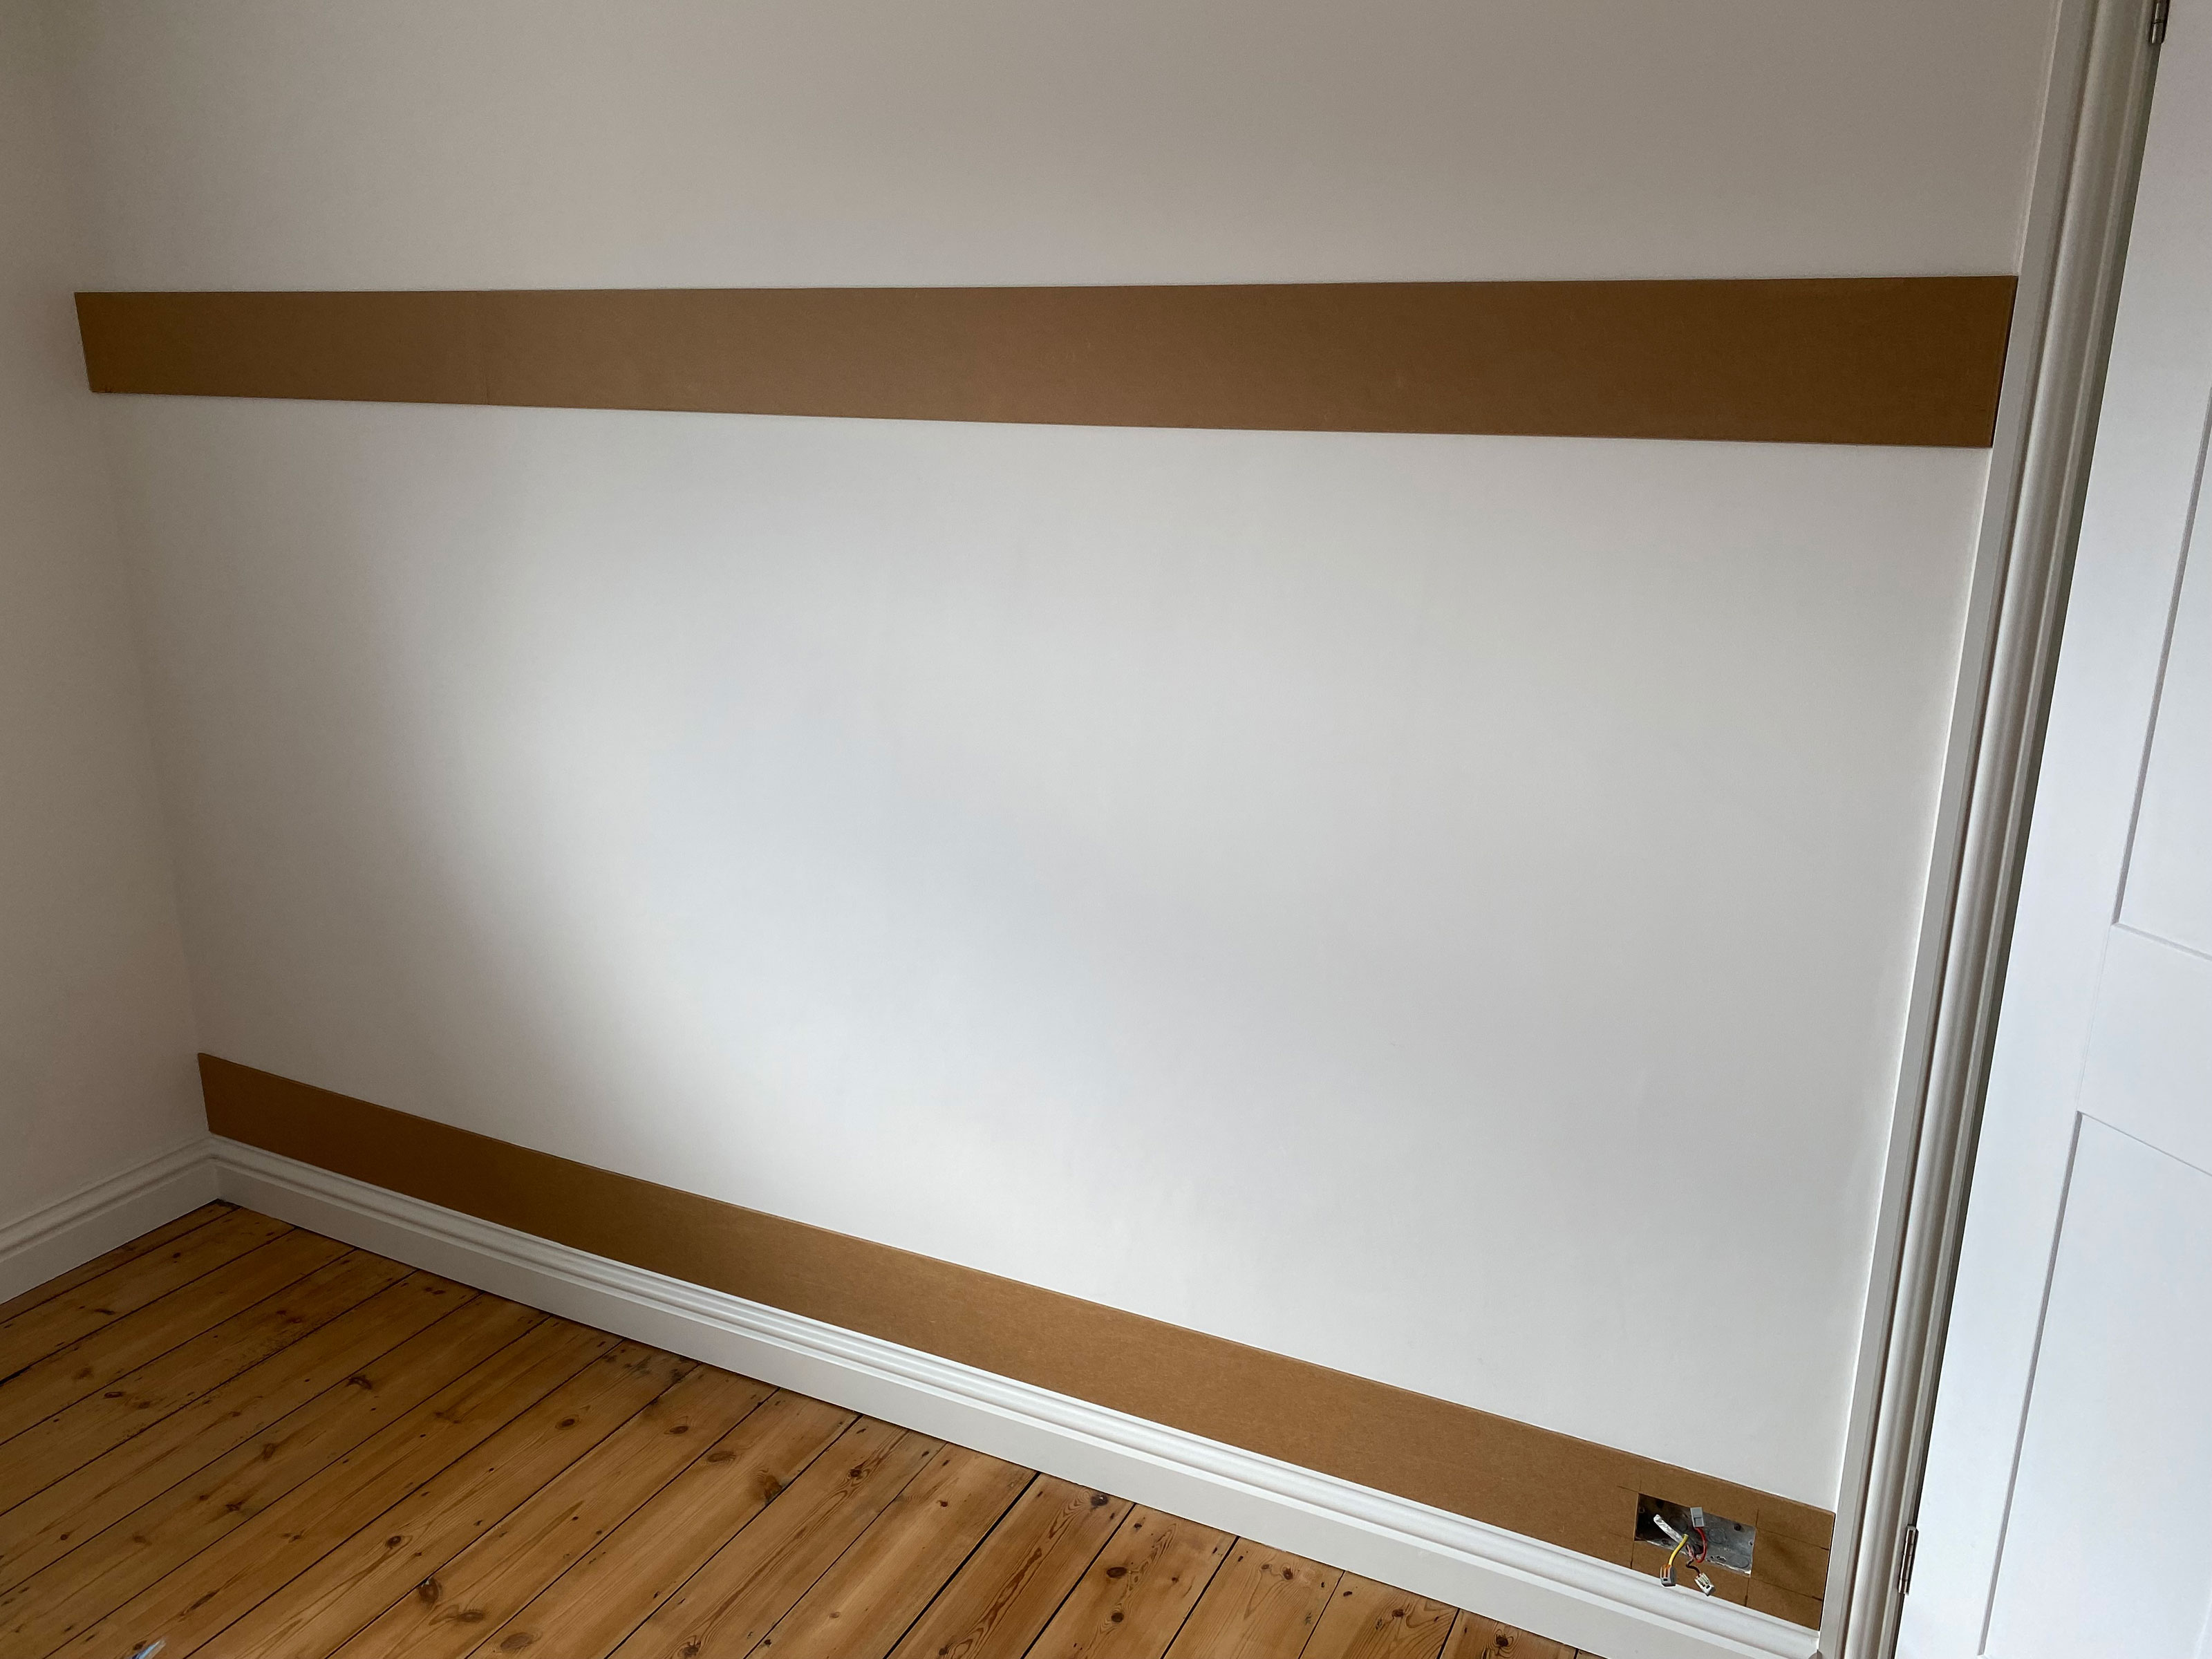
3. Next, measure the gap between the base and upper strips and cut the vertical slats of the DIY wall panelling using your best mitre saw.
4. To work out the spacing of your vertical slats, measure the width of the space and the width of one slat. Make a decision on the number of slats you want to put in and then use this formula:
[Width of wall — (width of slat x number of slats)] / (number of slats — 1)
5. If you have an odd number of slats, it's a good idea to start in the middle, while if you have an even number, it may be better to start at one side or the other. We used a laser level to make sure each slat was perfectly straight when gluing down, but with any luck aligning with the base board should make it easy for these vertical slats to be straight.
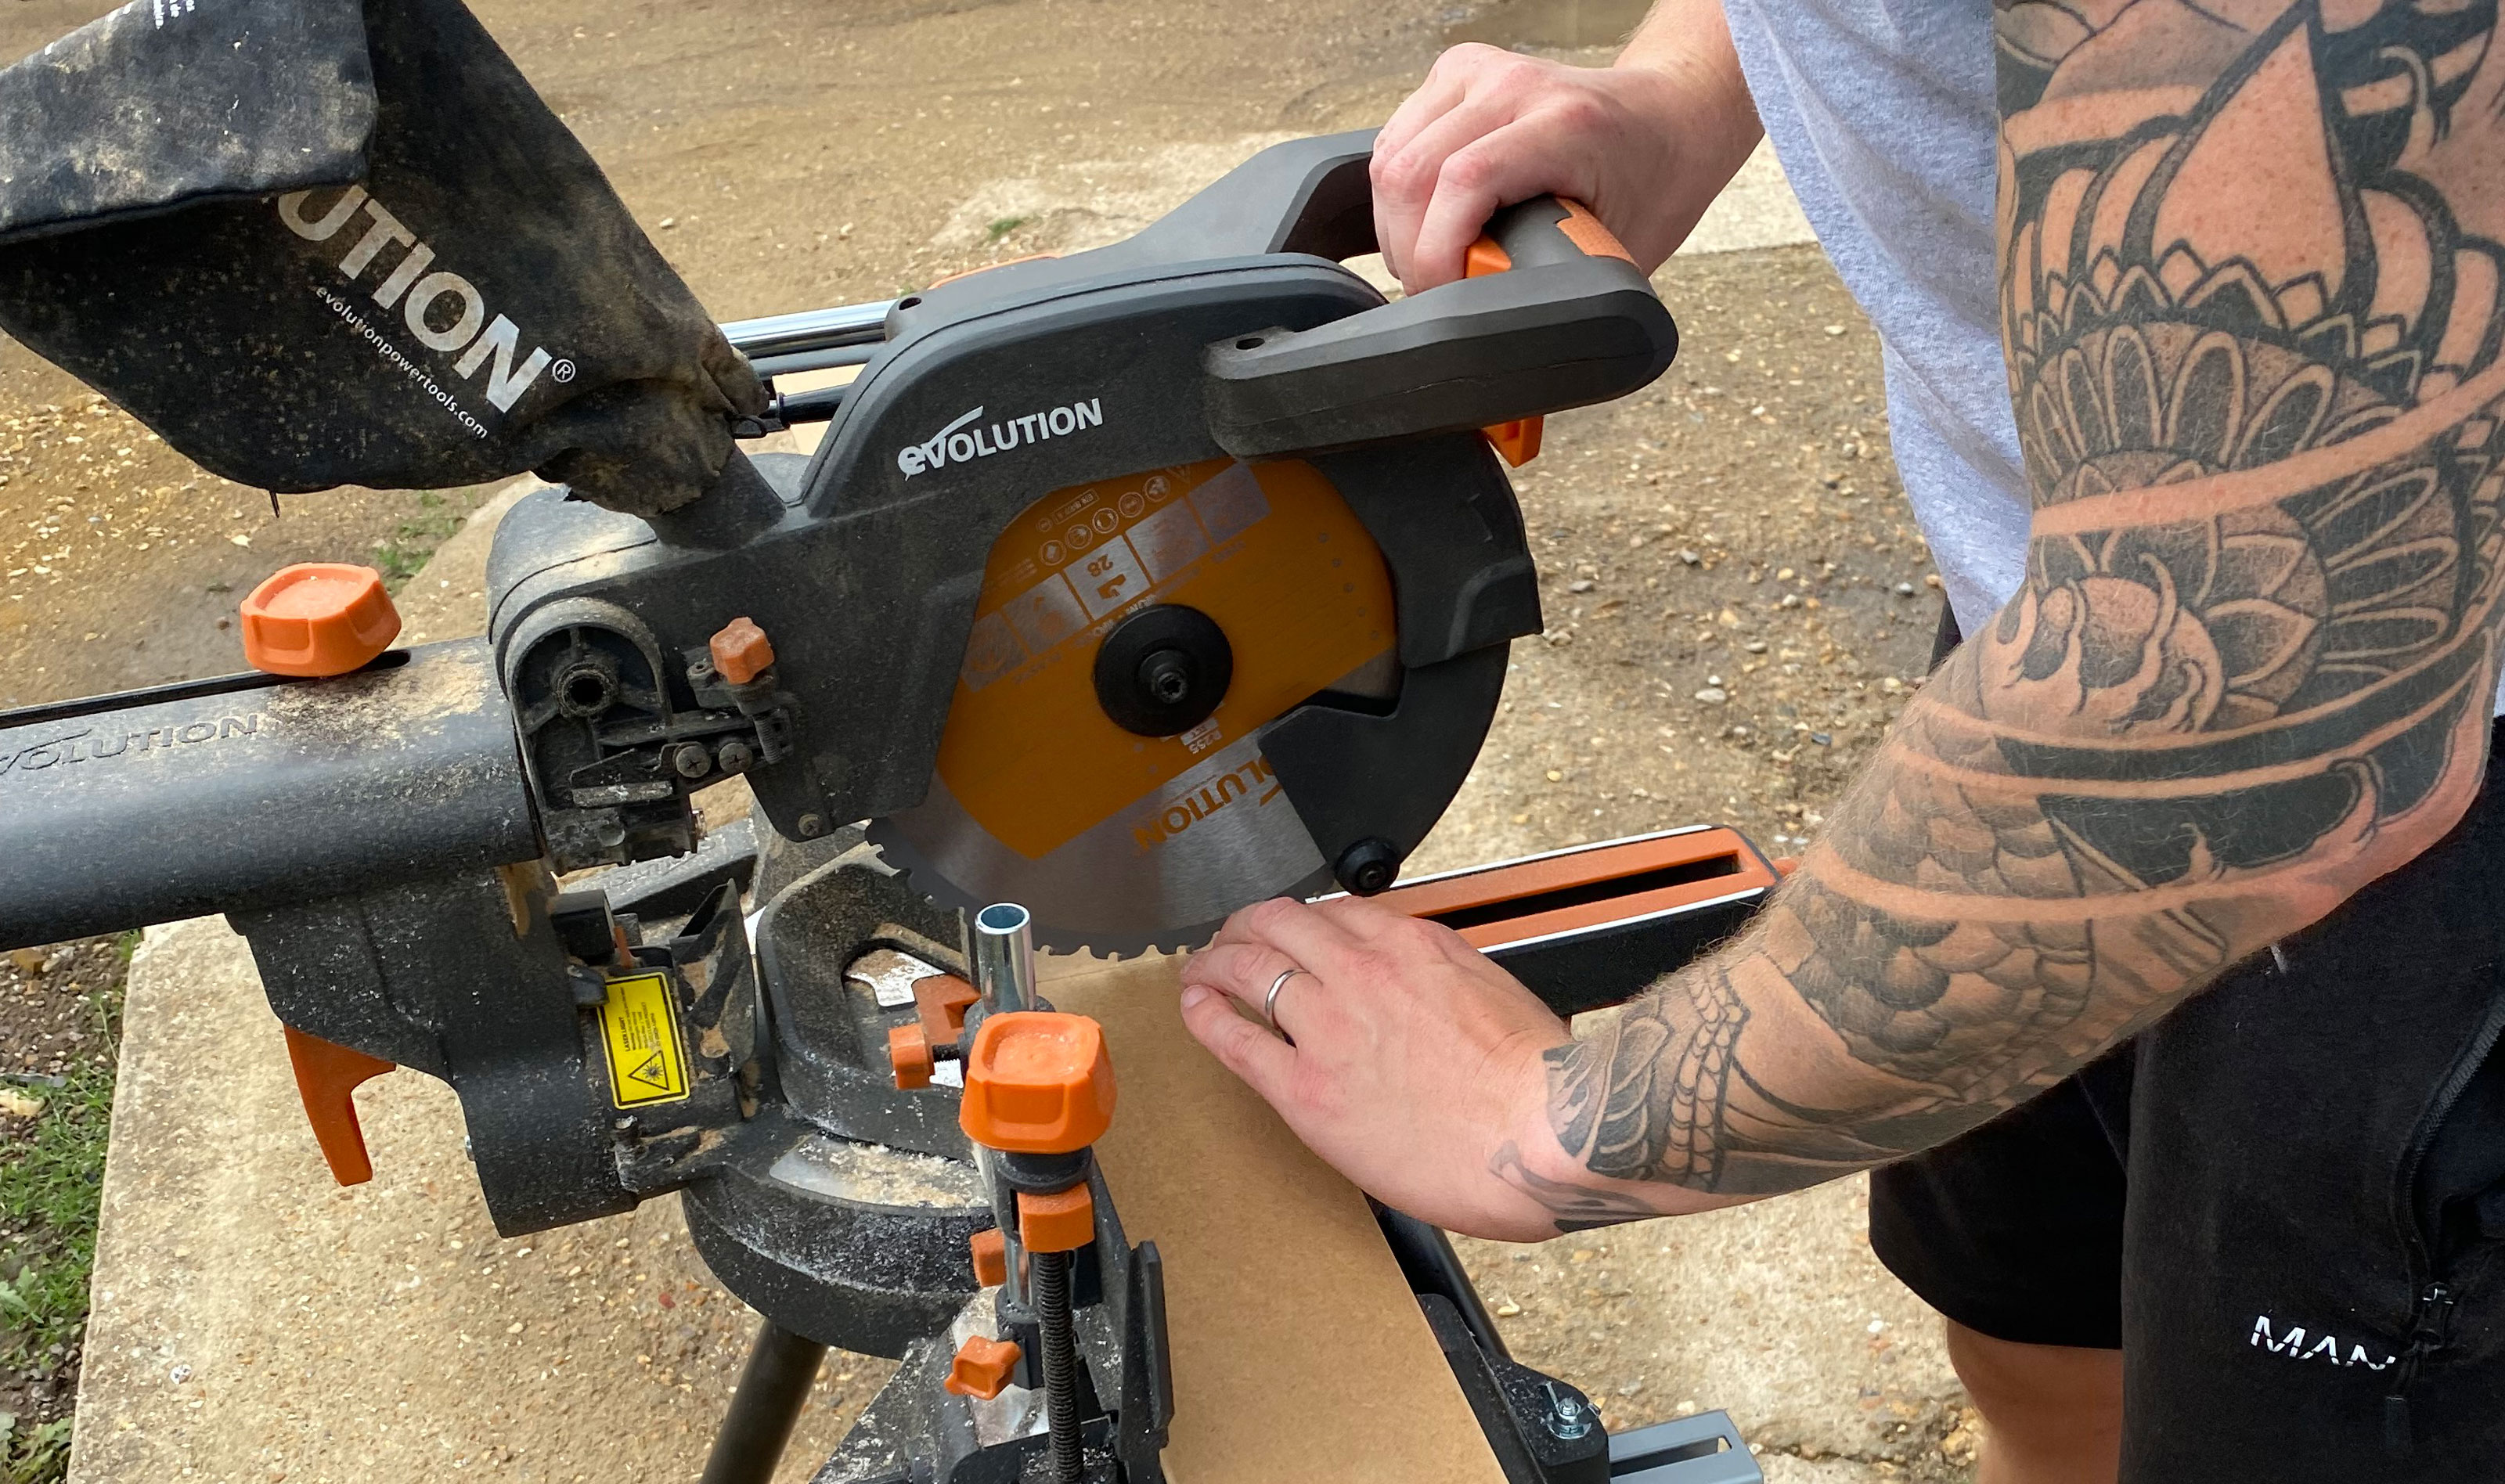
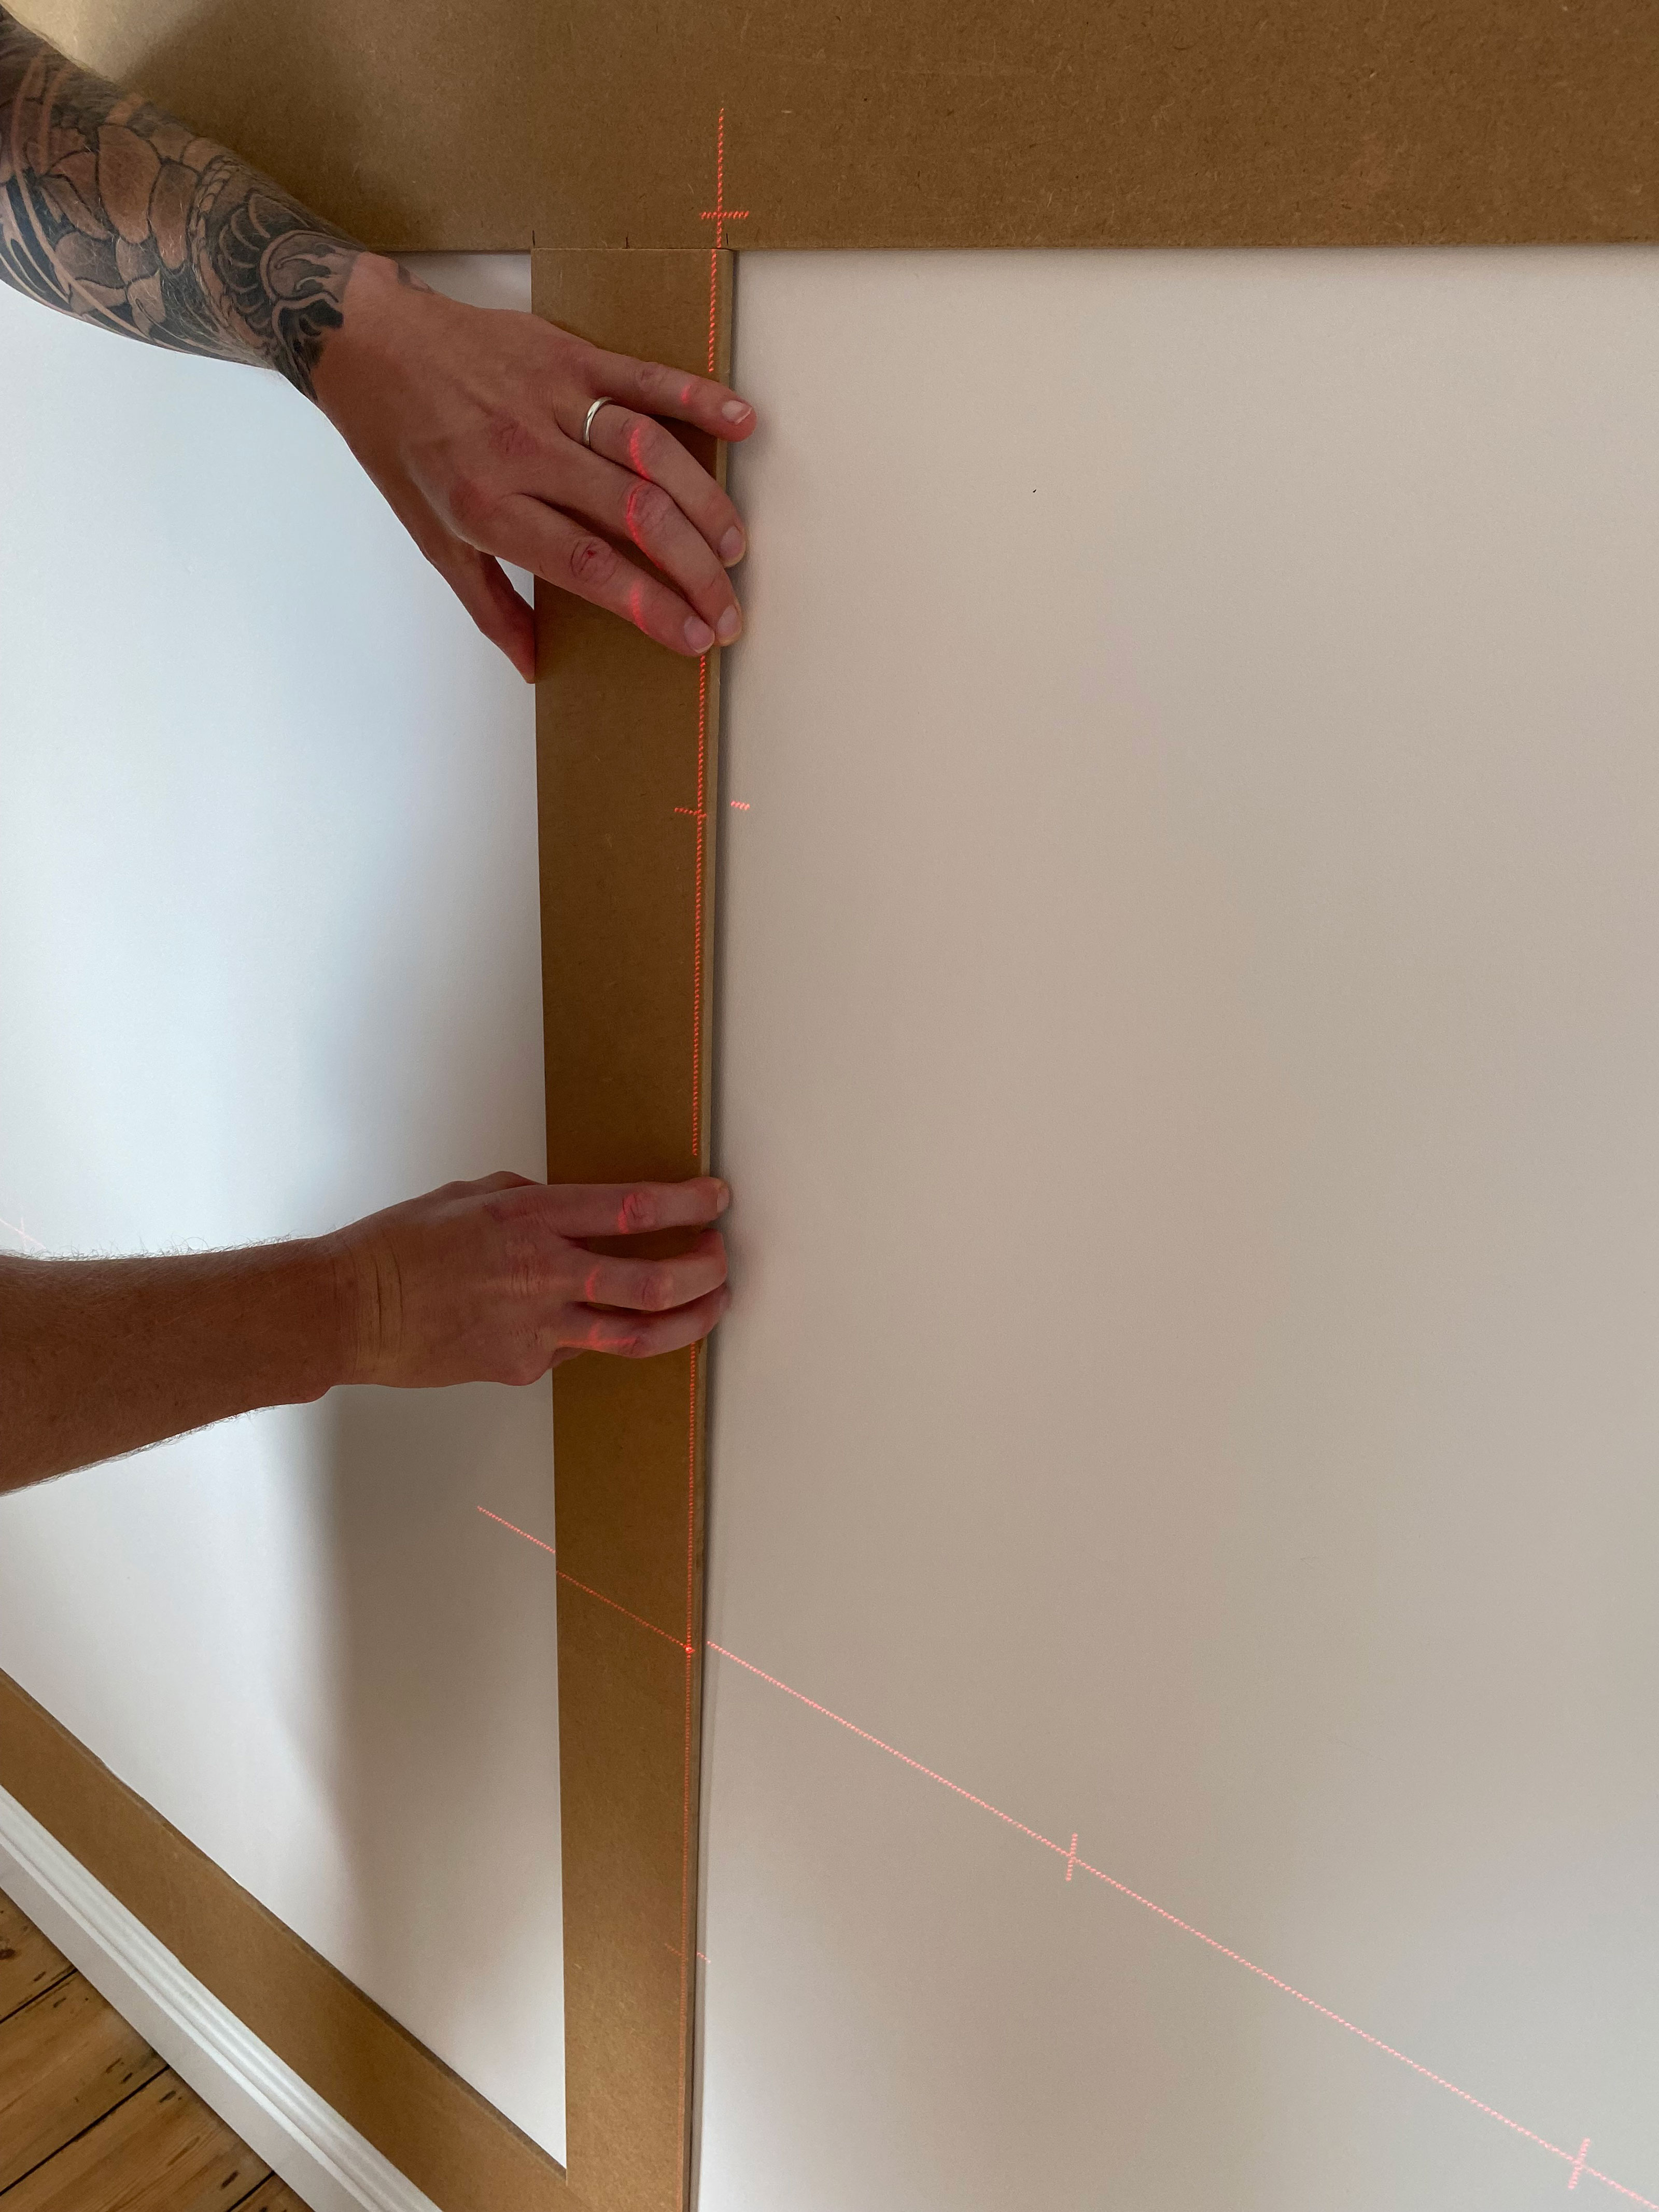
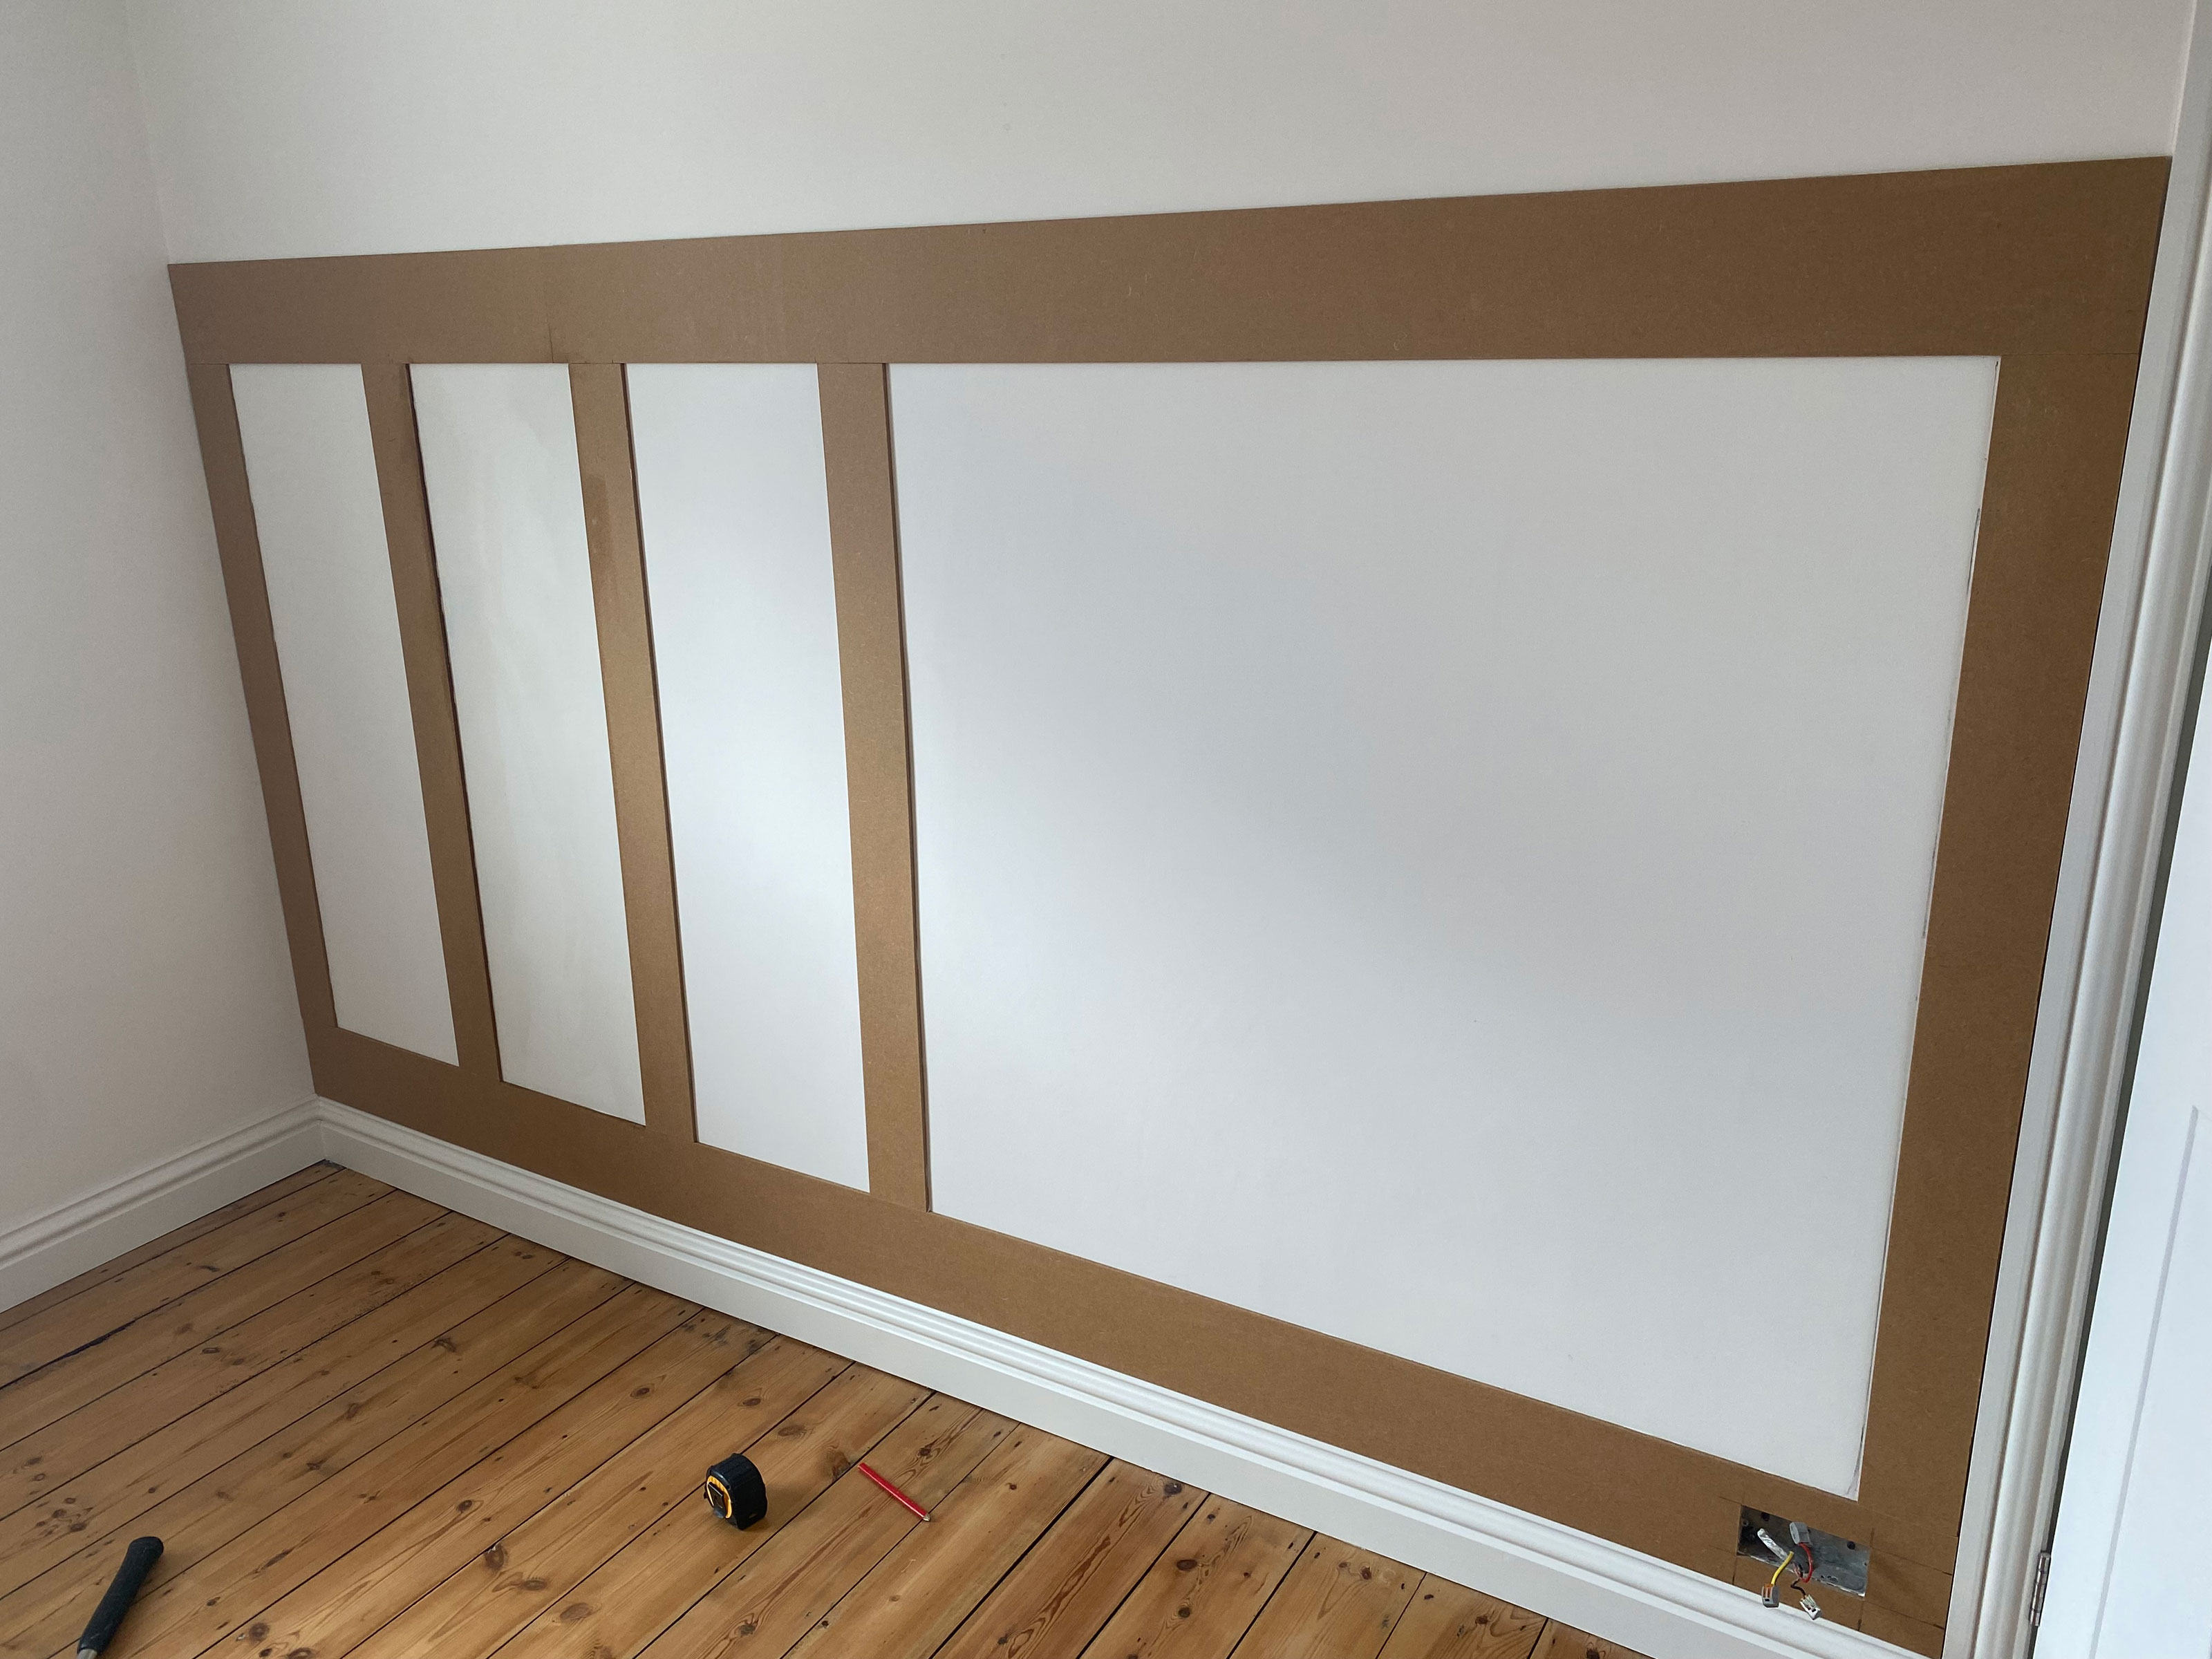
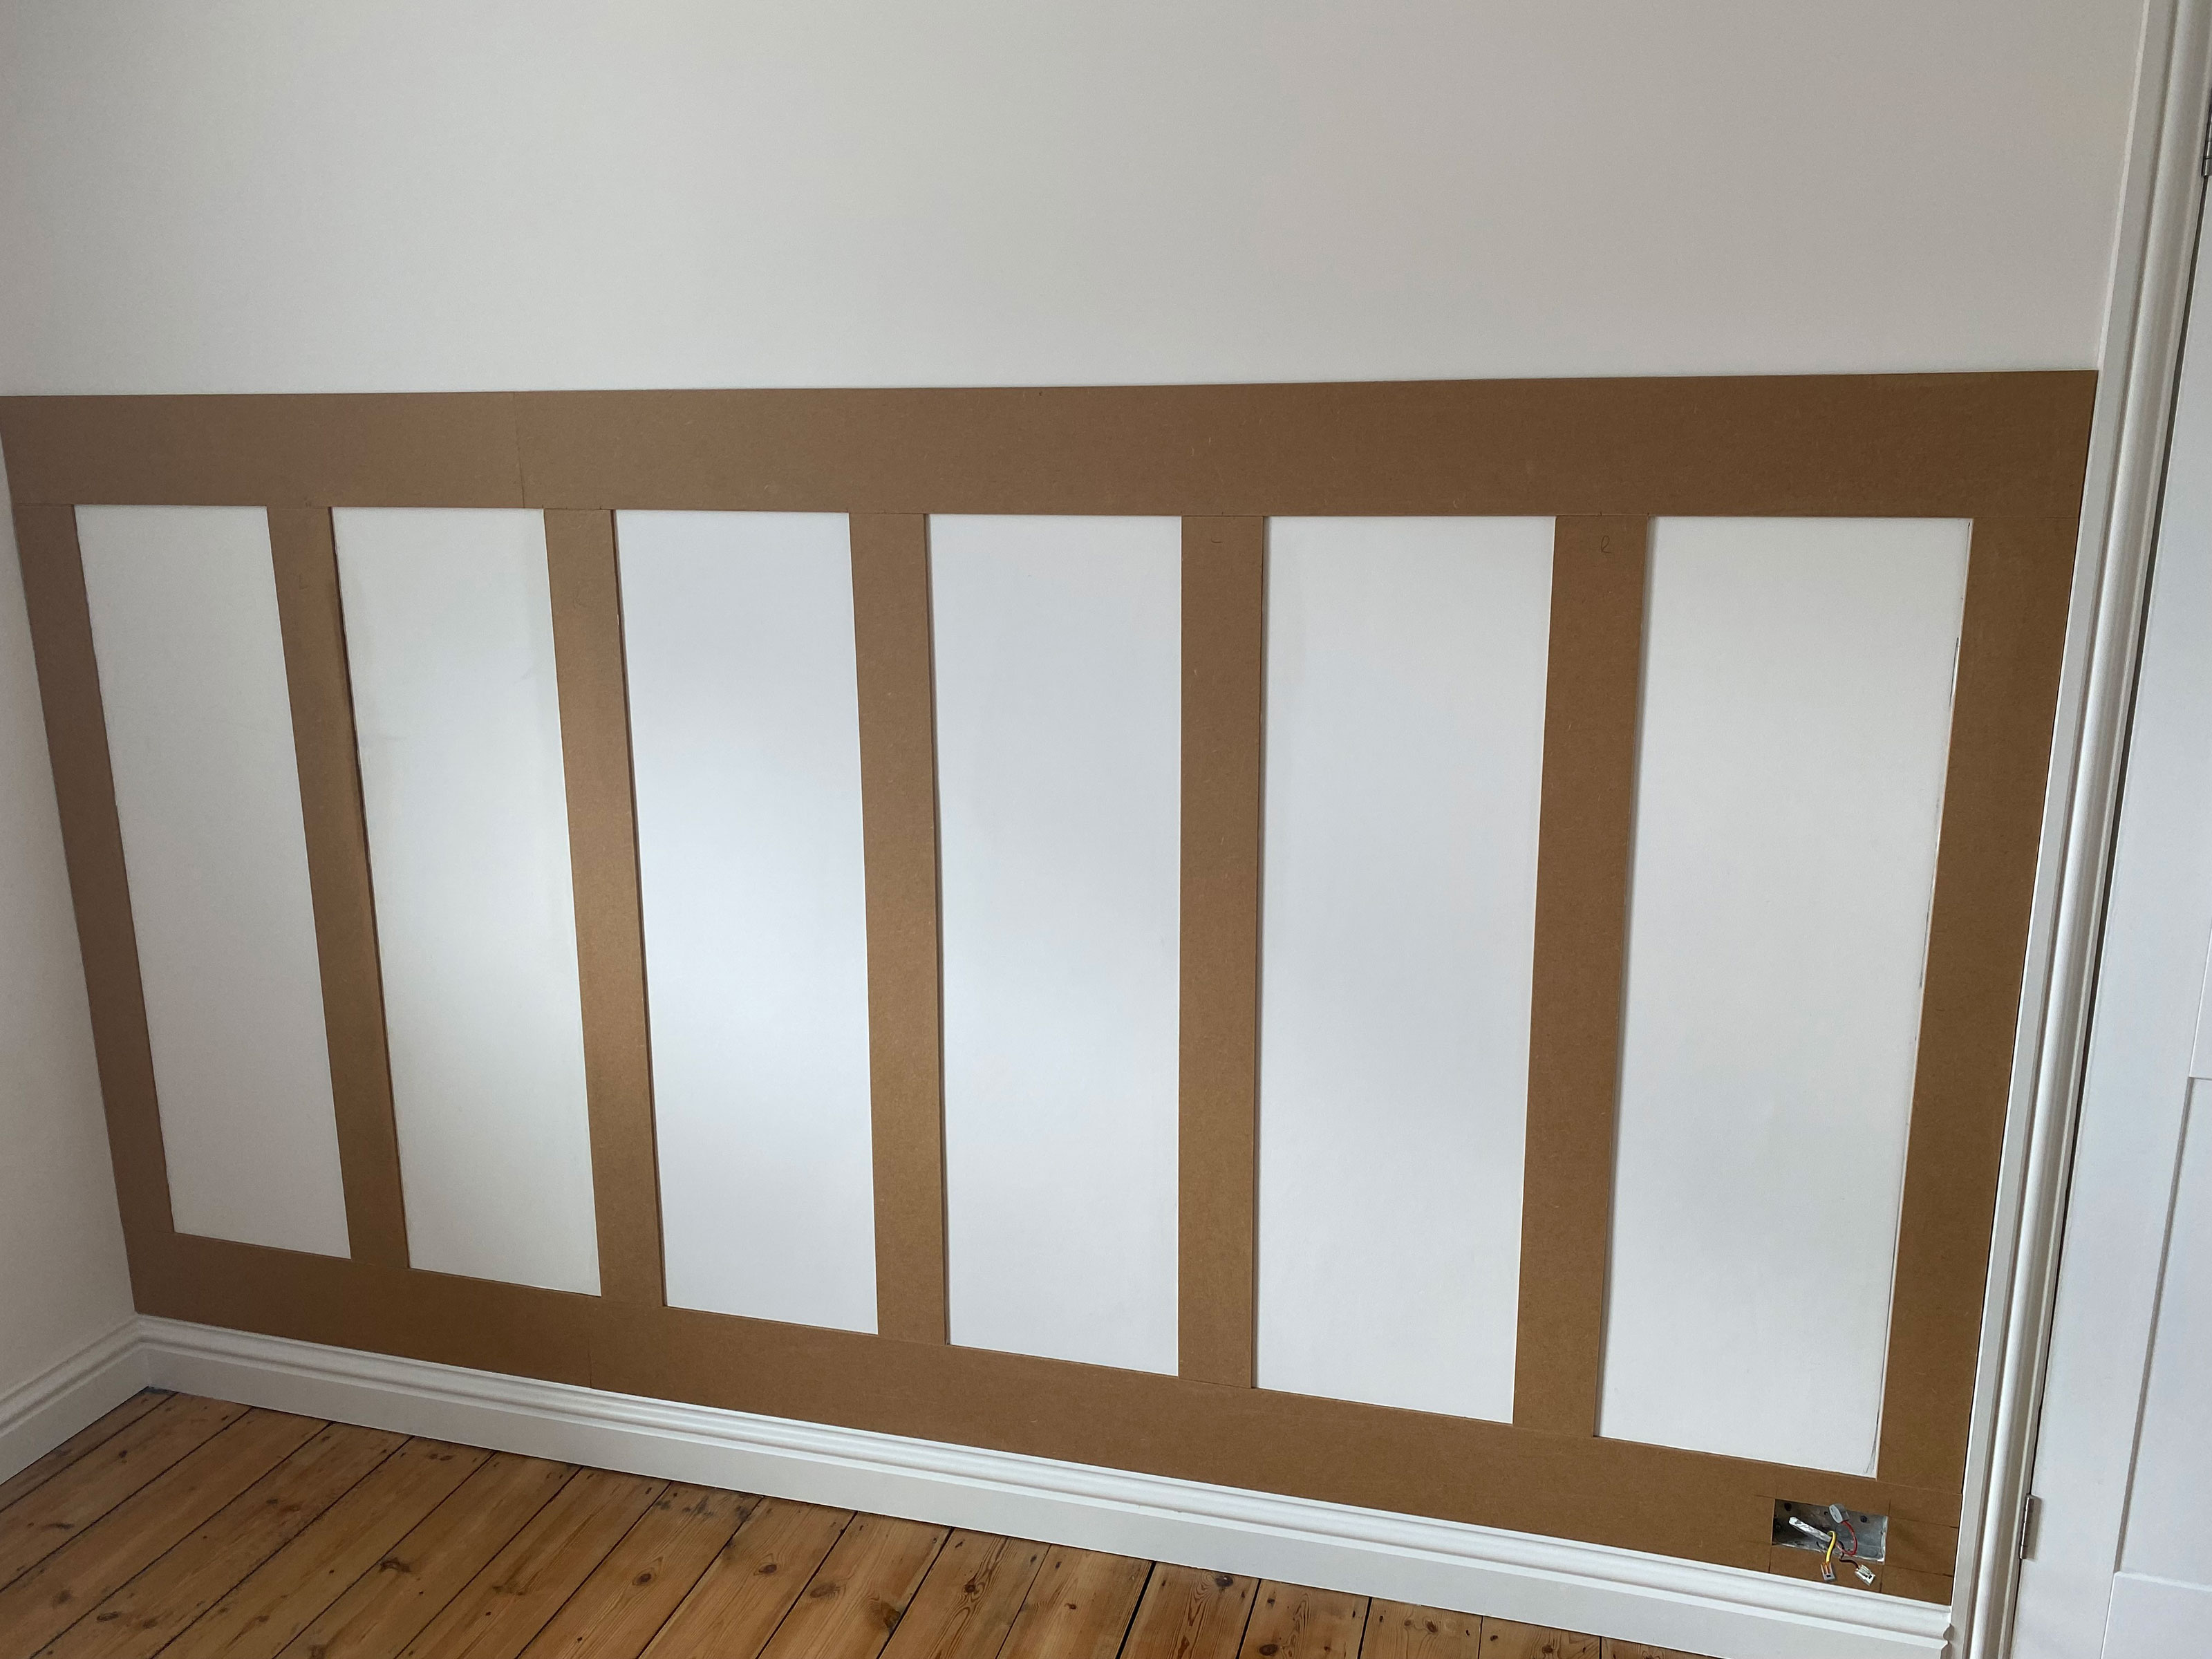
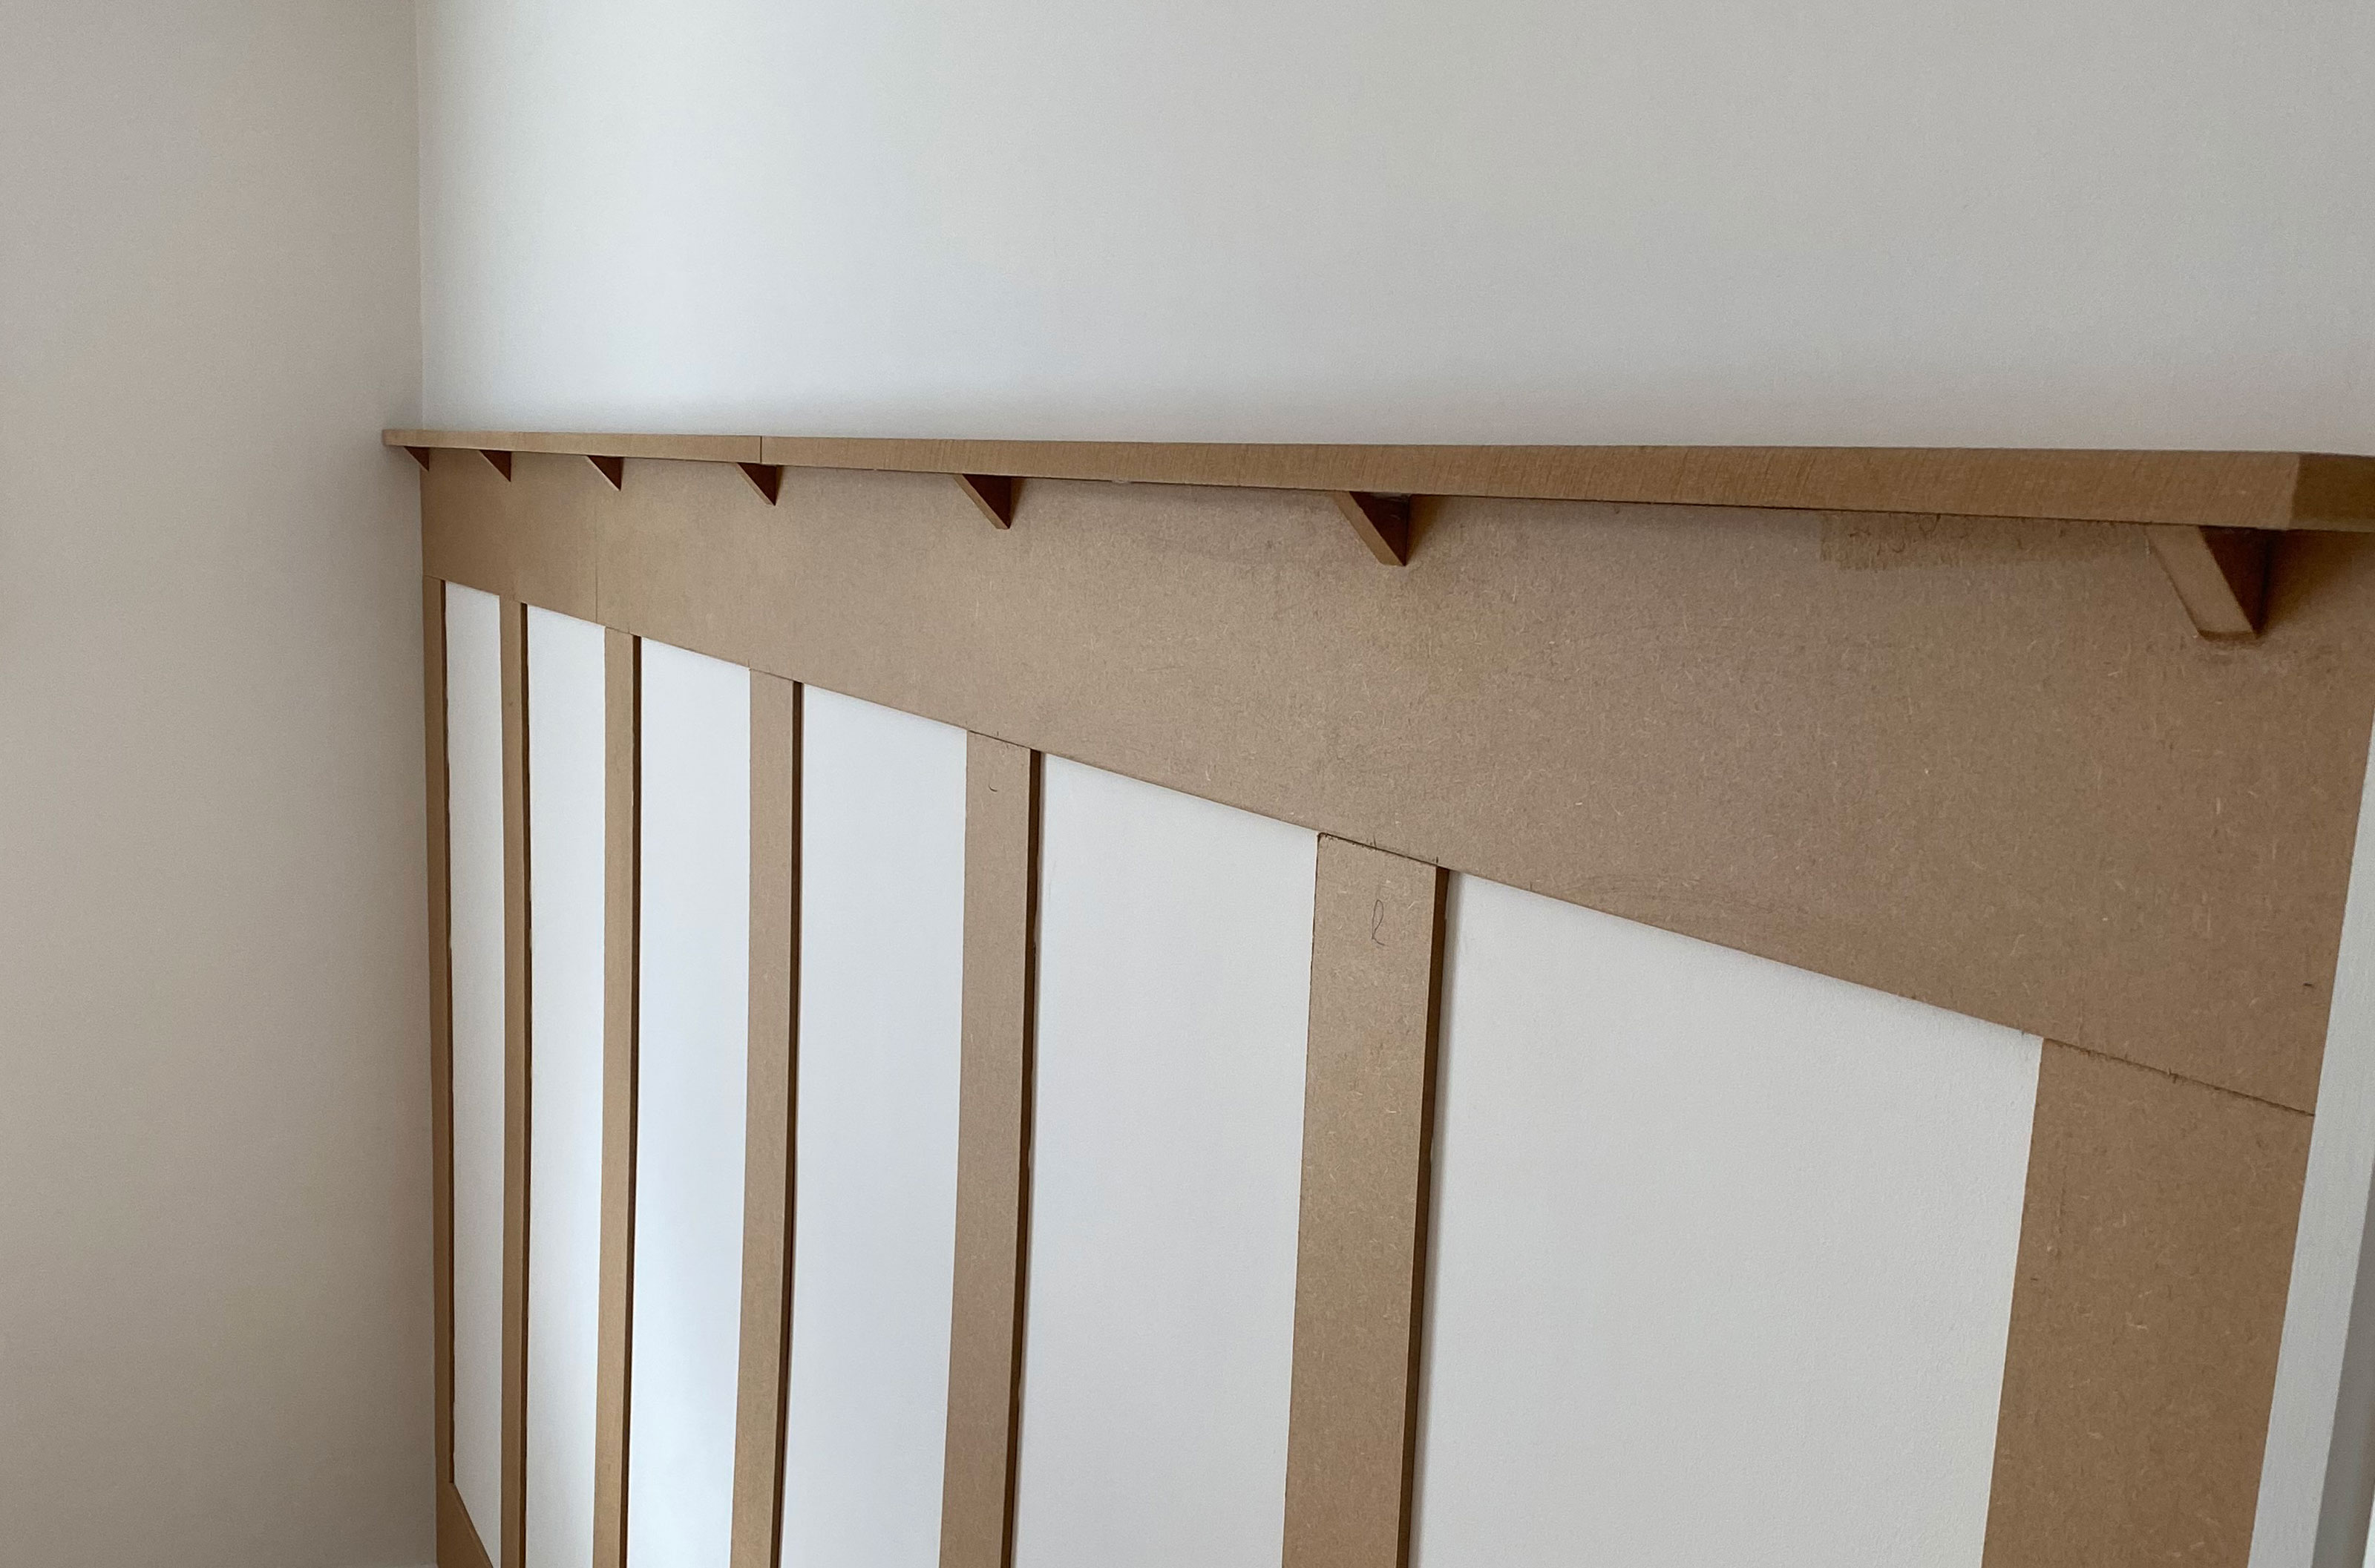
6. For this design, we added a small ledge at the top of the panelling, with some small triangular supports cut with the mitre saw. The supports are best fixed with mitre glue, but using your instant grab for the ledge.
7. When your panelling is all glued down, give it a wipe down with some sugar soap to remove any excess glue on the wood for a better painted finish.
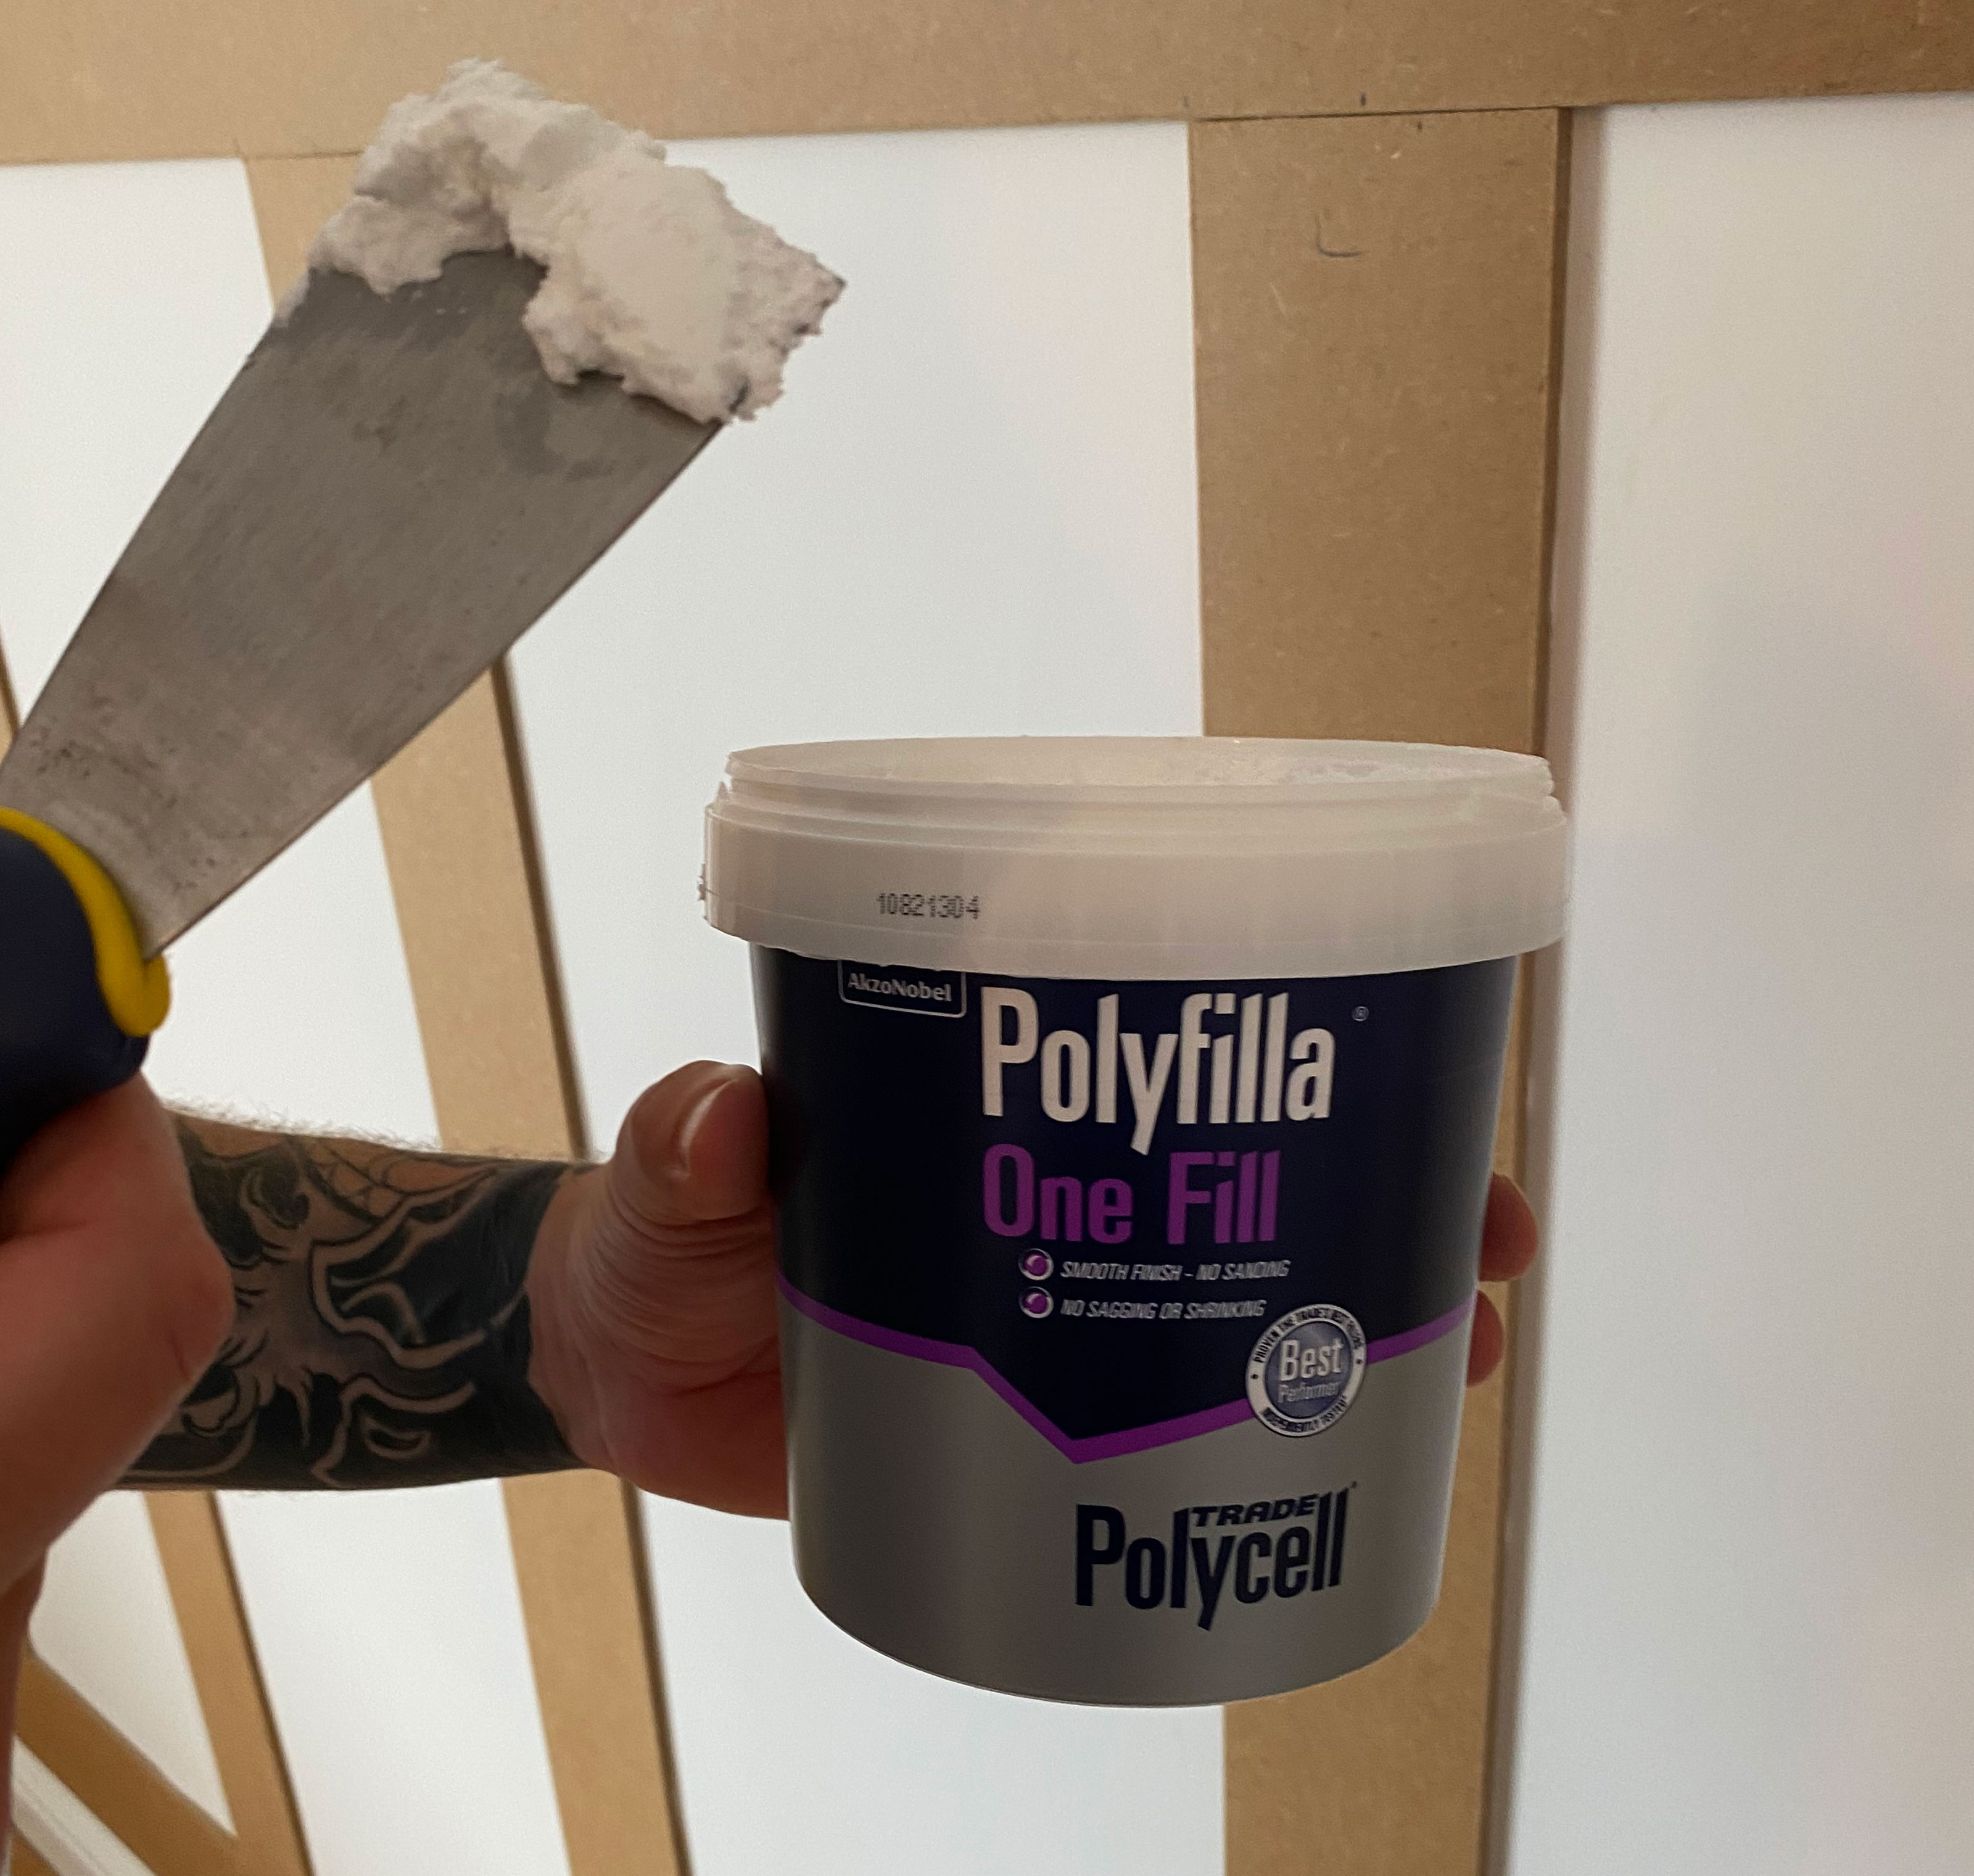
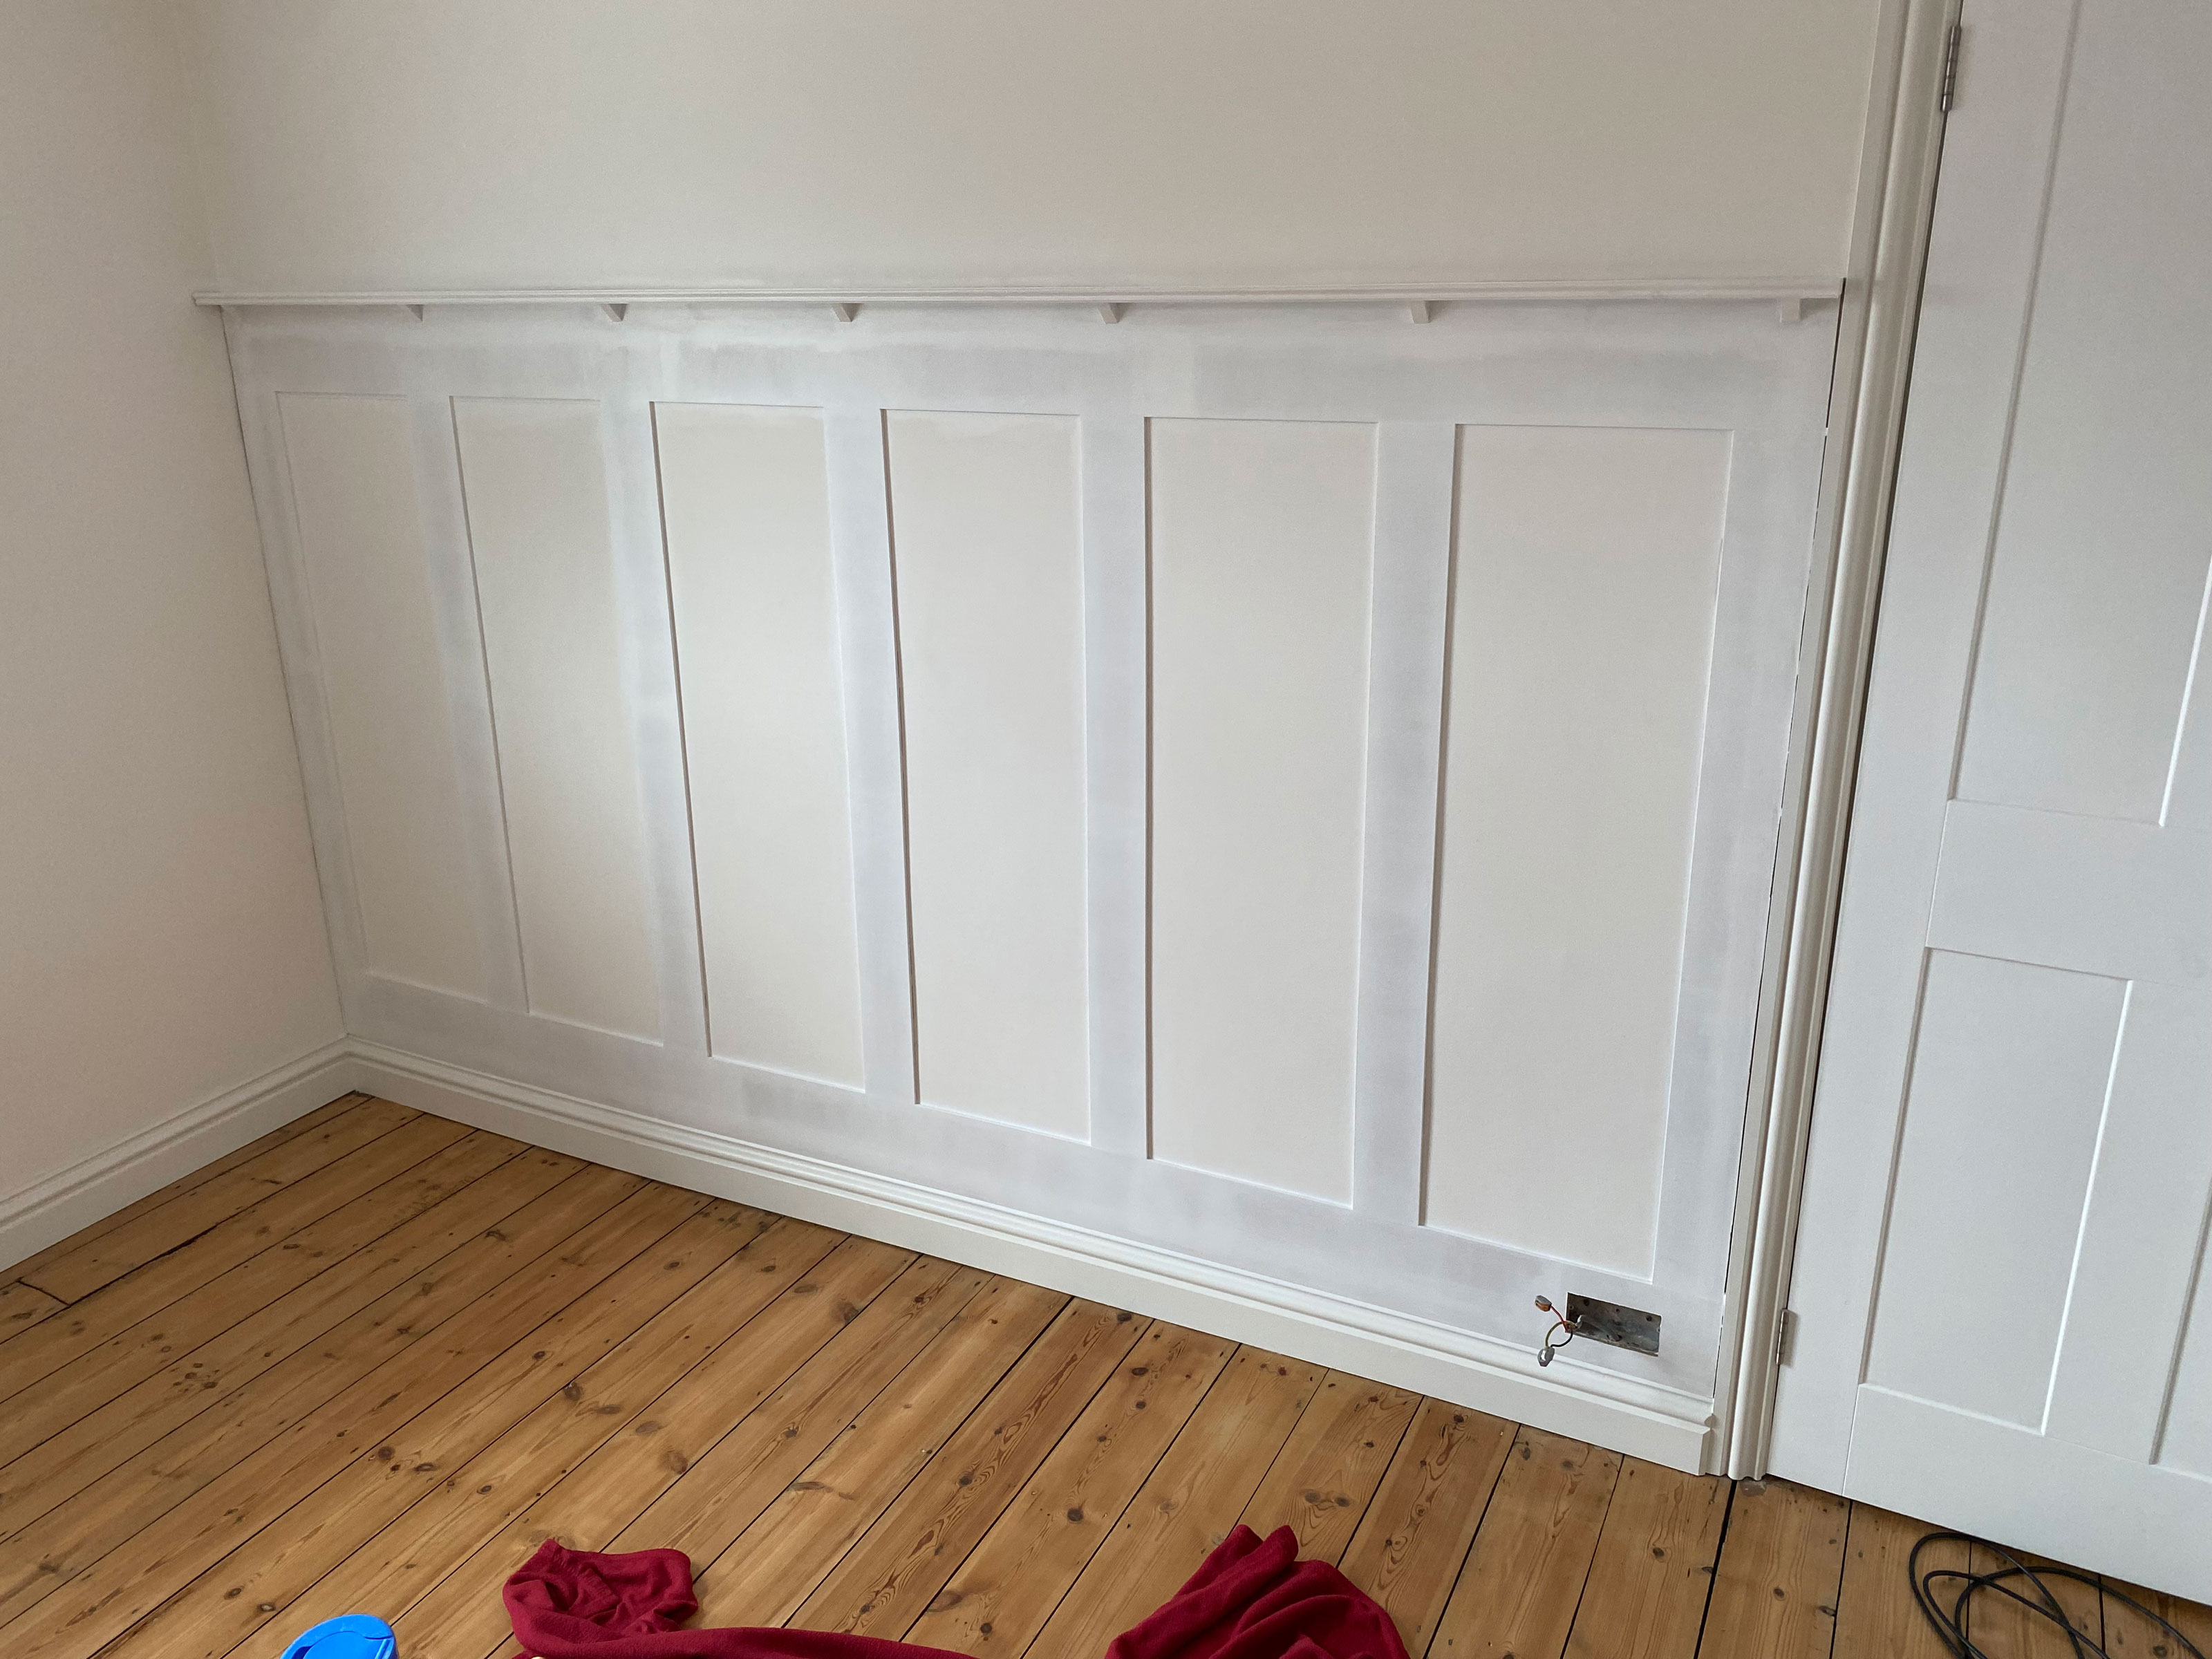
8. Fill the gaps between the MDF slats with a multi-purpose interior filler. Wait to dry and then sand down with fine sandpaper.
9. Use decorator's caulk around the edges of the panel centres.
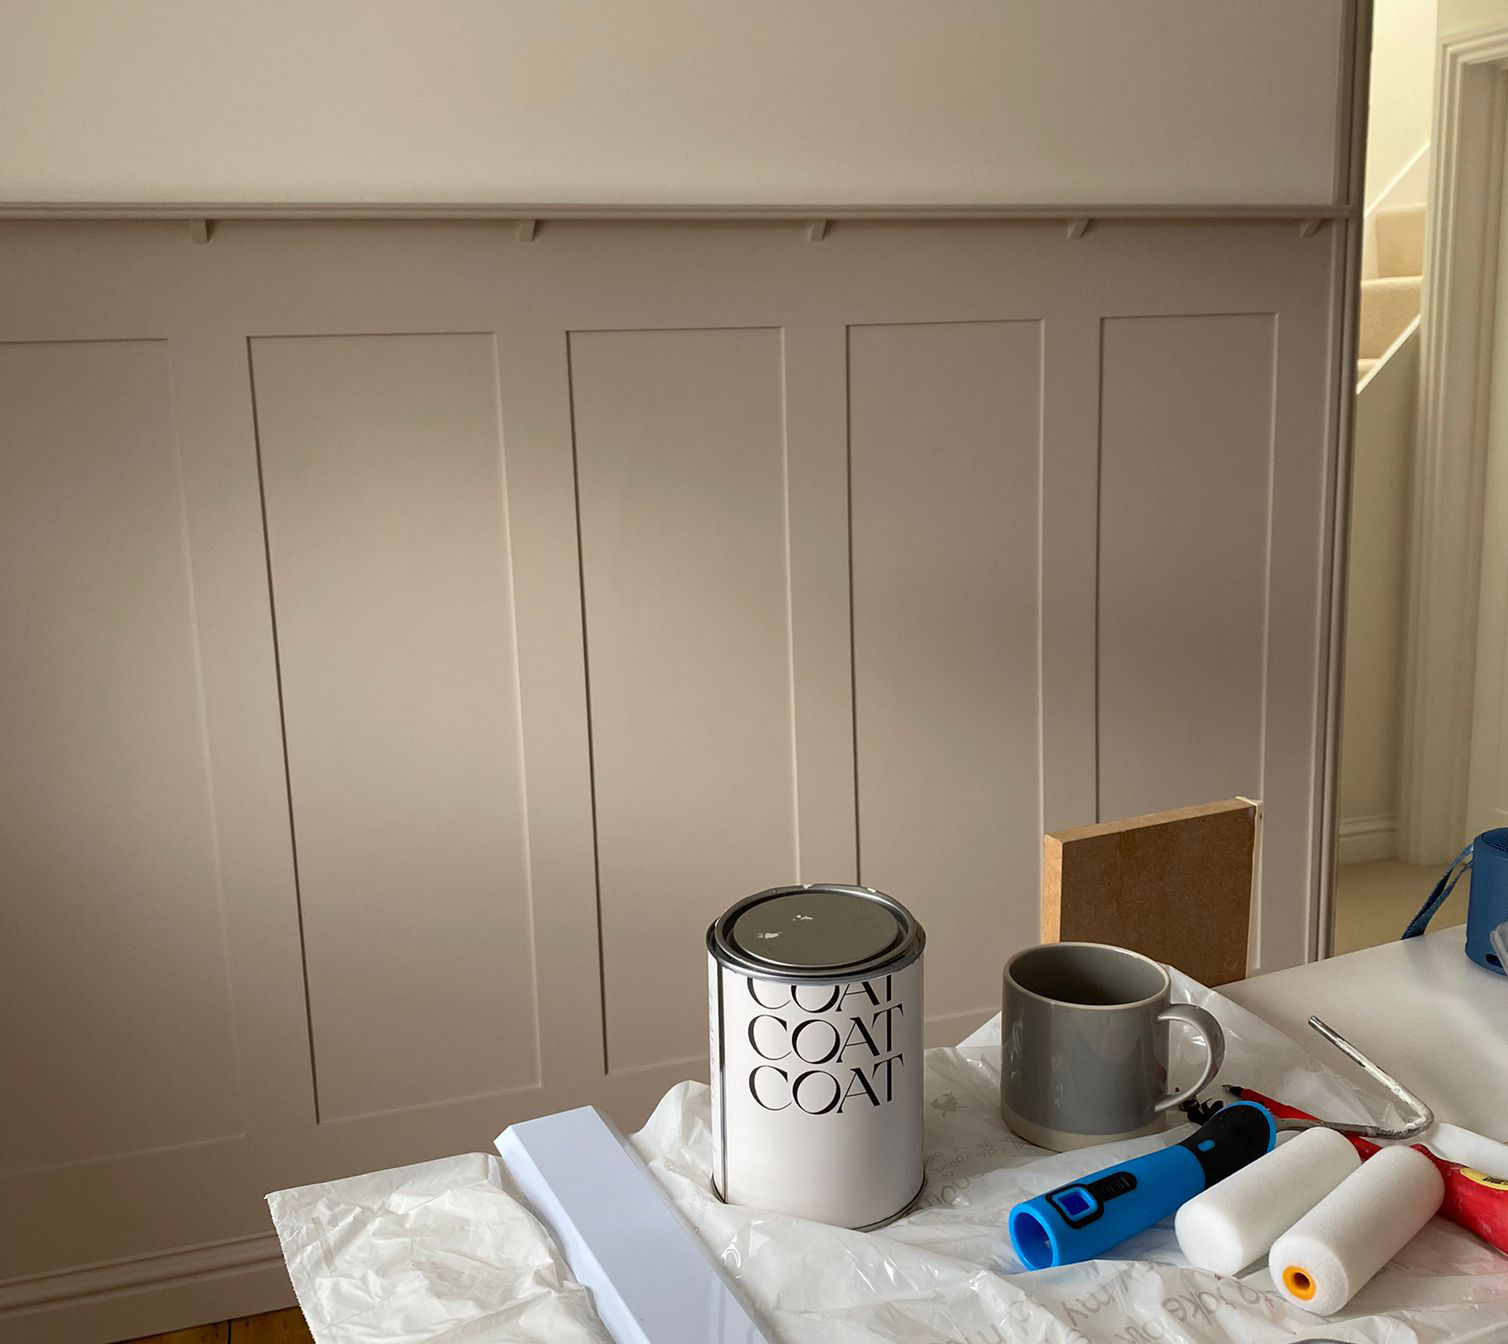
10. When ready to paint, do a first coat using MDF primer as this will help a better adhesion of the next coat.
How to Install Square Shaker Panelling
The process for square Shaker panelling, another popular wall covering idea, is much the same — however, you'll need to have more horizontal slats and you'll need to adjust your formula to include the height as well as the width. It may take a bit of jiggling your measurements to ensure that you get perfectly square sections.
Get the Homebuilding & Renovating Newsletter
Bring your dream home to life with expert advice, how to guides and design inspiration. Sign up for our newsletter and get two free tickets to a Homebuilding & Renovating Show near you.
Luke Arthur Wells is an award-winning interiors blogger and stylist. His blog has been one of Vuelio's top 10 interior blogs for four years running, and he recently won the Best Creative Skill category at the Amara Interior Blog Awards. Luke has worked with some of the UK's biggest brands, from John Lewis and Made to Farrow & Ball and B&Q. He's a big DIYer, and loves coming up with creative woodwork projects for his home, a Victorian terrace renovation in Essex.

