20 DIY Tips Every Beginner Should Know
These handy DIY tips are perfect for those who want to get to grips with tasks around the home, but don't know where to start
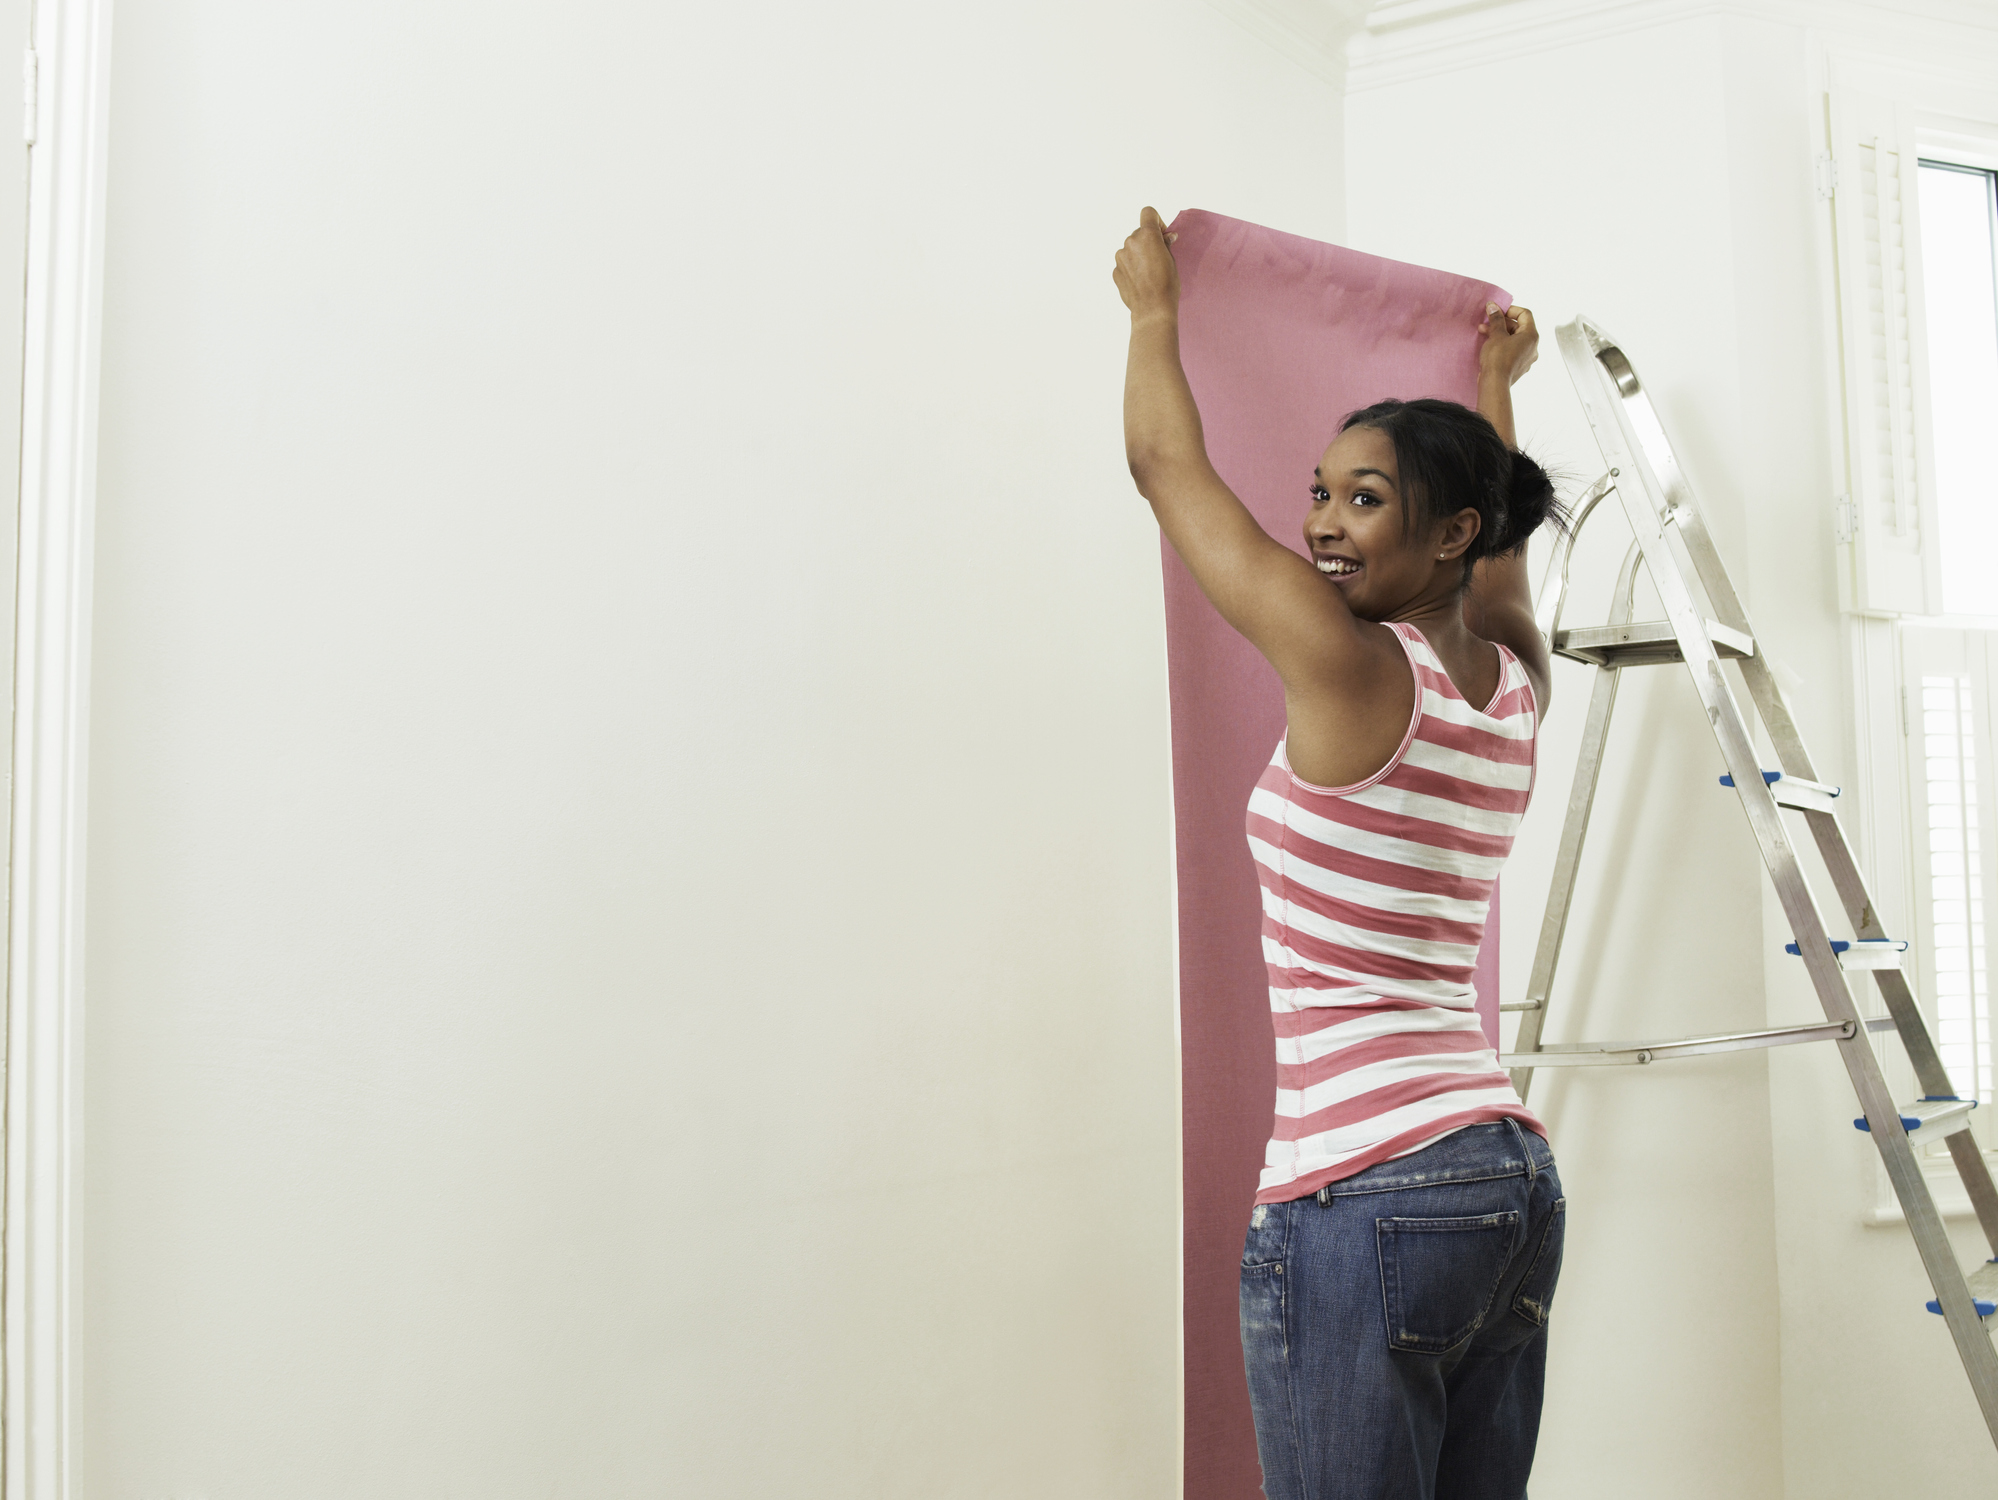
DIY tips are some of the most valuable things you can collect over the years, but if you're just starting out on your do-it-yourself journey, it can be a little daunting in the beginning.
While taking on some jobs yourself is going to save you money, others may end up in a DIY SOS and cost you much more in the long run.
(MORE: Renovating a House: The Ultimate Guide)
So what tasks should you DIY and which should you leave to the professionals? We take an objective look, alongside some handy tips for tackling home renovations with your own two hands for the very first time.
1. Should I DIY or Call in a Professional?
Have a firm idea in mind of why the job needs doing and what outcome you want. This should help assess whether you’re up to the task or if you need a specialist.
There are many plumbing and electrical jobs that you should never attempt yourself, both for safety reasons and to comply with the Building Regulations.
If a wall is bumpy, do you need it to be just be a tad flatter so it looks better painted, or super perfect so you can put up expensive wallpaper?
In the first case, you can get away with gently sanding back the wall and filling in any cracks yourself. In the latter, skimming the wall is a job best left to a plasterer, especially if it’s not something you’ve done before.
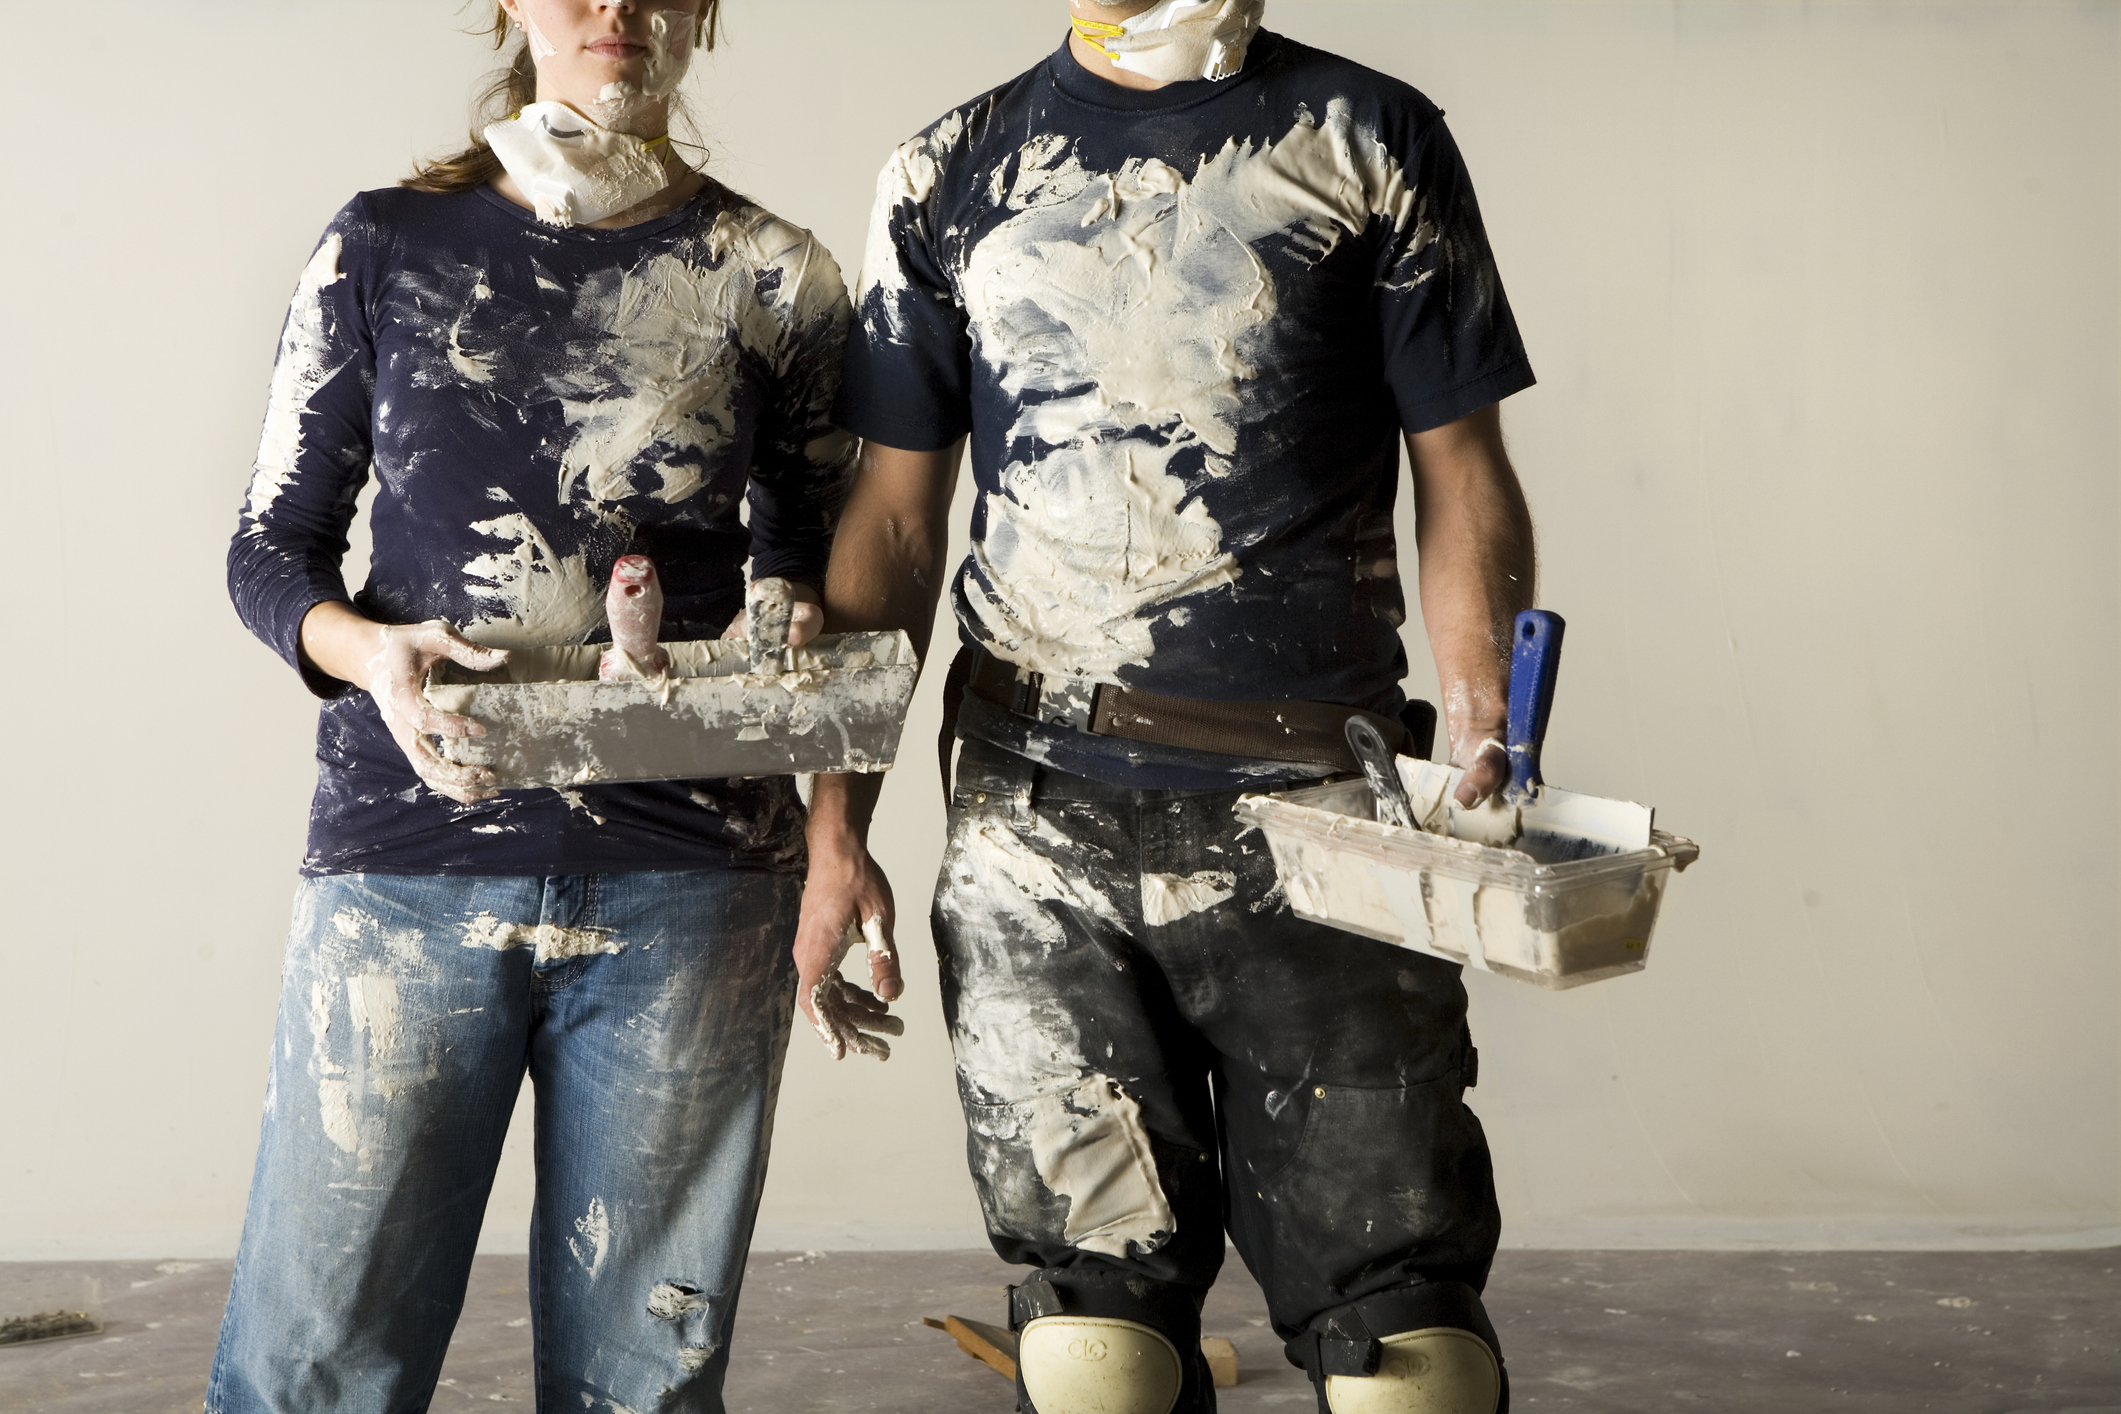
Similarly, if you’re considering honing your bricklaying skills by constructing a small brick wall around a garden bed, could you settle for imperfect results, or does the wall need to be perfect as it’s right on view to any visitors?
Be realistic. Ask yourself how wrong could things actually go and what the impact would be if they did. The answer will tell you whether to go ahead.
If you are in doubt about whether you should attempt a job, you should always check first.
Another thing to consider is whether you (or your other half) are the sort of person who can cope with half-finished, abandoned jobs.
(MORE: DIY: What to Leave to the Professionals)
2. Put Safety First
Another key element in deciding whether you should DIY a project is the potential risk it poses to you, compared to a more experienced, well-equipped tradesperson.
This includes equipment for working at heights, using sharp, powerful or heavy tools and machinery, or owning the appropriate personal protection equipment (PPE) to safely carry out a job, to name just a few circumstances.
Your personal safety is not an area to skimp when it comes to spending on your home.
3. Search Online for DIY Tips
Get online and search out plenty of how-to videos explaining and demonstrating the task you’re thinking about taking on.
Check out Homebuilding & Renovating's YouTube channel for some great tips and advice videos.
Watching DIY actually happening in a step-by-step way can foster the confidence you need to attempt the same job. Watch several videos of the same task to see different methods and hear the advice offered.
You could even ask a friendly builder what their best tips for the job are; people often really do love to help when you ask them nicely, so don’t be afraid to enlist their aid.
4. Think About Timescales
People often fail to ask themselves when a DIY task needs completing by. If a job needs to be done sharpish to allow other trades to continue on your build, then perhaps if you are new to the task, you are not the best person to do it.
Rushing a task often means cutting corners, leading to a poorer end result. Sometimes, you might think you can live with that, but inexperienced DIYers can cause damage and shoddy finishes can affect your property’s resale value, so you might want to think twice.
5. Invest in a Tool Kit
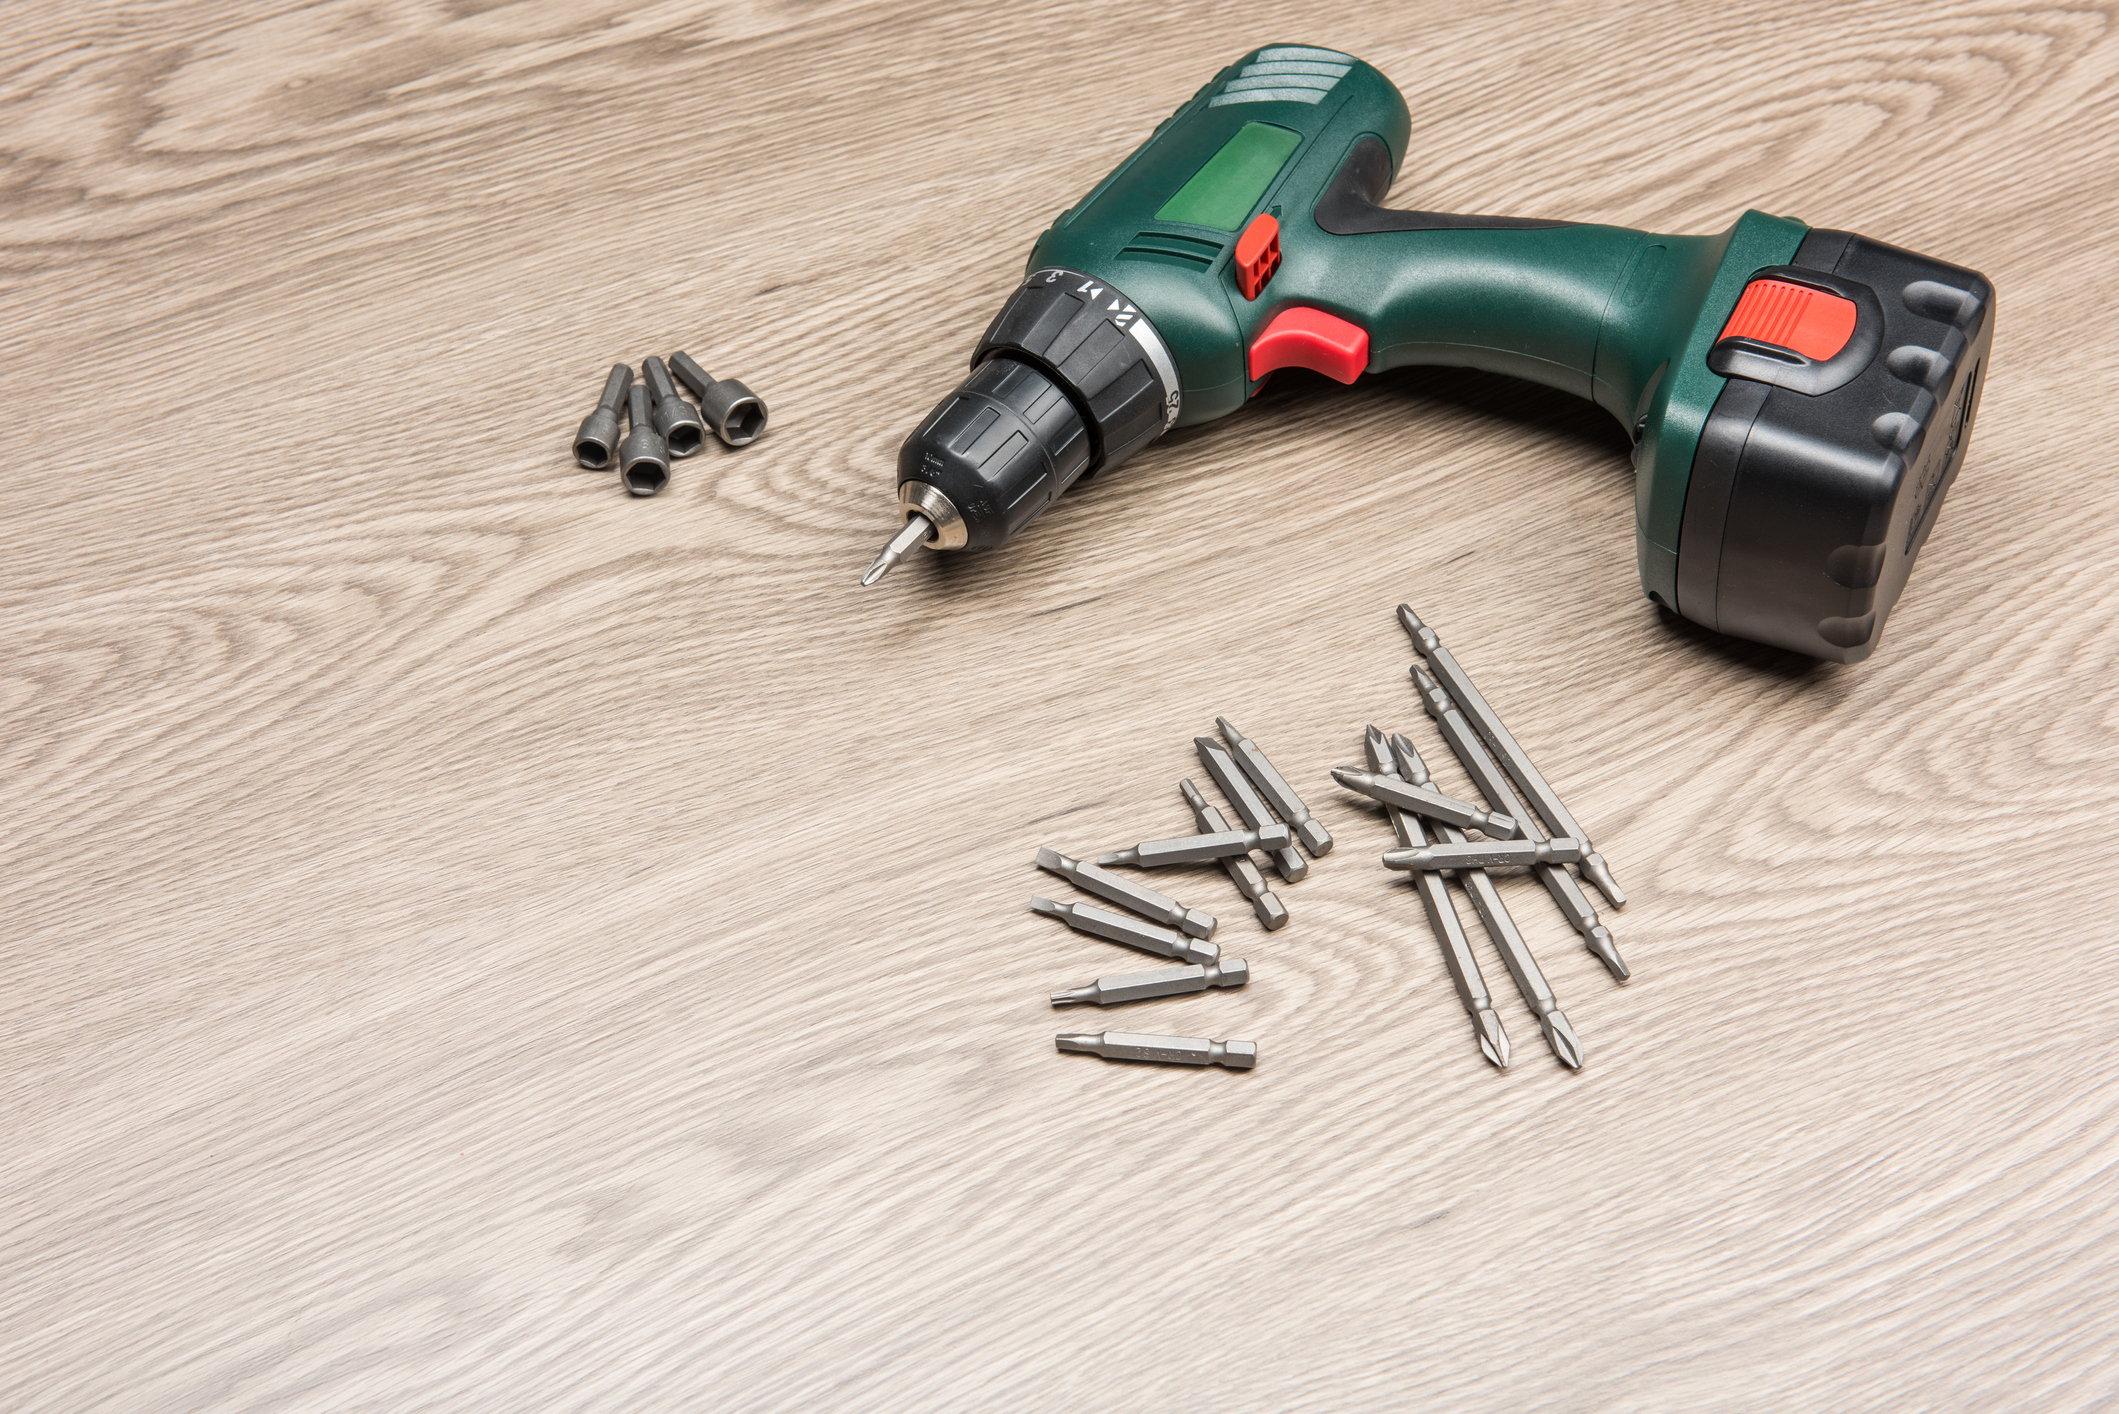
Homeowners and renovators should have a selection of DIY tools, and the basics are usually inexpensive to pick up. Most of the small power tools you’ll need have modest price tags – some between £50 and £100 – and will quickly reward your investment.
A decent drill and the associated drill bits, for instance, will help you with myriad tasks from hanging shelves, to mixing sand and cement with a paddle attachment, to building flat-pack.
And it goes without saying that every DIYer needs a good quality spirit level and a decent tape measure. Measure twice, cut once.
(MORE: Best Cordless Drills)
6. Buy the Right Product for the Job at Hand
When confronted with the variety of fixtures available at a DIY store, it's fully understandable that you may be confused what's required for the job at hand. However, it's important to research to get it right, or else even the simplest of beginner DIY tasks such as hanging a picture or putting up shelf could go wrong.
This includes picking the right drill bit (both in size and for the job, such as masonry or wood), as well as types of screw and wall fixing.
7. Keep Pipes and Wires in Mind
Even if you're tackling a simple DIY job, there's the potential for disaster if you don't consider what's happening behind the walls.
You can make an educated guess in some instances as to where pipes and electrical wires are likely to be down to the location of radiators, sinks, lights and switches, for example, but the safest bet is to invest in a good quality multi-detector, which can find pipes, wires and wall studs.
8. How to Paint Like a Professional
Painting is one of the most beginner-friendly DIY jobs, but there are lots of things to know in order to get the best finish.
(MORE: How to Paint a Room)
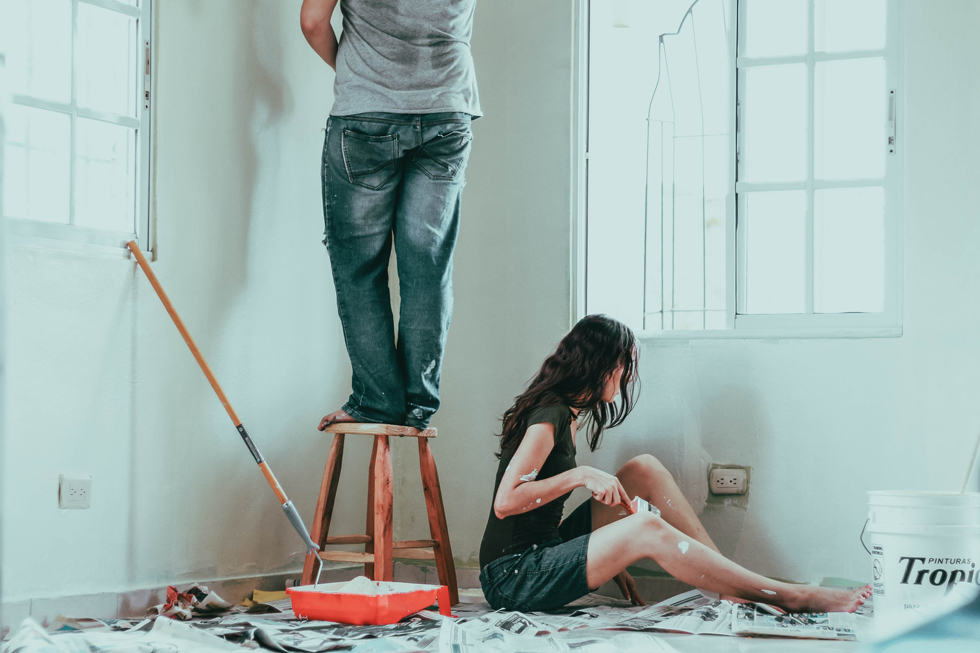
Preparation is key, from filling and sanding to covering furniture and floors to avoid paint splashes.
Once you're ready to paint, you should follow a certain order for the most professional results. Start from the top down, painting the ceiling first before moving onto the walls and then the woodwork.
9. Paint Coloured Walls White
To cover up dark colours with a light colour you need to invest in the right paint. You can emulsion over a wall but this will typically need a lot of coats for good coverage. And more coats means more time.
Choose a primer such as Dulux Walls White Primer & Undercoat. Ideally, any primer should be white as this provides the best base coat for your chosen light colour.
Prepare your walls and fill any holes, then sand when dry. At the same time, quickly go over the walls with fine sandpaper to improve adhesion for the primer. Wash down with sugar soap if needed.
Start by cutting in with a brush and then apply the primer with a roller. Let it dry as instructed and apply another coat - two coats should be enough. Finally, add your chosen top coat.
10. Paint Floorboards
Before you get started make sure that there aren’t any nails or screws sticking out from the floorboards. Screw down any loose floorboards and fill any holes with wood filler.
Give the floor a quick brush and then sand, preferably with an electric hand sander. For a quicker, easier, and smoother finish you can hire a disc sander. Make sure to get right up to the edges. Now sweep and clean with a mop and soapy warm water, then leave to dry for at least 24 hours.
For a long-lasting hard-wearing finish use specialist floorboard paint (check if you need a primer or undercoat). Apply with a roller or a paint pad with a long handle. You will need a minimum of two coats and remember to let it dry properly - see manufacturers instructions - before reapplying.
11. Paint Picture Rails
Picture rails are commonly found in older homes and add interest to a room, but they also serve a practical purpose - a place to hang pictures.
The common choice is to paint below the picture rail with a darker colour and white above - including picture rail. This gives a cosy warm feeling to a room. Alternatively, paint the wall - above and below the picture - to give the illusion of more height.
Prepare the picture by sanding down the picture rail with 120 grit sandpaper. Brush away any dust, or vacuum if you can, especially the top of the rail where dust settles.
Wipe down with a damp cloth and let dry. Whether painting the picture rail with the same paint as the wall or using a gloss or satinwood, paint the picture rail first. Undercoat - usually two coats - and topcoat, or use two or three coats of wall paint.
12. Paint Interior Window Frames
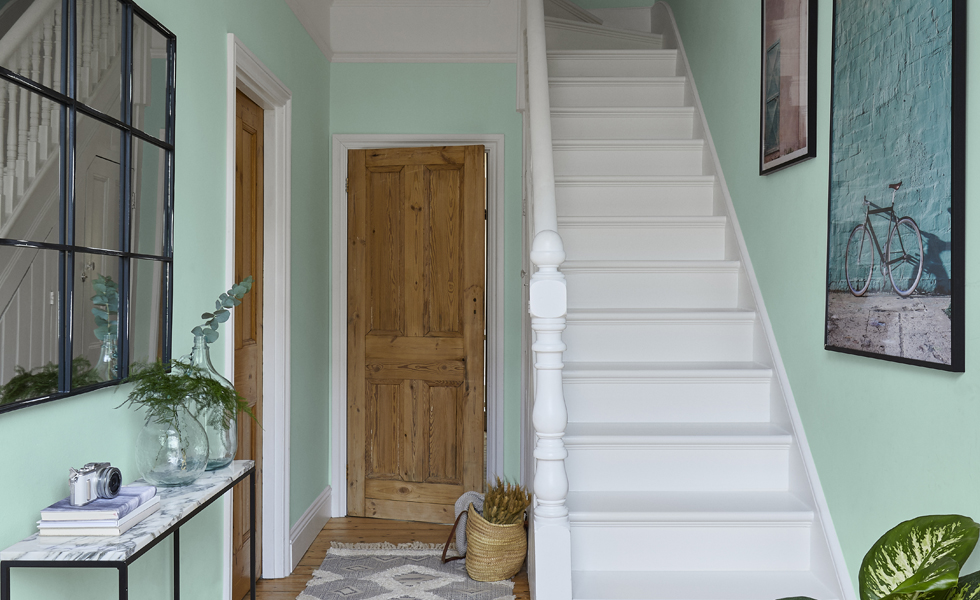
Interior windows are commonly wood and painted white, as white works well with all colours. But if you're feeling adventurous then try a contrasting colour.
To start, sand down the frame with fine or medium 120g grit sandpaper. Use a dry paintbrush - not the one you are going to paint with - to brush away dust and debris, then wipe down the frame with a damp cloth and let dry.
Use painters tape to mask off any edges - especially those that meet glass. Now apply an undercoat with a 2-inch brush. Use a ½ inch or 1-inch brush for more intricate areas. Start at the top and work down, dabbing paint into corners and evening out with the brush.
Let the coat dry, rub down with fine sandpaper and apply a second coat of undercoat. Once dry, lightly sand down and add the top coat - gloss, satinwood or matt are popular choices. One dry you may need to add another top coat.
13. Paint a Chimney Breast
Chimney breasts make great feature walls. Paint a dark colour for high contrast with white walls, or for a more subtle look use two shades of the same colour with the darker colour on the chimney breast.
Prepare the wall by cleaning with sugar soap - if needed - and rub down with fine sandpaper. If you have vinyl wallpaper you need to use a primer first. Or remove and put up lining paper for a smooth finish, or anaglypta for a textured finish.
When using a contrasting colour you want nice sharp edges to make the feature wall look good. If you are not confident about getting a crisp clean edge then use painters tape. Spend some time getting the tape straight, then use a 2-inch brush to paint the edges and a 4-inch roller to do the rest. Don’t forget to put dust sheets down.
14. Picking Hassle-Proof Paint
Modern water-based paints have lots of plus points, with quick drying times at the top of the list, but there are downsides that need to be mitigated.
Decent brushes are a must because, unlike traditional oil-based paints, water-based paint doesn’t carry on moving after you’ve lifted the brush. This means there’s far more likelihood of cheap brushes leaving behind drag marks and stray bristles in the paint.
Water-based paints, and other eco paints, also have lower VOC levels, which can make both painting the room and living in it afterwards less harmful to your health. Plus, no horrible smells.
Also remember to use knot-block on fresh pine woodwork to avoid the knot sap bleeding through into fresh paint and causing spotty paintwork. If you’re painting exterior woodwork then always use aluminium primer on new wood in preference to water-based primer, which in my experience is a false economy, as it just does not last the distance.
15. Look After Your Tools
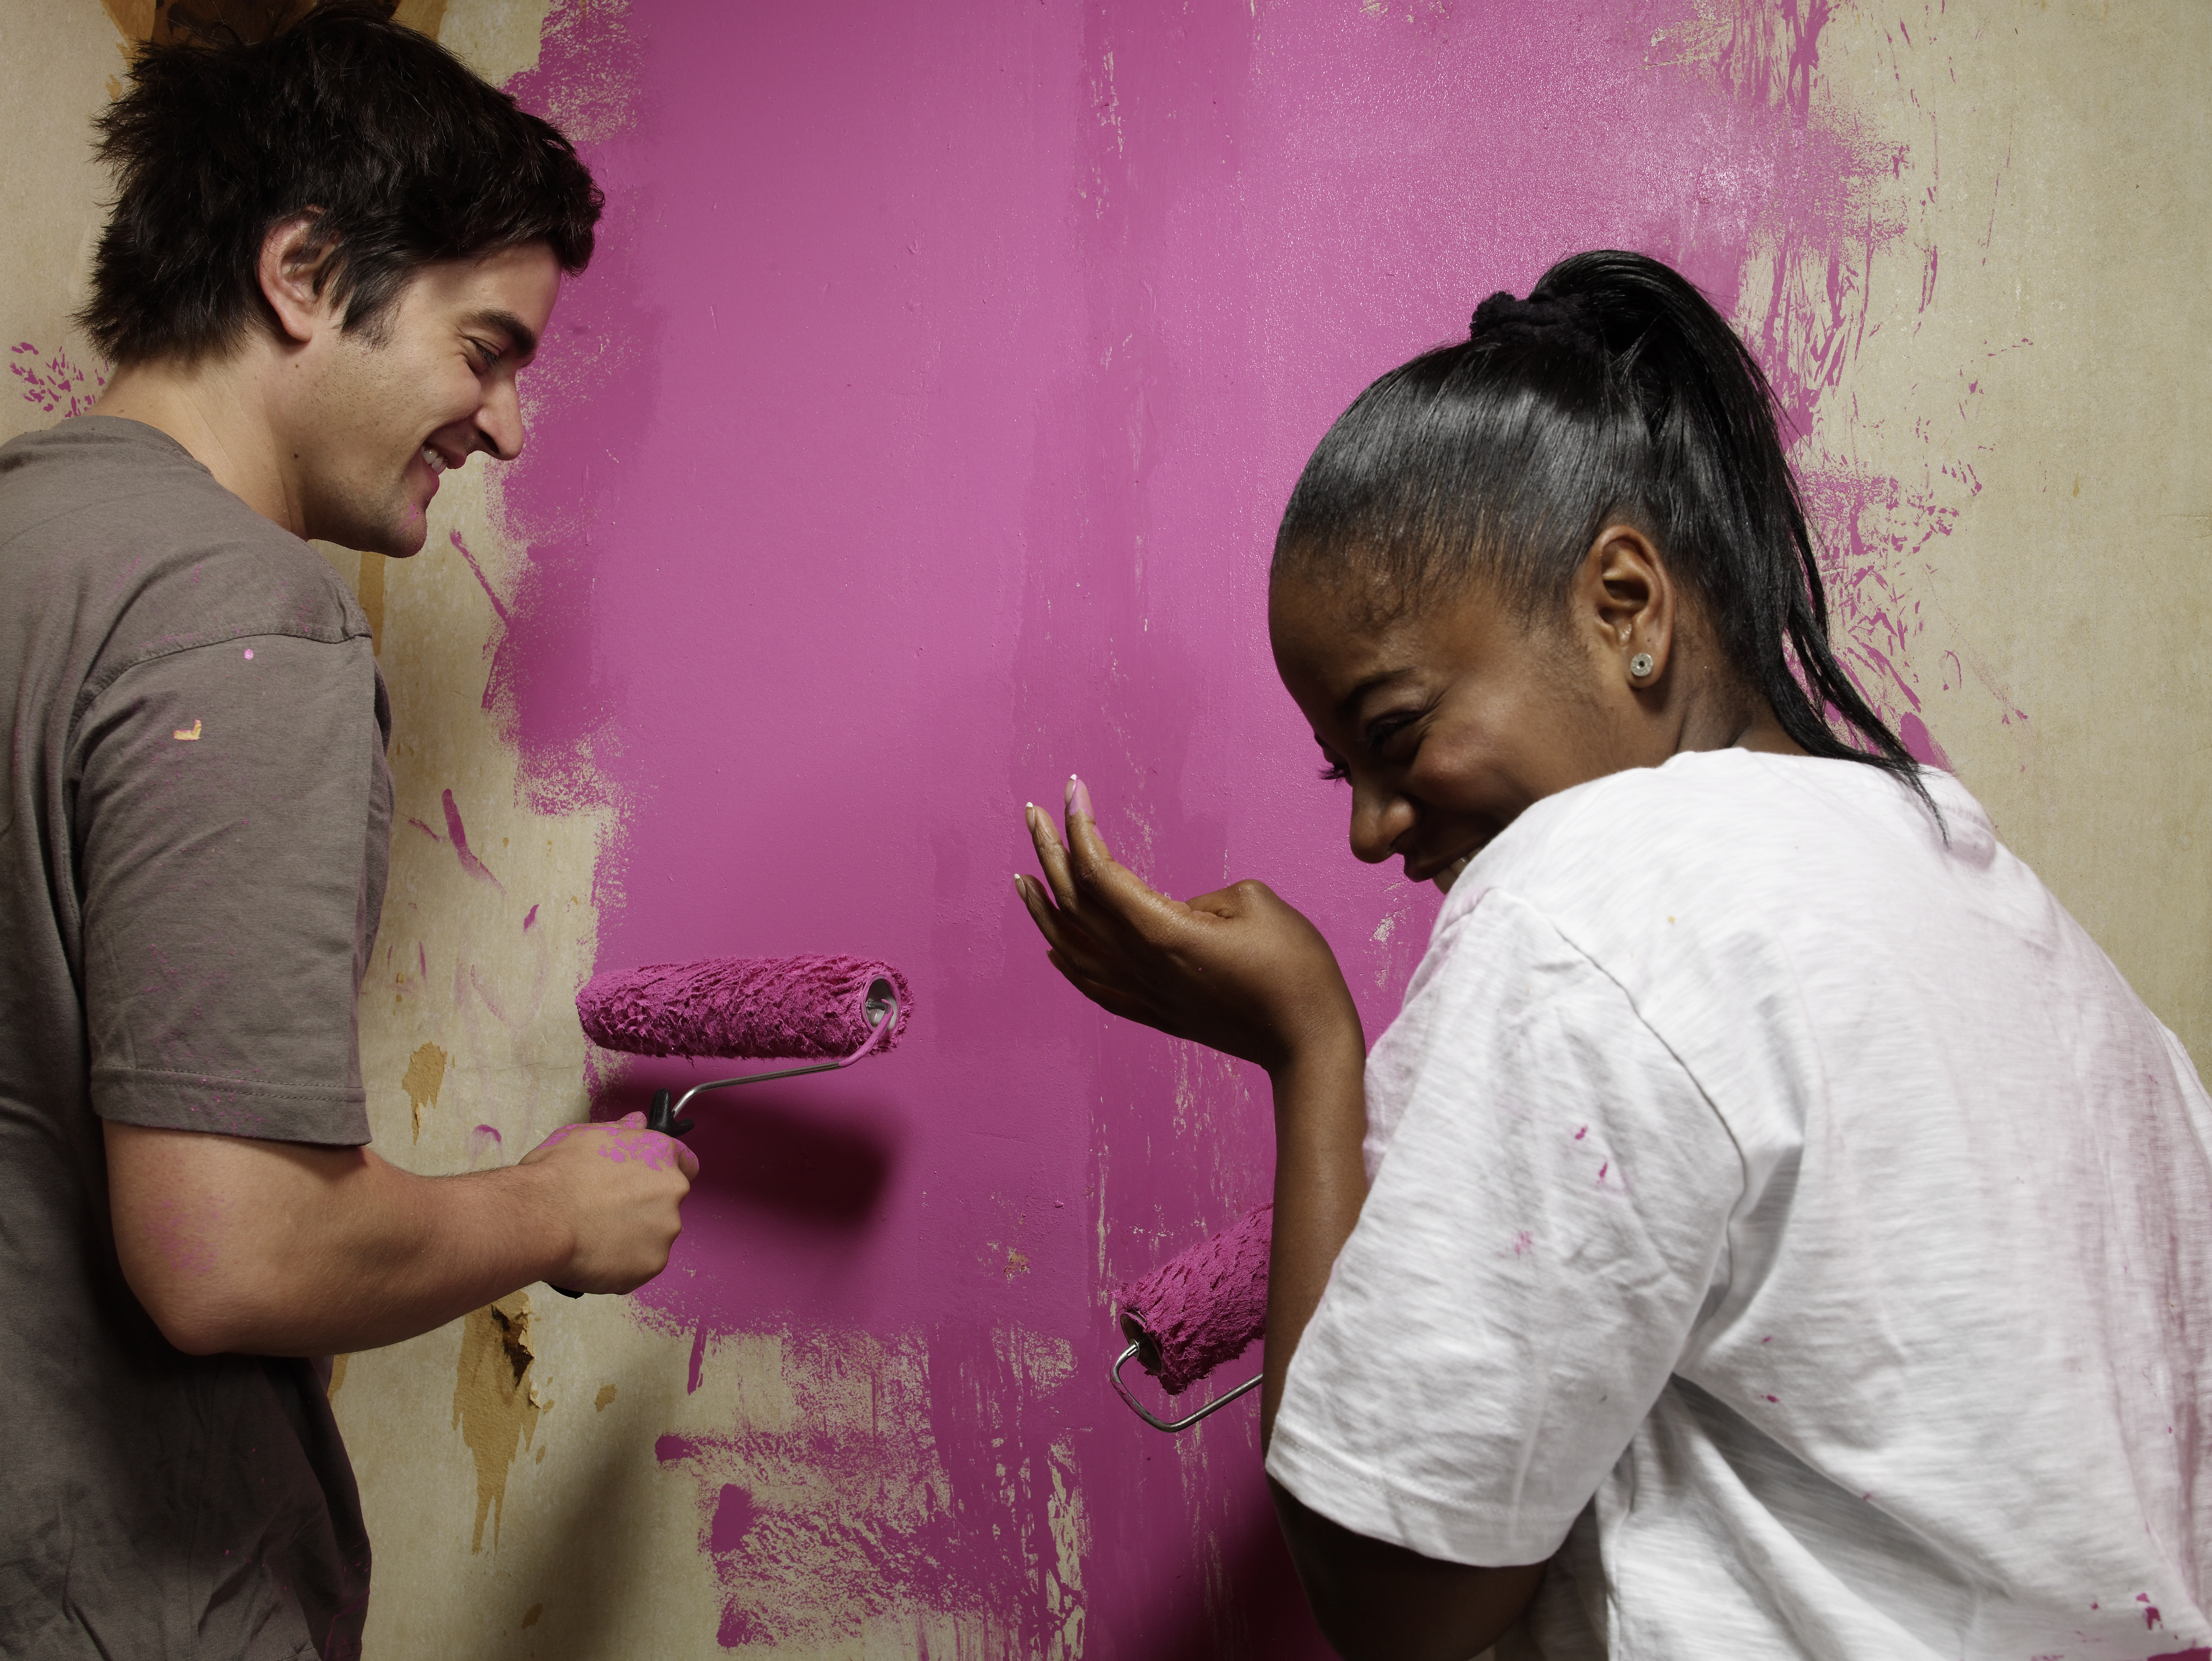
After a major DIY session, the last thing you want to do is clear up and tidy away, but tackle the task now and future you will thank you. It can help keep your tools in good condition, especially in the garden where tools are vulnerable to getting wet and rusting, as well as preventing excess waste and expense, as is the case with painting and decorating brushes, rollers and trays.
16. Tiling Tips
Tiling a small area like a fireplace hearth or splash back is relatively easy. If you are fairly meticulous and hands on, give it a go, but remain mindful.
Ensure the substrate is level or flat before you start: 'I can build up the levels with adhesive' is a sentence that never precedes a happy ending. Work out the pattern to minimise cuts and make sure the pattern balances. Lay out all the tiles on a surface near you so they are in order and easily to hand. Use a high-grab, slow-set adhesive, which is a forgiving choice for rookie tilers.
Don’t attempt laying a large-format tile to a large area as your first job, this is the type of work usually done by a commercial tiler, and for good reason.
17. Working Wonders with Wallpaper
A novice DIYer attempting wallpaper is probably better off sticking to paste-the-wall papers, which are far easier to hang than paste-the-paper or pre-pasted versions.
Have a really good think about where you’re going to start and finish, and take the time to work out all the ‘drops’ with a tape measure and pencil marks on the wall — you’ll often find that there are ways of being clever with the pattern to reduce waste.
Get yourself a good trimming blade to cut the edges. An excellent tip when hanging a dark paper is to run a dark felt tip or dark paint where the drops join, so you don’t see a white line of the paint below peeping through. In high traffic areas, consider using decorator’s varnish over the paper to protect it from hand marks and dirt.
(MORE: 10 Ways to Renovate on a Budget)

18. Woodwork for Beginners
If you're an experienced enough DIYer to try your hand at woodwork, there's a few tools that will come in handy depending on the task at hand. A mitre saw, for example, can be used for small and angled cuts, for the likes of skirting or floor boards, while a table saw or jigsaw will be required for longer cuts.
Our top tip? Invest in a stable workbench for your work when cutting, as well as relevant clamps to secure your wood — this is important not only for getting a better and more accurate finish, but also for your own safety. Set it up on a solid, flat surface with plenty of room to manoeuvre.
Also invest in ear defenders, goggles and gloves to protect from noise, dust and splinters.
19. Can I DIY the Plumbing?
While DIYing the electrics is not recommended, DIY plumbing poses less of a risk to your safety. However, it does offer the potential to cause damage to your home and your heating system, so shouldn't be undertaken lightly.
Before you start, familiarise yourself with the location of your stopcock and get to grips with your boiler. For a job such as replacing radiator valves or moving pipes, you'll need to empty the system.
At the other end of the scale, a simple task such as bleeding radiators is easily achieved, but be sure to follow a tutorial which explains how to balance your boiler to prevent any damage to it during the process.
20. Did You Know You Could DIY..?
There are plenty of easy DIY tasks that you can undertake under instruction that go beyond the basics of putting up shelves or painting.
(MORE: Easy DIY Projects to Keep You Busy)
Why not try one of these DIY jobs?
- Insulate your loft
- Lay laminate floors
- Painting kitchen cabinets
- Painting a garage door
- Add coving or cornicing
Get the Homebuilding & Renovating Newsletter
Bring your dream home to life with expert advice, how to guides and design inspiration. Sign up for our newsletter and get two free tickets to a Homebuilding & Renovating Show near you.
Sian Astley is a TV presenter, interior designer, self-builder and serial renovator
