Designing a galley kitchen: Expert tips for making the most of narrow layouts
Find out what designing a galley kitchen will involve and how to avoid classic pitfalls when getting this tricky layout right, including costs and design tips
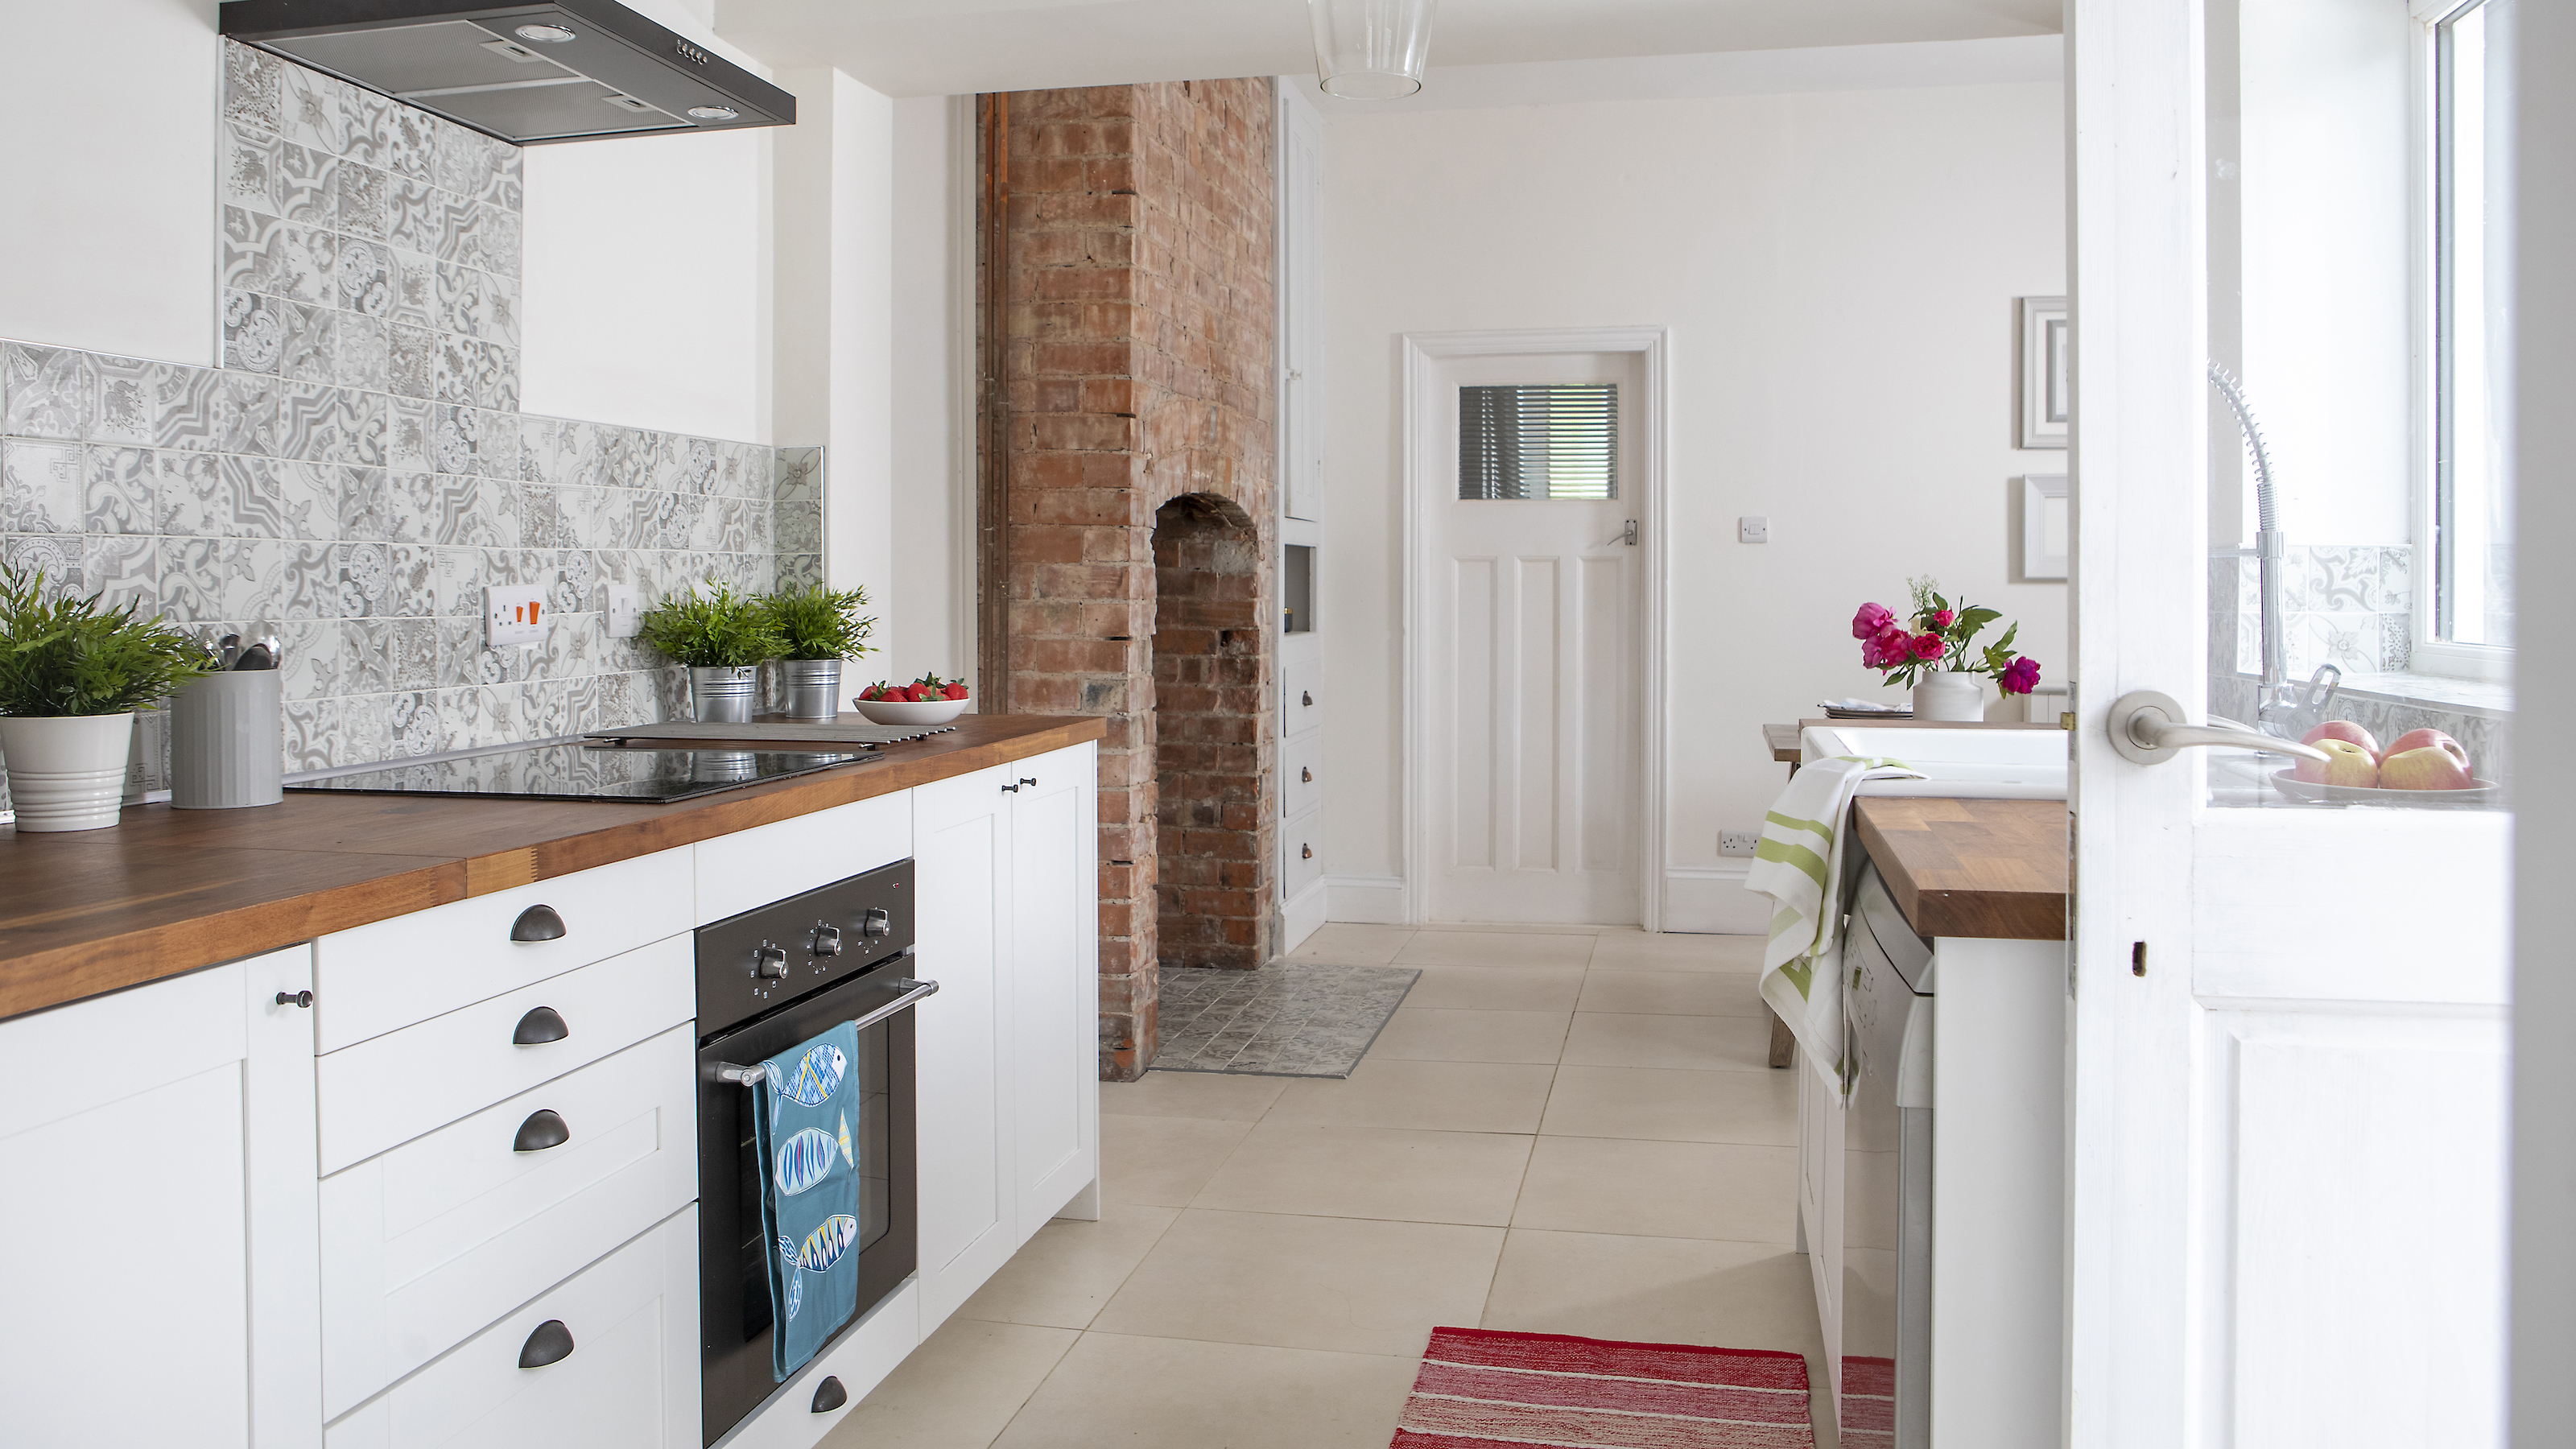
When faced with designing a galley kitchen you might feel restricted by the simple format and often narrow floorspace. However, this efficient way to organise a kitchen is one of the best loved by keen cooks thanks to easy access to appliances and streamlined workspaces.
Derived from the galley of a ship, galley kitchen layouts are usually tight with two runs of parallel cabinets, although this could also be a single run with a long island.
Designing a kitchen with spatial restrictions might sound awkward, but it can inspire the most creative solutions and workarounds. And while many of us dream about an expansive place to cook, many homeowners are choosing this style of kitchen thanks to its simplicity and efficiency.
How do you plan a galley kitchen?
To begin planning a galley kitchen, create a simple floorplan of the room with key elements, such as doors and windows clearly marked on. If you're remodelling an existing kitchen, also mark on where the hot and cold supply is located, as well as the waste pipe for the sink.
From here you can begin planning the layout and the position of key items like appliances and lighting.
"If we are undertaking a design within an existing galley kitchen space it's essential to consider cabinetry styles, multi-purpose appliances, maximising worktop space and clever storage systems to make the most of every inch," says Helena Myers from The Myers Touch.
Designing a galley layout
The key to successful galley kitchen ideas resides in the layout. Many kitchen designers will advise working to the 'kitchen triangle' for easy access to key appliances like the fridge, oven and sink. However, thanks to the galley kitchen's already compact design this takes less of a priority.
Instead, zone the long runs into different stages of cooking. Start with ingredient storage (think pastas, vegetables and your fridge) before moving onto a preparation zone with clutter-free workspace. Then transition to the cooking zone with quick access to utensils and spices — giving plenty of space either side on the hob. Finally, dedicate the last space to plating up (with crockery and serving dishes to hand) and cleaning up with your sink and dishwasher at the ready.
This design also means that tidying and putting away is quick and streamlined, ready for the next day, while cooks and helpers don't get under each other's feet.
Plan cabinets carefully
Although it might be tempting to cram as many kitchen storage ideas and cabinets into the space as possible, this is not ideal for an already narrow design.
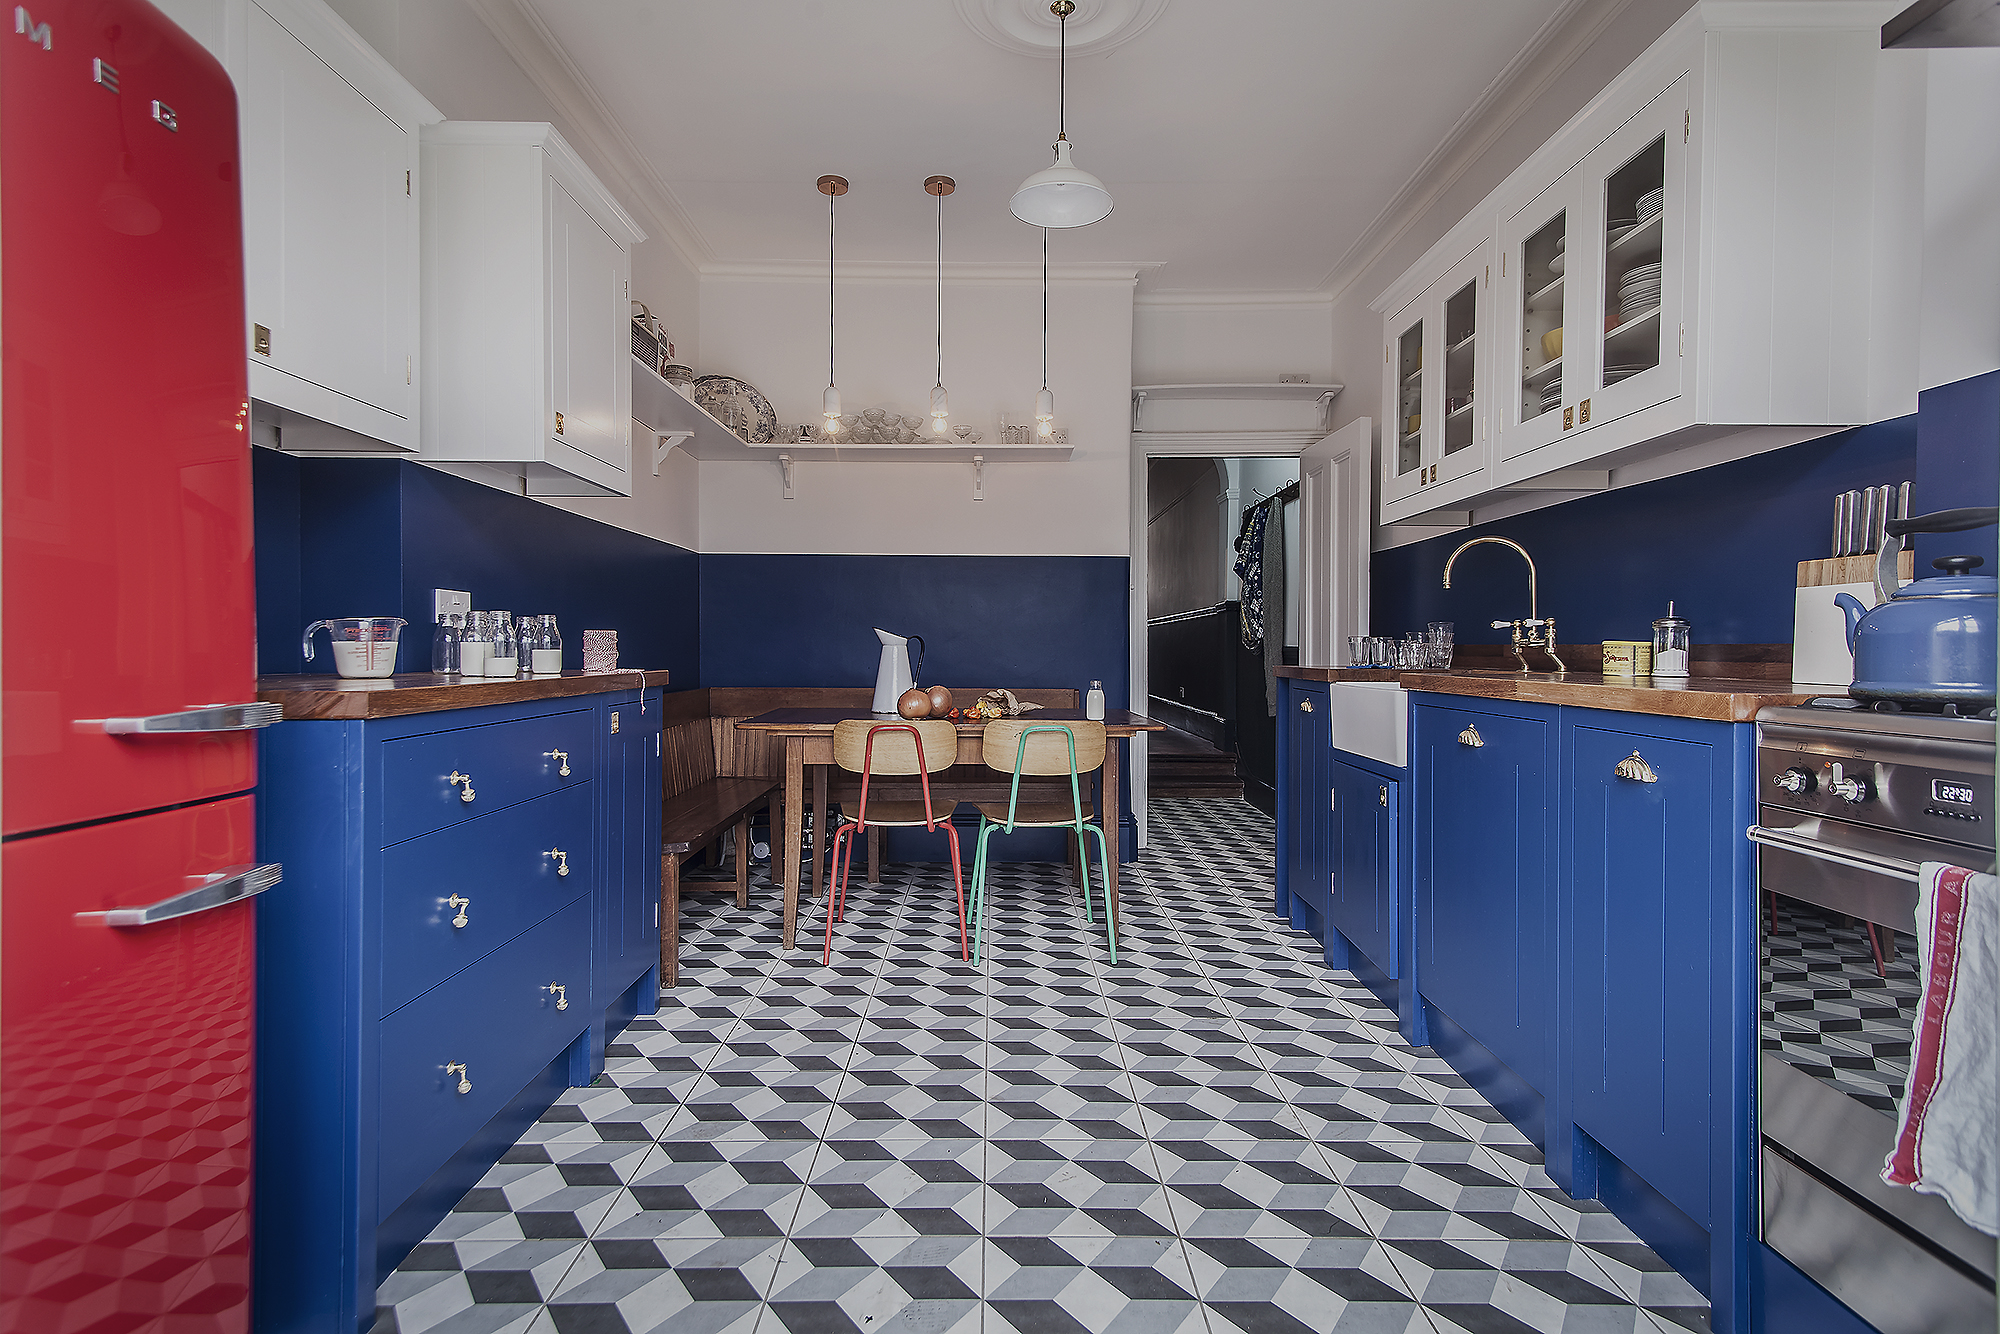
Start by designing in a mixture of tall units – best placed towards one end – together with base units. Try not to have tall units on both sides of the kitchen — while it might look good to mirror heights, the space may subsequently feel hemmed in.
Wall units on either side of a galley kitchen can make the space feel claustrophobic, too. If you're wanting to include wall units try to opt for glazed choices or experiment with different kitchen shelving ideas that feel more open.
If you can, look into deeper base units for extra workspace and storage and allocate space for both deep drawers and standard cupboards.
Your choice of cabinet doors should be carefully selected. A sleek handleless design will not only give the illusion of space, but also prevent banged hips on bar handles.
Get to grips with lighting
Lighting a galley kitchen is all about the prep spaces. Central downlights provide helpful ambient lighting, but as soon as someone steps in front of the worktop the light is blocked and they're blindly chopping a tomato.
Modern kitchen ideas like under cabinet lighting are great for tasks like this. Adjustable wall lights are also a modern inclusion with arms that can stretch to the needed areas or simply cast a warm glow when not in use.
What is a good length for a galley kitchen?
If you're in a small existing room and not looking to knock through walls, you will be limited in how long a galley kitchen will be, but ideally a galley kitchen should be at the very least 2m long to provide enough space for appliances and preparation space.
"There is no best length for galley kitchen ideas, it depends on the length of the room and how much of it is needed for worktop/kitchen space," adds Will Eaves, international design coordinator from British Standard. "Ensure there is enough space on either side of the cupboards to move freely without it feeling cramped — also consider the placements of cupboards and make sure drawers and cabinets can open easily without damaging nearby walls or shelves."
One way to work out the minimum space for your galley kitchen to work for your lifestyle is to be clear on your needs. A family of four will need a larger fridge-freezer, for instance, but a smaller under-counter model might suffice for couple or individual. Also, if you need a dishwasher this needs to be accounted for within base units, but a slimline unit could be a solution where space is tight.
How far apart should cabinets be for a galley kitchen?
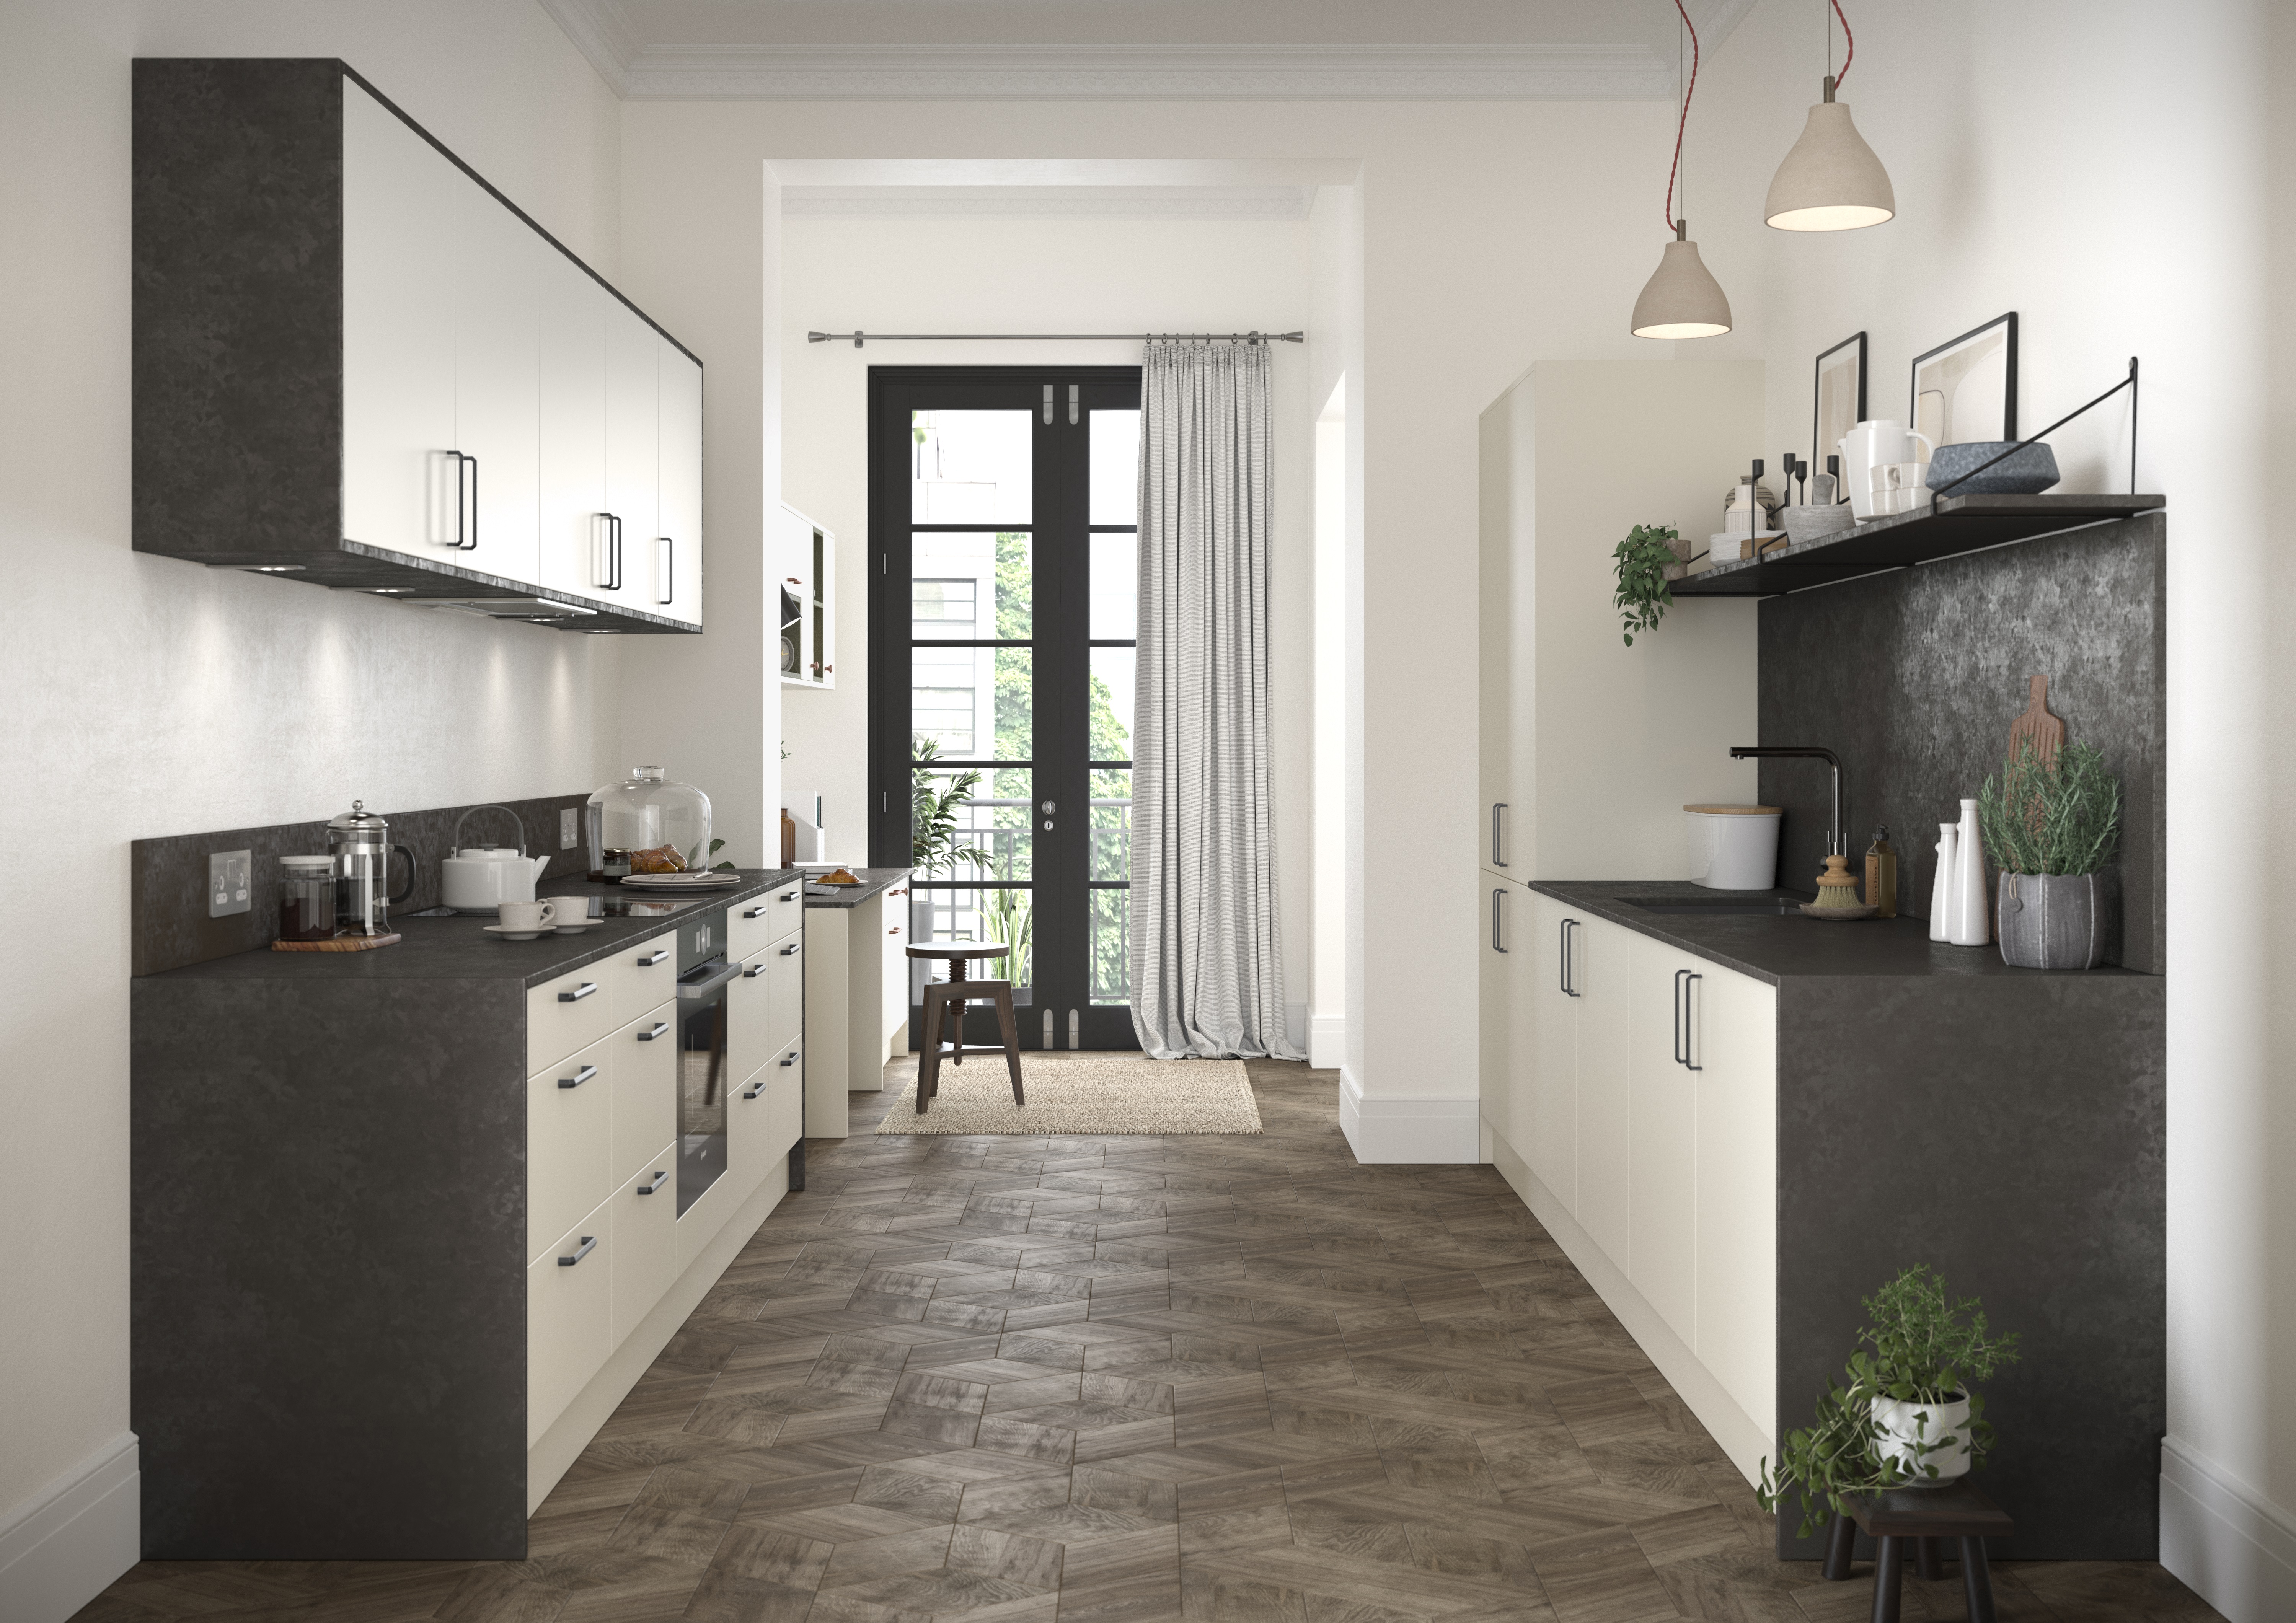
For a comfortable clearance between cooks and someone passing, aim for at least 1.2m between cabinet runs in a galley kitchen. Conversely, also try not to give too much space between the parallel banks as the efficiency of a galley kitchen will be lost if the opposite side is too far away — 2m will be more than enough space.
"With small or galley-style kitchens, corner cabinets are a waste of space," warns Howard Miller of H. Miller Bros. "I much prefer a galley with two straight runs facing each other, so don’t be tempted to turn this into a U, as all you're doing is creating two awkward corner cabinets and cutting out floor space."
If your galley kitchen leads into another room without dividing walls – or you're looking for general kitchen diner ideas – use curved end cabinets for a smooth transition.
Where do you put appliances in a galley kitchen?
"Planning kitchen layout ideas and determining how much space is required is crucial for ensuring a good flow between appliances and creating a functional kitchen," advises Will Eaves.
"Creating flow in a galley kitchen often depends on the placement of appliances: avoid grouping cooking and prepping stations with appliance areas as it will feel overcrowded. Instead, spread out stations along the galley as this allows for better flow when cooking and enables more people to be in the kitchen at one time."
To follow the 'zone' layout described above, start with your fridge at one end, position your oven and hob in the centre and the sink and dishwasher at the other end. This should provide a stretch of uninterrupted workspace along one side of the galley and two useful areas either side of the cooking zone.
If the zone layout isn't for you or your lifestyle, try to ensure the fridge and the sink are within easy reach of the cooking area. You don't want to leave anything you're making unsupervised on the hob while you frantically look for garlic paste in the fridge, or dump pots and pans to be washed.
"For galley kitchens, we suggest two key appliances on one side of the kitchen – for example, the sink and hob – and a separate area for the fridge on the other side," adds Will Eaves. "A kitchen triangle rule or method such as this helps maintain flow when cooking and avoids overcrowding the cooking station."
If you're able, outsource worktop appliances to a larder unit, pantry or utility to declutter the worktops.
Also hunt for modern appliances which could reduce mess. "Clutter in a galley kitchen can also be reduced by including a boiling water tap, so there is no need for a kettle on a worktop," suggests Helena Myers. A downdraft extractor – where the extractor unit is built-in the hob or counter rather than overhead – will also free up valuable wall space and headroom.
How do you make a galley kitchen look bigger?
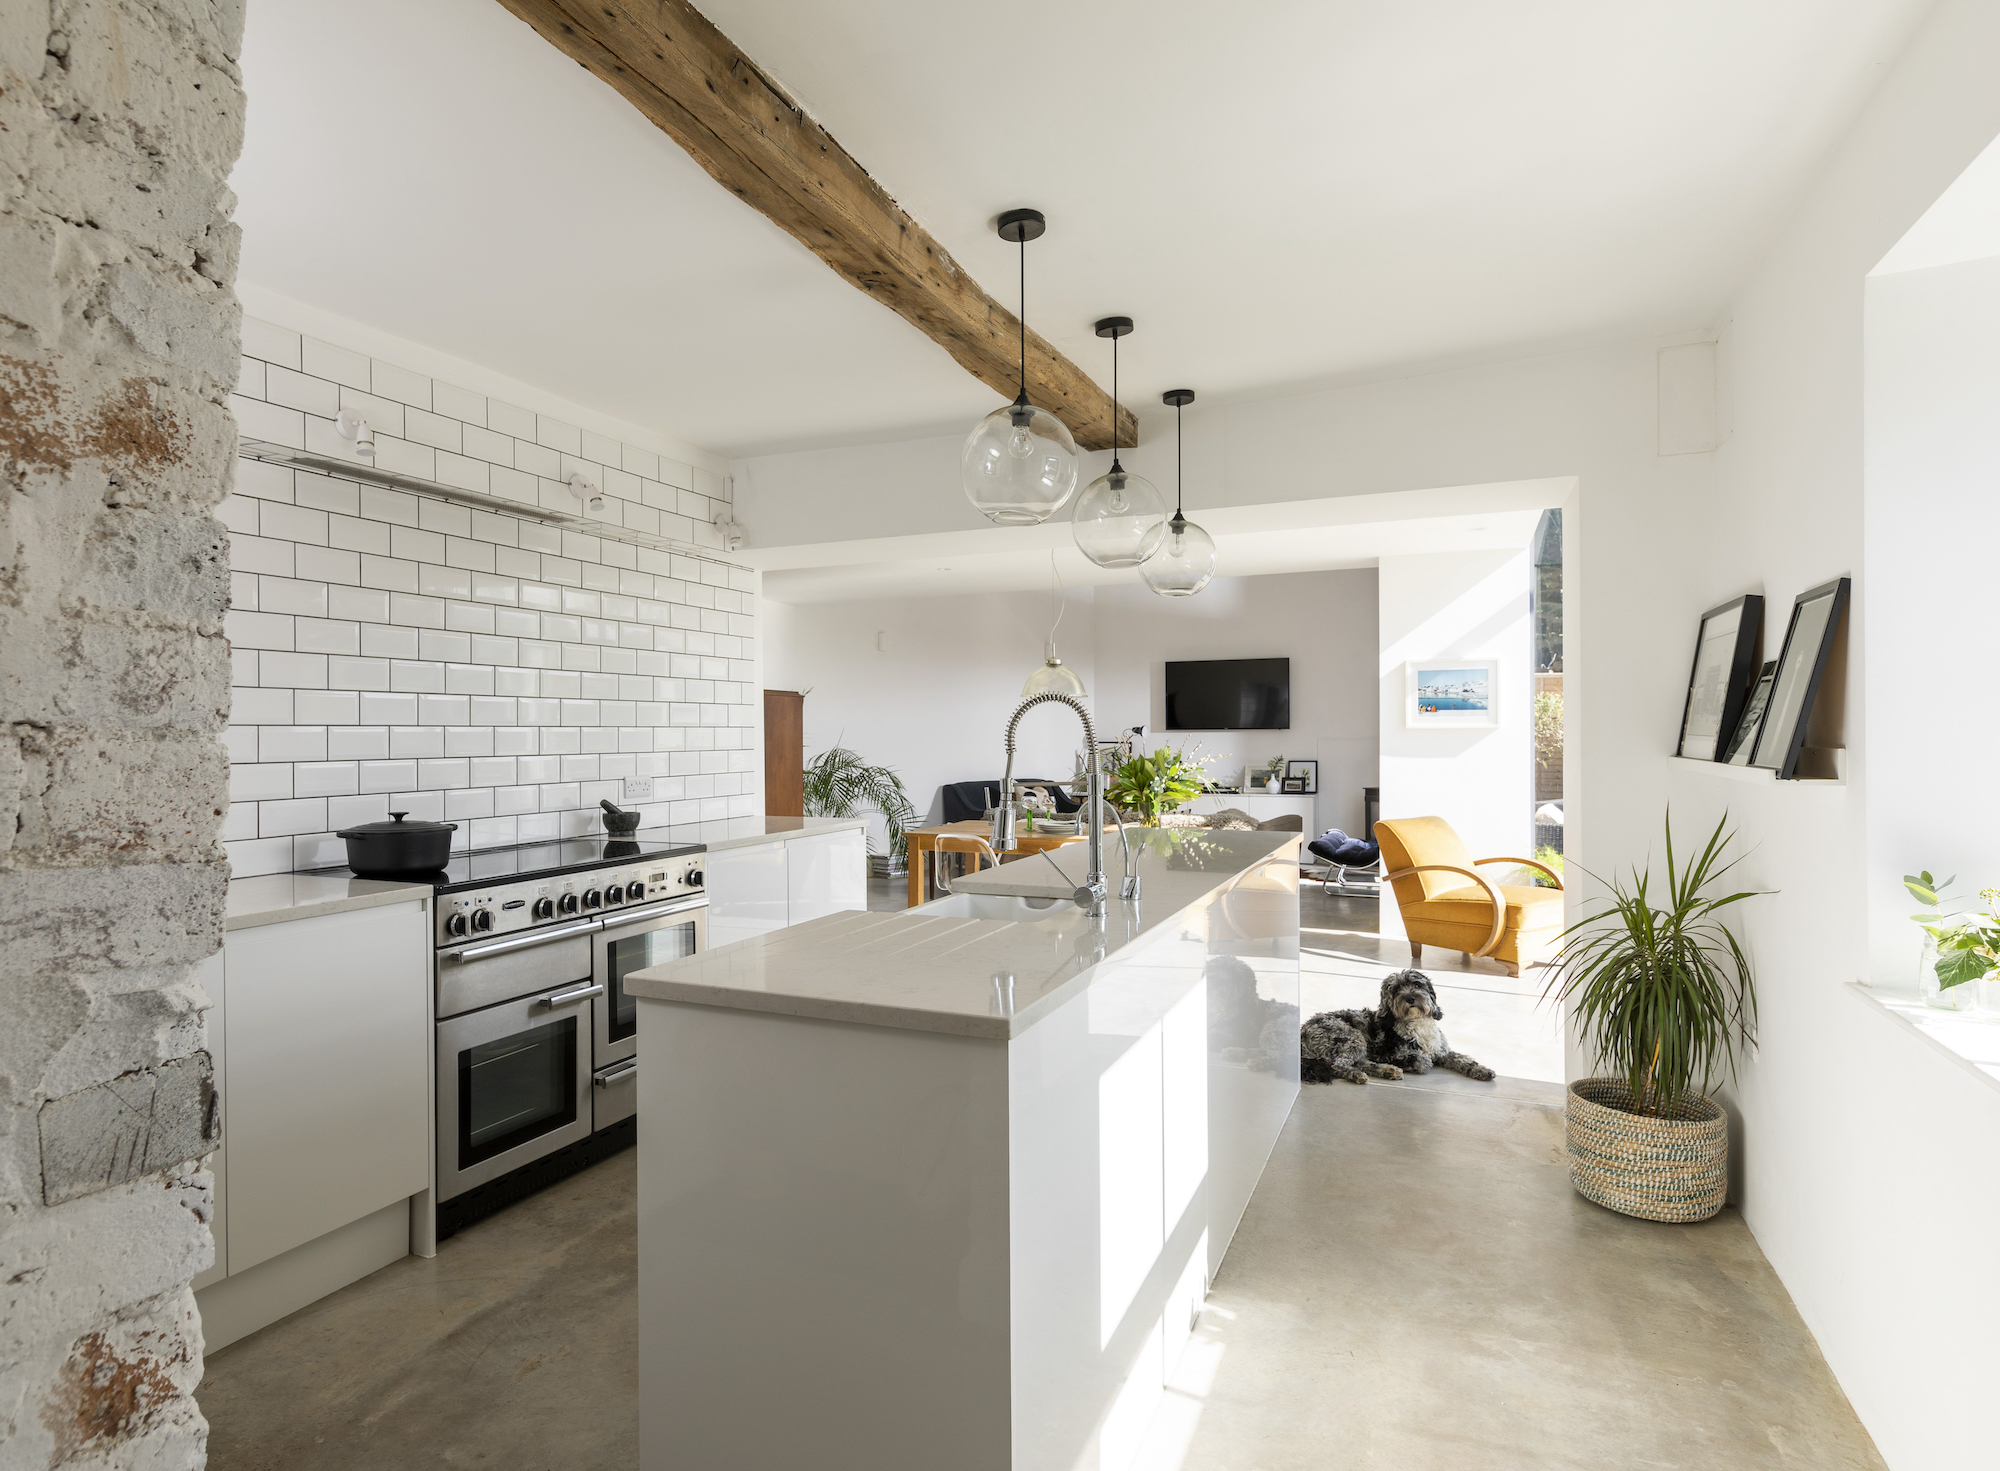
The trick to making a galley kitchen look bigger is all in the detail. Lighting, flooring and glazing will all have an impact on how the room feels, while decorative choices such as paint colours and the use of mirrors can be used to create an illusion of space.
Galley kitchens often have one end leading out to the garden so really focus on how this could be maximised to make the room feel expansive. A picture window above the sink looking out is one option, as are new patio doors which can peel back to reveal the outside.
Orientate the best flooring for kitchens, be it a practical tile or timeless wood, so it runs width-ways as it will give the illusion of a squarer room.
A lighter colour palette will draw the eye upwards and ensure the room feels light and airy. While reflective surfaces, such as high gloss units or a shiny quartz worktop, will help light bounce around the room.
Helen Myers says: "The simple inclusion of a mid-height mirror will also make a galley kitchen feel bigger, adding interactivity and connectivity to the space." Some great examples of this combine kitchen splashback ideas with smoked mirror glass.
How can I make my galley kitchen look good?
Once your layout and appliances are designed in, make your galley kitchen look as good is it functions by paying attention to the smaller details.
For instance, an undermounted sink with no drainage grooves in the worktop will encourage users to put away washing up as soon as it is done, reducing clutter. Instead, use a portable drainer or even an absorbent mat that can be washed and put away as well.
Include the latest kitchen trends to make your galley kitchen feel special and stylish. This could be mixed metal finishes, or sustainably sourcing a secondhand kitchen — the straight lines of galleys are perfect for reusing ex-display or secondhand units and saving a bundle.
Also, thanks to galley kitchens generally needing fewer cupboards and work surface material, they are often classed as relatively cheap kitchens. Use some of your budget to push the boat out on some more luxurious elements that help the design to look better (such as cutting-edge lighting or handles). Alternatively, consider where that money could be put to use architecturally, for instance in an overhead rooflight.
Get the Homebuilding & Renovating Newsletter
Bring your dream home to life with expert advice, how to guides and design inspiration. Sign up for our newsletter and get two free tickets to a Homebuilding & Renovating Show near you.
Amy is an interiors and renovation journalist. She is the former Assistant Editor of Homebuilding & Renovating, where she worked between 2018 and 2023. She has also been an editor for Independent Advisor, where she looked after homes content, including topics such as solar panels.
She has an interest in sustainable building methods and always has her eye on the latest design ideas. Amy has also interviewed countless self builders, renovators and extenders about their experiences.
She has renovated a mid-century home, together with her partner, on a DIY basis, undertaking tasks from fitting a kitchen to laying flooring. She is currently embarking on an energy-efficient overhaul of a 1800s cottage in Somerset.

