15 decorating mistakes to avoid on your next painting or wallpapering project
Avoid the decorating mistakes in this guide and your next painting and decorating project will be a success
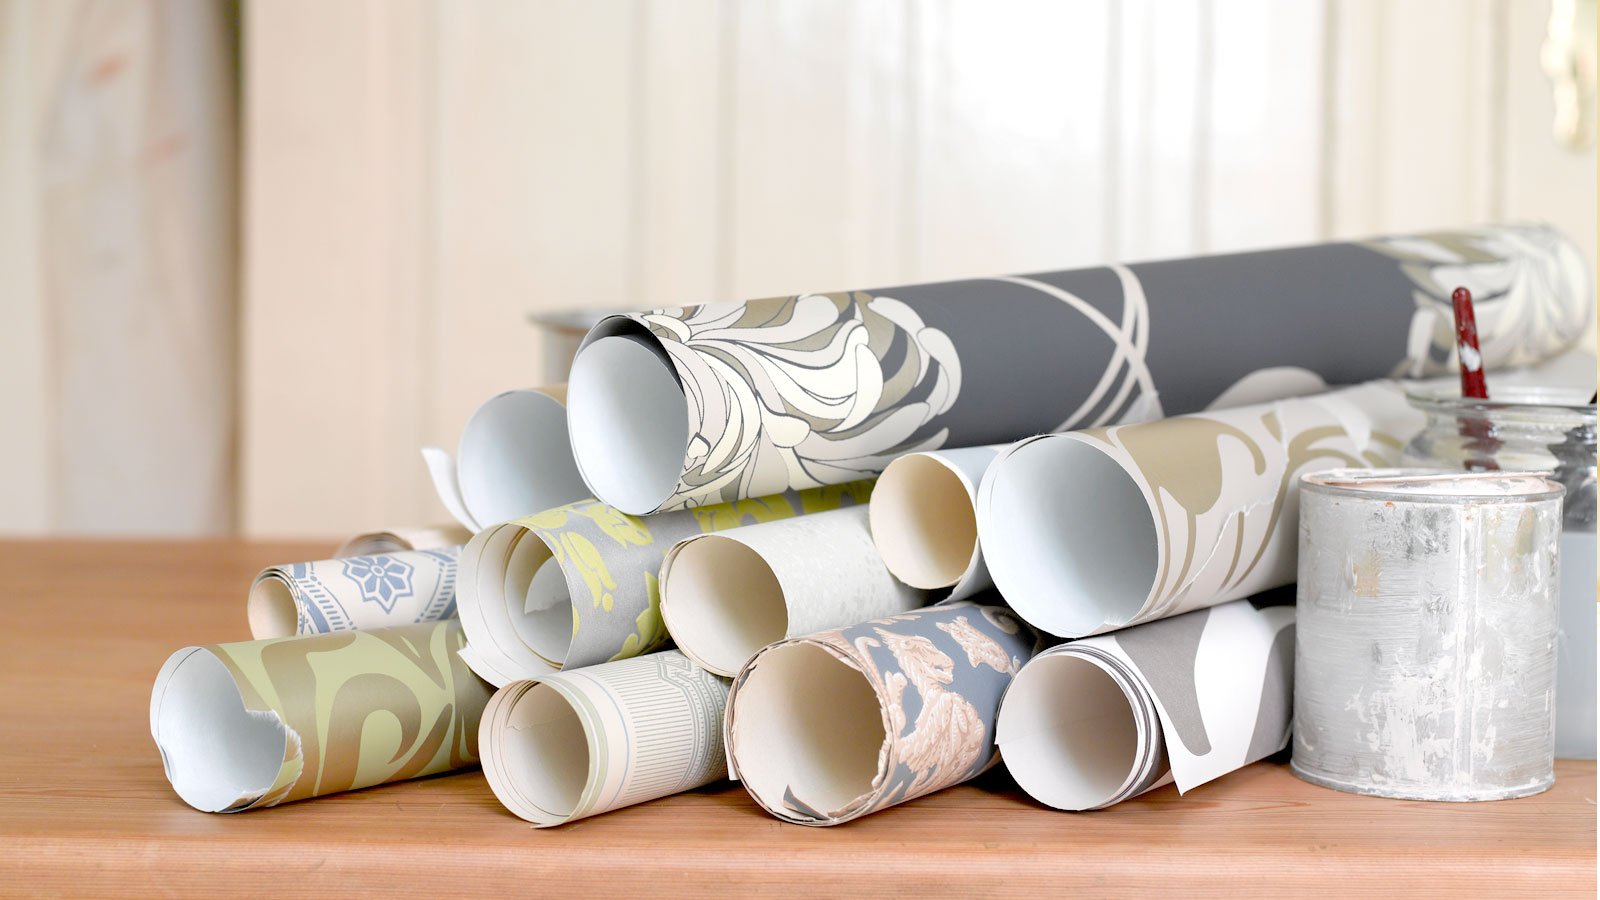
- 1. Poor preparation
- 2. Cheap paintbrushes
- 3. Not cleaning brushes and rollers
- 4. Start painting in the wrong place
- 5. Not opening, closing and storing paint properly
- 6. Using cloth dust sheets
- 7. Painting straight onto new plaster
- 8. Not buying enough paint
- 9. Wallpapering over new plaster
- 10. Not planning your wallpaper start point
- 11. Lumpy wallpaper paste
- 12. Blunt scissors or knives
- 13. Don't leave paste on wallpaper
- 14. Not buying enough wallpaper
- 15. Emulsioning over water stains
Fed up with lumpy wallpaper paste, poor paint jobs and wonky wallpaper? Decorating mistakes are easy to make, but with the help of this expert guide you’ll be saying goodbye to all of these and a whole lot more.
No one wants a decorating disaster on their hands, and it can cost a fortune and too much time to rectify. Whether you are wallpapering a room, painting a wall or trying to cover water stains on a ceiling you need to know the little secrets that the trades use to help them achieve a pro finish.
Decorating mistakes to avoid
Follow this guide to get a finish to be proud of. Discover why you should avoid cheap paint brushes, where to start painting, how to paint new plaster and more.
1. Poor preparation
Whether you like it or not you need to spend time on your preparation. Skipping past or spending little time on preparation when painting wood, walls, doors or wallpapering a hallway, will leave you with a less than satisfactory finish.
It may look good for a while, but it won’t be long before wallpaper peels, and paint chips, marks or bubbles up. And you’ll need to do the whole job over again, and much sooner than a pro job. Remember to clean, sand, and fill and you're a long way to a flawless finish.
2. Cheap paintbrushes
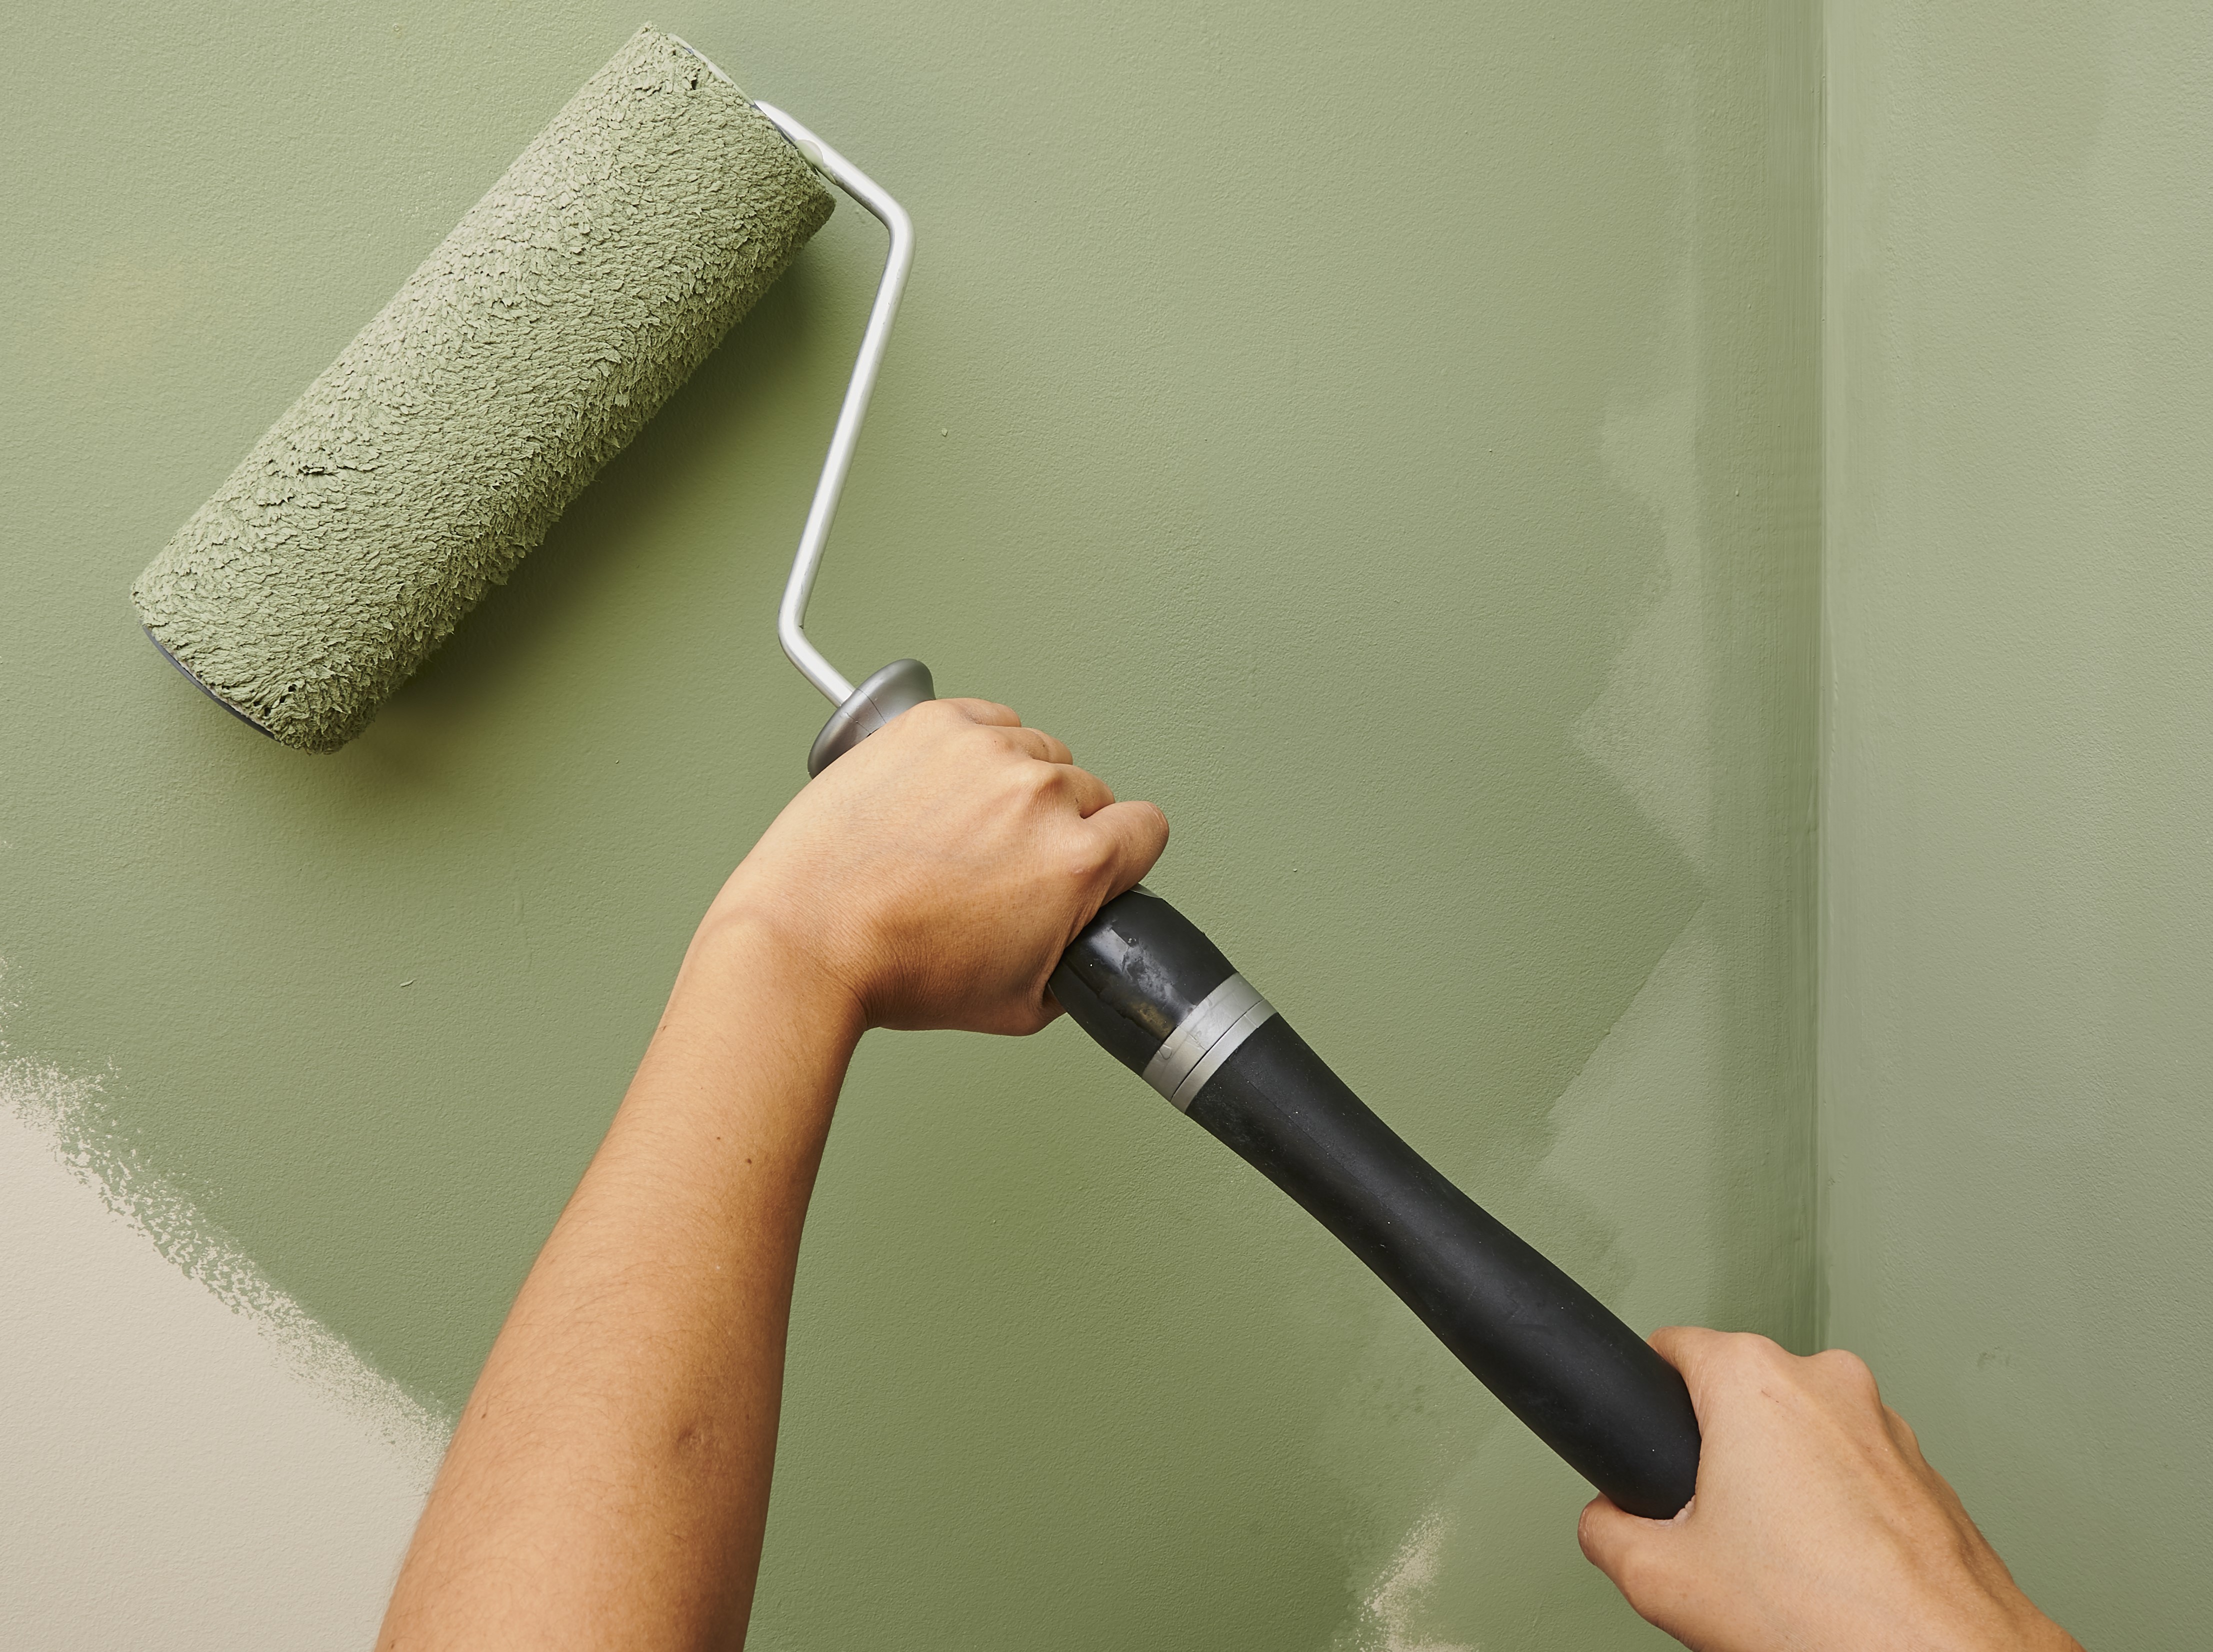
The lure of a cheap paintbrush is obvious, but rarely does it last or spread paint as well, and it won’t be long before the bristles start making an appearance in your paintwork. Pick up a decent paintbrush like a Harris or a Purdy and you can feel the difference in your hand. Buy a decent paintbrush, look after it properly and it will last for years.
3. Not cleaning brushes and rollers
Look after paintbrushes and rollers and they will look after you. It may seem like a pain after you have finished a paint project but knowing how to clean paint brushes and rollers will prolong their life and ensure they keep giving a good finish. You can invest in cheap rollers and throw away afterwards, but this isn’t cost effective or eco-friendly.
4. Start painting in the wrong place
Start at the top and finish at the bottom is a general rule for most paint projects. Paint drips downwards, so it makes sense to start at the top and work down, dealing with any issues as you pass. If you are painting a room you want to start with the ceiling and then the walls. If painting doors, windows, trim etc, the same principles apply.
5. Not opening, closing and storing paint properly
Paint isn’t cheap, so you need to look after it to ensure that it stays at its best. To ensure that paint doesn’t separate or dry out it should be stored away from sunlight and low/high temperatures.
Knowing how to open a paint can the right way will ensure that it retains its seal when closed – keeping your paint fresh. Use a paint can opener like this Coral Essentials Paint Tin Can Opener from Amazon to do the job. Ideally don’t paint directly from the can, pour what you need into a tray or paint kettle. If you do, make sure to wipe clean the lip before replacing the lid.
6. Using cloth dust sheets
Traditional cloth dust sheets are great for protecting furniture from dust and even roller spray, but if you drop large blobs of paint on them it can seep through to the surface underneath. Not good if you’ve got a brand new carpet. The same can be said if you choose to use bed sheets or similar.
If you want to use cotton dust sheets, look for plastic lined sheets, or just use plastic dust sheets like this brackit 8-Pack Large Plastic Dust Sheets for Decorating from Amazon.
7. Painting straight onto new plaster
Try painting straight onto new plaster and you wish you had never started, trust me. The paint will dry rapidly and as you smooth out with a roller, the finish will be lumpy and even pull paint off the wall. When painting new plaster you need to add a mist coat to seal the plaster and stop it sucking up the moisture from the paint.
8. Not buying enough paint
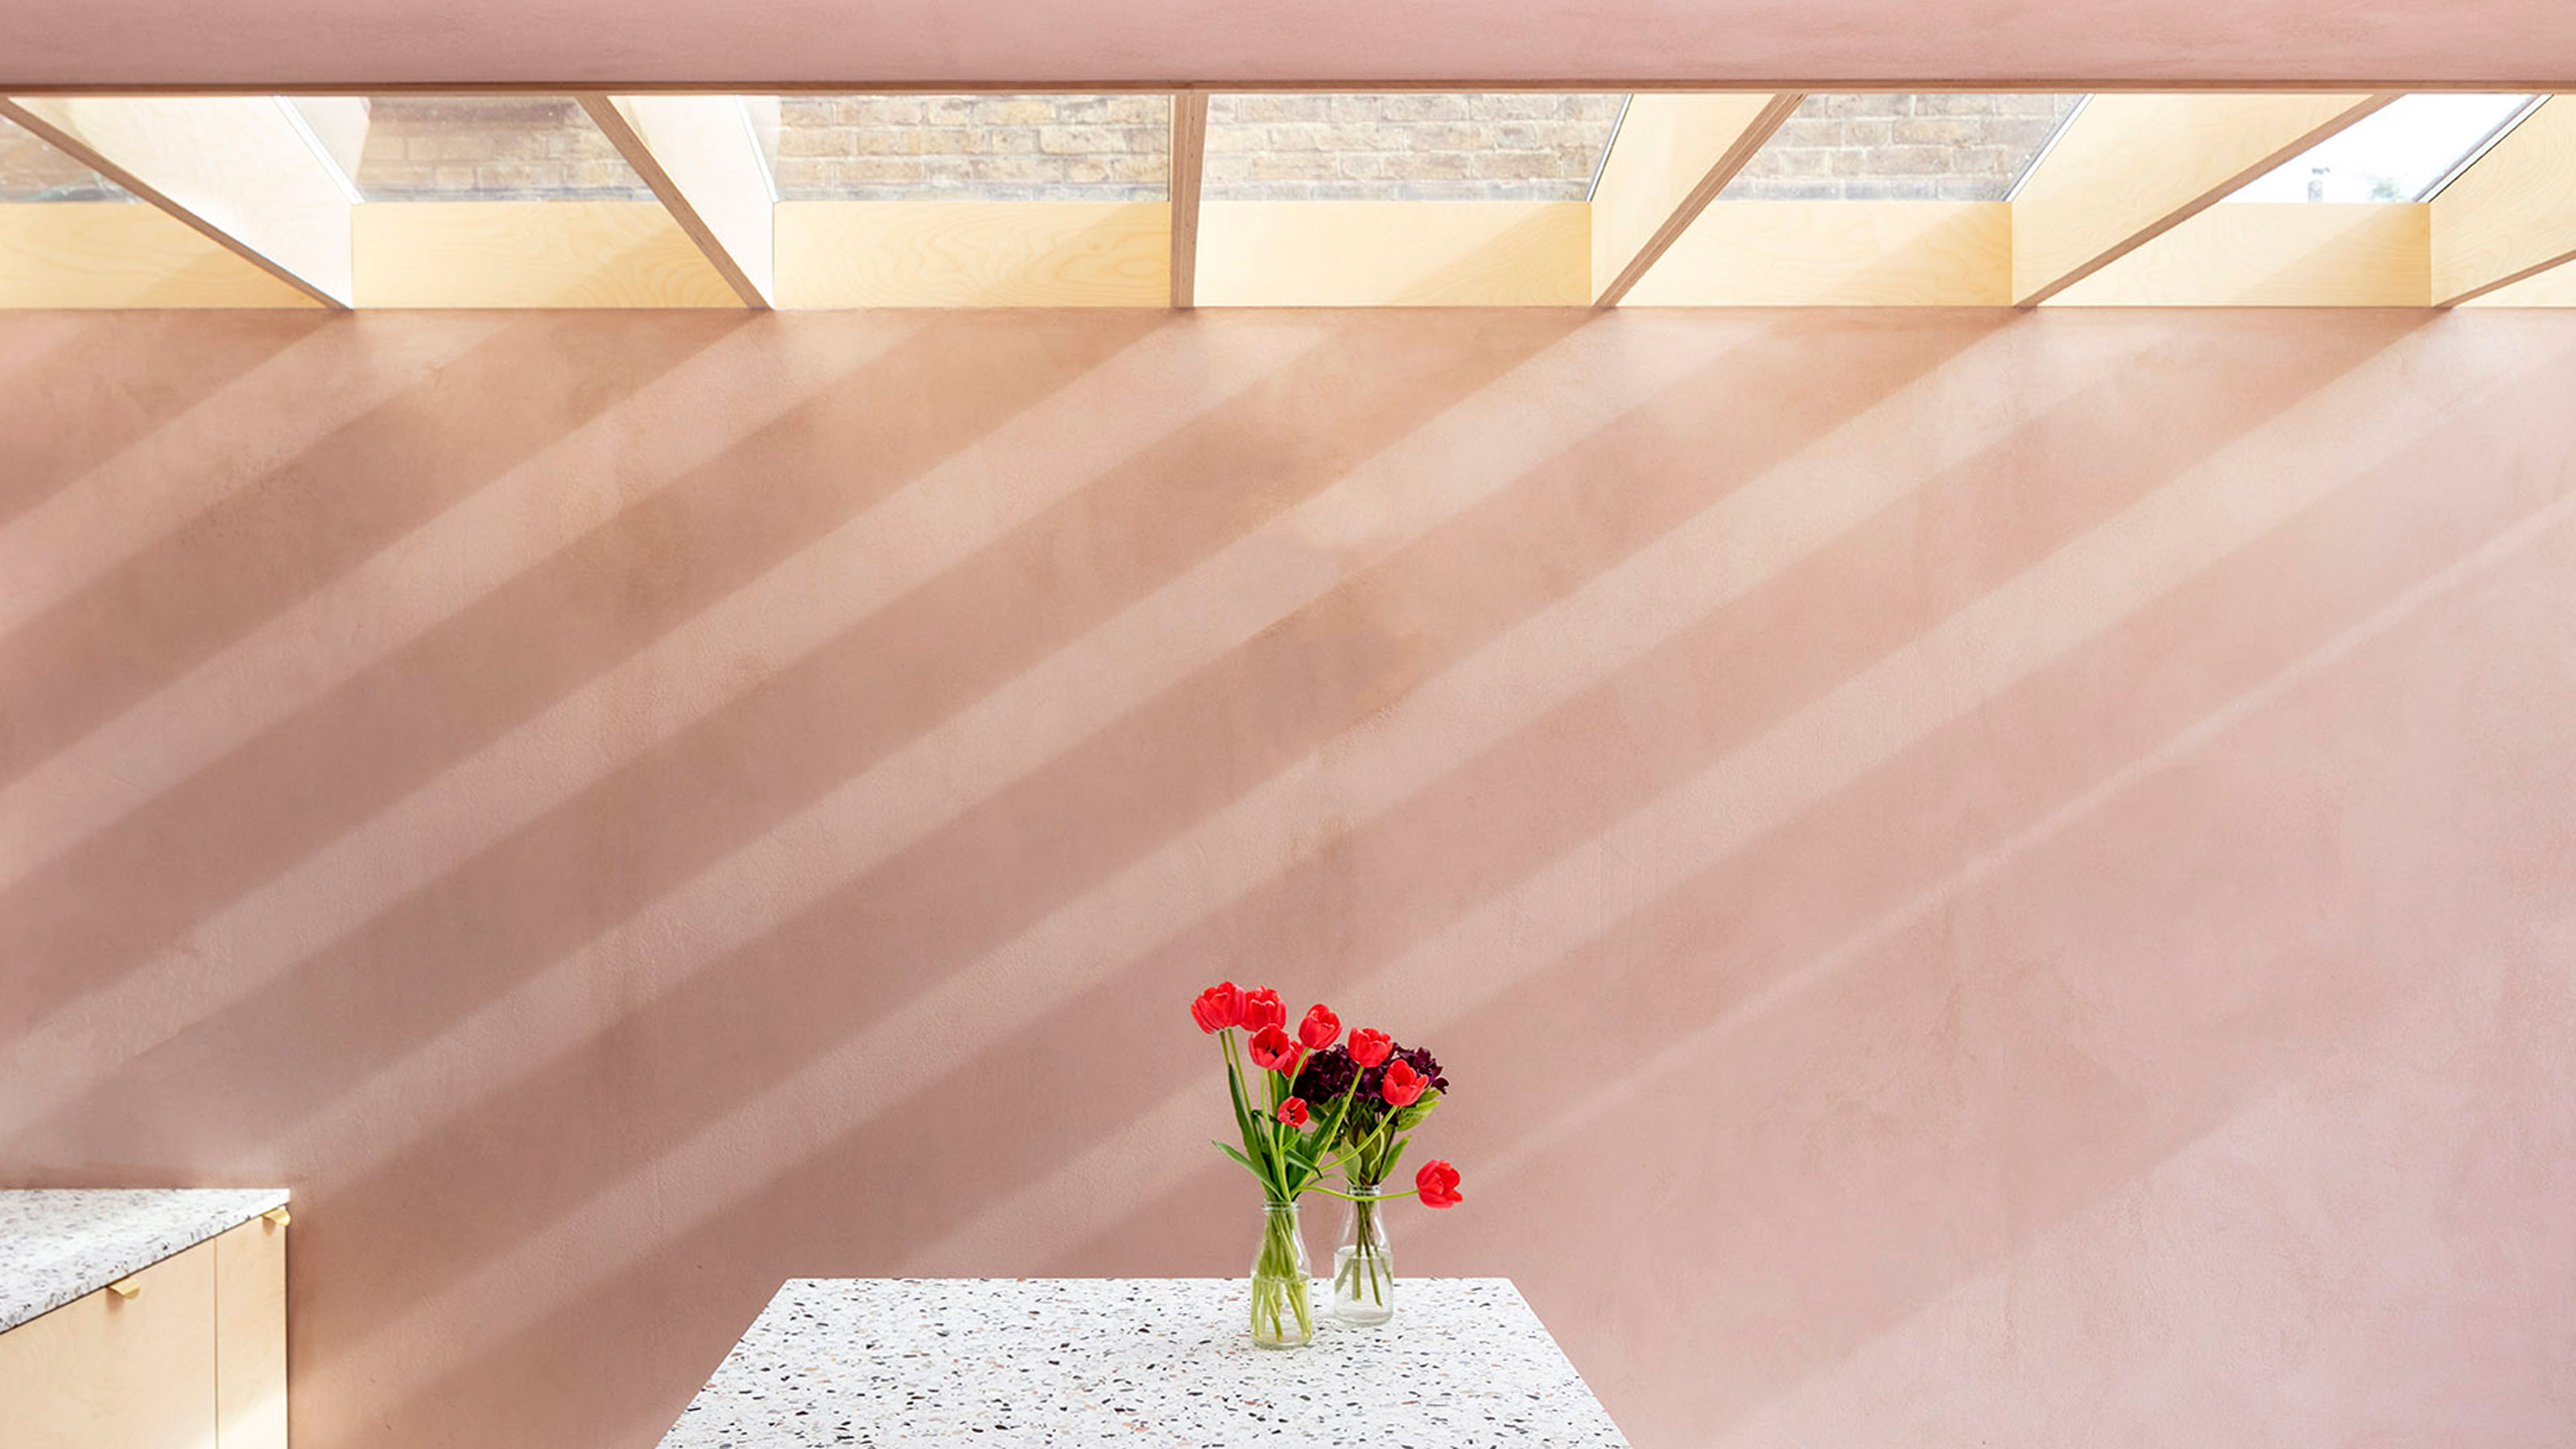
Before you start a paint project you want to make sure that you have enough paint to finish it. Buy too little and you can’t finish a project until you invest in more. This can mean an extra trip to the local hardware store or a wait if buying online.
Or, there could be a subtle colour mismatch if buying from different batches. Check out our How much paint do I need? guide to estimate accurately your needs.
9. Wallpapering over new plaster
Fresh new plaster will almost instantly suck up any moisture in wallpaper paste as soon as it is applied. This means when you put up your wallpaper it will stick in position and you won't be able to move it to line up seams or patterns.
When wallpapering new plaster it needs to be sealed to stop this happening. Dilute wallpaper paste and apply evenly with a brush and roller. Leave for a couple of hours before wallpapering.
10. Not planning your wallpaper start point
To make hanging wallpaper easier and give a uniform look across a wall you need to plan your starting point. Typically this is the centre of a wall. Mark and work towards the corner and mark where each roll edge will be. Adjust the starting point – if needed – so you don’t have any really narrow strips in corners.
11. Lumpy wallpaper paste
Lumps in wallpaper paste can be very irritating when hanging wallpaper and can easily be avoided by mixing properly. Make sure that you have a clean bucket or container to hand. Read the manufacturer's recommendation on the packet for how much water you need and add the right amount of cold water.
Snip the corner of the paste packet and slowly add the wallpaper paste to the water while stirring at the same time. Alternatively, get a drill paddle mixer like this Toolty Helix Mixing Paddle from Amazon. Place in the water, start up the paddle and add the paste.
12. Blunt scissors or knives
Wallpaper scissors need to be kept clean to stop them losing their sharp edge. When finished with, wipe clean with a damp cloth. If they start to lose their sharp edge, you can use a scissor or knife sharpener to get it back. Alternatively, invest in a new pair.
If you use a decorators edge and a sharp knife like this Amazon Basics Auto-Lock Zinc-Alloy Shell Utility Knife, remember to replace the blade regularly. Always make sure you have some spares.
13. Don't leave paste on wallpaper
Wallpaper paste can easily ooze onto the surface of wallpaper, and if left it can leave unwanted shiny or matt spots which are really difficult to remove. Alternatively, the paste can soak into colours and dilute the colour, or remove, when wiped. Ideally, try to make sure that as little paste as possible gets on the surface. But if it does wipe off – or dab – immediately with an almost dry cloth.
14. Not buying enough wallpaper
It's simple, you need to buy enough wallpaper to complete a job. This is especially pertinent if you are using a patterned wallpaper. You don’t want to get to the end, find out you need another roll and then find out it's out of stock or discontinued.
Use an online calculator to help calculate how much you need. Add an extra roll if you’re a novice to wallpapering.
15. Emulsioning over water stains
Water stains leave ugly marks on ceilings and walls and are almost impossible to remove. You can clean with bleach and water but you will still need to paint over to hide. Do not use emulsion, it's water based and just soaks into the stain.
Use a specialist stain blocker like this Zinsser Cover Stain from Amazon, or an oil based undercoat or paint (that you might already have) to cover, leave to dry and then add your top coat, which can be emulsion.
Any DIY decorating project needs the right tools to get the job done properly. Check out 11 wallpaper tools you need, best paint brushes and best hand sanders for wood to help you on your way.
Get the Homebuilding & Renovating Newsletter
Bring your dream home to life with expert advice, how to guides and design inspiration. Sign up for our newsletter and get two free tickets to a Homebuilding & Renovating Show near you.
Steve Jenkins is a freelance content creator with over two decades of experience working in digital and print and was previously the DIY content editor for Homebuilding & Renovating.
He is a keen DIYer with over 20 years of experience in transforming and renovating the many homes he has lived in. He specialises in painting and decorating, but has a wide range of skills gleaned from working in the building trade for around 10 years and spending time at night school learning how to plaster and plumb.
He has fitted kitchens, tiled bathrooms and kitchens, laid many floors, built partition walls, plastered walls, plumbed in bathrooms, worked on loft conversions and much more. And when he's not sure how to tackle a DIY project he has a wide network of friends – including plumbers, gas engineers, tilers, carpenters, painters and decorators, electricians and builders – in the trade to call upon.

