Cutting Skirting Boards: How to Master Mitre Cuts at Corners
Our expert guide to cutting skirting boards will show you how to cut skirting for internal and external corners, and how to join separate lengths with ease
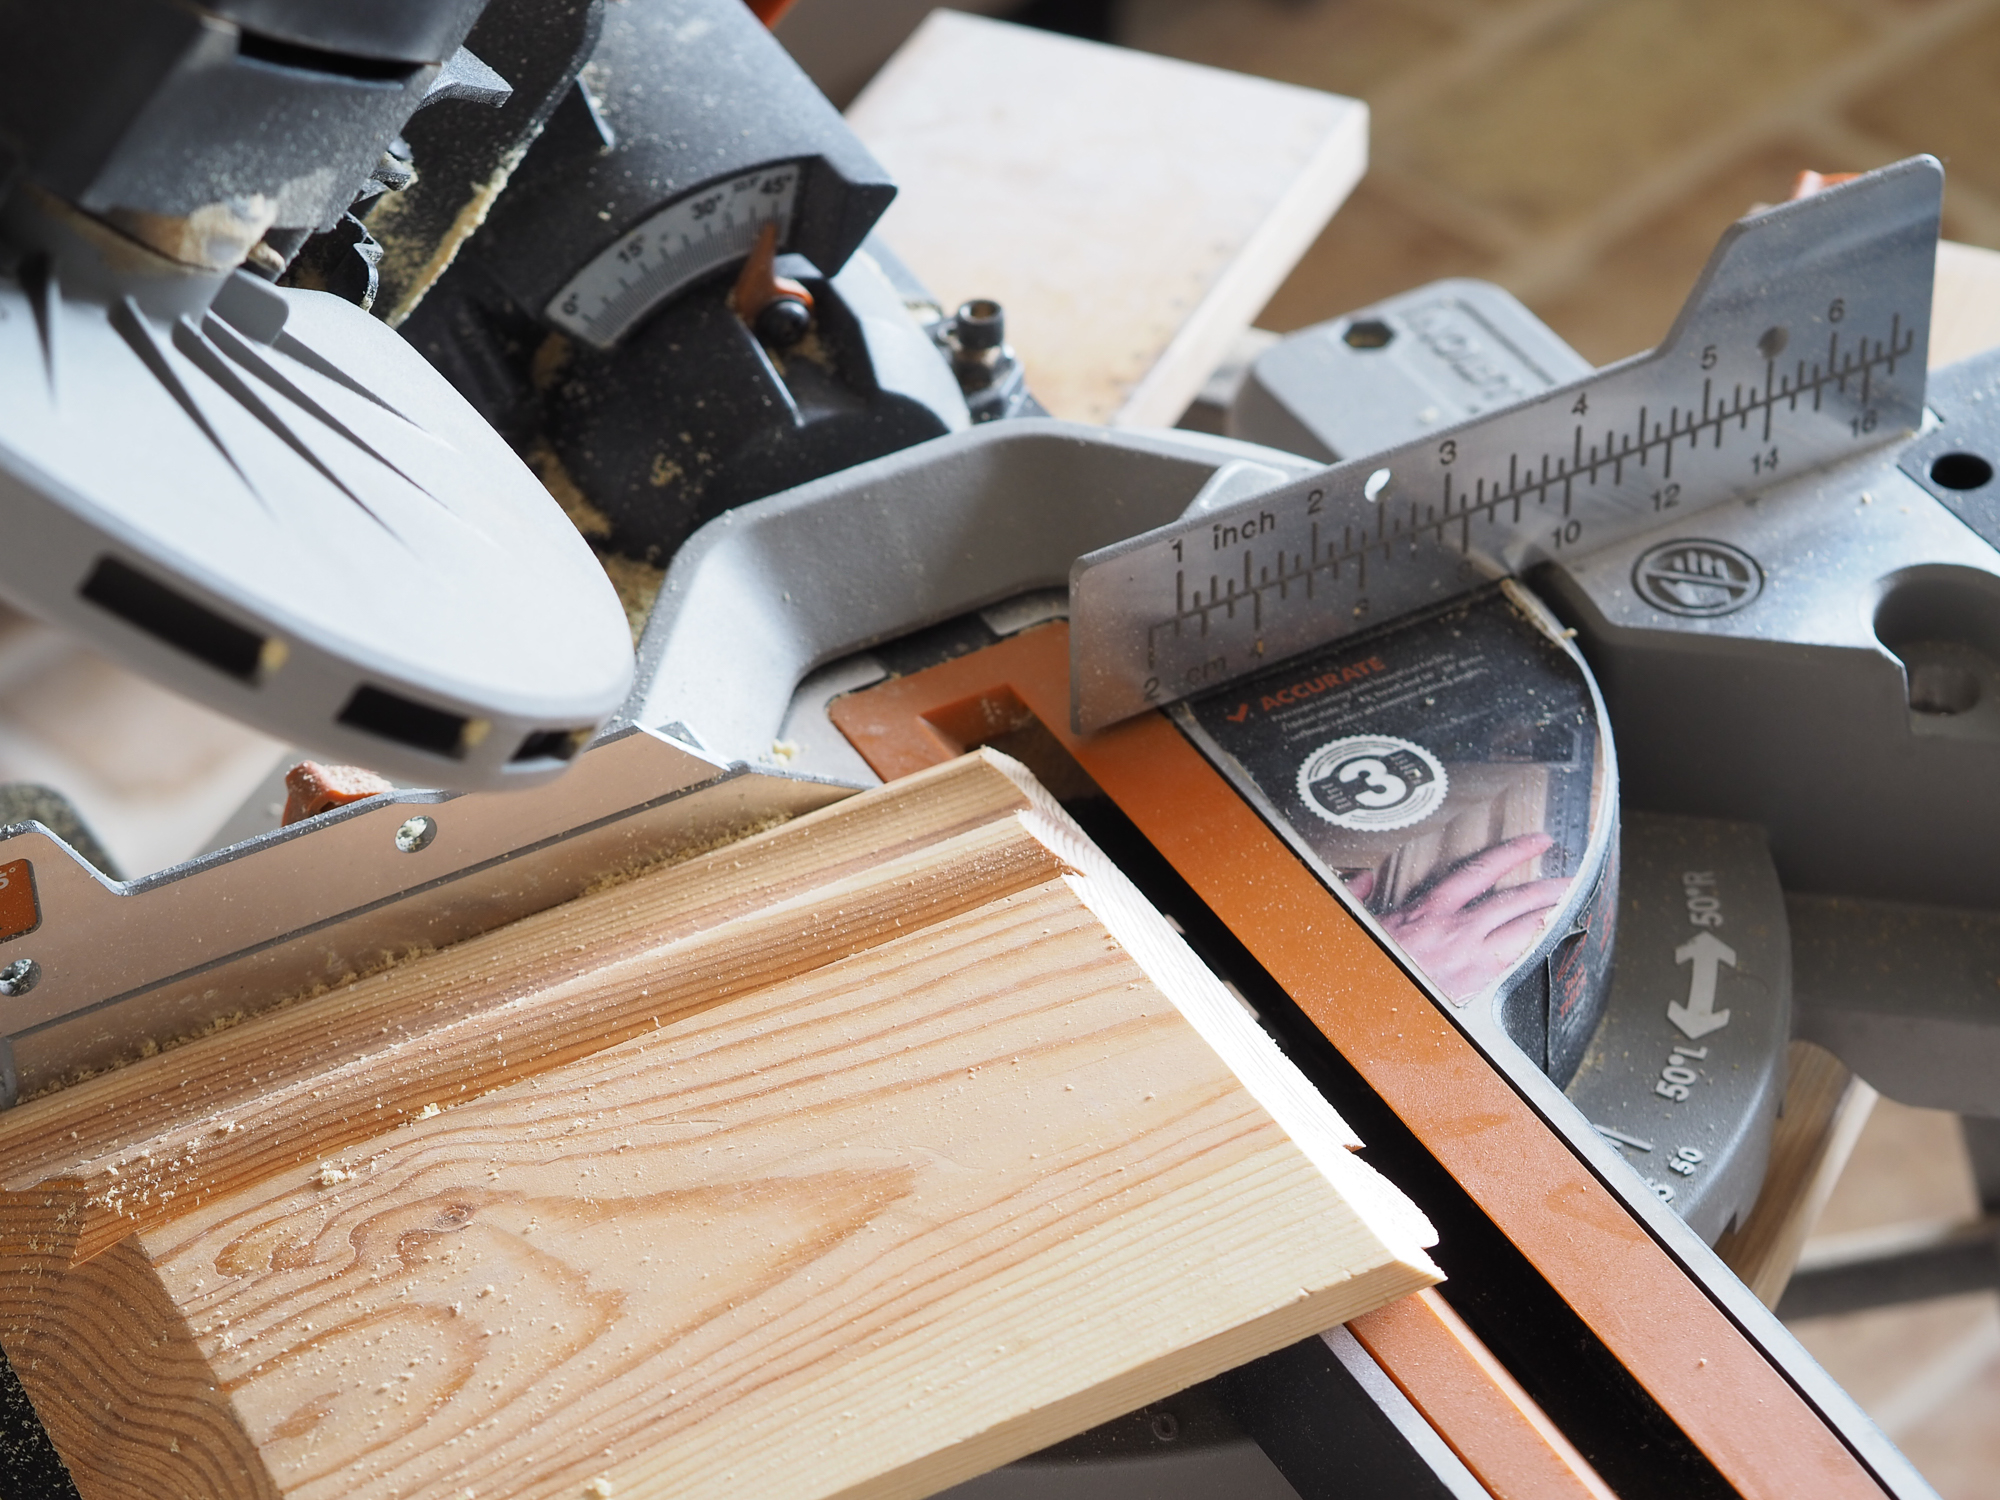
Cutting skirting boards is one of the most challenging elements of fitting them during a renovation, but it's still well within the means of a capable DIYer with the right tools.
In theory, cutting them to size before installing and painting skirting boards should be a simple job, but to ensure a perfect finish, precision is important. This extends not only to ensuring the angle of mitres are right, but to keeping your skirting boards looking good once they're installed. Certain ways of cutting skirting boards lend themselves better to resisting cracks if there's movement, for example.
With this guide, get advice on how to cut skirting boards, along with a step-by-step DIY guide for the different ways to cut for different parts of your room.
Cutting Skirting Boards: Your Tool list
- Mitre saw (or mitre box with handsaw)
- Hand saw
- Coping saw
- Pencil
How to Cut External Corners for Skirting Boards
There's only really one way to cut an external corner for skirting boards, and that's by cutting mitres using a mitre saw or manually using a mitre box.
1. Mark the First Mitre

Place your piece of skirting board against the wall and mark an approximate 45° angle with the pencil on the top edge. It's easy to cut a piece short if you don't extend your line from the very centre of the corner, keeping in mind any length lost when cutting due to the thickness of the blade.
2. Cut the Mitre
Set your mitre saw to 45° and line up with the mark you've just made. Cut the skirting board and check it against the wall to ensure it fits.
3. Repeat for the Other Side
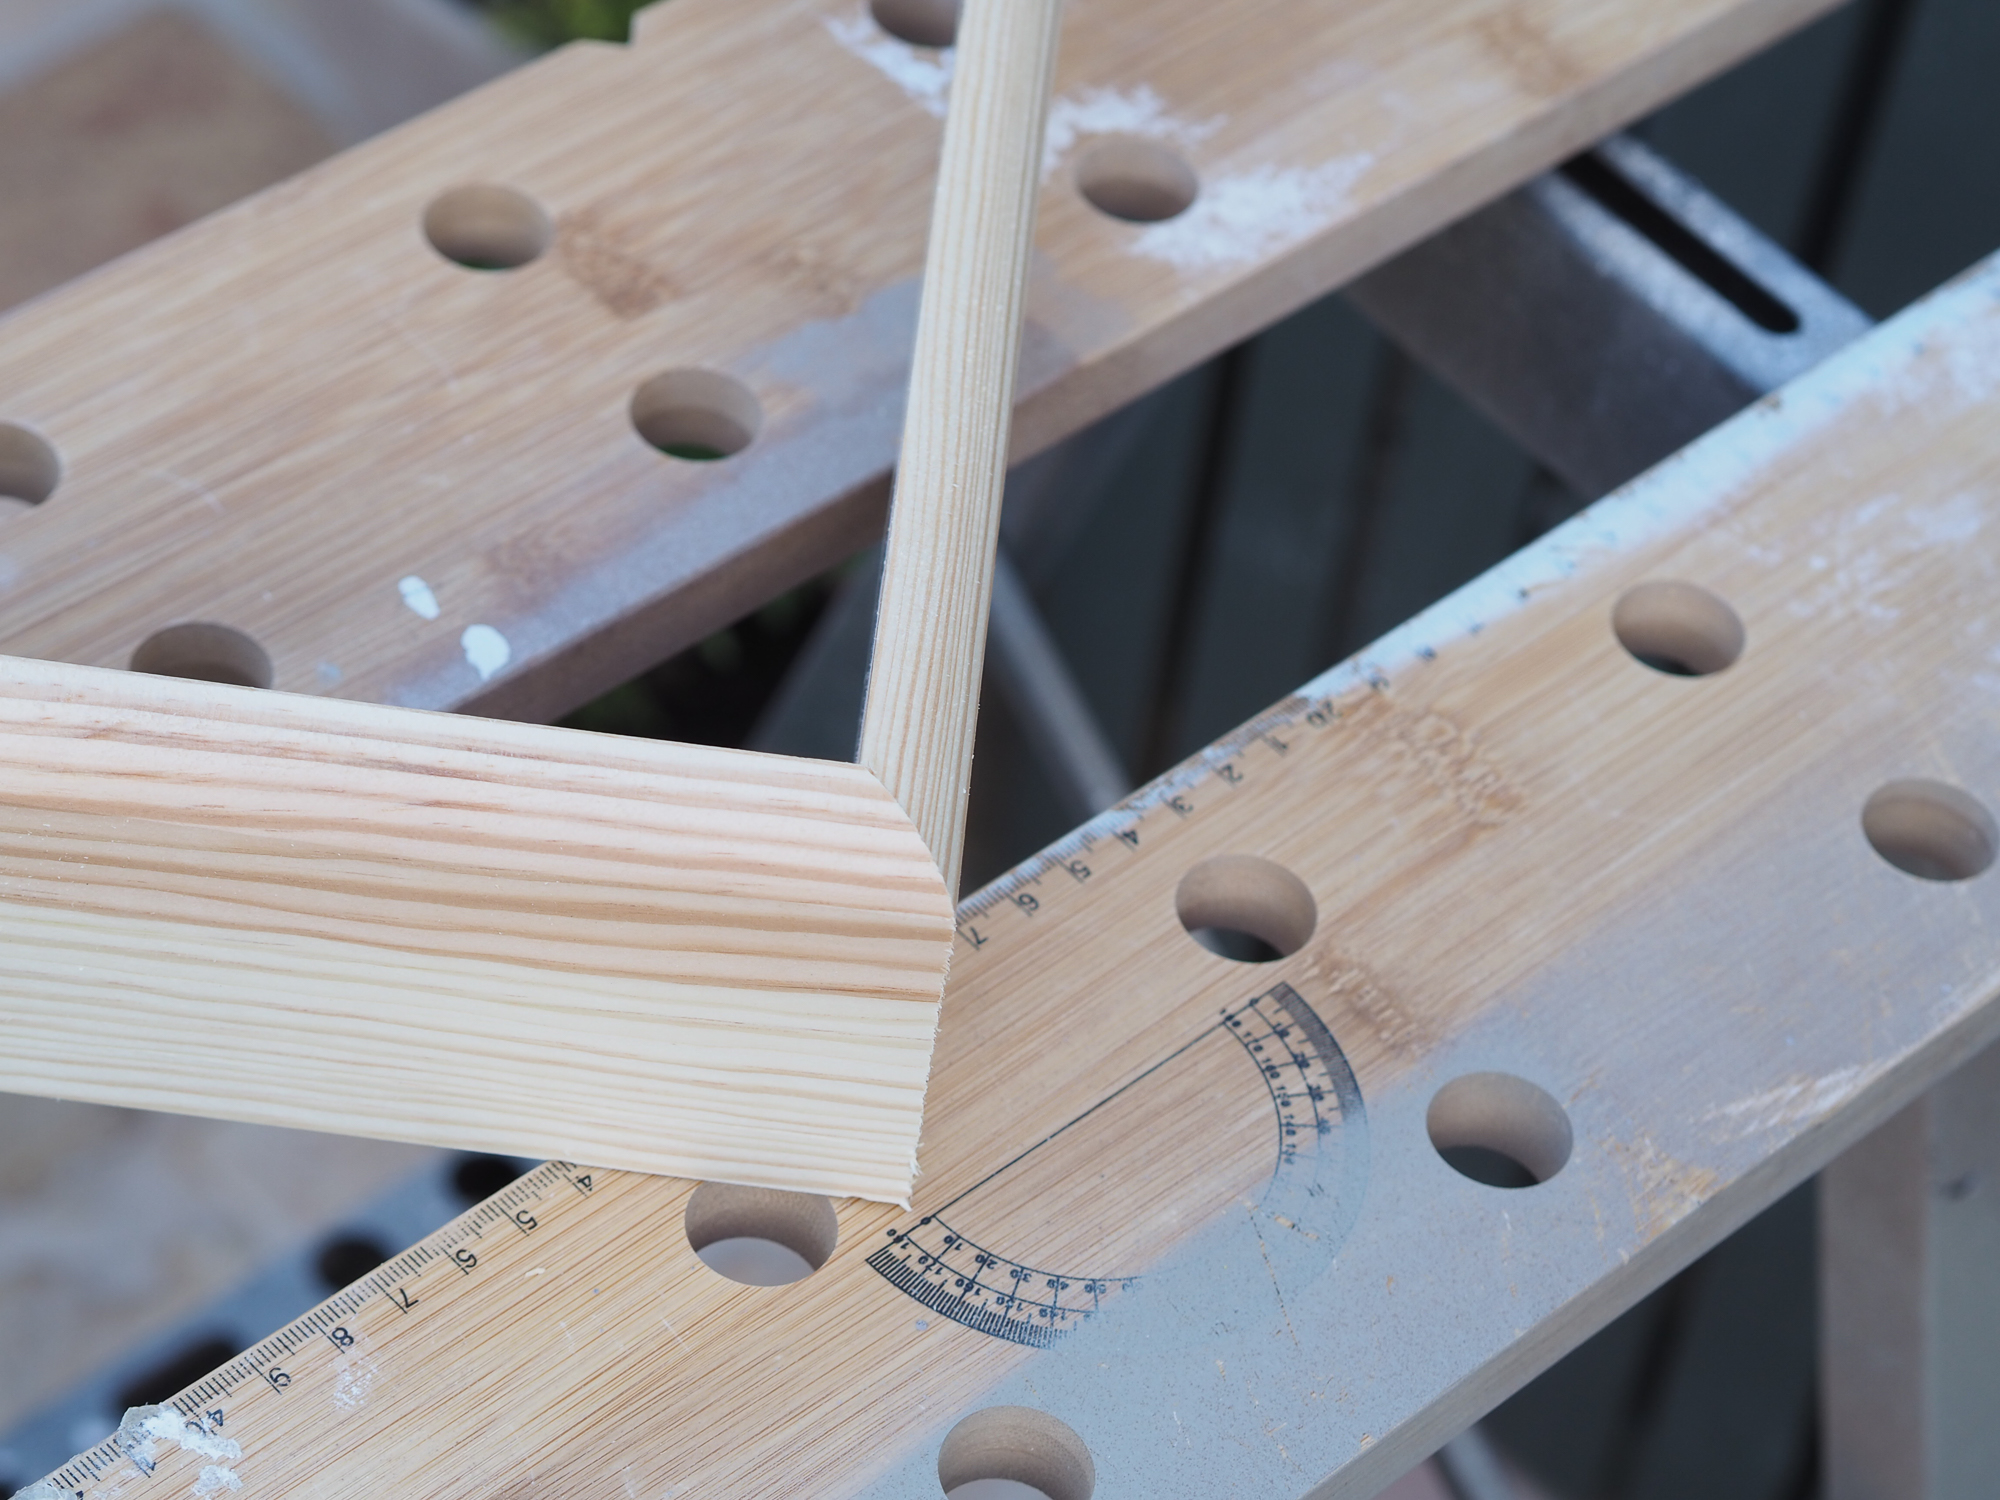
Before fixing the first piece of skirting board, mirror this process for the other side of the mitre. You'll have to either reverse the angle of the mitre saw to cut the 45° angle this time, or flip the skirting board over.
4. Fix both pieces in place
Using an adhesive and nail gun, fit the skirting boards in place. Sand away any rough wood before, or when in place. You can then fill the (hopefully) minor gap in the mitre with a decorators caulk or using a fine wood filler before sanding down, priming and painting the skirting boards.
How to Cut Internal Corners for Skirting Boards
Joiners tend to take a different approach for cutting skirting boards for internal corners, scribing one skirting board to fit snugly into the other. This ensures a cleaner finish for an internal corner, where filling and sanding can be more difficult, and is less likely to crack if there's any movement in the house.
This process is slightly trickier if you've got a decorative types of skirting board like an ogee, but the process is much the same, cutting to follow the profile of the skirting board, no matter the shape.
It is possible to cut internal mitres in the same way as you did for the external mitres above, and is largely a matter of preference, however, the scribing technique is more commonly used for internal corners.
1. Cut a 45° Mitre and Mark the Outline

Start by cutting a mitre on the piece of skirting you're scribing — this will give you a workable profile, which you should outline with a pencil.
2. Cut the Straight Section
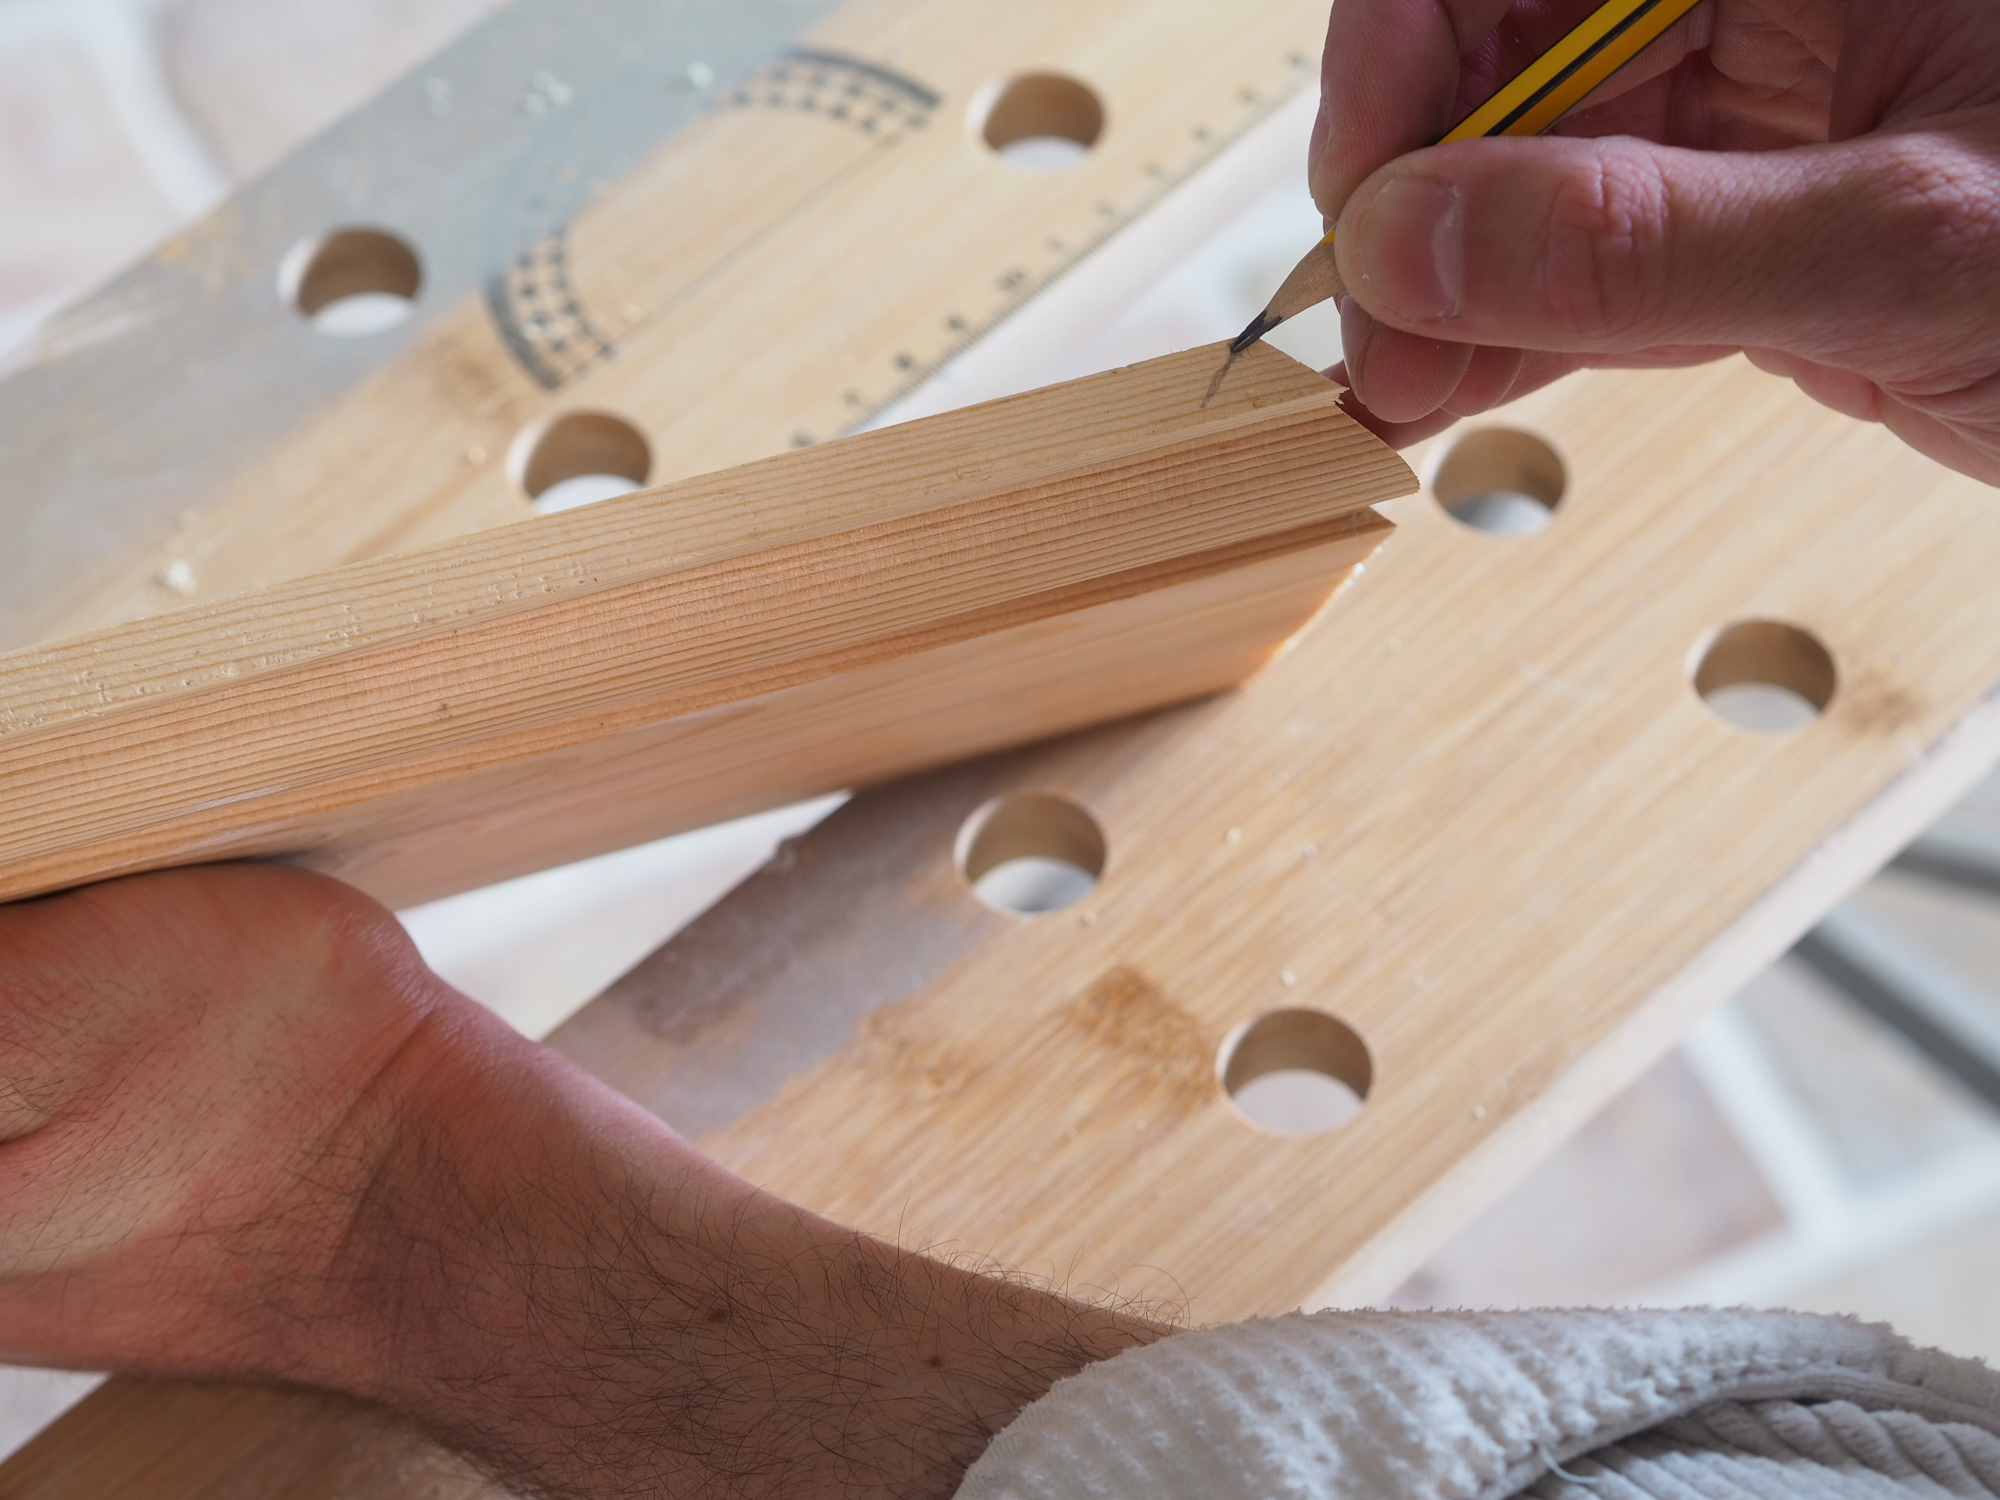
On the base of the skirting, mark a 45° angle in the opposite direction to your mitre. Cut the straight section of the skirting board with a hand saw, positioned at this angle. Cut until you reach a curved piece of the skirting board design.
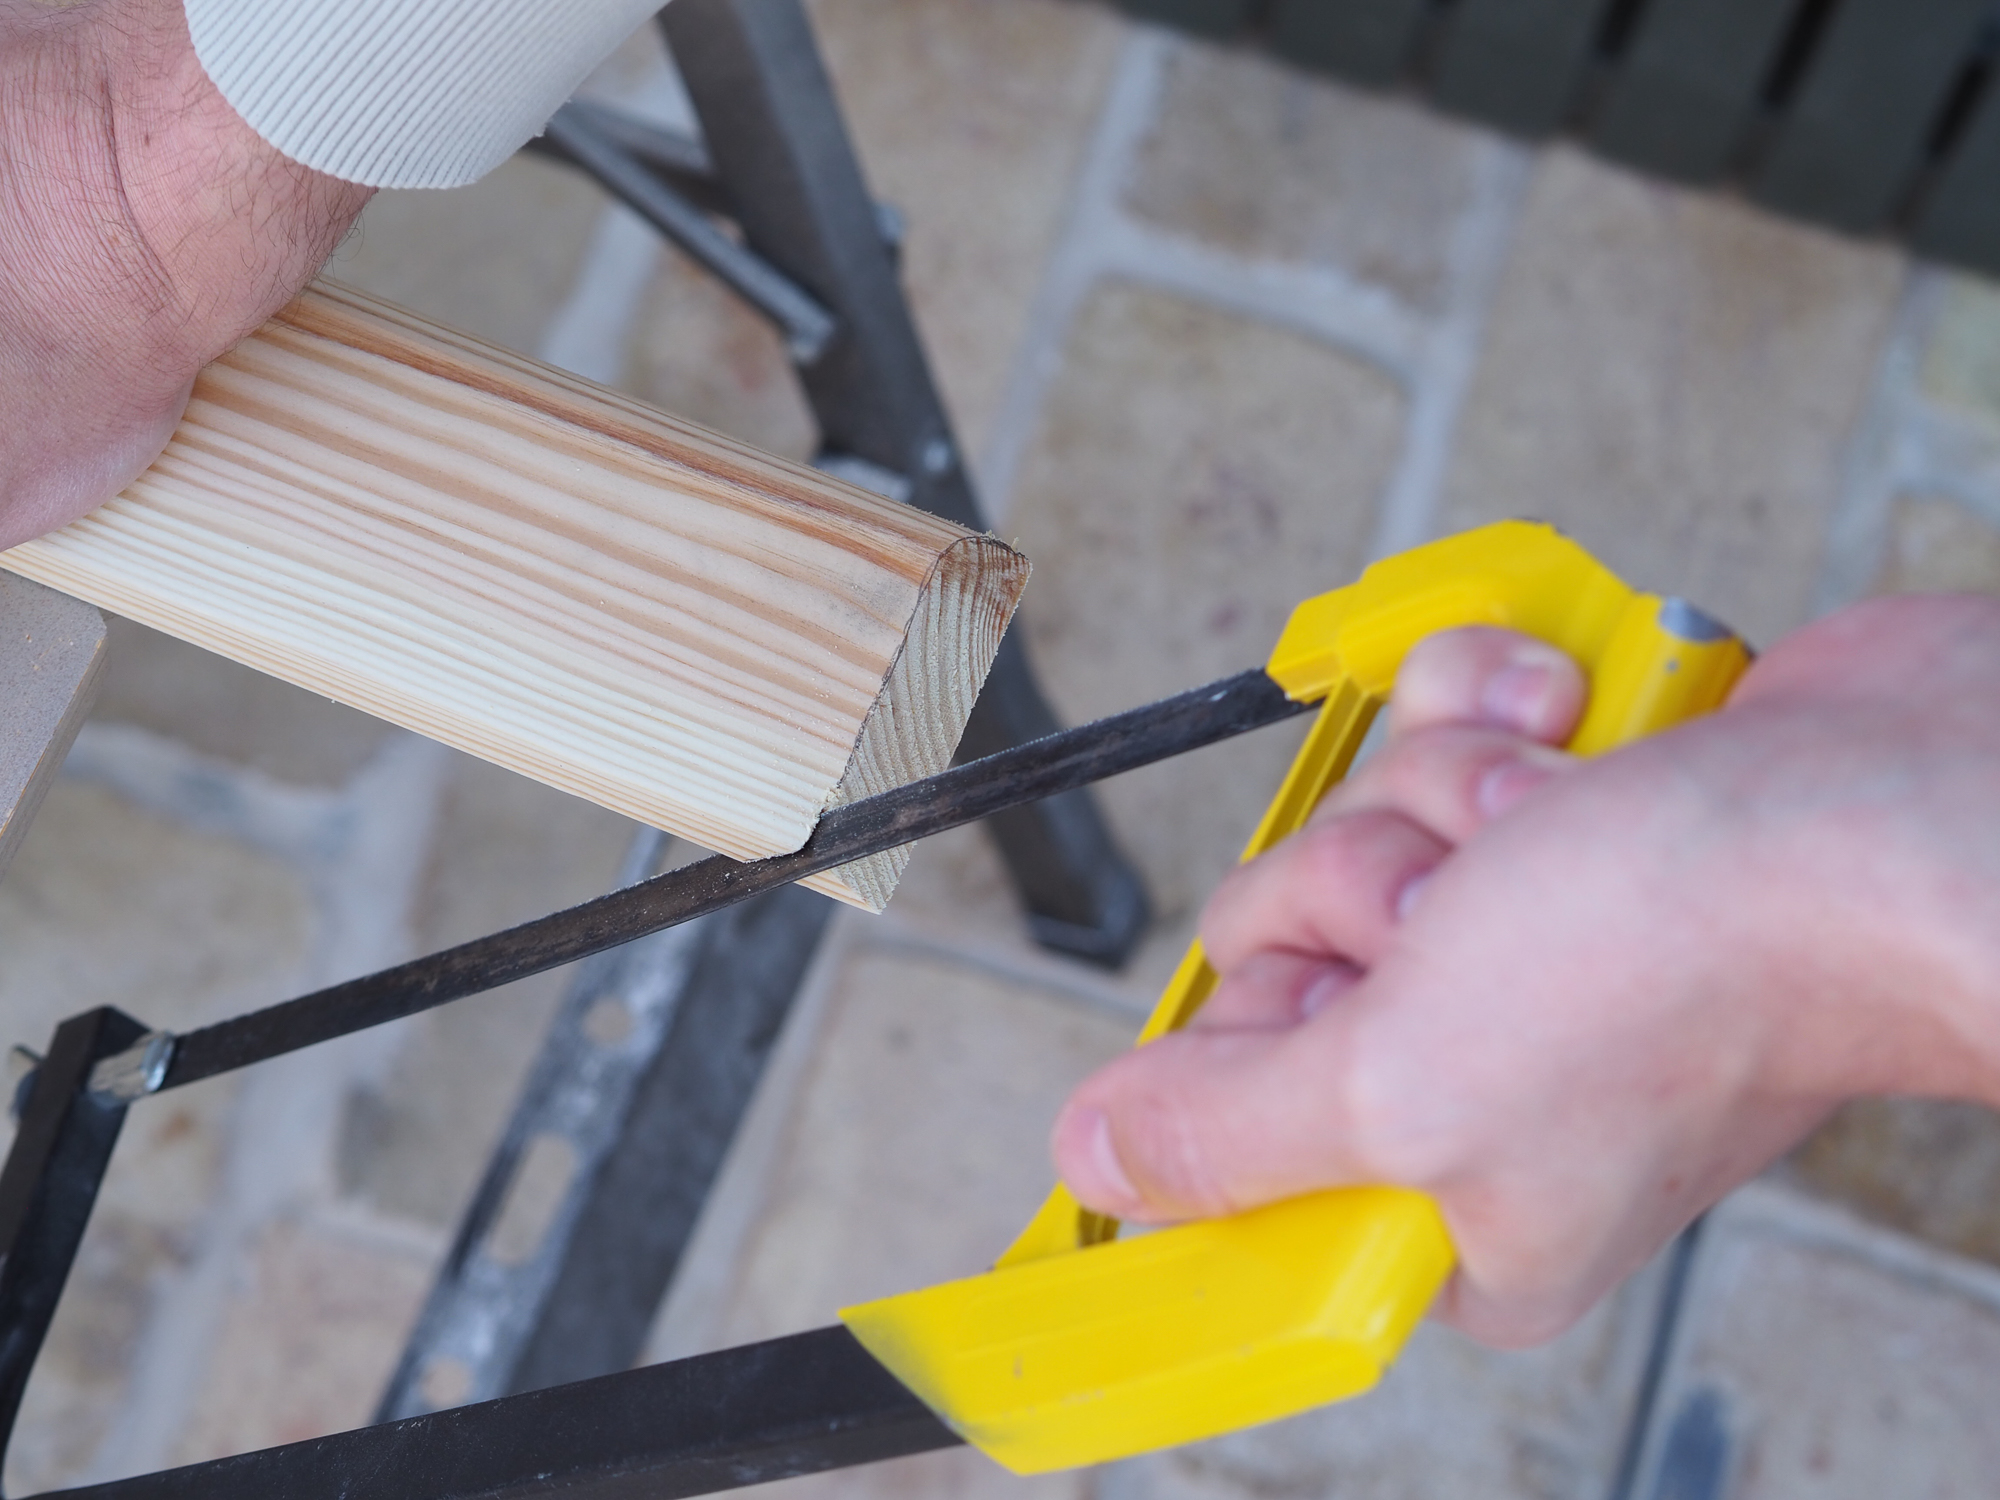
3. Switch to a Coping Saw
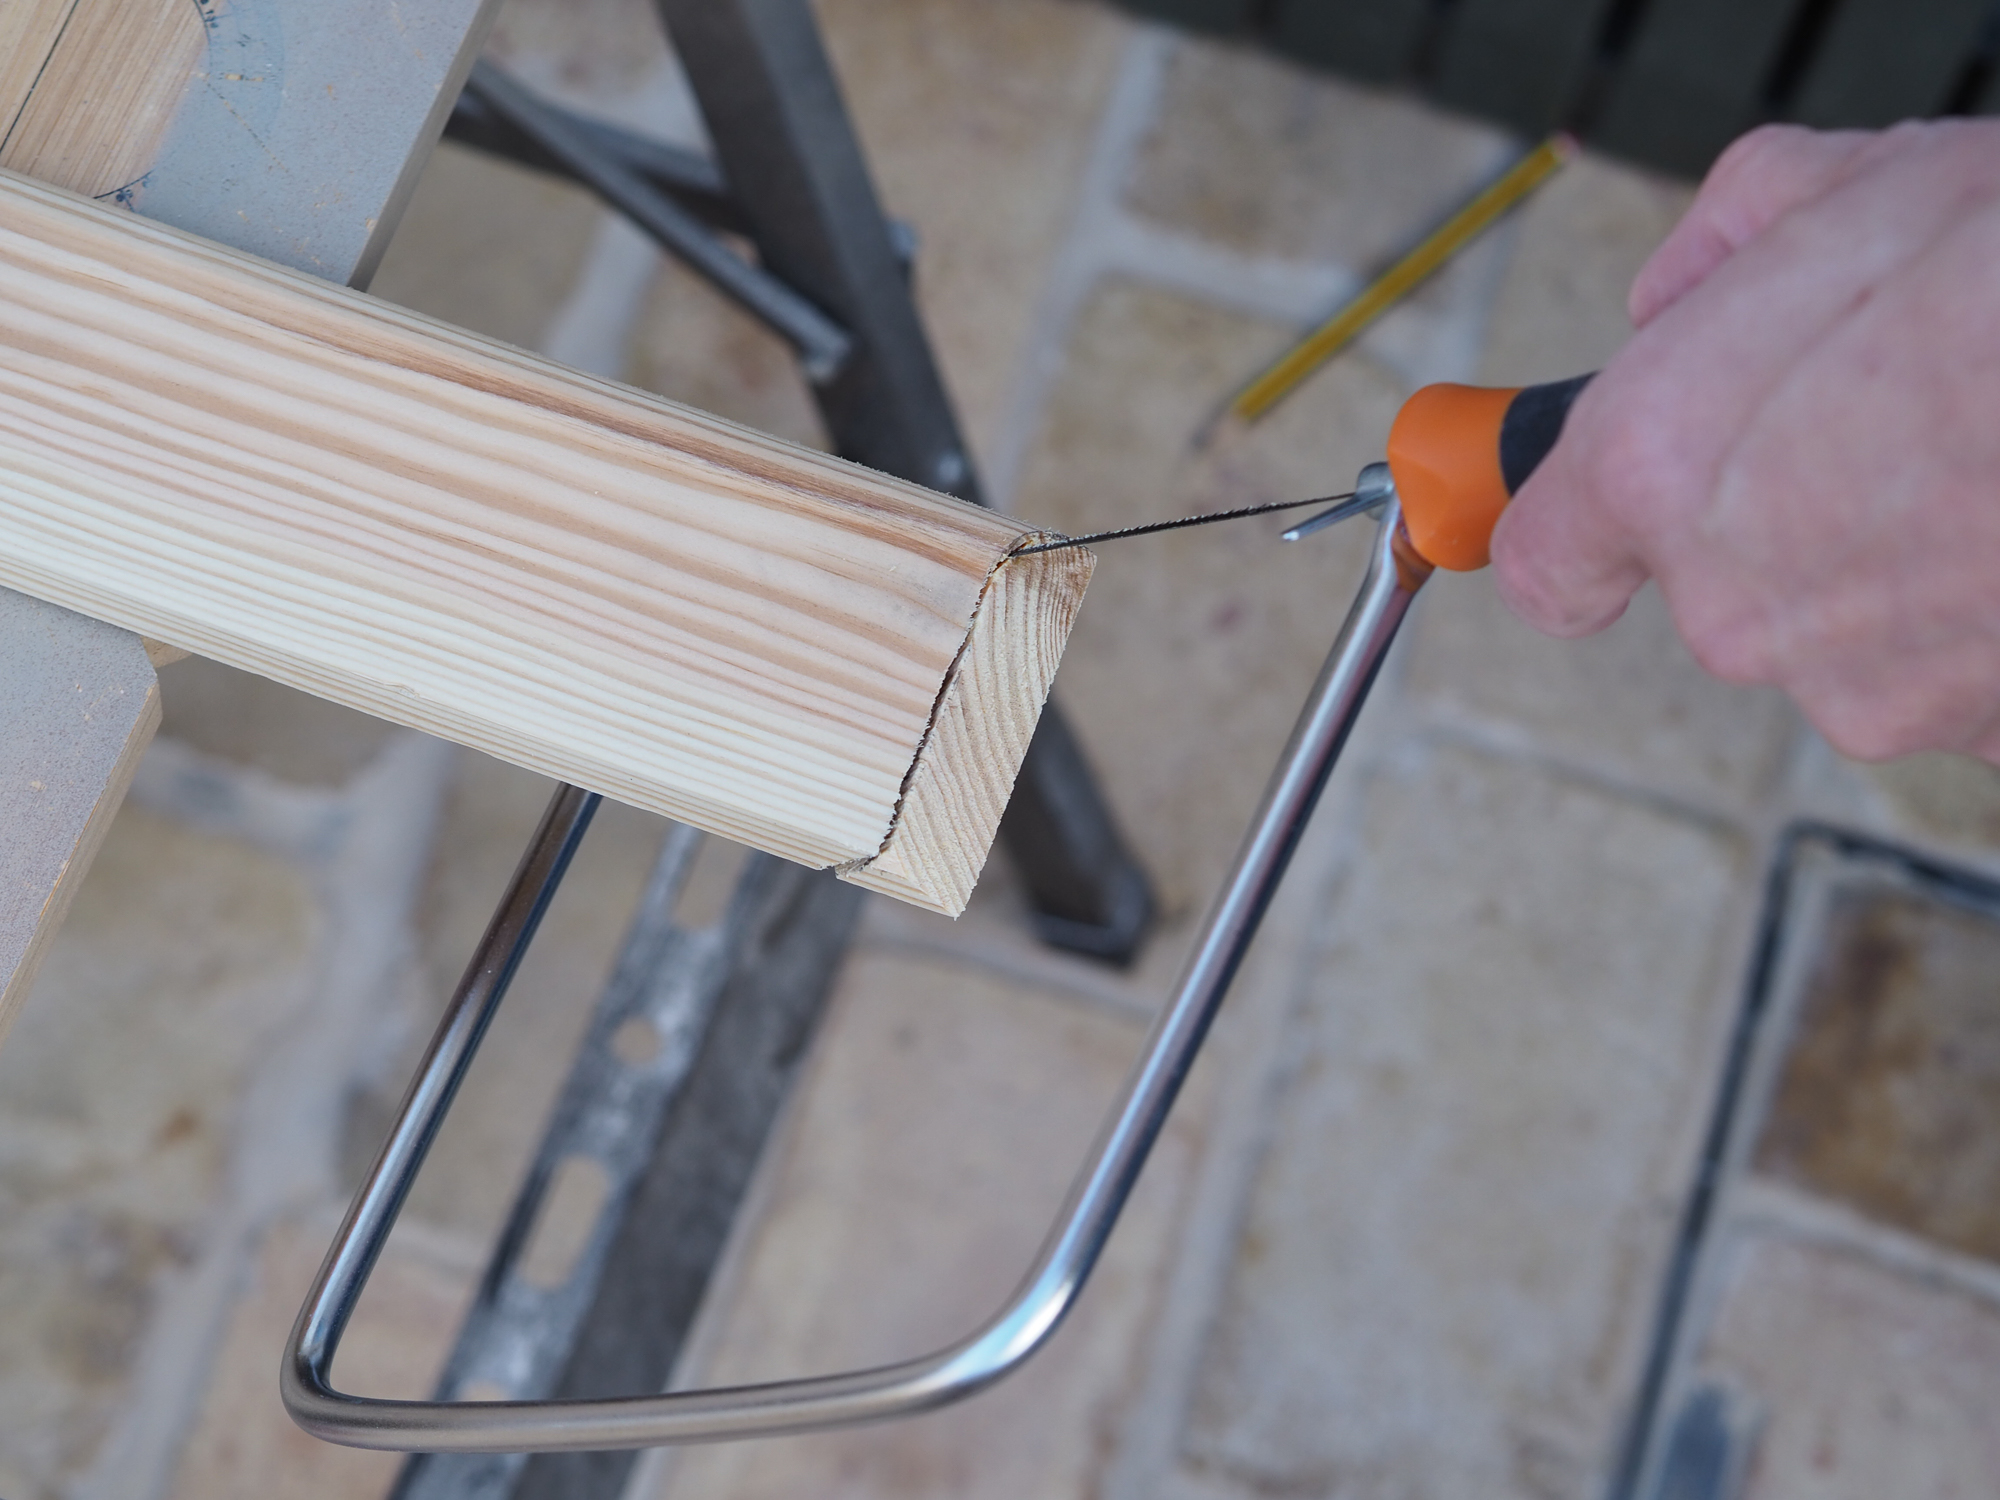
To cut the curved section, change to a coping saw with a blade angle that can be adjusted. Adjust it to follow the curve of your skirting board design and cut to just before the top of the skirting, following the same 45° angle as before. At the top of the skirting board, cut straight, rather than at this angle.
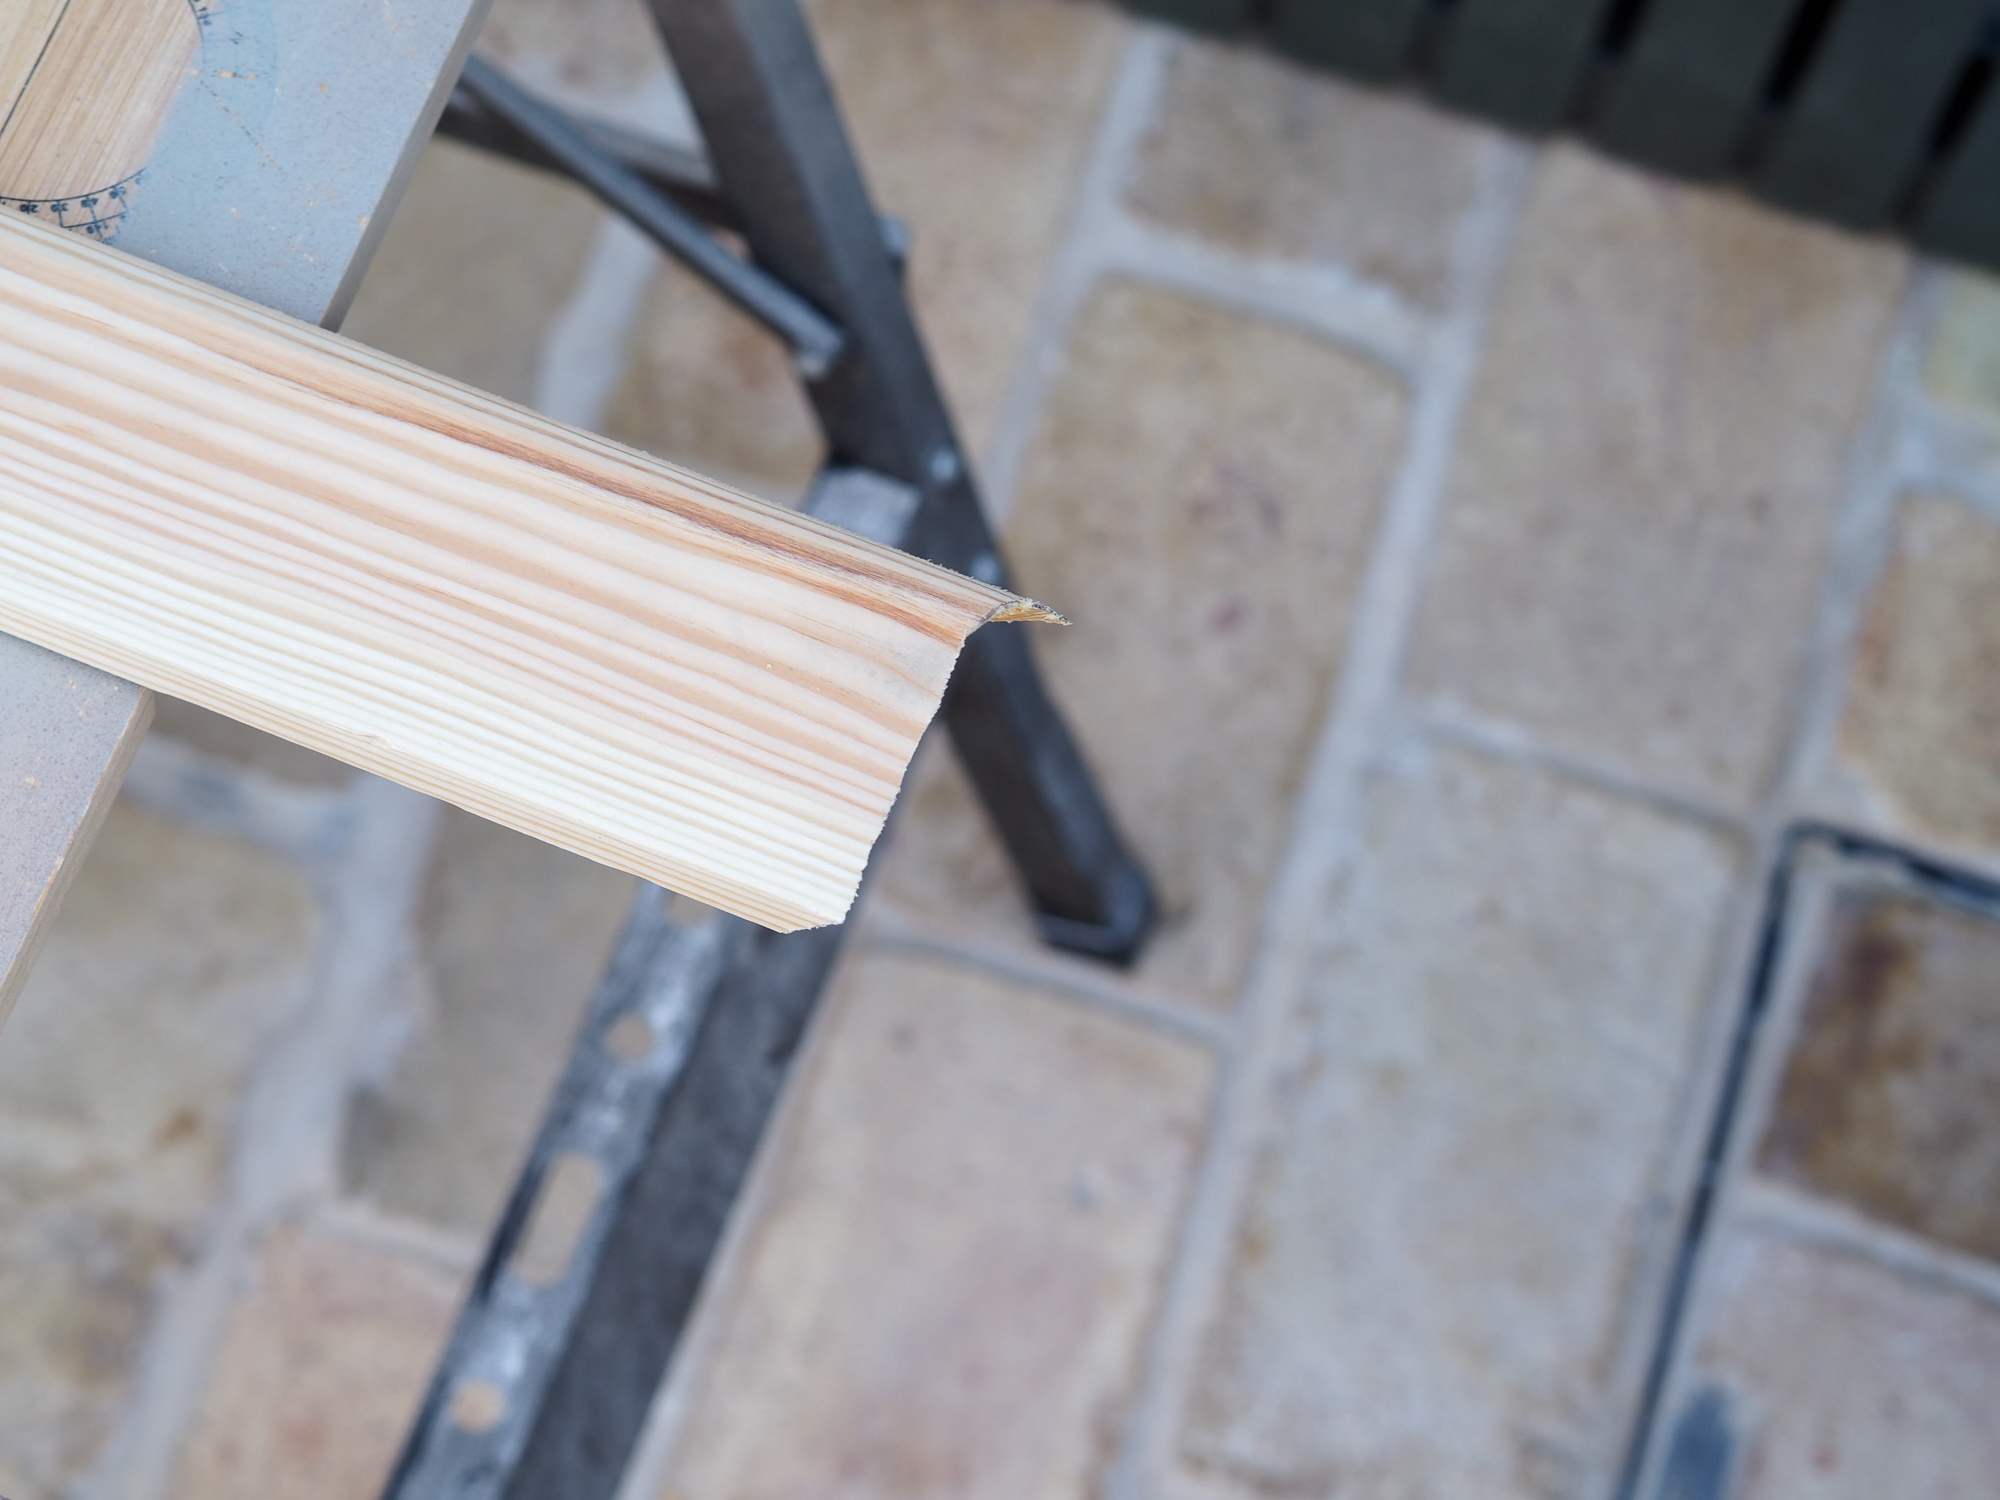
4. Fit the skirting board
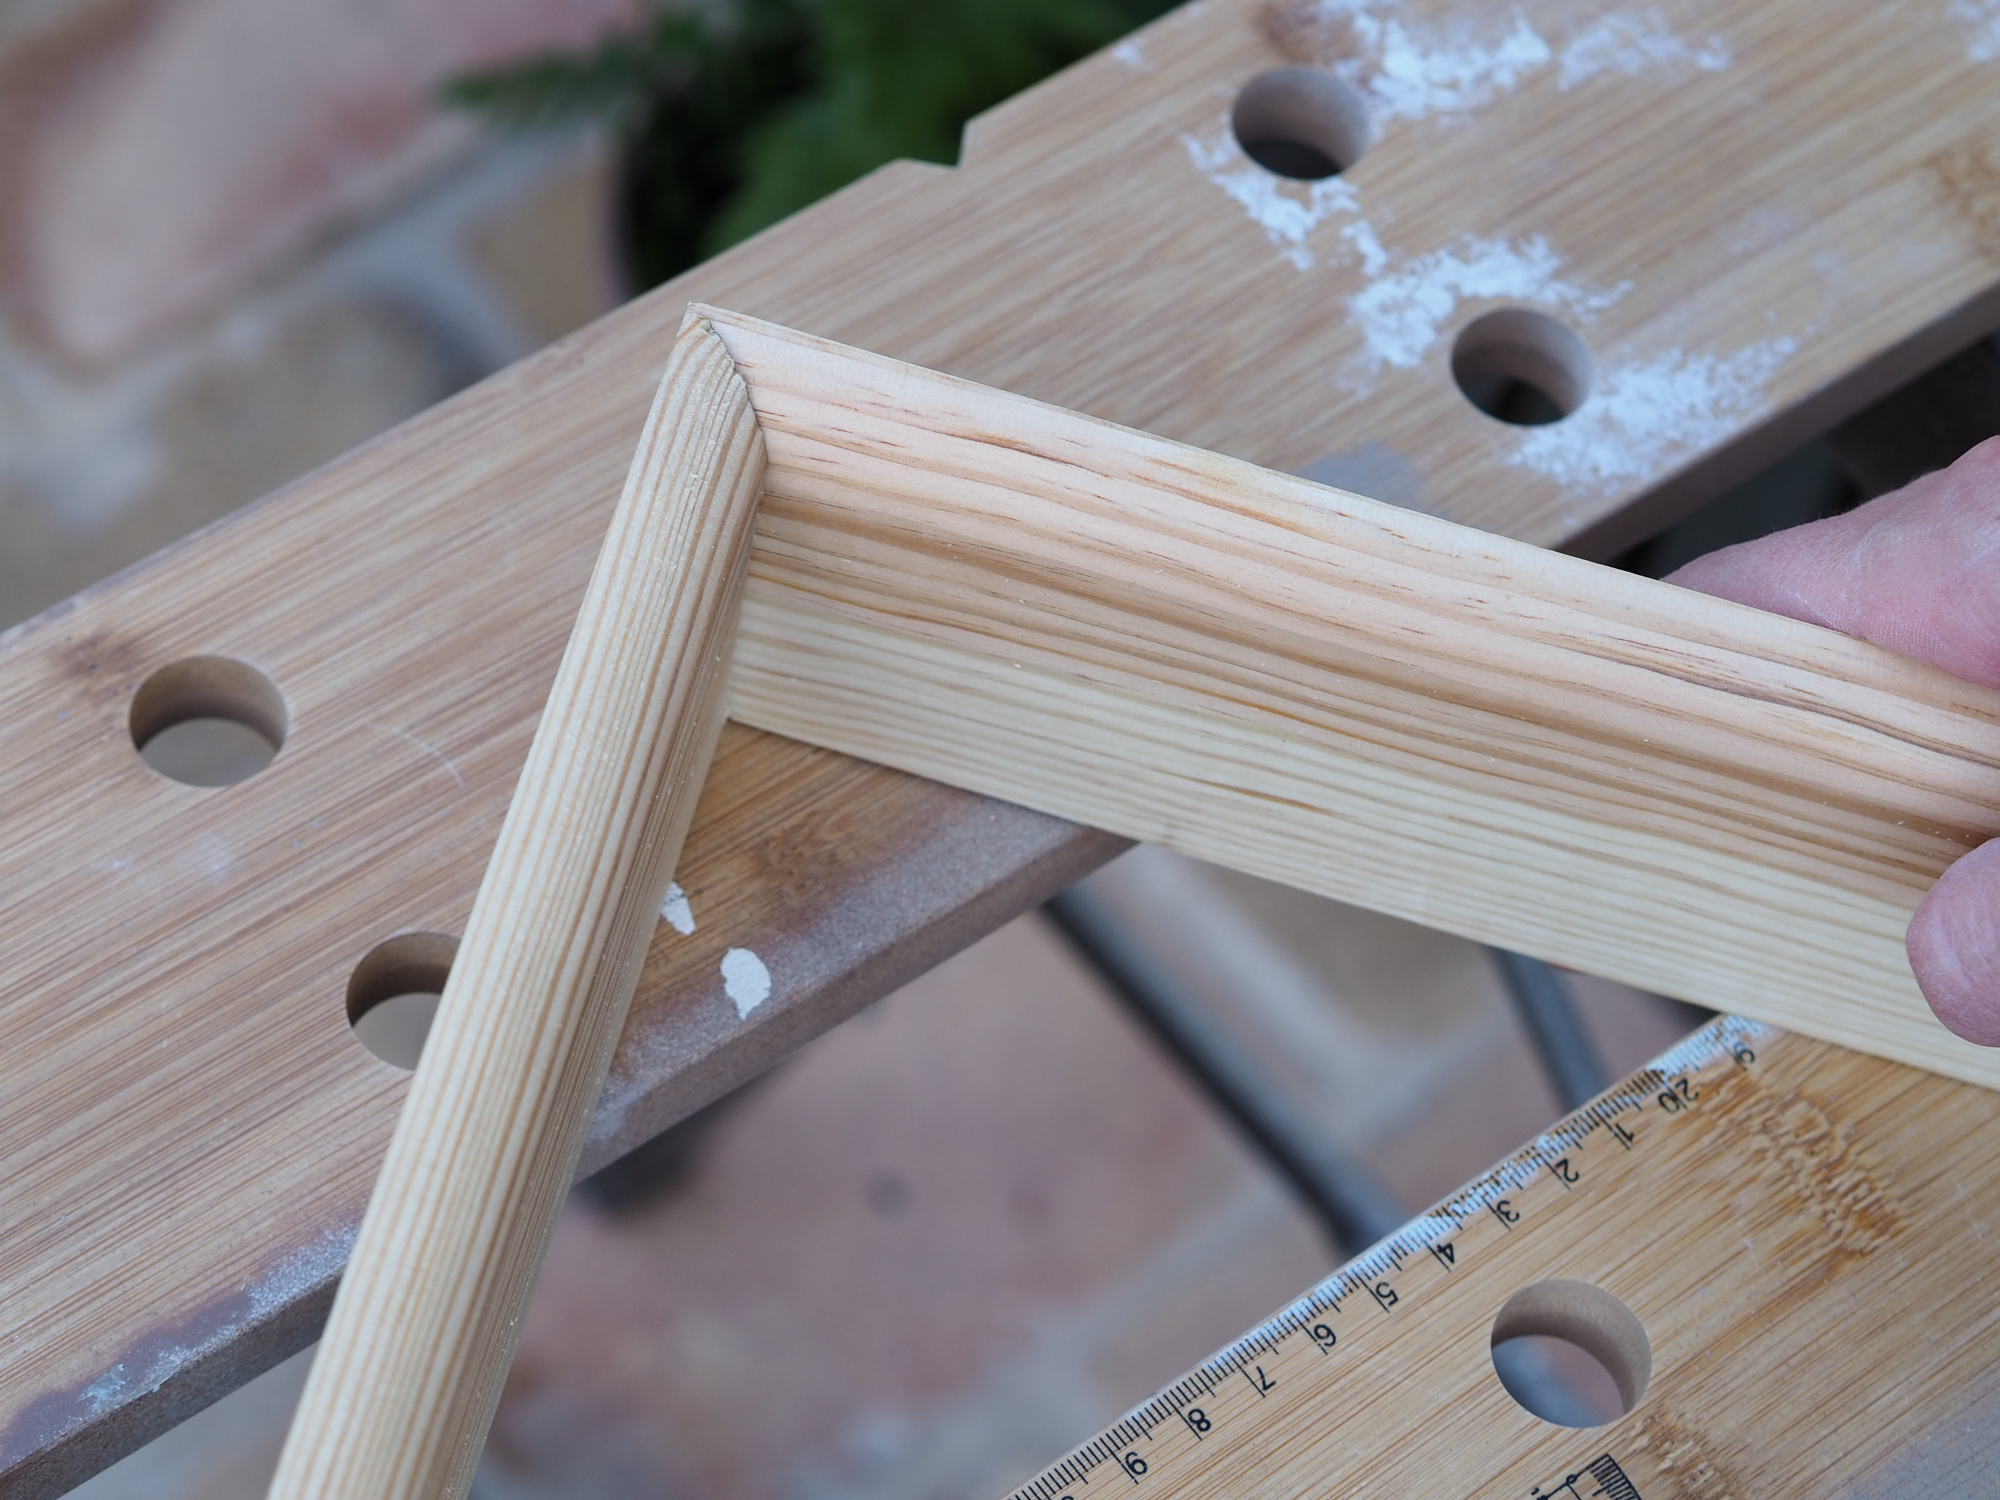
If you've got a more complicated skirting board style, you may need to do a little sanding to get the perfect fit. Once the corner fits perfectly, fix to the wall as before.
How to Cut Skirting Boards When Joining Lengths on a Flat Wall
Joining separate lengths of skirting board is sometimes a necessity in a project to reduce wastage and costs. However, rather than simply joining two flat ends together, you'll get a better finish that's less likely to crack by putting two 45° mitres together. Here's how to do it.
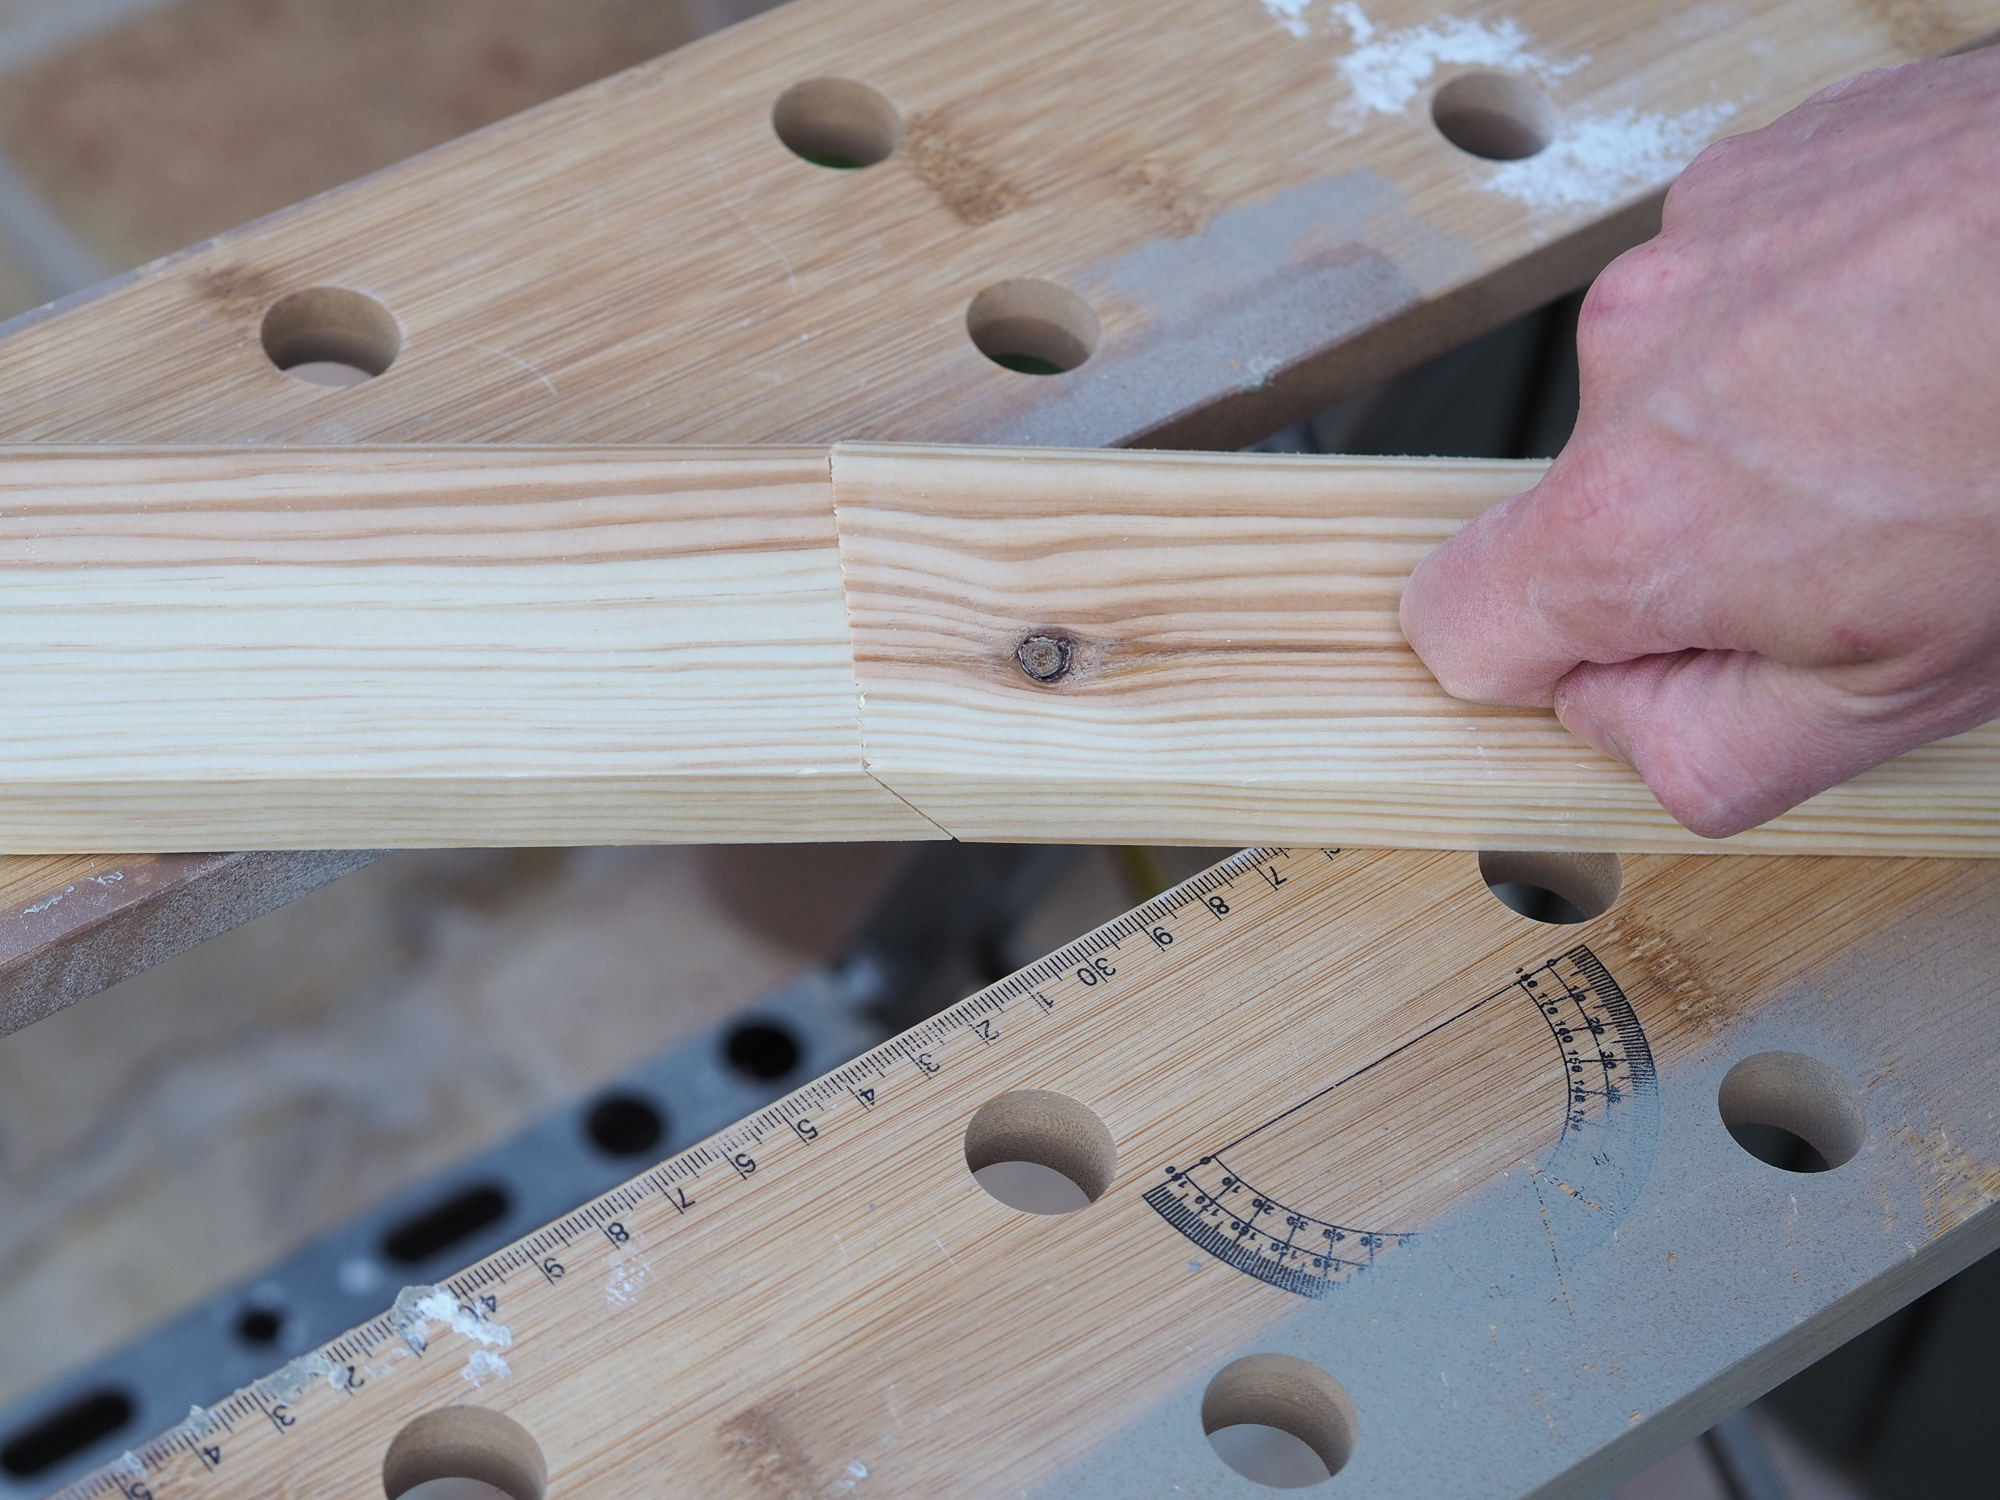
For the first piece of skirting board, cut a 45° mitre out from the wall and the end of the current piece. You can now fix this piece to the wall. With your next piece, measure it up against the piece already fixed to the wall, and mark a complementary 45° angle on the top of the skirting (plus, whatever cut needs to be made at the other end of the board).
Cut this mitre too, and fix into place as before, finishing with decorator's caulk or a fine filler.
What's the Best Way of Cutting Skirting Boards?
A mitre saw is certainly the most effective way to cut skirting boards, and can be set to a multitude of different angles, so if you have any areas of skirting board which aren't 45° angles, such as in a bay window, you can still cut with ease.
Most mitre saws will cut skirting boards, but each has a maximum size it can cut, so check your tool against the size of your skirting, especially if you're choosing a design that's on the larger side. A sliding mitre saw will cut taller pieces than a fixed mitre saw.
For a skiller carpenter, it's possible to cut skirting boards by eye, but for a DIYer, you can purchase inexpensive mitre boxes that will give you a guide to follow with a hand saw for more common mitre angles.
How do you Cut Skirting Boards on the Wall?
If you need to remove a section of skirting from a wall while renovating a house, the best way to cut the skirting out is by using a multi tool.
The best multi tools can be used to make a cut in skirting board that can be replaced once the work is done with a little fixing and making right afterwards. Cutting at a 45° angle will make this easier. Cut to the wall, then remove the skirting gently with a wrecking bar or even a flathead screwdriver.
Get the Homebuilding & Renovating Newsletter
Bring your dream home to life with expert advice, how to guides and design inspiration. Sign up for our newsletter and get two free tickets to a Homebuilding & Renovating Show near you.
Luke Arthur Wells is an award-winning interiors blogger and stylist. His blog has been one of Vuelio's top 10 interior blogs for four years running, and he recently won the Best Creative Skill category at the Amara Interior Blog Awards. Luke has worked with some of the UK's biggest brands, from John Lewis and Made to Farrow & Ball and B&Q. He's a big DIYer, and loves coming up with creative woodwork projects for his home, a Victorian terrace renovation in Essex.

