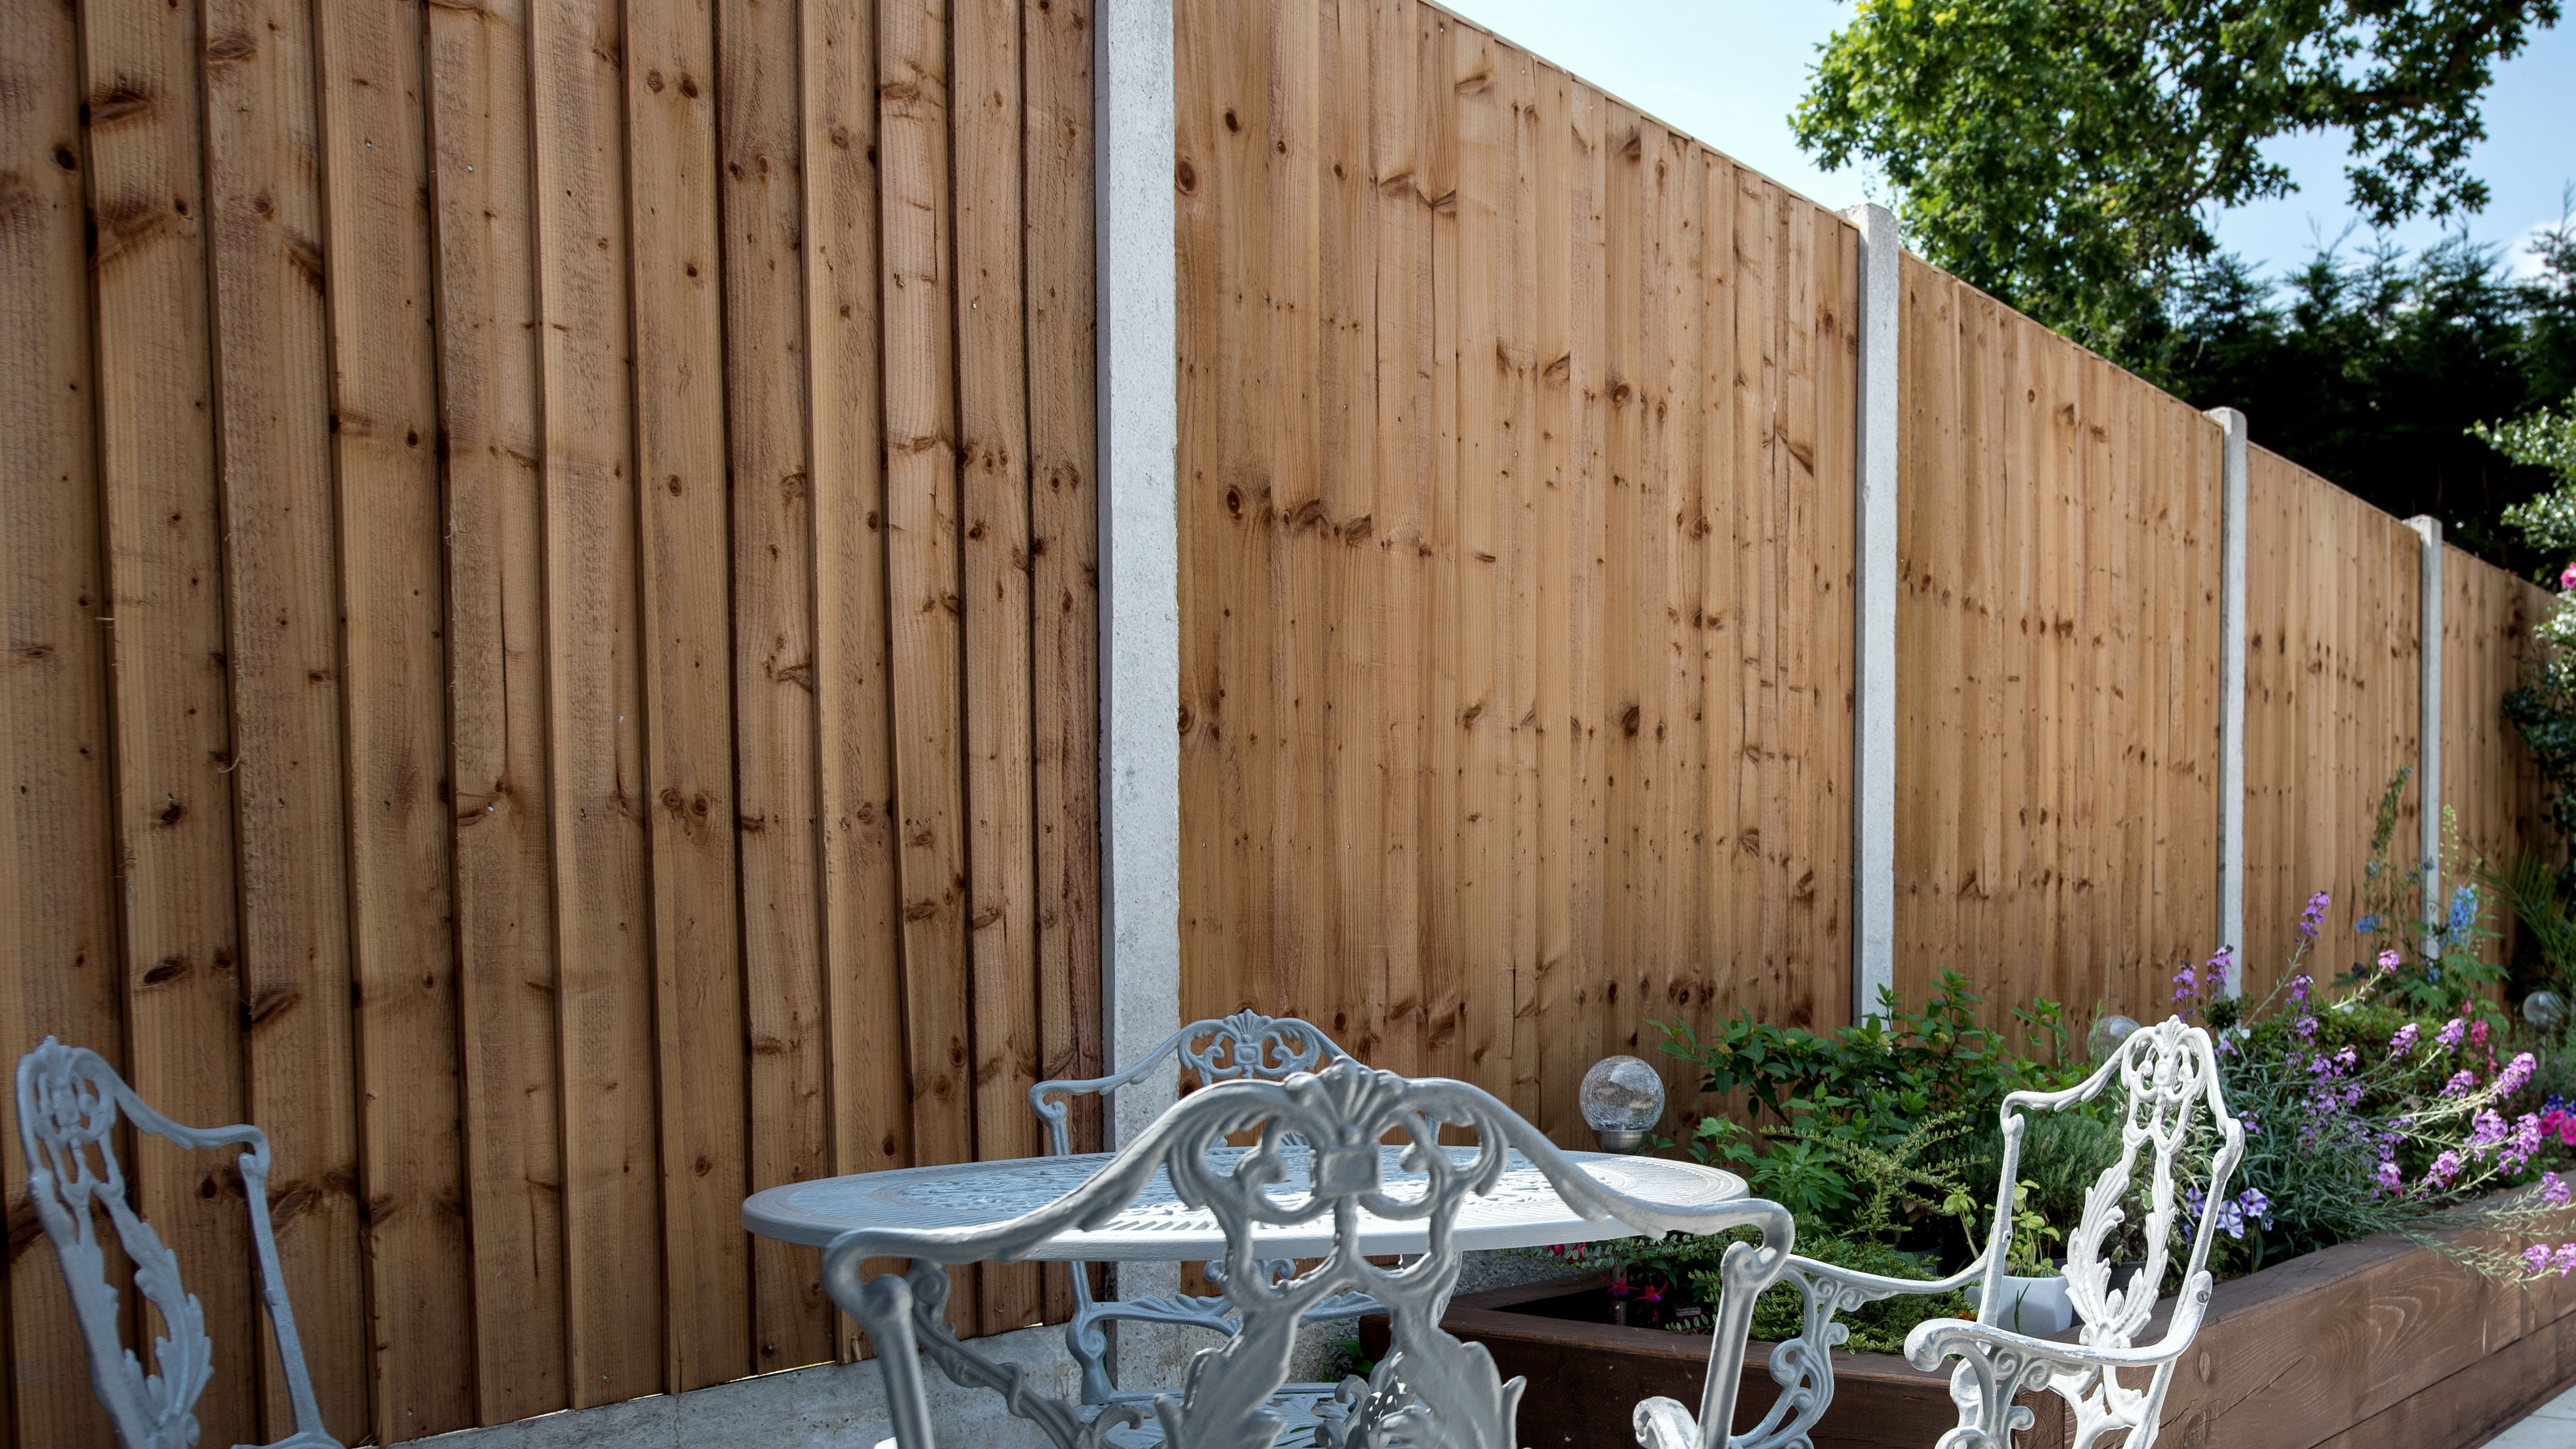
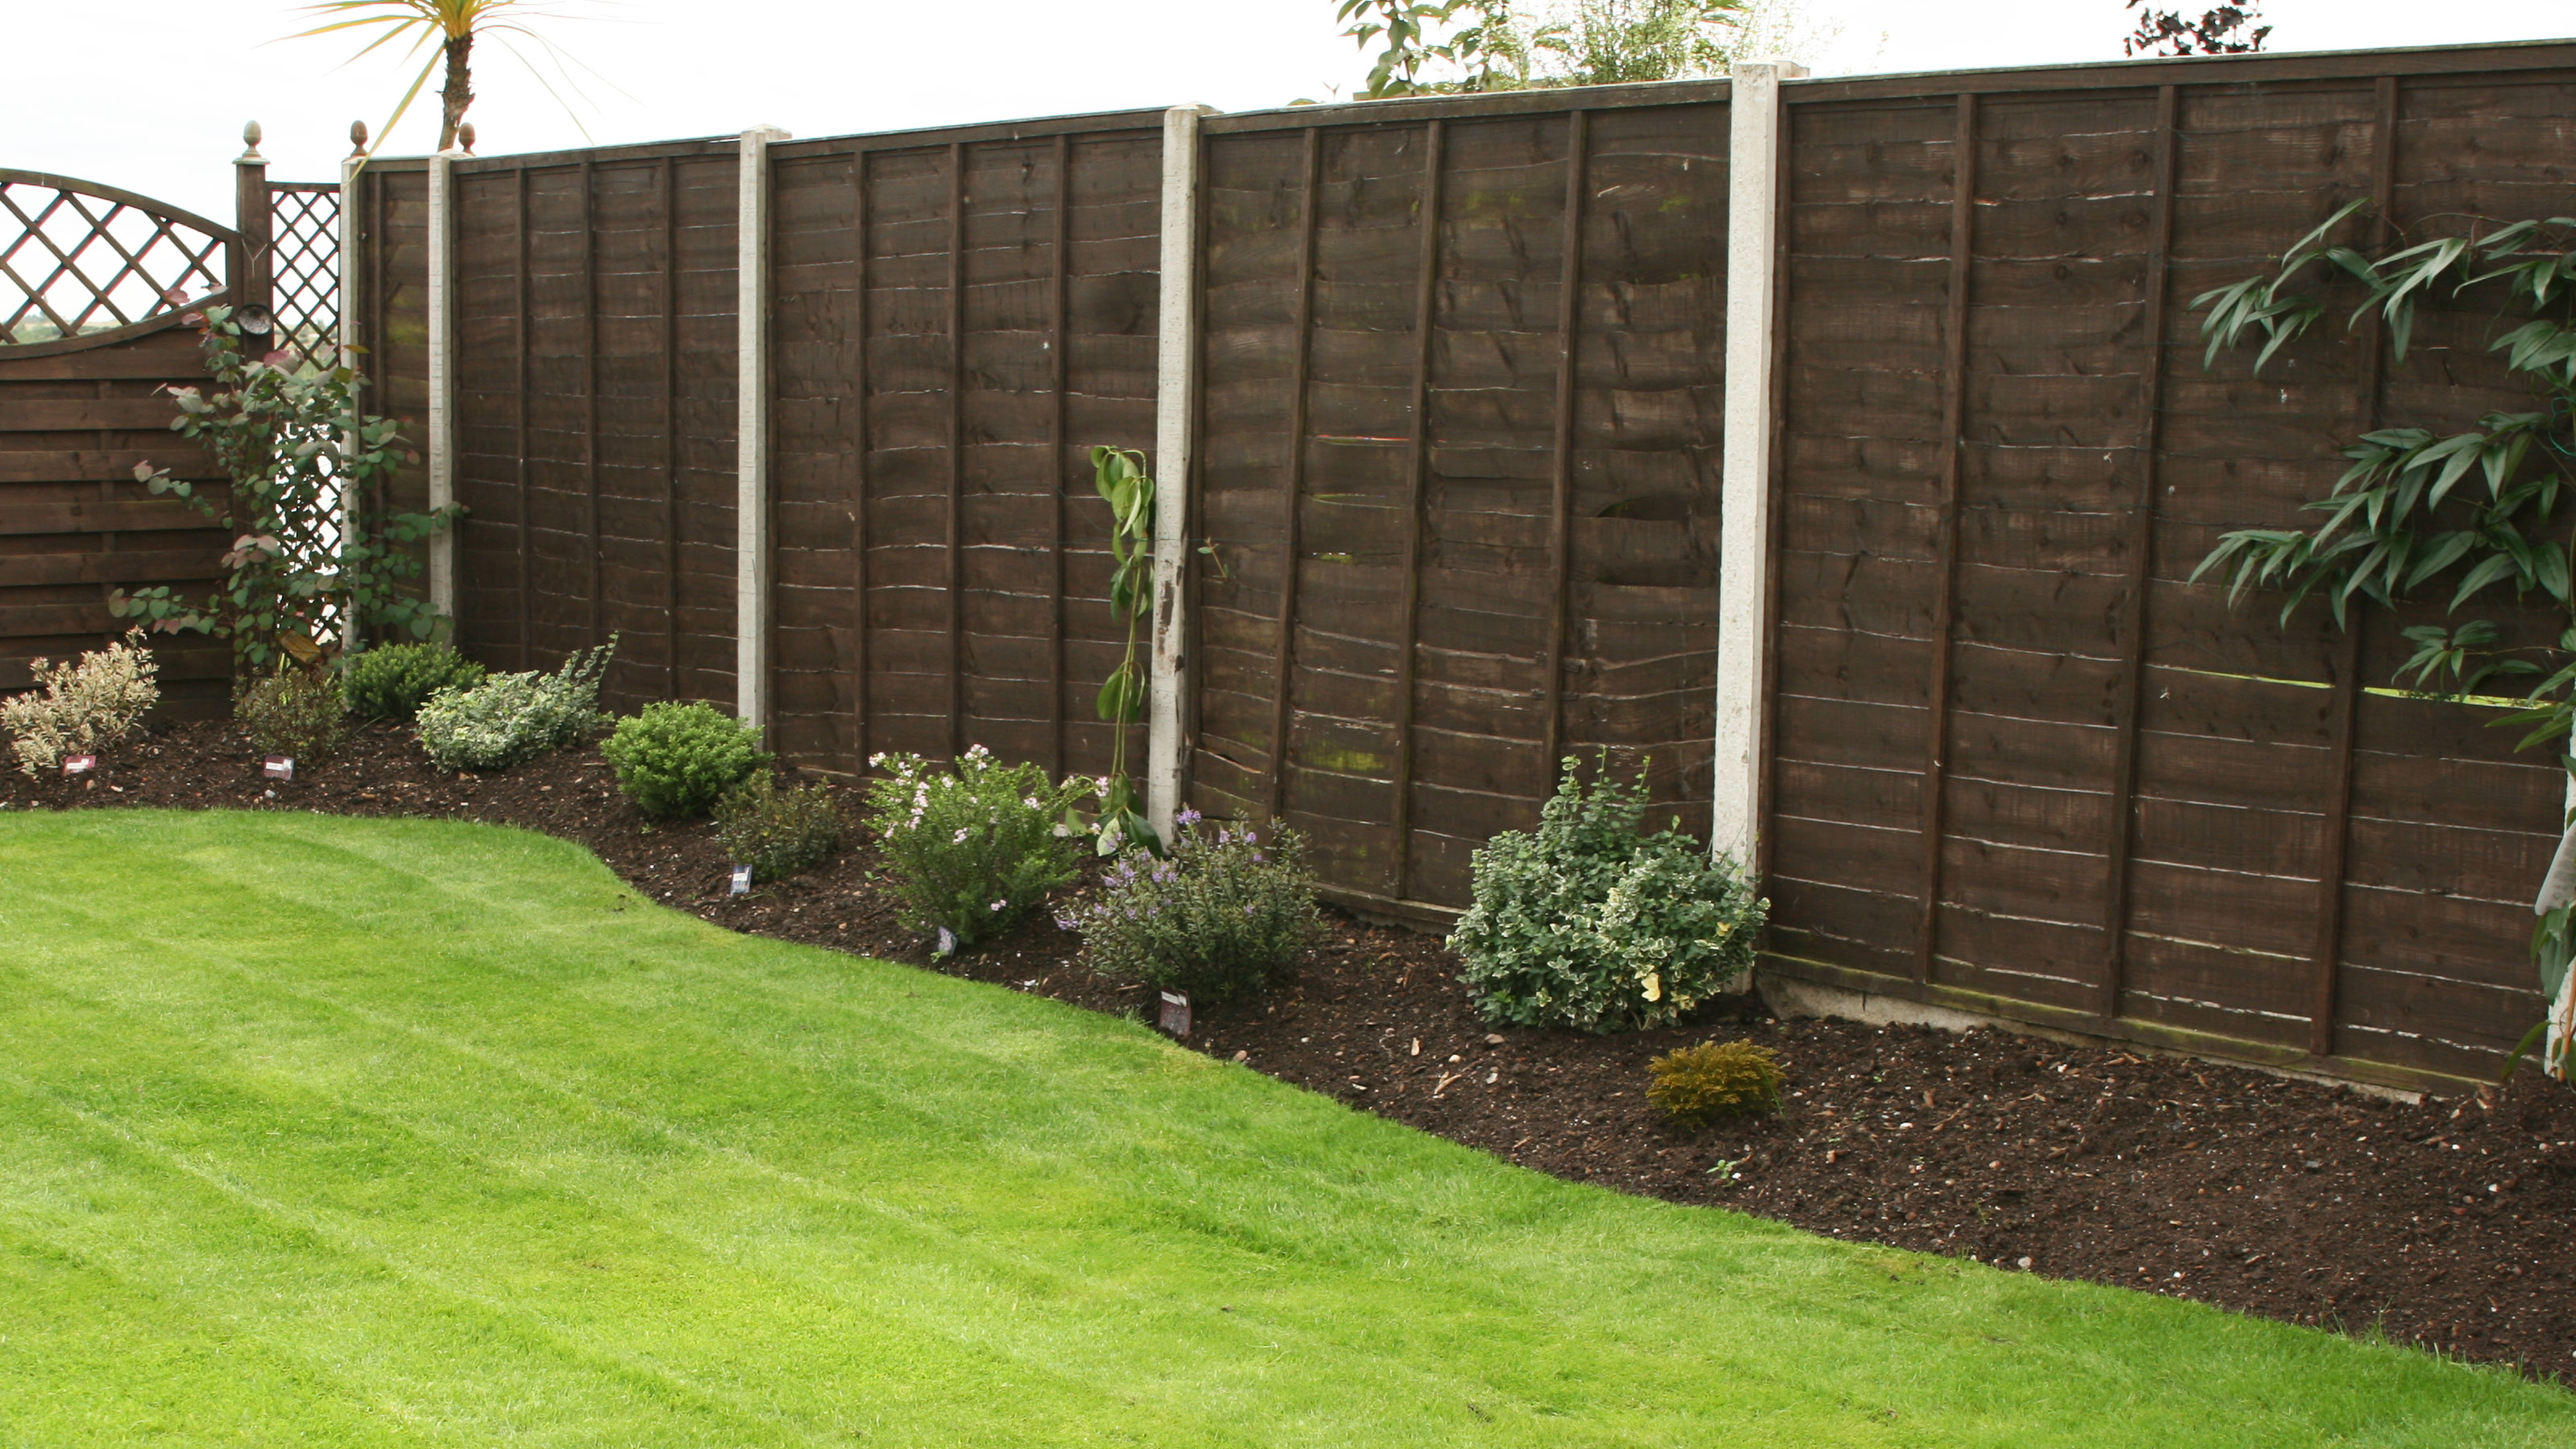
Concreting fence posts step-by-step — plus what mix of concrete to use
Concreting fence posts provides a sturdy long-lasting base. Here we tell you how you can tackle the project yourself and what you need to get the job done

Concreting fence posts into the ground is one simple way to make sure that your fence doesn’t fall over as soon as the wind picks up. The concrete provides a strong, weatherproof foundation that will last as long as the fence, if not longer.
Whatever fence type you choose you’ll still need to install the fence posts in very much the same way. You might need to dig deeper and bigger holes, but the principles are still the same. Here we reveal how deep you need to go, what mix to use and discuss the pros and cons for wooden and concrete posts.
Concreting fence posts: The pros and cons
Wooden and concrete fence posts are the two common choices when putting up domestic fences. Both have their advantages and disadvantages, which we take a look at here. Also think about the cost to install a fence when choosing your options.
Pros and cons of using wooden posts
Wooden posts are the popular option as Leigh Barnes from Jacksons Fencing explains, “They are easier to install, transport, and manoeuvre around the site and their natural timber aesthetic helps to blend with any style of fence panel and garden design.”
It's not just the aesthetic that makes them a good choice as Barnes continues, “One of the main advantages of timber posts is their additional security benefits over their concrete counterparts. Using timber posts allows you to secure the panel to the post, securing the boundary. When using concrete posts, panels can be lifted out with minimal effort and replaced again with no evidence of unauthorised entry.”
But rot and insect attack are two problems that can affect wooden fence posts, but can be dealt with as Barnes explains, “Timber posts should be pressure treated with a quality timber treatment to ensure they are suitable for ground contact. If you buy dip treated alternatives or posts with no guarantee it’s likely the product will fail after a few years. Correctly treated timber posts with a long lifetime guarantee will last just as long as concrete posts.”
If you are looking for cheap fencing ideas wooden posts are definitely the way to go, as they are typically around 30-40% cheaper
Pros and cons of using concrete posts
Concrete posts are a popular alternative to wooden posts and Barnes explains why, “Concrete posts will outlast poor quality timber posts. They are strong and can withstand strong winds, so are good for wind prone areas.” But you will need to concrete in just like wooden posts to get the maximum out of them.
On the downside there are not as sustainable as wooden posts and are more difficult to deal with as Barnes reveals, “Concrete posts are much heavier than timber which may increase the amount of labour included to install the fence line. Concrete is also susceptible to chipping or cracking which will affect the integrity over time."

How to concrete in fence posts
Before you start you’ll need a few tools to make the job easier. Think about borrowing or buying a post hole digger, plus you'll need foot long wooden stakes and string.
1. Measure and mark posts
First, you need to measure the width of your fence panels, typically six foot or 1.83m. Now decide on your starting point and mark with a wooden stake or similar. Now measure the position of the next post. Measure from the centre of the post to the centre of the next post and mark with another stake.
Remember the measurement won’t be the width of the fence panel, it will be the width of the fence panel plus the width of the post. So, if using three inch posts and six foot panels it should be 6 ft 3 inches from centre to centre.
Add an extra half inch or inch for any discrepancies in fence panel size. Carry on measuring until you get to the position of the end post and add a stake. Now tie string round the first and last stakes to get a straight guide line. Line up any stakes in between that might be out of line.
2. Dig holes for fence posts
Now you need to dig the holes for the post. As a guide, make them three times the size of the post. So a 3 x 3 inch post should have a hole approximately 9 x 9 inches. If installing a six foot fence panel, dig down two feet.
You can use a spade to do the job but it is a good idea to invest in a post hole digger like this Verve Post hole digger from B&Q. This helps to keep the hole the right size. Remember to check the depth regularly.
3. Put up fence posts
Now with the holes dug it's time to put up the fence posts. Put an inch or two of gravel in the bottom of the hole for better drainage. Fill the hole a third of the way with water, place the post in the middle of the hole. Nail a batten – or two – into the post and push into the ground to help hold the post in position. Alternatively, get someone to help you.
Now pour in the ready mixed cement i.e Postcrete, until the water is covered and mix briefly with a stick. Now get a level like the Draper Rigid Post Level from Amazon and make sure the post is straight and leave to set. This should take around 5-10 minutes. Leave for 30 minutes before adding any fence panels
What is the correct concrete mix for fence posts?
There’s typically two options for concreting in fence posts, mixing up your own cement, sand and gravel/ballast or using a specialist ready-mixed cement like Blue Circle Ready mixed Postcrete from B&Q.
If you have a large quantity of sand, cement and ballast to hand, you can use a mix of one part cement and a four part sand/ballast mix. But in reality you want to be using the ready mixed option as Barnes suggests, “We would always recommend using a readymade post fixing mix to save time and hassle with quantities of sand and cement. Premade post fixing mix is designed for securing fence posts into the ground so is fit for purpose. Just mix with the recommended amount of water on the packet instructions.”
This is less labour intensive, less messy, doesn’t need any specialist tools, is quick setting and costs around the same price.
How many bags of concrete do I need for a fence post?
This will depend on the size and depth of the hole and the size of the fence post you are using. You will need to calculate the volume of the hole and the volume of the post in the ground to work out what you will need.
A typical example is a 3 x 3 inch x 8 ft post (70mm x 70mm x 2.4m) used for a 6ft x 6ft (1.83m x 1.83m) fence panel.
Here you will need to dig a hole around 3 times the size of the post, so 9 x 9 inches, and 24 inches deep.
Forget about tricky formulas and try out this calculator to give you a rough idea of what you will need for each fence post hole. Another option is to use Blue Circles data information sheet to give you a rough guide.
As a guide you will typically need around 2 or 3 bags per post. Multiply this number by the number of posts to get the final figure. It might seem like a lot but it is correct. To finish off your fence in style take a look at our fence lighting ideas guide.
How deep do fence posts need to be in concrete?
As a general rule a third of a fence post should go into the ground. If you are installing a 6ft (1.83m) fence panel you will need a post hole that is around 2ft (0.6m) deep. The popular choice is 2.4m posts like these Blooma UC4 Pine Natural Fence posts from B&Q for 6ft (1.83m) fence panels.
However, you might want a taller – or larger post – such as a 2.7m post that will allow you to dig a deeper hole to give extra stability. These are ideal for if you are installing a fence post that holds a gate.
These will see more action than a fence panel, so it's a good idea to go for extra depth. It is worth noting that you will need planning permission for fences over 2m tall and 1m tall fences that are adjacent to a highway used by vehicles.
Get the Homebuilding & Renovating Newsletter
Bring your dream home to life with expert advice, how to guides and design inspiration. Sign up for our newsletter and get two free tickets to a Homebuilding & Renovating Show near you.
Steve Jenkins is a freelance content creator with over two decades of experience working in digital and print and was previously the DIY content editor for Homebuilding & Renovating.
He is a keen DIYer with over 20 years of experience in transforming and renovating the many homes he has lived in. He specialises in painting and decorating, but has a wide range of skills gleaned from working in the building trade for around 10 years and spending time at night school learning how to plaster and plumb.
He has fitted kitchens, tiled bathrooms and kitchens, laid many floors, built partition walls, plastered walls, plumbed in bathrooms, worked on loft conversions and much more. And when he's not sure how to tackle a DIY project he has a wide network of friends – including plumbers, gas engineers, tilers, carpenters, painters and decorators, electricians and builders – in the trade to call upon.

