10 most common mistakes when laying laminate flooring
The experts reveal the most common mistakes when laying laminate flooring so you can avoid making them when installing your new floor, saving you time and money
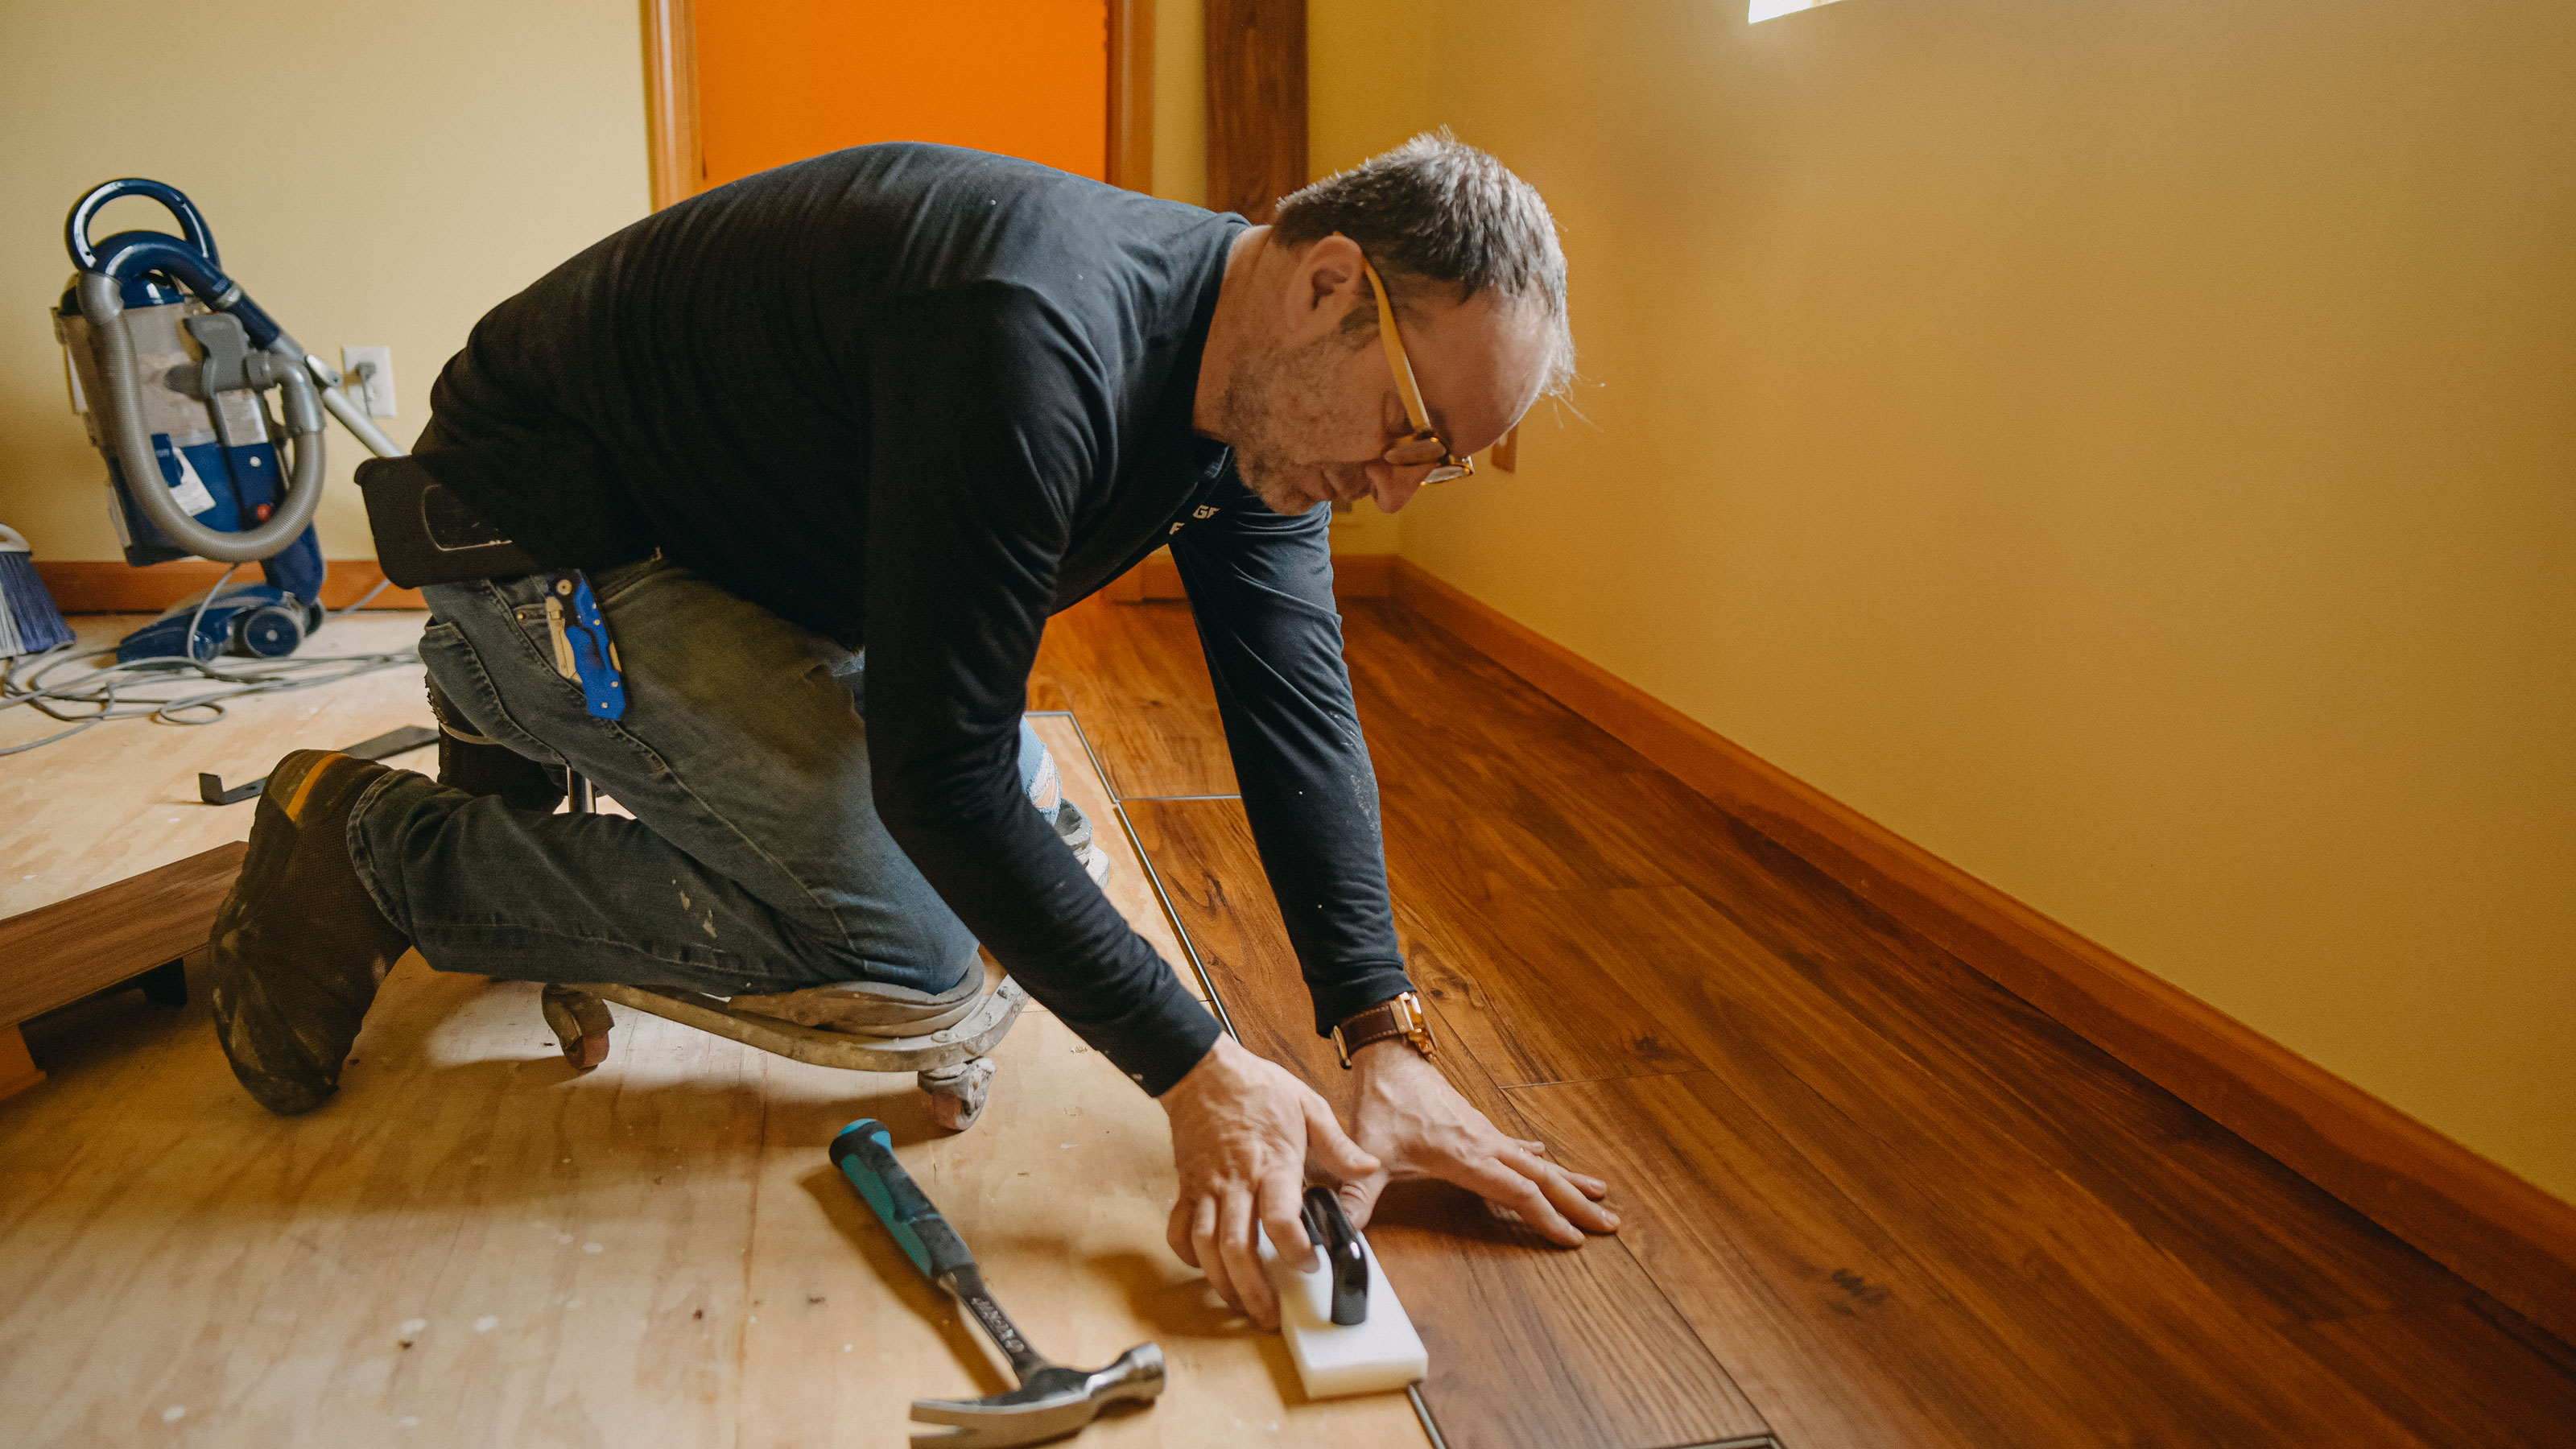
Keen to dodge the most common mistakes when laying laminate flooring? Fear not, we have been chatting to the experts about the errors they see the most frequently to ensure you know exactly what to avoid when installing your own floor.
Getting to grips with how to lay laminate flooring is not usually too complicated, which is just one of many reasons why this type of floor is so popular. However, there are certain factors to be aware of if you want to ensure you are happy with the end results and that you won't run into problems later down the line.
“Laminate flooring is a popular way to capture the look and feel of wood or stone floors without paying the hefty price tag which comes with natural materials," says Craig Smith, merchandising manager at Flooring Superstore. "These days, thanks to advancements in technology, there’s a wider choice of high-quality laminate options available that are durable, low maintenance and budget-friendly. Although laminate flooring is straightforward to install yourself, there are some common mistakes you can avoid if you know what to look out for."
Here, we take a look at the top 10 most common mistakes people make when laying laminate flooring — so you won't repeat them.
What are the most common mistakes when laying laminate flooring?
Although laying laminate flooring is a job often taken on by even the most novice of DIYers, there do tend to be certain spots in the installation process that seem to trip people up time and time again.
Frequently, the mistakes made are centred around poor preparation and a lack of overall patience — in short, taking time to get organised, kitting yourself out with the right tools for laminate flooring and not rushing through the job will lead to a more successful end result.
So, with that in mind, before steaming ahead, take a moment to read what the experts have to say about the common pitfalls of laying laminate.
1. Failing to prepare the subfloor
Any new floor covering is only ever going to be as good as the base it is laid on — known as the sub floor.
"The subfloor must be level, dry, clean and structurally sound before installing laminate," warns Marcus Ashburn, technical director at The Wood Flooring Co. "Neglecting to prepare the subfloor properly can lead to issues such as uneven flooring, squeaking or buckling."
“By failing to prepare you are preparing to fail. As with any new floor, laminate needs a smooth, level surface that is clean, dry and clear of any debris to ensure its longevity," says Craig Smith. "As well as removing old flooring, repair work may be required to ensure as even a surface as possible. This could involve sanding plywood floorboards, installing a cement compound or fitting hardboard sheets — it all depends on the material and condition of the existing floor."
"Your subfloor, the floor on which you are laying the laminate should be cleared, any existing floor coverings removed and you should make sure the floor is flat and level, if not then you can expect deflection when you walk over the finished floor which will mean that it will move and may make noises," explains Lucy Pickett, head of specification and design at V4 Wood Flooring. "Ideally the subfloor should be level to within 2mm over 2m and you can check this with a 2m spirit level or straight edge placed across the floor."
2. Not allowing the laminate to acclimatise
Just as with most types of wood flooring, it is vital that laminate is allowed to get used to the atmosphere in the space it is being installed in before it is fitted.
"Laminate needs to acclimatise to the room's temperature and humidity level for at least 48 hours before installation," says Marcus Ashburn. "Failing to do so can cause the flooring to expand or contract after installation, leading to gaps or buckling."
“While it can be tempting to fit your new floor as soon as it is delivered, its essential to wait for 48 hours to let the materials acclimatise to the new environment," agrees Craig Smith. "Laminate can expand and contract in different temperatures. Chances are your flooring has been stored in a cold warehouse, so waiting for a couple of days before laying will pay dividends as there’s less risk of gaps and cracks appearing in your freshly laid floor."
You should also take care how you store the laminate prior to laying it.
"Storing packs of flooring leant against a wall rather than stacked flat, over a long period of time, can cause warping of the boards," explains Adam O’Malley, customer service manager at Tile Mountain.
3. Starting with the wrong tools for the job
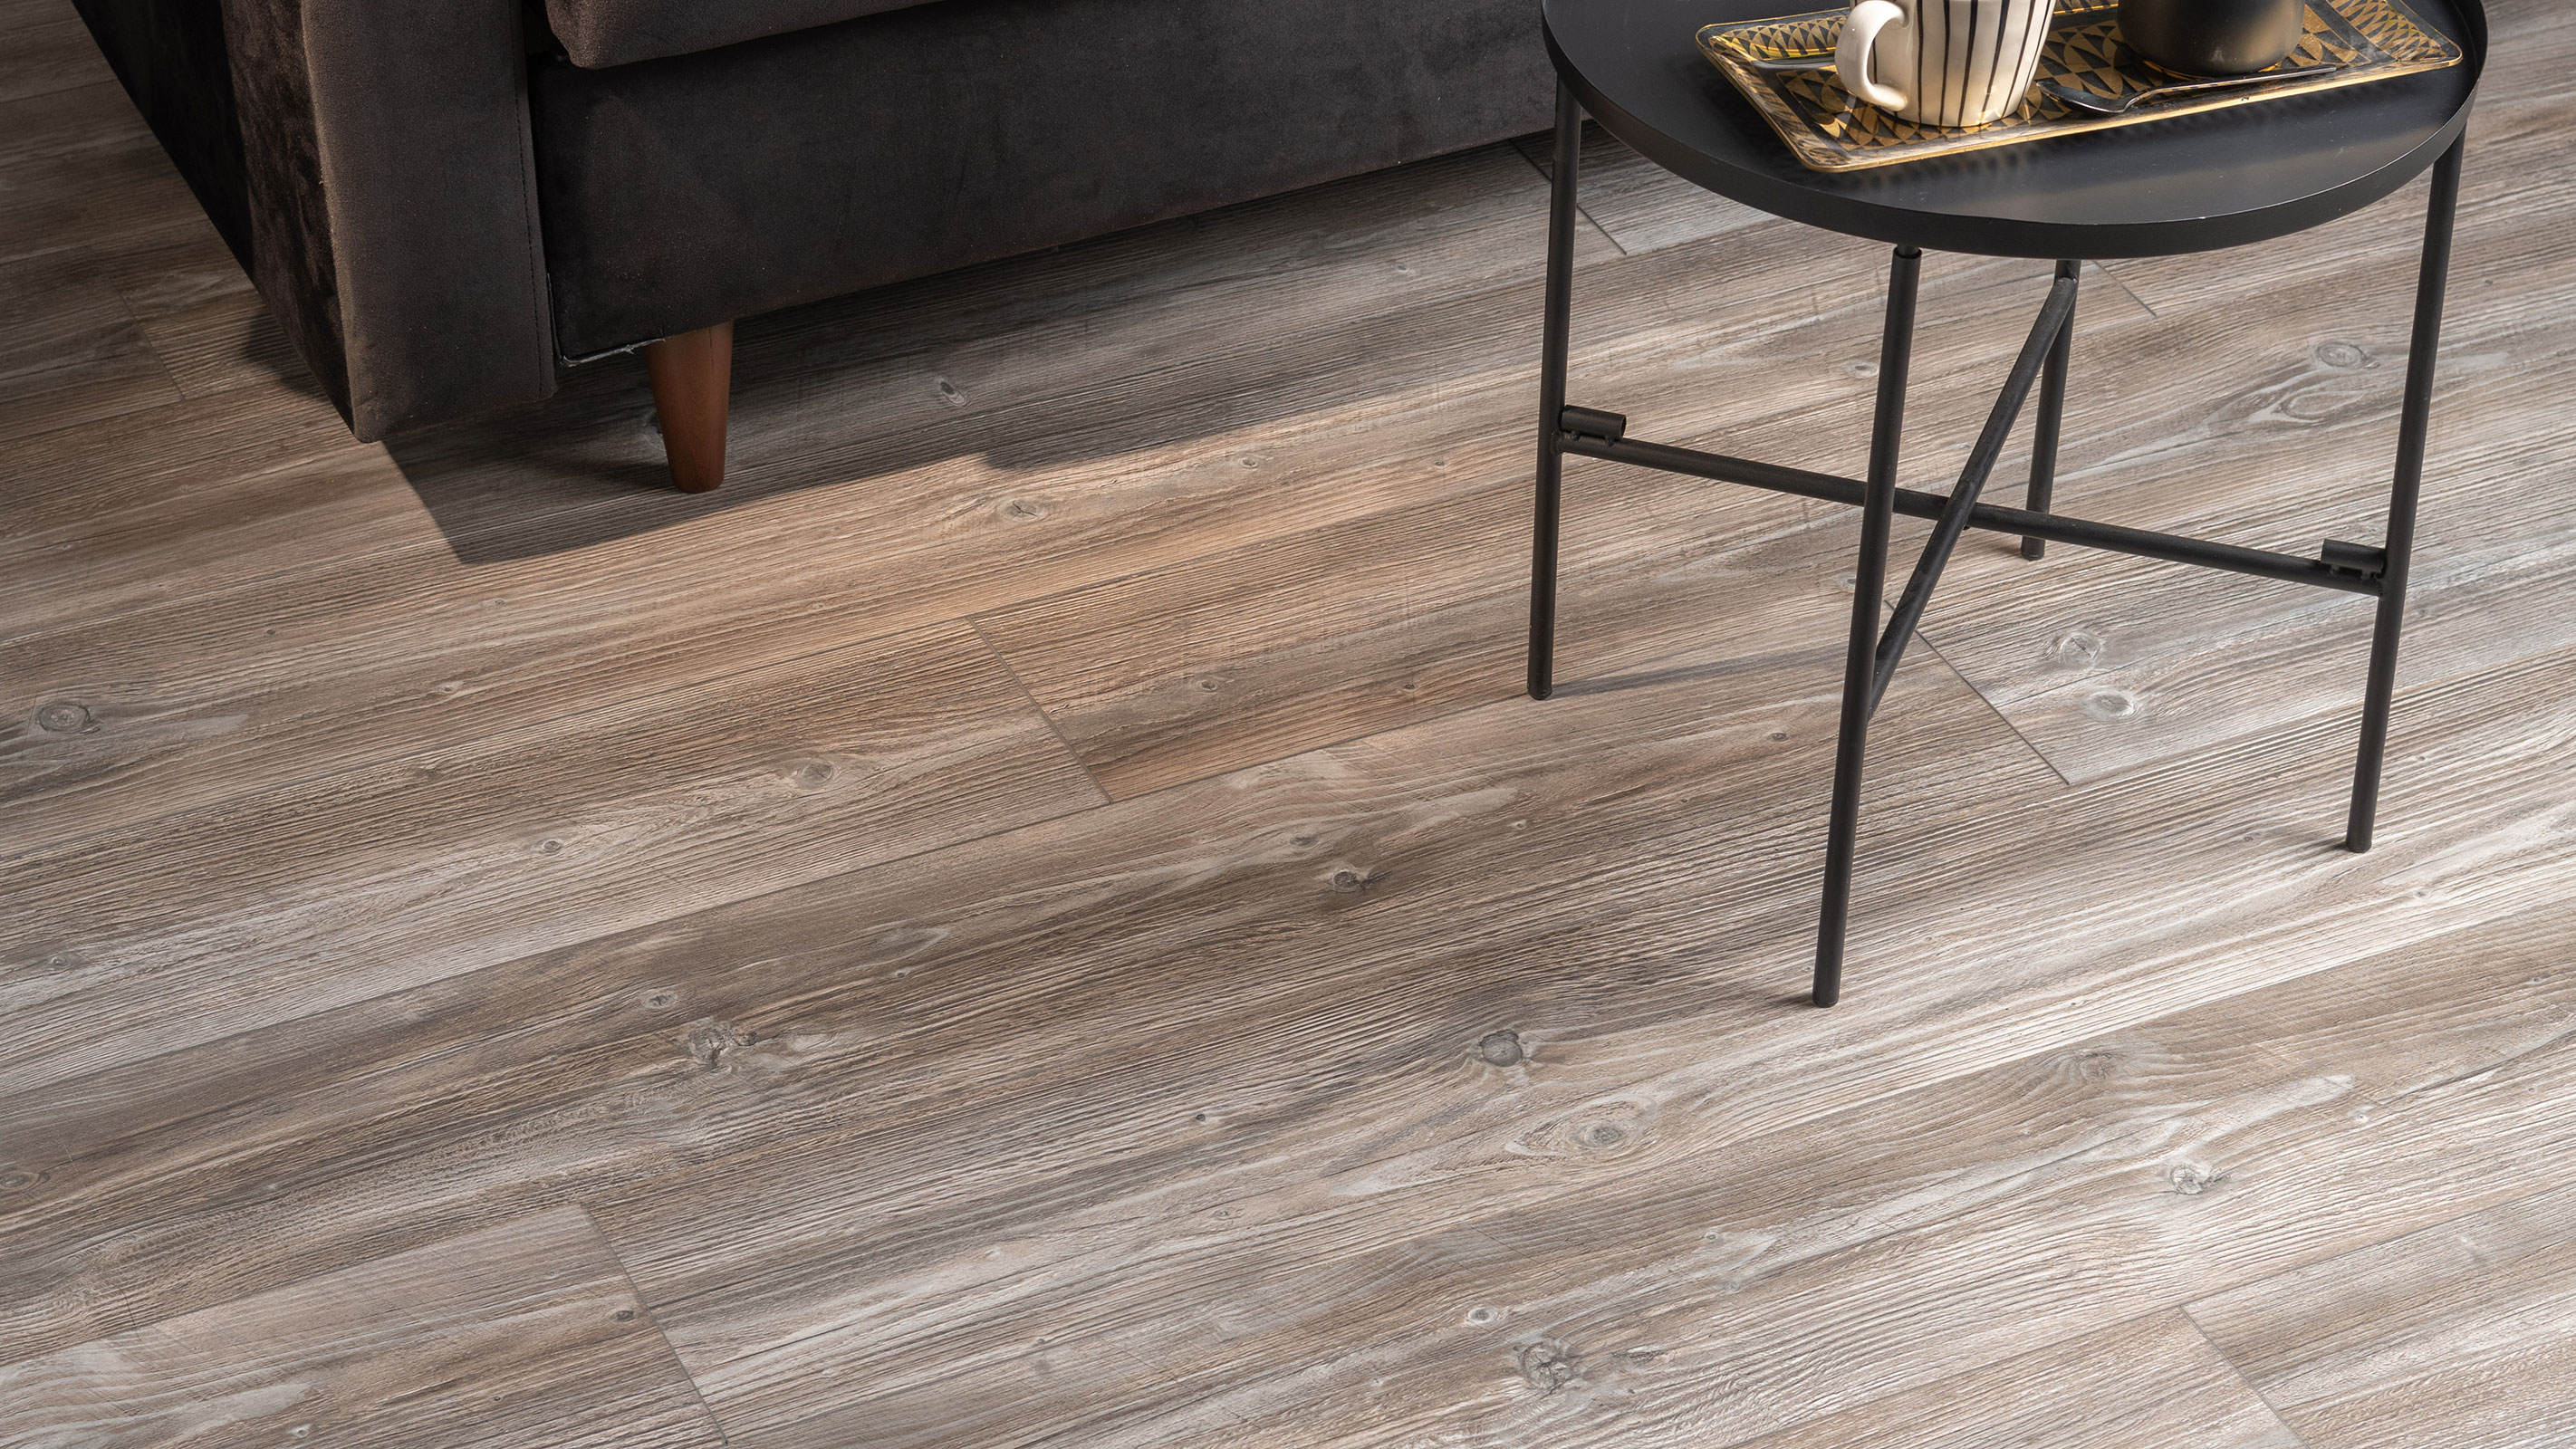
Just as with any DIY home improvement job, unless you arm yourself with the right equipment, materials and tools needed, you are going to run into delays or end up unable to carry out the work properly. You will also need to familiarise yourself with how to cut laminate flooring properly.
"Laminate flooring is probably the most DIY friendly type of wooden flooring as it can be installed in relatively manageable sized planks with simple glue, less locking joints and laid over an underlay," says Lucy Pickett. "Make sure you have the right tools, and you are confident in using them. You will need:
- Quality laminate flooring
- Laminate flooring underlay
- Pencil
- Tape measure
- 2 metre spirit level
- Rubber mallet
- Hand saw or jigsaw
- 10mm spacers
4. Laying the floor on a damp base
Once you have gone to the expensive of buying your new laminate flooring and taken the time to choose just the right product for your interior design scheme, the last thing you want to find is that it has been ruined a few weeks later by damp. Being patient and carrying out a few simple checks before installation could just save the day here — particularly if you are laying laminate as part of a wider decorating project.
"Make sure any wet trades, screeds or plastering are completely dried before you have your flooring delivered as this can cause the board to bow and warp during or after the installation," says Lucy Pickett. "If you are in any doubt about the sub floor, use a damp proof membrane, which many underlays include and can be taped at the joints and walls to stop any moisture rising through the floor."
5. Making bad underlay choices
Underlay is an essential element of many different types of flooring, including carpet, solid wood flooring, engineered wood flooring and, of course, laminate.
"Use underlay! Many people view this as an unnecessary additional cost, but it will add extra comfort underfoot, soundproofing and even added heat insulation which is more important now than ever before,” says Craig Smith.
"The underlay is an essential layer for laminate installation as it provides cushioning, noise reduction and moisture protection," confirms Marcus Ashburn. "Not installing it properly, or using a sub-standard underlay, can cause the flooring to feel unstable, produce noise or even damage."
"Carpet underlay will not do the job as it is not firm enough to support the laminate planks," advises Lucky Pickett. "Use a 2-3mm high density foam or rubber laminate wood flooring underlay."
"Laminate requires a specific type of underlay and if the incorrect one is used, it can cause too much bounce and the floor can unclick," says Adam O’Malley.
6. Forgetting to leave an expansion gap
Something to bear in mind when looking at how to measure for laminate flooring — the expansion gap. Any floors that are prone to a little movement need an expansion gap to be left around the perimeter of the space they are being fitted in — without one, the outcome of your hard work could be completely ruined.
"Laminate flooring must have an expansion gap around the perimeter of the room and any fixed objects, such columns or fireplace hearths," says Marcus Ashburn. "Neglecting to leave enough of an expansion gap can lead to buckling or cupping of the flooring."
"Make sure you allow an expansion gap around the perimeter of the floor," agrees Lucy Pickett. "This will need to be at least 10mm so it’s a good idea to have some 10mm spacers. Any obstacle must have provision for expansion, this includes walls, doorways and fire surrounds, as well as radiator pipes.
"Without this expansion gap the wooden boards can expand against the obstruction and cause the whole floor to lift and become unstable. It is the most common cause of bouncy and creaky laminate floors."
7. Laying your laminate in the wrong direction
This might sound odd, but not giving enough thought to which direction you will lay your laminate flooring can actually really spoil the fruits of your hard labour.
"The direction of the laminate installation can really affect the overall look of the room," explains Marcus Ashburn. "Choosing to lay it in the wrong direction, such as installing it against the light or along the room's longest wall, can make the room feel cramped and make the flooring look uneven.”
There are no hard and fast rules to follow here — it really comes down to the space it is being laid in and personal preference. However, it makes sense to lay out the flooring before fixing it down to see which direction looks best.
8. Using the wrong laminate in the bathroom
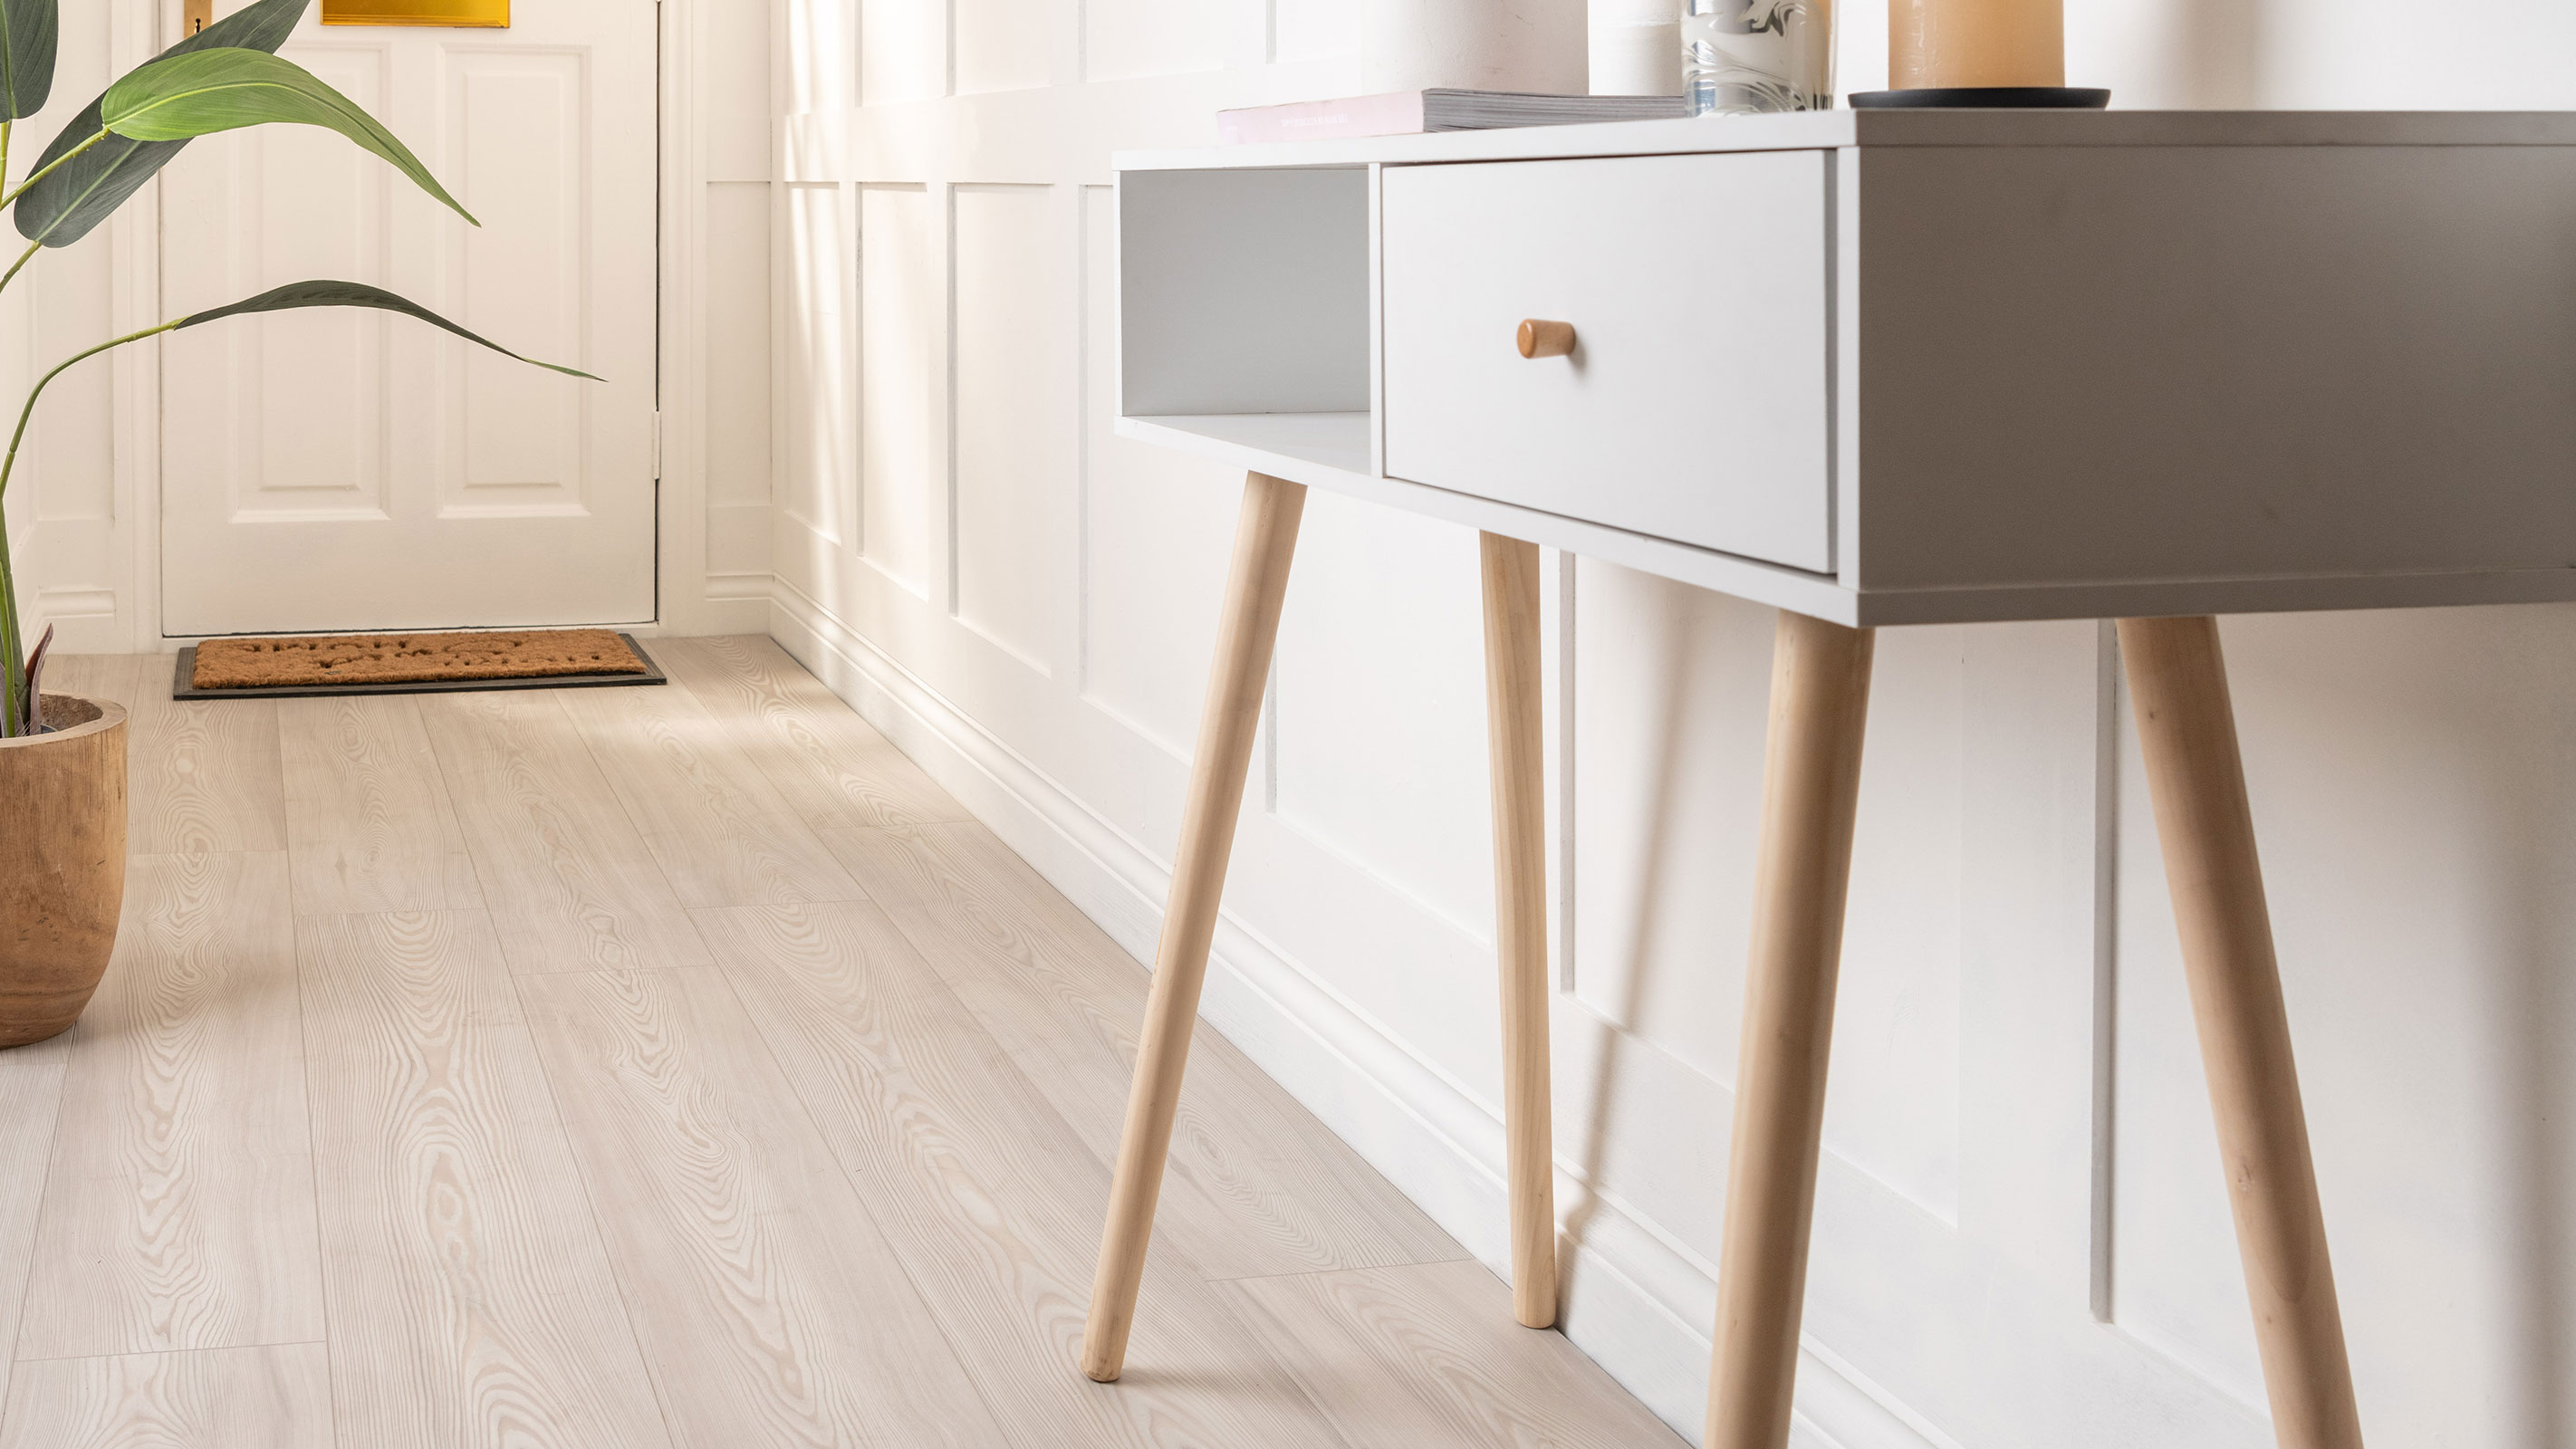
Bathroom flooring needs to be chosen with extreme care. This is a space prone to floods, spills and fluctuating humidity levels, all of which can play havoc with your flooring.
There are now waterproof types of laminate flooring that come guaranteed for use within bathrooms, but you need to be sure of what you are buying. Water-resistant is not the same thing as waterproof.
“Laminate flooring is extremely versatile and suitable for all areas of the home but remember most laminate options are water-resistant and not waterproof," warns Craig Smith. "Large spillages and ongoing exposure to high moisture levels can cause lasting damage to your floor and reduce its lifespan — so when it comes to bathrooms and kitchens, we’d recommend opting for a fully waterproof option such as Flooring Superstore’s EvoCore range instead."
Tile Mountain's Sea Laminate Flooring is another good option. It features their Hydro+ water-repelling technology and comes with a 15-year warranty against water damage.
9. Fitting a kitchen after laying laminate
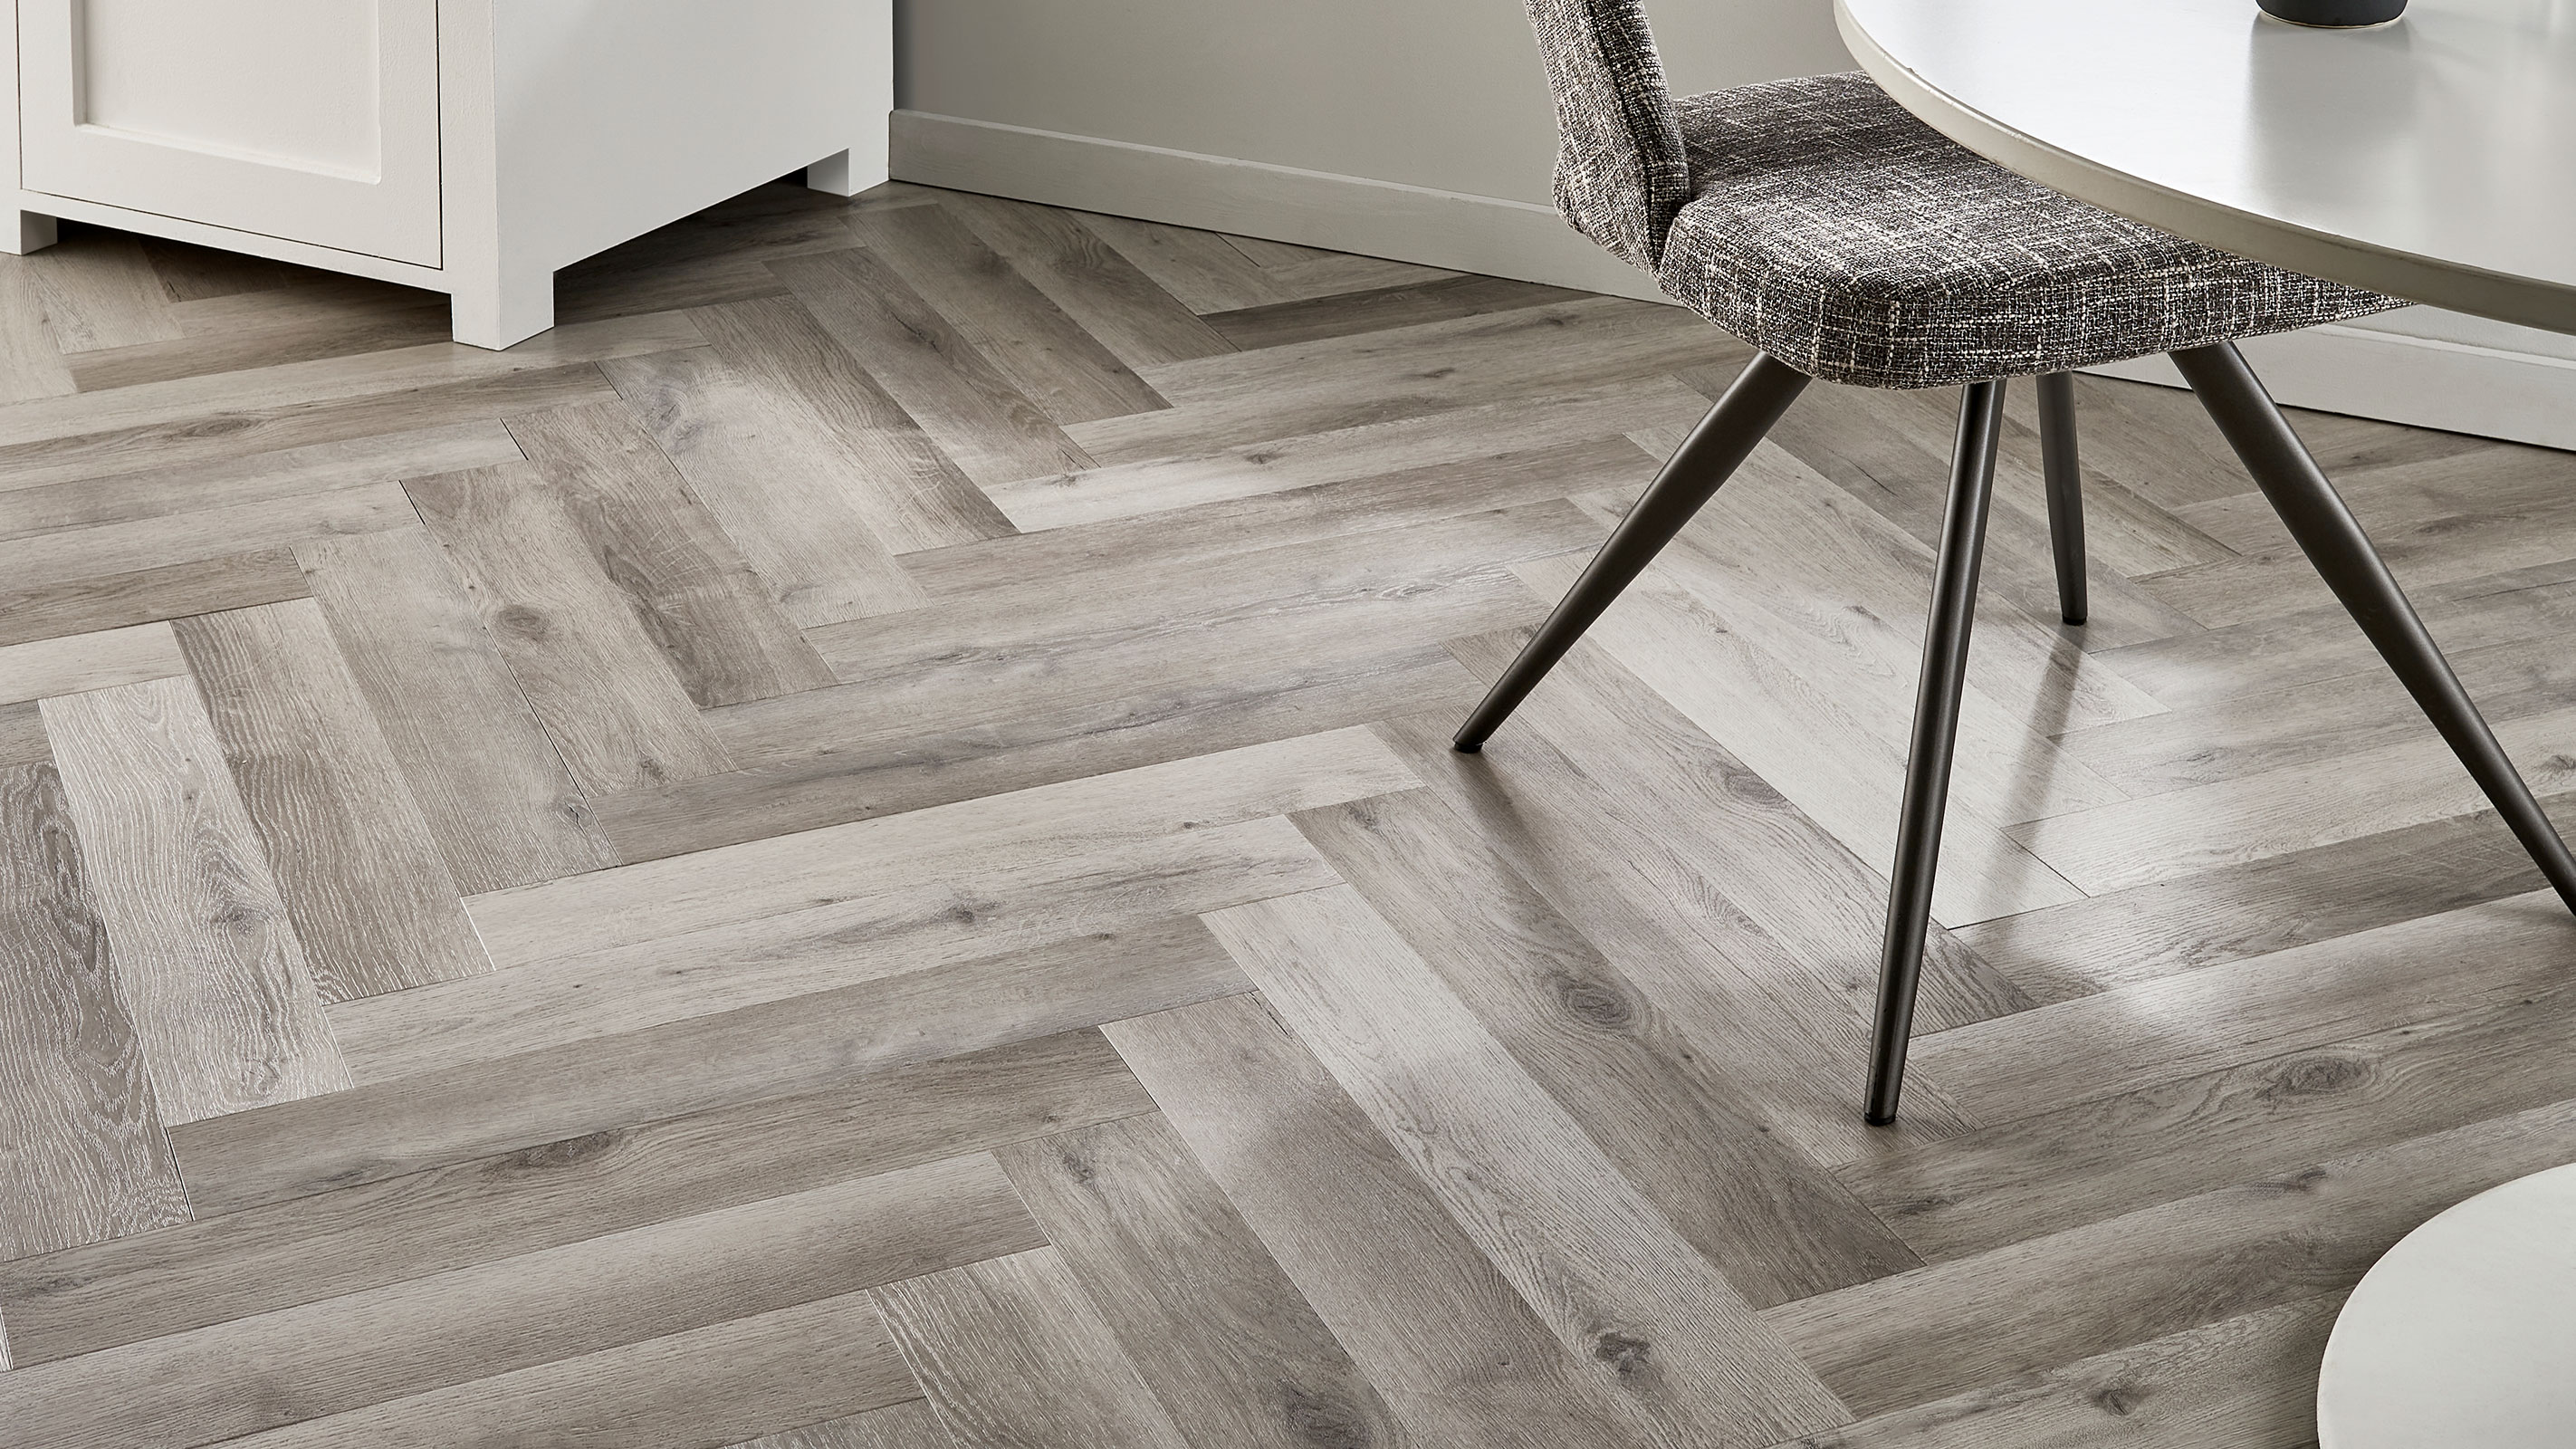
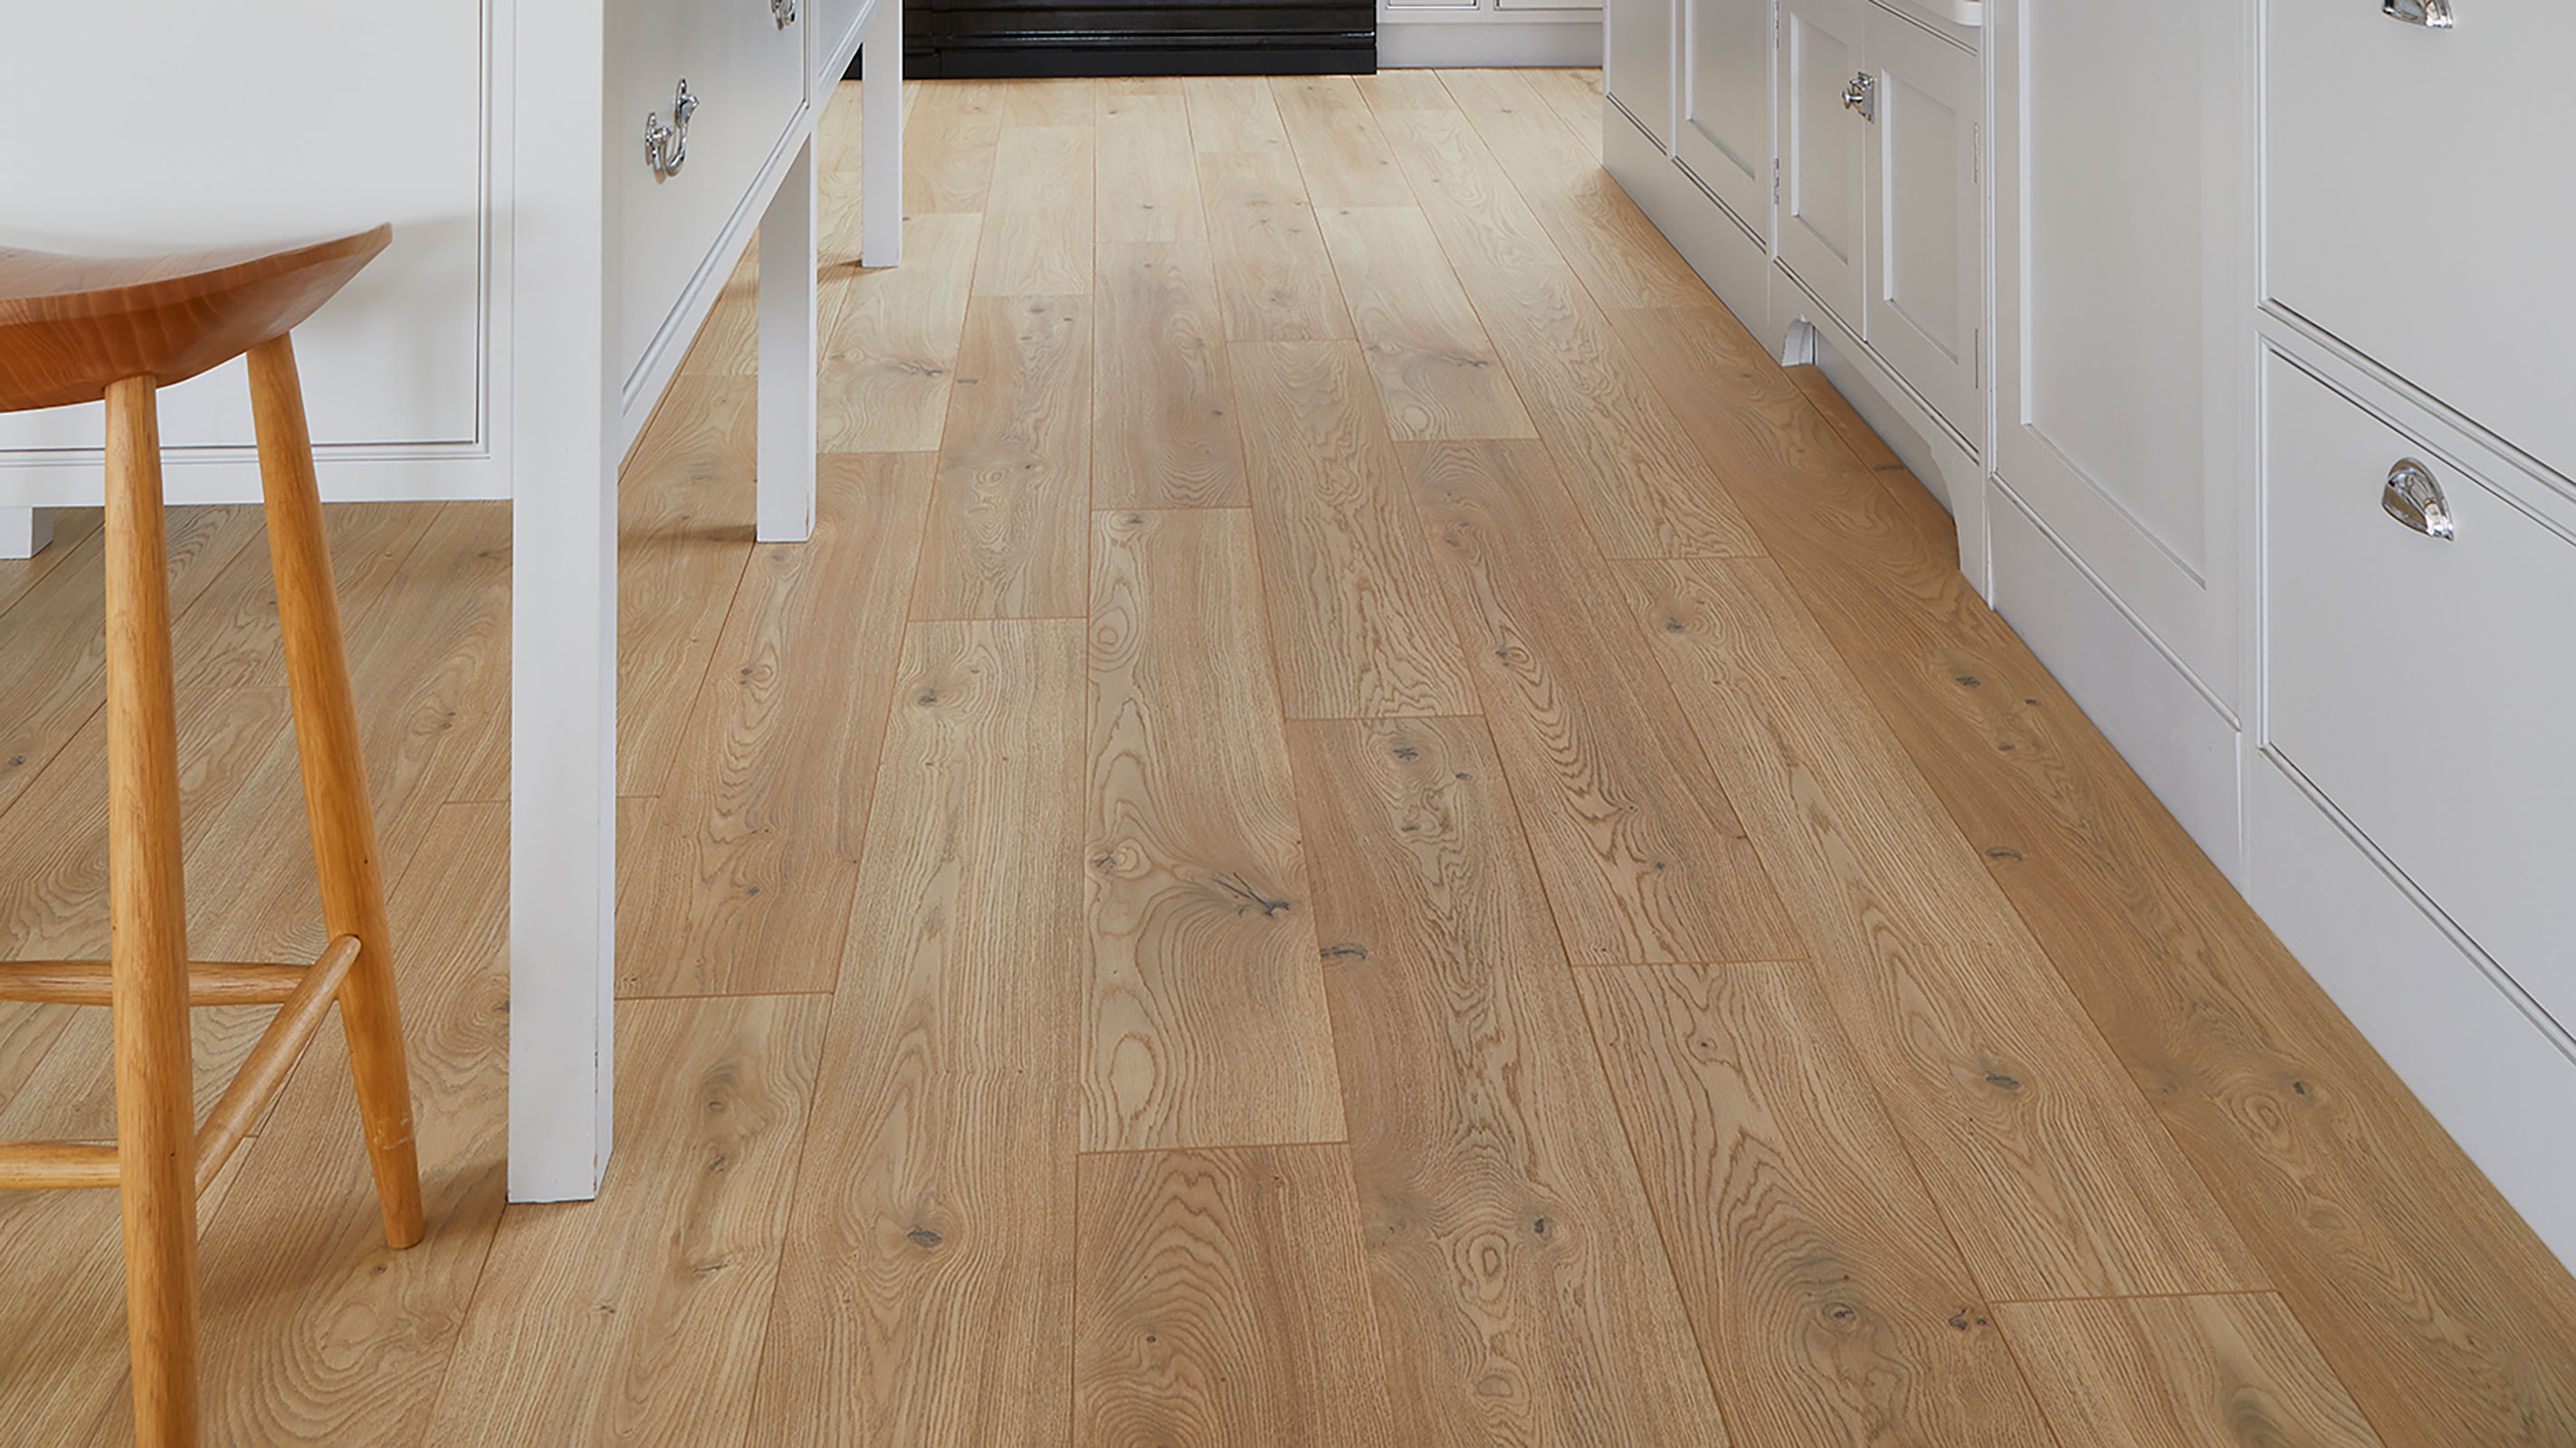
No floor is completely indestructible and it really does pay to show your laminate floor a little respect if you want it to stand the test of time. When it comes to fitting a kitchen or other heavy fitted items of furniture, be aware that this is best done before installing your new laminate floor.
"Kitchens and all heavy immoveable furniture should be installed before you install your laminate floor," confirms Lucy Pickett. "Laminate floors are always laid as a floating floor over underlay. This allows the floor to expand and contract evenly with seasonal and climatic changes. If a heavy kitchen is placed on top of this type of installation it can stop it from expanding and contracting and this can cause it to pinch and become unstable, another cause of bouncy and creaky laminate floors."
10. Neglecting good aftercare
As with all types of flooring, you need to carry out proper maintenance if you want your laminate floor to stay looking as good as new.
"After you have completed your installation, make sure you protect the floor from any large furniture that is moved by adding protective felt pads to furniture stands and legs," says Lucy Pickett. "It’s also a good idea to have mats at external doorways.
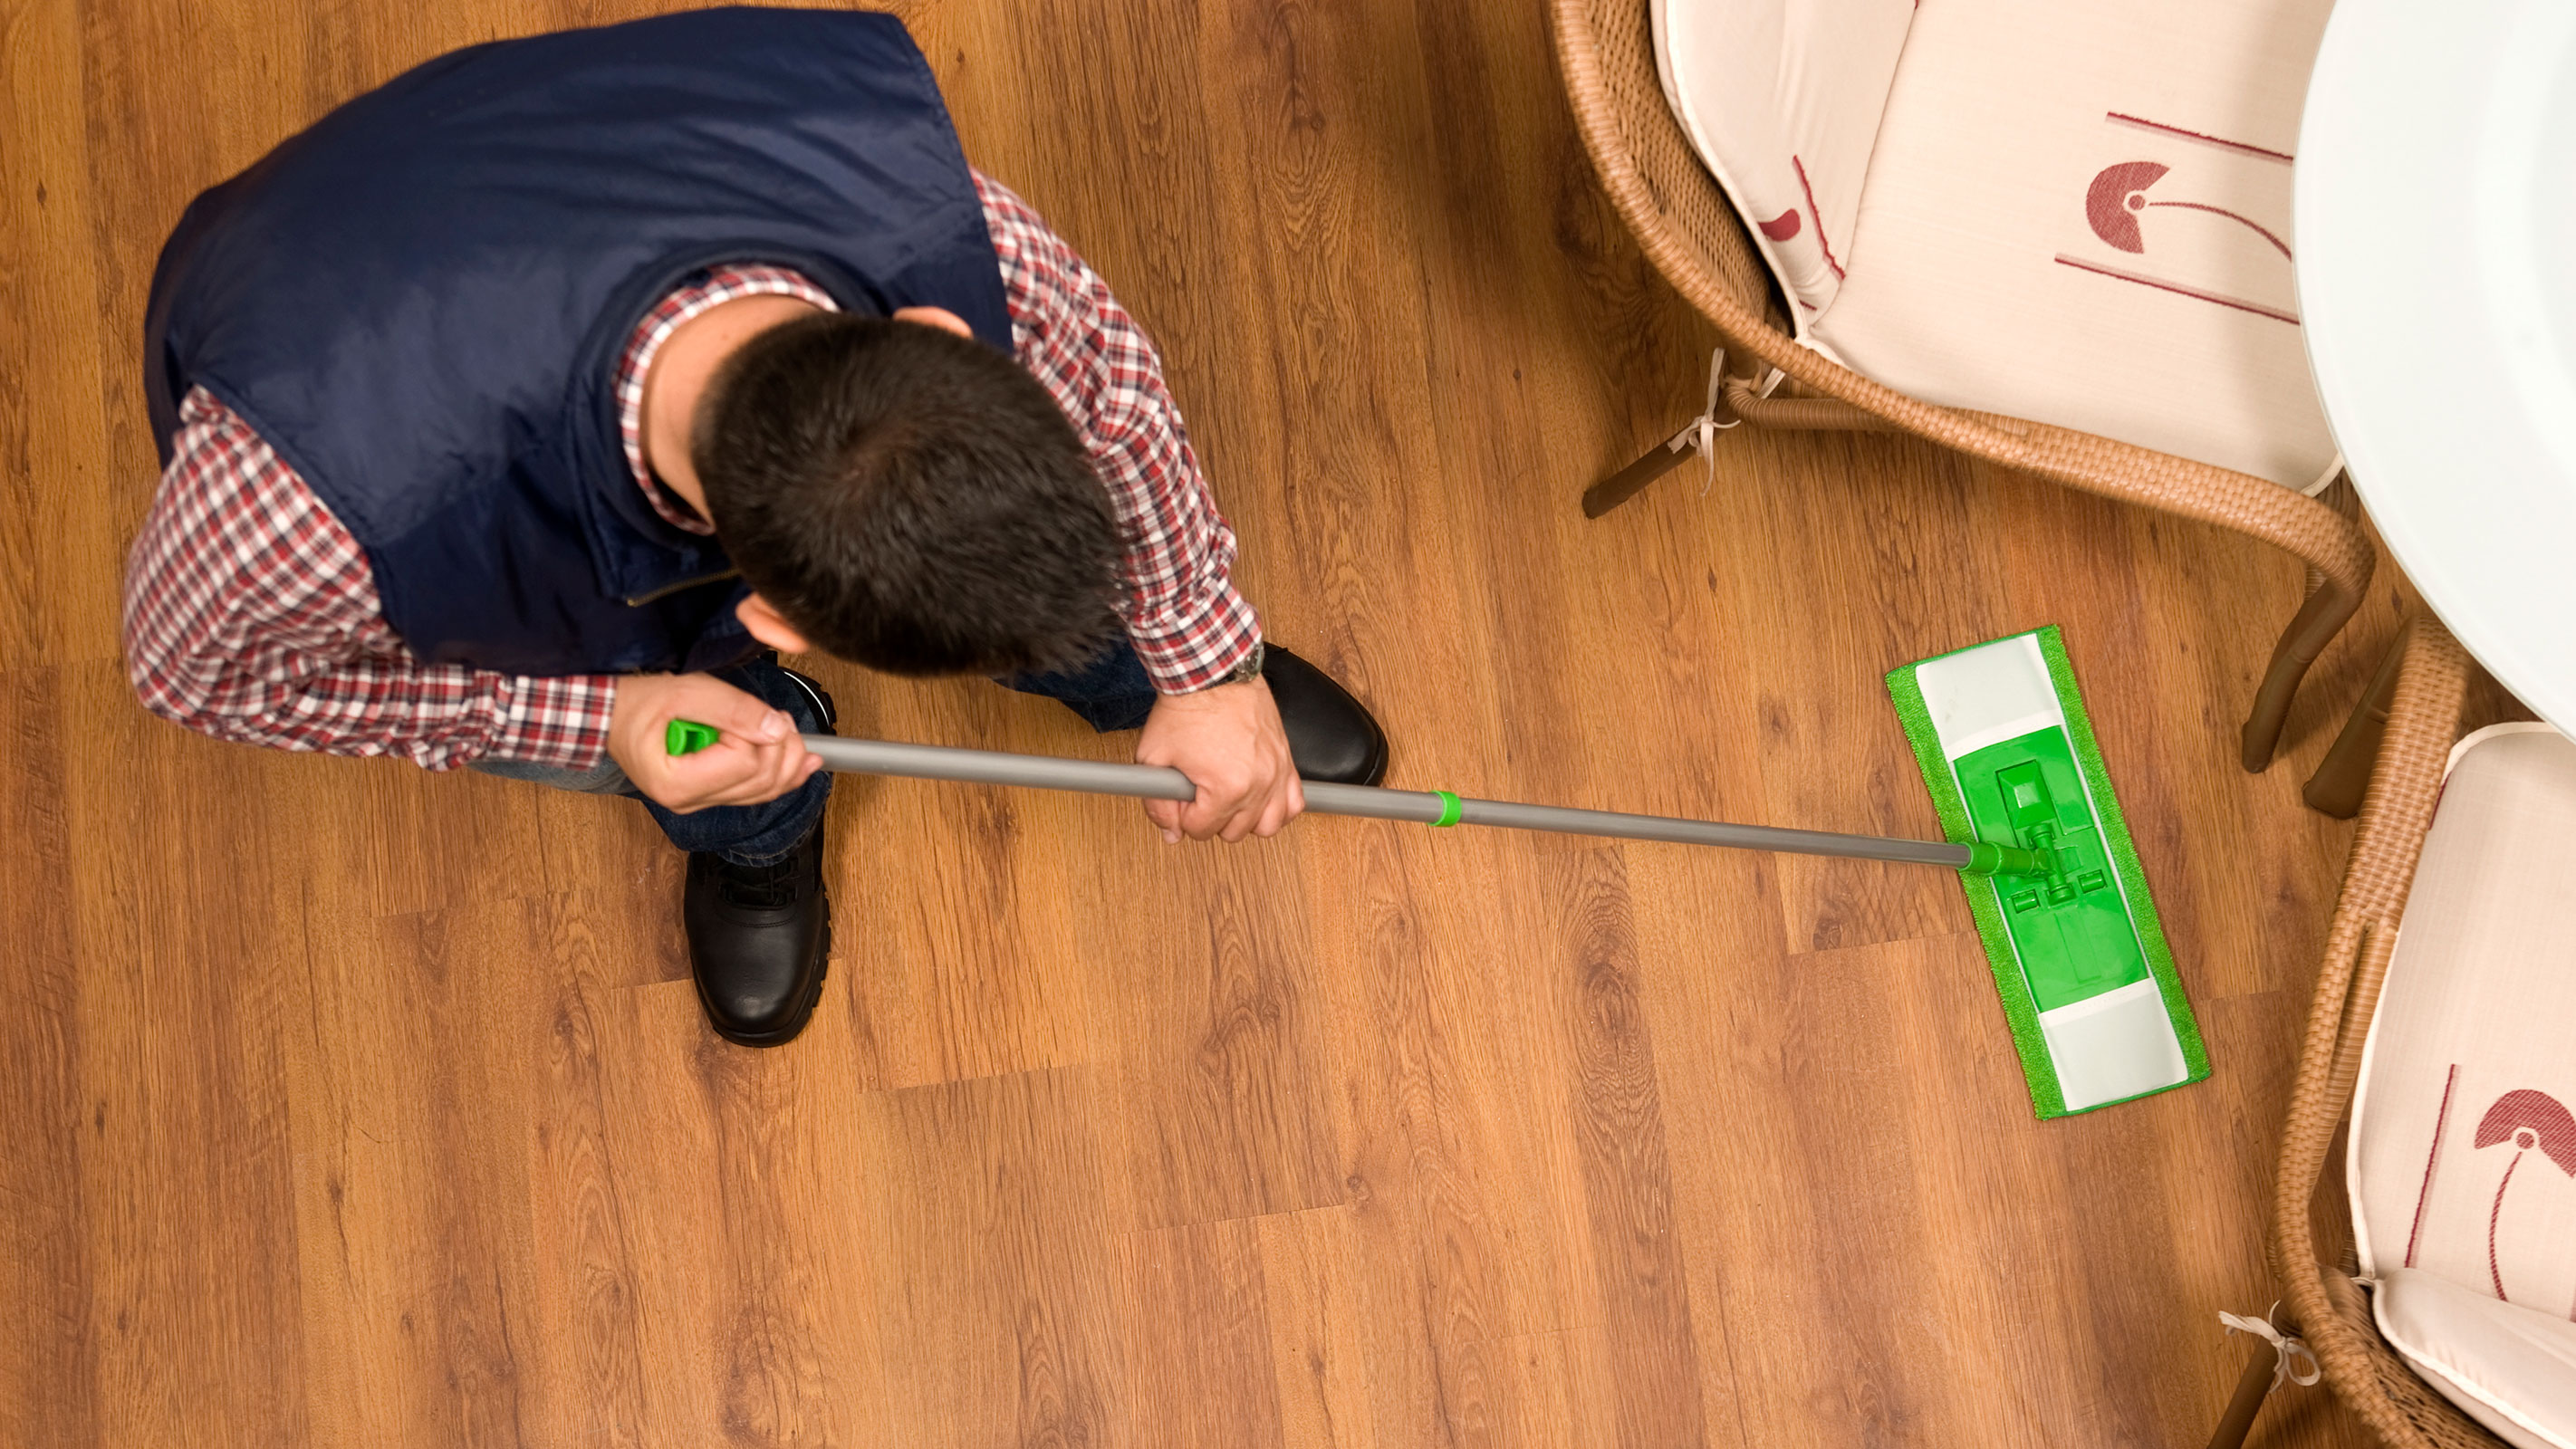
"Avoid standing water and soaking the floor," continues Lucy. "Most quality laminate floors have a 24- 36hr joint protection which stops water ingression into the joints and damaging the wood. Even with this, floors should be cleaned with a well-wrung mop or a spray mop to avoid water damage."
"Although steam mops are highly popular, they are not recommended with laminate flooring," says Adam O’Malley. "The intense heat can cause the flooring to swell and then trap moisture between the planks which, over time, will cause the flooring to bubble, chip, split or unclick."
Get the Homebuilding & Renovating Newsletter
Bring your dream home to life with expert advice, how to guides and design inspiration. Sign up for our newsletter and get two free tickets to a Homebuilding & Renovating Show near you.
Natasha was Homebuilding & Renovating’s Associate Content Editor and was a member of the Homebuilding team for over two decades. In her role on Homebuilding & Renovating she imparted her knowledge on a wide range of renovation topics, from window condensation to renovating bathrooms, to removing walls and adding an extension. She continues to write for Homebuilding on these topics, and more. An experienced journalist and renovation expert, she also writes for a number of other homes titles, including Homes & Gardens and Ideal Homes. Over the years Natasha has renovated and carried out a side extension to a Victorian terrace. She is currently living in the rural Edwardian cottage she renovated and extended on a largely DIY basis, living on site for the duration of the project.

