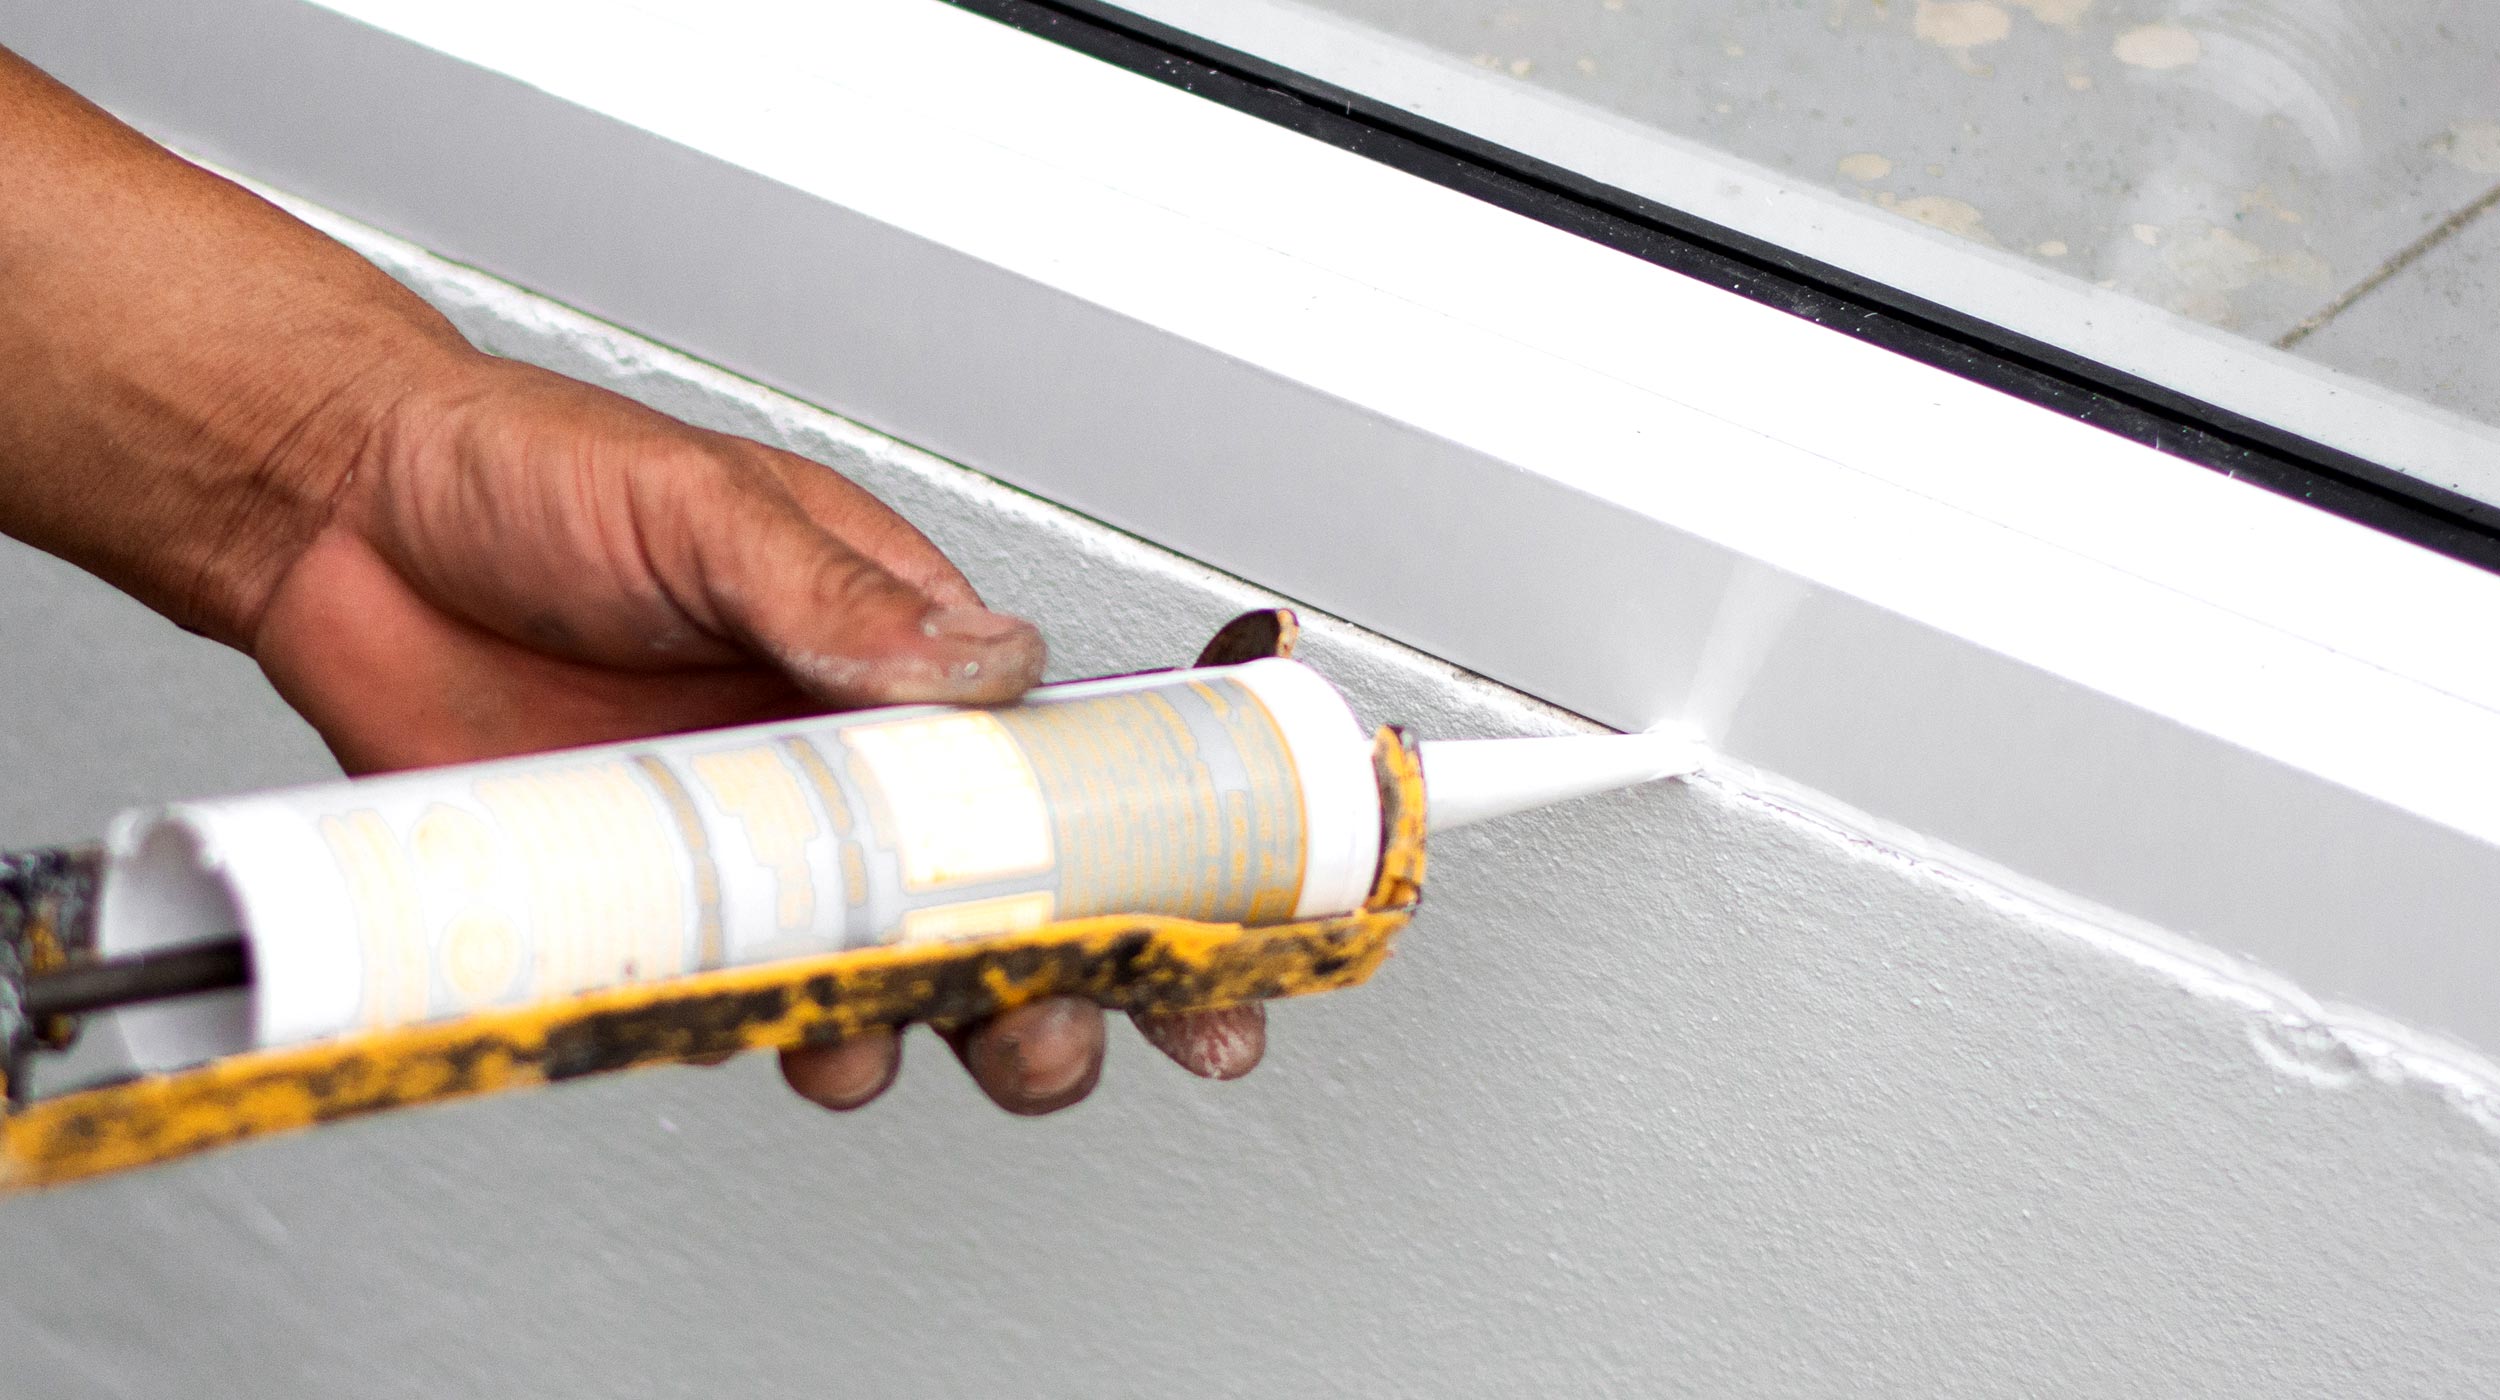
Caulking windows: A quick DIY guide to help seal windows
Caulking windows will seal up unwanted gaps, get rid of draughts and stop water coming in. Here we tell you how to do it and what you’ll need to get it done

Caulking windows is a similar process to caulking other areas of the home such as skirting boards. There is definitely an art to it and one that most DIYers should be able to master pretty quickly.
The difference when doing windows is that you will be working inside and out. This means you will need to make sure that you are choosing the right caulk or sealant when caulking your windows.
Here we give you a straightforward guide on how to prep, apply and choose the right caulk and sealant for the job.
Caulking windows: quick simple steps to get it done
Follow these simple steps to seal up your windows and stop the wind, rain and cold getting in.
1. Clean the area to caulk
Make sure that the area you are going to caulk is clean, dry and as dust free as possible. If not, clean and leave to dry. Use a wire brush on brickwork to get rid of debris
2. Load your caulking gun
Get a sharp knife to cut the nozzle at 45 degrees around an inch down the nozzle. If you need a large bead cut further down the nozzle. Now place the cartridge in your caulking gun and squeeze the handle until the cartridge has a tight fit and a bead of caulk comes out of the nozzle.
3. Add caulk
Start in the top corner of the window and do a horizontal bead. Place the caulking gun at a shallow angle at the start of the gap, gently squeeze the gun handle and when the caulk appears, run along the gap with a smooth motion and even speed. Now do the left vertical and then the right vertical or vice versa.
4. Get a smooth finish
Smooth out the caulk as soon as you finish adding. Use a damp sponge — a kitchen sponge is a good choice — and run along the caulk. Alternatively, purchase a caulk finishing kit to choose different style finishes and get guaranteed consistency.
How often should you caulk around windows?
Caulk around windows should last for at least three years and typically lasts a lot longer. But this will depend on whether the caulk is inside or outside as well as environmental factors such as weather and temperature.
Interior caulk won't be exposed to the rigours of the weather, but it will encounter other issues. Interior windows are prone to condensation which will lead to mould growing on the caulk if not cleaned regularly. Check our how to stop window condensation guide to help prolong the life of your window caulk.
Exterior caulk will be exposed to heat in the summer and freezing temperatures in the winter. These changes will eventually cause the caulk to start lifting off a window frame and surrounding brick work. This will then lead to leakage when it rains.
So a simple solution is to check your caulk every year and replace it when necessary.
What caulk/sealant should I use on windows?
This depends on what area of the window you are looking to caulk. If you are caulking the exterior of a window then you will need a durable exterior caulk or sealant like UniBond Outdoor Window and Door Frame Sealant. A lot of exterior sealants come in white, which is fine if you have white windows.
If you have non-white windows you can try and colour match, but a simpler solution is to use a clear exterior sealant that matches any window colour.
For interior windows you can use the outdoor sealant or a sanitary sealant as this is waterproof and ideal for the inside areas of a window that need it. But for the areas between the architrave and wall you will need decorators or painters caulk. These are both waterproof and flexible and are the perfect choice when painting caulk as they are designed to accept paint while other sealants and caulks are not.
Will caulking windows stop condensation?
The purpose of caulk is to stop cold air and water seeping through the gaps in windows. You will need to choose the right one for maximum effect, so it is worth checking out our silicone vs caulk guide for a few pointers on what you need.
So while a decent caulking job on the interior and exterior of a window will help to combat condensation, it won’t necessarily stop your windows from steaming up.
Get the Homebuilding & Renovating Newsletter
Bring your dream home to life with expert advice, how to guides and design inspiration. Sign up for our newsletter and get two free tickets to a Homebuilding & Renovating Show near you.
Steve Jenkins is a freelance content creator with over two decades of experience working in digital and print and was previously the DIY content editor for Homebuilding & Renovating.
He is a keen DIYer with over 20 years of experience in transforming and renovating the many homes he has lived in. He specialises in painting and decorating, but has a wide range of skills gleaned from working in the building trade for around 10 years and spending time at night school learning how to plaster and plumb.
He has fitted kitchens, tiled bathrooms and kitchens, laid many floors, built partition walls, plastered walls, plumbed in bathrooms, worked on loft conversions and much more. And when he's not sure how to tackle a DIY project he has a wide network of friends – including plumbers, gas engineers, tilers, carpenters, painters and decorators, electricians and builders – in the trade to call upon.

