Bring your dream home to life with expert advice, how to guides and design inspiration. Sign up for our newsletter and get two free tickets to a Homebuilding & Renovating Show near you.
You are now subscribed
Your newsletter sign-up was successful
If you're a fan of utilising every inch of space for storage, the chances are you've already turned any available alcove or under the stairs space into a bespoke storage solution. But what if there was a way of adding even more storage using your chimney breast?
While it can often feel like a structural feature that you need to leave intact, the reality is with the right professional advice, a redundant chimney breast can either be removed if space is your priority, or redesigned into something new such as a bespoke built-in storage idea.
DIY expert Pete Wise found himself in this exact position when he decided to tackle the chimney breast in his spare room. Here's what he did and how he got on, so you can try it for yourself.
You can turn a chimney breast into a bookcase but you'll need some existing DIY skills
My spare room is small — but it would feel a lot bigger if it didn’t have a huge, obsolete chimney breast in the middle of it. So, I decided to create a new bookcase by hollowing out, rather than removing the chimney breast and installing a wooden bookcase where the bricks once stood.
Like all of my DIY projects, this was a group effort. My partner Alice came up with the idea; her dad Mik worked out how to execute it; we all chipped in. It certainly helped emphasise that if you’re doing a chimney breast transformation of your own, you’ll almost certainly need some help — especially when assembling the bookcase and moving it into place.
It's also important to note that this is a fairly advanced DIY project. It will perhaps take more effort than skill, but you’ll need a wide array of tools and materials to get the job done. And remember, if you’re taking on a project like this one, you’ll need to wear appropriate PPE throughout.
In this step-by-step guide with photos, I’ll talk you through how I completed the transformation from chimney breast to bookcase, including safety precautions and planning the project, through to the construction and installation.
Bring your dream home to life with expert advice, how to guides and design inspiration. Sign up for our newsletter and get two free tickets to a Homebuilding & Renovating Show near you.
Bear in mind that the steps in this guide were specific to my house and project. You may need to do things slightly differently.
Tools and materials needed for turning a chimney breast into a bookcase
To turn a chimney breast into a bookcase you'll need the following tools and safety items:
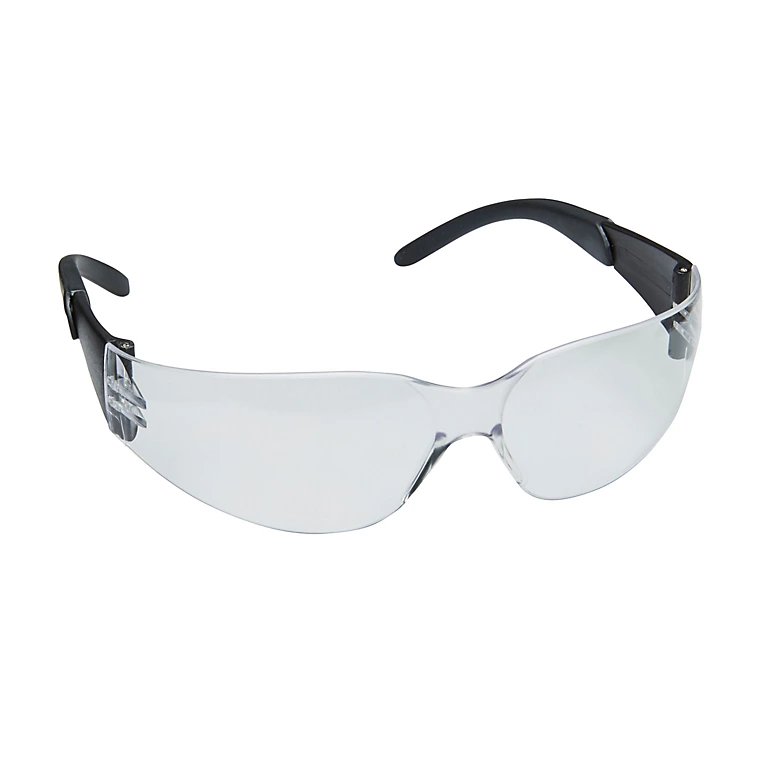
- Goggles/safety glasses
- Work gloves
- Dust mask
- Steel-toe-capped boots
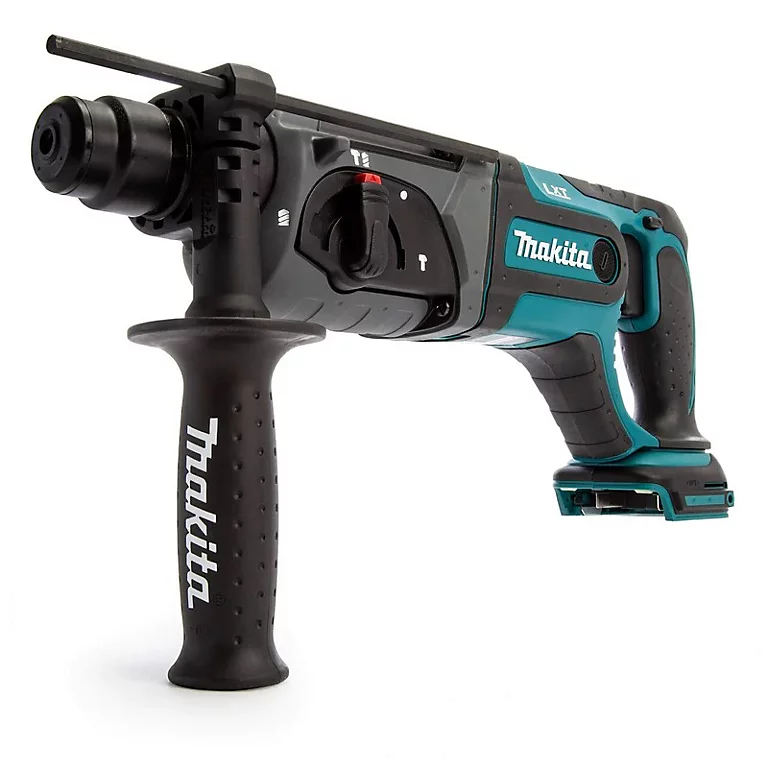
- SDS+ drill (or another very powerful drill)
- Lump hammer
- Bolster chisel
- Cold chisel
- Craft knife
- Plunge saw
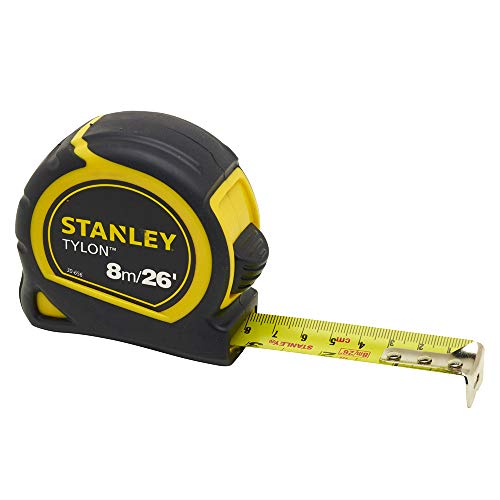
- Tape measure
- Spirit level
- Circular saw
- Joiner’s bench
- Clamps
- Combi drill
- Screwdriver bit
- Screwdriver
- Masonry drill bits (various sizes)
- Wood drill bits (various sizes)
- Set square
- Jigsaw (optional)
- Plastic sheeting
In taking on this DIY task, I used the following materials:
- Steel lintel (sized to fit at the top of your chimney breast bookcase)
- Wood adhesive
- MDF boards or plywood (for the bookcase)
- 9mm plywood board (for the back of the bookcase)
- 2 x 6" wood (for the base)
- 10mm concrete bolts
- Spare pieces of timber board
- Screws (various lengths)
- Staple gun and staples
- Corefix Heavy Duty Dot and Dab Wall Fixings
Try these tools for making your bookcase
Step one: safety precautions
My first step was to consult a structural engineer, to find out whether my project could be accomplished safely. It’s crucial to get advice from a qualified professional before you start removing brickwork that might be supporting a chimney stack or other features.
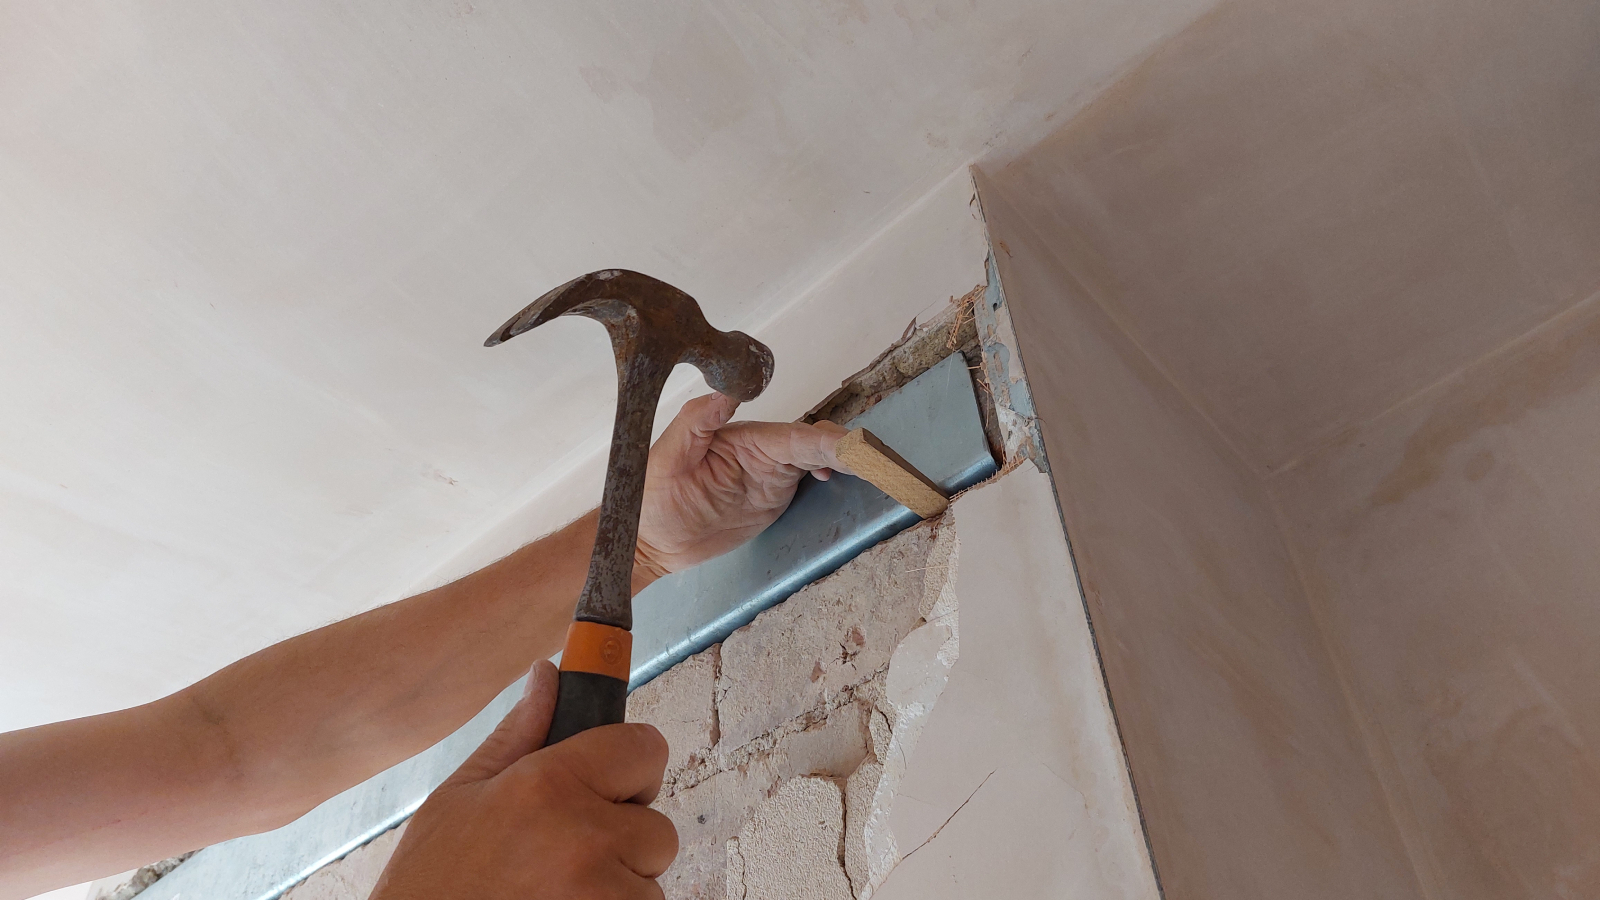
I got the go-ahead to hollow out the chimney breast. However, I’d need to install a galvanised steel lintel at the top of the space to ensure the chimney stack above is properly supported. The engineer also told me the maximum space within the chimney breast that the bookcase could safely occupy, and which bricks needed to stay in place.
To find where the lintel would go, I removed a patch of plaster at the top of the bookcase area and found a row of bricks under which the mortar could be taken out. I then removed the mortar along that row and slightly to either side using an SDS+ drill (with a masonry bit). Finally, the lintel could be installed.
In addition to structural considerations, you also need to prevent water ingress down the chimney, which could lead to issues such as damp.
After excavating the chimney breast, I was disturbed to notice daylight flooding into the room from the chimney stack. While the previous owner had filled the chimney breast with rubble, they hadn't capped the chimney, which would now leave the room open to the elements. To fix the problem, I hired a roofer to cap the chimney, before progressing further with my project.
Step two: Remove the bricks
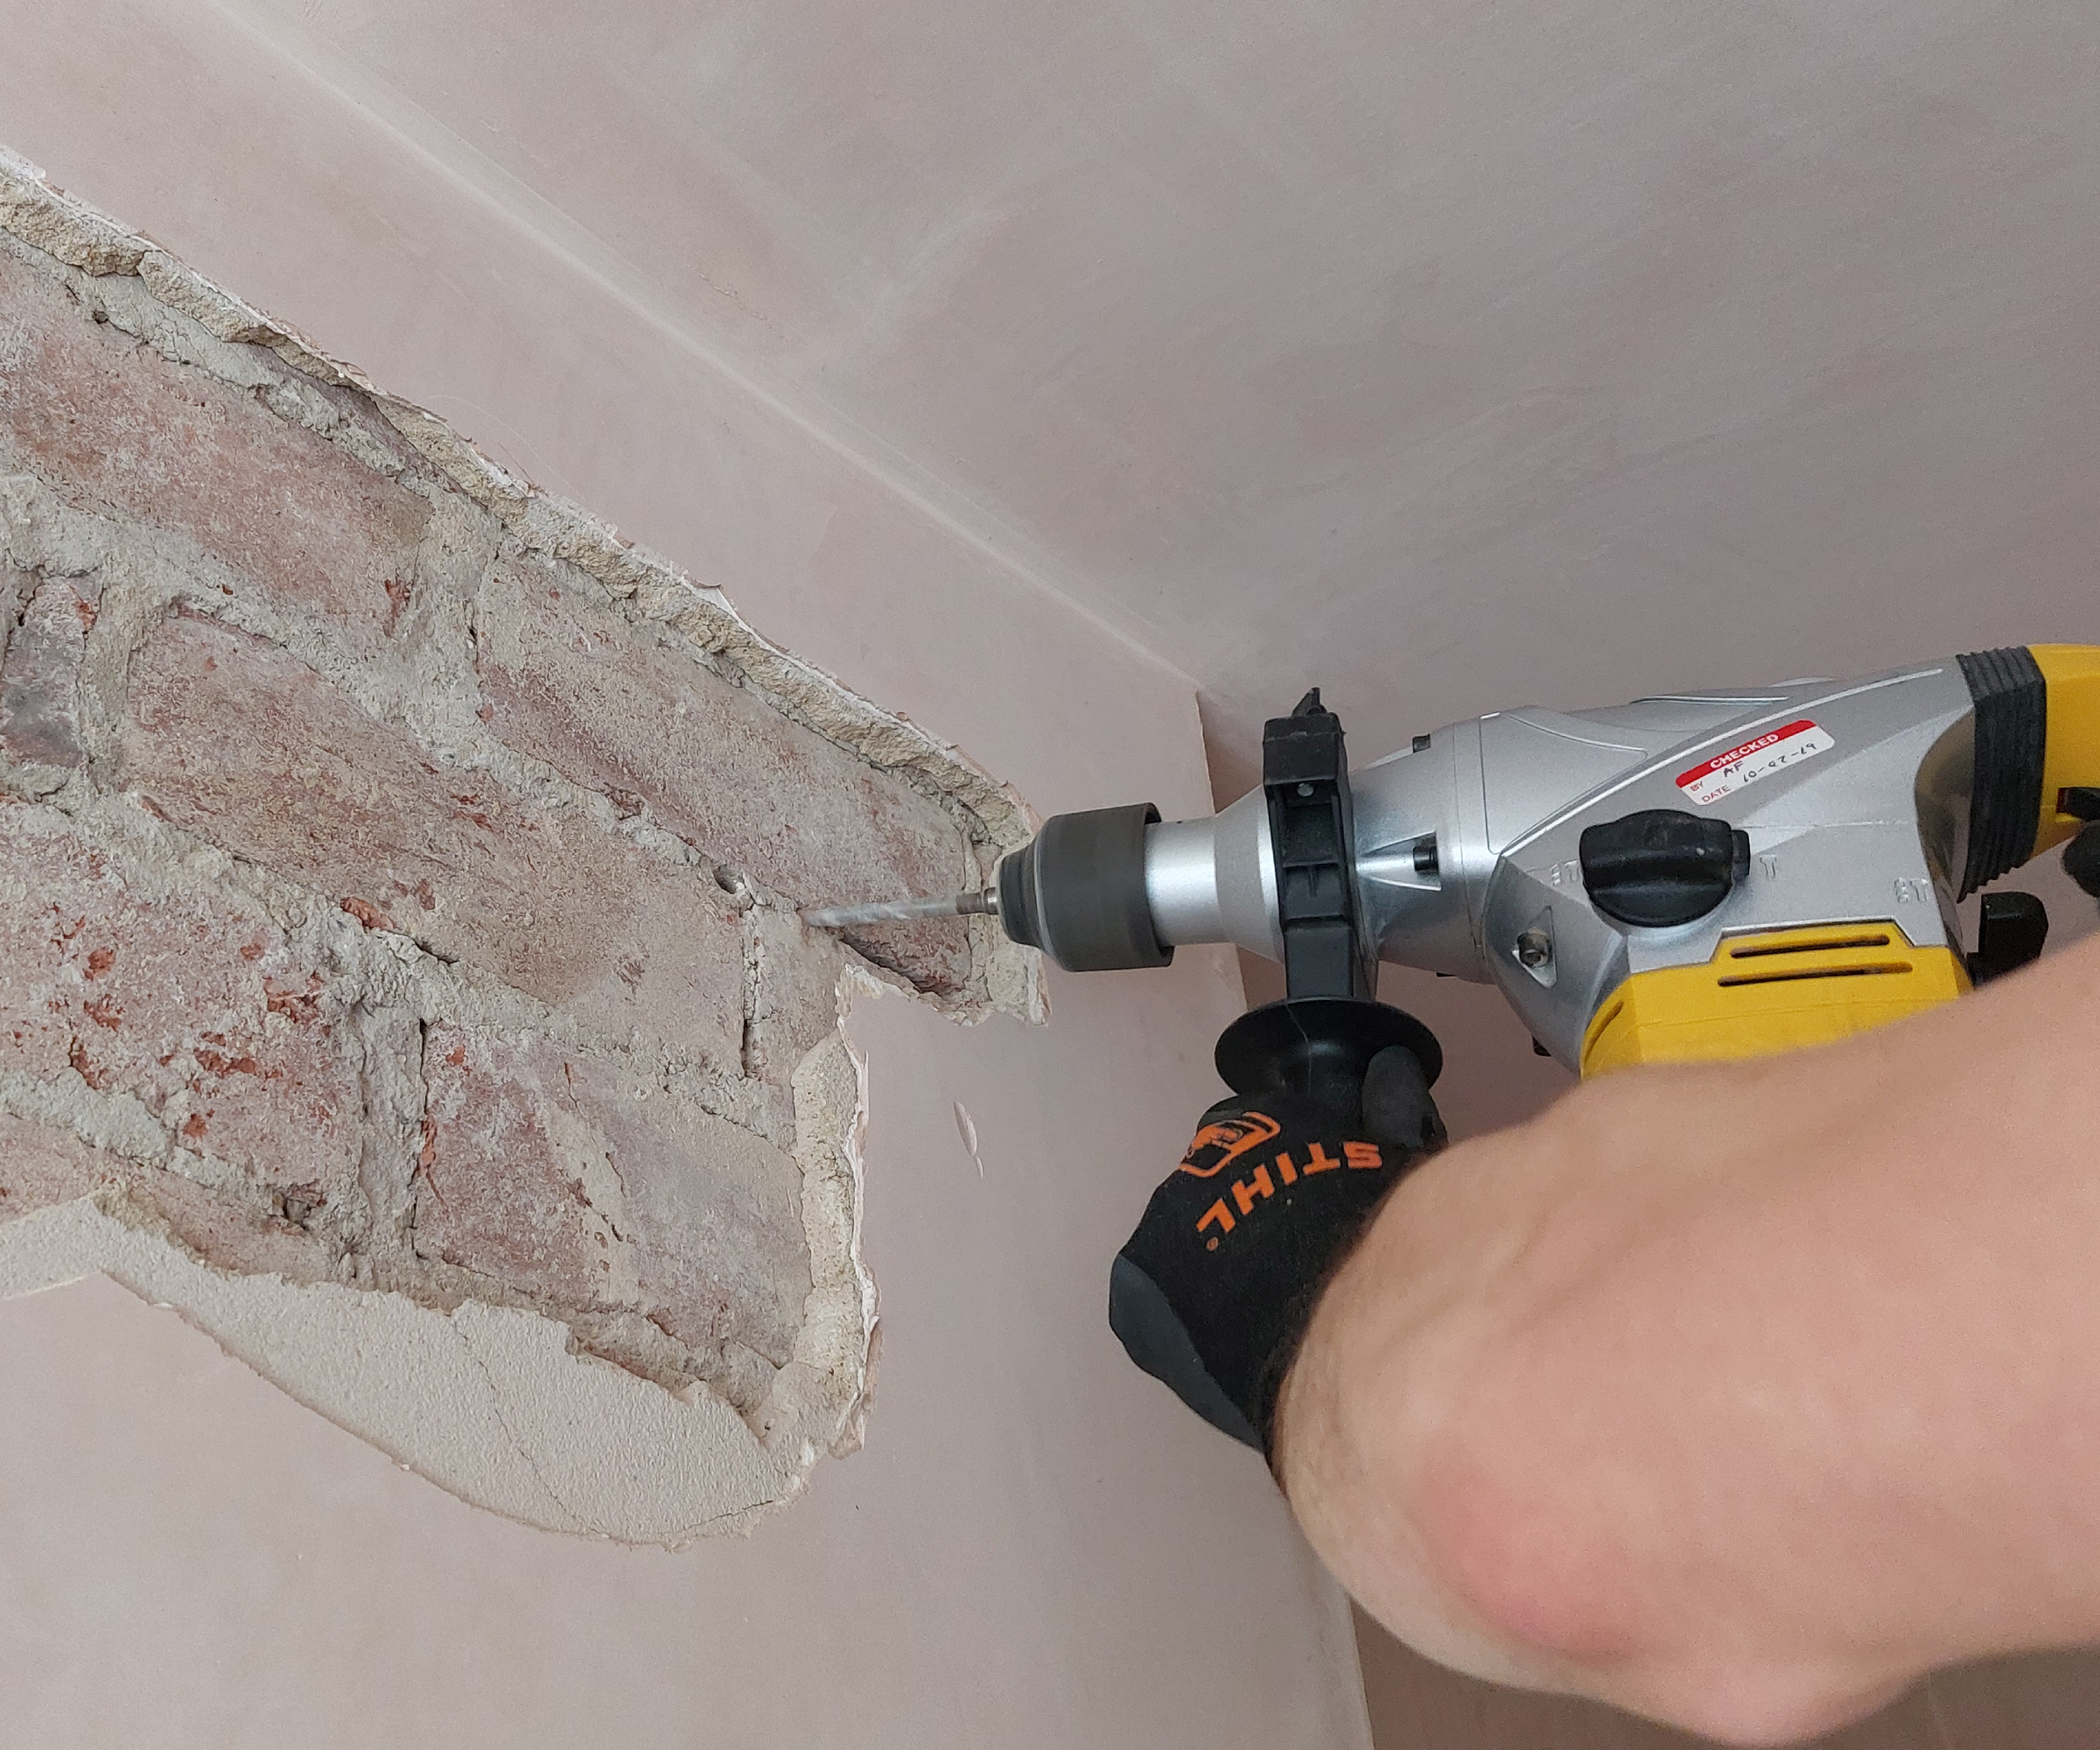
To prepare for hollowing out the chimney breast, I first removed the plaster layer. I scored a rough outline of the bookcase area using a craft knife, then cut right into the plaster using this Ryobi plunge saw, currently available at Amazon. This exposed the brickwork beneath — as well as a stone lintel.
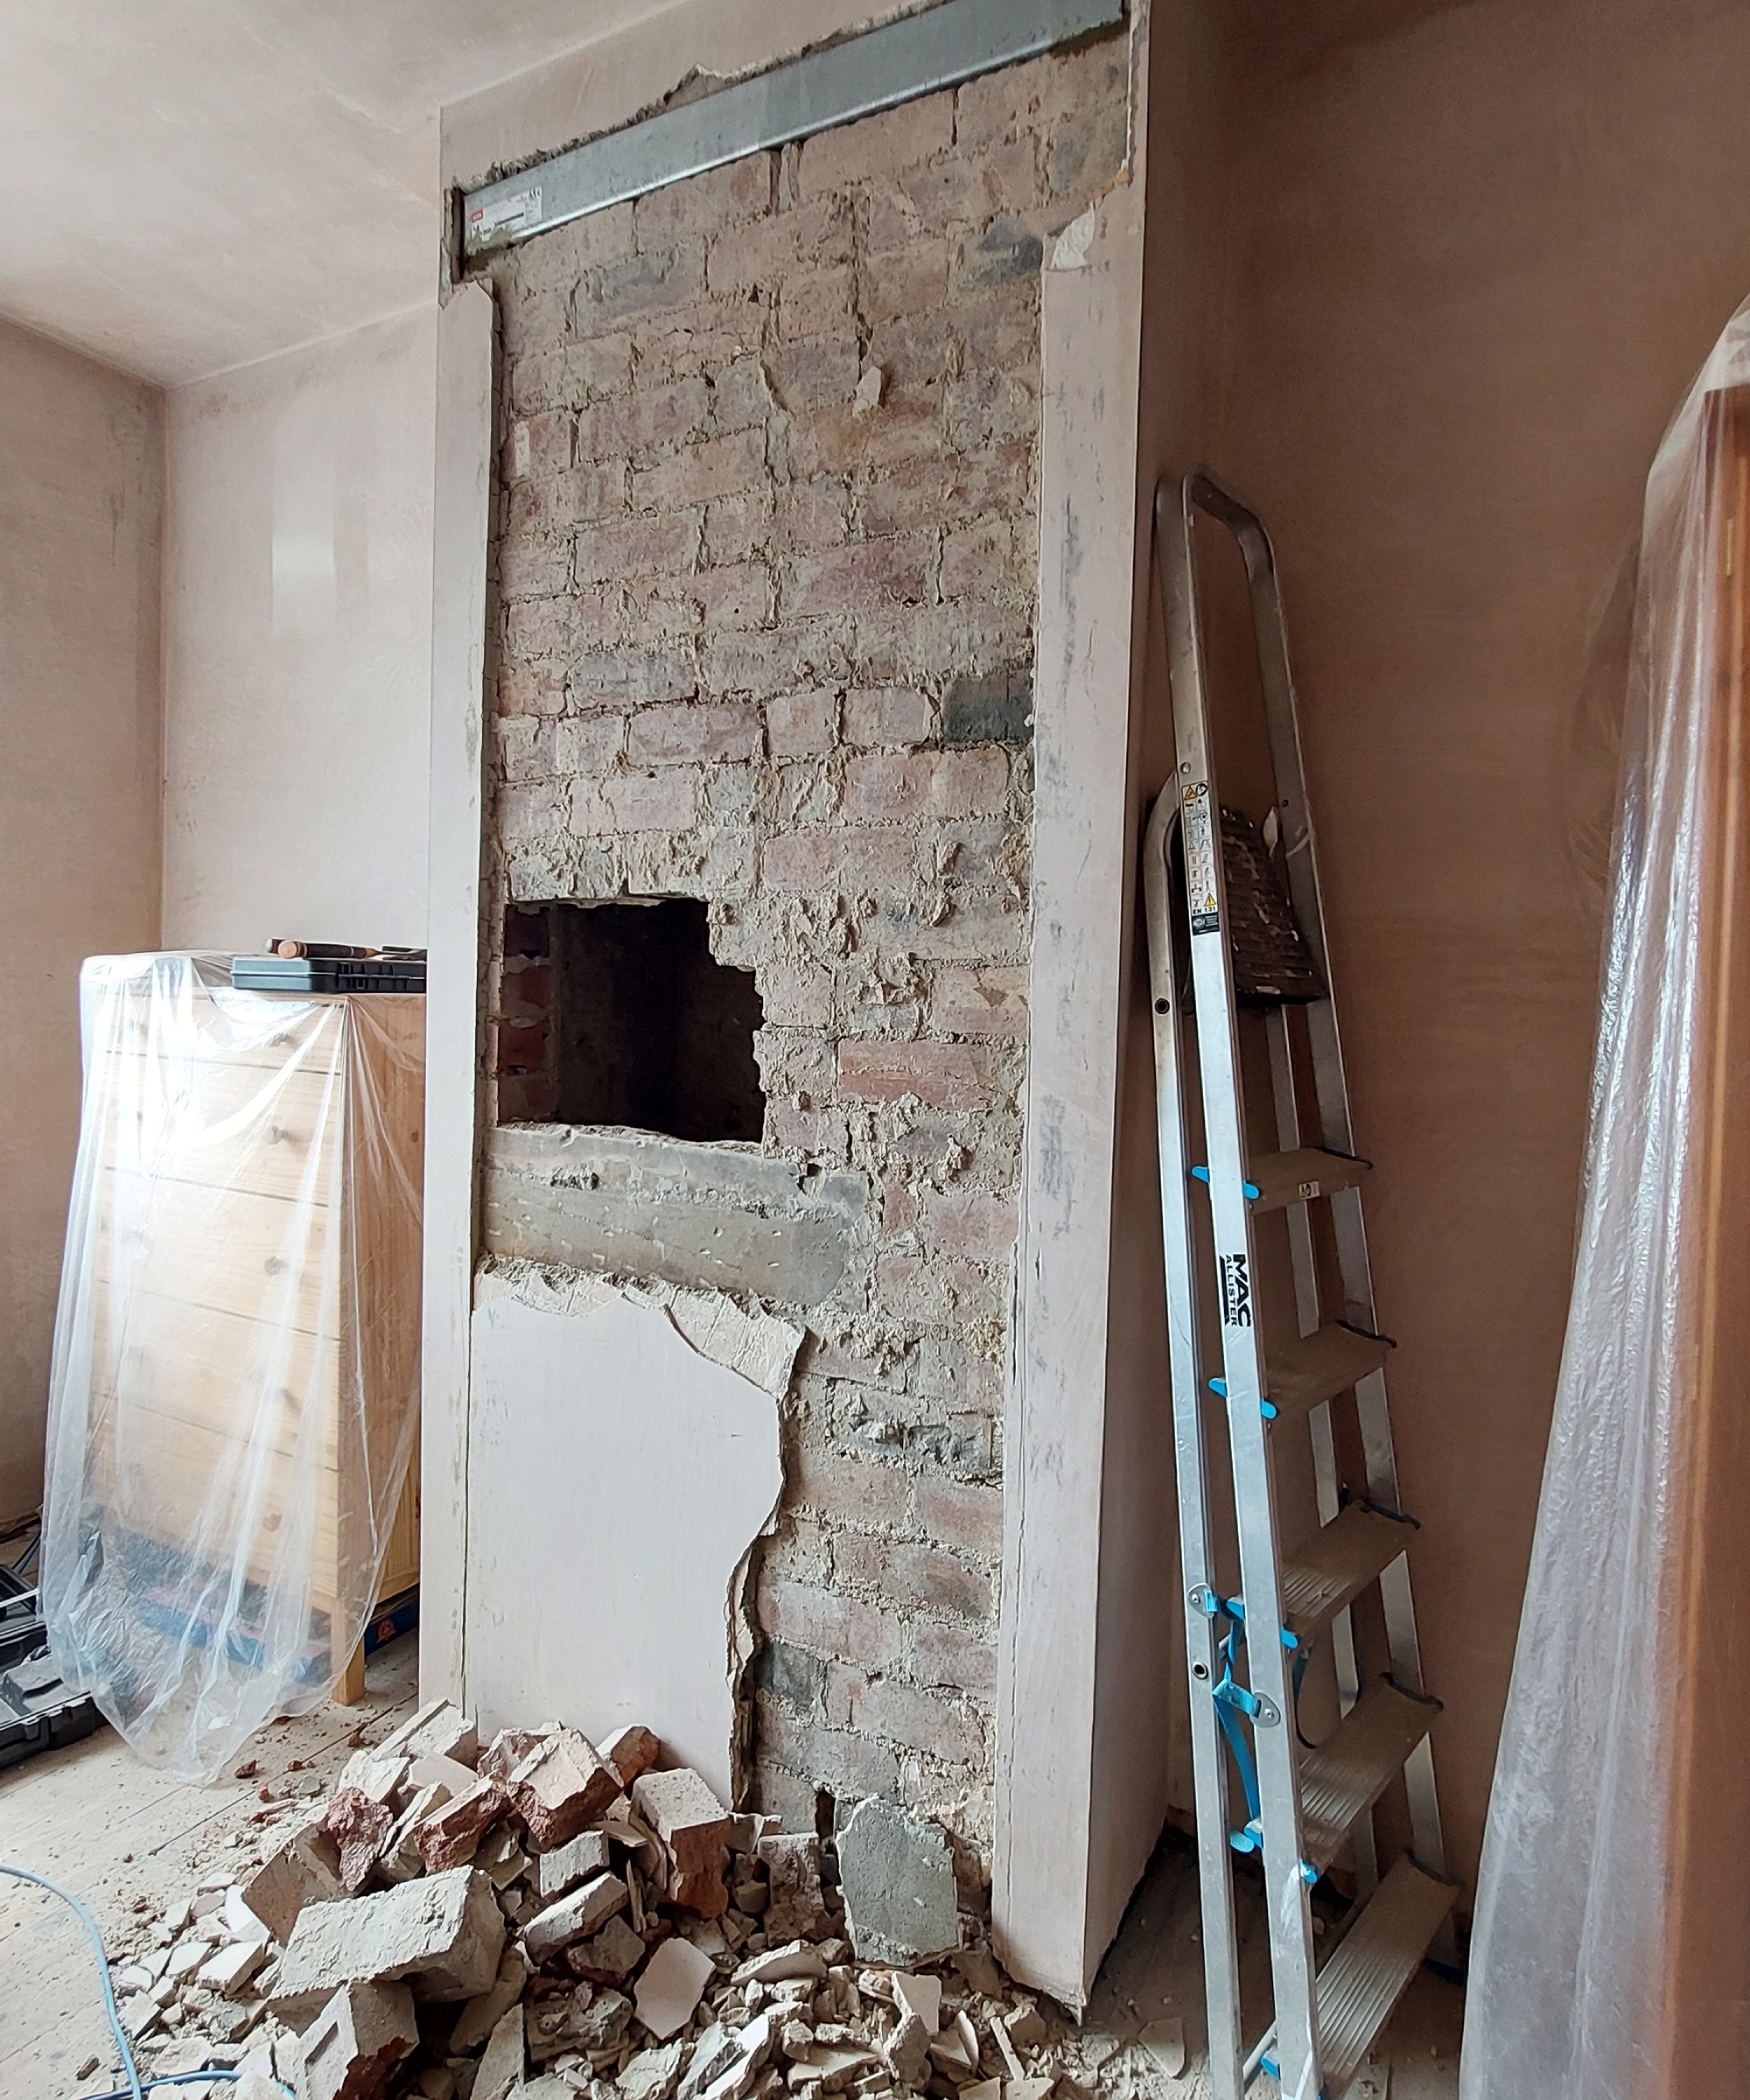
I then removed the brick and stone using my SDS+ drill, lump hammer and chisels. If you take on this strenuous task yourself, be sure to leave the internal walls of the chimney nice and flat.
You may need to hire a skip to deal with all the bricks, stone or whatever other waste is in the chimney breast. I found a fair few bird skeletons in mine.
Step three: Measure the bookcase area
To work out what the dimensions of my chimney breast bookcase would be, I measured the excavated space (height, width and depth), and then planned how the bookcase would be constructed.
At this stage, I decided how many shelves the bookcase would have, and how much space there would be between them. Conventionally, the gaps between shelves in a bookcase are around 20-30 cm, with wider gaps for larger books at the bottom of the bookcase.
Once I was happy with the plan for the bookcase, I ordered the wood from which it would be constructed. This consisted of 1.8 cm-thick plywood for the top, bottom, sides and shelves, and 0.9 cm-thick plywood to use as the backboard.
To save time and effort on cutting wood, I had the boards cut to size via B&Q’s in-store timber cutting service. This meant I could order the parts of the bookcase as a sort of flatpack, which I’d be able to fix together, relatively simply at home. As such, it saved time on cutting the timber to size, and waste.
Step four: Create a stable base
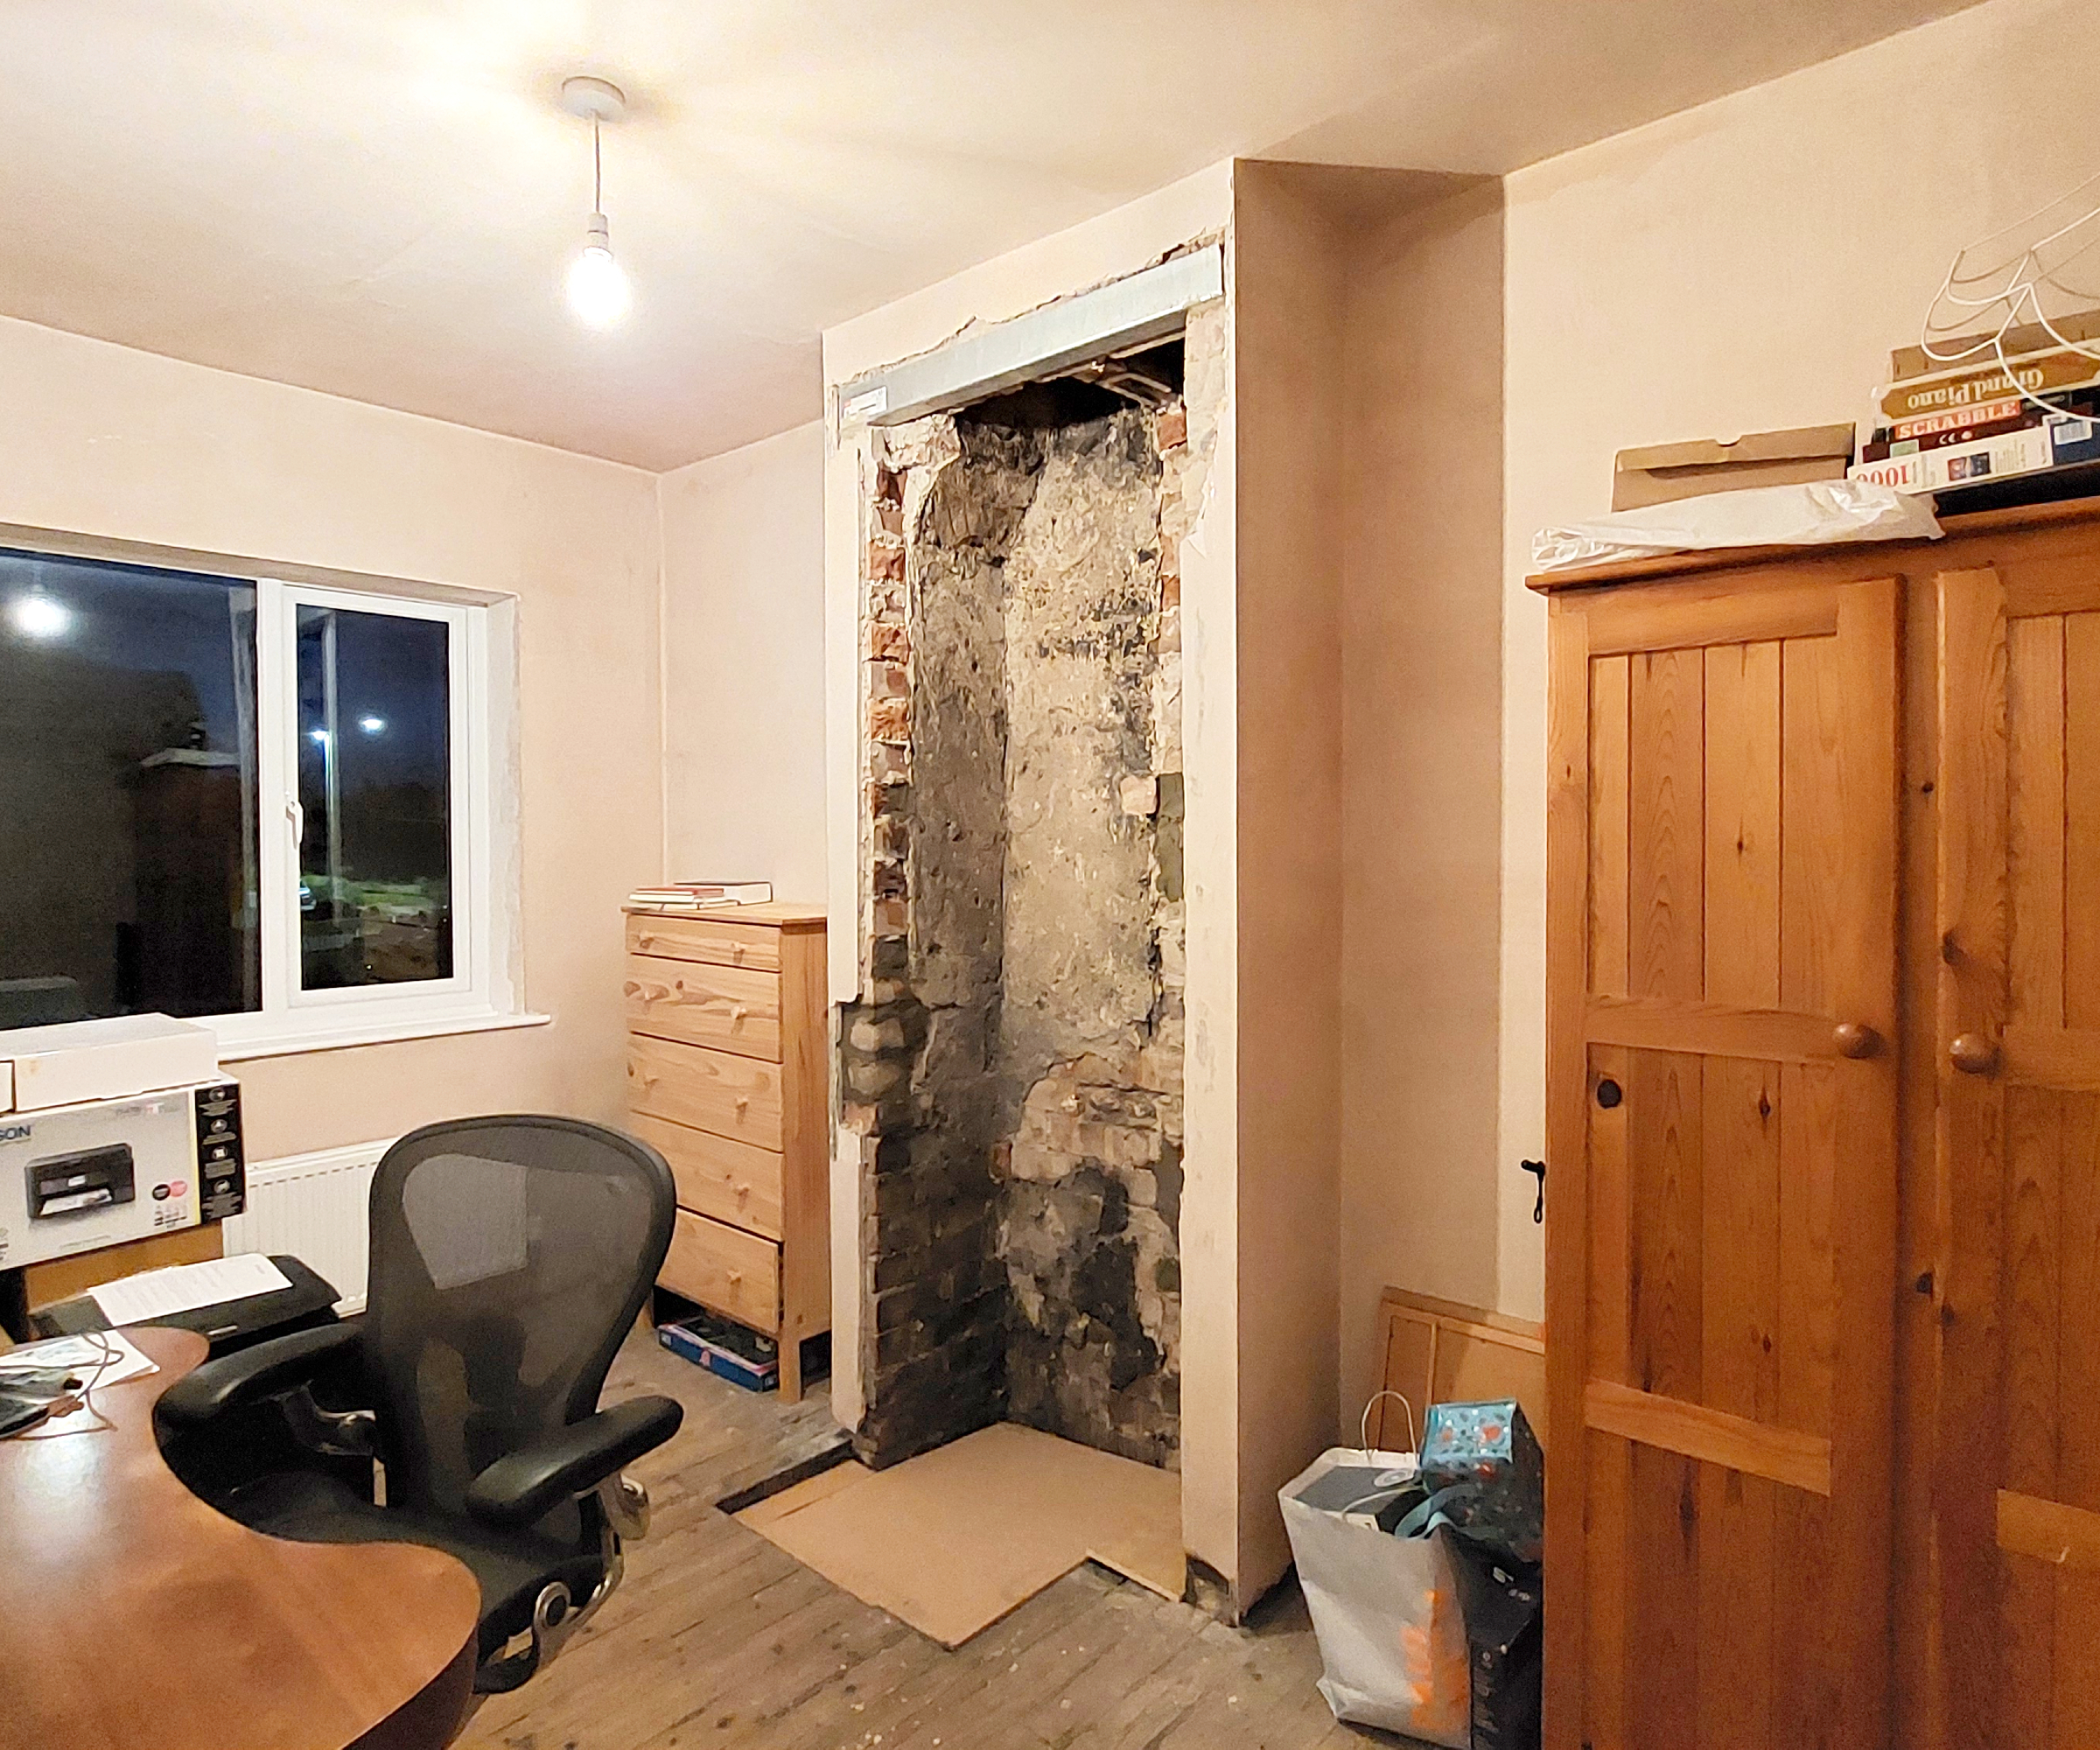
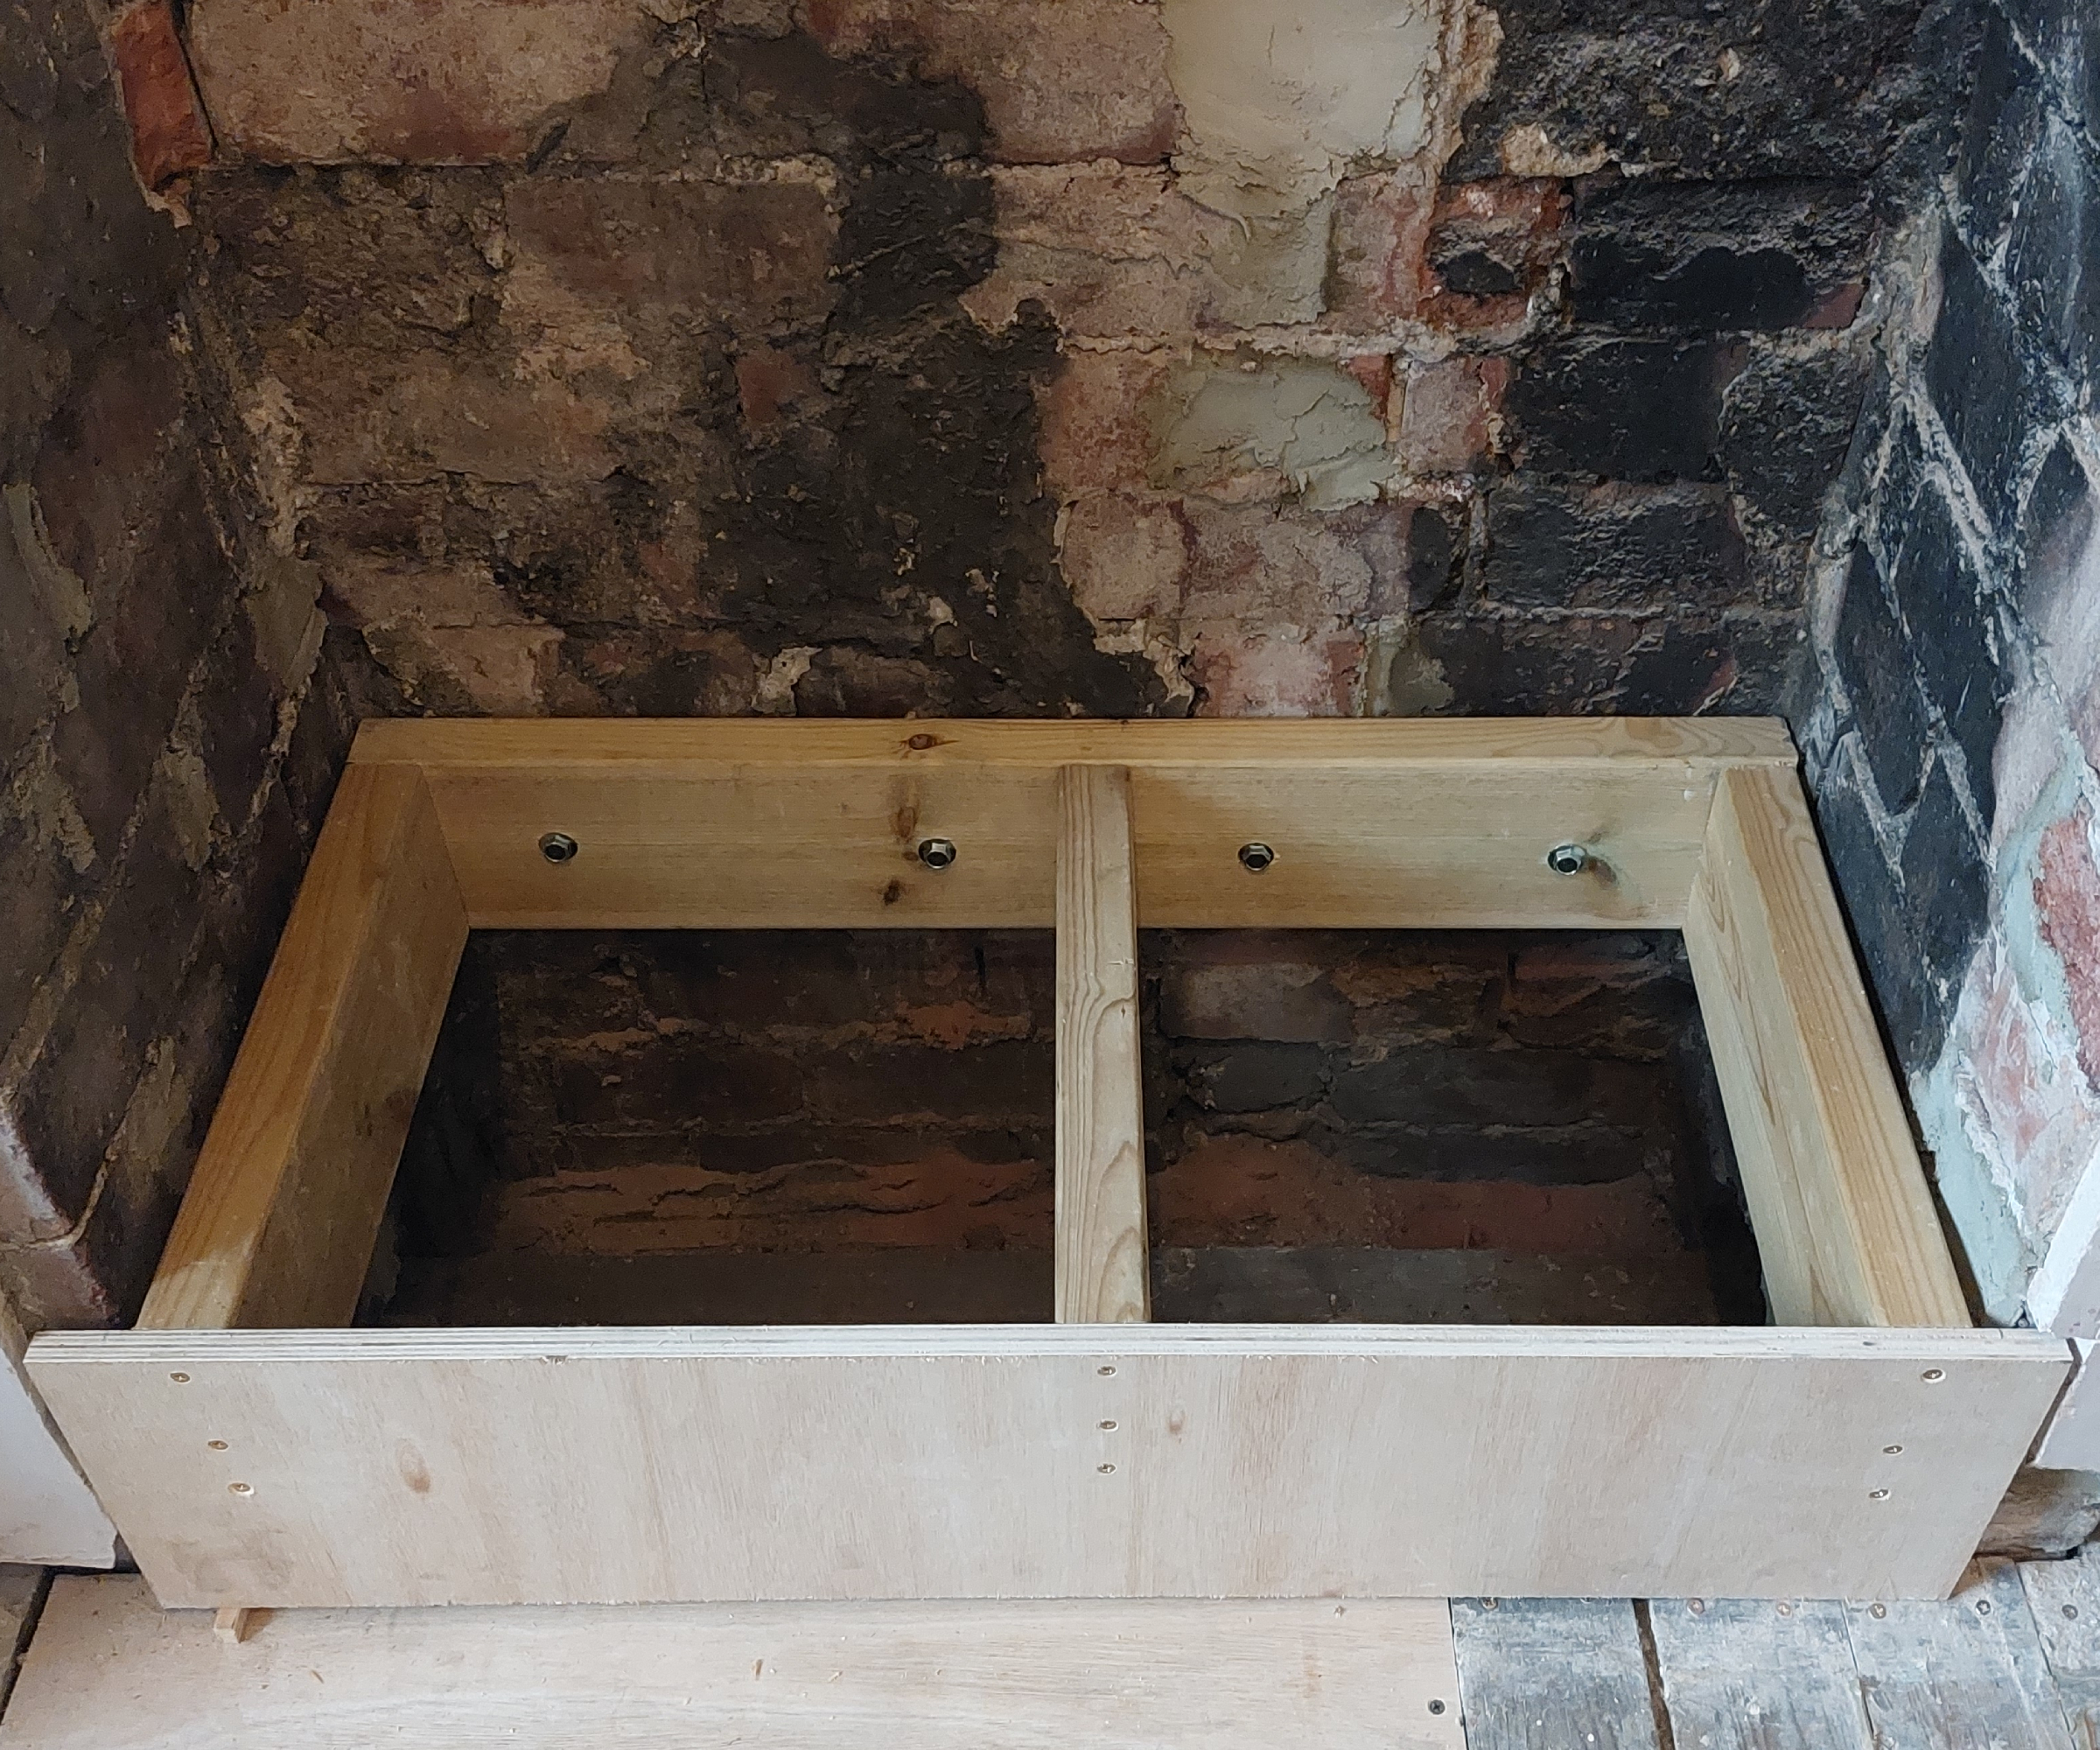
There wasn’t a flat floor at the bottom of my chimney breast. Instead, there was a void extending lower than the level of the floorboards. It’s quite likely that the same will be true in your home.
So, I needed to create a strong, secure frame within the chimney space at floor level, for the bookcase itself to rest upon.
I screwed together four pieces of 2 x 6" wood – one long, three short – into an 'E' shape, and fixed this into the wall by its longest side using 10mm concrete bolts. This was done by creating suitably sized holes in the wall using a combi drill with a masonry bit. (Before fixing, I made sure the frame was level, using a spirit level.)
I then attached a piece of board at the front side of the E-shaped frame, and screwed this board into the floorboards in front of the chimney breast.
Remember, this frame needs to be strong and secure enough to take the weight of the bookcase, plus everything kept on its shelves.
Step five: Assemble the bookcase
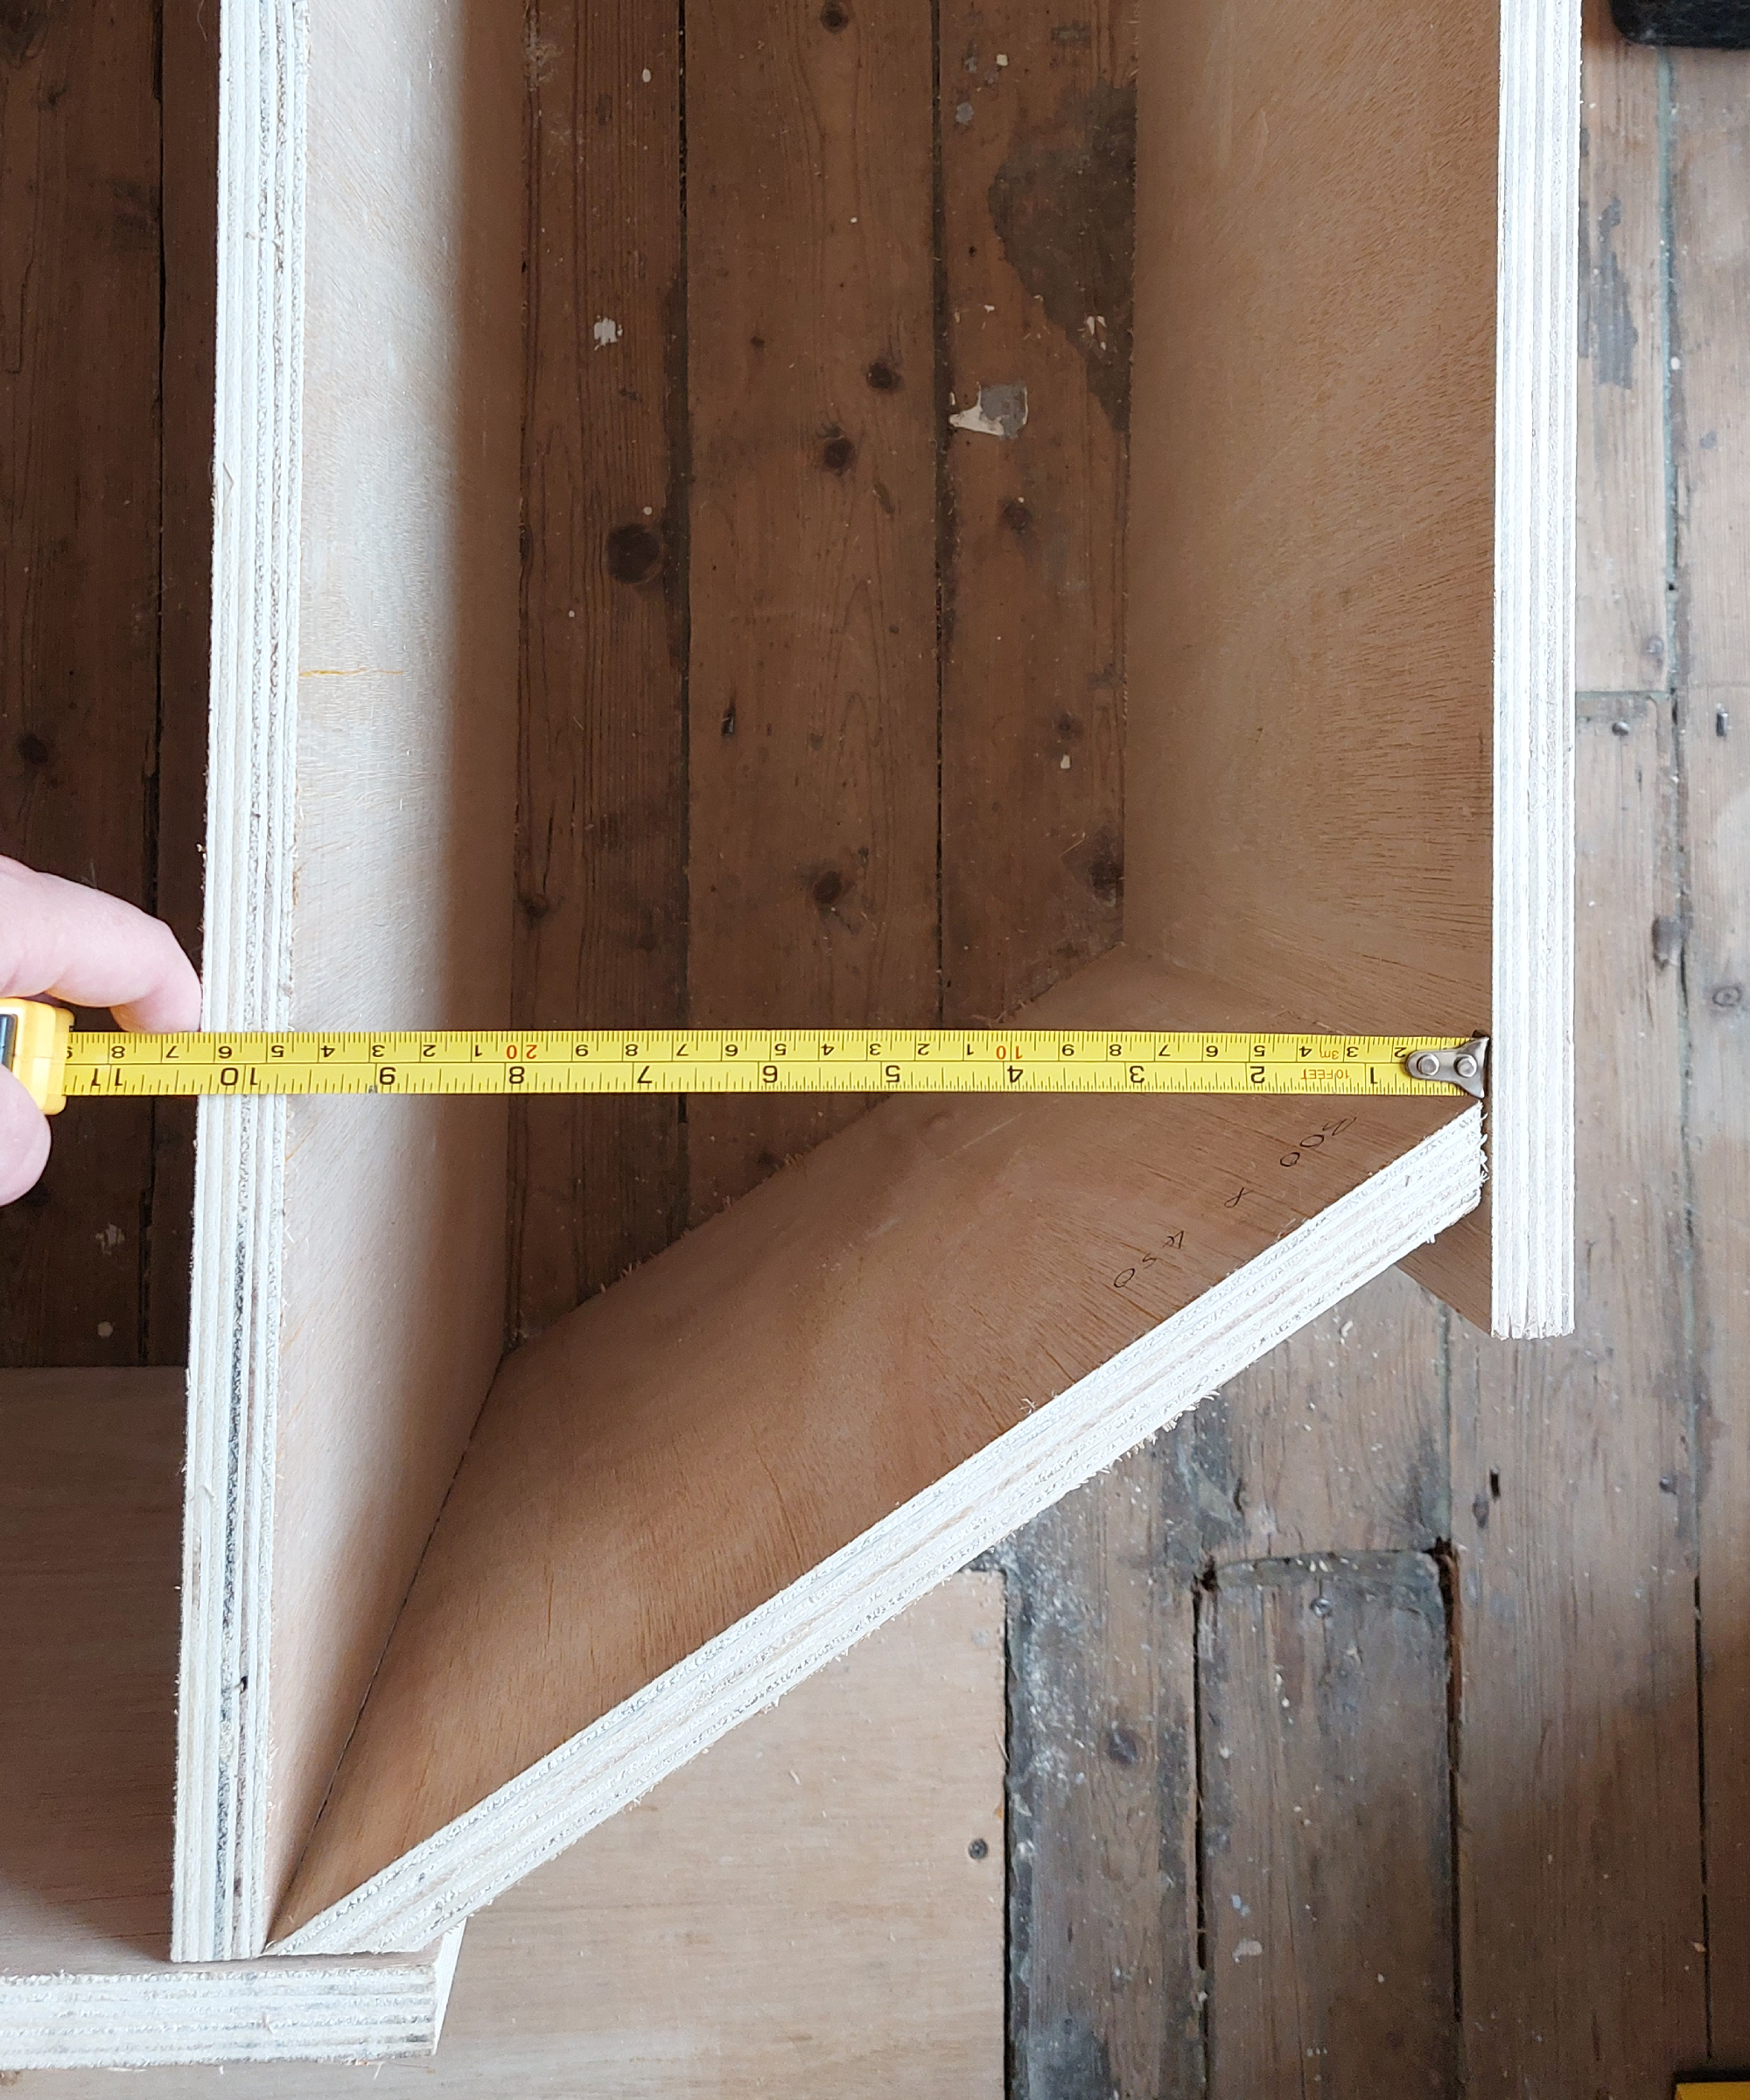
I chose to assemble my bookcase on the spare room floor, as this approach allowed clearance to install screws through the outside of the boards.
Because my bookcase is an irregular shape, with a shortened shelf at the top to accommodate the shape of my chimney breast’s flue, I needed to adjust a few of my pre-cut plywood boards. With the boards clamped down on a joiner’s bench, I used a circular saw to fine tune the length of the pieces and the angles of their edges, where necessary.
I then screwed together the pieces of the bookcase, starting with the base, sides and top boards, then added the shelves in-between the outer boards. I used a tape measure and a set square throughout this process to make sure the parts were properly assembled.
Step six: Attach the backboard
To attach the backboard, I laid the bookcase on its front and applied wood adhesive to the back edges of the shelves and frame. I then laid the plywood backboard carefully on top of the frame, and allowed the glue to set.
Next, I installed short screws around the edge of the backboard to fix it more firmly into the frame.
Again, because my bookcase is irregularly shaped, I needed to remove some excess material from one corner of the backboard. I did this by cutting away the unneeded board using a jigsaw.
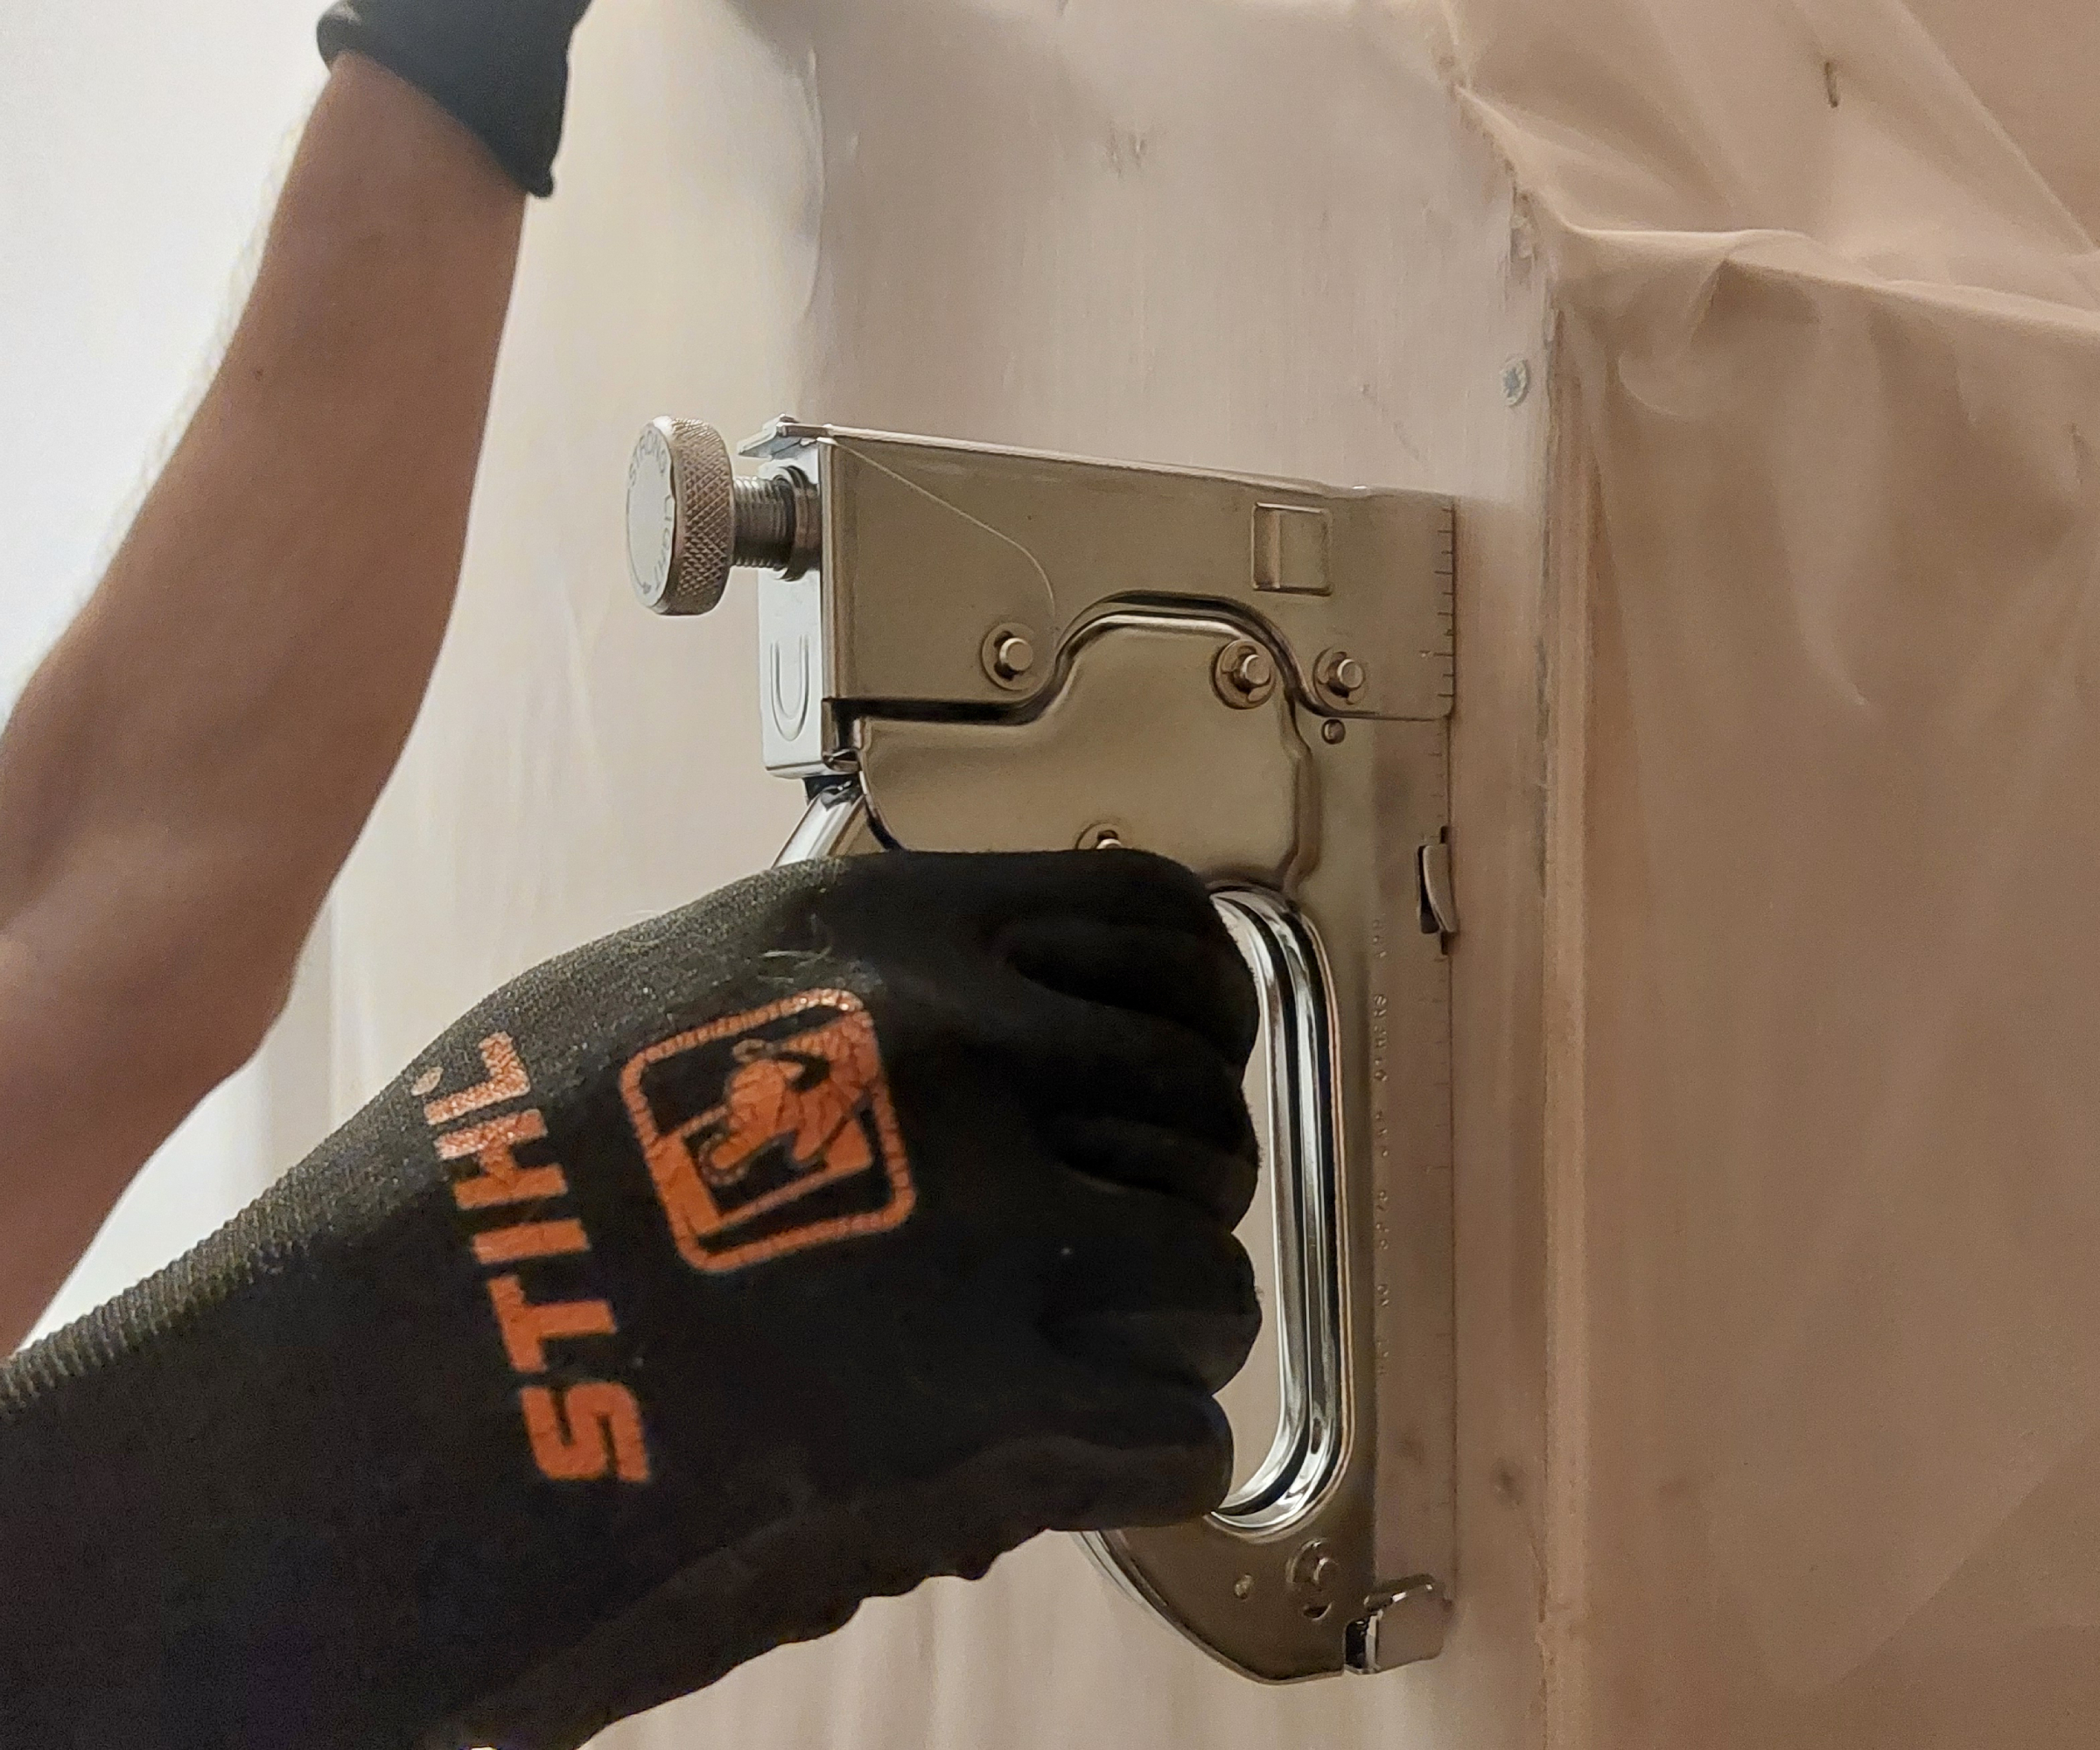
Finally, I wrapped some tough plastic sheeting around the top, back and sides of the bookcase, and fixed this into place using a staple gun. (My house has had some damp problems, so this was a precautionary measure.)
Step seven: Install the bookcase
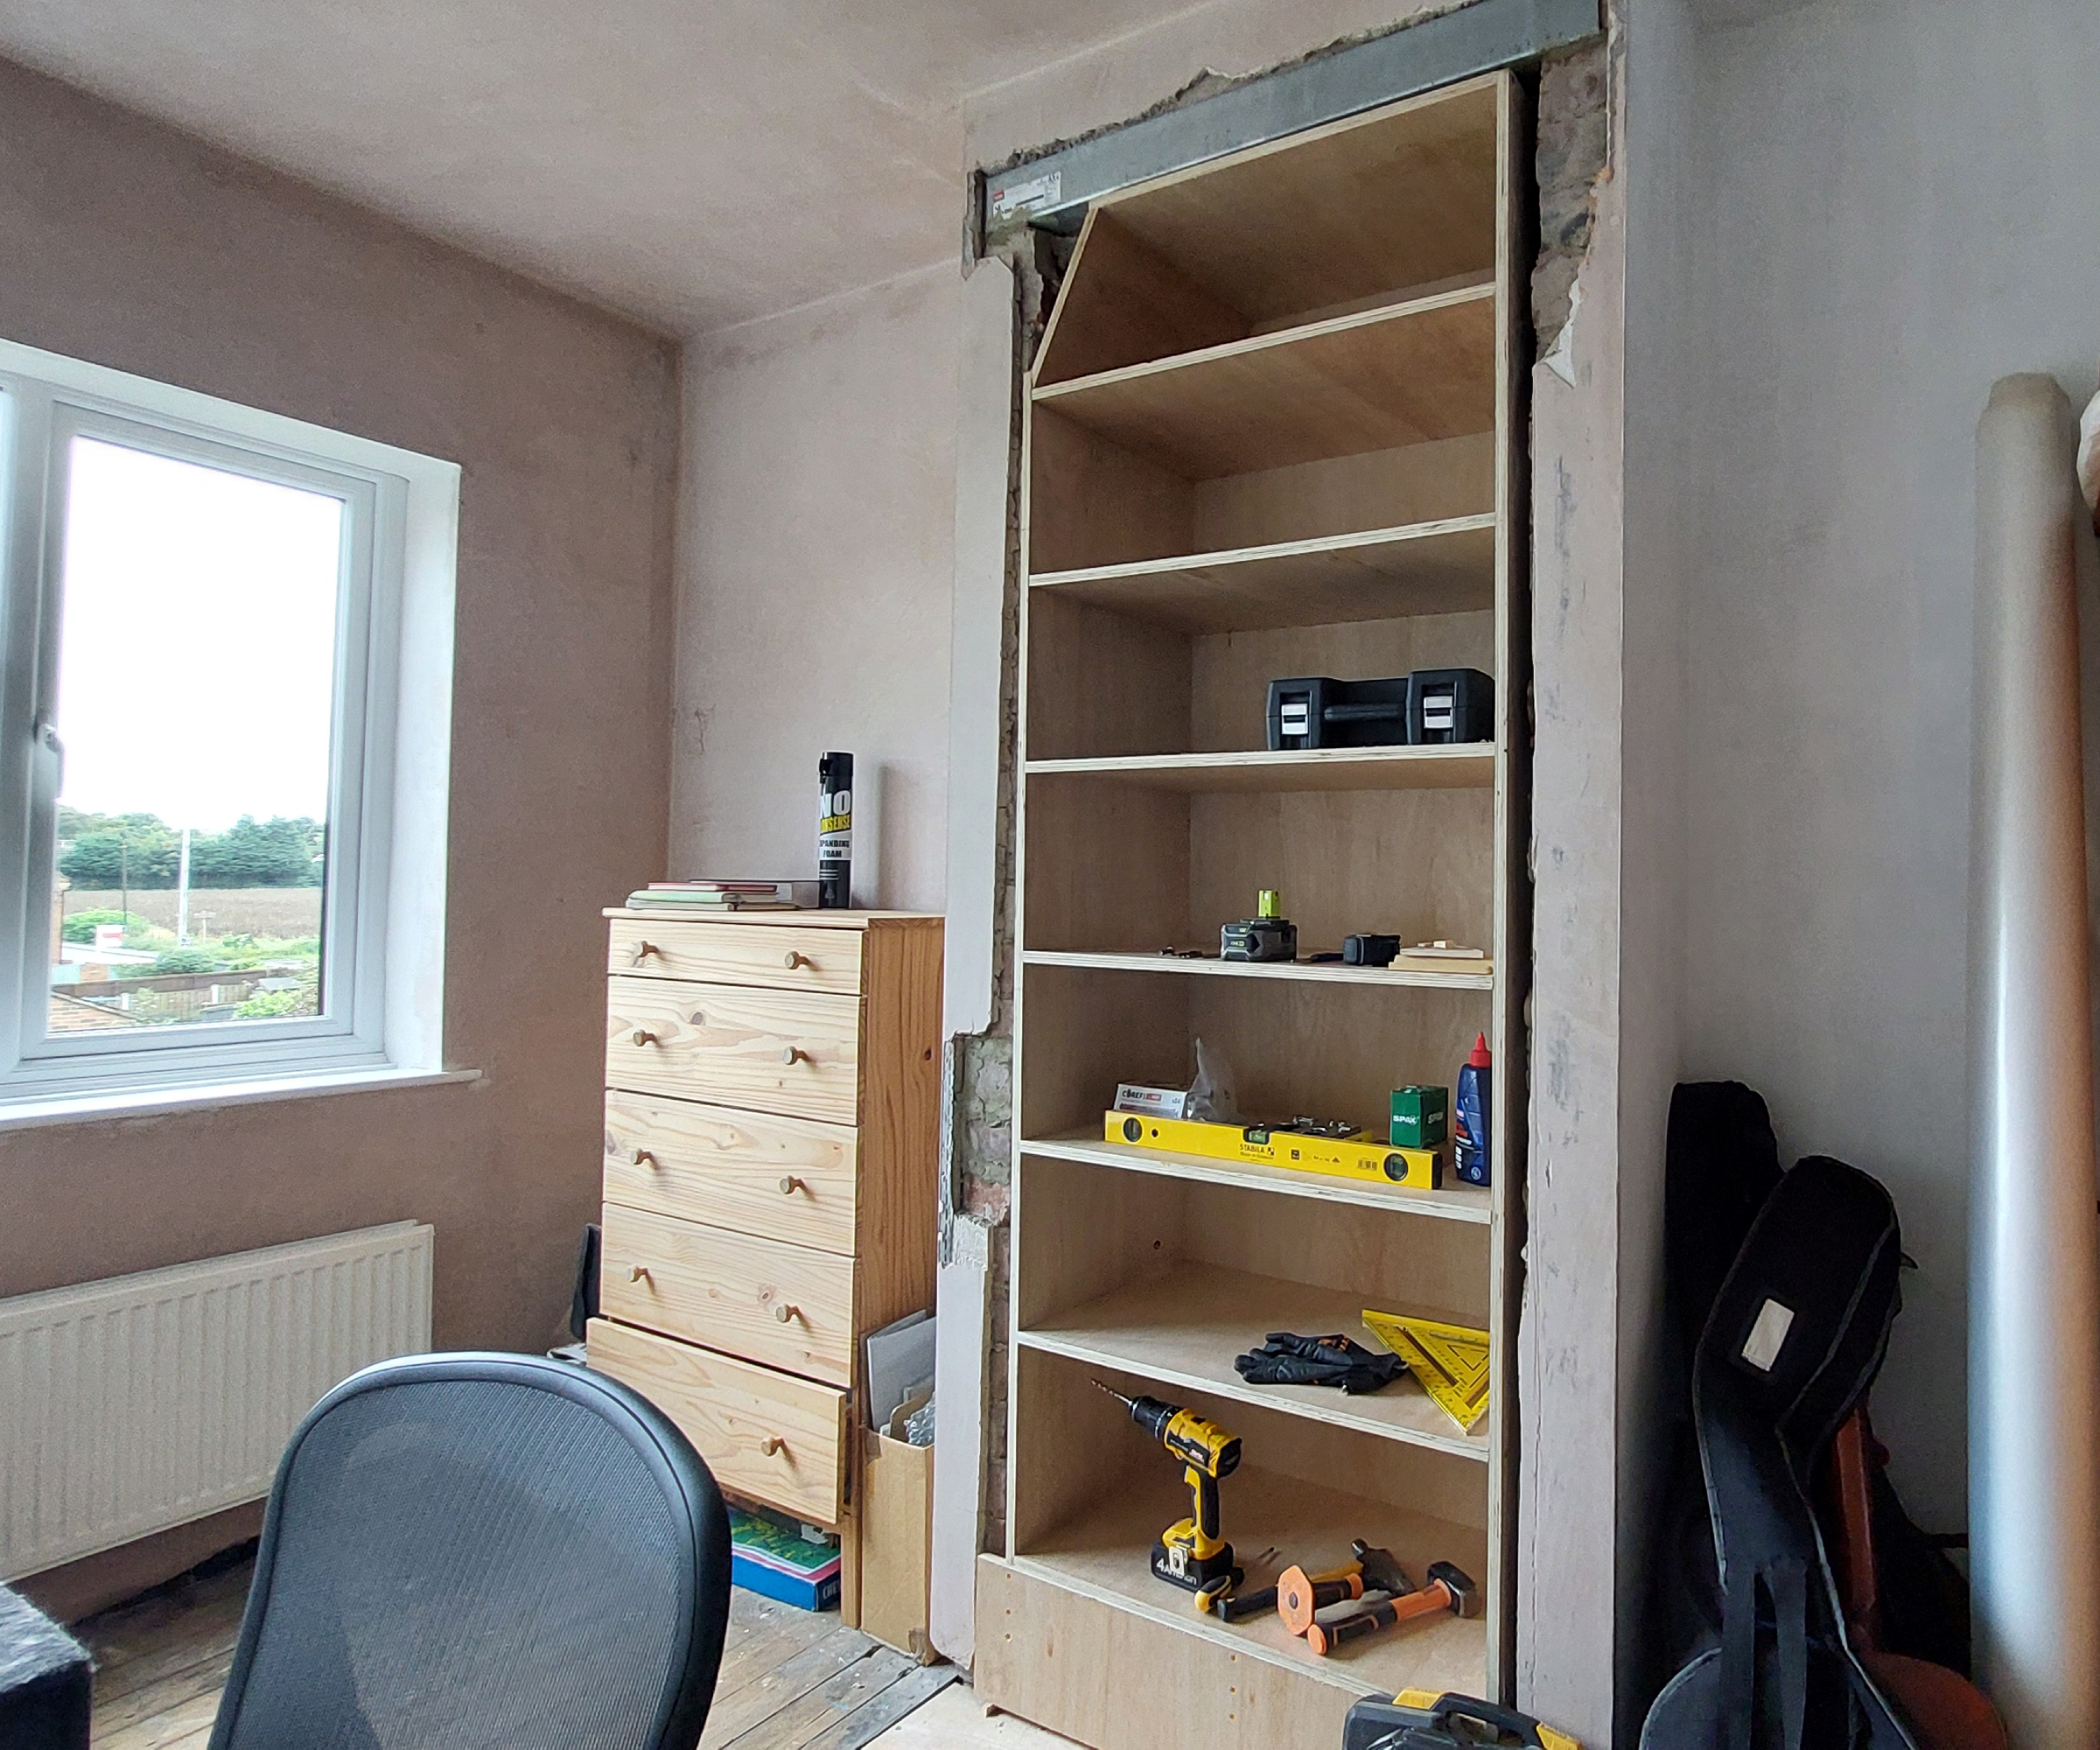
With plenty of help, I lifted the heavy, fully constructed bookcase into place within the chimney breast recess.
The bookcase rested stably on the E-shaped frame I’d installed earlier, but for added security, I screwed the bookcase into the wall with two of these Corefix Heavy Duty Dot and Dab Wall Fixings at each side. (First, I drilled holes to accommodate the fixings into the bookcase sides and chimney breast walls, using a wood bit and a masonry bit respectively.)
And with that, the bookcase was fully built and installed. It has transformed the space, providing storage for hundreds of books, while making the room feel larger and less crowded.
As you can see, I still have some finishing work to do. I’ll need to hire a plasterer to patch up the wall around the bookcase, and once that’s done I’ll install architrave at each edge.
Finally, I’ll paint the bookcase and proudly organise my books – and perhaps a couple of Homebuilding & Renovating magazine back-issues – upon its shelves.
FAQs
Is it dangerous to convert a chimney breast into a bookcase?
Without expert advice and a cautious approach, hollowing out a chimney breast to create a bookcase could carry a high risk of structural damage to the building. This is because the bricks or stones that make up the chimney breast might be supporting the chimney stack or other features.
However, taking proper precautions such as installing a load-bearing lintel at the top of the excavated area should ensure your chimney breast transformation succeeds without causing any structural issues. You'll need to take the advice of a structural engineer before embarking on your project.
If you do choose to remove your chimney stack at any point, read our guide to what you can expect to pay for chimney stack removal costs.
What other interior features can be made out of a chimney breast?
Keen DIYers quite commonly create interior features by taking out sections of a chimney breast. Niches or nooks to house an ornament, candle or log piles are especially popular, and can sometimes be accomplished without major precautions such as installation of a lintel.
A tall, narrow, shelved recess is another option to consider, if turning your chimney breast into a bookcase seems like too much of a challenge. Or, instead of removing the chimney breast, try these fireplace alcove ideas instead.
Once you've got to the stage where your bookcase is in situ and the walls have been plastered, make sure you get the best finish possible by following our guide to sanding MDF and check out the expert advice in how to paint MDF.
Pete Wise is a freelance writer and keen DIYer from Leeds. Pete's tool reviews have featured in titles including Homebuilding & Renovating, Ideal Home and The Independent. He also writes features and news articles for publications such as The Guardian, BBC Good Food and T3. When he isn't busy writing, Pete can often be found at libraries, pubs and live music venues. He finds tile-cutting strangely zen.
