Can you sand decorators caulk? The answer isn’t as straightforward as you might think
Here we answer the question: Can you sand decorators caulk and tell you how to get the best finish when applying it

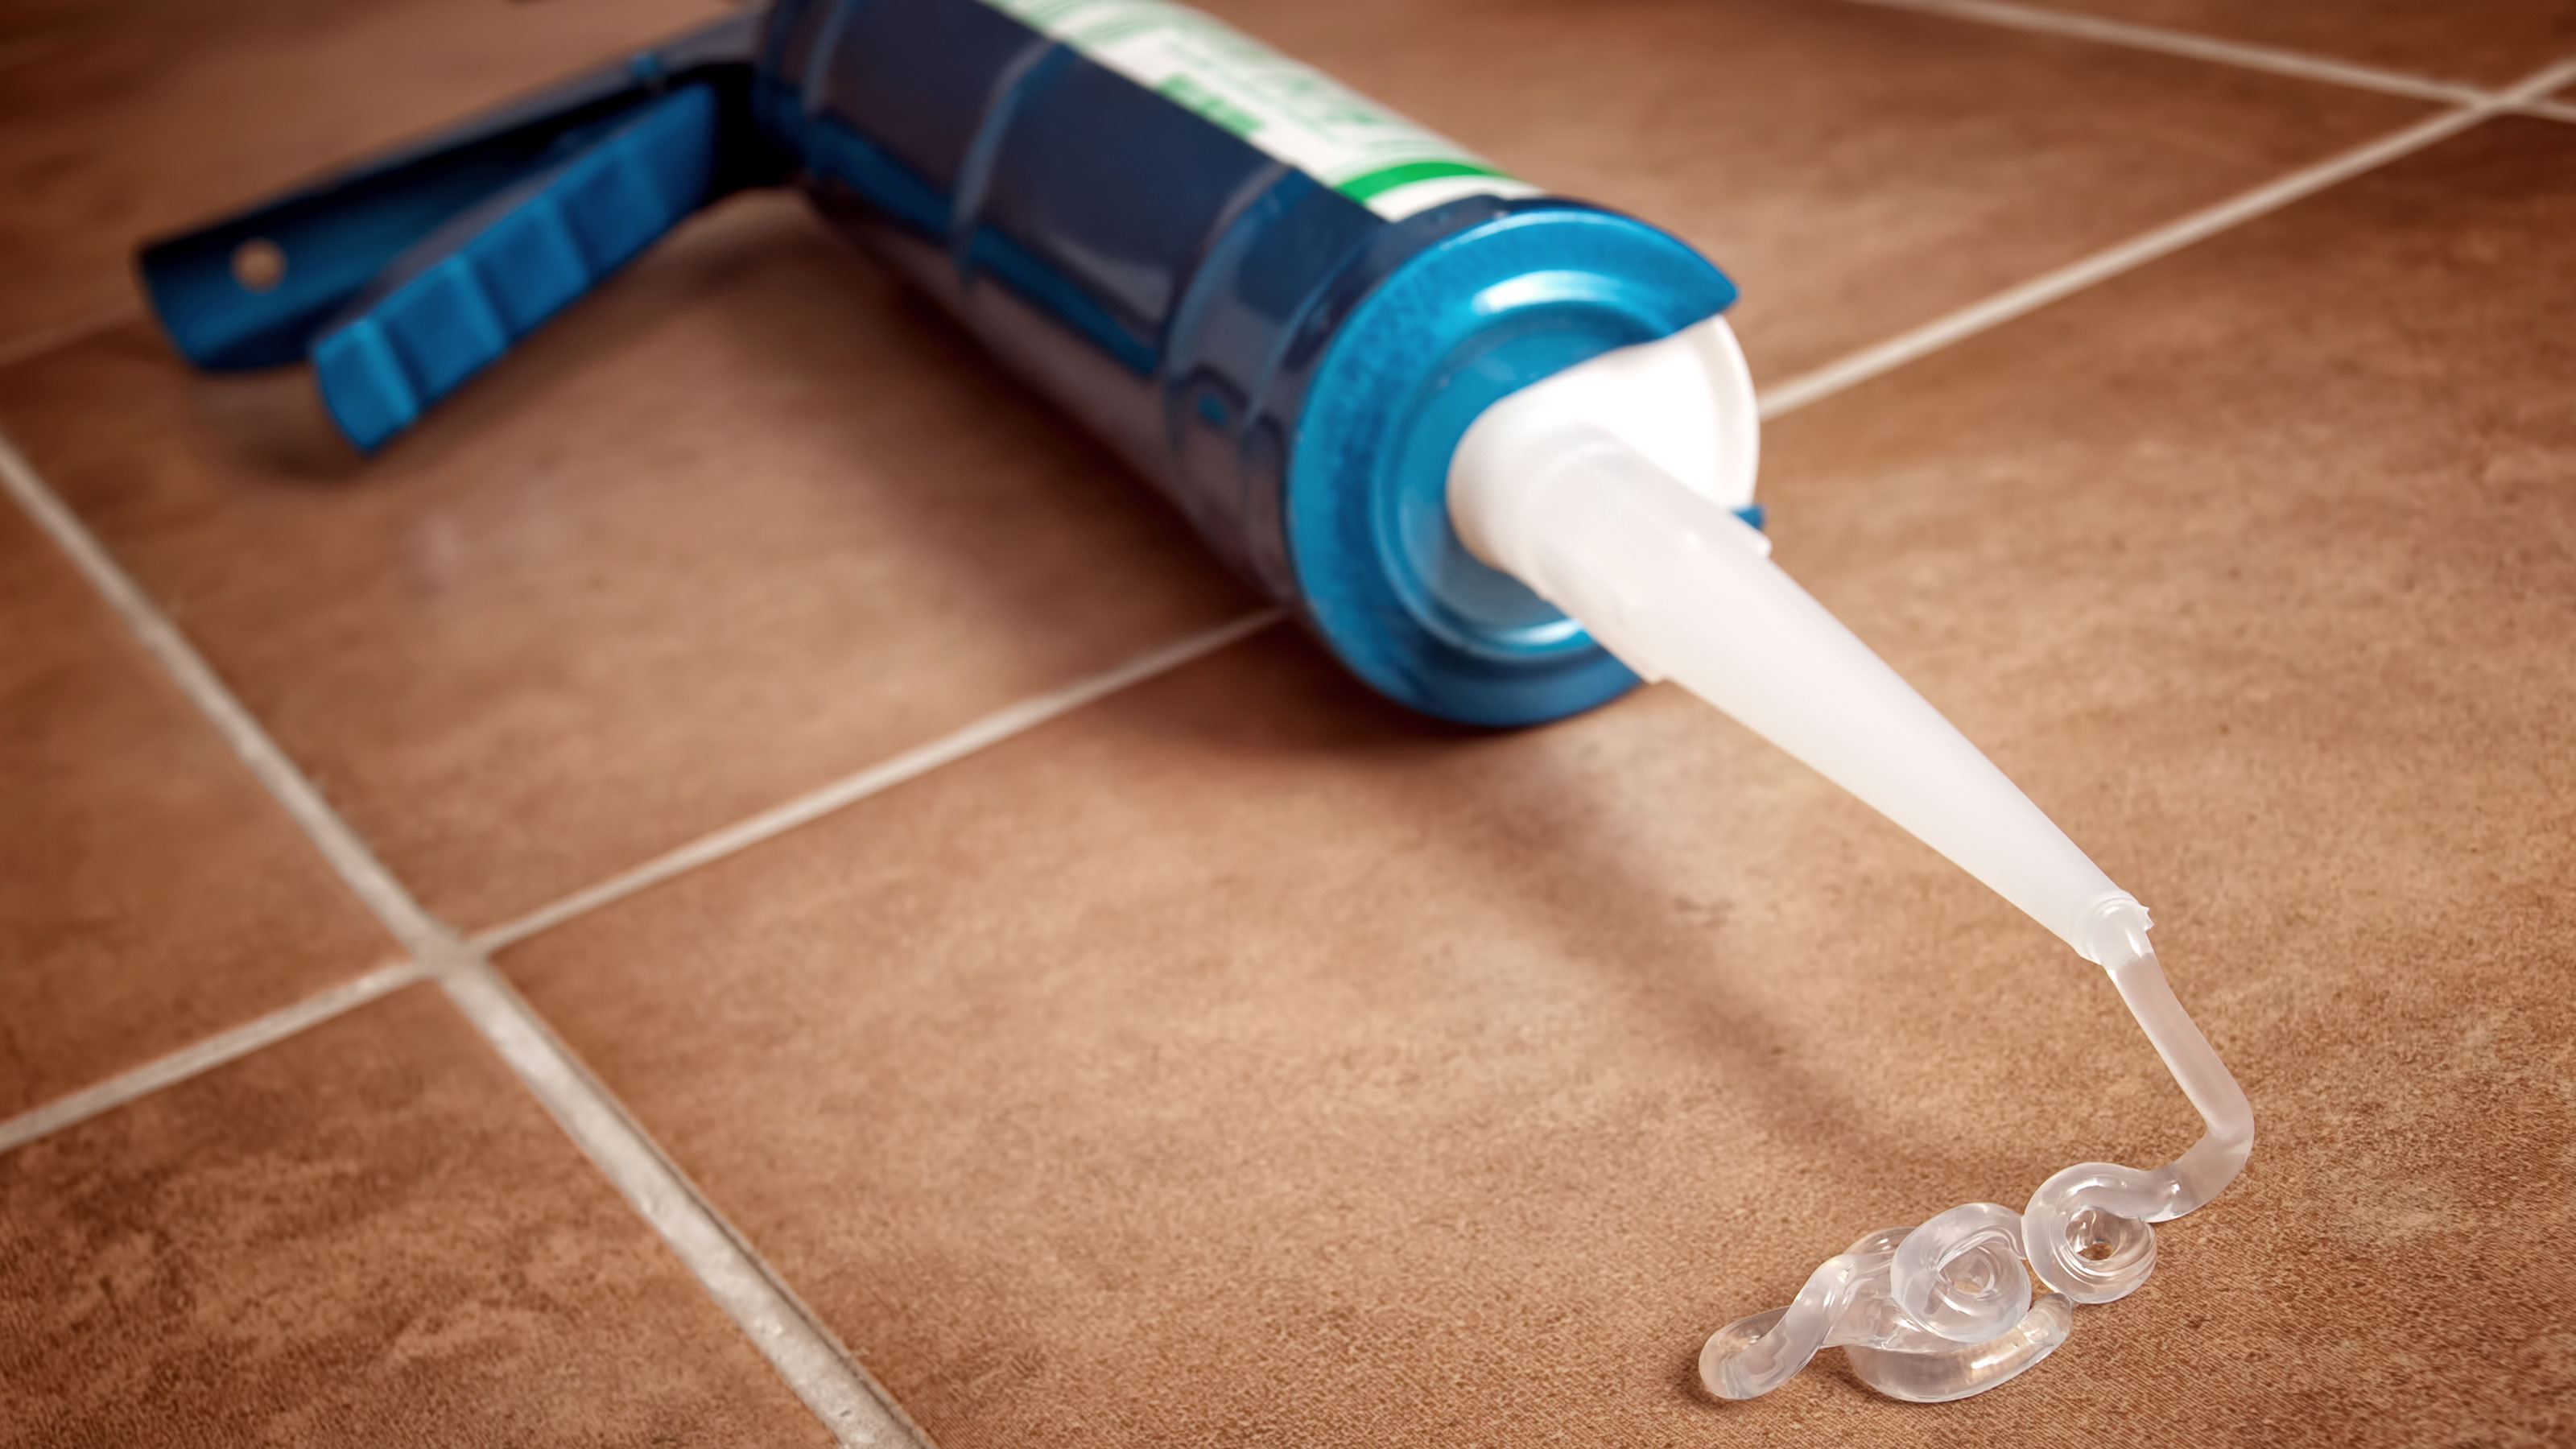
Can you sand decorators caulk? The first question that springs to mind is why would you need to sand it? Decorator’s caulk – also known as painters caulk – is a flexible filler that is used to fill small gaps to stop water ingress, dust and draughts. Its makeup means that you need to work with it fast to get the finish you need.
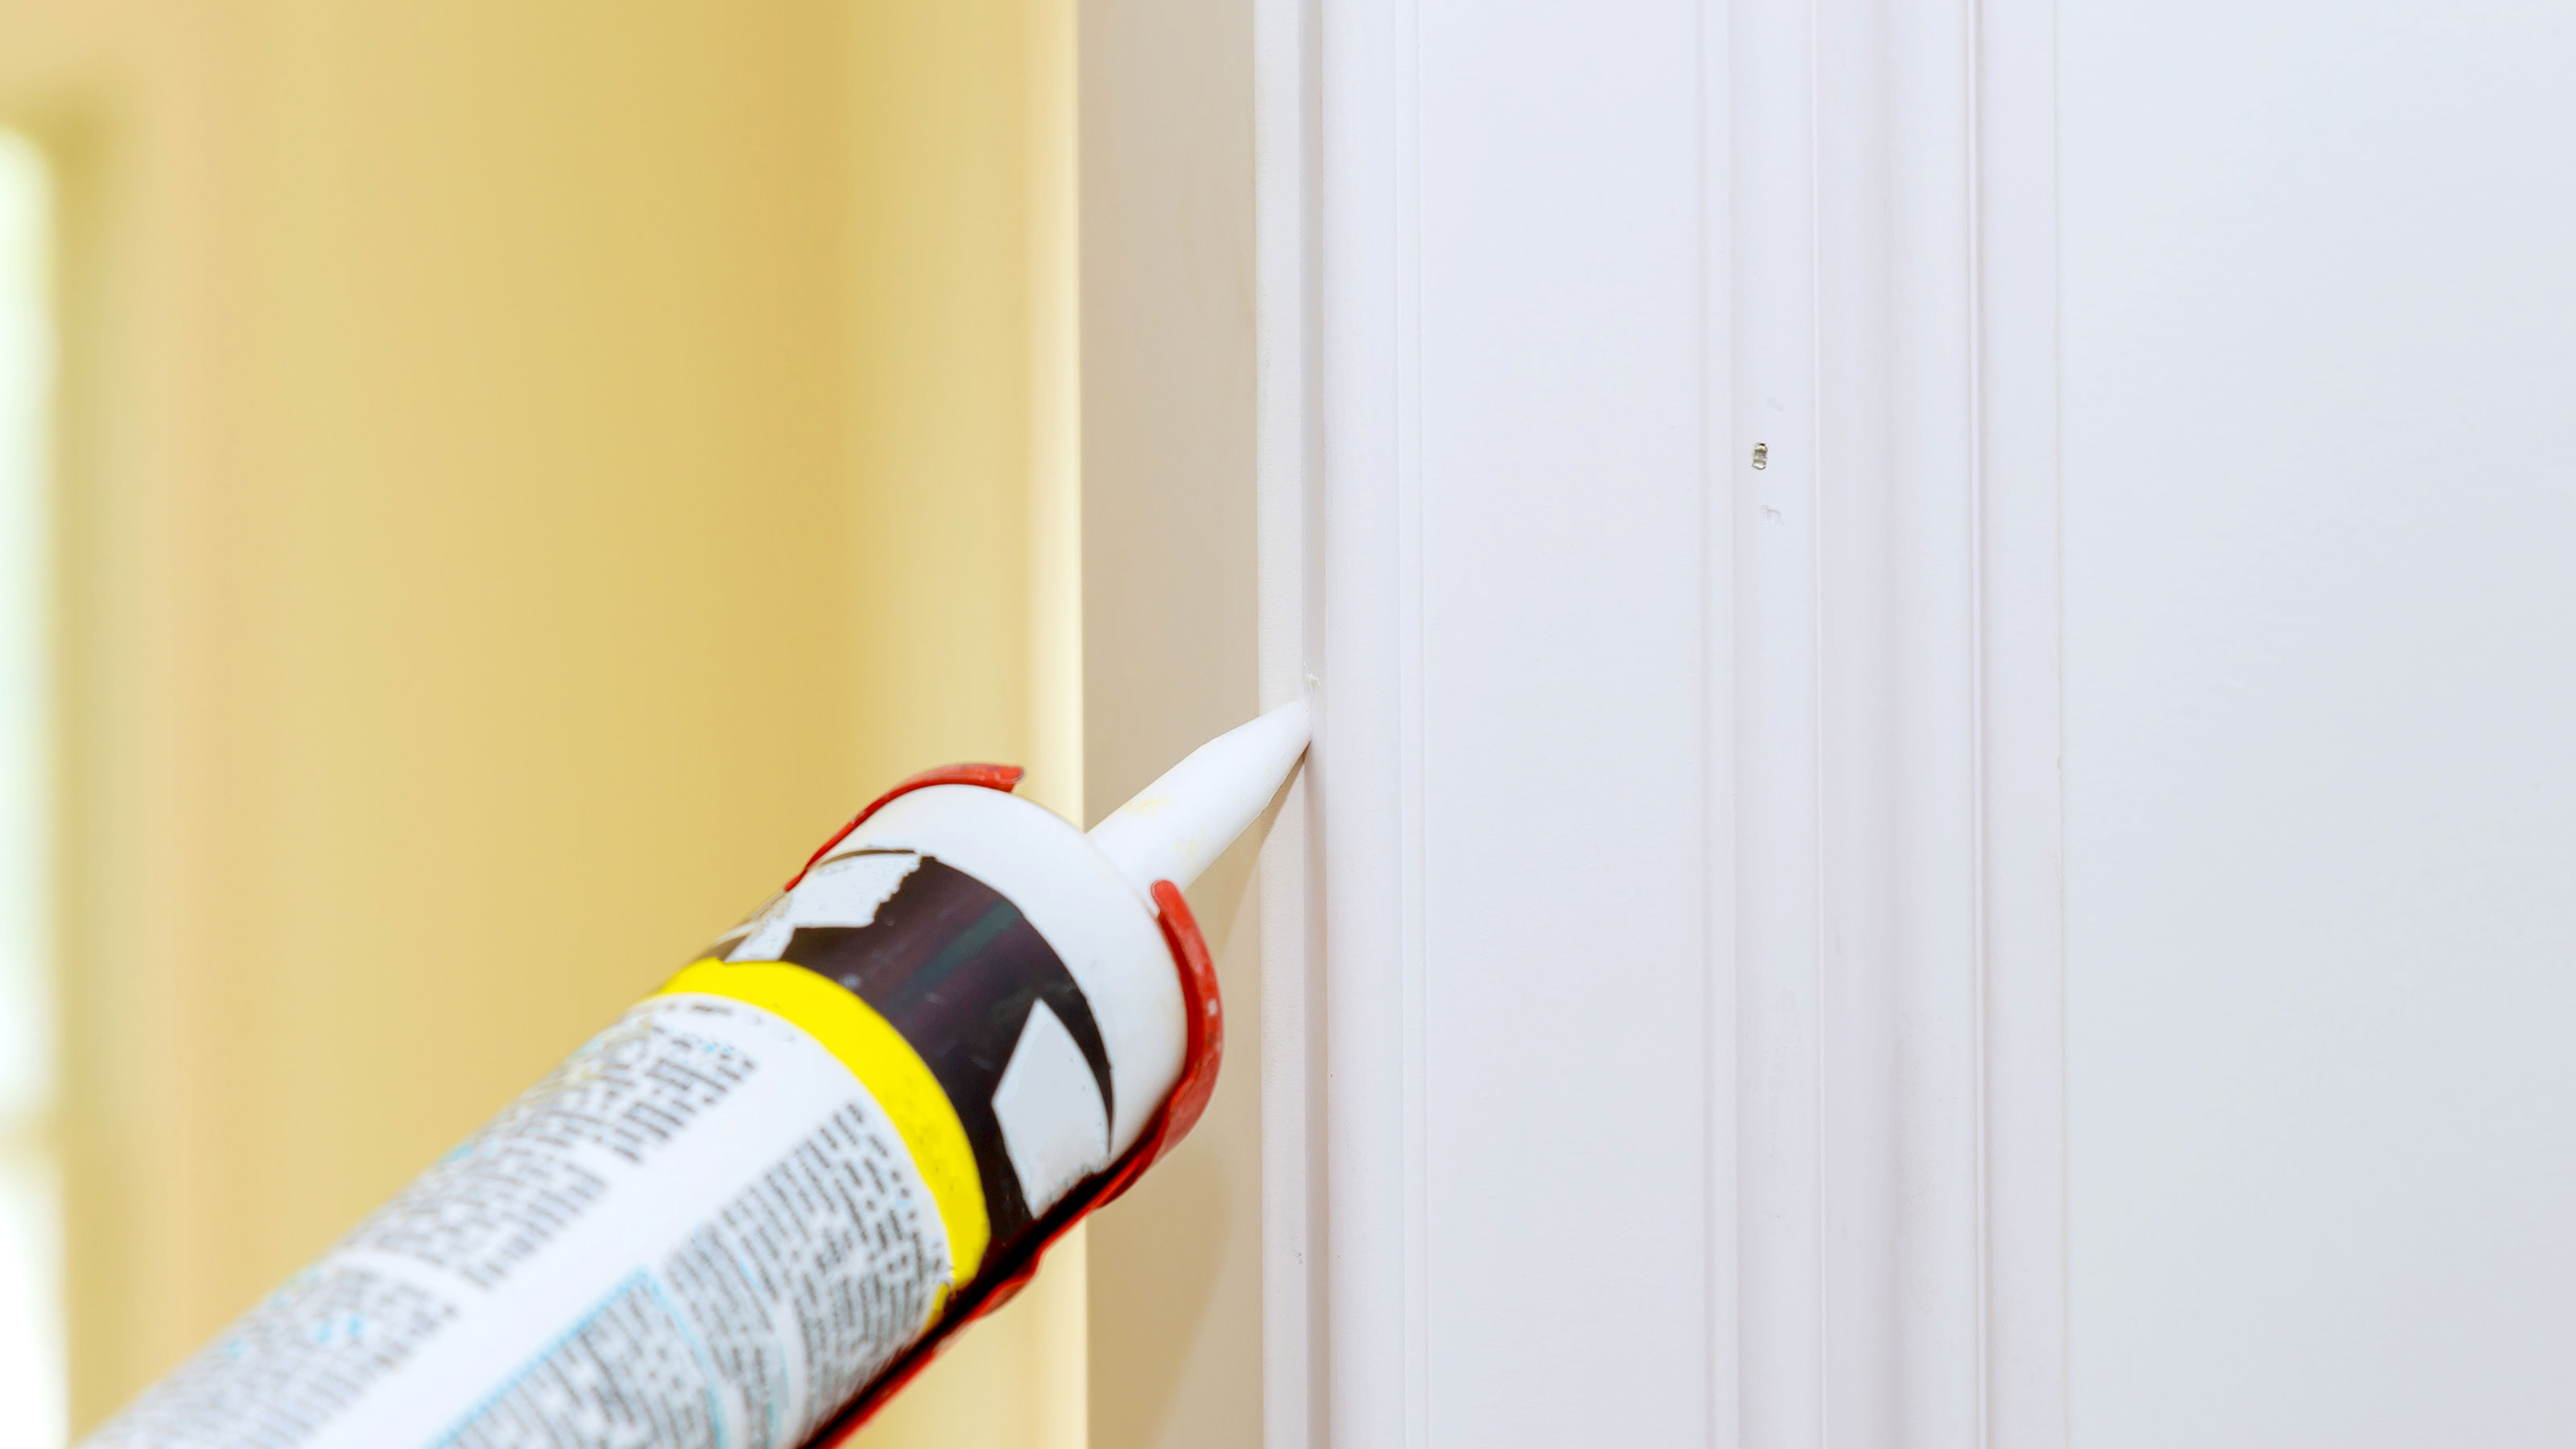
A good use of decorators caulk is when painting skirting boards, doors or windows. These rarely sit flush with the wall leaving small visible gaps that need to be dealt with to get a pristine high-quality finish. Caulking will eliminate these gaps and when treated properly,will leave a smooth finish that won’t need sanding and be ready for painting.
Can you sand decorators caulk?
The simple answer is no. And if you apply it properly you shouldn’t need to sand decorators caulk like you do filler. Decorators caulk is typically made up from a mixture of latex and acrylic materials, which makes it flexible and water resistant. But this means that it doesn’t set like a traditional plaster-based filler.
And, this is what makes it difficult to sand down. Even when decorators caulk is fully cured and doing its job, it is still flexible. So when you try to sand naked caulk it will simply clog up your sandpaper and create little rolls of sealant that come off the surface. Caulk never sets hard enough to allow for sanding to a smooth finish.
However, if you are painting caulk then you will be able to sand it. But, effectively it's the paint that you are sanding down rather than the caulk itself. Once you get past the paint you will start to encounter the same problems as mentioned before.

What’s the difference between decorators caulk, caulk and silicone?
Caulk is an all encompassing term that is commonly applied to different types of sealants. Caulk can be a decorators caulk or it can be a silicone sealant, the names are often interchangeable.
Silicone and caulk both share similar characteristics. Both are waterproof and flexible, but they have differing levels of silicone, which makes them more suitable for certain jobs.
Decorators or painters caulk has less silicone which means it is more rigid when it dries/cures making it the ideal choice for small gaps that can be painted over, but not sanded.
A silicone sealant – typically used in bathrooms – contains a higher level of silicone than decorators caulk, giving it more elasticity and better water resistance. This means it can expand and contract more easily while still keeping a watertight seal.
Check out our silicone vs caulk guide for more detail on the differences and where you should be using decorators caulk and silicone sealant.
How do I deal with lumpy, ugly caulk?
If you are looking to sand decorators caulk this probably means that you are not happy with the finish of the caulk you have applied. It may be uneven, lumpy or poorly applied so it's lifting off the surface. If it's not as smooth as you want, the only real alternative is to remove the caulk or silicone and start again.
If the sealant is lifting off the surface, removing the caulk or silicone should be pretty straightforward. You can use a caulk removal tool like this Amazon Basics 3-IN-1 Caulk Tool for Removal and Application. It's inexpensive and its metal end is great for getting underneath sealant. It's also good for removing well applied sealant
Alternatively, you can use a sharp knife to get rid of the bulk of the sealant, followed by a scraper like this Stanley Plastic Window Scraper from Amazon to get rid of smaller bits. Finally, to get rid of any sealant residue or small stubborn sealant you can call upon the right sandpaper grade to get a final smooth finish. We recommend using 120-180 grit sandpaper, so you are not removing too much of the surrounding material.
What tools should I use to apply decorators caulk smoothly?
The default tool you need to apply caulk is a caulking gun like this ProDec Extra Strong Skeleton Caulking Gun from Amazon. If you do a lot of caulking you might want to upgrade and get a gun with a larger barrel and more features like this JES M26S Caulking Gun from Amazon.
To smooth out caulk a lot trades people use a wet finger and run it along the sealant. An alternative is to use a wet sponge and run along the sealant. Both these are good for jobs like caulking skirting boards where you have small gaps.
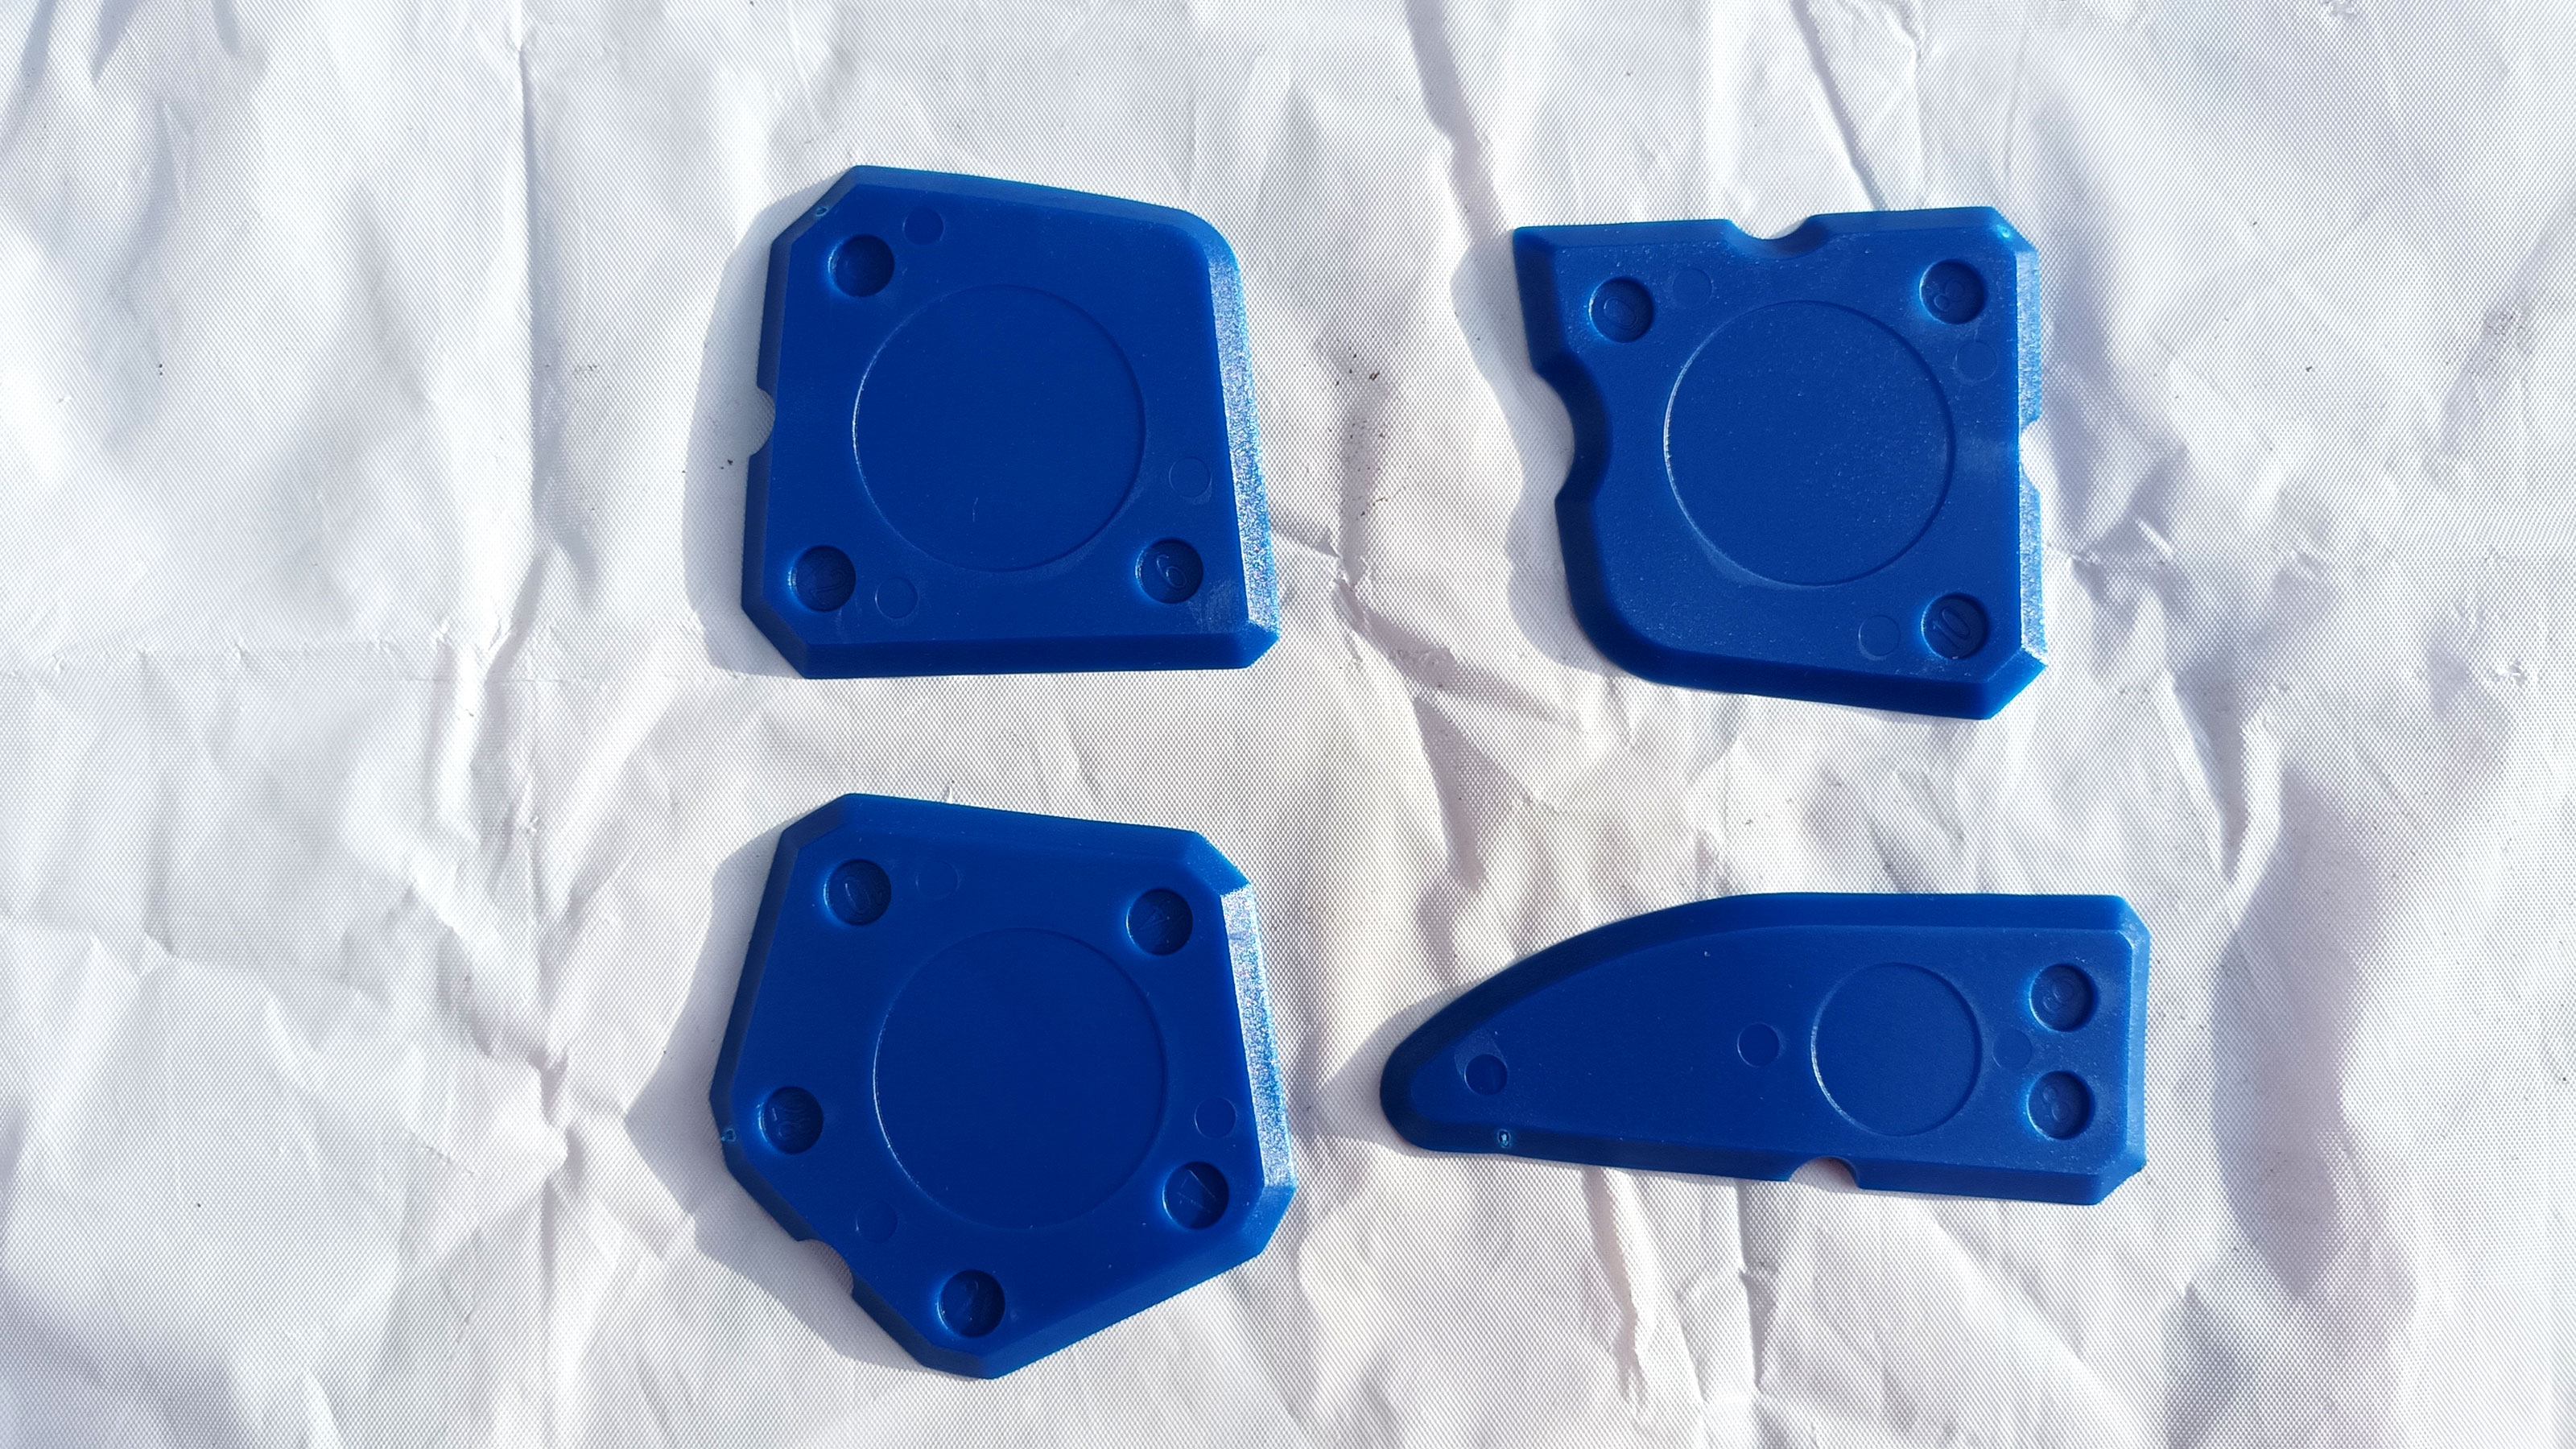
If you’re a novice, don't like the idea of using your finger, have slightly bigger gaps to fill or want a consistent shape to the sealant you should invest in a sealant finishing tool set like this Draper Sealant Smoothing Set on Amazon. It's inexpensive, offers plenty of profile shapes to give a uniform finish. Spray the sealant with a mixture of water and a dash of washing up liquid before using the tool to get the perfect finish.
Whatever option you choose to smooth your sealant make sure you do it within 5-10 minutes before it starts to dry. If you leave it too long it will set and you won’t be able to mould. Check the manufacturer's instructions to see how long they recommend.

Get the Homebuilding & Renovating Newsletter
Bring your dream home to life with expert advice, how to guides and design inspiration. Sign up for our newsletter and get two free tickets to a Homebuilding & Renovating Show near you.
Steve Jenkins is a freelance content creator with over two decades of experience working in digital and print and was previously the DIY content editor for Homebuilding & Renovating.
He is a keen DIYer with over 20 years of experience in transforming and renovating the many homes he has lived in. He specialises in painting and decorating, but has a wide range of skills gleaned from working in the building trade for around 10 years and spending time at night school learning how to plaster and plumb.
He has fitted kitchens, tiled bathrooms and kitchens, laid many floors, built partition walls, plastered walls, plumbed in bathrooms, worked on loft conversions and much more. And when he's not sure how to tackle a DIY project he has a wide network of friends – including plumbers, gas engineers, tilers, carpenters, painters and decorators, electricians and builders – in the trade to call upon.

