A guide to building with masonry — cavities, wall ties, process and more
Our self-build expert looks at building with masonry to construct the superstructure of your project
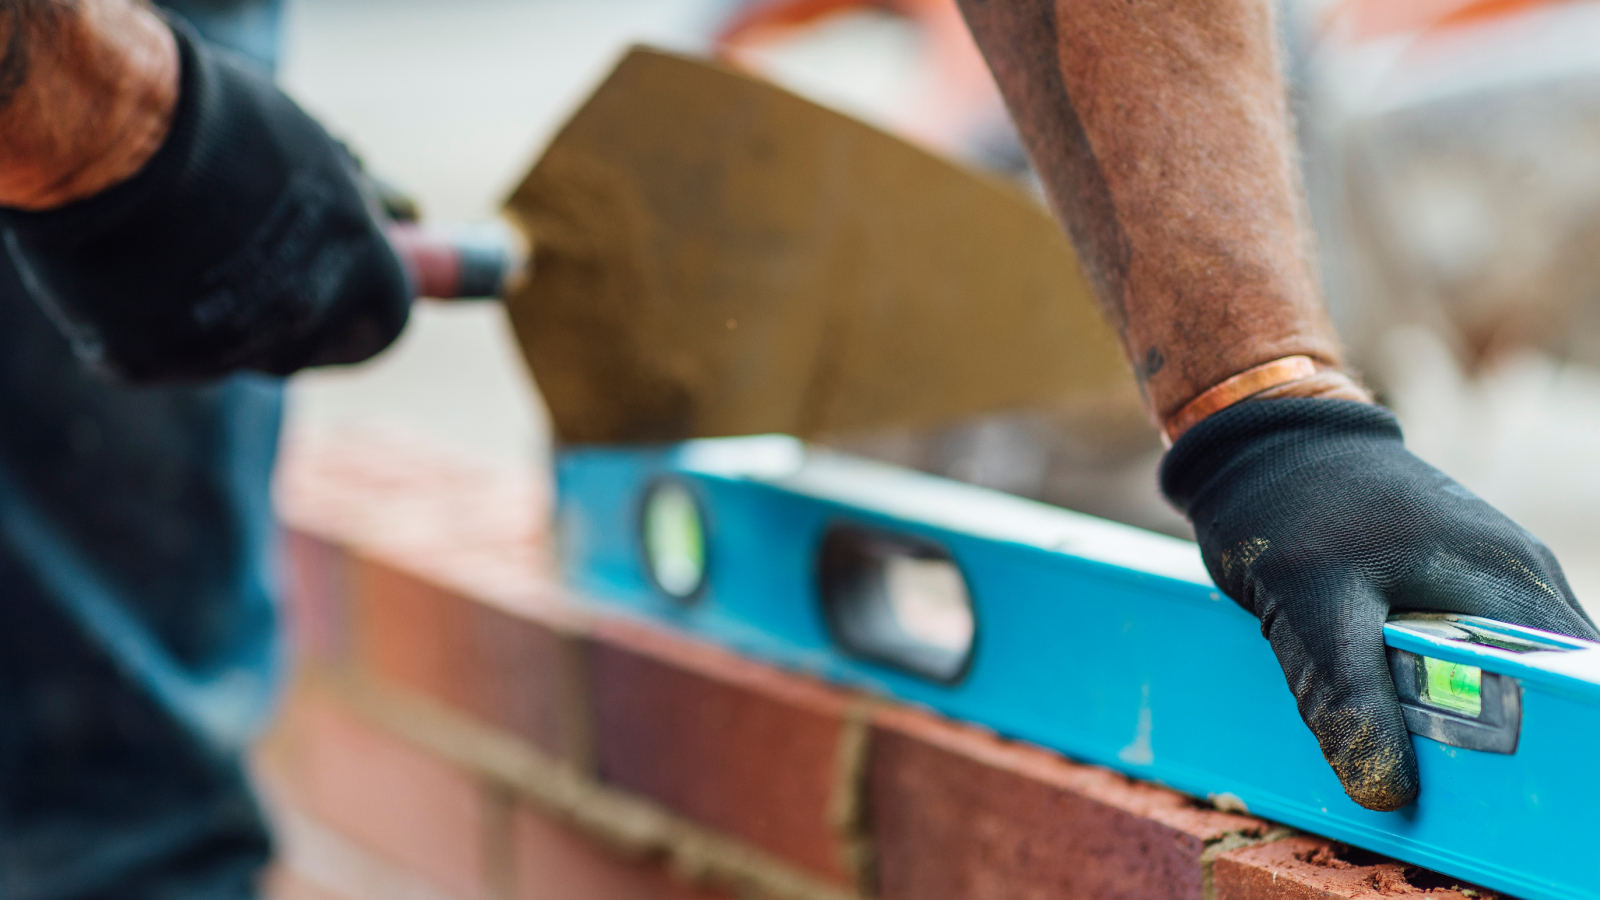
Building with masonry requires a fair amount of skill, not to mention the knowledge of the systems needed for tying it all together to form a strong structure.
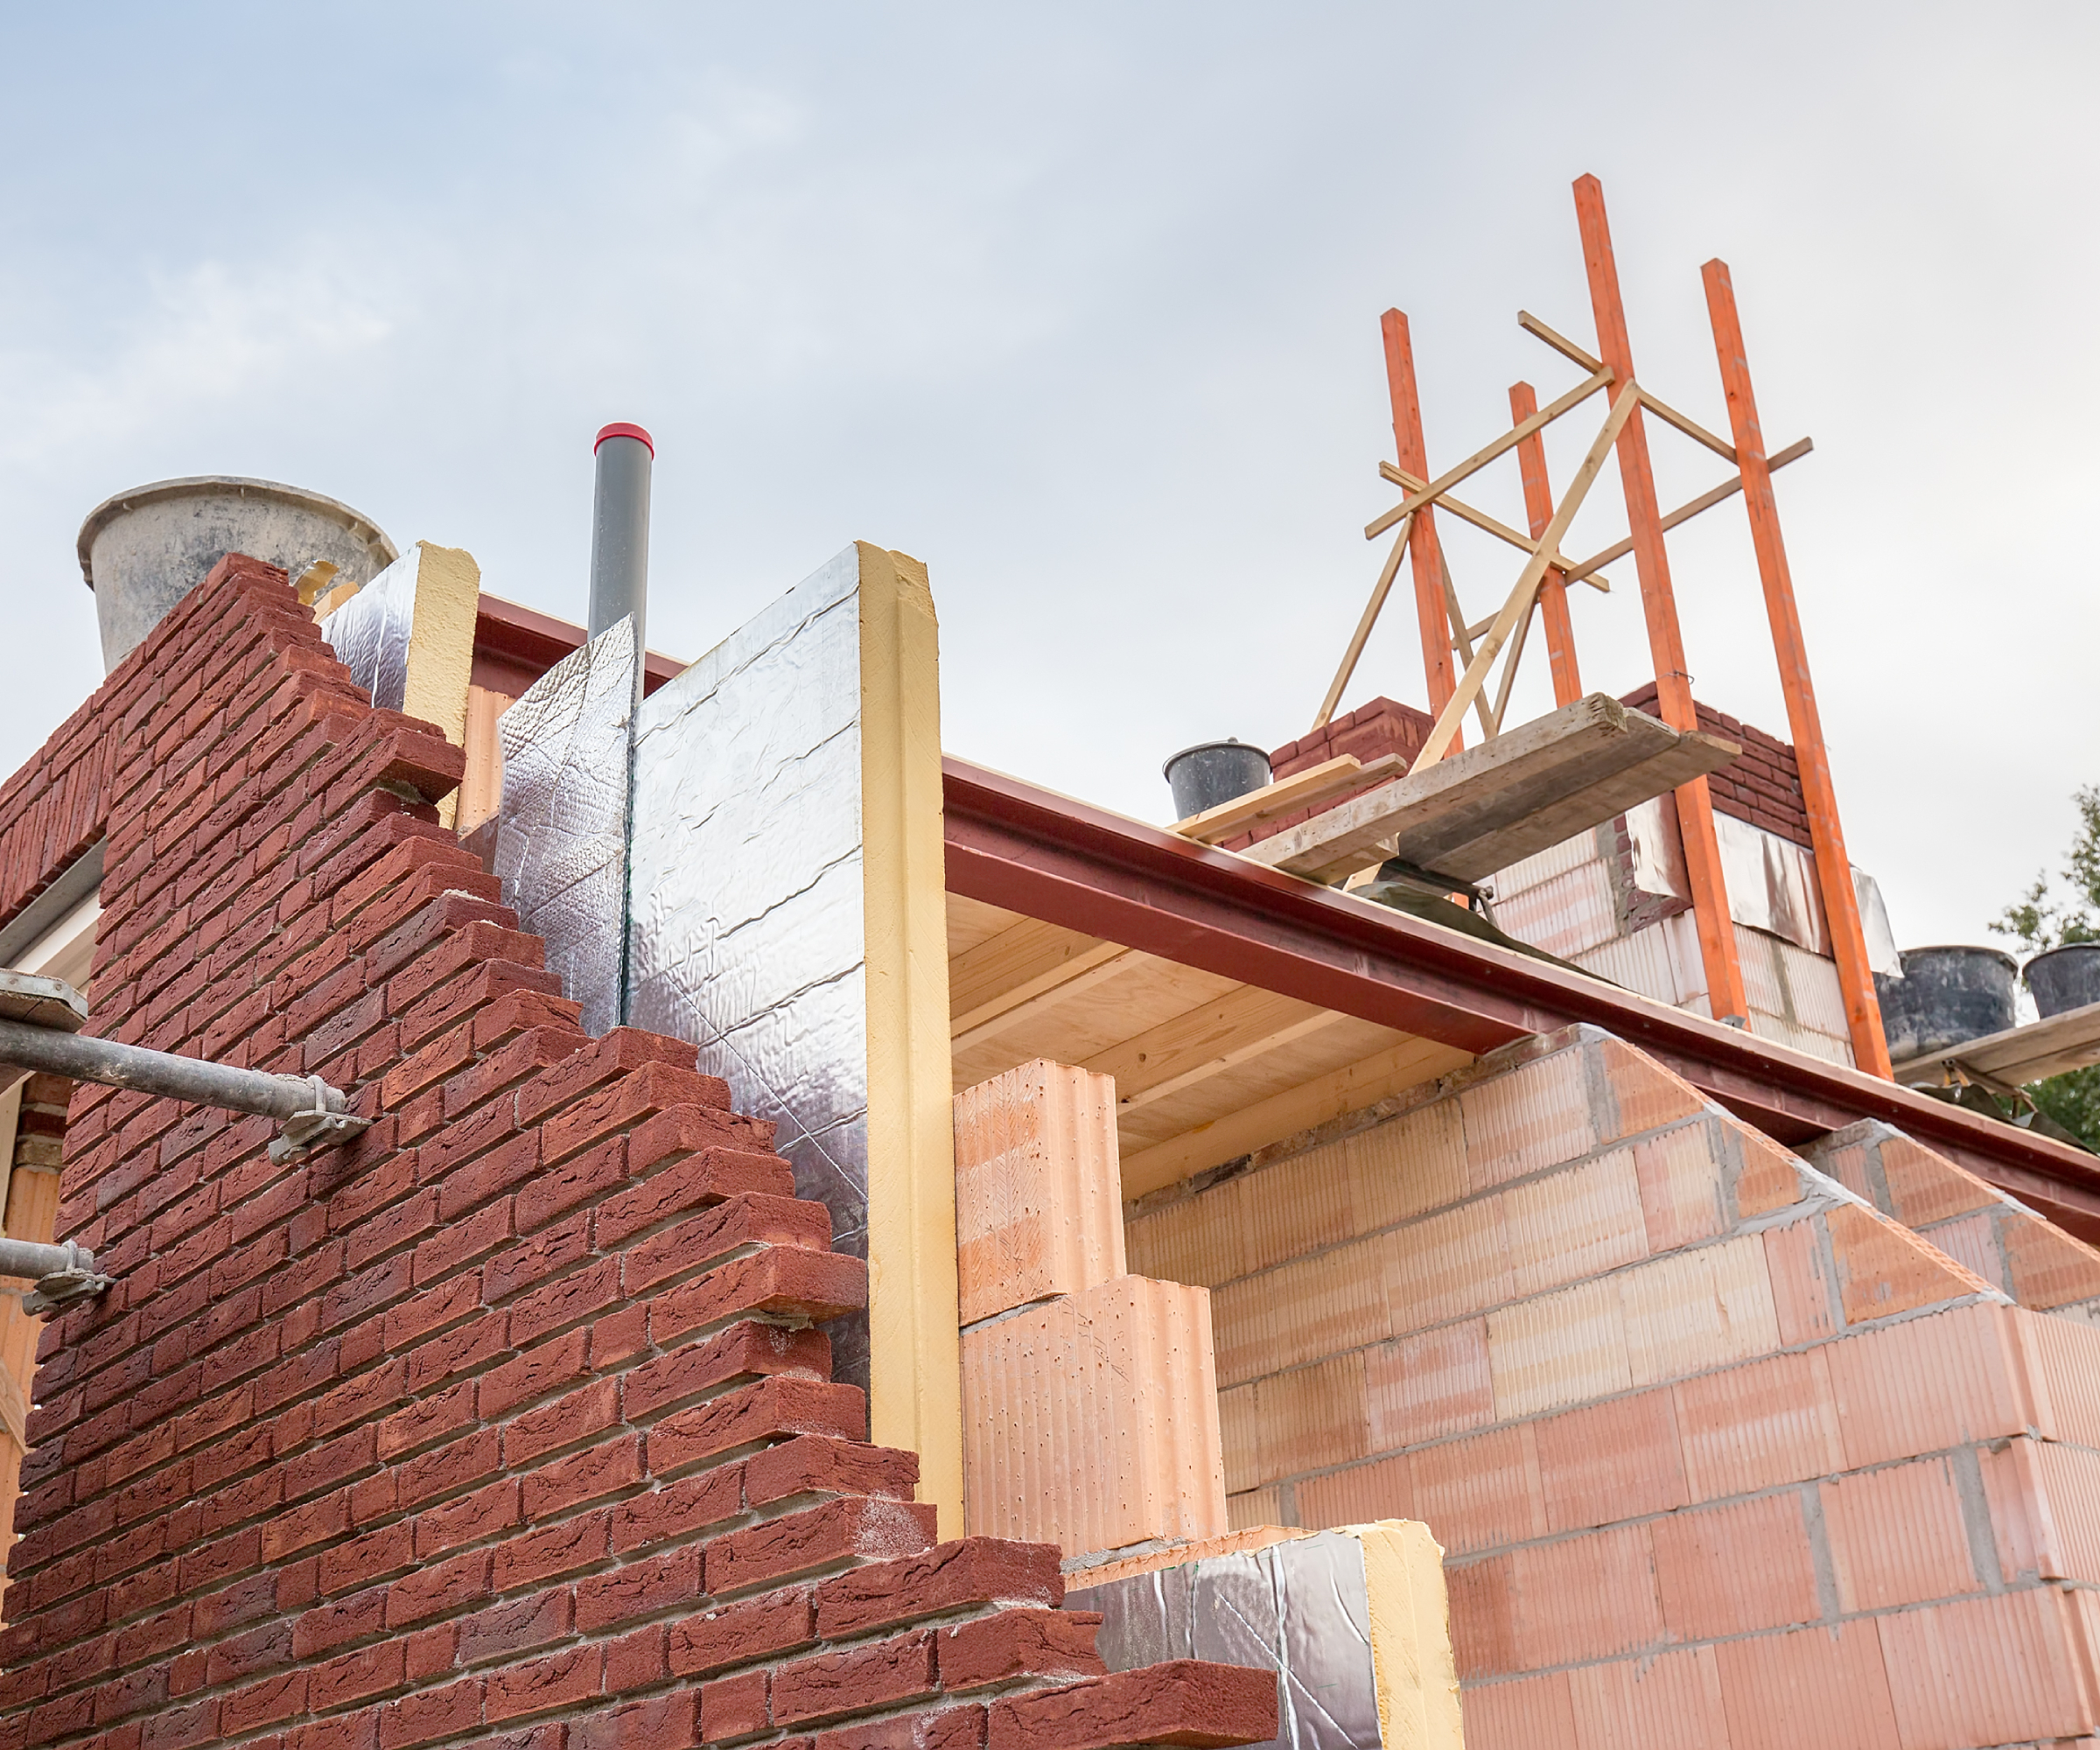
A masonry wall is formed with an inner leaf of concrete blocks and external cladding (facing bricks in this case) to form a cavity. The two leaves are joined together with wall ties. This inner leaf of block work, forms the engineered structure of the house and provides the support to roofs, windows and doors and external cladding.
Thermal performance is provided by insulation fitted in the cavity, which can be a rigid board or full fill quilts to achieve the required U-value.
Here our expert Mark Stevenson takes an in-depth dive into using brick and block when building a house's superstructure, which – for the uninitiated – is the part of the build above the ground.
Building with masonry– pros and cons
Before choosing building with masonry as your build type, it's worth weighing up the pros and cons compared to building with timber frame. Depending on your circumstances, plot, timeframe, budget and what you want to achieve, one build method – either timber vs masonry – will usually prove more compatible than the other.
The principal advantages of building with masonry are as follows:
- A market generic solution with a common understanding of how to design and build
- Widely accepted by mortgage providers and insurers, unless you’re building something unusual
- Established, locally available skill base available throughout the UK
- Hands on self-builders can get involved with the construction activities
Meanwhile the disadvantages of building with masonry include:
- Most of the types of concrete blocks offer little in the way of thermal resistance and therefore the block inner leaf generally does little to improve thermal performance. There are exceptions such as lightweight thermal blocks, but even these will require additional insulation to meet the latest requirements of Building Regulations.
- Can take time to build and there can be delays if weather conditions are not suitable or safe for bricklaying
- While blocks are generally cheaper, bricks can be expensive . Ultimately the cost of building with masonry and blockwork will depend on your choices of materials. Comparing wall system costs before you start is certainly worth doing, especially if you are on a tight budget
How to start your build
Building a brick and block house is literally laying one block on top of the other. Although it may sound simple, in actual fact it’s a highly skilled process that requires technical know-how to build a house that’s compliant, resilient to weather and looks beautiful.
The average bricklayer is a highly skilled individual with the strength and stamina to see the process through to the very end, no matter what the weather.
The process starts with the setting out of the building. This is about making sure the walls are in the right place and checking the substructures (the foundations) to ensure there’s adequate support for what’s about to be built.
Once the setting out has been done, it’s then a case of building the walls and forming the cavities incorporating the DPCs, lintels, cavity trays, wall ties, insulation, restraint straps, air vents, fire barriers and window and door openings.
There’s a lot going on and it all has to be built as per the construction details and in accordance with the building inspector and warranty provider’s requirements.
Depending on the insulation being used, either the external face brickwork or the internal block wall will be built first. This is so the insulation can be fixed in position correctly. If the insulation is full fill, there’s a risk that if the cavities aren’t clean, mortar snots will transfer water and saturate the insulation quilt. In this situation my advice is to build the outside face brickwork first to make sure the back of the brickwork is clean to eliminate this risk.
Bricklaying
The process of bricklaying is simple. Build up the corners and then run the wall in building to a straight and level line. Provided this is done with care and the mortar mix is correct, the walls will go up accurately.
Without the necessary due diligence, it’s quite easy for cavities to grow and levels to be out such that the brick coursing doesn’t work. This is known in the trade as a ‘course of pig’ and is a bricklayer’s worst nightmare.
As the work progresses, safe access needs to be provided in the form of scaffolding. There’s a tendency for self-builders to cut costs here by encouraging bricklayers to build as high as possible to cut down the number of scaffold lifts and visits from the scaffolder. I’ve seen what brickwork looks like when bricklayers are laying on tip toes, so my advice is don’t – give them great access at maximum 1.5m lifts.
Once the walls are up to joist level, the bricklayers leave and the carpenters move in to build the first floor. This takes a few days and is preceded with the installation of crash deck as the carpenters will be working at height and you don’t want to risk them falling.
Building a second storey
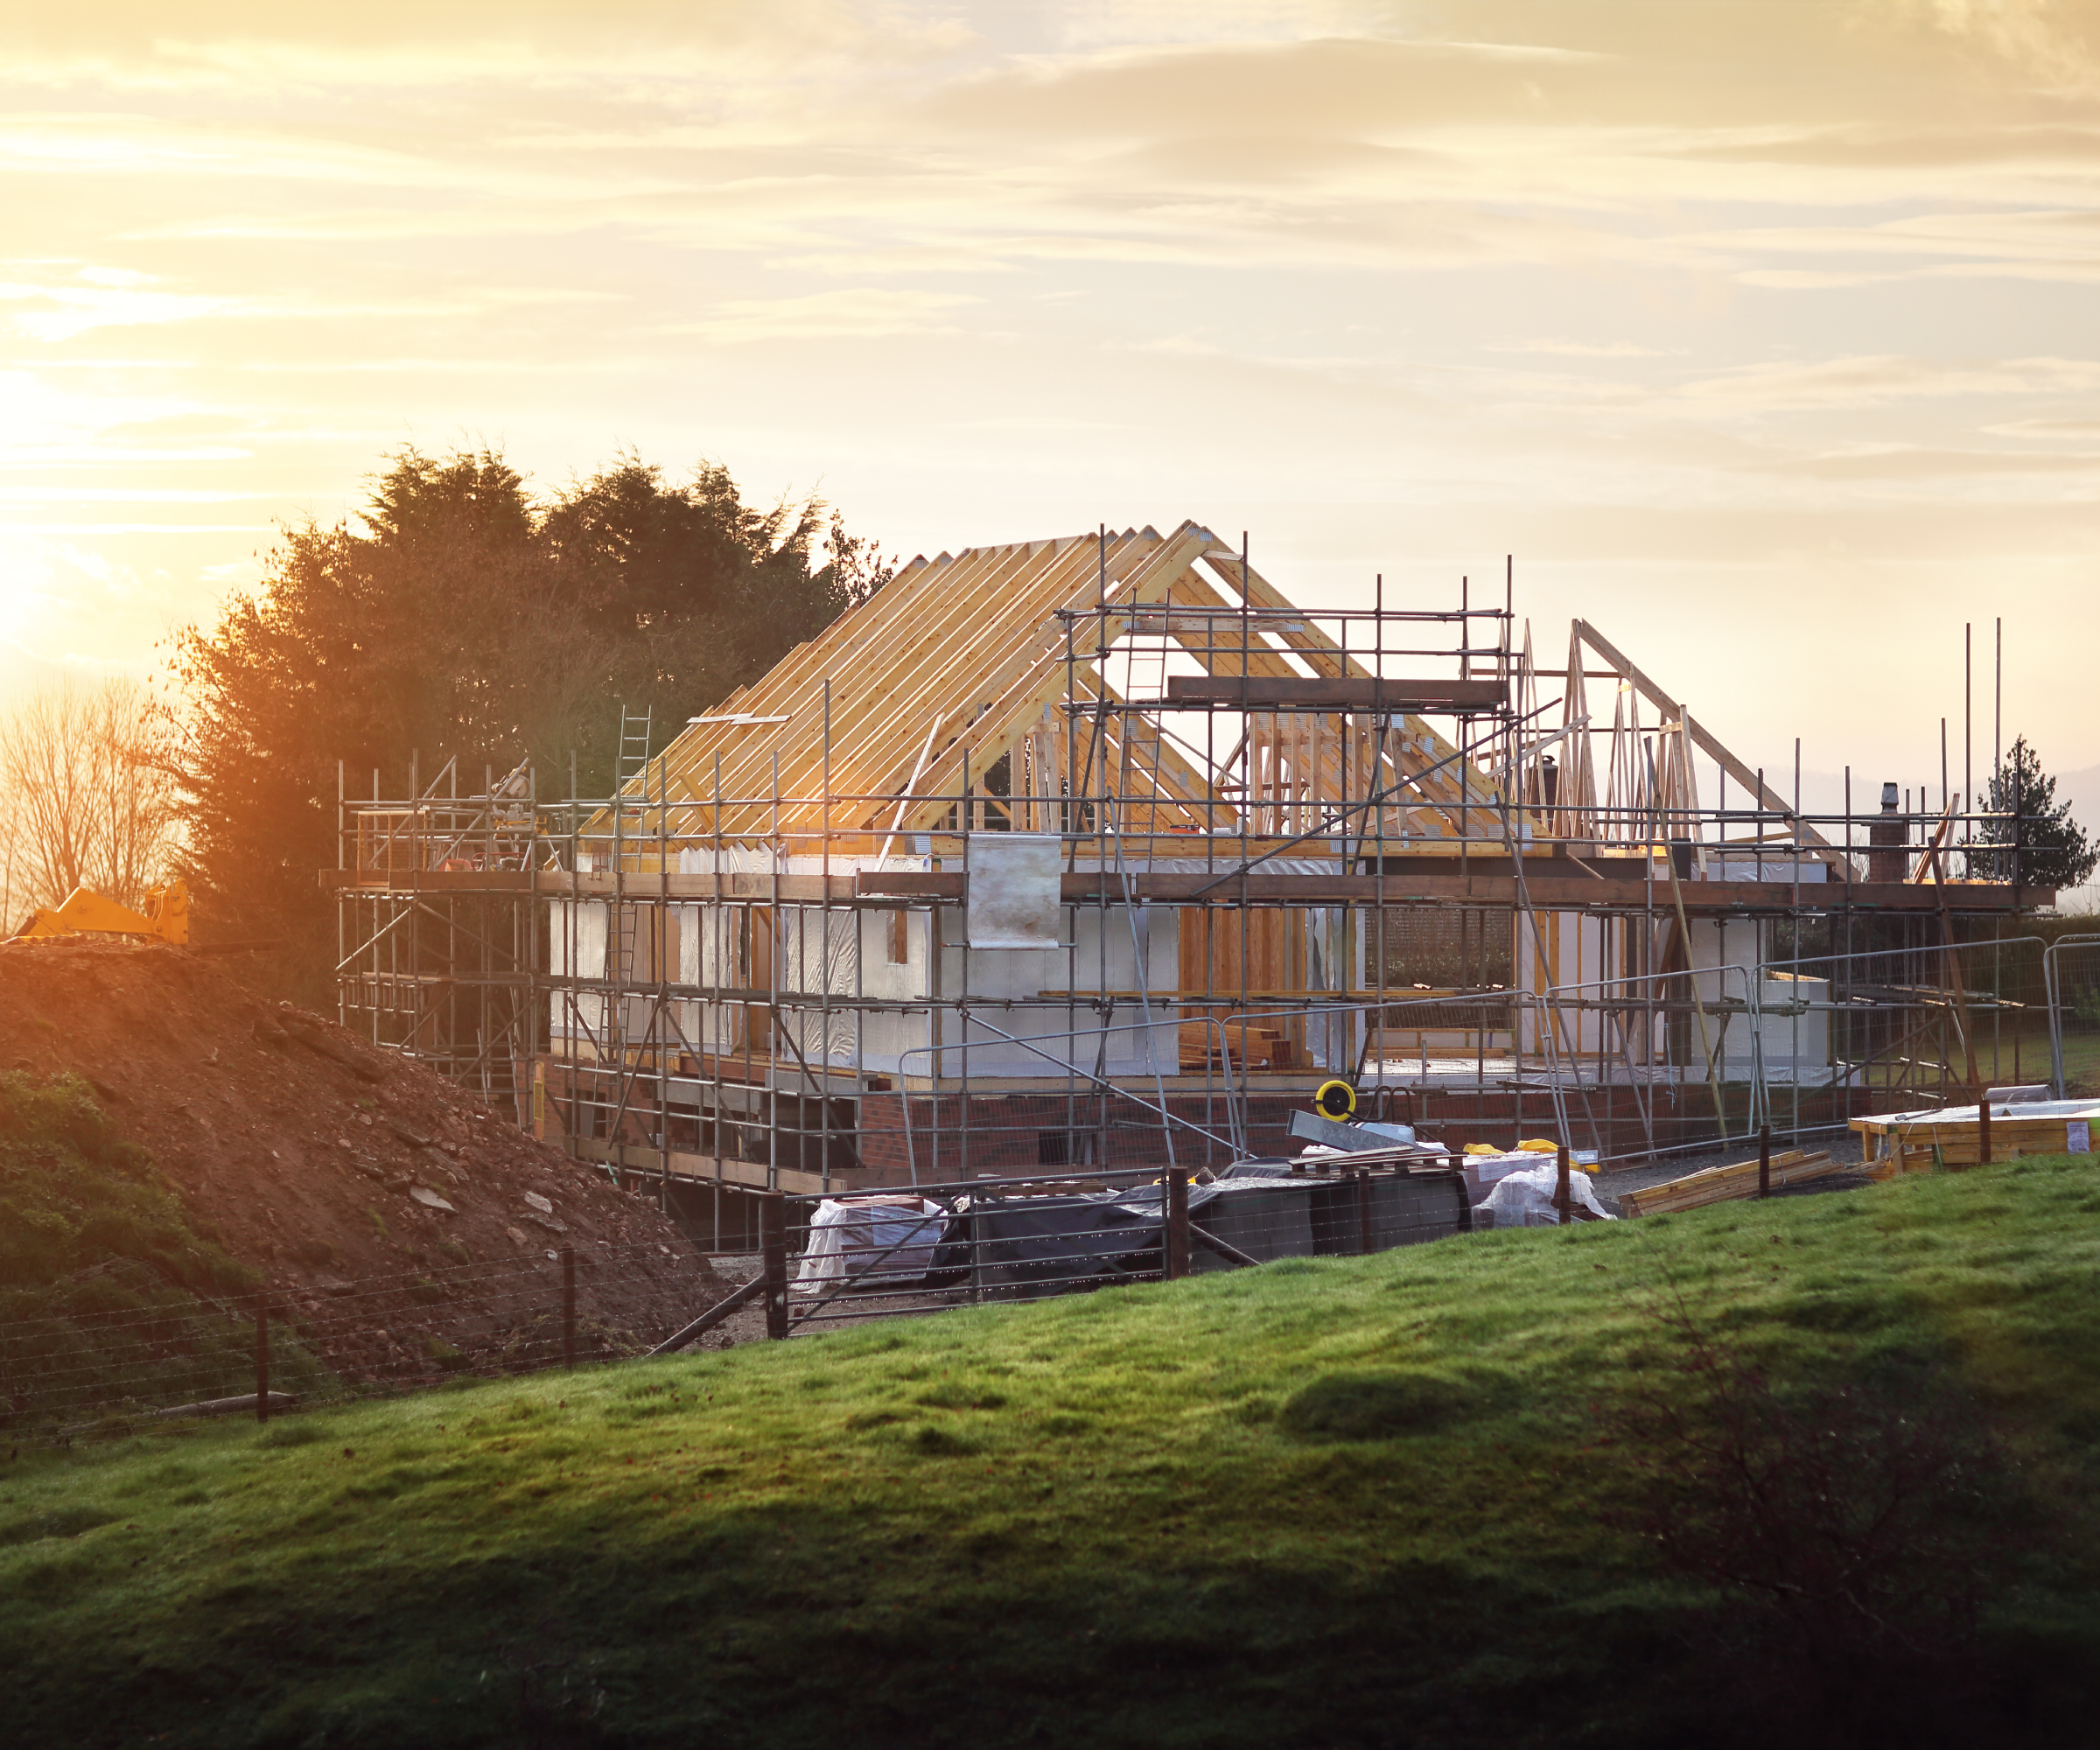
Upon completion of the first floor deck, the second storey can be built following the same process as the ground floor, except access and materials distribution is a bit more difficult as the work is being done at height.
To help this, ask the scaffolder to provide a loading platform so materials can be lifted using forklifts rather than by hand which would be slow and unsafe. Also watch out for the bricklayers overloading the scaffold and the first floor joists as these aren’t designed to carry full packs of blocks.
The process of building a masonry house is a bit like a game of football. It’s a team approach with the bricklayers getting so far before the scaffolder is needed and then handing over to the carpenters who then hand back to the bricklayers when they’ve finished. This repeats over and over, storey by storey until the superstructure is finished.
It’s all very manual, there will probably be a few arguments, and it’s likely to involve a few injuries (exactly like a game of football).
Checks to make throughout your build
Whilst brick and block is a robust solution for building a house, it involves many moving parts so construction requires close supervision to make sure every detail is correct to prevent later defects.
The NHBC standards 2023 offer a useful insight to best building practice so have a read of this to know what you should be looking for. Some of the essential things to check are:
- Make sure the superstructure is being built in accordance with the building design and in particular, the details which have been signed off by the approved inspector
- Double check the specification of the materials being used is correct, for example brickwork is of the required durability to deal with wet and freezing conditions.
- Make sure the setting out of the building is right before any work starts
- Build within the tolerances (source NHBC standards 2023) which state the build must be adequately straight on plan, with a ±8mm maximum deviation in any length of wall up to 5m; a maximum of 8mm from plumb in any storey up to 3m (taller walls should be a maximum of 8mm from plumb per storey and 12mm in total; and have no more than a maximum deviation of 4mm over 1m at window and door reveals
- Pay close attention to filling around penetrations such as joists and steel beams to make sure there’s no risk of air gaps or cracking
1. Damp proof courses (DPC)
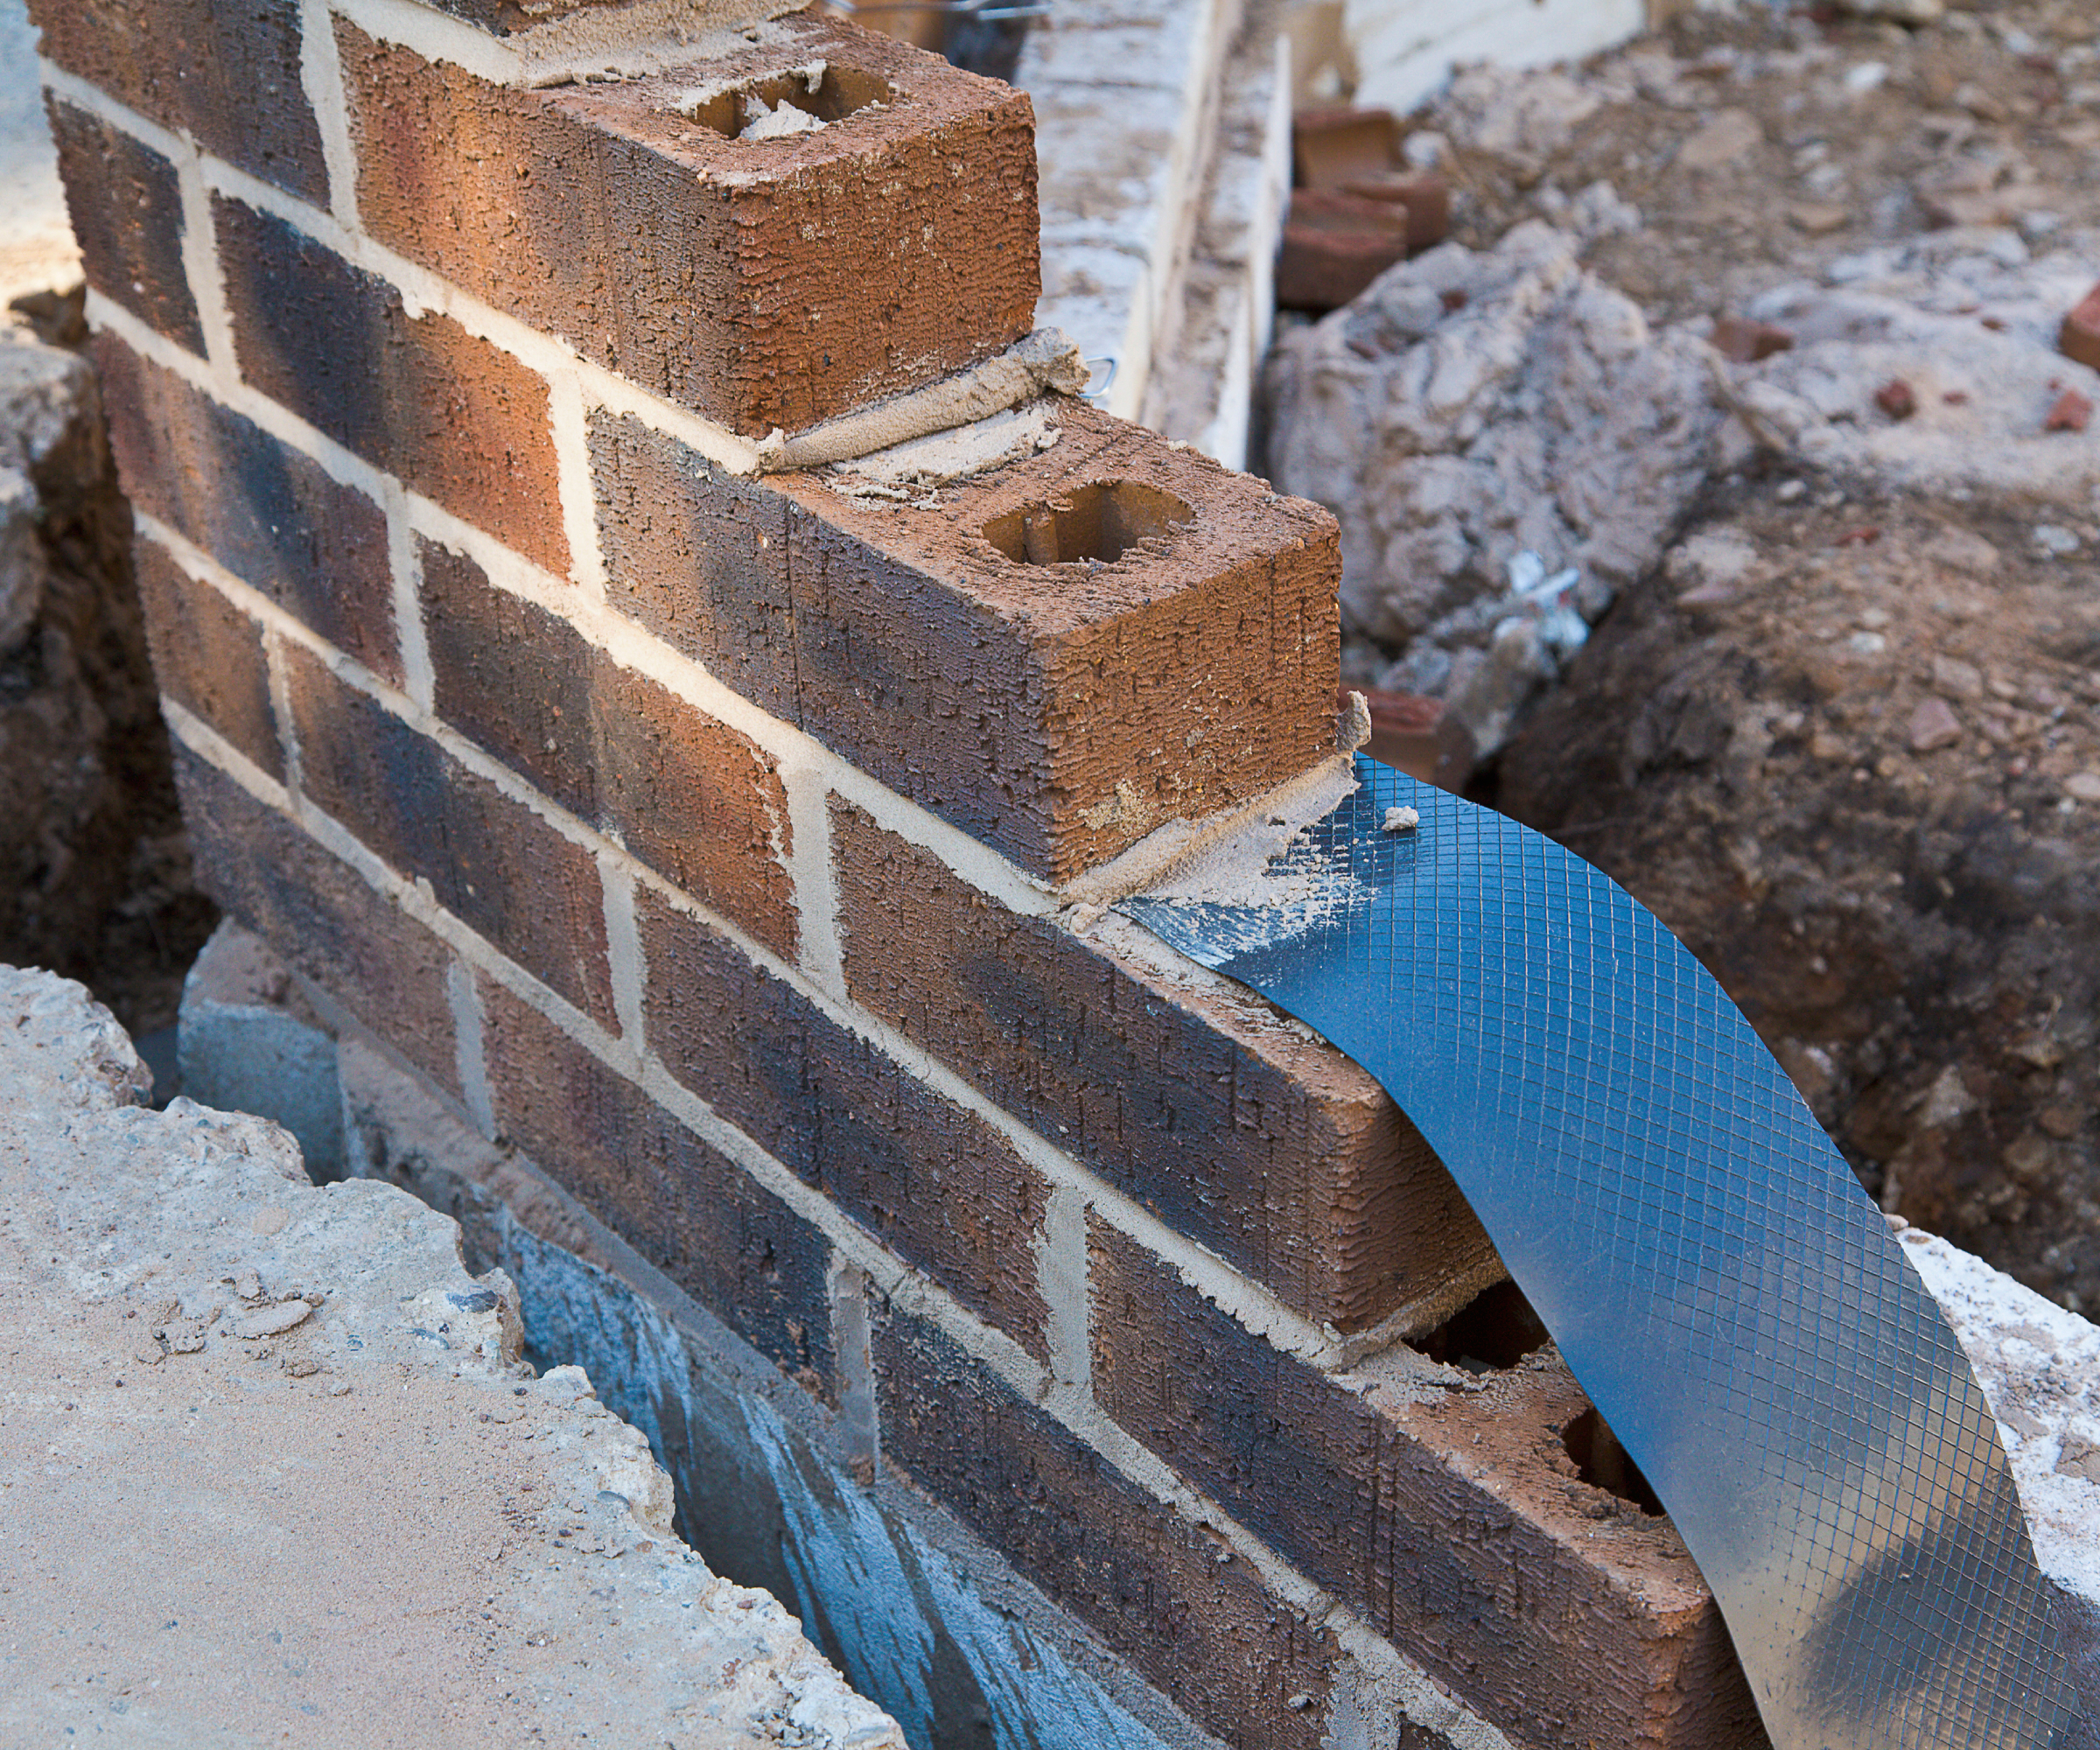
Damp proof courses (DPC) should be the correct specification (BS8215) and be installed as per the design details.
This usually requires the external DPCs to be 150mm above outside ground level and stepped up where level access thresholds are needed. Internal DPC details should be able to be lapped with the internal damp proof membrane to prevent water ingress and improve airtightness.
DPC is usually used as a cavity trap over window and door openings and above roof abutments and penetrations such as vents and meter boxes. Make sure this is installed along with weep holes and the ends of the DPC turned up so any water runs out of the wall.
2. Cavities
Check cavities are the required width and clean of mortar that may bridge the cavity and cause water to penetrate.
It’s common to find mortar on wall ties so knock this off with a long stick and remember to clean out the debris from cavity trays and at the bottom of the wall. To save lots of work, ask the bricklayers to take care and use boards to stop mortar falling down the cavity.
Make sure cavities at window reveals are correctly closed with the correct cavity closers. This is particularly important on elevations with severe levels of exposure which may require additional defensive detailing.
3. Wall ties
Check that wall ties are installed correctly (usually 900mm horizontal x 450mm vertical centres and every 225mm around windows and doors). Wall ties should fall away from the inner leaf of block to stop water penetrating the building.
4. Cavity wall insulation
Cavity wall insulation should be installed strictly as per the manufacturer’s instructions, closely butted with no air gaps. The insulation should be in full contact with the inner leaf of blockwork with restraint clips on wall ties where this is needed. Rigid boards usually require the joints to be taped.
If using full fill cavity insulation, where the insulation will be in contact with the outer cladding such as brick, it’s essential that cavities are clean and the insulation is clear of mortar which might cause water to saturate the insulation.
5. Movement joints
Make sure movement joints are installed as per the design to control any thermal cracking in long lengths of walls. Dense concrete blockwork usually requires movement joints every 7.5m to 9m whereas clay bricks only need them every 10m to 12m.
Movement joints should be correctly bonded with a compressible filler and sealed to prevent water penetration.
6. Cavity barriers
Cavity barriers are required to stop the spread of a fire. Check the design and make sure cavity barriers are installed to the correct specification to suit the thickness of the cavities and the type of cladding material. Make sure intumescent type cavity barriers are used where the cavity must be ventilated.
If you're just starting your investigation into self-build, you may be wondering what else is involved? Find out more in our step-by-step guide to building a house as well as our guide on how much does it cost to build a house.
Get the Homebuilding & Renovating Newsletter
Bring your dream home to life with expert advice, how to guides and design inspiration. Sign up for our newsletter and get two free tickets to a Homebuilding & Renovating Show near you.
Mark Stevenson has worked as a construction professional for over 30 years and following an extensive career in housebuilding. He is currently chief operating officer for Custom Build Homes and chair of the National Custom and Self Build Association. He previously worked as managing director for Potton, helping self builders build their own homes.
Whilst Mark describes himself as a ‘professional builder’ as a result of his career in housebuilding and timber building system manufacturing, he has specialist knowledge of timber construction and extensive expertise in finding land and project management.
He regularly shares his knowledge at Homebuilding & Renovating Shows and and coaches self builders about how to build their own homes. Aside from Mark’s professional career, his skills also extend to practical building knowledge as a skilled joiner, hands-on renovator and serial self-builder of his own development projects.
He is also Vice Chair of industry body, the Structural Timber Association.

