Building a house: A step-by-step guide
Before you start building a house it’s good to understand the different stages involved so you can stay on track with your schedule and budget. Our ultimate guide shows you what to expect each step of the build – from laying foundations to decorating

Whether you’re project managing your own self-build or hiring someone else to do the job for you, you still need to be able to oversee the process of building a house. If you’re in the position of being the client, you’ll still want the confidence to liaise with the build team and know you’re getting the best results.
If you’re acting as a project manager, it’s even more crucial to be clear on the stages ahead of you as you’ll need to make sure materials arrive on time, and trades are on site when needed.
So what are the steps to building a house and how can you make the process as smooth as possible?
Building a house: Do the pre and post weathertight stages take equal time?

Need more advice or inspiration for your project? Get two free tickets to the Homebuilding & Renovating Show.
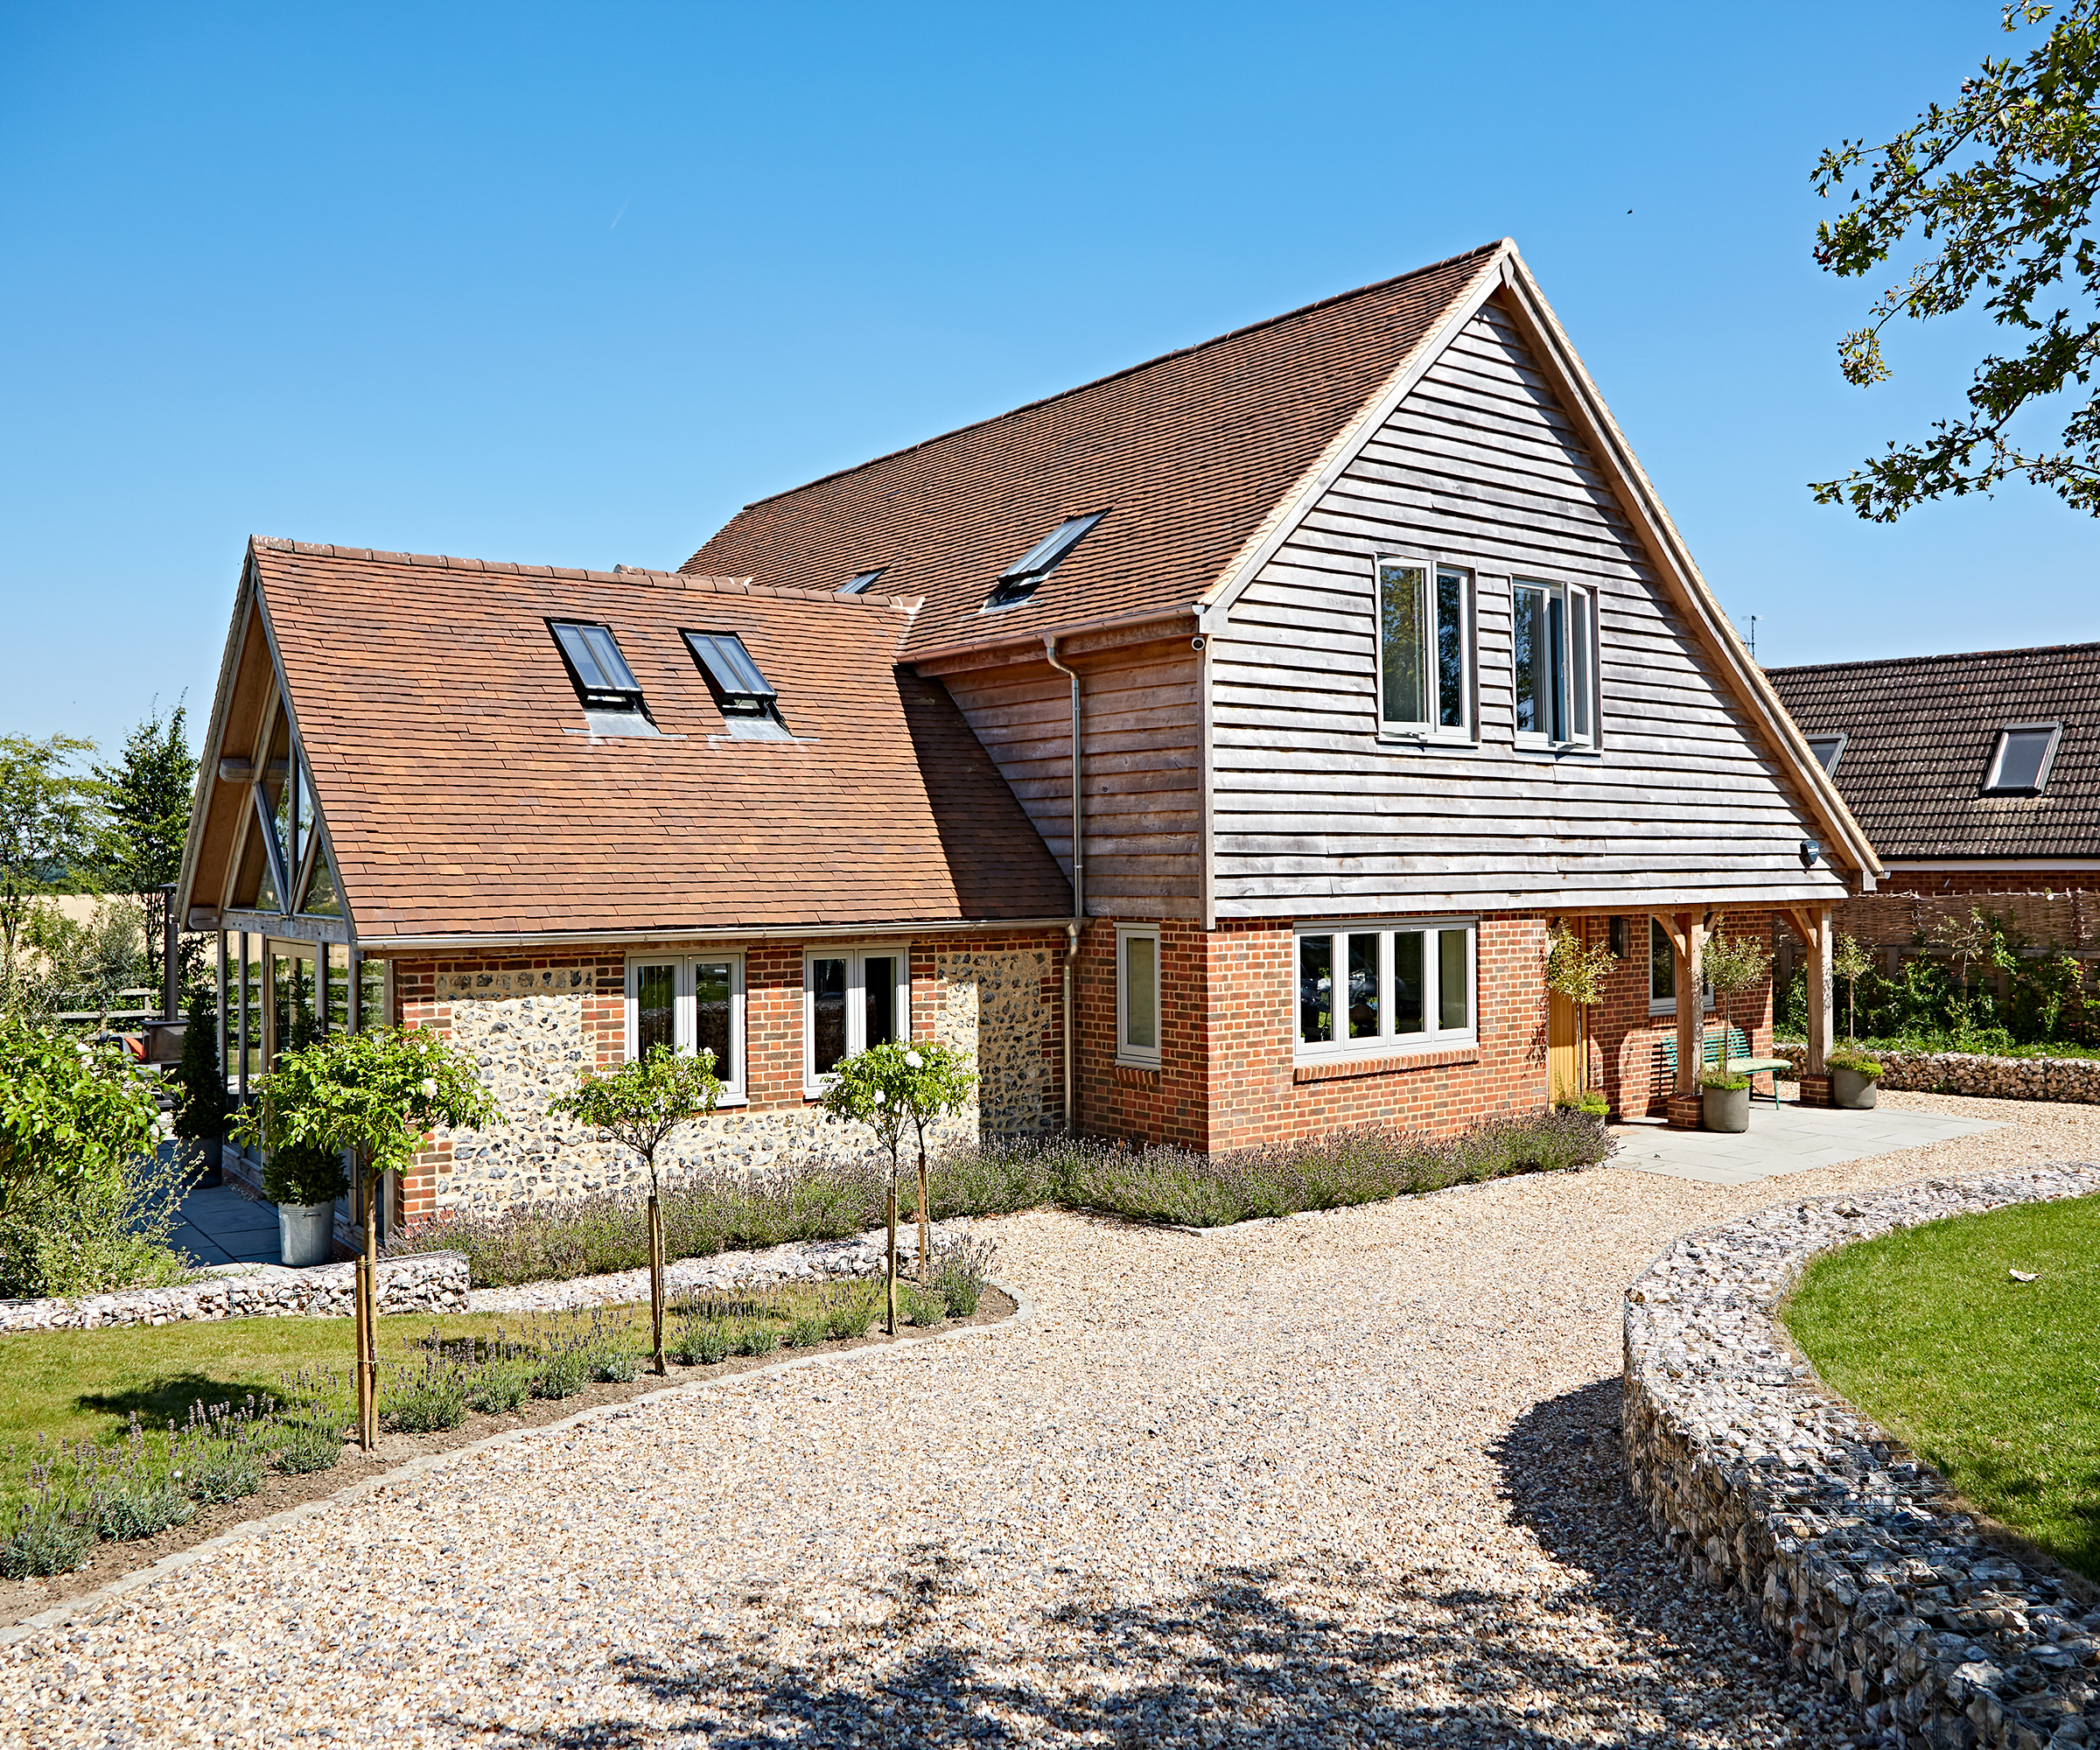
The construction process of a self build is broken down into two distinct elements – pre and post weathertight stage (this is also called ‘getting a house to shell’). A house is deemed to be ‘weathertight’ (sometimes also called ‘watertight’) when the walls are up, the roof is on, the windows and doors are in and it’s all fully lockable – and, from the outside, resembles a finished house.
However there’s not a 50:50 split in terms of the time it takes to complete each stage.
“The time for each phase is largely dependent on the build and the materials which are being used,” says Charlie Avara, founder of Build by Charlie, “but generally speaking, the fitting out post watertight takes longer.
“Building the shell and core (foundations, walls, structure, roof) is a relatively quick process,” she explains, noting however that hold ups can occur when it comes to glazing.
“Another factor that means fitting out post water-tight takes longer is because there are more trades and materials to coordinate,” says Charlie. “Drying times for screeds and plaster have to be factored in, materials need to be selected, purchased and delivered, and there is a very clear order in which the works need to take place.”
In total, you can expect a house to go from ‘breaking ground’ (the traditional start of a project where the trenches are dug for the foundations) to moving in over a period of six and 12 months. At extreme ends, some timber frame package companies claim to be able to get a house ready and liveable within six months. Many DIY self-builders take upwards of three years.
However, regardless of the total time it takes to build a house, the stages will follow a common route to completion. Our guide to custom builds demonstrates how this may vary if you’re building off-site, using a timber frame, SIPS or unusual finishes, but for the purpose of giving you some insight into building a house, this article follows the process for a traditional block and brick structure with a tiled roof.

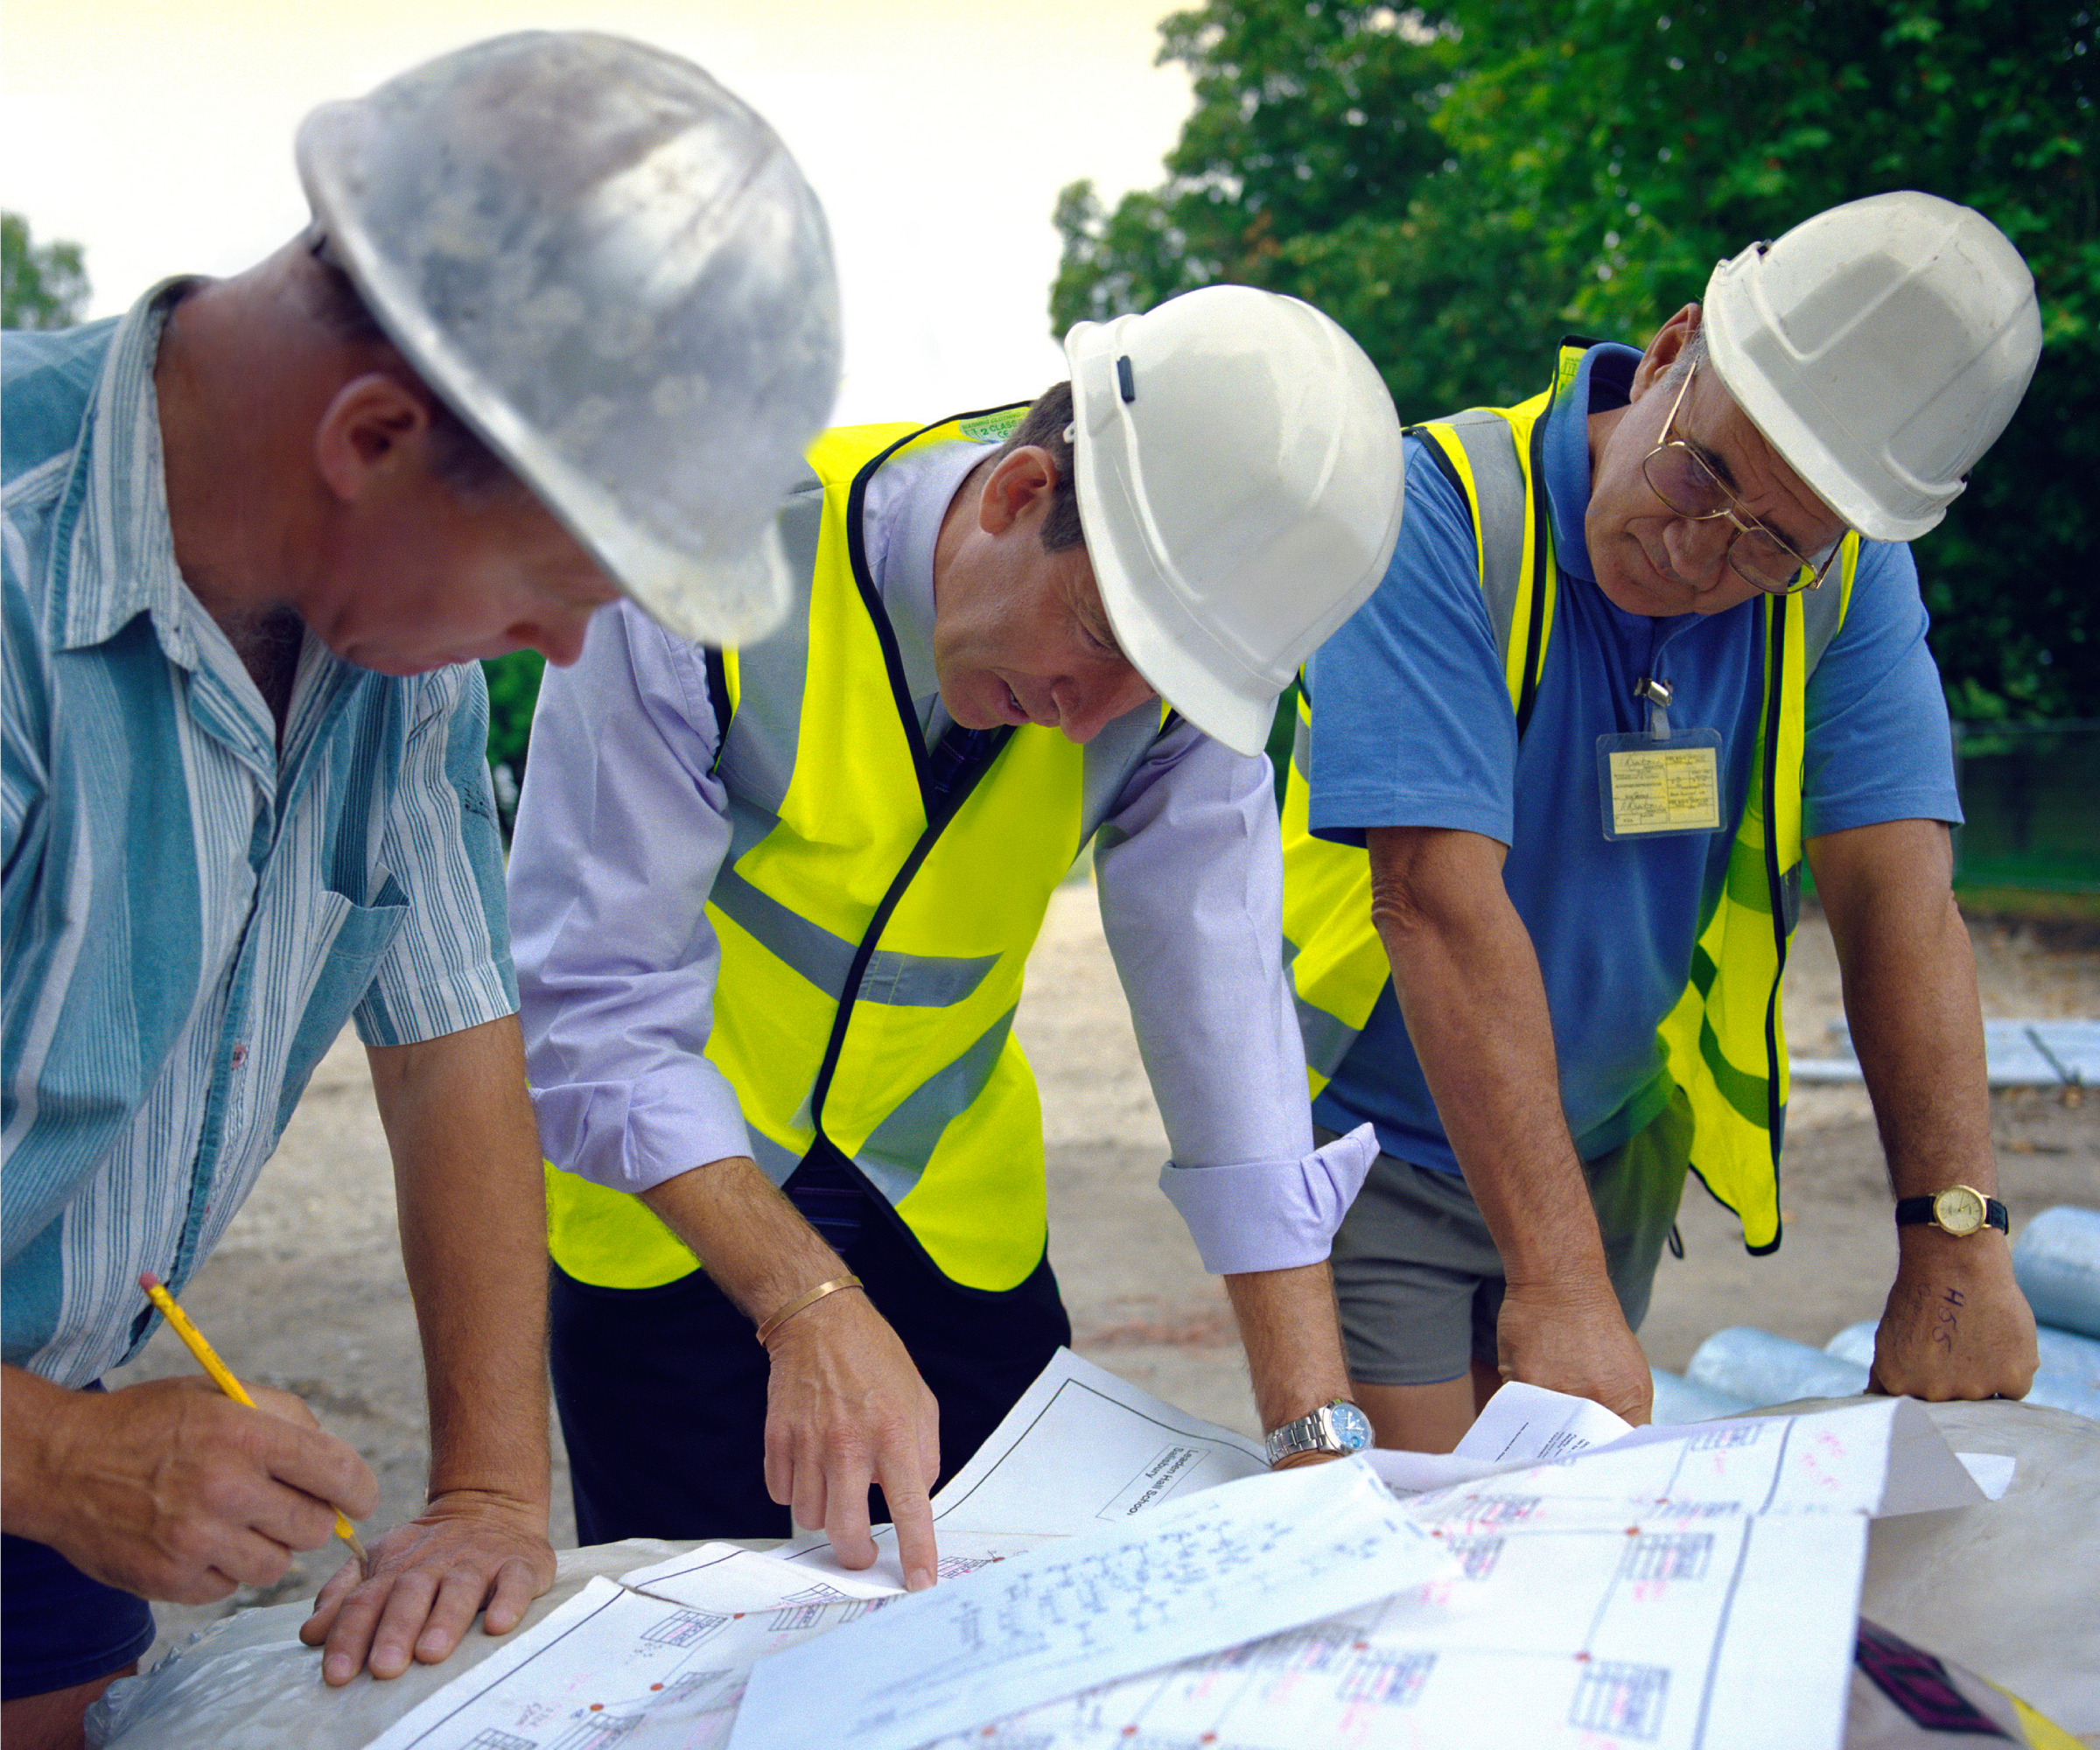
Charlie Avara has over 15 years experience in the construction industry and now runs her own domestic contracting business, BUILD by Charlie. With a proven track record of delivering on projects ranging from the ultra modern, through to period properties, Charlie is an expert when it comes to building, renovating or remodelling homes.
1. Site preparation
Assuming you have bought your plot and all of your planning permission is in place, the first step when building a house is to prepare the site. This not only includes clearing the site of debris and vegetation, but also ensuring you have the necessary facilities and services set up for your tradespeople.
If you’re going to be undertaking a demolish and replace scheme whereby you’ll be removing an old property to make way for your new self-build, be prepared for some mixed emotions too, warns Charlie Avara. “The completion of the demolition always creates a buzz. It's incredibly impactful visually, and there is that ‘no going back’ feeling very early on, which can be exciting, albeit a bit scary too.”
With or without demolition, tasks taking place during this stage will include:
- Groundworkers creating site access
- Site cleared; stacking material to be retained out of the way
- Site hut set up and equipped with drawings and safety equipment
- Portable toilet delivered to site
- Secure lock-up/lorry container (hired in or purchased) positioned in place
- Water board bring supply to a stopcock on the boundary
- Plumber connects water standpipe
- Surveyor marks out building on cleared site and transfers the lines to profiles well clear of any construction work
- Bricks and blocks brought in ready and stacked clear of future construction
- Cement store and sand heap established and mixer set up
2. Laying foundations
The cost of constructing foundations is one of the biggest variables in a self-build project, so in order to keep control of your budget and schedule, you’ll need to make sure the most appropriate types of foundation are chosen early on.
A solution will be chosen based on both your build and the soil type you’re working with. The best way of establishing this is with a geotechnical study which involves digging or boring trial holes around the site of a proposed new building.
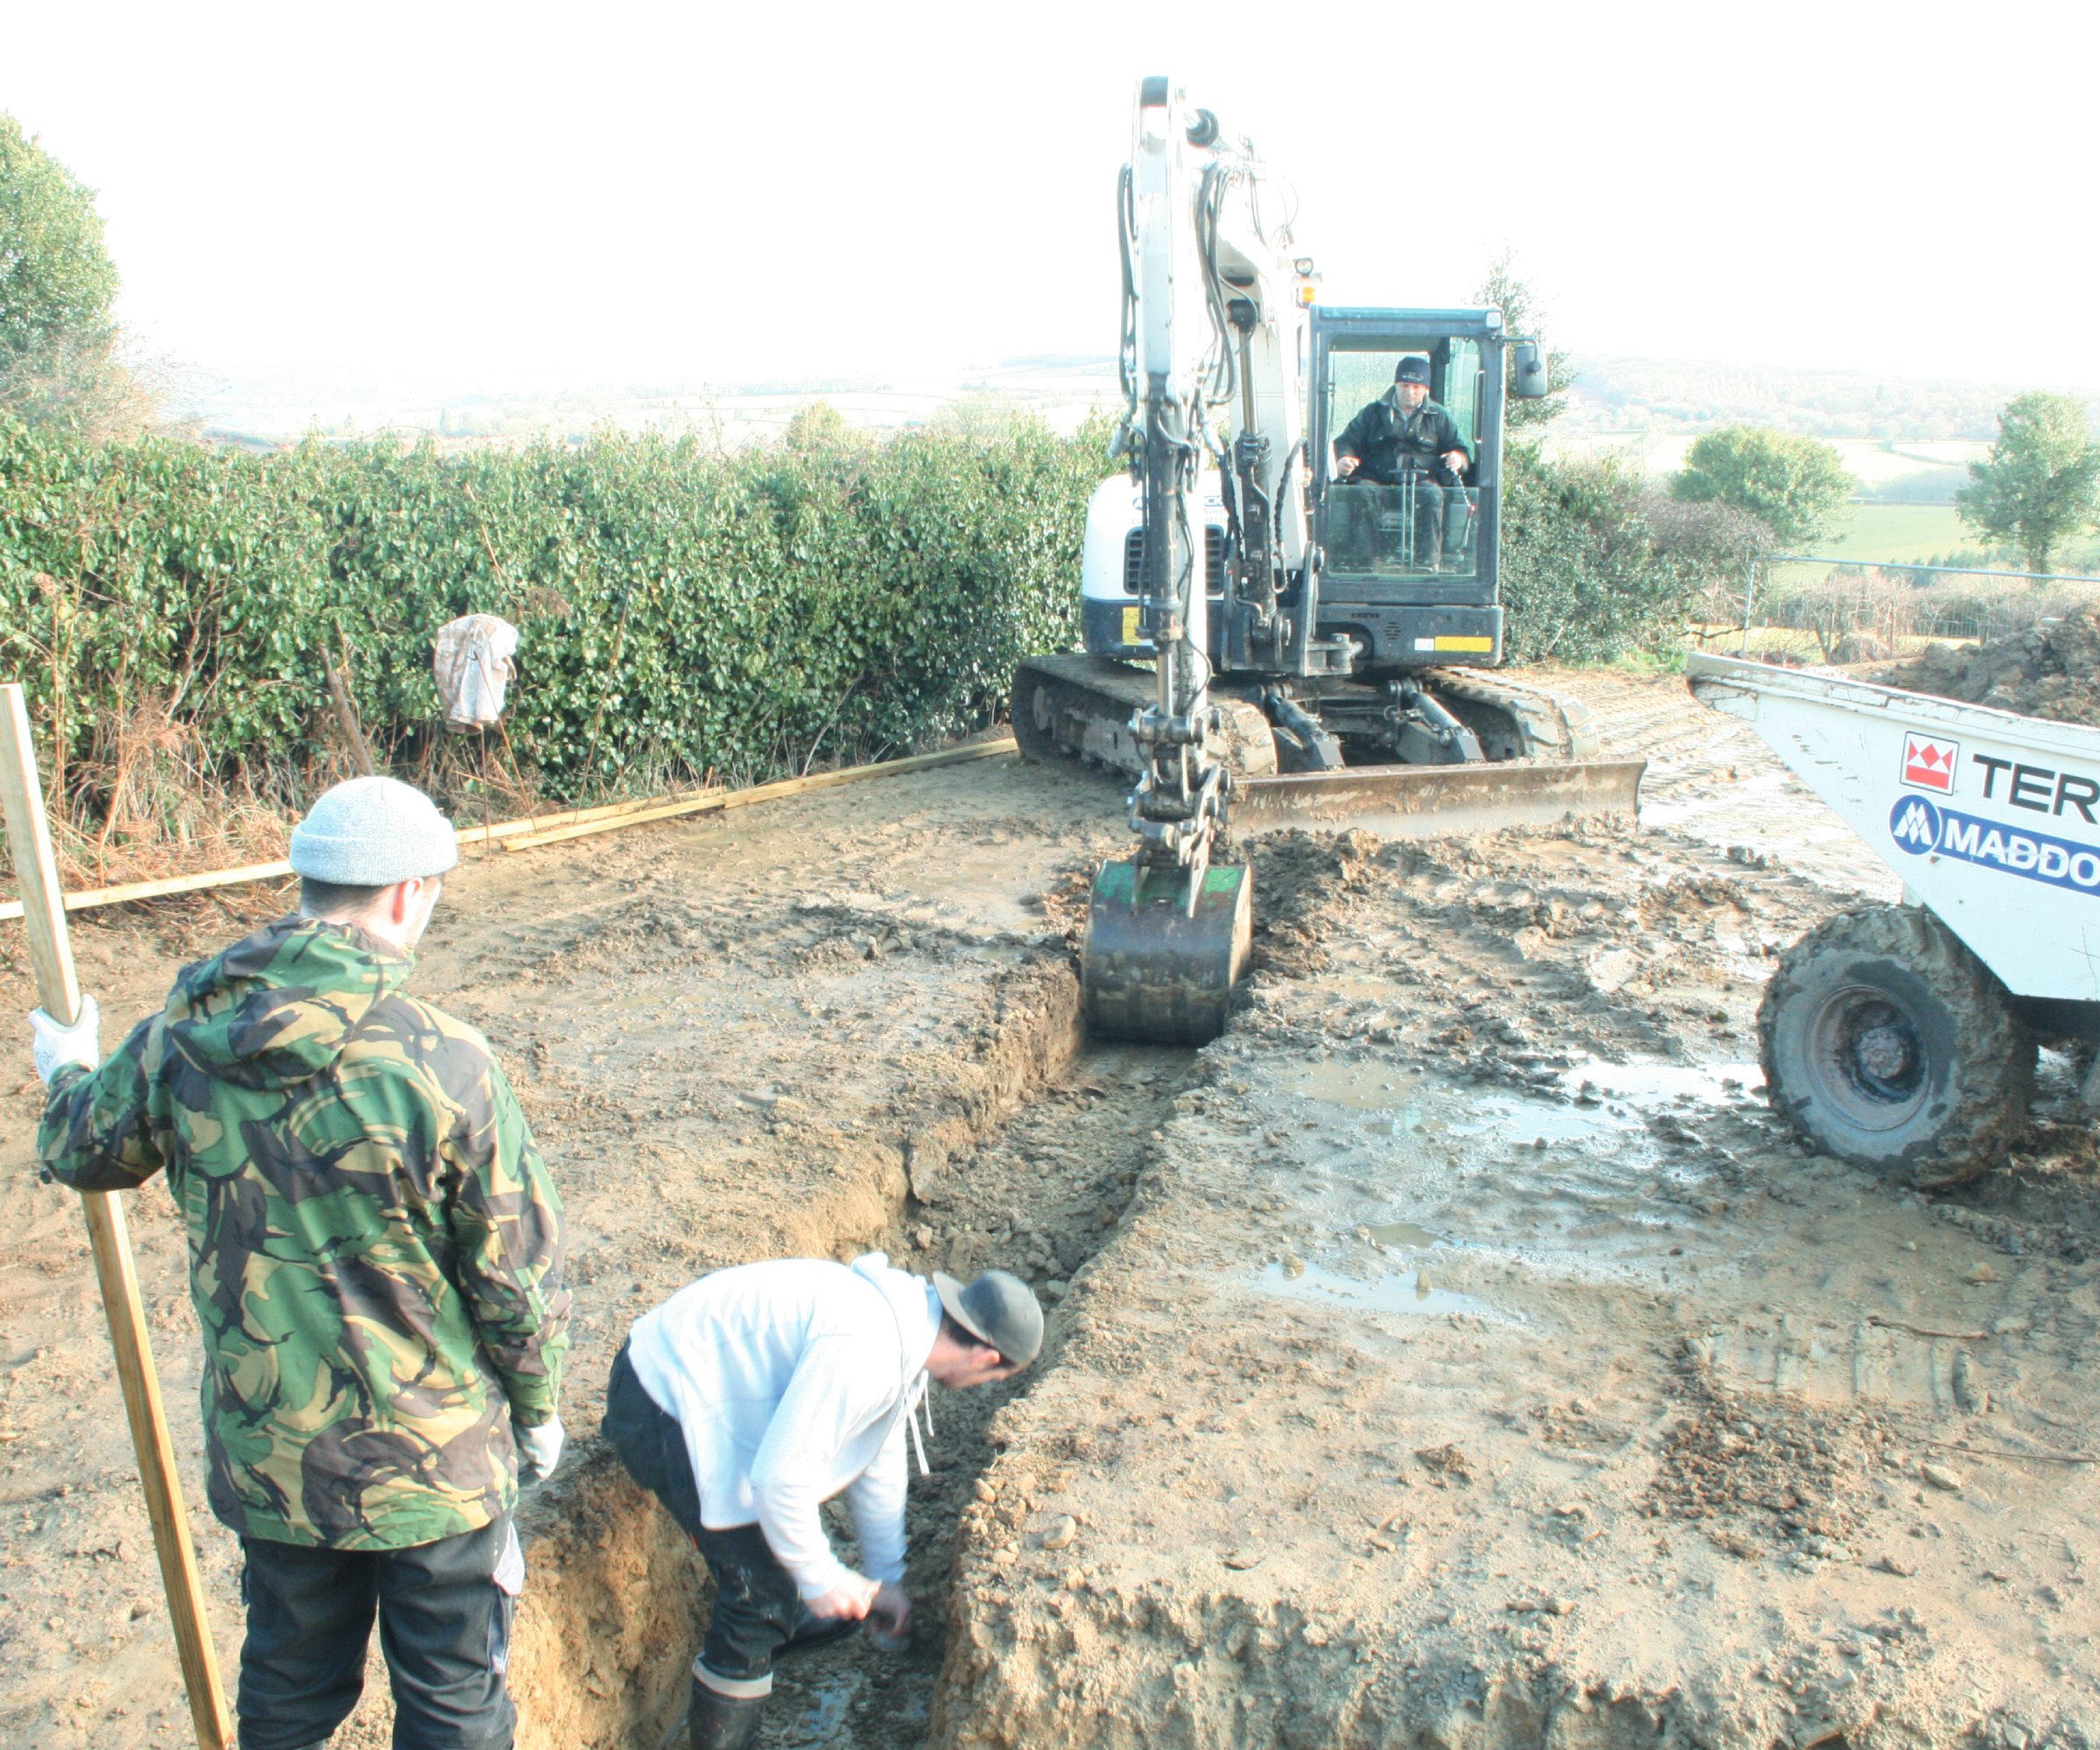
As this will likely have been determined during the planning and building regulations stage, the actual physical steps on site will involve the actual excavation of the foundations, along with positioning of any additional materials such as reinforcement bars or mesh, laying membranes and ducting for services and then pouring the concrete in place to the desired level.
Once approval has been obtained from building and warranty inspectors, your builder will then move onto bringing the foundation blockwork up to damp-proof course level along with installing any air vents and drainage exit lintels. Any cavities will be filled to ground level with more concrete and your damp-proof courses will be bedded in, along with any radon membranes or barriers.
3. Building the superstructure
Getting underway with the superstructure is an exciting part of building a house but what’s vitally important at this stage is to make sure everyone knows the points at which you will need sign off from a building inspector. You’ll want to mitigate delays at all costs, so knowing in advance when you need them to turn up will help to avoid work grinding to a halt.
With the foundations in place, creating what’s known in the trade as the ‘superstructure’ – essentially the main fabric of your building – is the stage when things really start to forge ahead.
Again, while each build will be slightly different depending on your construction method, and the number of floors you are building, for a standard two storey building, you can expect it to include these key events.
Phase one - Ground level tasks
- Groundworkers dig service trenches and lay pipes and ducts to proposed stopcock/meter positions
- Concrete floor beams loaded to each bay and position
- Drainage and vent pipes installed proud of the oversite
- Floor beams infilled with blocks
- Coursing blocks laid and ventilation grilles positioned
- Grout brushed
- Building control/warranty inspection
Phase two - building the walls and forming window and door openings
If you are building with masonry, whereby bricklayers will be building the walls, forming the cavities, incorporating the DPCs, lintels, cavity trays, will ties, insulation, restraint straps, air vents, fire barriers and window and door openings, this is all work you will see taking place on site.
However, if you are using a timber frame construction, be that an oak frame or structural insulated panels (SIPs), some of this stage will take place of-site, perhaps giving you the sense that when the walls do arrive, they seem to go up quicker than a more traditional brick and block method.
One thing that is key to note at this stage is the potential issue if you are ordering bespoke glazing of any kind.
“If any glazing items are bespoke, then they cannot be fully accurately measured until the structural openings are formed,” says Charlie Avara. “It's then down to the manufacturing lead times as to how quickly these can be delivered to site, and these can often run to three months or more.
“To mitigate this, it’s possible to order the glazing elements off the plans, and then form the structural openings accordingly. However, there are obvious risks to this including sizing errors,” she warns, “but it can help to cut the time significantly.”
With the walls started and openings formed, it will also be the point at which you see the first lift of scaffolding installed, so make sure you have budgeted for the most up to date scaffolding costs and agreed the terms of hire.
Other typical jobs you can expect to see taking place during this stage include:
- Work on any chimneys
- Lintels, including fireplace lintels bedded and installed
- Flue liners installed
- Meter boxes for gas and electricity built in
- Electrician installing temporary consumer unit within electricity meter box, followed by your electricity provider adding the meter and connecting it
- Service suppliers carry out any necessary work to the boundary
- Plumber rerouting water supply to stopcock position
- Second scaffolding lift added
- Crane arranged to lift first floor beams onto each bay and position (if required)
- Plasterboard batten clips positioned
- Infill blocks laid
- Grout brushed
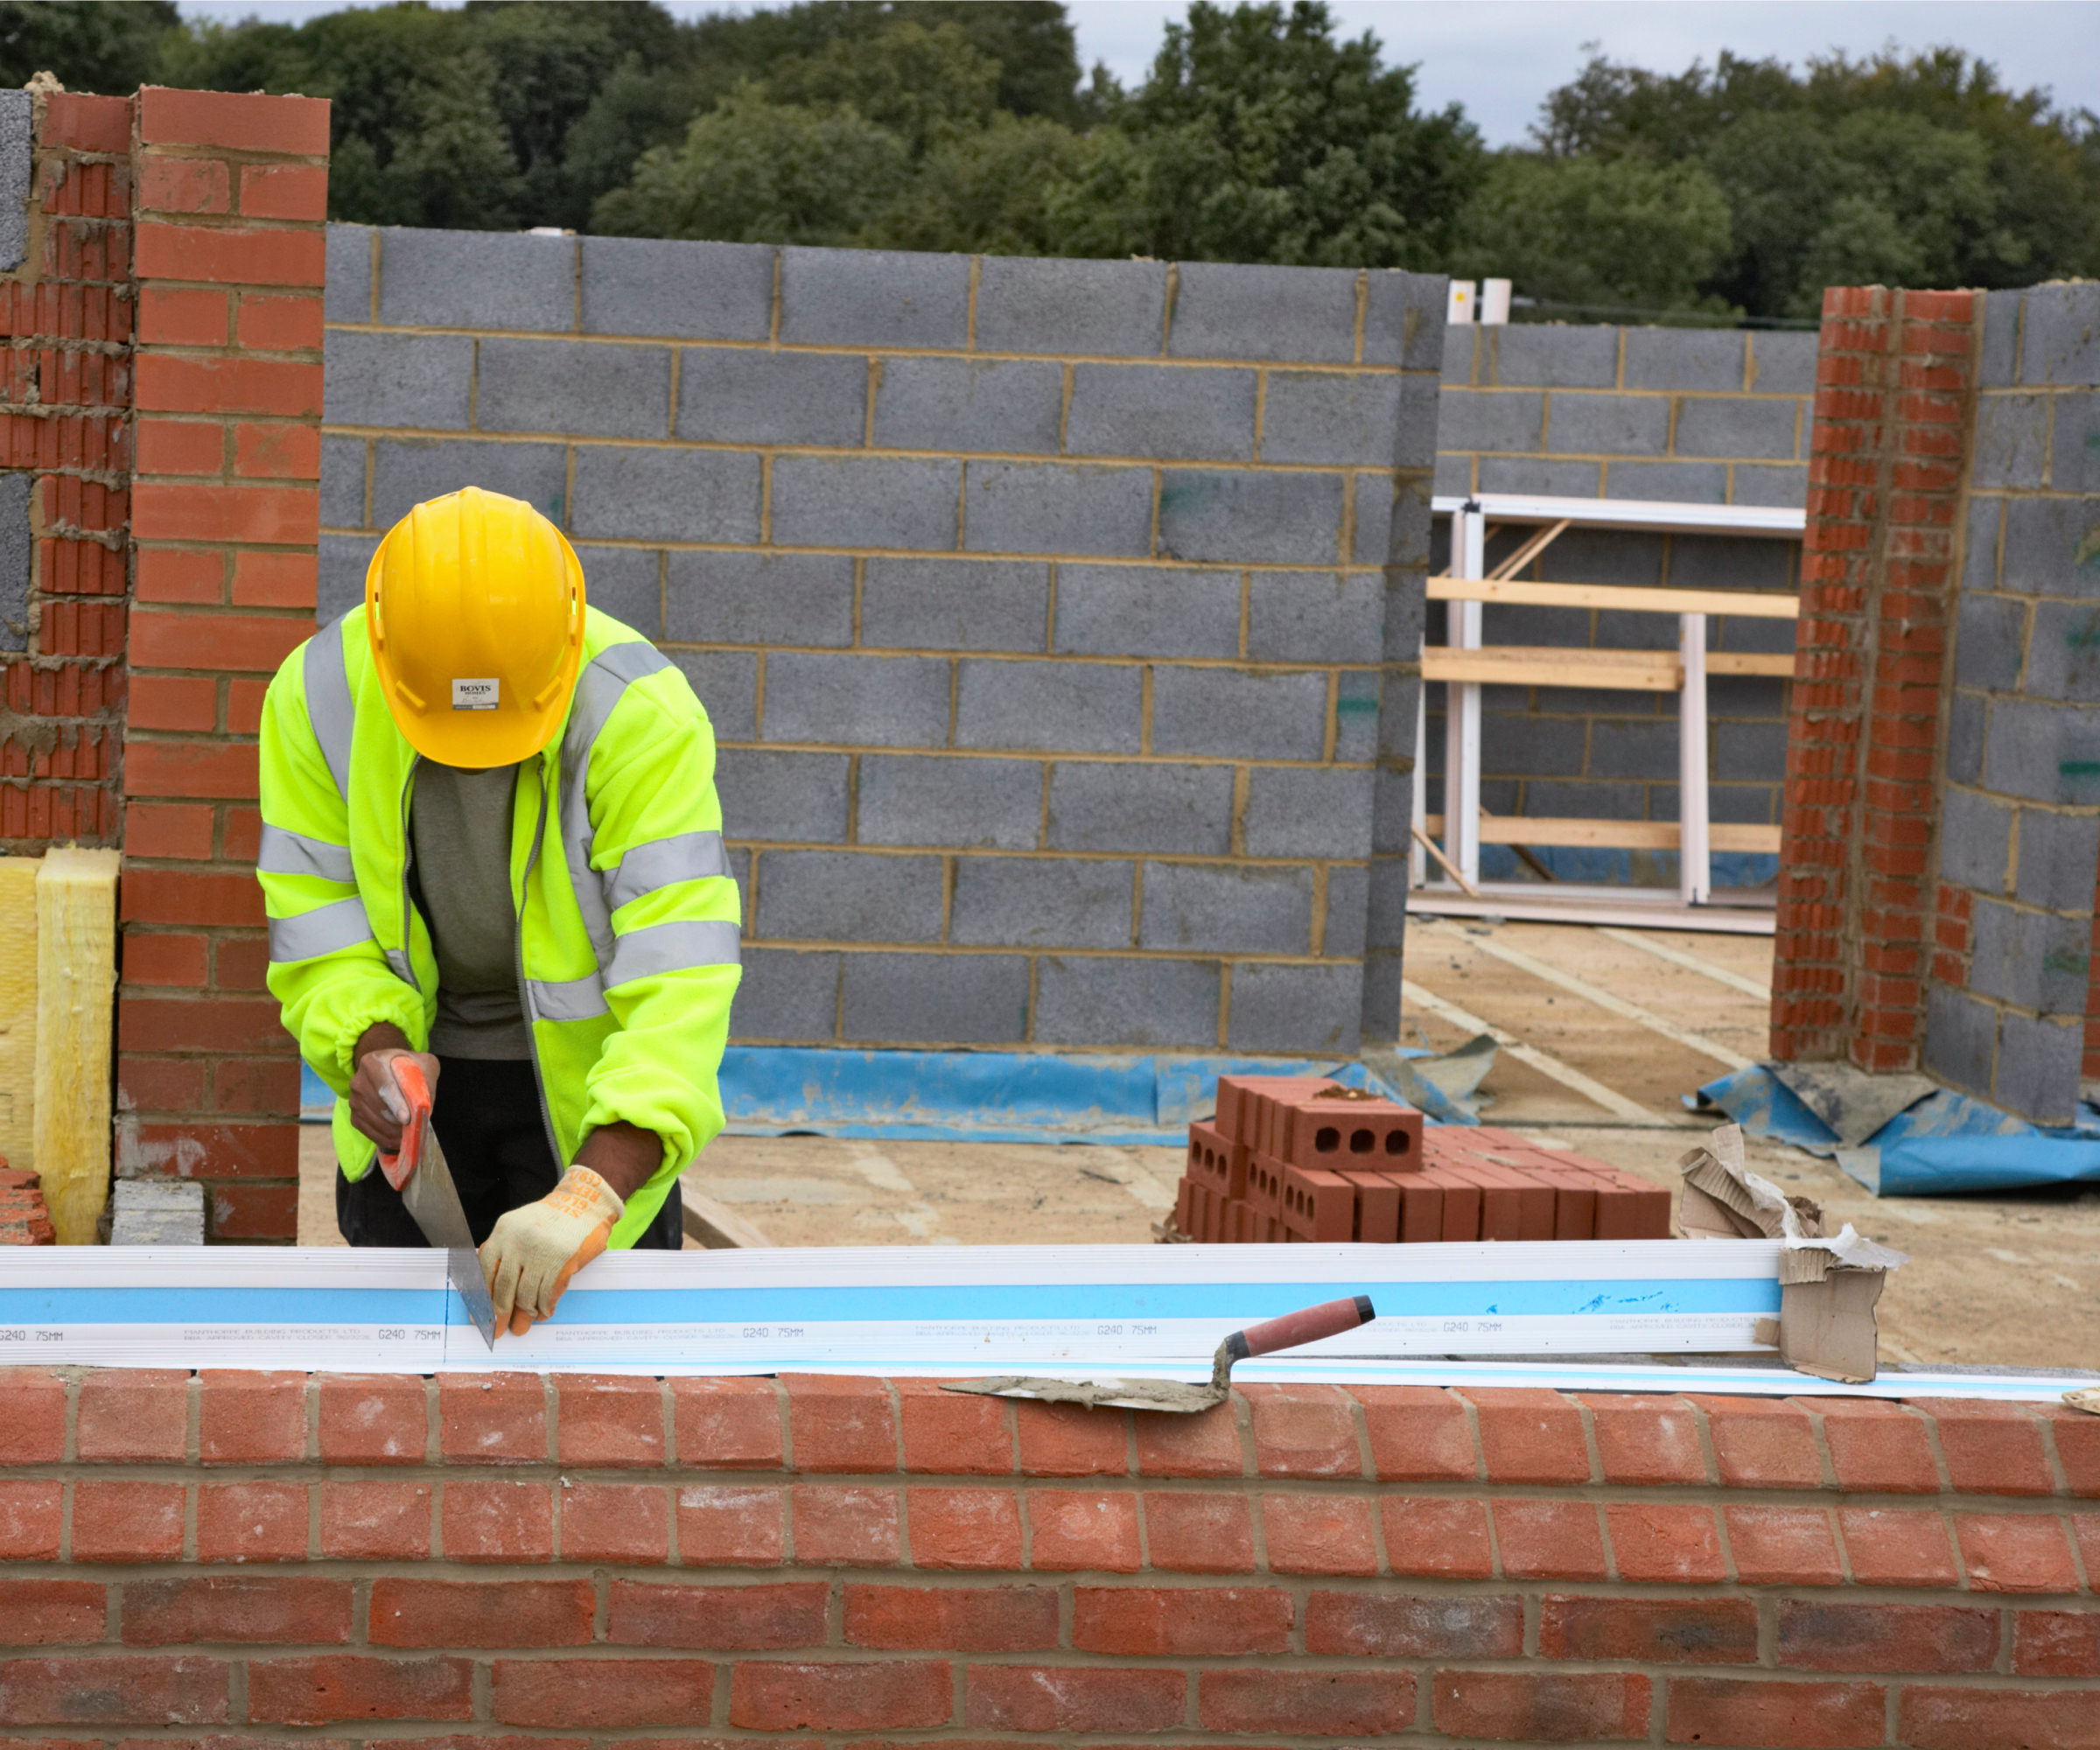
Phase three - building up to the wallplate in preparation for the roof
As the superstructure heads closer to the roof, more scaffolding will be needed to provide safe access for your build team. This will include adding the third and fourth lifts, as well as additional lifts at any gable ends.
In addition, the following will take place:
- Wallplate scarfed (i.e. joints joined together, bedded and tied down with proprietary wallplate straps
- Gable ends built
- End trusses added as templates
- Chimneys completed – including lead flashings, trays and skirts to chimney ends, vent pipes, chimney pot added and flashing skirts added and all flashings pointed
4. Building the roof and ‘topping out’
Whether you’re building an extension or a house, adding the roof feels like a monumental stage in the build process. It’s the point at which you really see the exterior of your home take shape. Getting to the highest point of the roof build is historically marked with a ‘topping out’ ceremony – or as it was the case when I built an extension, a good reason for me to buy the team a crate of beer which they enjoyed while safely sat on the roof (it was only a single storey I hasten to add).
Practically, the team will be involved in tasks such as slinging roof trusses and fixing them to the wallplate, fixing binders and braces at node points, constructing any dormers, adding fascias and soffits. Ventilation grilles will need to be fitted and it’s likely you will receive a visit from building control (or a private inspector if you’ve hired one.) Any self-build warranty may require another inspection at this stage too.
Charlie Avara’s top tip for this stage? “If you are planning on having bespoke rooflights, then you should order these well in advance of the roof framing, so they are ready to be delivered when required.
“Off the shelf options can be purchased closer to the time they are needed for installation,” she says, “but projects can be significantly delayed if bespoke roof glazing hasn’t been factored in.”
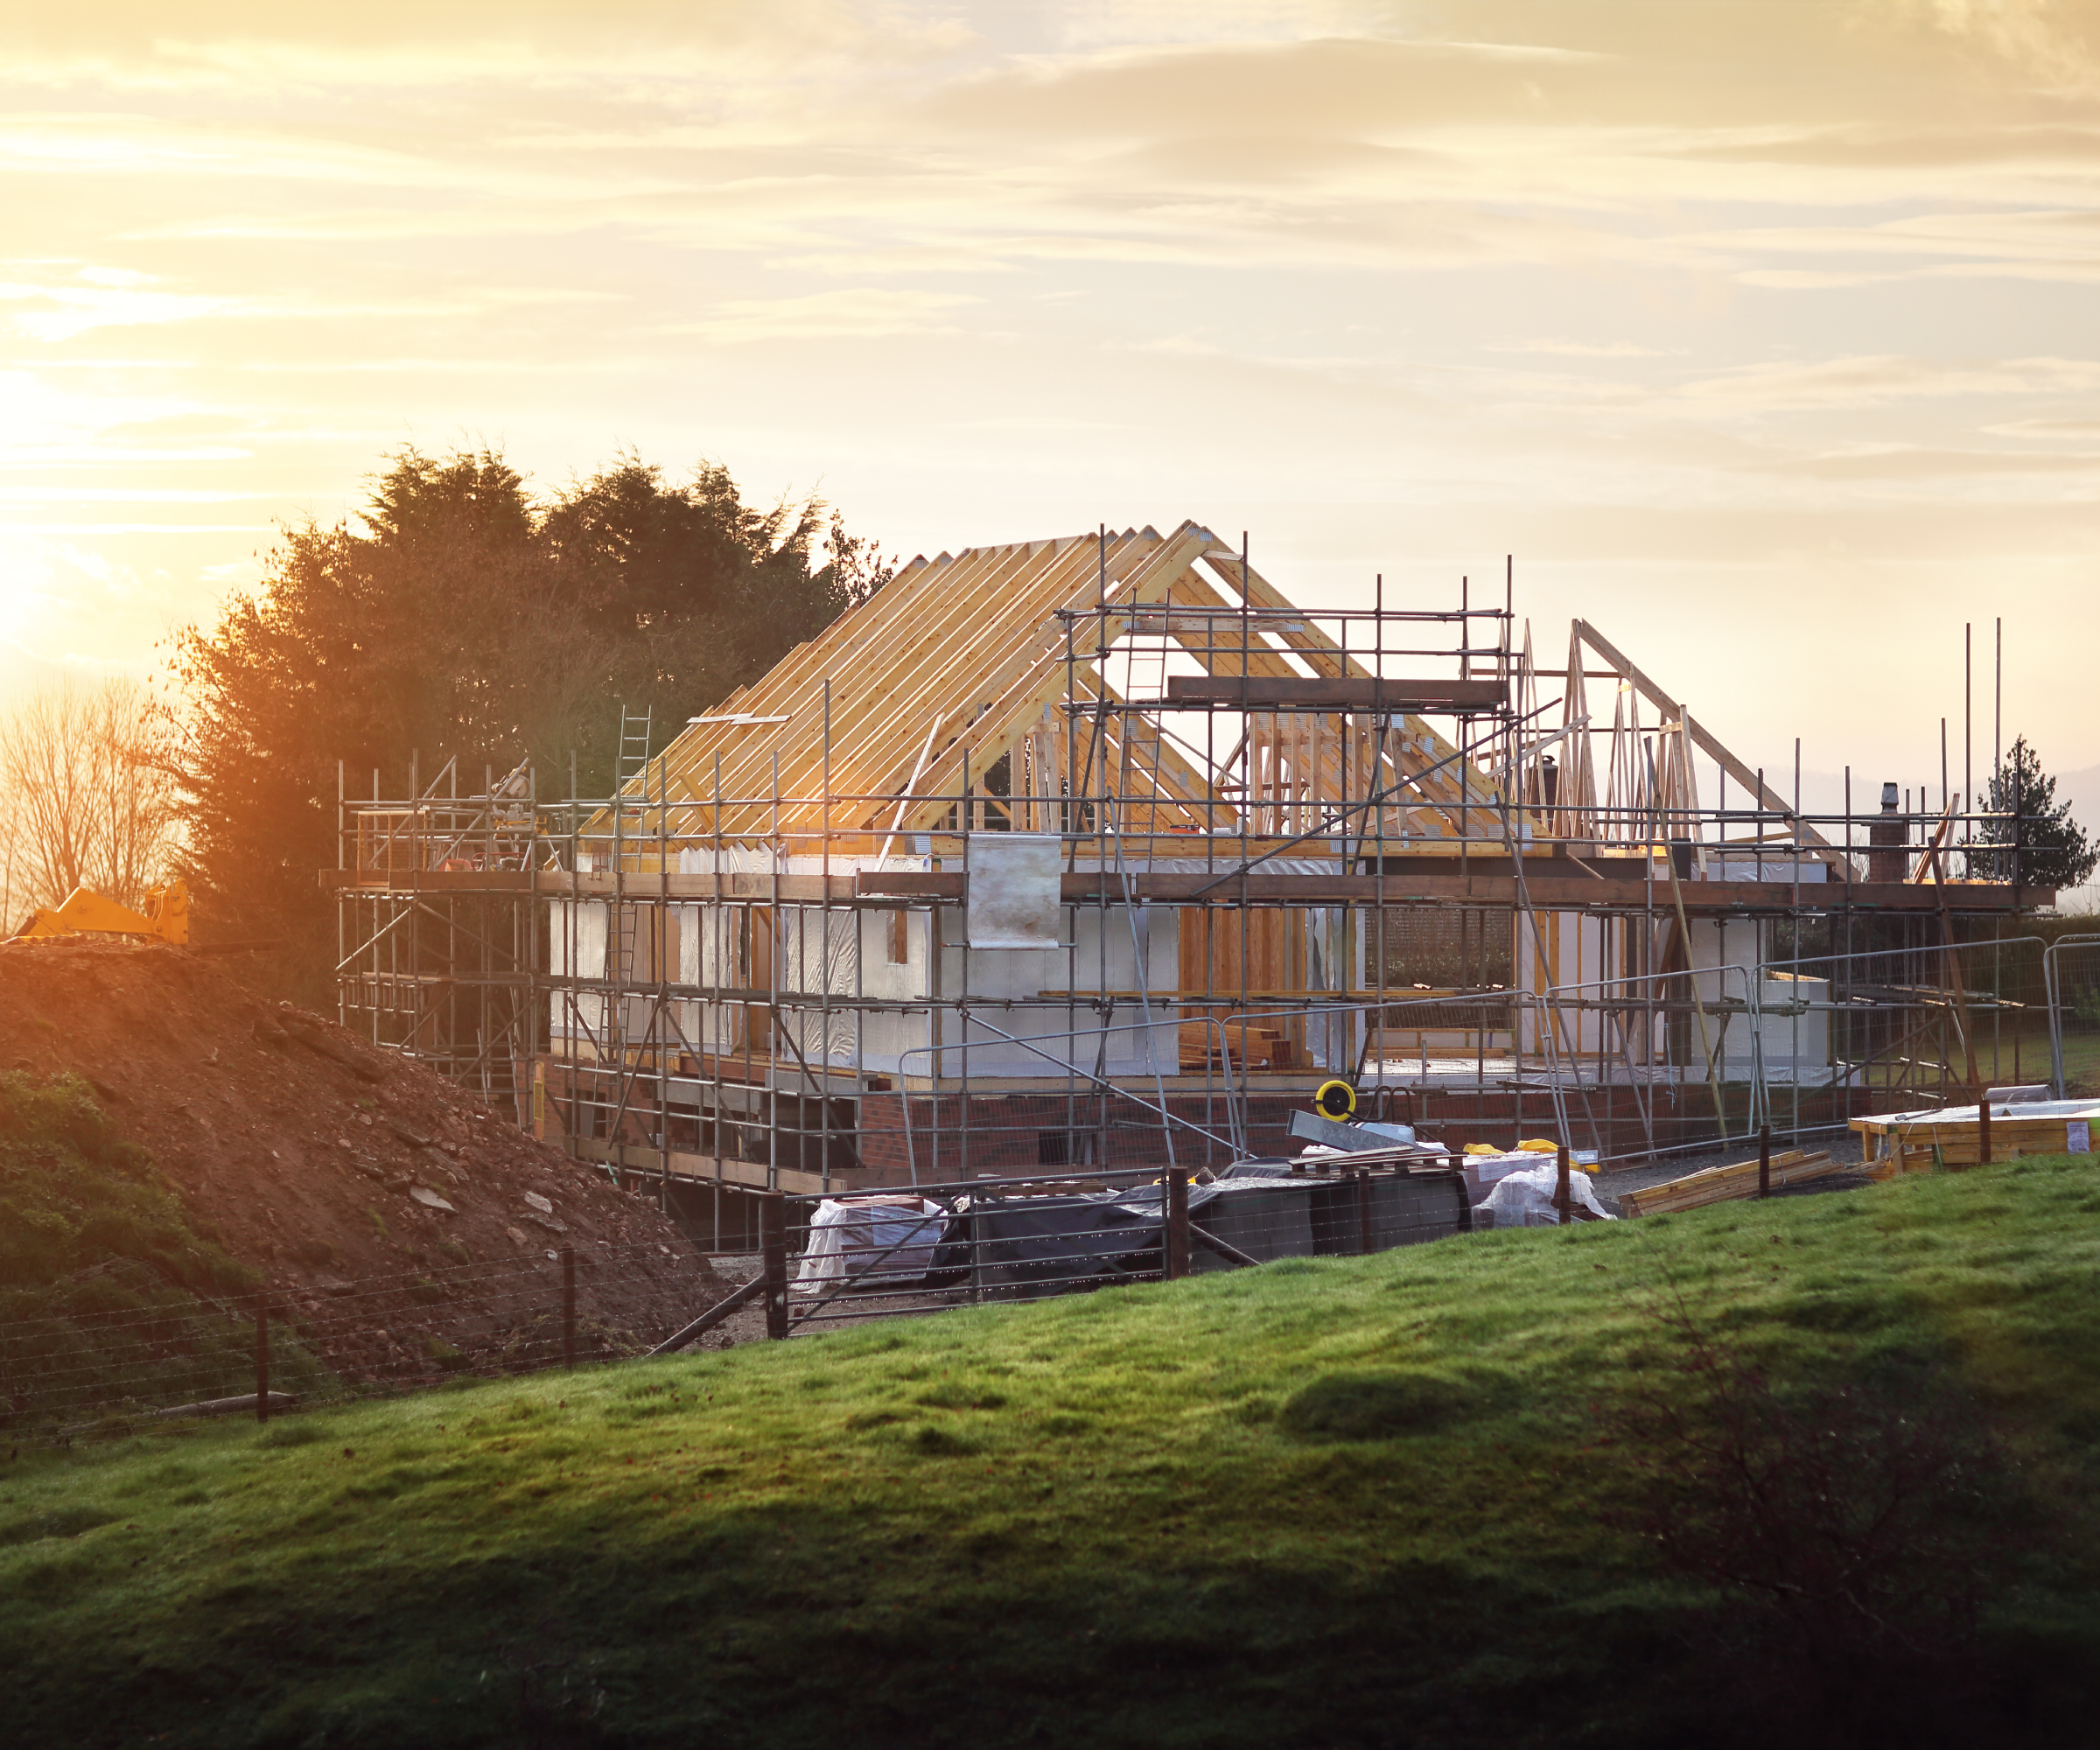
Adding the roof covering
The relief of getting to the stage where you can cover the roof means that once it’s on, you will finally be watertight. Even if glazing still isn't in situ, you can cover window and door openings with tarpaulin and plastic – which may not be 100% secure, but will at least offer some protection from the elements.
If you’ve opted for a traditional tile or slate covering, your roofers will be cutting and laying undercloaking to the verges, adding felt and battens, laying tiles or slates including to ridges and hips, adding roof valleys, flashings, skirtings and then ensuring any fascias, soffits and barges are decorated or stained if required.
Outside, you’ll also see guttering and downpipes added and connected to mains drainage, upstand and gullies installed, external joinery for windows and doors, and potentially the external wall decoration such as house rendering.
Scaffolding will finally come down giving you a much clearer view of how your home looks to the outside world, while inside, carpenters will have started work on fitting door linings, building any studwork partitioning and fixing window boards. They’ll also fix plasterboard noggins, box in vent pipes and fix your loft trap in preparation for the electricians and plumbers to start the next stage.
5. First fix
If you’ve left it until now to decide on your lighting design, I’m sorry to say you’re behind schedule. These ideally need deciding when your plans are being drawn up, as no-one wants to channel out a freshly plastered wall in a few weeks' time when you’ve realised you forgot to add wall lights.
And, although this next stage is essential, it can also be the one where you need the most patience, says Charlie Avara.
“The middle phase can seem long and laborious for the client. It’s the critical first fix phase in the project where all the infrastructure is installed i.e. wiring and plumbing, insulation and sheeting, takes place, but this phase takes time,” she says. “However, it can sometimes feel like no progress is being made as the visual impact is minimal.”
This step sees the electrical and plumbing runs put in place and it’s important that each trade is allowed to get their jobs done so that the next ones can move on site. The plasterers can’t work at the same time as the initial electrics are being done, for instance – which tends to mean that it’s this element of the process that can drag on a bit.
Plumbers will be busy on site installing the hot, cold and waste plumbing throughout and if you’re having wet underfloor heating, they’ll be adding floor membrane and insulation, taping joints and sealing up to the damp proof course and then laying the underfloor hoops on the floor and to the manifold and outlet positions. After this, the floor screed will be pumped in, levelled and left to dry for around three days, after which it's advisable to cover it in hardboard or cardboard for protection.
Alternatively, if you’re opting for a gas boiler, they’ll be installing all the internal gas pipework and adding the meter.
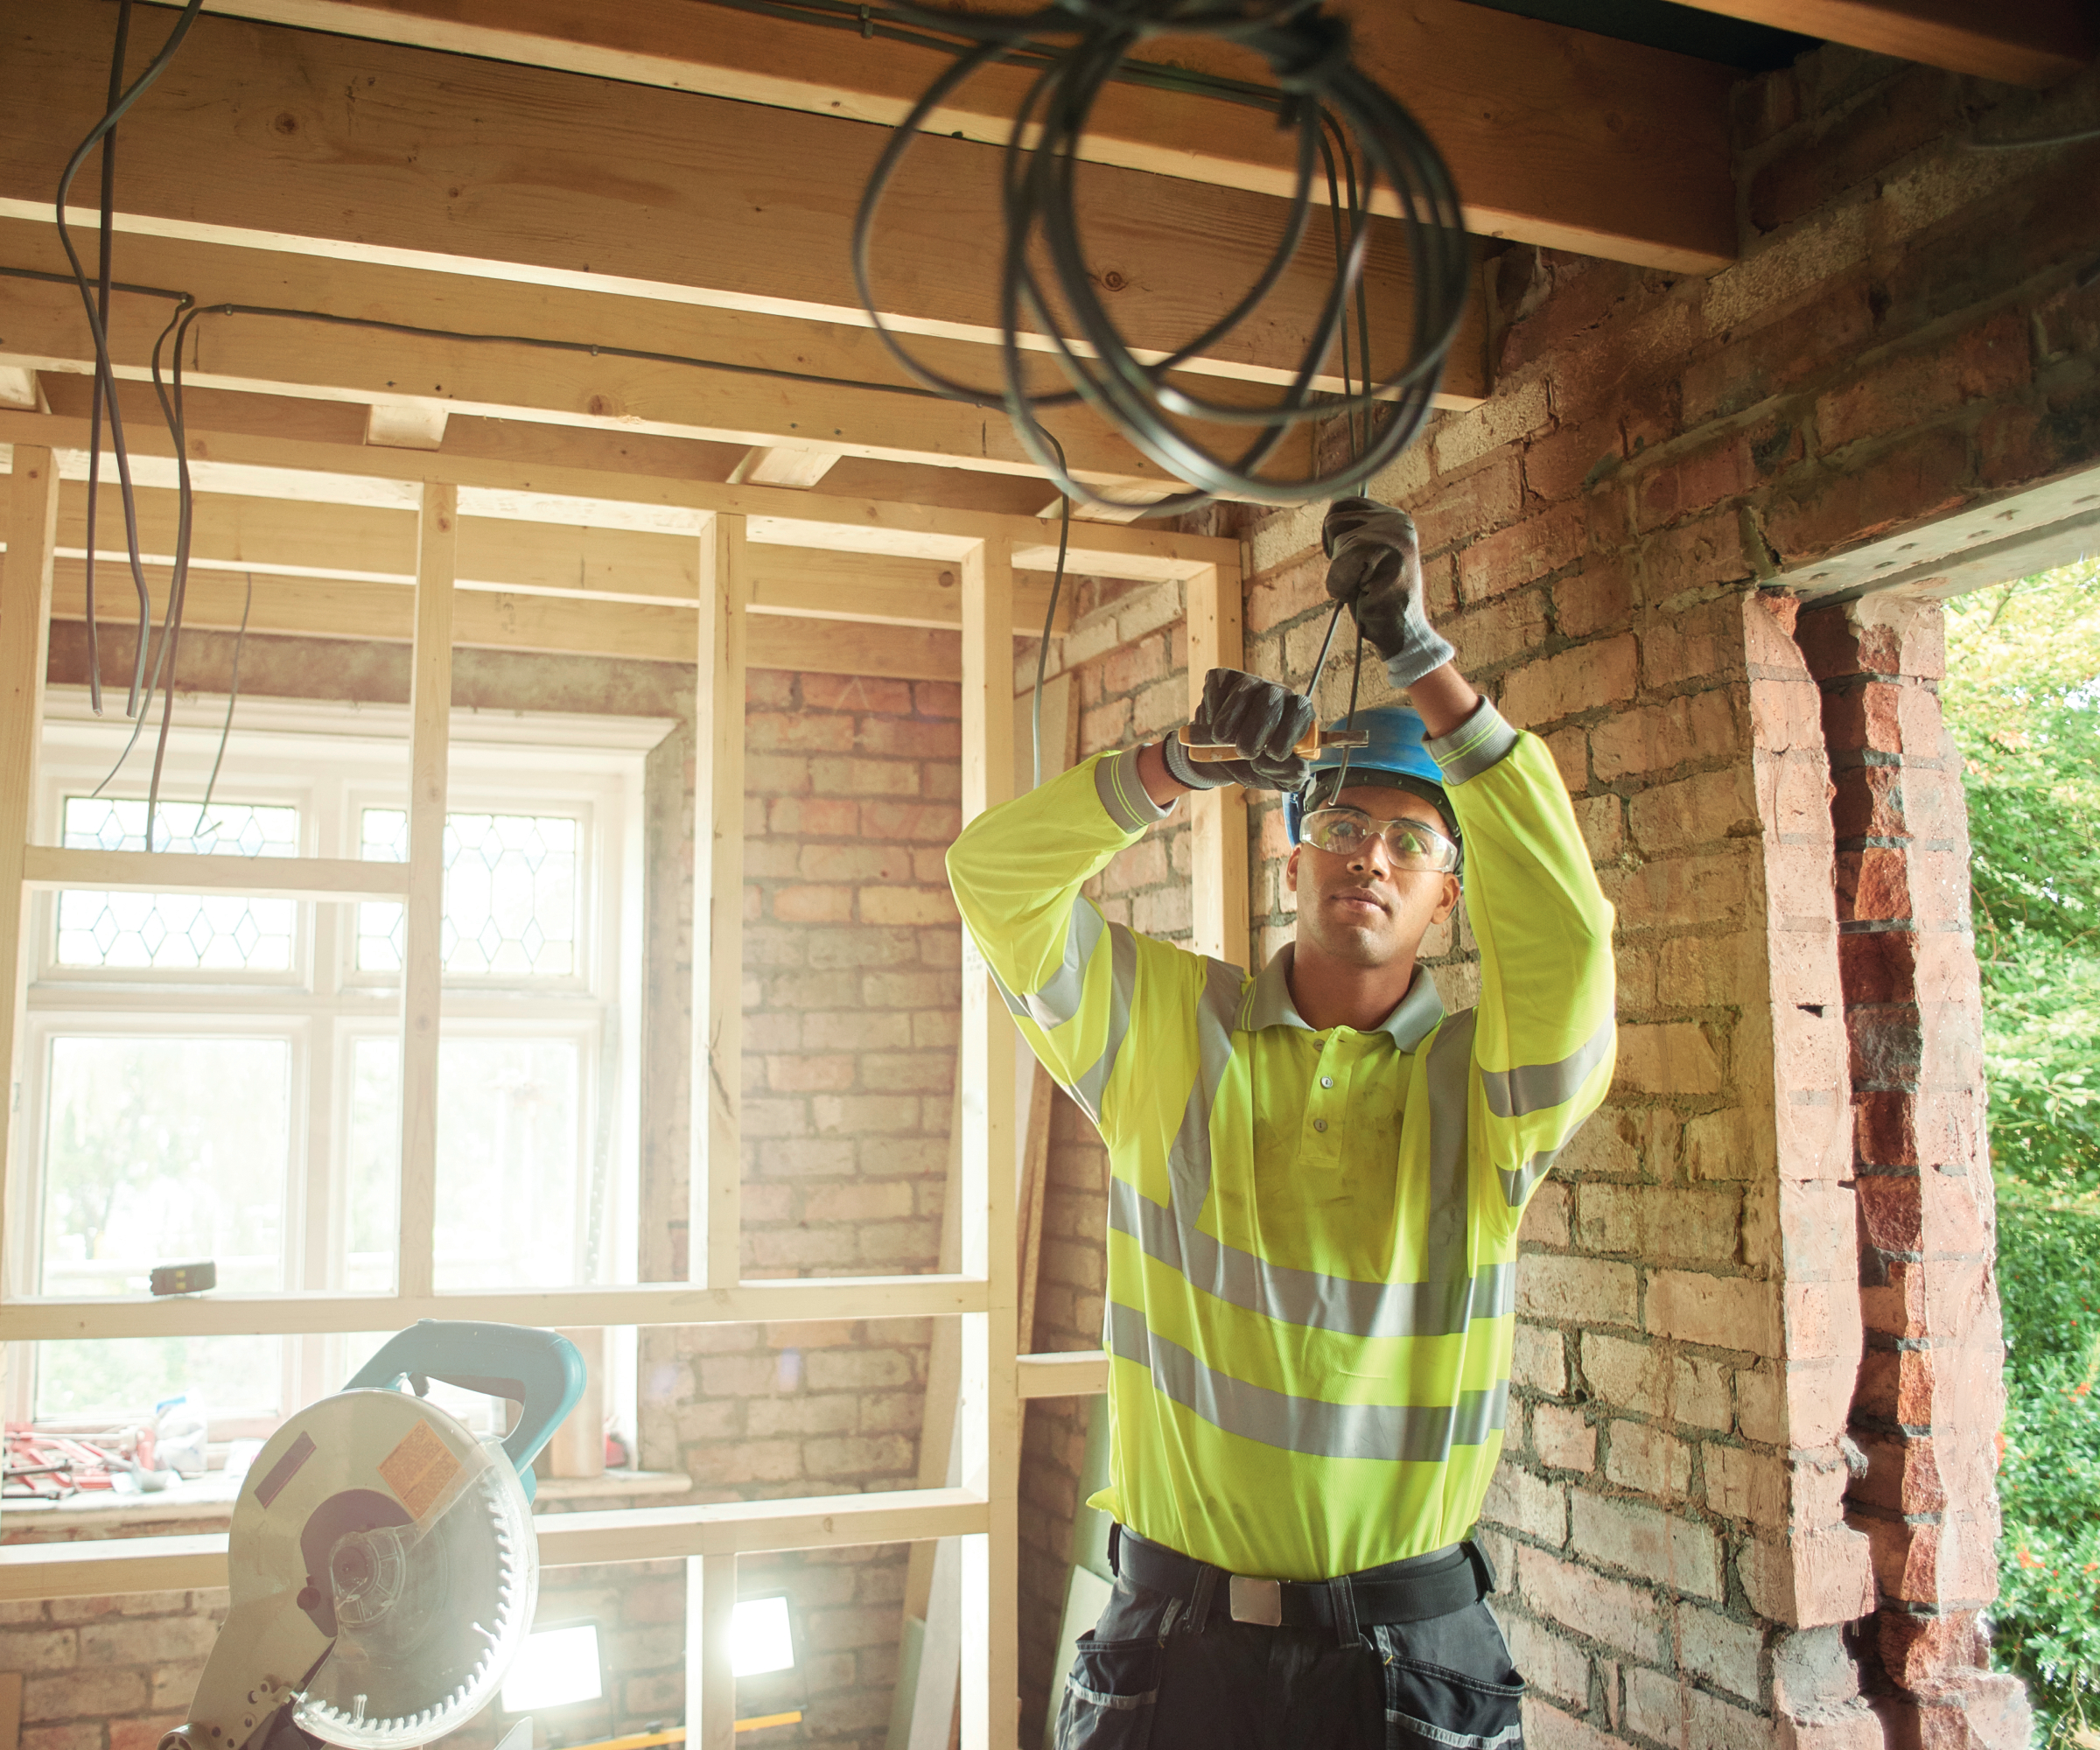
Your electricians on other hand will be running all the necessary cabling to enable your lighting and power circuits to work and installing the backplates depending on the types of light switches and sockets you’ve chosen. Your permanent consumer unit will be installed and wiring will also be taken to external lighting points. TV and satellite cables will go in, along with the carcasses for any home entertainment, smart lighting systems and alarms.
On larger projects, be prepared to install metres of cabling. I recall pulling through and totting up the final amount of cables in my Grand Design project and being staggered by how much had gone into the property.
You’ll also need to ensure any specialist contractors for features such as smart systems are also working closely with the on-site electricians to avoid issues with cables being run too close to each other. For example, data transfer cables may experience interference if run too close to high voltage cables such as those needed to power hobs and ovens in a kitchen. And in general, check your plumbers and electricians are liaising on all cross bonding and earthing issues.
6. Drainage and external works
While work may be moving ahead inside, there are still external works that need to be completed, primarily involving your drainage runs, driveways and pathways. Outside, you should see the following taking place:
- Groundworkers dig the trenches for drainage runs
- Trenches backfilled to 150mm with pea shingle
- Drains laid to required falls
- Brick/concrete section manholes constructed, or purpose-made manholes, rodding eyes and gullies set in runs
- Building inspector approves laid drains
- Drains haunched over with pea shingle
- Work to connect to main sewer in road carried out by approved contractor
- Groundworkers commence driveways and pathways
7. Preparing ceilings and dry lining
Back inside, it’s time again to turn your attention to the interior with walls and ceilings the prime focus of attention, along with staircases.
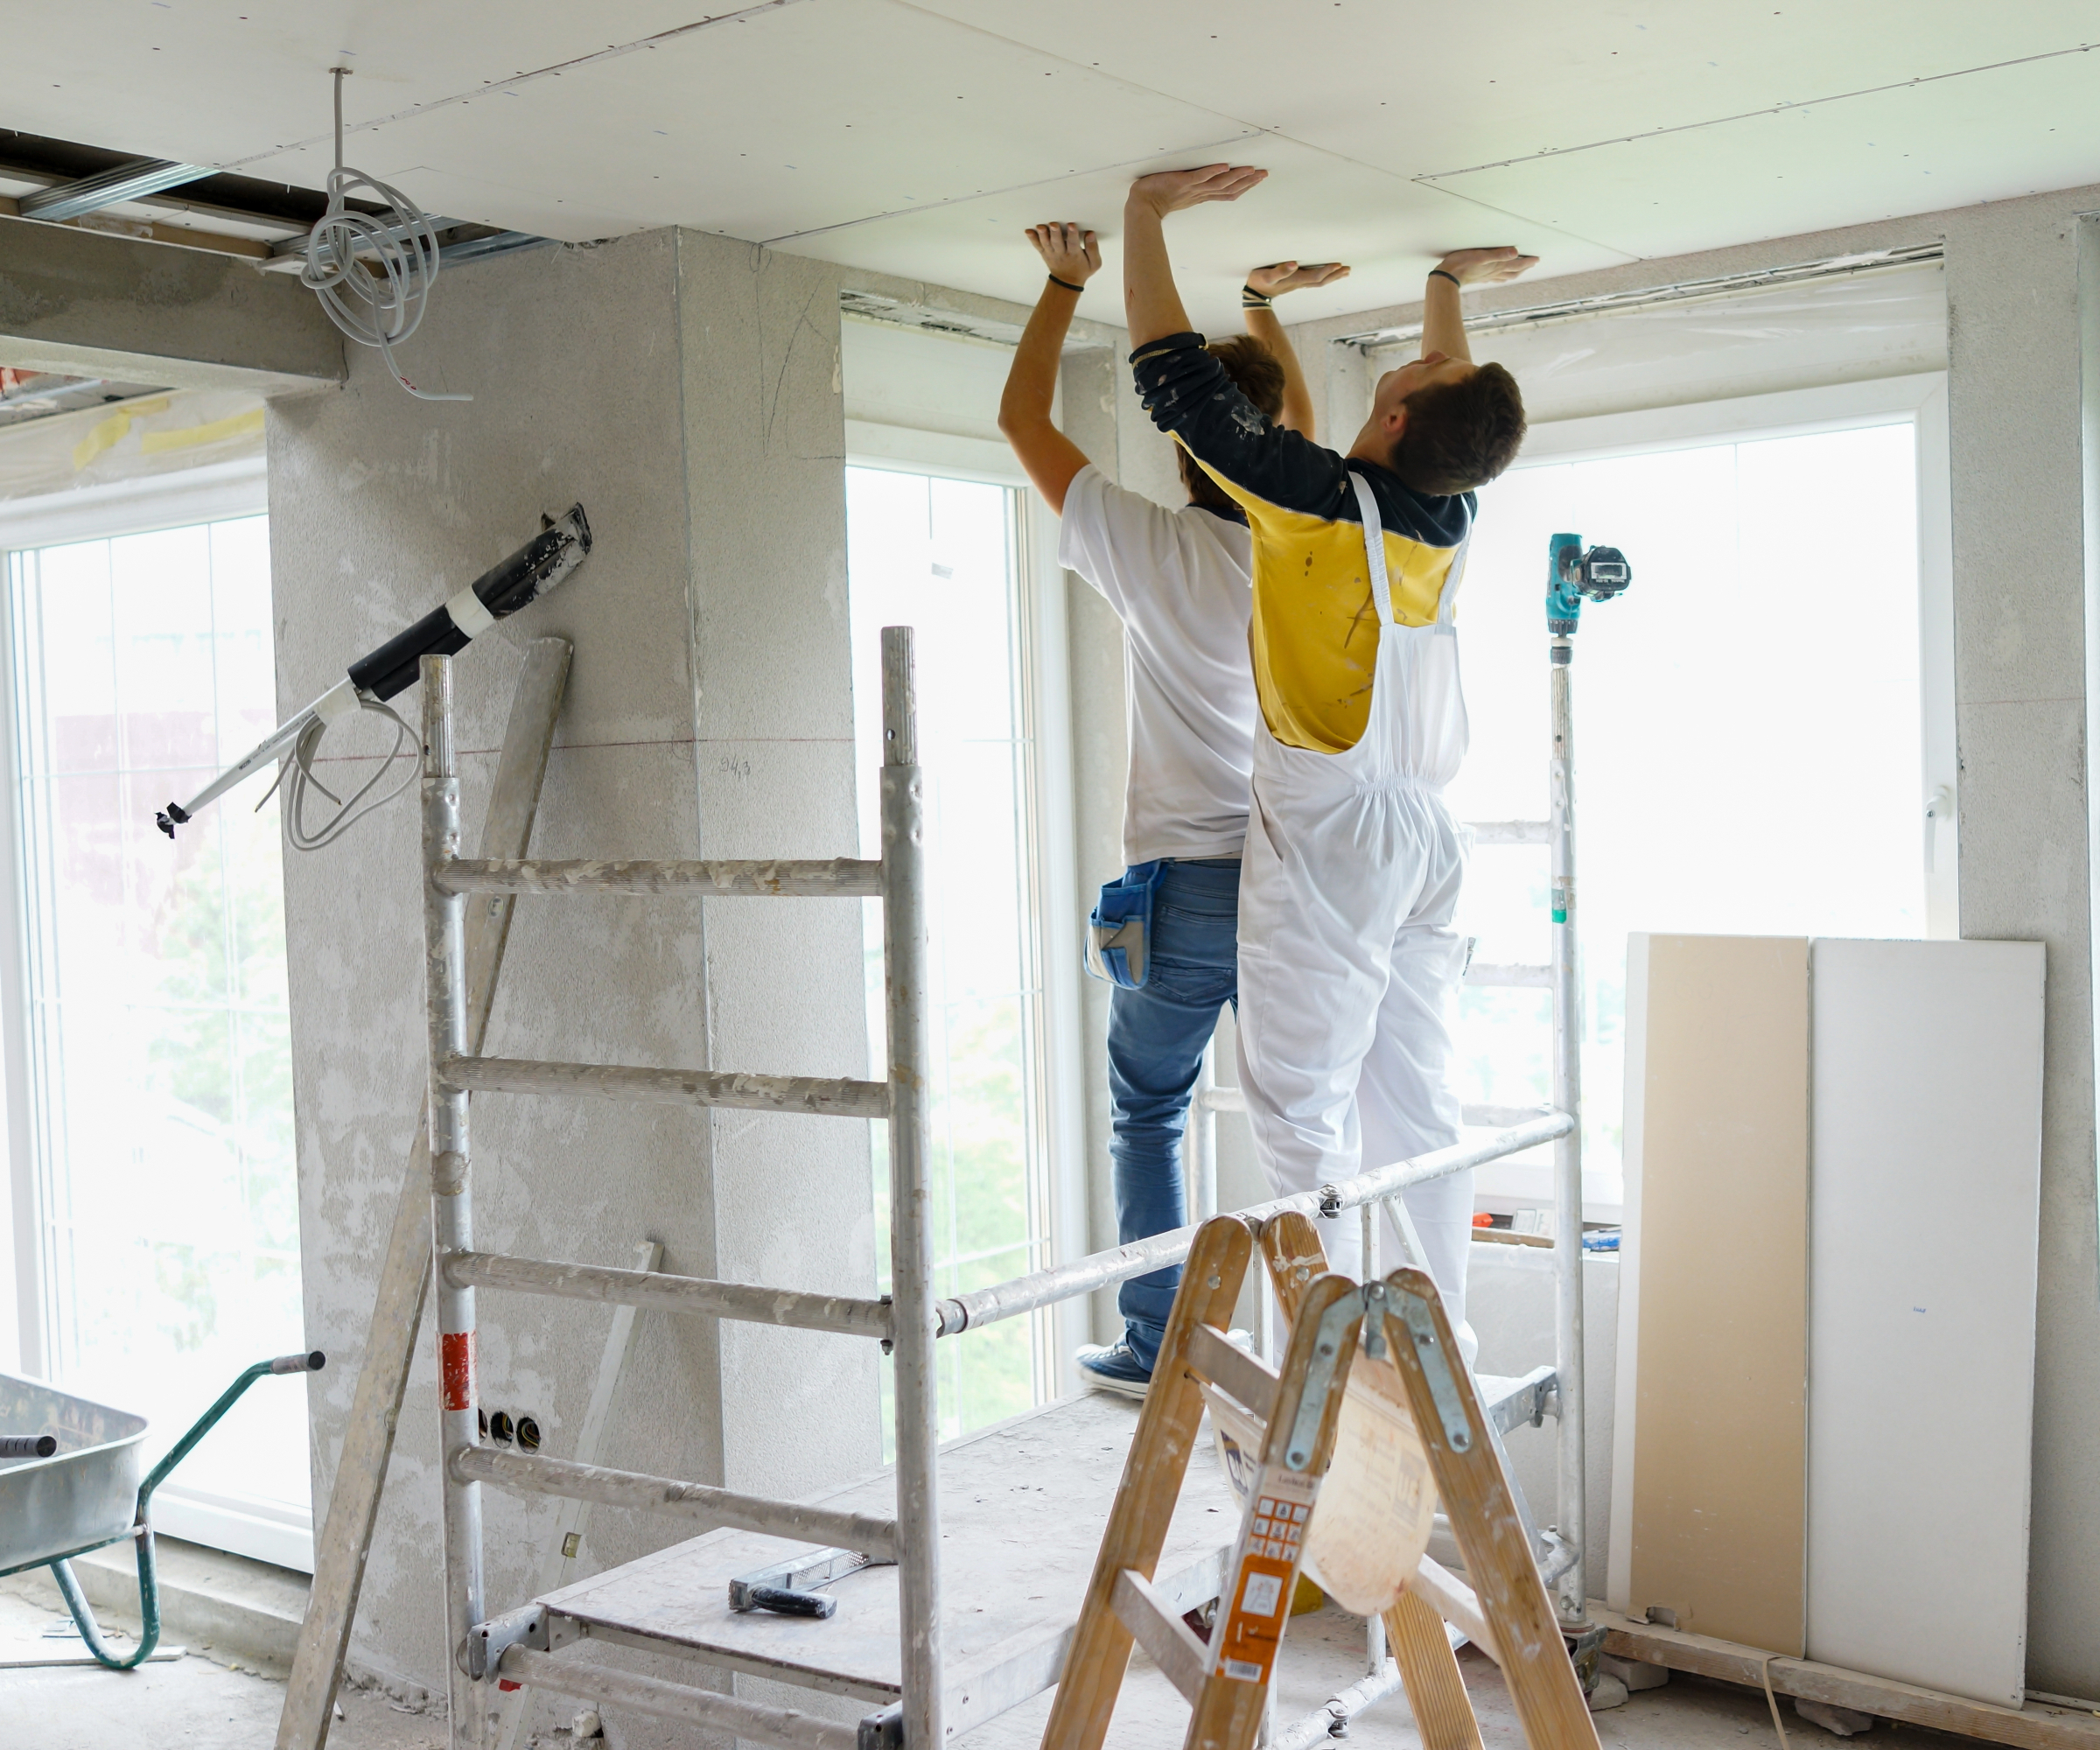
Insulation will be added to your roof and walls, followed by external and blockwork walls being lined with plasterboard on dots and dabs, and internal walls being lined with plasterboard and plastered. Any studwork, pipe boxings and ceilings will all be tacked with plasterboard and any abutments of different materials jointed with mesh. Joints and angles will need to be filled and scrim taped in order for plasters to then skim coat all walls and ceilings.
If your carpenter has already cut your skirtings and architraves to size, make sure the backs of them have been painted or treated if necessary. Otherwise, the main focus of your carpenter at this stage will be to fit staircases, while you may still have your bricklayer on site to build any fireplaces or hearths.
8. Second fix
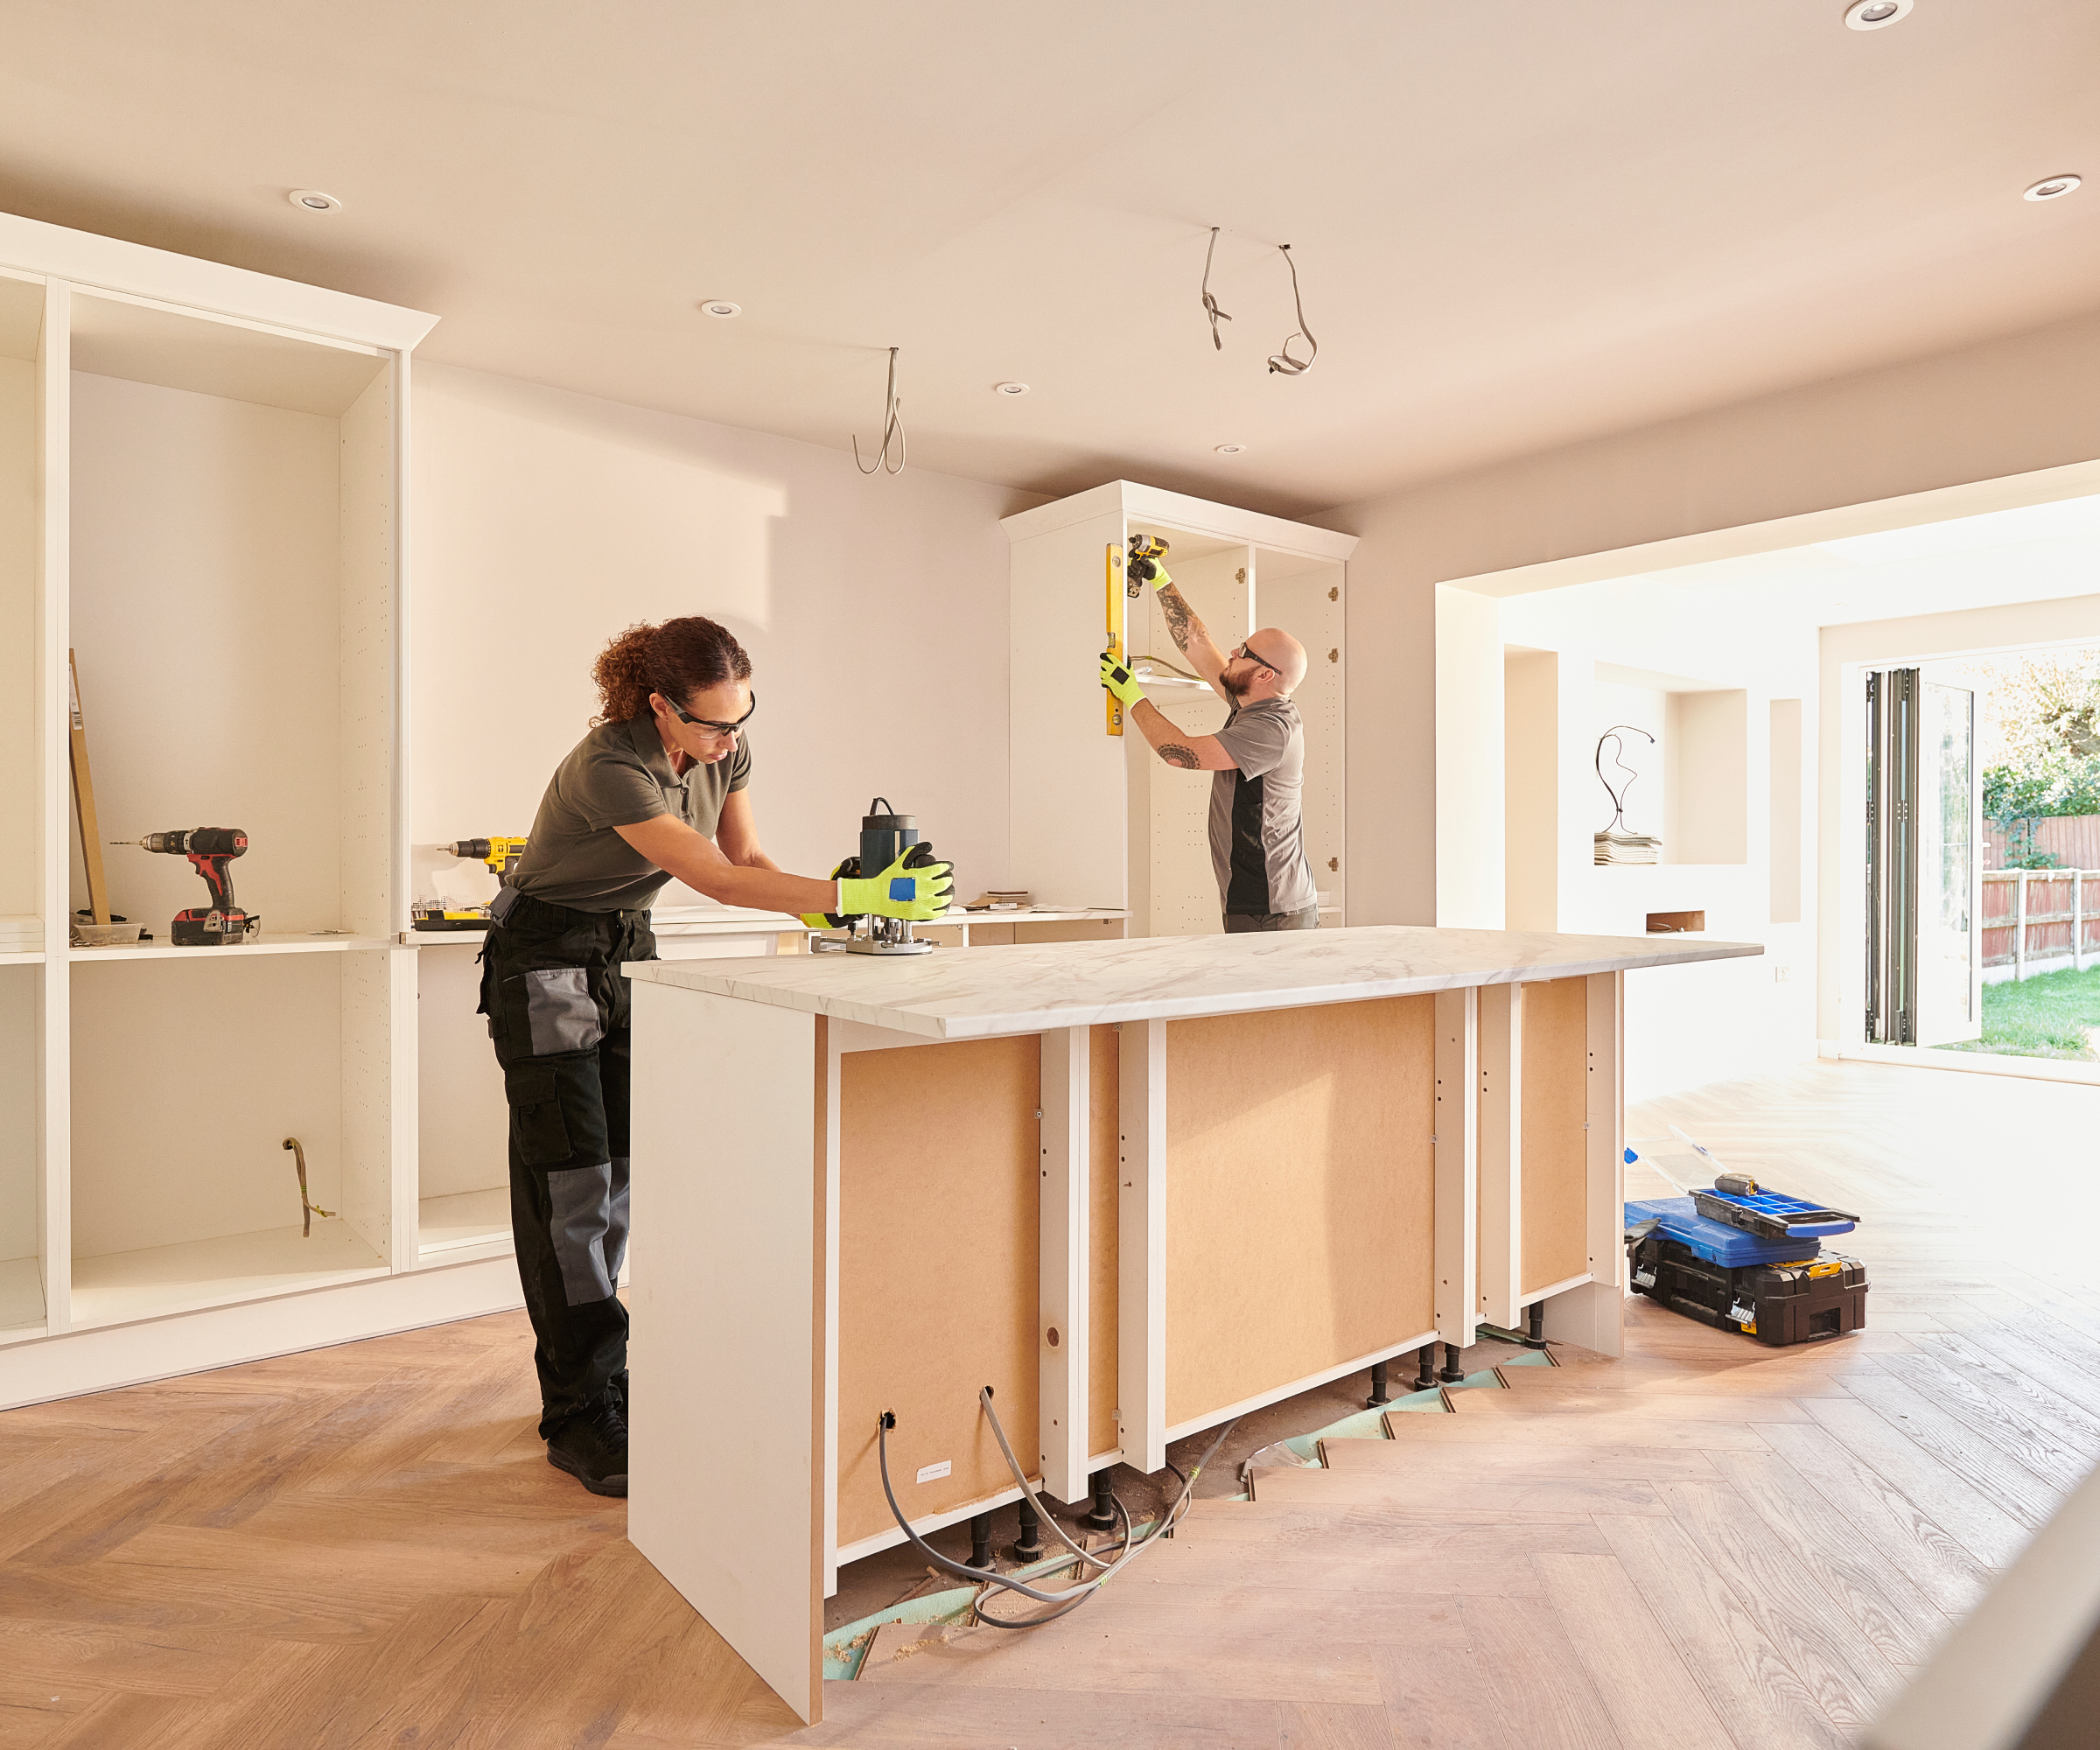
With walls and ceilings in place and plastered, it’s now time for your carpenter, plumber, electrician and other trades such as tilers and kitchen fitters to head back on site for the second fix stage.
“Now, the project really leaps forward as the finishing materials are installed,” says Charlie Avara. “The flooring, tiles, paint, and then the sanitary ware and cabinetry all come together and the client can see their vision come to life.”
Carpenters will be tasked with fitting skirtings and architrave, hanging internal doors, finishing the bottom step of your staircase and adding balustrading and handrails if not already in place, building bedroom and bathroom furniture if not being installed by a specialist company and likewise fitting your kitchen if not being undertaken by the company you have purchased your units from.
Plumbers will work on getting your boiler installed and connected, sinks will be plumbed in, earthed and cross bonded, sanitaryware will added to bathrooms, radiators and/or underfloor heating and towel rails fitted and connected, all pipework and connections will need to be flushed through and connected and the central heating put into test mode to check it is all functioning. The same test process applies for every heating system you have installed, be this an air source heat pump, biomass boiler or ground source heat pump.
Electricians will be responsible for connecting all wiring from electrical items to the consumer unit, installing lights, adding faceplates to sockets and switches, check cross bonding and earthing to all sanitaryware, sinks, radiators and appliances, making sure the boiler is wired and commissioned along with any room thermostats and controls and ensuring all electrical circuits are functioning as they should.
Additional trades who may be required on site during this time include:
- Tilers – floors and walls, making sure any baths are filled in order to allow them to settle before tilers fix any wall/splashback tiles
- Kitchen fitters and specialist worktop fitters
- Specialist floor covering installers such as micro-cement flooring or resin flooring
9. Decorating
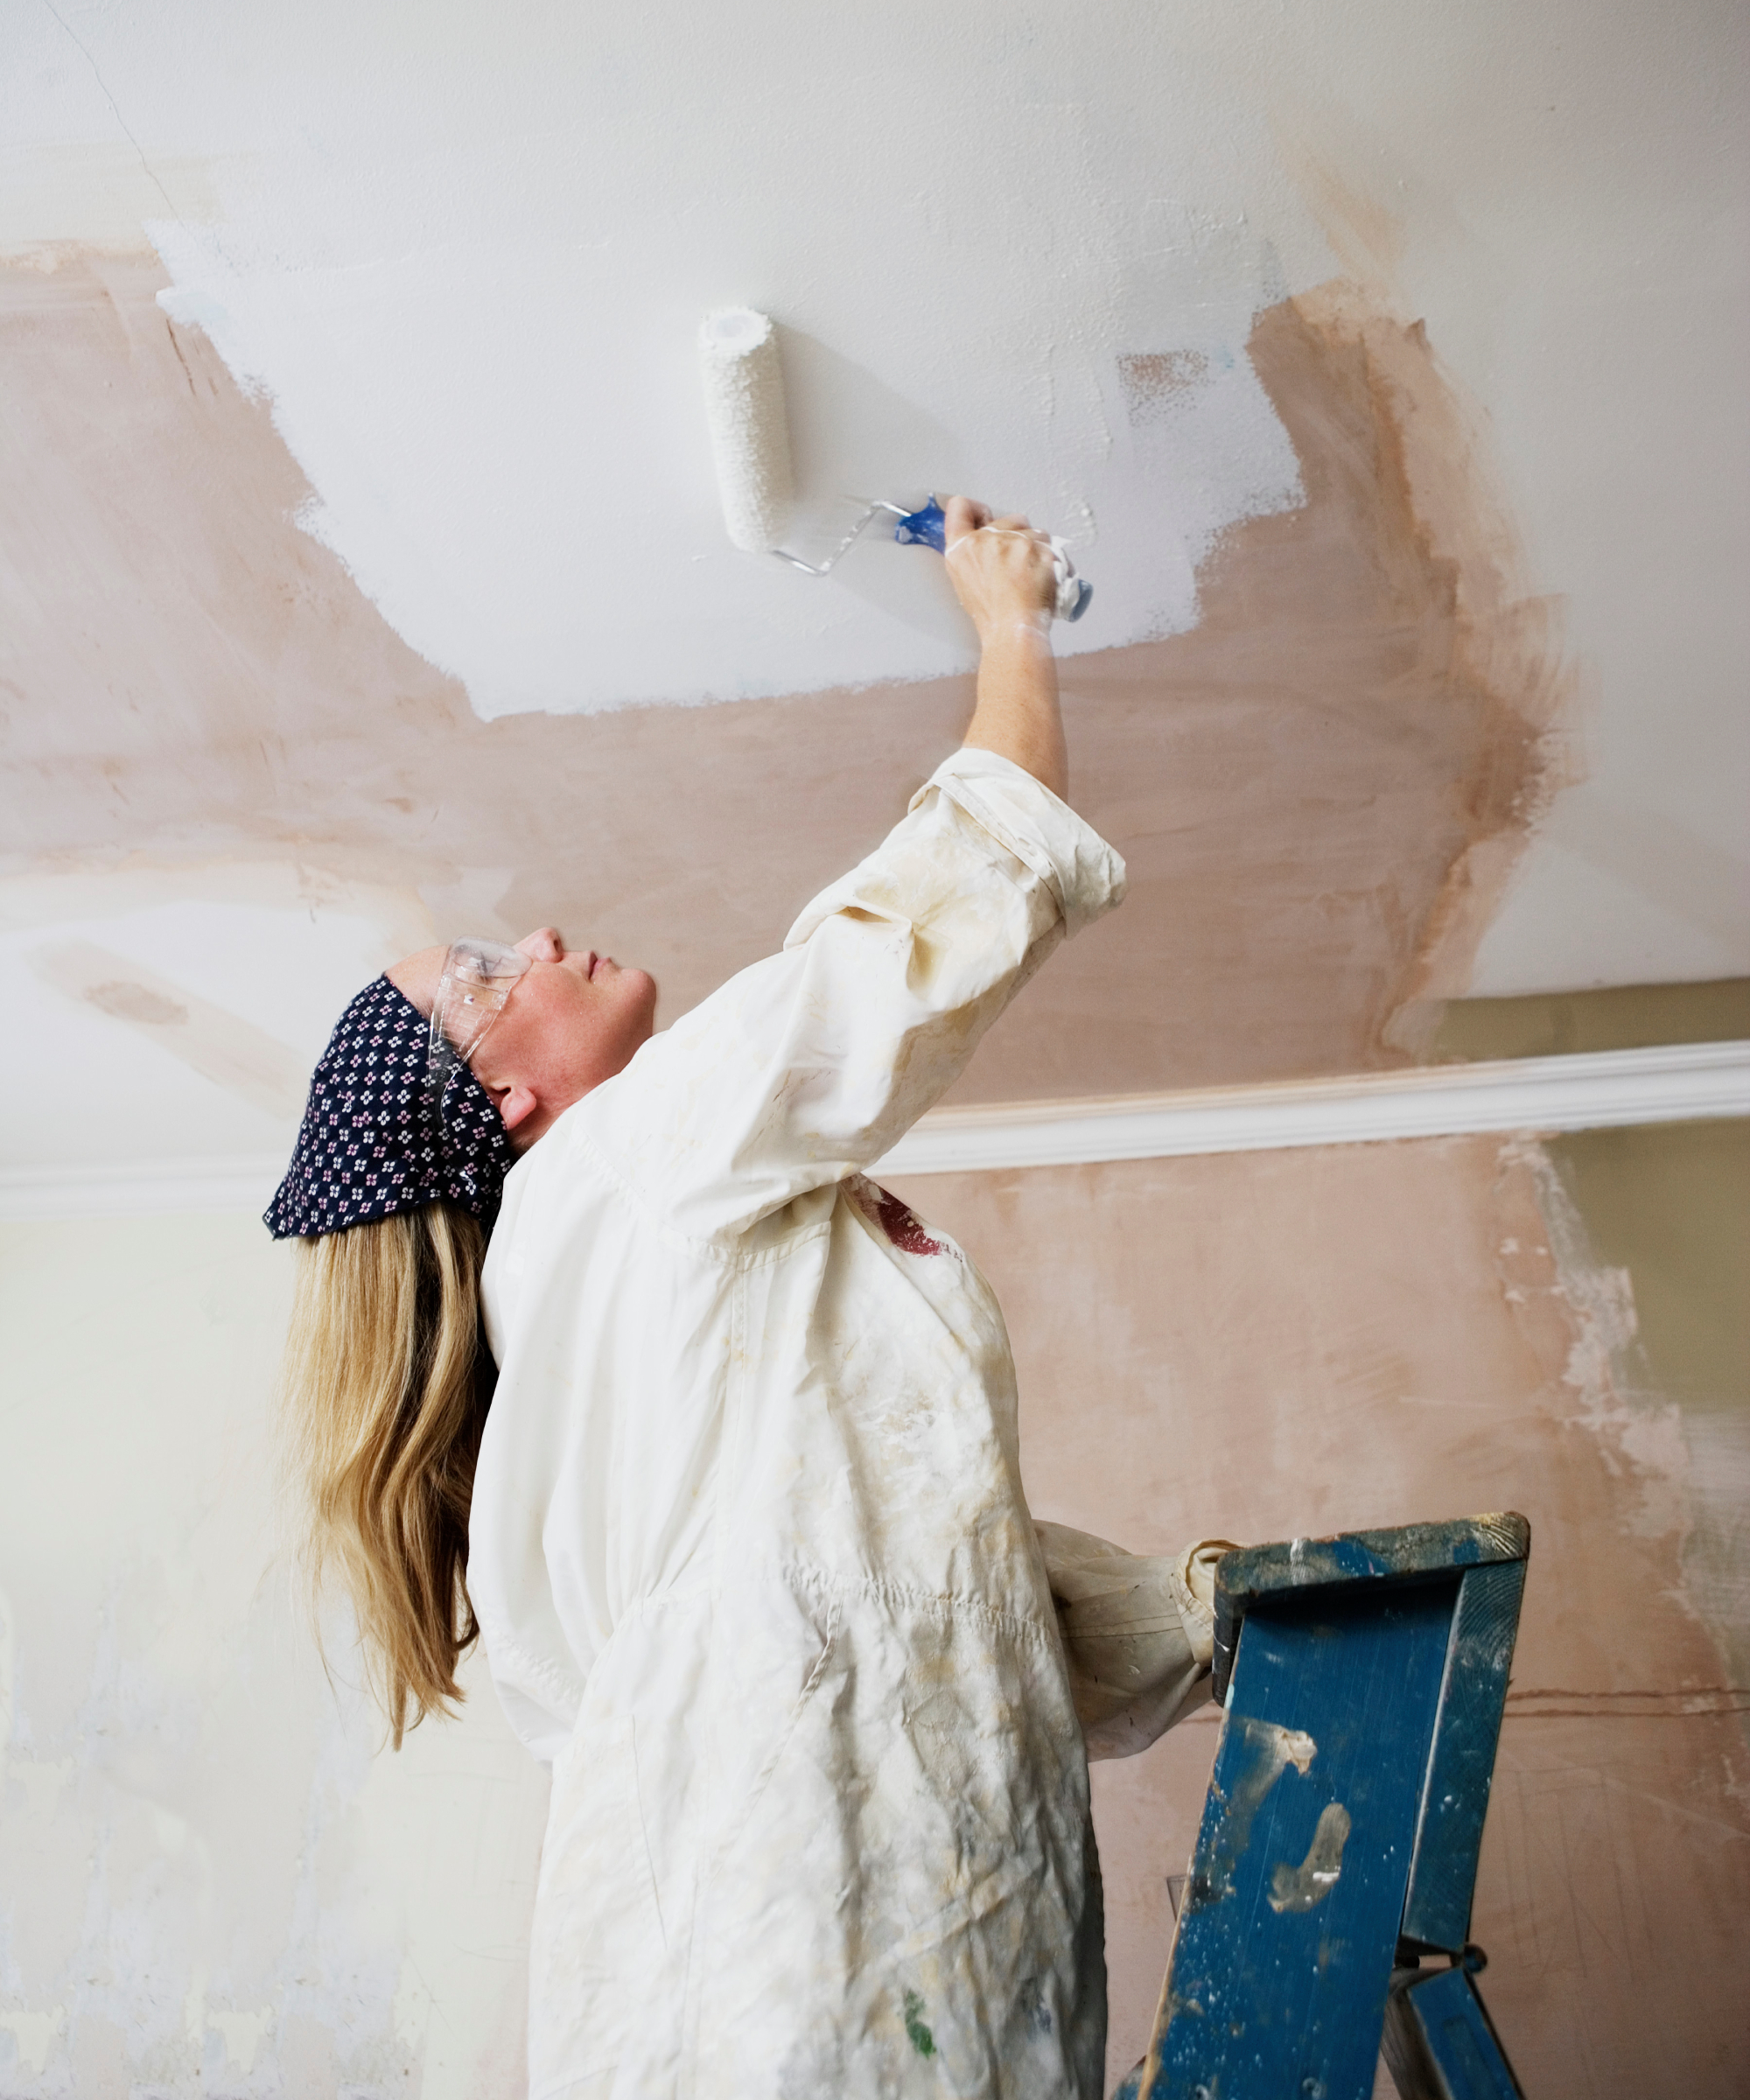
If you’re using a package company or main contractor to build your house, you may choose to pick up the reins at this point and undertake the decorating tasks yourself.
Taking on these smaller tasks at the end of a building project is a good idea if you have gone over budget. (But as always, do only take on jobs that are within your capabilities. Otherwise you may end up paying a premium to get a professional to fix your mistake).
However, whether you are completing the work yourself or hiring a decorator, good preparation is key to getting the best end result.
Ensure all joinery is sealed internally and externally with mastic, make good any holes, blemishes or rough patches on walls and sand or rub down with wire wool, any internal timber before knotting it. Then, before any paint or finishes are applied, undertake the first (of many) builder’s cleans to remove all debris, dust and dirt from the site.
You or your decorators should apply a mist coat to your plastered walls followed by two coats of emulsion, priming, undercoating and applying top coats to internal timber or two coats of staining.
Finally carpets can be laid and protective floor covering put in place ready for furniture deliveries.
10. Landscaping
If the budget is tight, some self builders choose to have a bit of a break between completing the house and turning their attention to the landscaping.
But there are benefits to landscaping at the same time as building a house, says Charlie Avara. “If there is any structural work to be completed (excavations, retaining walls, etc), then you would want to incorporate this in the superstructure phase as well,” says Charlie Avara. “You will certainly want to be bringing all building materials, soil etc through the house before the finished floors are installed.”
While planting and turfing can certainly be completed at a later stage, it’s worth ensuring your budget has allocation for any hardscaping elements such as creating patios, boundaries and garden walls while tradespeople and equipment are still on site
Completing it before the build team moves off site, also means you can ensure any power and water pipes you’ve run for external features such as garden lighting ideas or ponds are installed and fully tested. Once you’ve moved in, it’s likely you’ll be keen to avoid seeing a tradesperson for a little while.
However, careful consideration about what you want and who will do the work is key. At a minimum, get your groundworkers to level the ground, remove any site storage, fencing and site cabin so you are left with a clear space to work with in the future.
If you’ve built on a new plot where there was no previous site access, you may need to liaise with your local authority to organise any bellmouth and kerbing to the road, in which case getting the hard landscaping for your driveway design completed will likely run in conjunction with this.
While the remainder of your front garden and rear garden ideas can be completed at a later stage using a landscape designer or on a DIY basis when budget and time permits – you will need to ensure that any external lighting cabling that’s been run in advance is capped and safely secured until needed.
11. Snagging and moving in
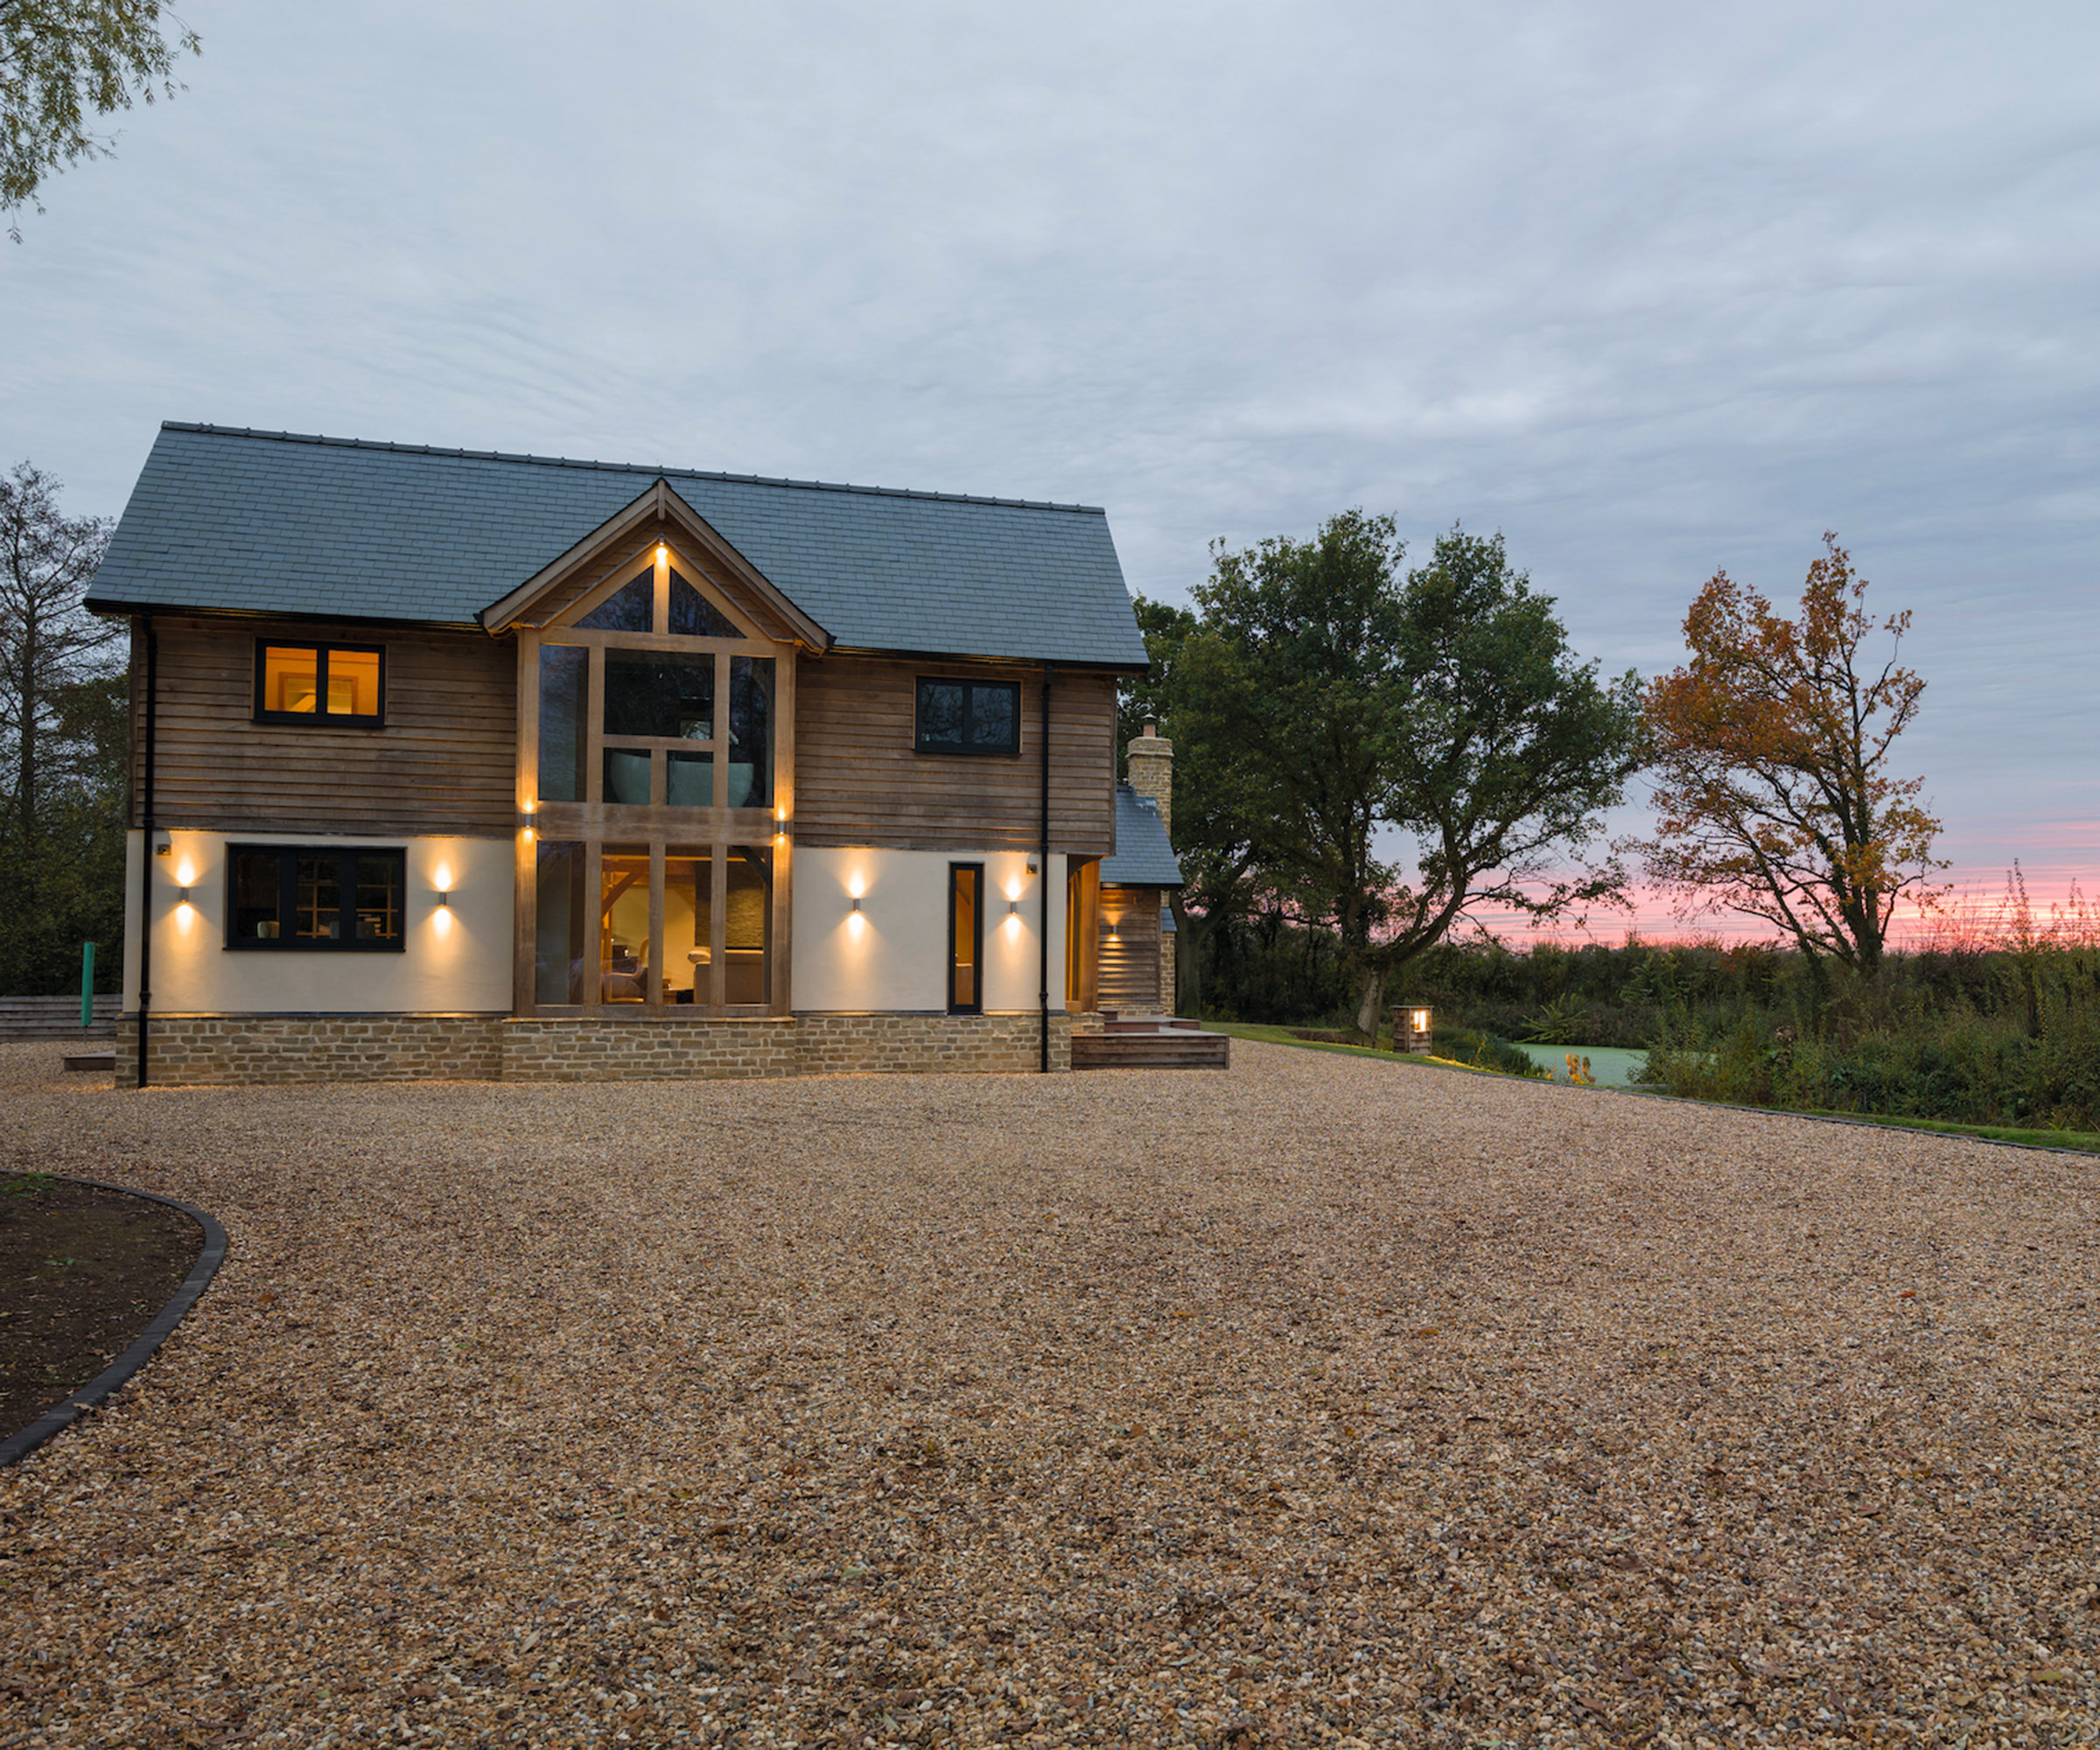
While it can be tempting to move in the minute the decorators lay down their paint brushes, leaving some time spare at the end of your schedule for the final tasks and the all important snagging can make moving in a more seamless process.
Even the small jobs such as removing labels from glass and appliances, taking out the packaging from cookers and fridges, getting your telephone line connected along with broadband, aerials and satellite dishes installed can all make a big difference.
And of course, having the house empty of people and furniture makes it far easier to comprehensively snag and make sure each trade completes their list of agreed jobs. Once you are living on site, it becomes harder to identify and prove smaller snags aren’t just general wear and tear.
A deep clean will also be necessary and something you’ll need to be prepared for in the weeks to come, as dust will likely continue to settle and you’ll find yourself repeating a deep clean more than once.
Finalising the legalities
As well as the physical tasks, there will also be some paperwork to complete and various bodies to inform. Meter readings will need to be submitted to service providers if your main contractor will be covering the costs of power and water during the build, your local authority will need to be informed of completion in order to arrange for a council tax valuation and your Energy Performance Certificate will need to be prepared for building control.
Final site visits will need to be made by your building inspector and warranty inspector so that completion certificates and warranties can be issued, and your self build site insurance policy will need to be switched to a homeowner’s policy.
Depending on how you’ve funded the costs for building a house, you may also need a final site inspection or valuation performed to release any remaining funds. It’s worth noting that you may also have to arrange for these during the build if you are on a staged release funding plan.

Charlie Avara’s final thoughts to bear in mind if you are building a house – be prepared for the ride.
“A project journey comes along in waves that flow towards the finish line. The start and completion of each milestone is like a new wave, while on larger scale projects, there will be multiple waves occurring at once.
“There is always a thrill on the first day of the project, when the skip arrives, the crew set up and we know this is our base for a while,” says Charlie, “but nothing beats that final day, when the keys are handed over to the client, and a celebratory cup of tea or glass of champagne is shared with the client as they settle into their newly formed space.
“It’s a very intimate collaboration when working on someone’s home, and to see their joy and pleasure with what you have created together is priceless.”
Her best advice for anyone considering taking the plunge? “Plan, plan and more planning before you start! Knowing what you want before you move on site is key – making big decisions on the fly leads to expensive changes in the future, or an unsatisfactory result.”
Knowledge as they say is power, so before you take the next steps, be sure to check out how much it costs to build a house and be inspired by these self build homes for every budget.
Get the Homebuilding & Renovating Newsletter
Bring your dream home to life with expert advice, how to guides and design inspiration. Sign up for our newsletter and get two free tickets to a Homebuilding & Renovating Show near you.
Michael is Homebuilding & Renovating's Director of Content, Vice Chair of the self build industry body, the National Custom and Self Build Association (NaCSBA), presenter of multiple property TV shows and author of Renovating for Profit (Ebury). He also runs an architectural and interior design practice, offering design and project management services. He is one of the country's leading property experts and has undertaken over 30 building projects including two self-builds and the renovation of a Grade-II listed farmhouse.
Michael has presented over 150 property shows for BBC, ITV1, Channel 5, UK TV Style, and Discovery RealTime, including I Own Britain's Best Home; Don't Move Improve; Trading Up; Good Bid, Good Buy; Build, Buy or Restore?; How to Build A House; and Hard Sell.
Michael is also a regular expert at the Homebuilding & Renovating Shows. He has written for leading British newspapers, including The Daily Telegraph, Sunday Times, Daily Express and The Independent and has appeared on news programmes such as BBC Breakfast.
- David Snell
- Jason OrmeManaging Director
- Sarah HarleyAssistant Editor

