I've renovated four bathrooms – and these are the mistakes I won't make again
I'm sharing the bathroom renovation mistakes I still regret so you can avoid making the same blunders
Bring your dream home to life with expert advice, how to guides and design inspiration. Sign up for our newsletter and get two free tickets to a Homebuilding & Renovating Show near you.
You are now subscribed
Your newsletter sign-up was successful
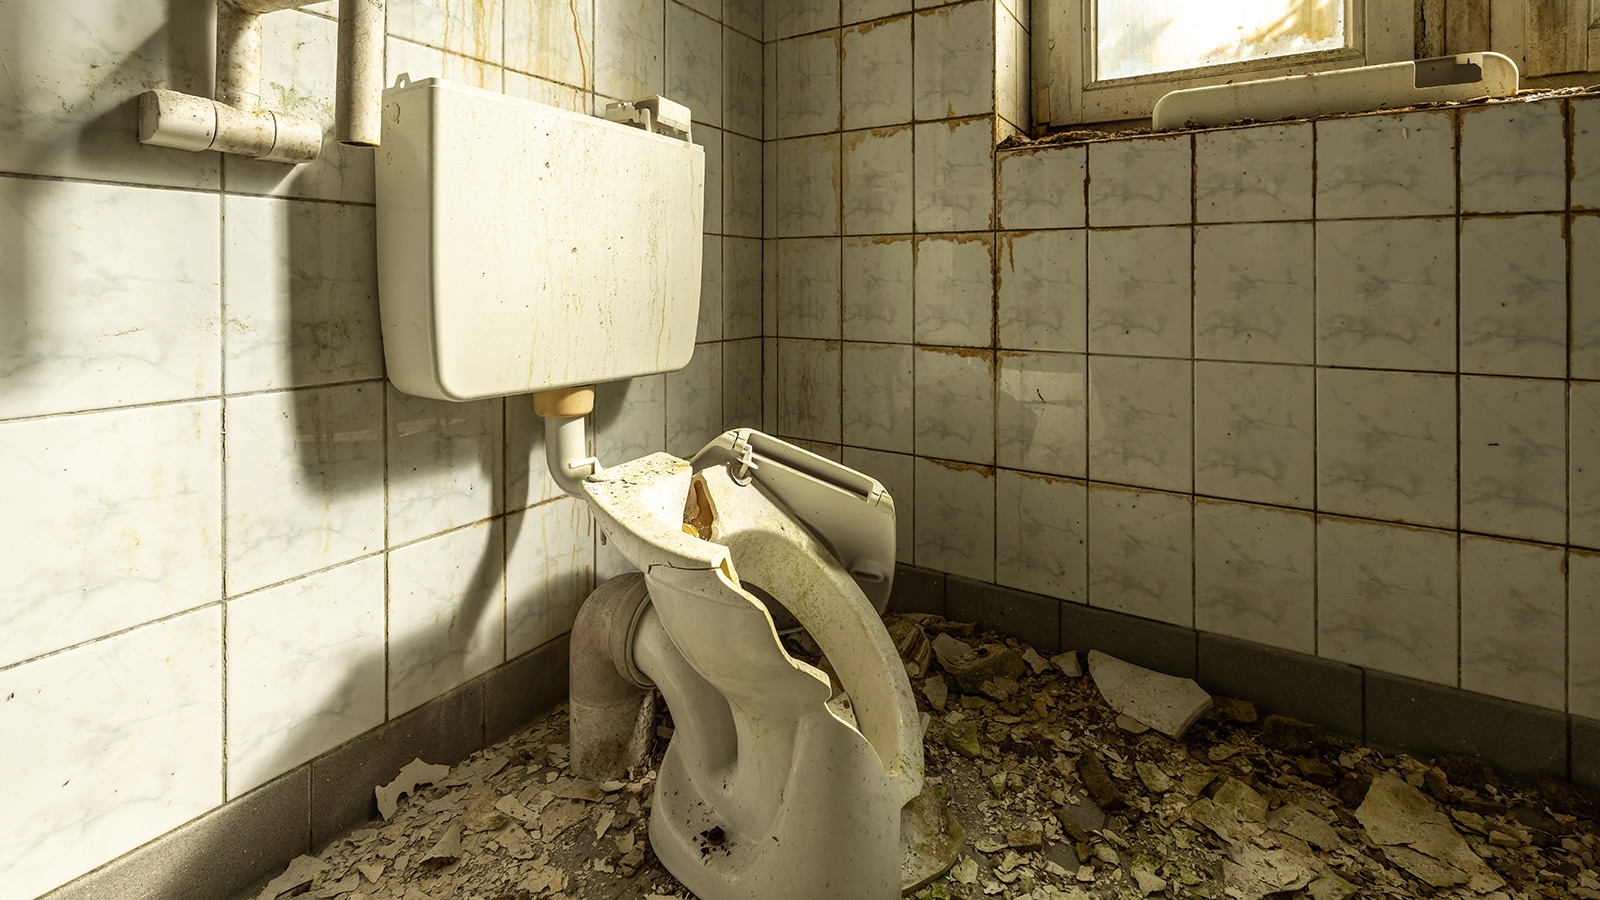
Over the years I have dealt with a total of four pretty grim and neglected bathrooms, the most recent of which hadn't been touched for at least 50 years.
I've faced everything from avocado-coloured suites to ancient bathroom carpet (ew!), not to mention questionable plumbing and crumbling damp walls.
I've been fairly happy with the end results each time but there has definitely been some room for improvement when I've been renovating a bathroom, plus certain things needed changing, meaning extra expense and disruption.
With that in mind, I'm here to share with you the biggest bathroom renovation mistakes I made so you can avoid doing the same.
1. Starting before we were ready
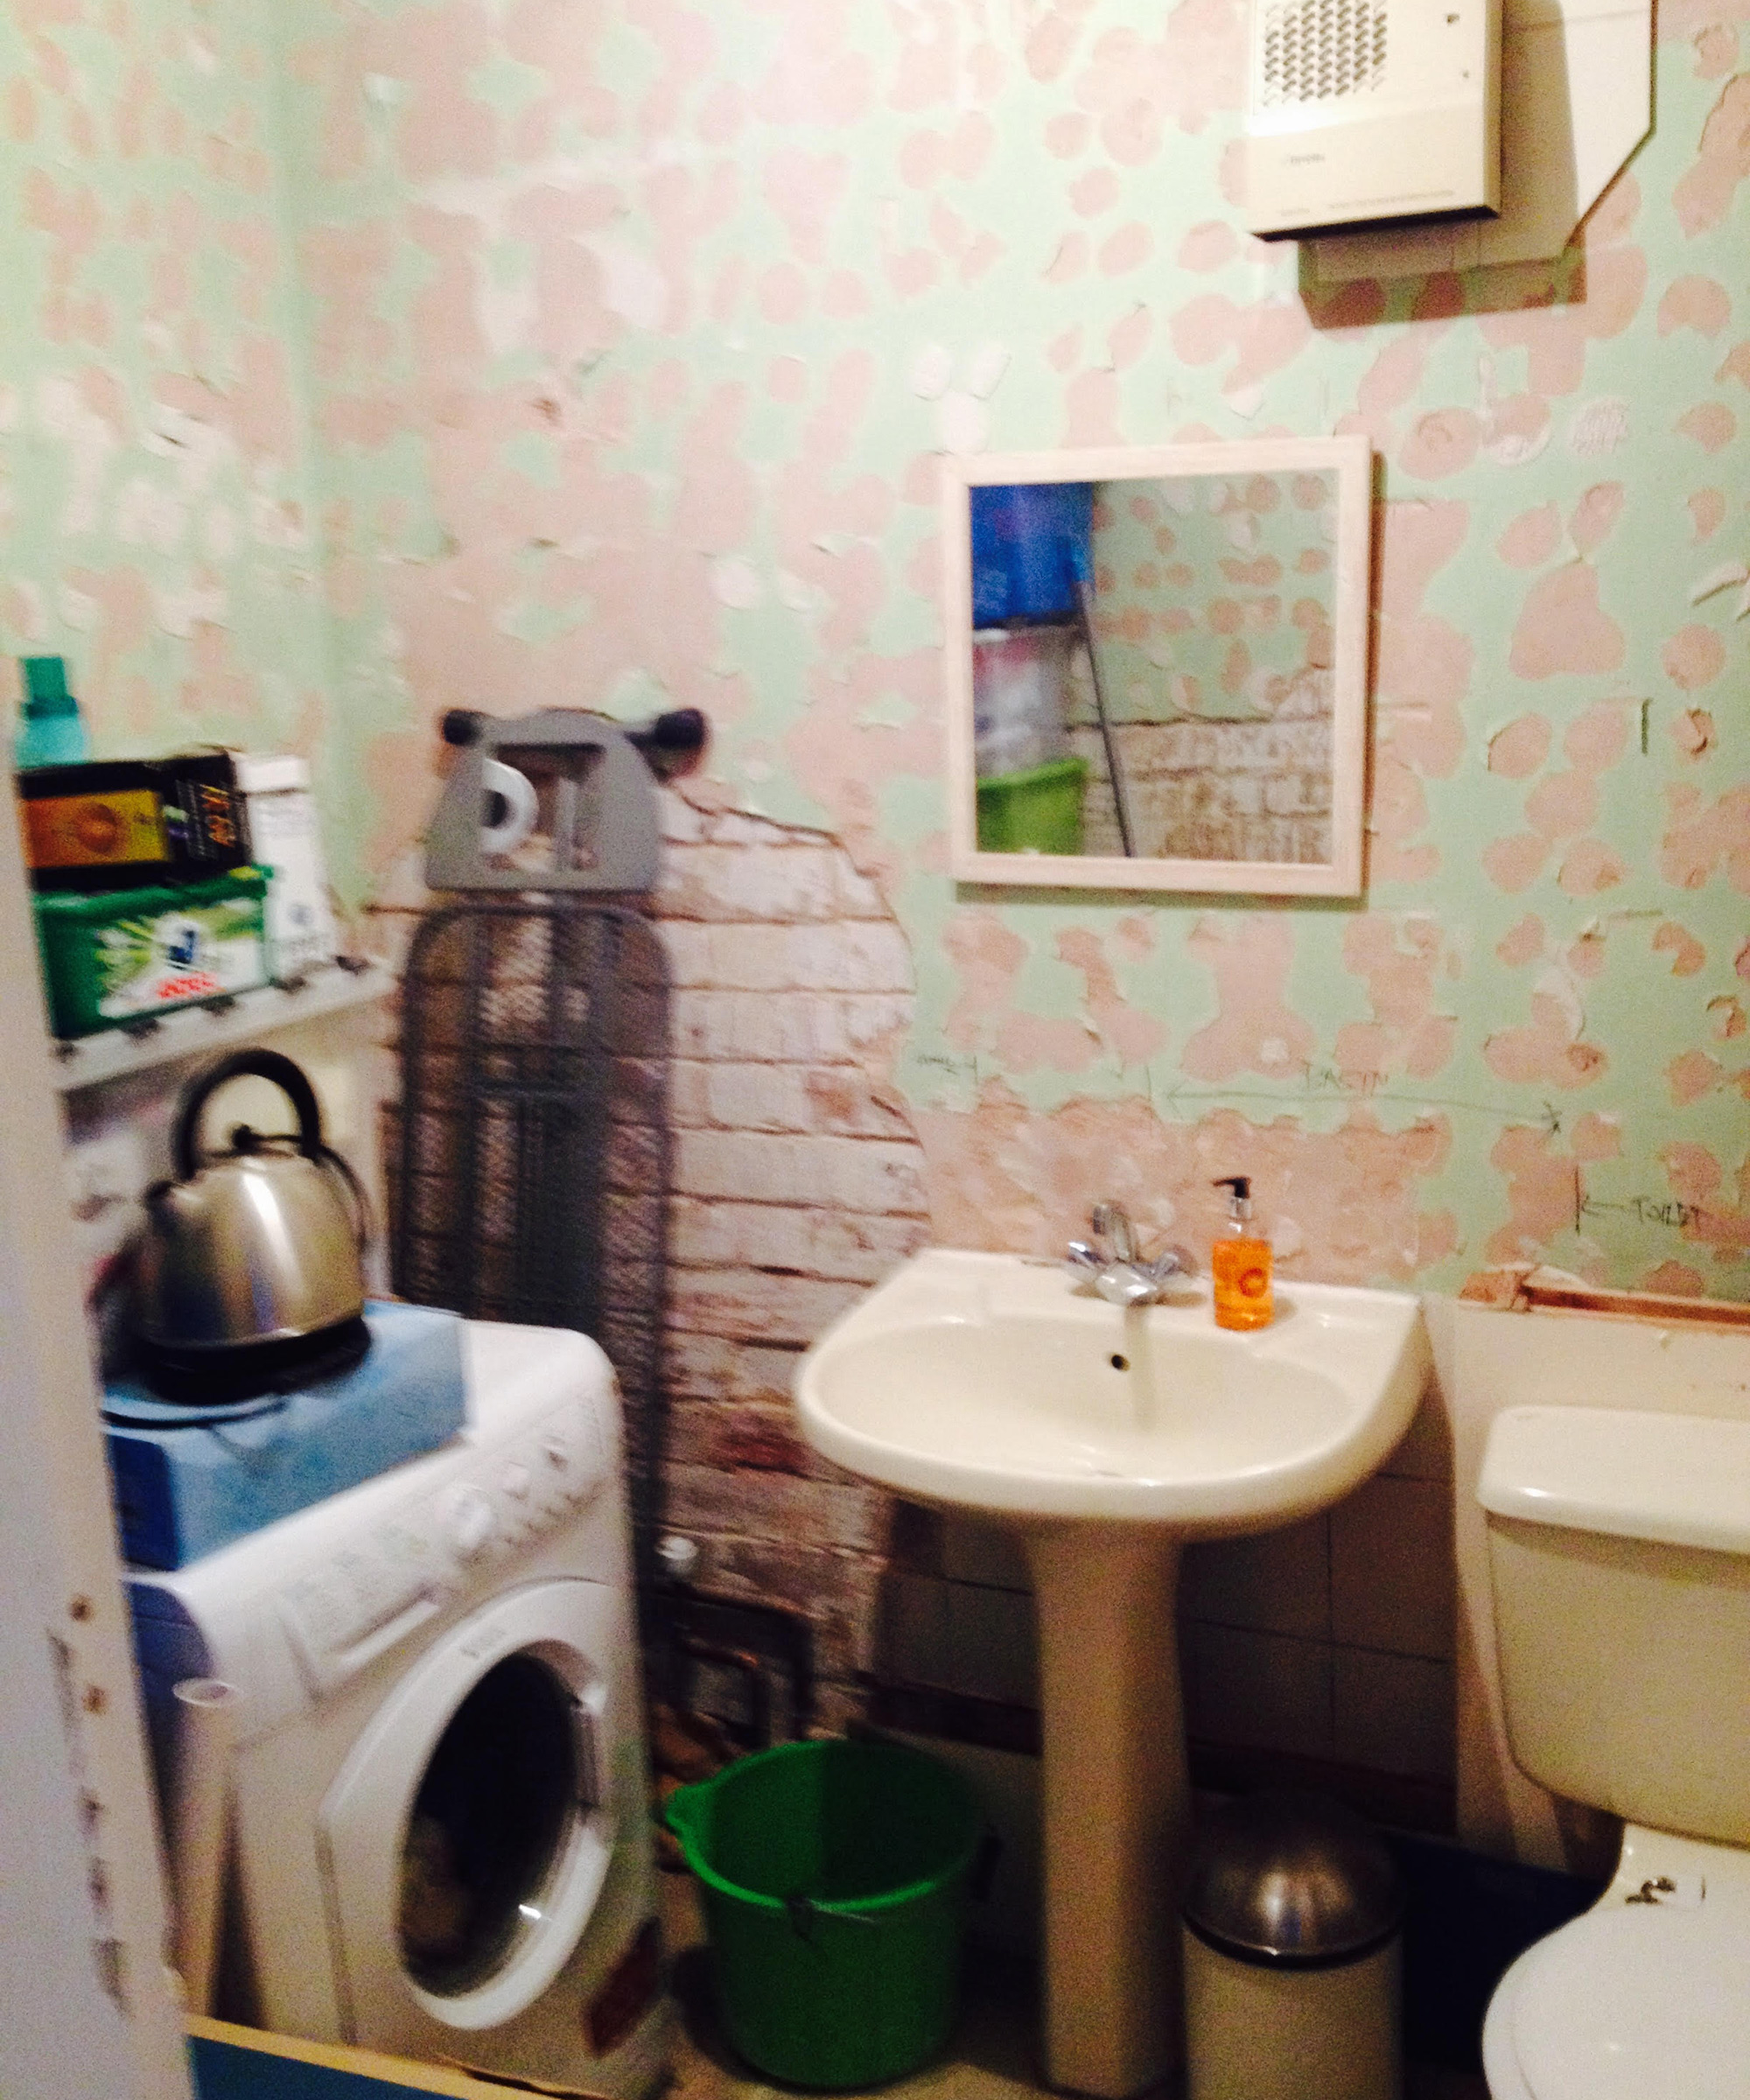
With any aspect of renovating a house, good planning is key to ensuring it runs smoothly. If you are living on site while renovating, this is more important than ever as it really can minimise the amount of disruption you have to live with.
For reasons that remain unclear to me, one of the first things we did on moving into our previous home, a Victorian terrace, was to tear apart the bathroom, leaving only the toilet. Perhaps it was the horror of the pink suite and damp brown carpet, but whatever drove us to do it meant we were then left with only the small sink in the downstairs toilet to wash in. This meant we spent an unusual amount of time at the local leisure centre using their showers.
Eventually we ended up with a beautiful bathroom, but the moral of this story is that you should not start any renovation project without a schedule of works. This will allow you to see every job that needs to be done to get you from start to finish and the order that they need to be carried out in for the least stressful journey.
Bring your dream home to life with expert advice, how to guides and design inspiration. Sign up for our newsletter and get two free tickets to a Homebuilding & Renovating Show near you.
2. Fitting the shower next to a window
Fast forward a good few years and we were knee deep in another renovation, this time of the Edwardian cottage we still inhabit.
On moving in we had one bathroom that was on the ground floor and a random toilet upstairs plonked in a bedroom for some unknown reason. We turned that bedroom into the new first floor bathroom as part of the extension and remodelling of the house.
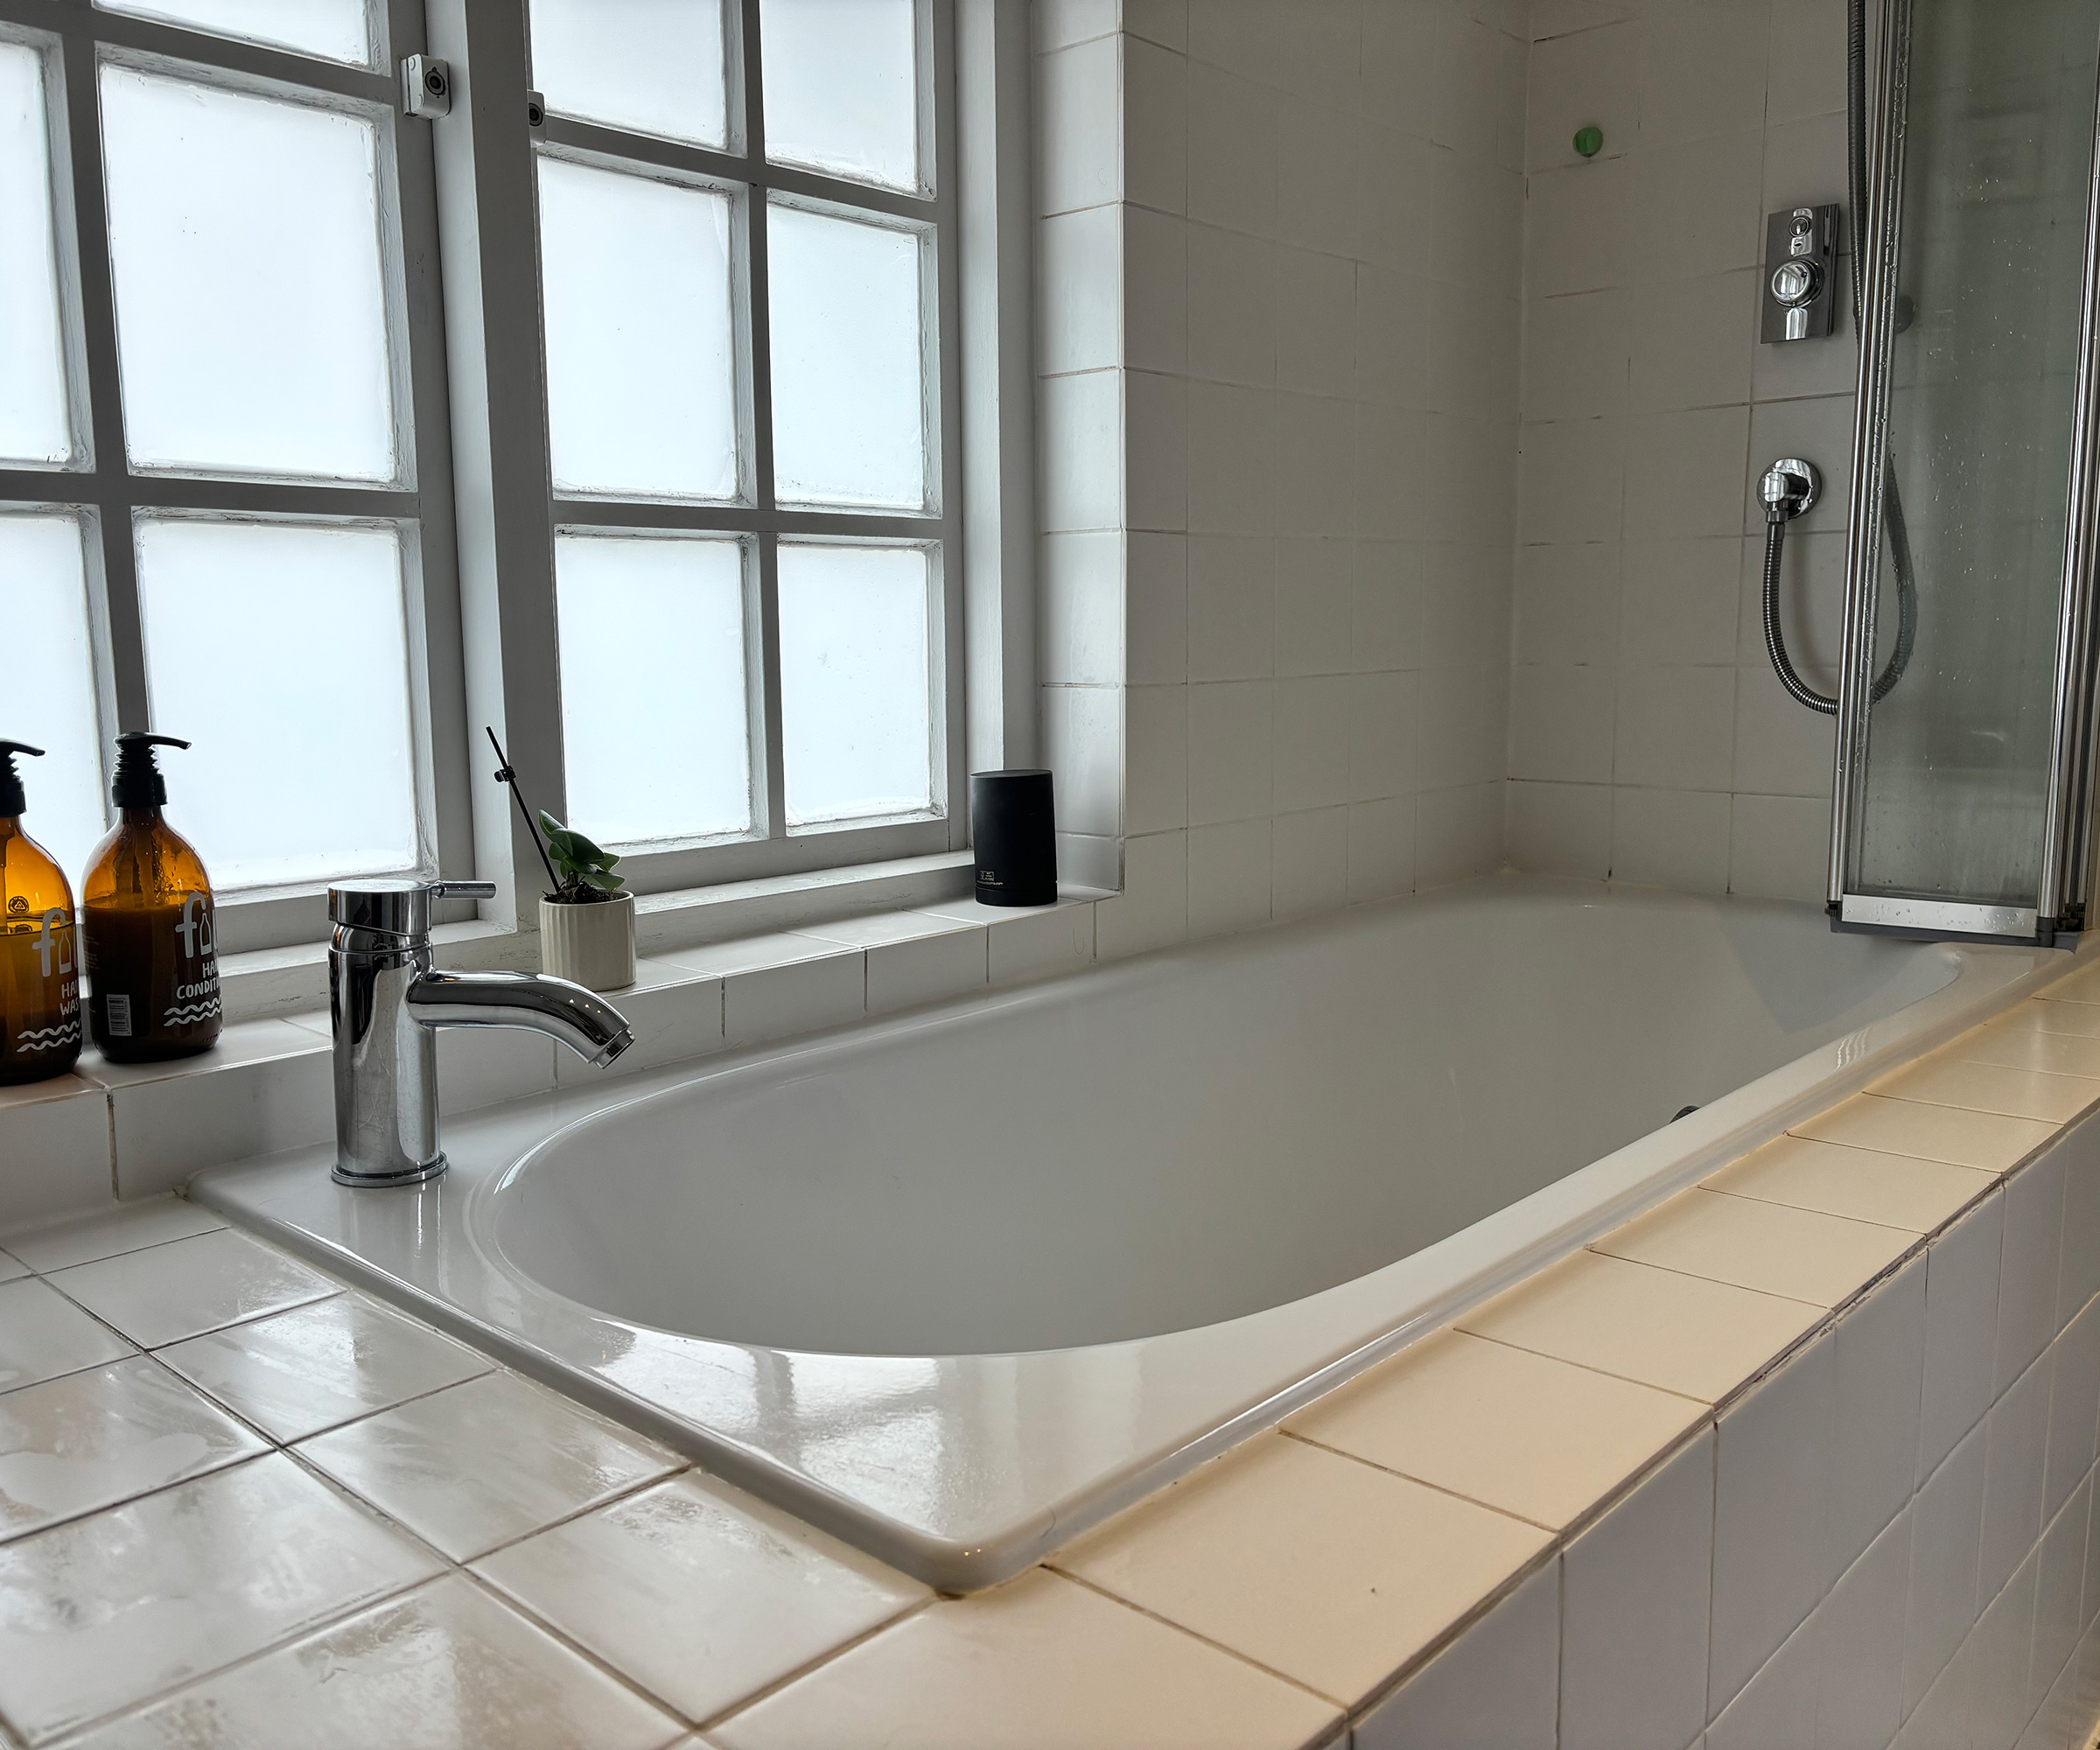
While we are generally pretty pleased with the bathroom design, we really should have planned its layout better. As it stands, the bath, with shower over it, has been fitted along a wall with a window.
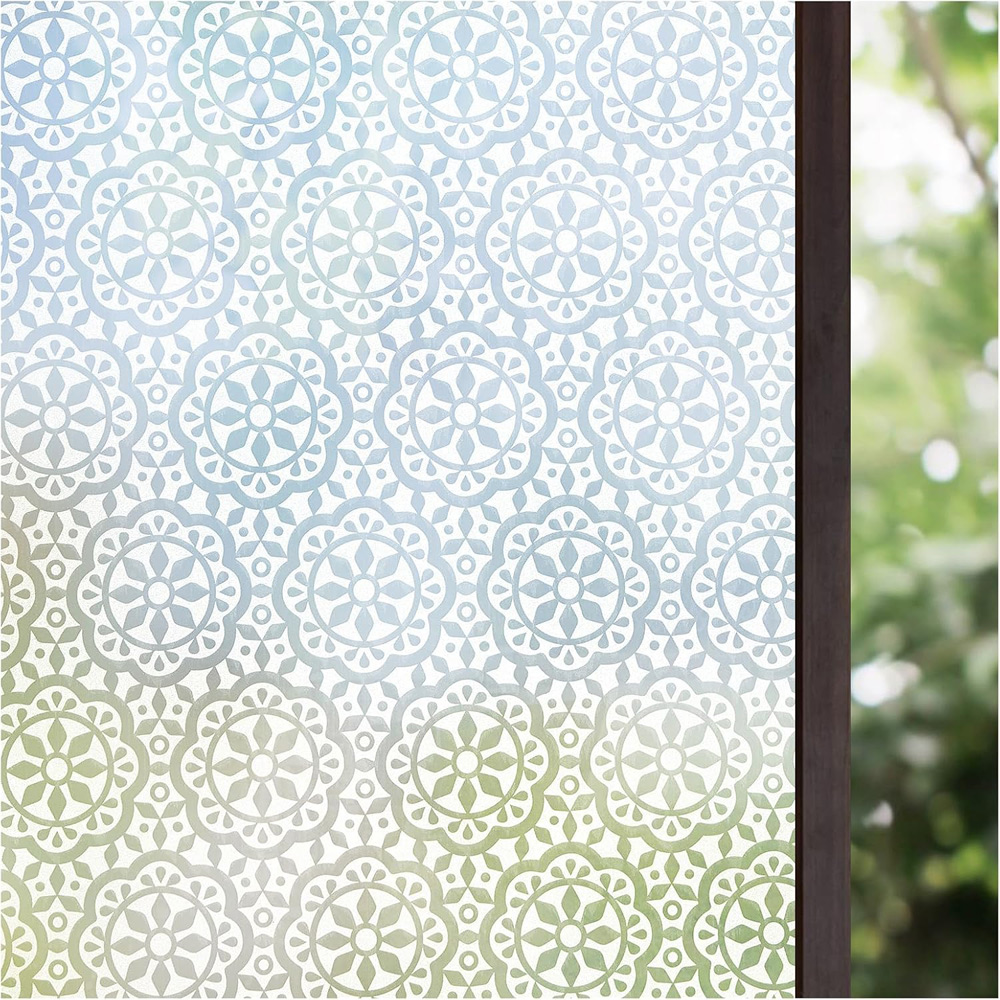
While privacy isn't an issue as we used a window film on the glass, the fact that the wooden window frame is submitted to a daily deluge of water is. The frame regularly needs repainting as the wet causes the paint to peel and if we don't mop the whole thing down after every shower, mould soon starts to gather on the window seals.
In hindsight, the bath should have been placed on the wall the basin is on where there is no window to worry about.
3. Not installing underfloor heating
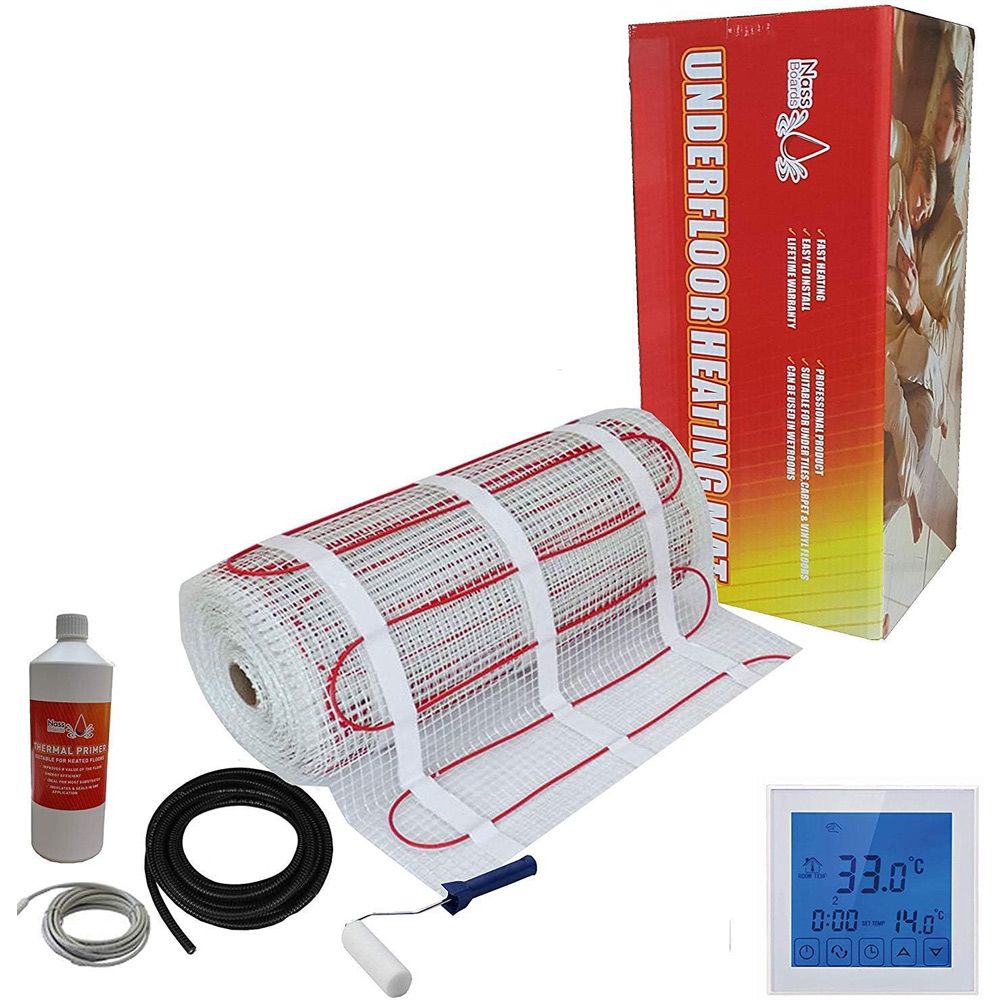
This one applies to all the bathrooms I have renovated – will I ever learn? Given that all the bathrooms were complete rip out and replace jobs, it would have been so easy to fit electric underfloor heating. I am not sure whether trying to stick to a budget was behind the decision to skip the UFH or just wanting to get everything done as quickly as possible, but I really do regret this one.
With two children (now teenagers) the floors of the bathrooms are always drenched – they would dry out so much faster if we'd installed underfloor heating. Also, our old houses have always been chilly and stepping out of the shower to be greeted by a toasty floor would be so welcome.
4. Failing to light the shower enclosure

I frequently write about bathroom lighting ideas and always highlight the importance of a good scheme, explaining how crucial it is if you want your space to not only deliver on a practical level but also for it to feel both relaxing and rejuvenating as and when required. Why is it so hard to follow your own advice?
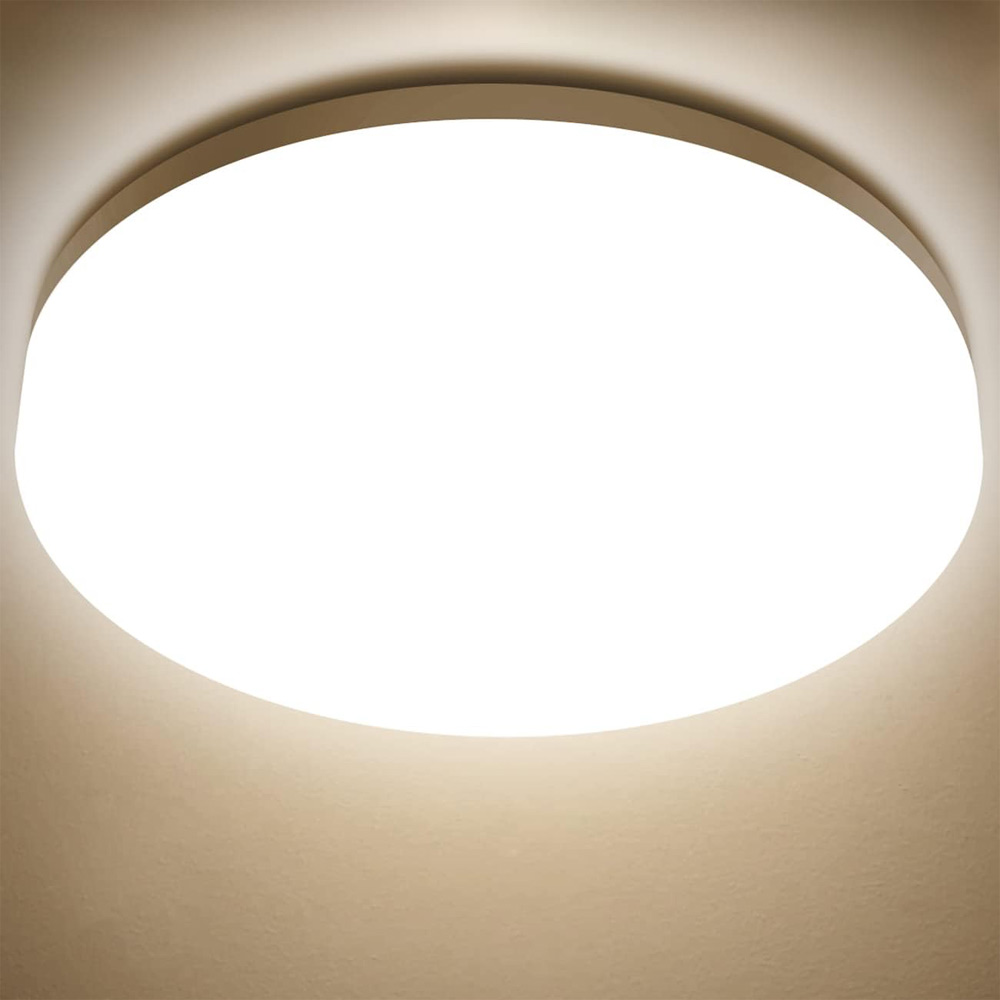
While not all our bathroom lighting is disastrous, in one of our bathrooms there is definitely much room for improvement. Not only did we commit one of the biggest lighting mistakes by fitting it with a single overhead light – so unflattering – but we also forgot that the shower enclosure would need lighting up.
As it is, showering in this room is a little like standing in an unlit cupboard. This needs remedying soon. The takeaway? Make a plan of how you want to use your bathroom and where good lighting will be required.
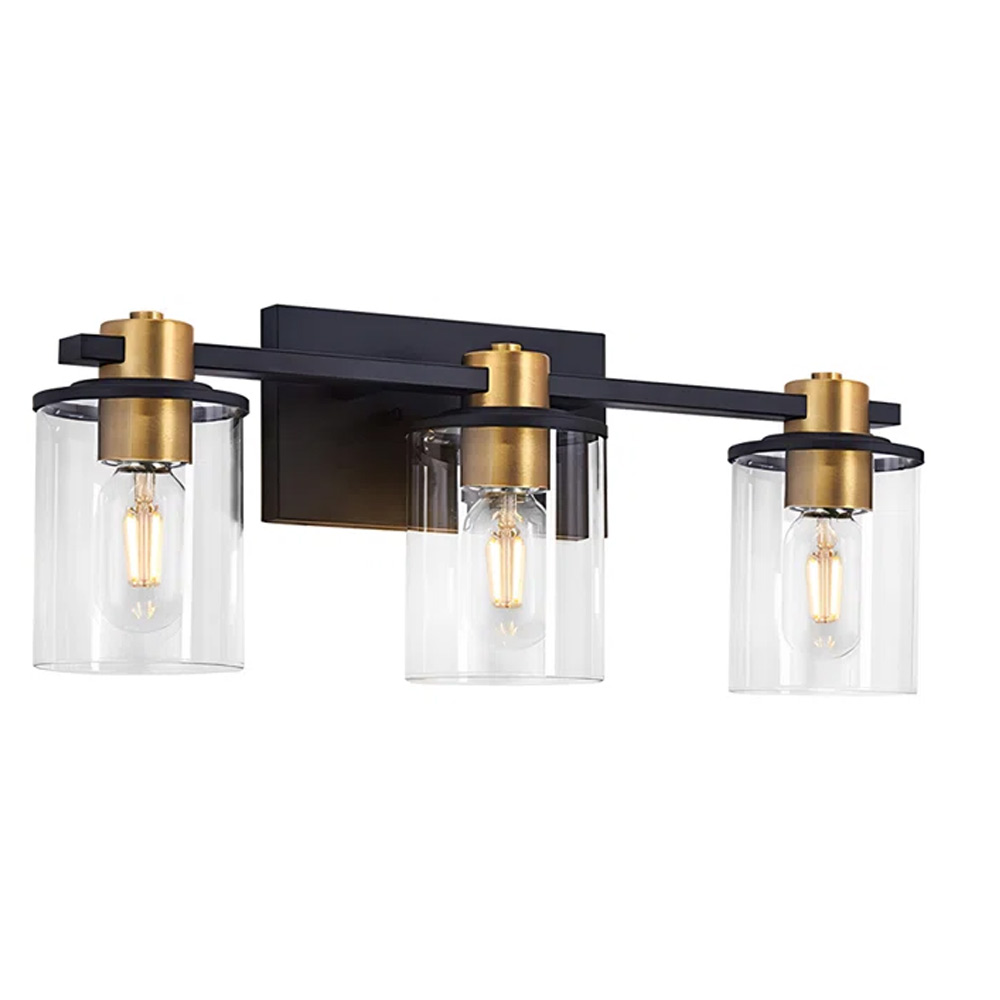
Three stylish bathroom lights
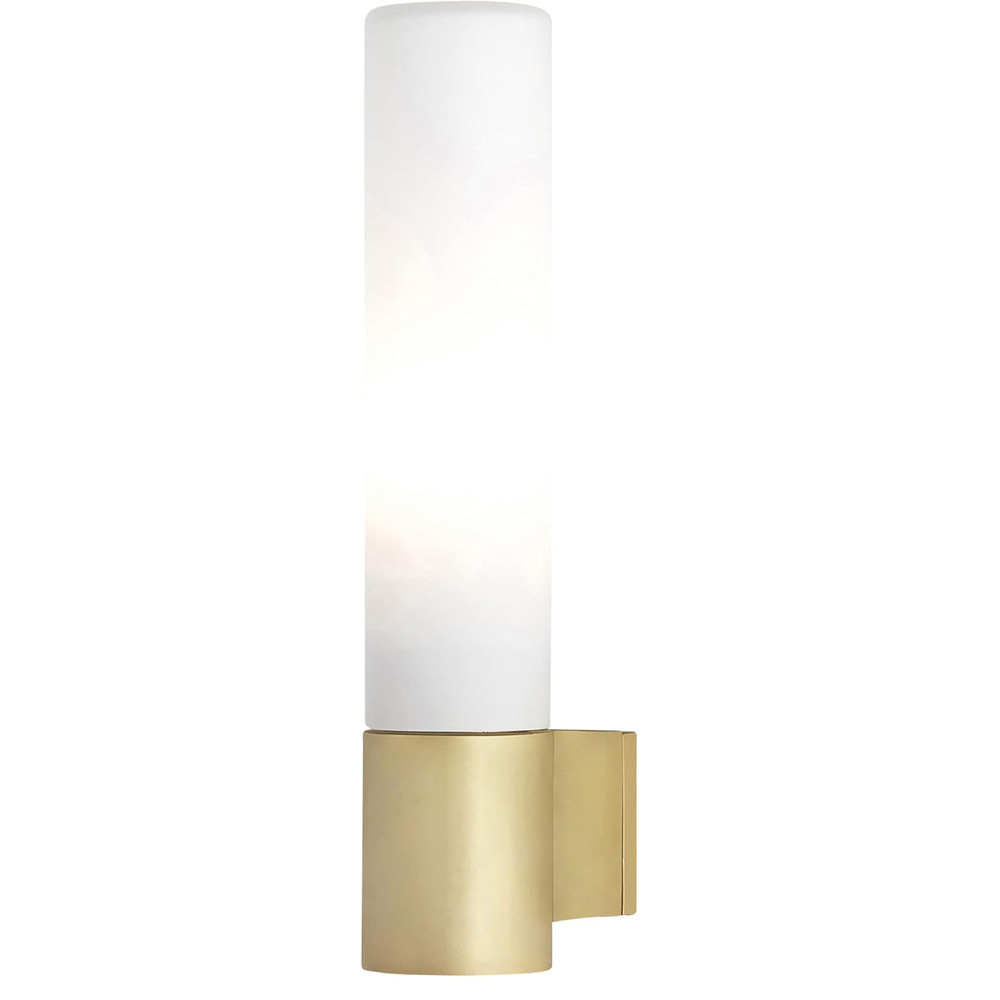
Price: £80.00
A pair of these lights, either side of the mirror in our guest bathroom, would have produced a far more flattering glow than the single overhead light we currently have. These lights come in a range of other finishes as well as this matt gold and have an IP44 rating.
5. Trying to save space with a tiny basin
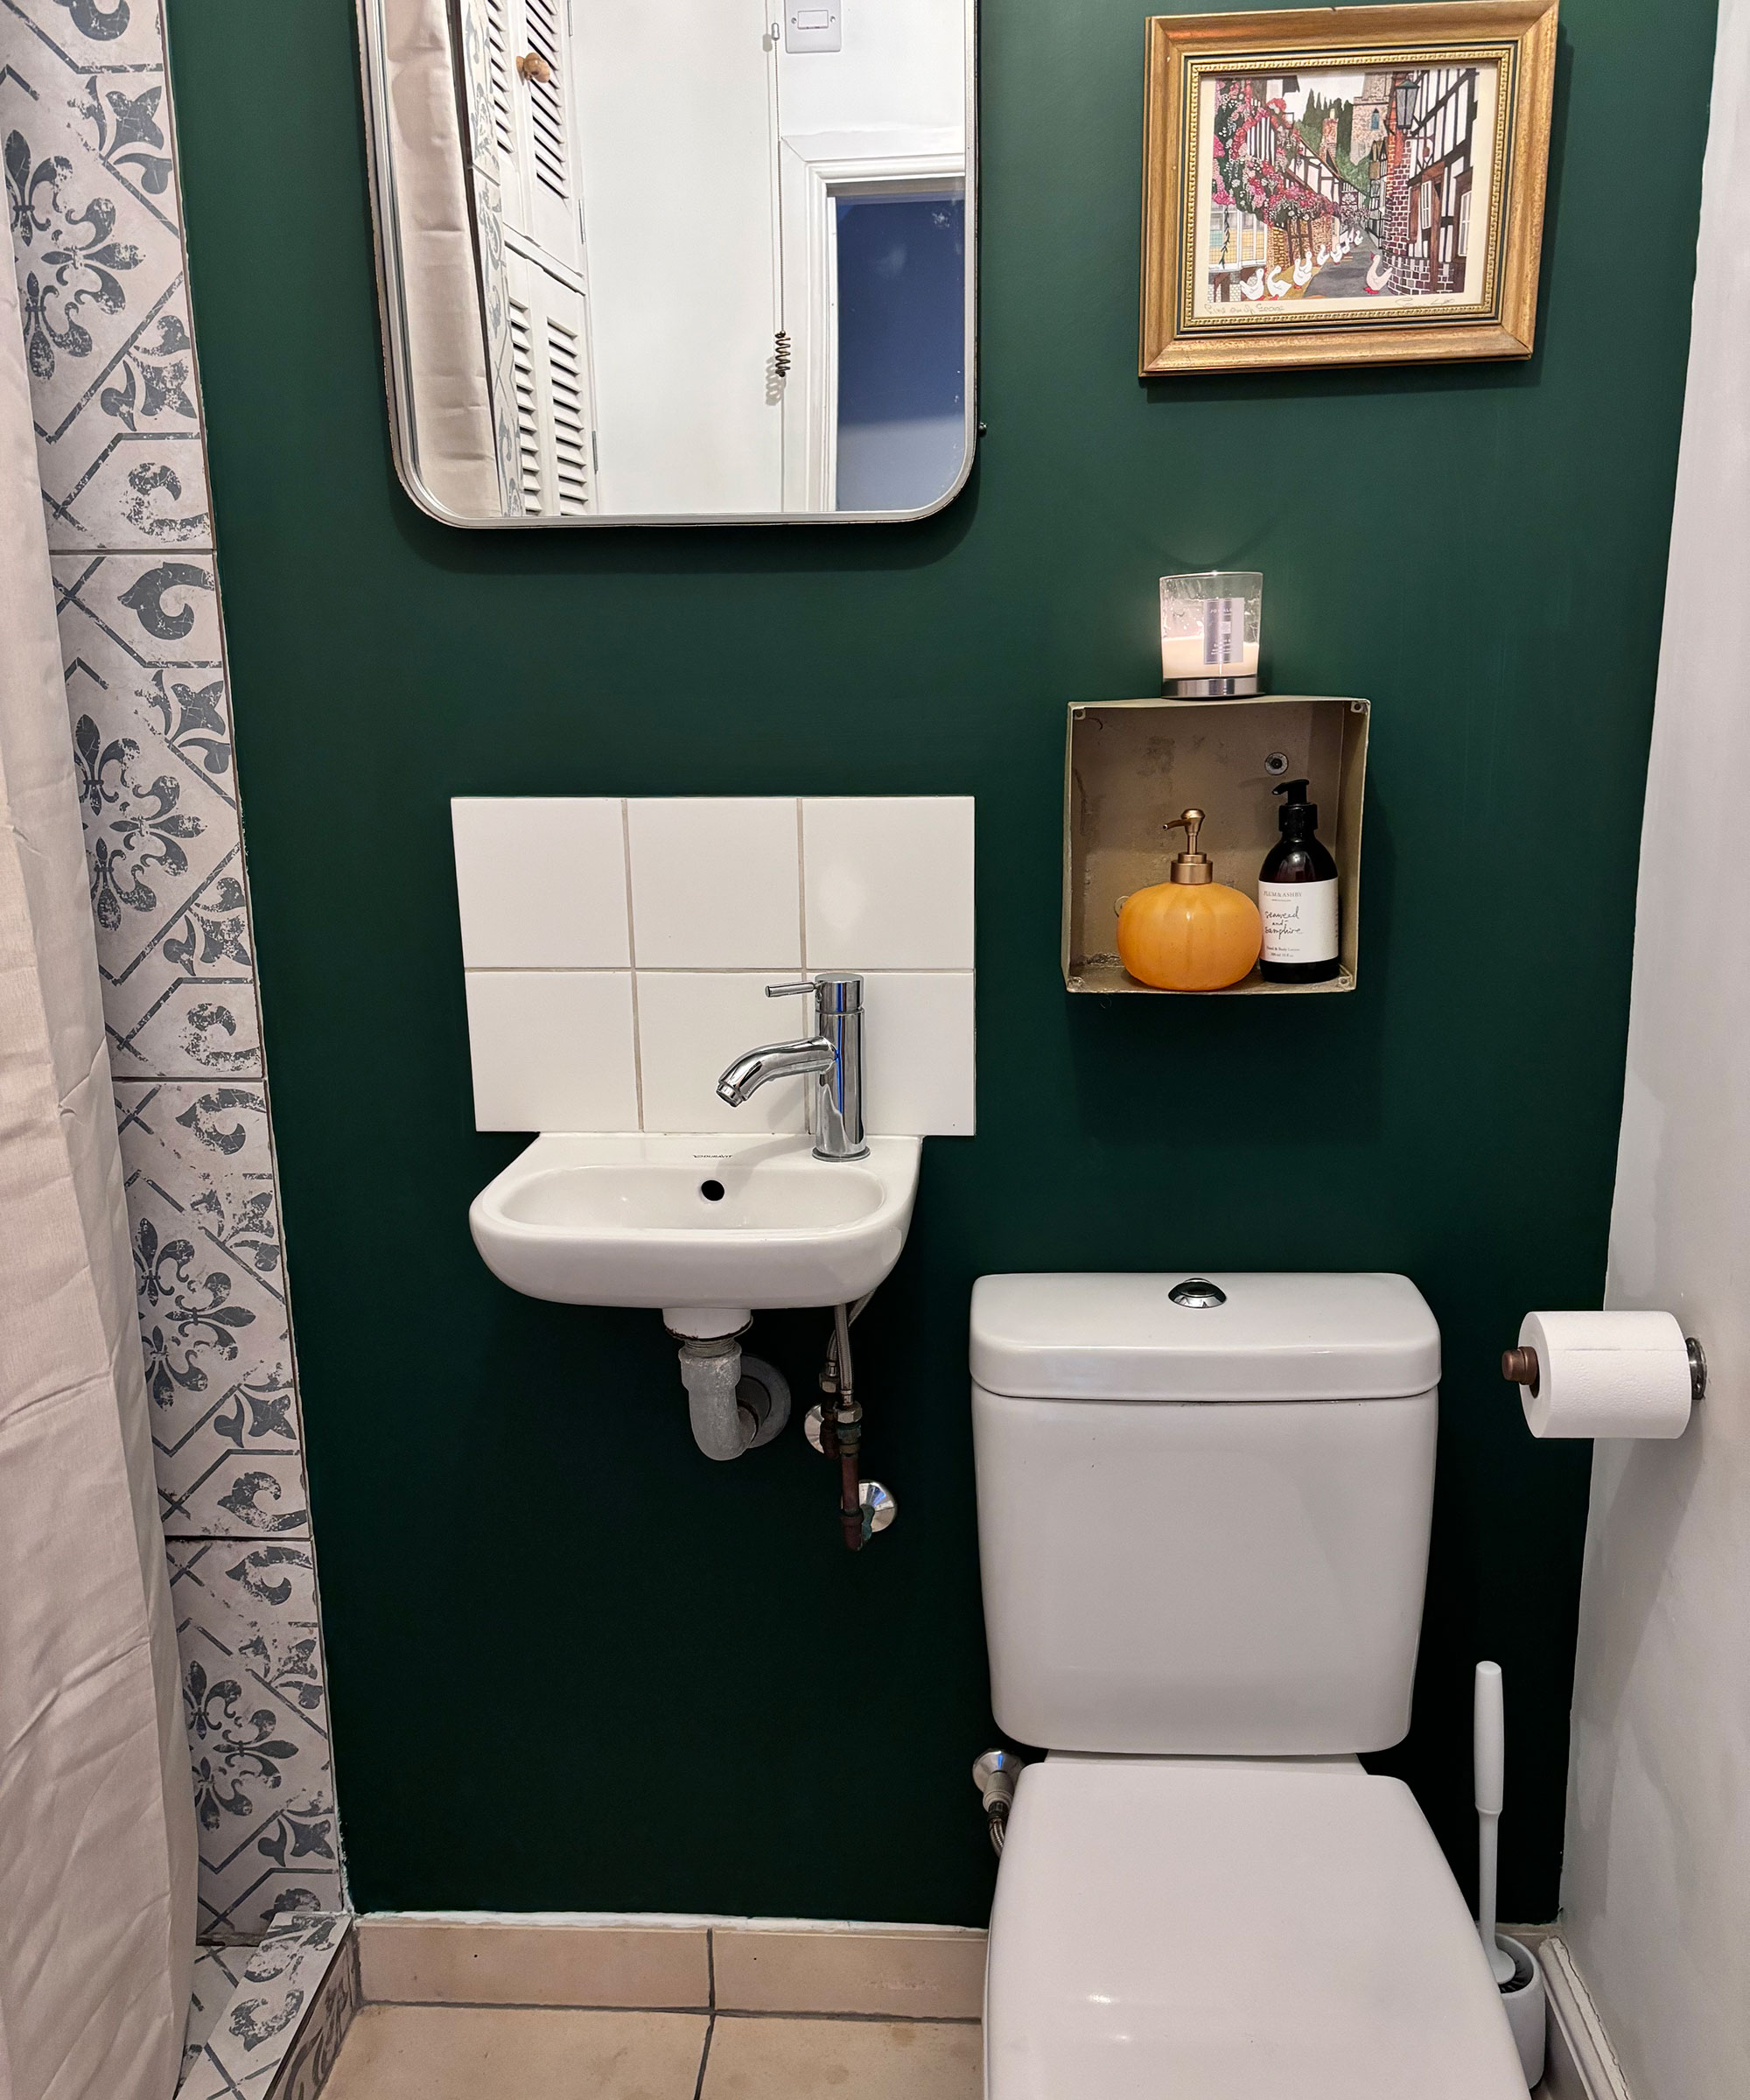
In a bid to save space in the guest bathroom, we (well, my husband) decided to fit a smaller than average basin. When I say smaller than average, what I actually mean is a basin that you can barely fit both hands in. Yes, it has meant there is more space, but what it also means that it isn't really fit for purpose. In short, it is slightly pointless and if you do use it you can expect water to splatter out and on to the (unheated) floor.
If you are carrying out a small bathroom remodel, make sure that any sanitaryware you fit is useable. Compact baths can make sense in many cases, as can space-saving toilets, but shower enclosures and basins that are too small can just be frustrating to use.
6. Using white grout instead of a dark colour
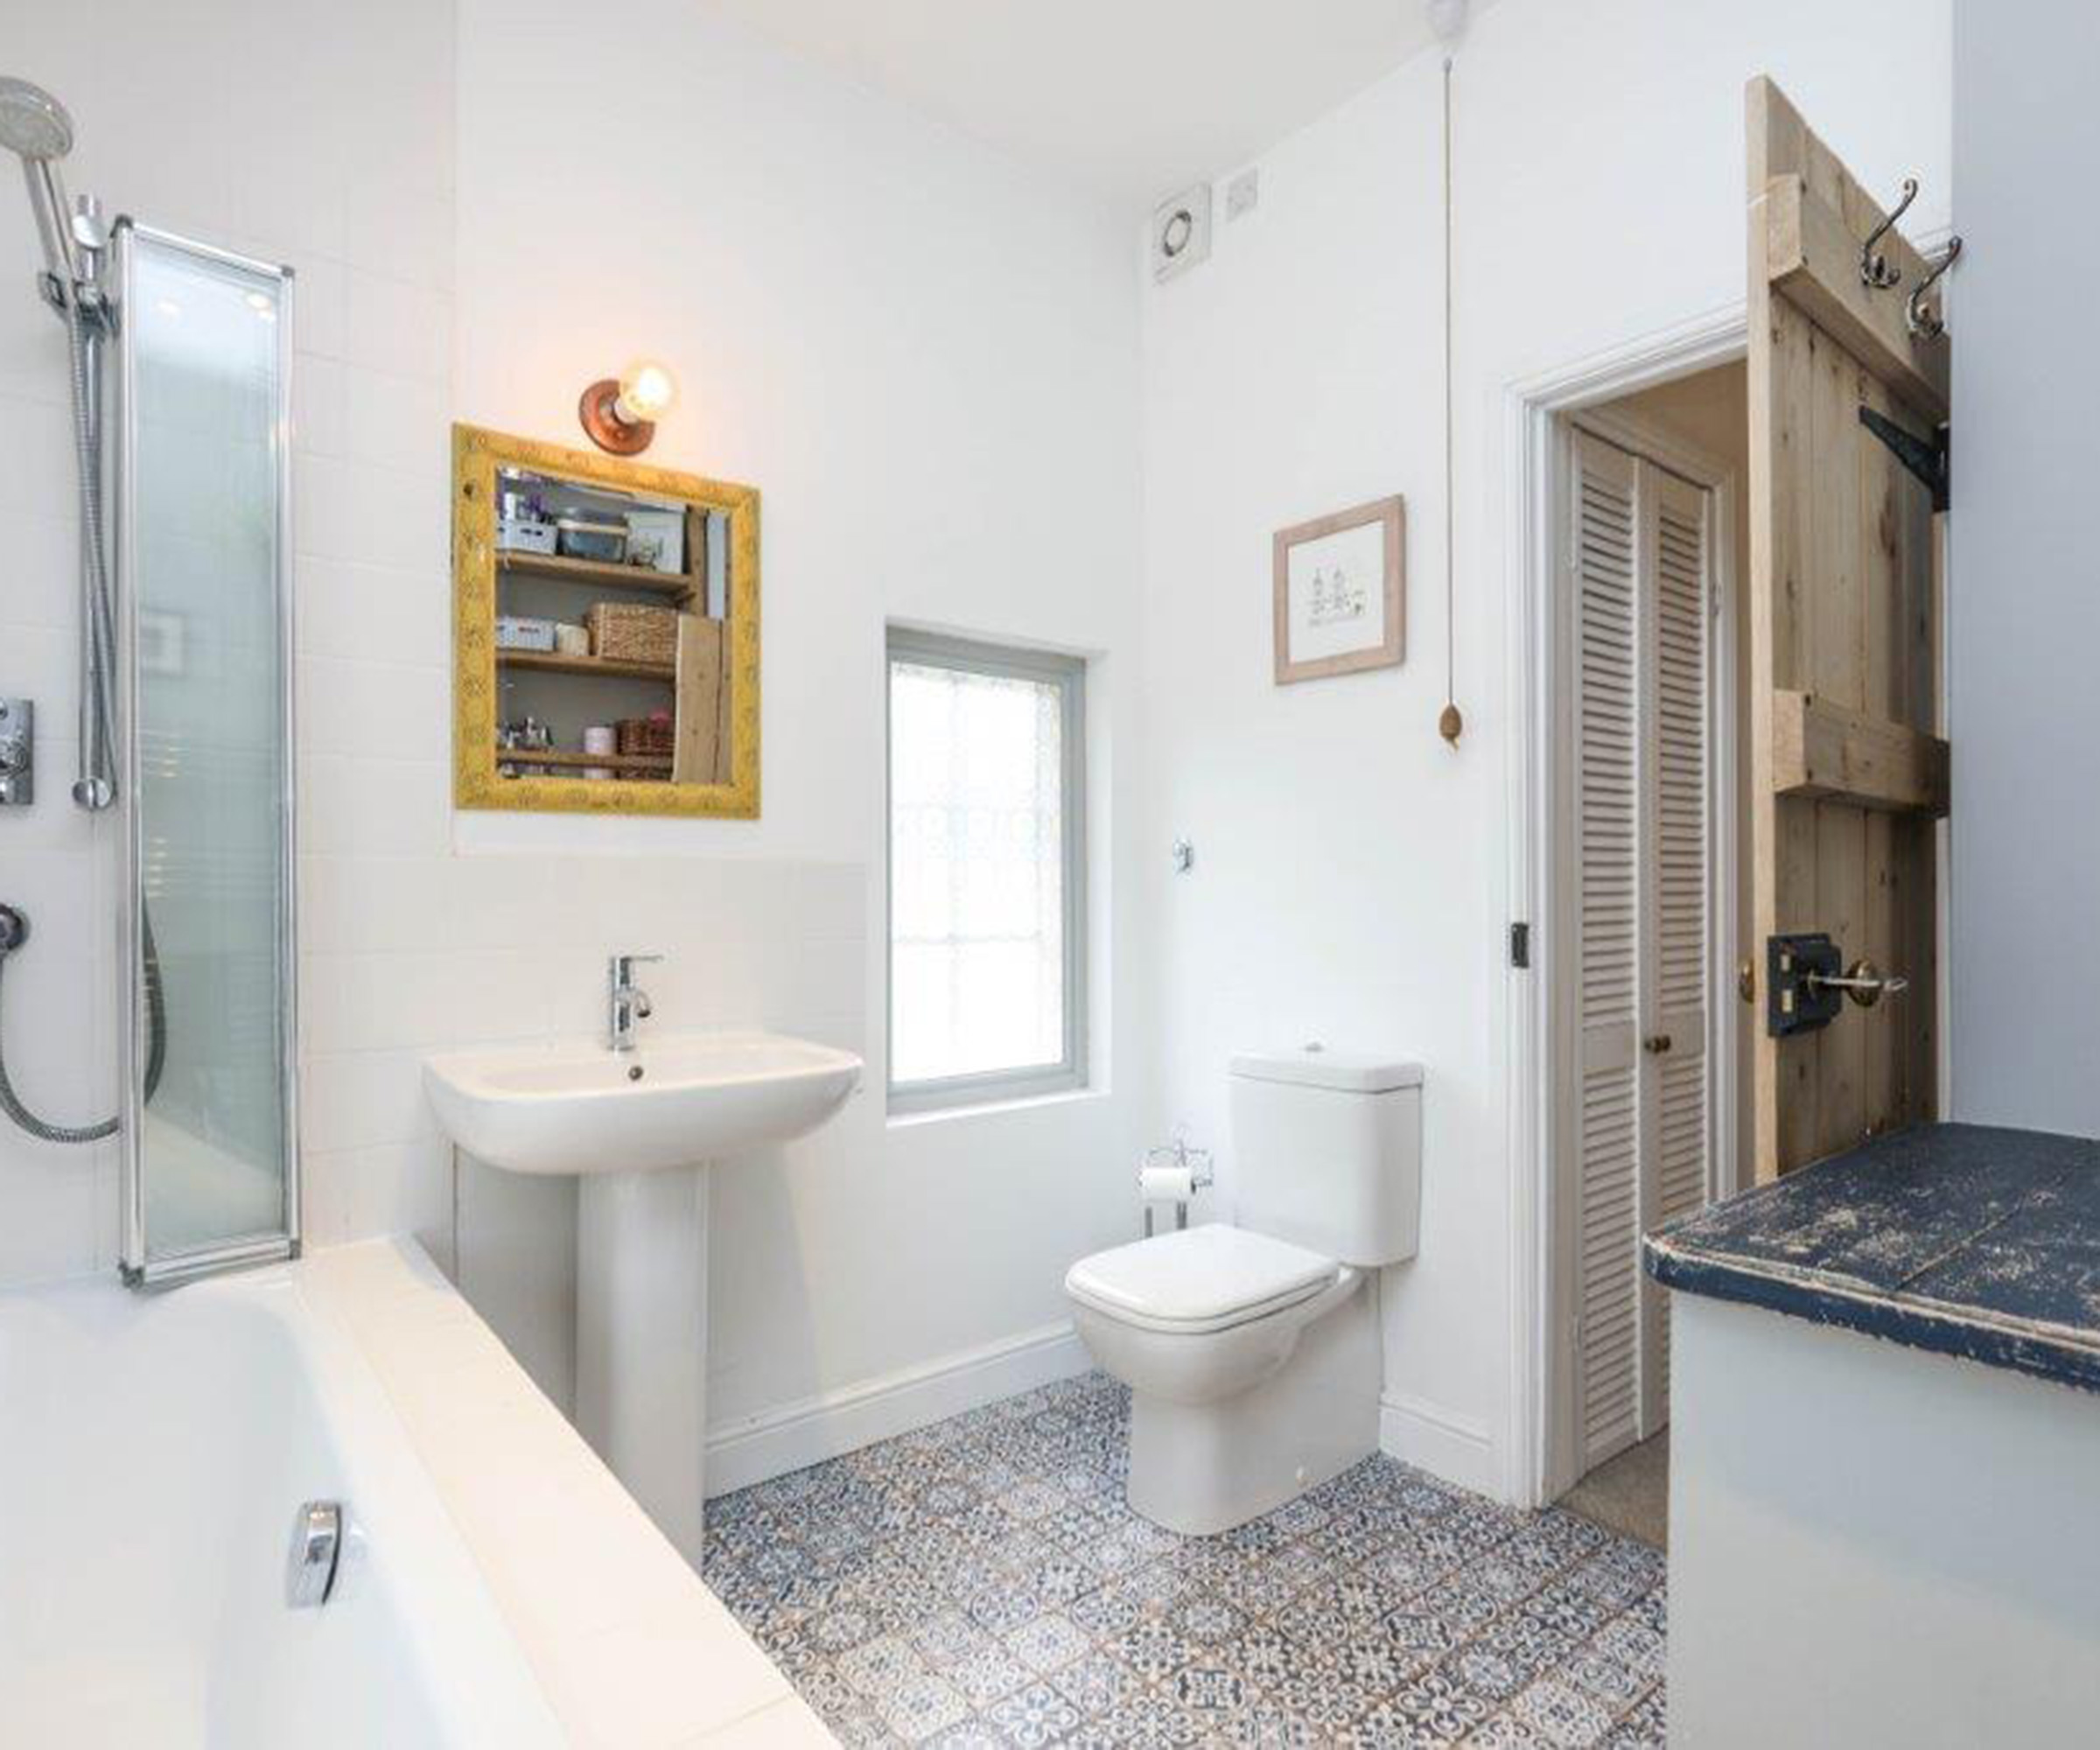
A common mistake, yet still one we made. White grout might have been a good choice visually with the white tiles we used in the main bathroom, but it does discolour quickly. It seems to either turn a shade of pale pink or yellowish every so often.
In terms of cleaning grout, we find that spraying it with a bleach-based cleaner works, but after a while it does seem to crack and crumble, perhaps because it is so often exposed to harsh chemicals.
In the guest bathroom, we used a grey grout which is much lower maintenance and if you are looking for ways to cut down cleaning I'd strongly suggest you choose a darker shade of grout.
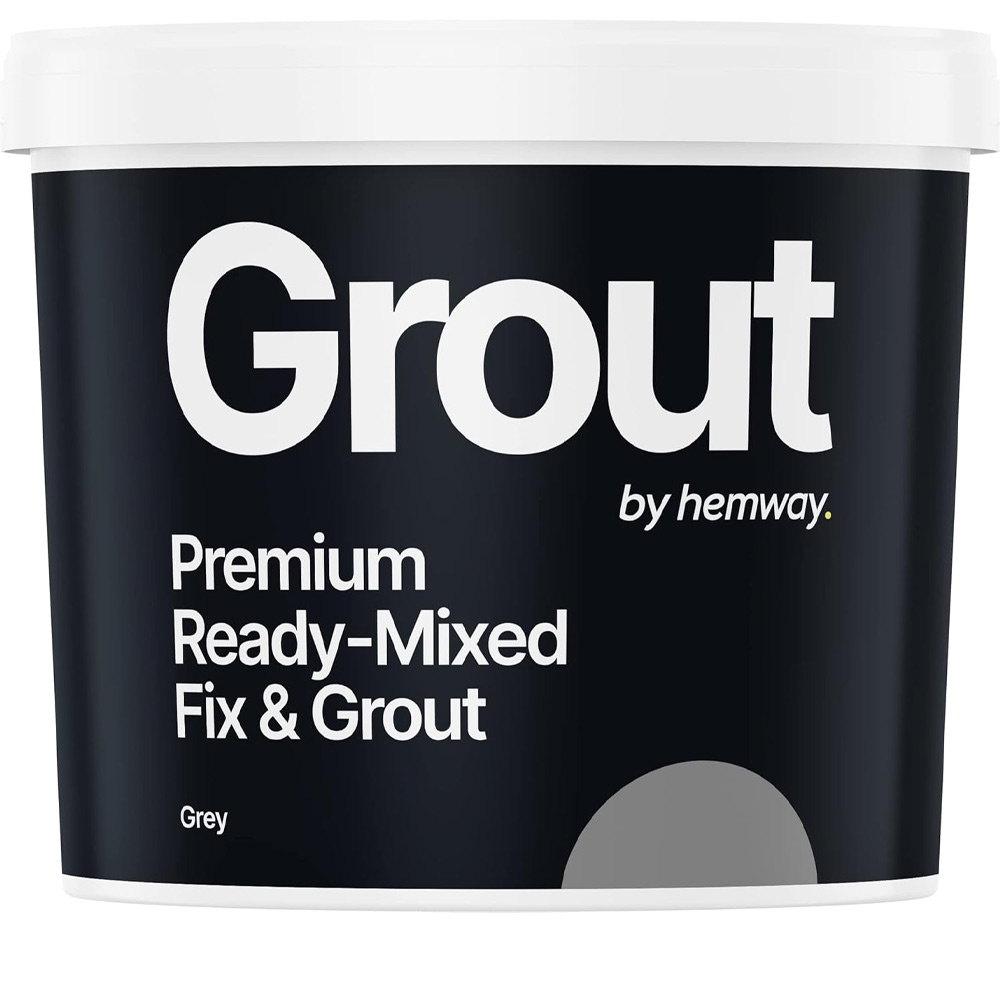
Price: £24.95 was £29.95
Ready-mixed grout makes life so much easier when renovating a bathroom and this shade of grey would suit all kinds of tiles and bathroom decor schemes. Even better, it is anti-mould and waterproof which should cut down on maintenance.
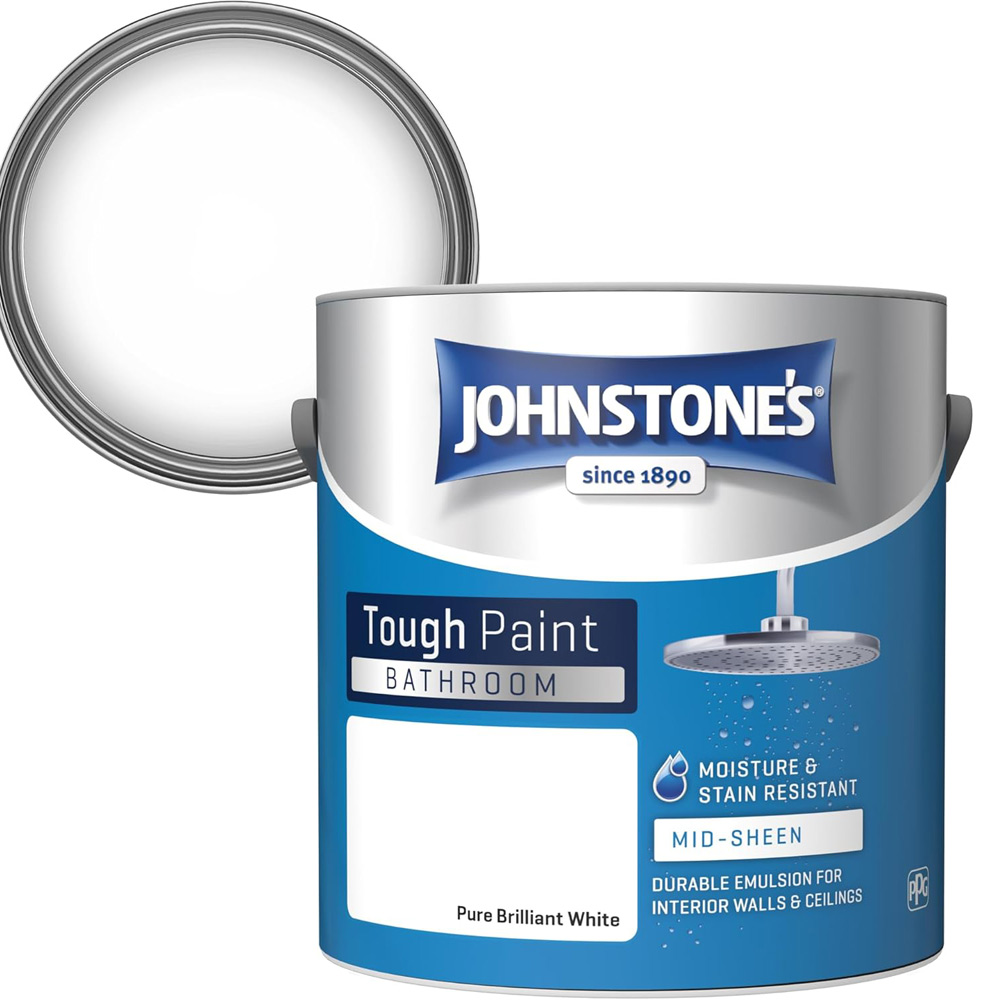
7. Thinking we could get away with normal paint
If your bathroom ventilation has been well planned, in theory there should be no need for a specialist bathroom paint in order to keep your walls in tip top condition. A good quality emulsion should suffice.
However, our old house does suffer terribly from condensation and, subsequently, a little damp. This is largely down to the single glazing in many rooms. What I am basically saying is that the humidity levels in our home are anything but stable and in our bathroom, where the children seem to manage to create an inordinate amount of steam, leaving it resembling a sauna, the paintwork really does suffer.
Not only does it peel, particularly in the areas nearest to the shower, but it is also prone to developing spots of black mould. A good bathroom paint which not only resists moisture and stains but also mould would have been a really good idea, if only for these areas.
FAQs
What is the standard bathroom sink size?
If my point about our tiny basin has got you wondering about your own choices, it might be useful to know that while there is no standard basin size, they tend to start from 400mm in width. Ours is 350mm although the opening is only 300mm.
According to Victorian Plumbing, if you have space, a basin of 550mm to 600mm should be ample.
Don't step into your own project without first exploring this round-up of bathroom renovation ideas – all the inspiration you need to get going.
Natasha was Homebuilding & Renovating’s Associate Content Editor and was a member of the Homebuilding team for over two decades. In her role on Homebuilding & Renovating she imparted her knowledge on a wide range of renovation topics, from window condensation to renovating bathrooms, to removing walls and adding an extension. She continues to write for Homebuilding on these topics, and more. An experienced journalist and renovation expert, she also writes for a number of other homes titles, including Homes & Gardens and Ideal Homes. Over the years Natasha has renovated and carried out a side extension to a Victorian terrace. She is currently living in the rural Edwardian cottage she renovated and extended on a largely DIY basis, living on site for the duration of the project.
