I tried this anti-condensation paint to tackle the black mould problem in my bathroom and this was the result
But first I grilled a leading industry expert on damp-proofing and waterproofing paint products for half an hour on how exactly it works
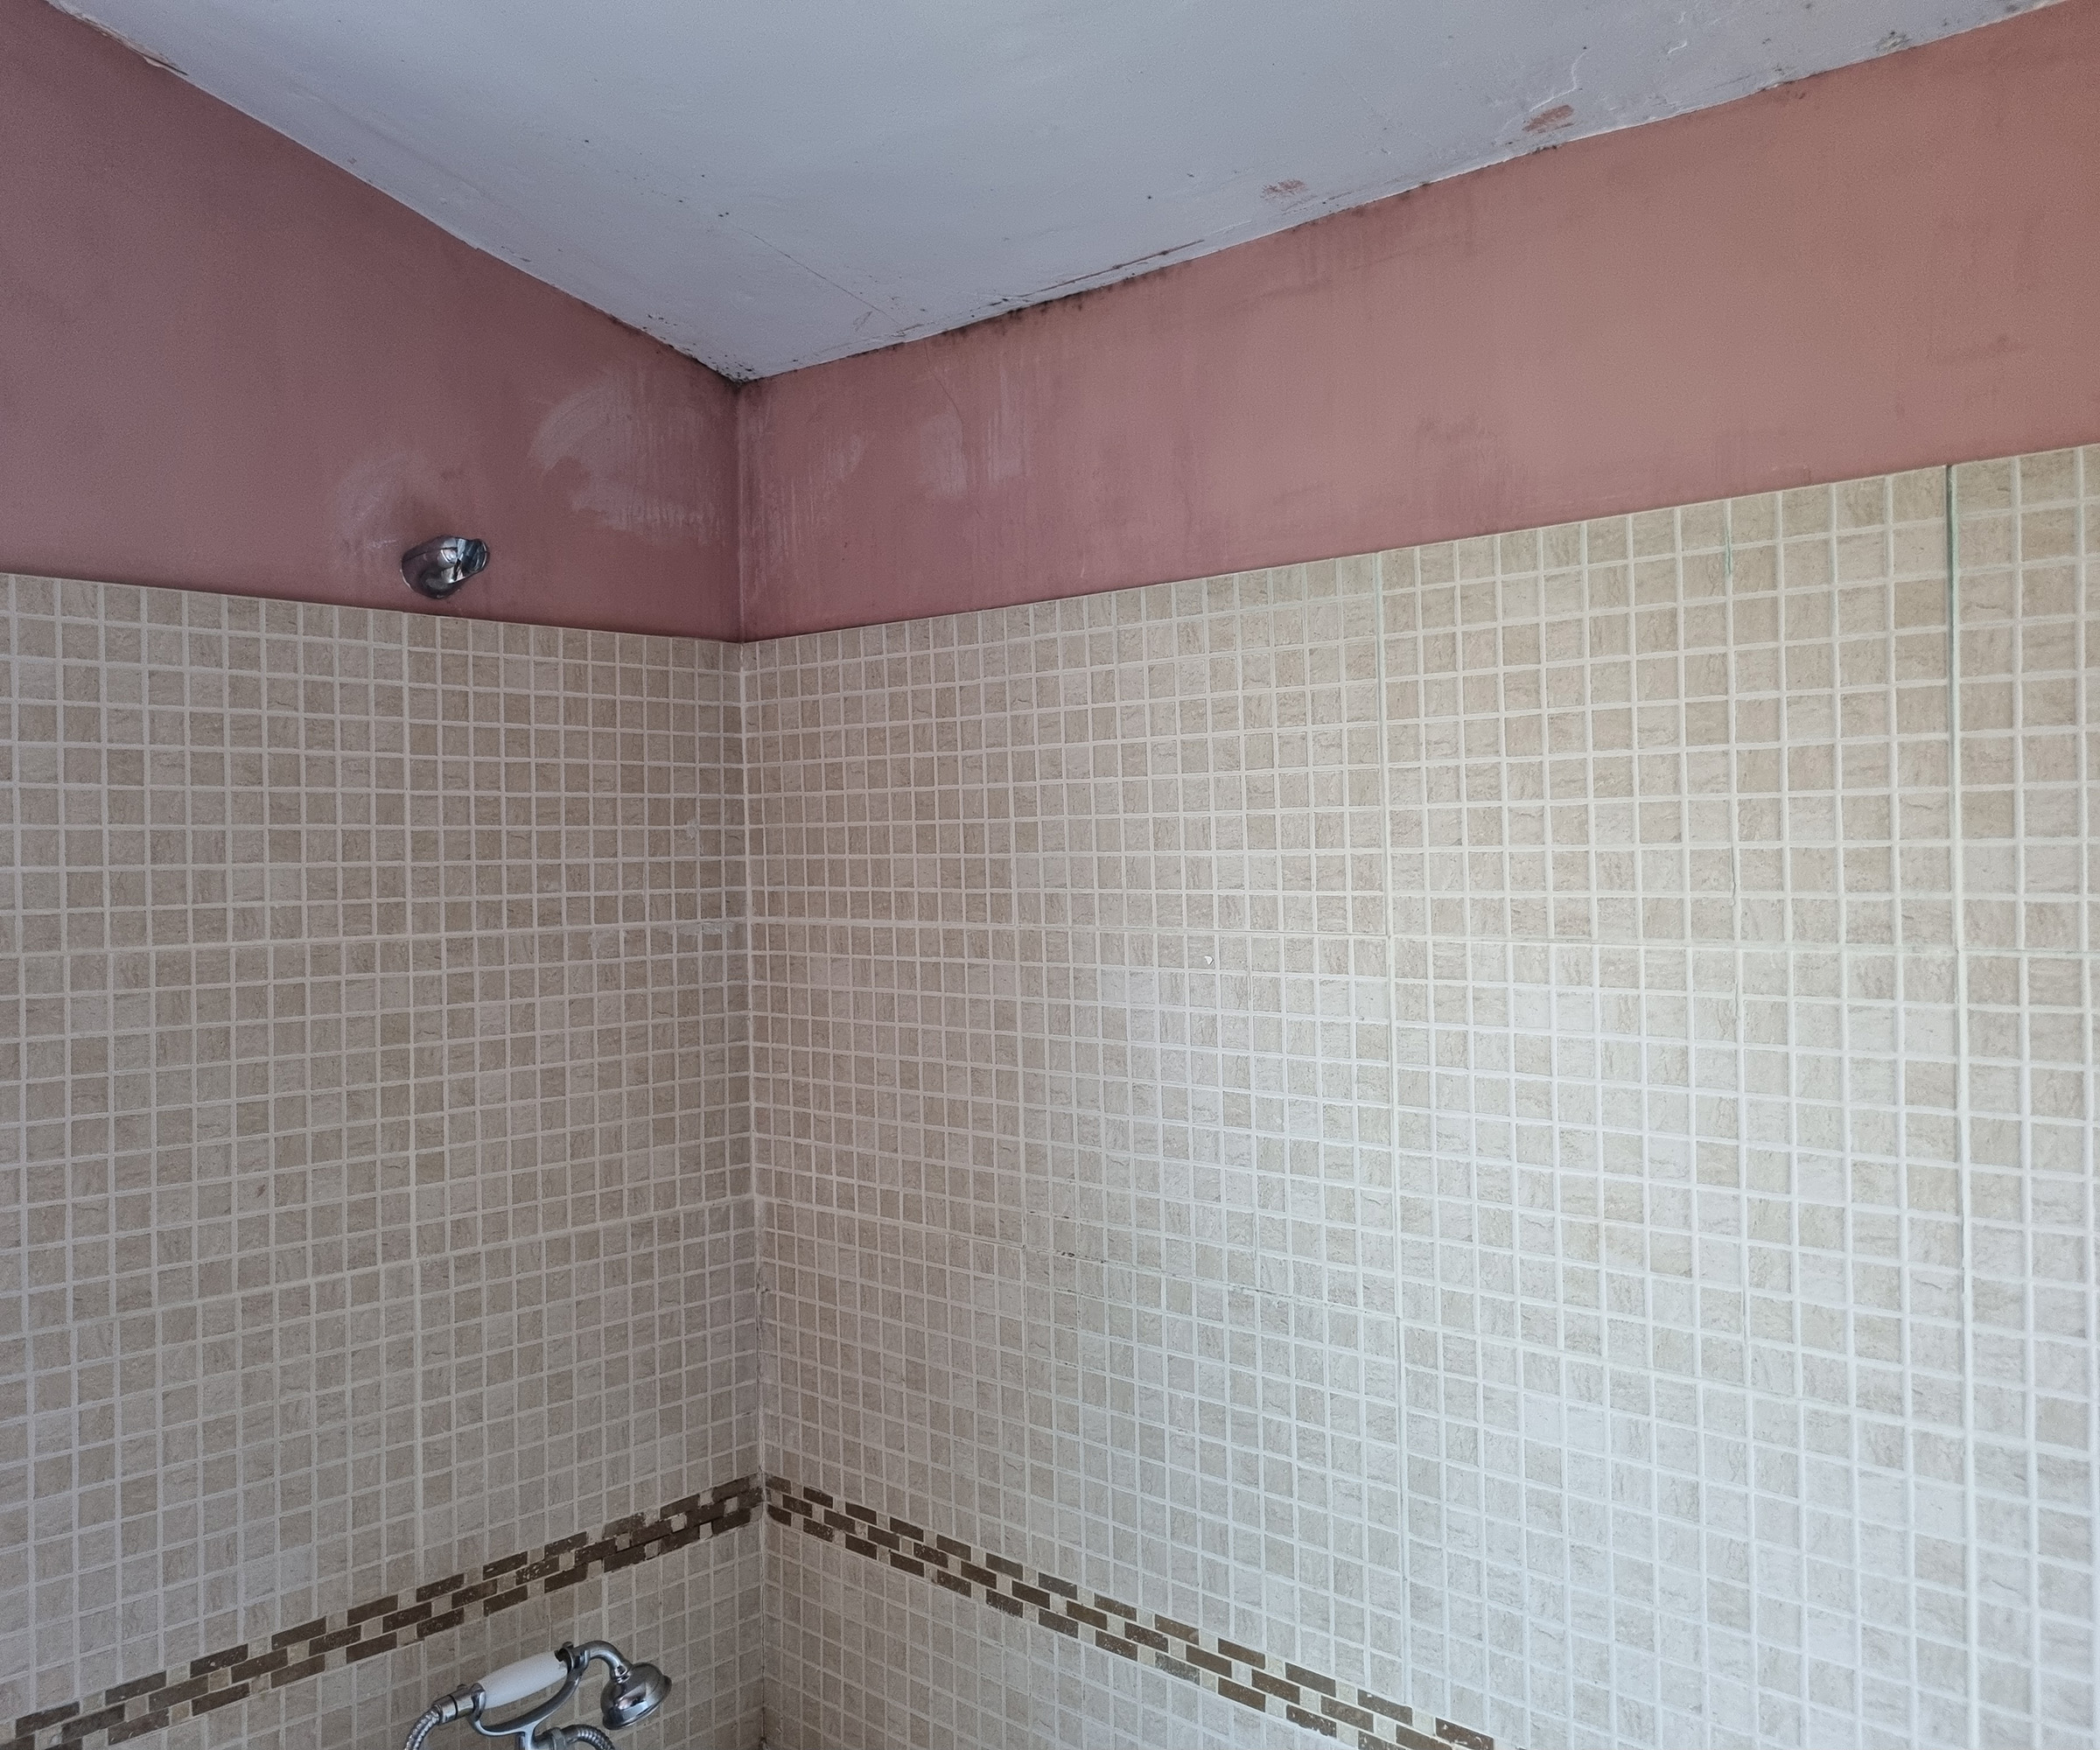
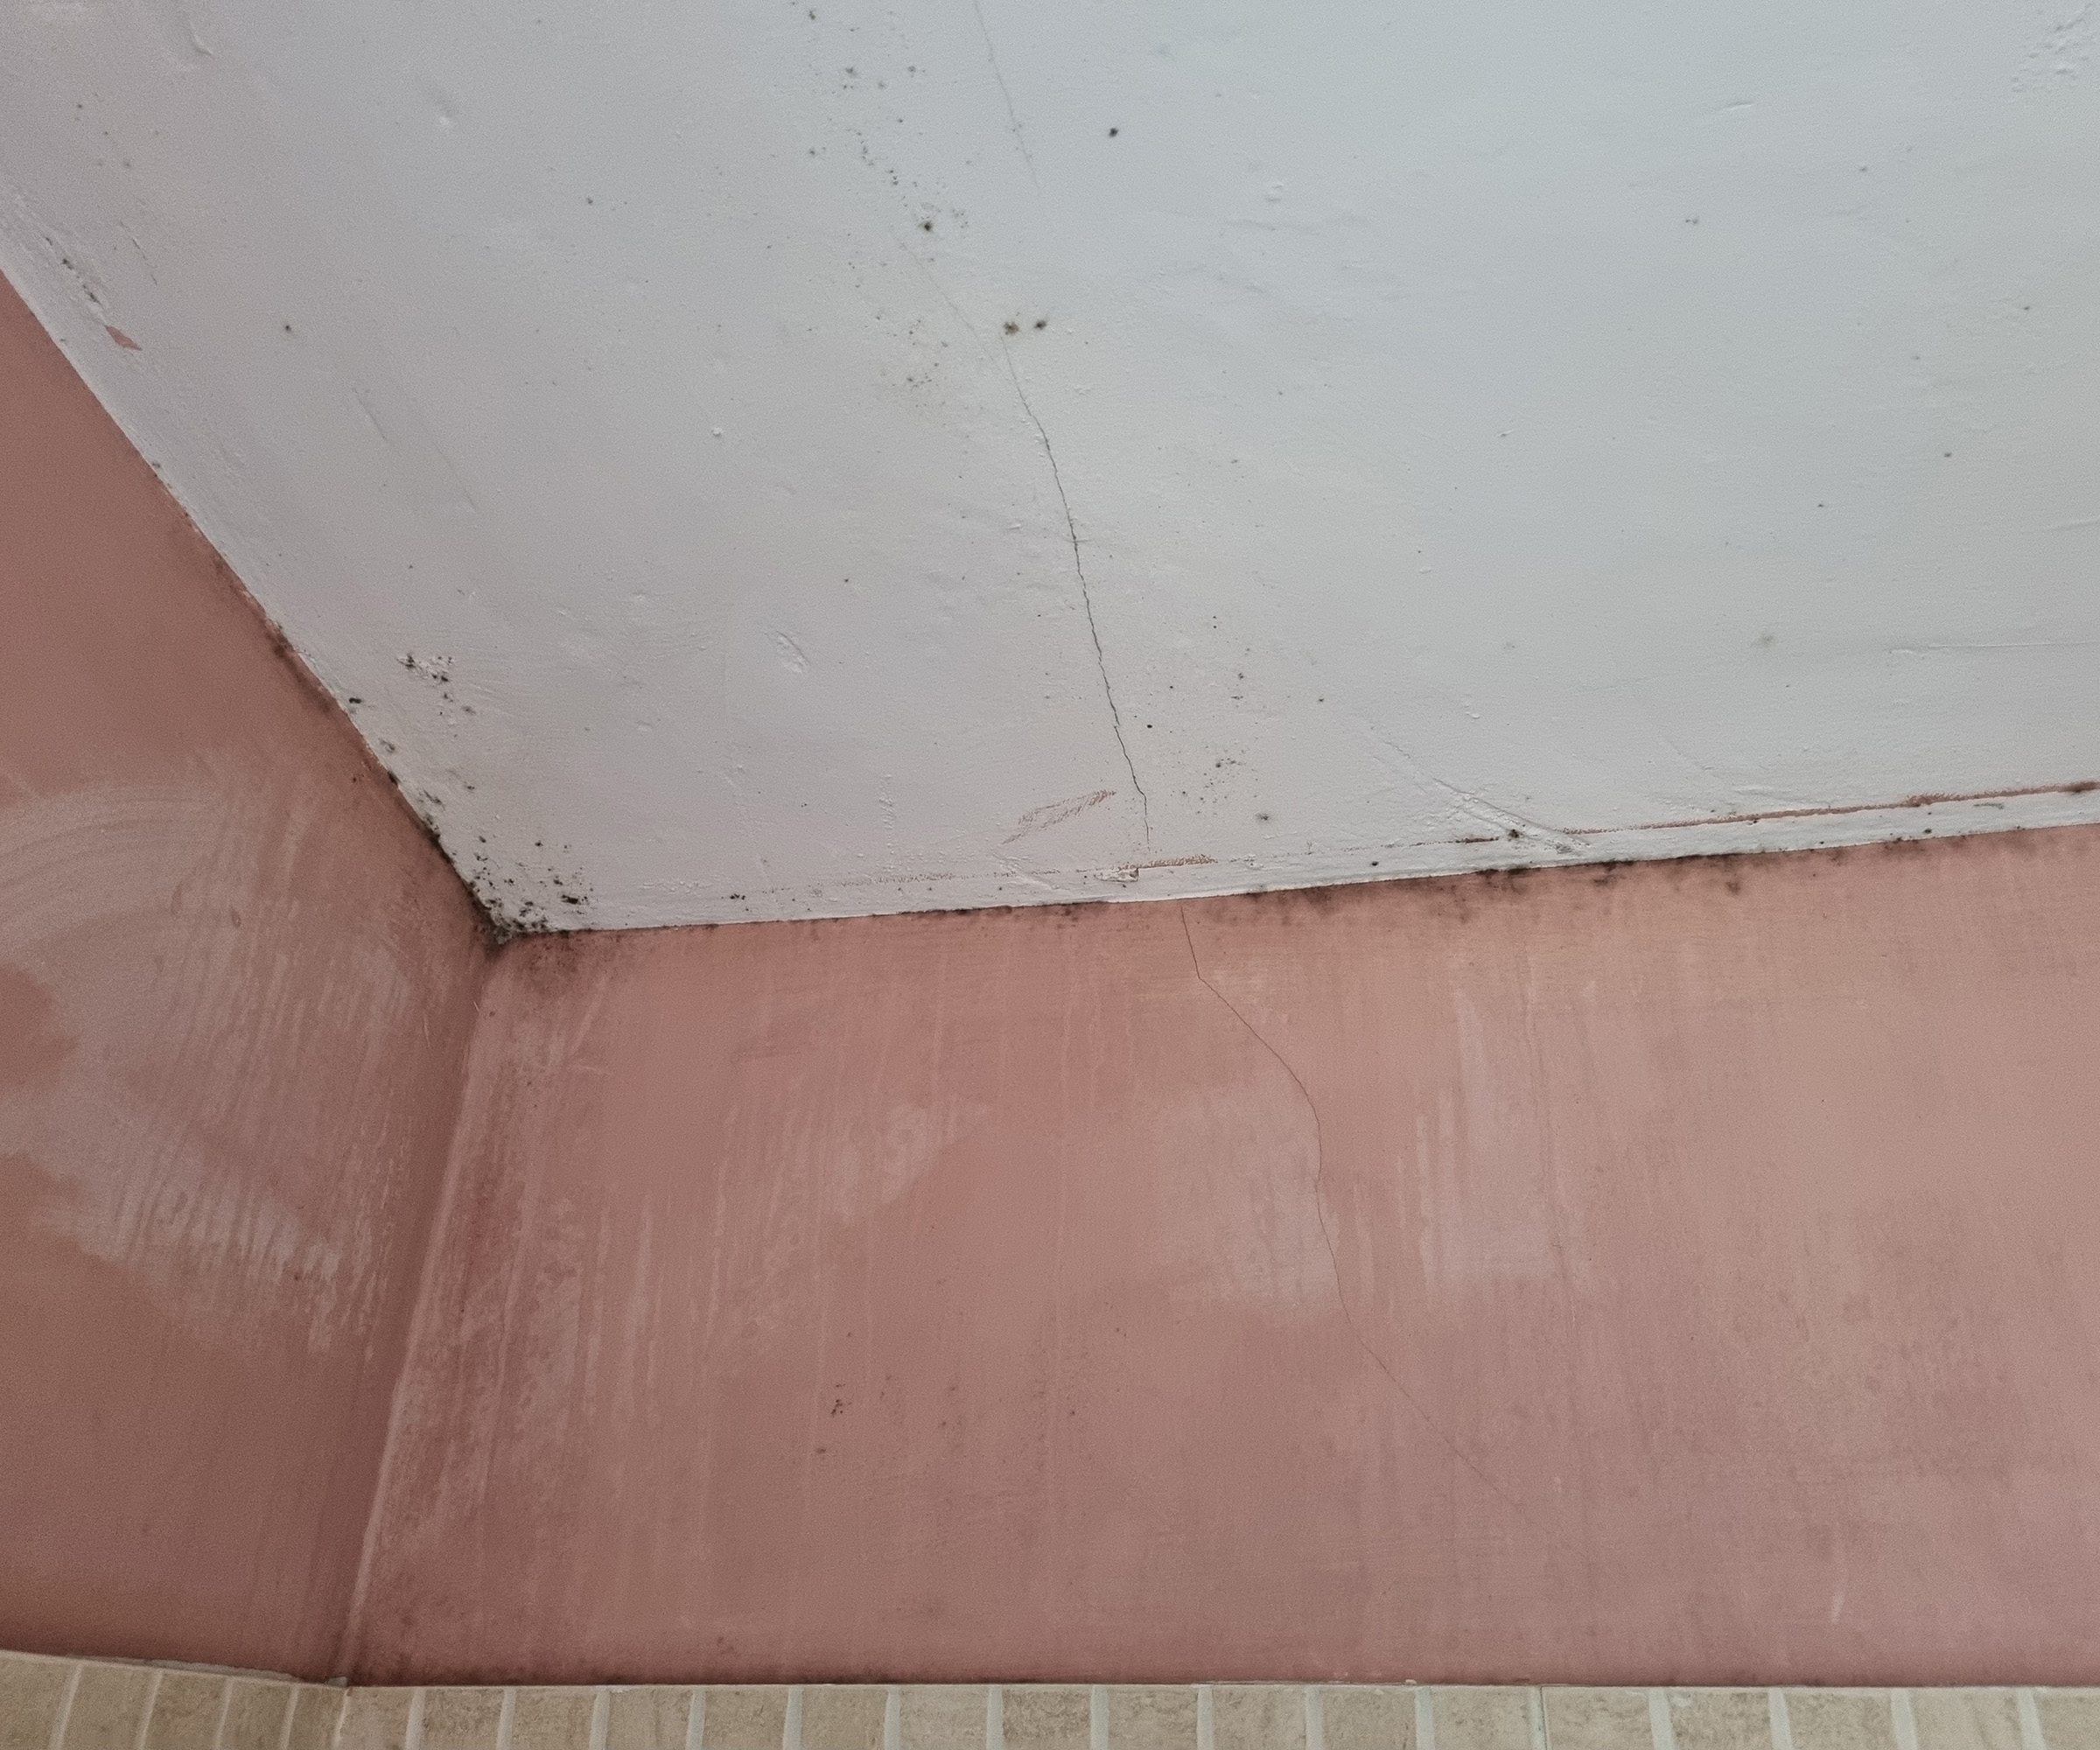
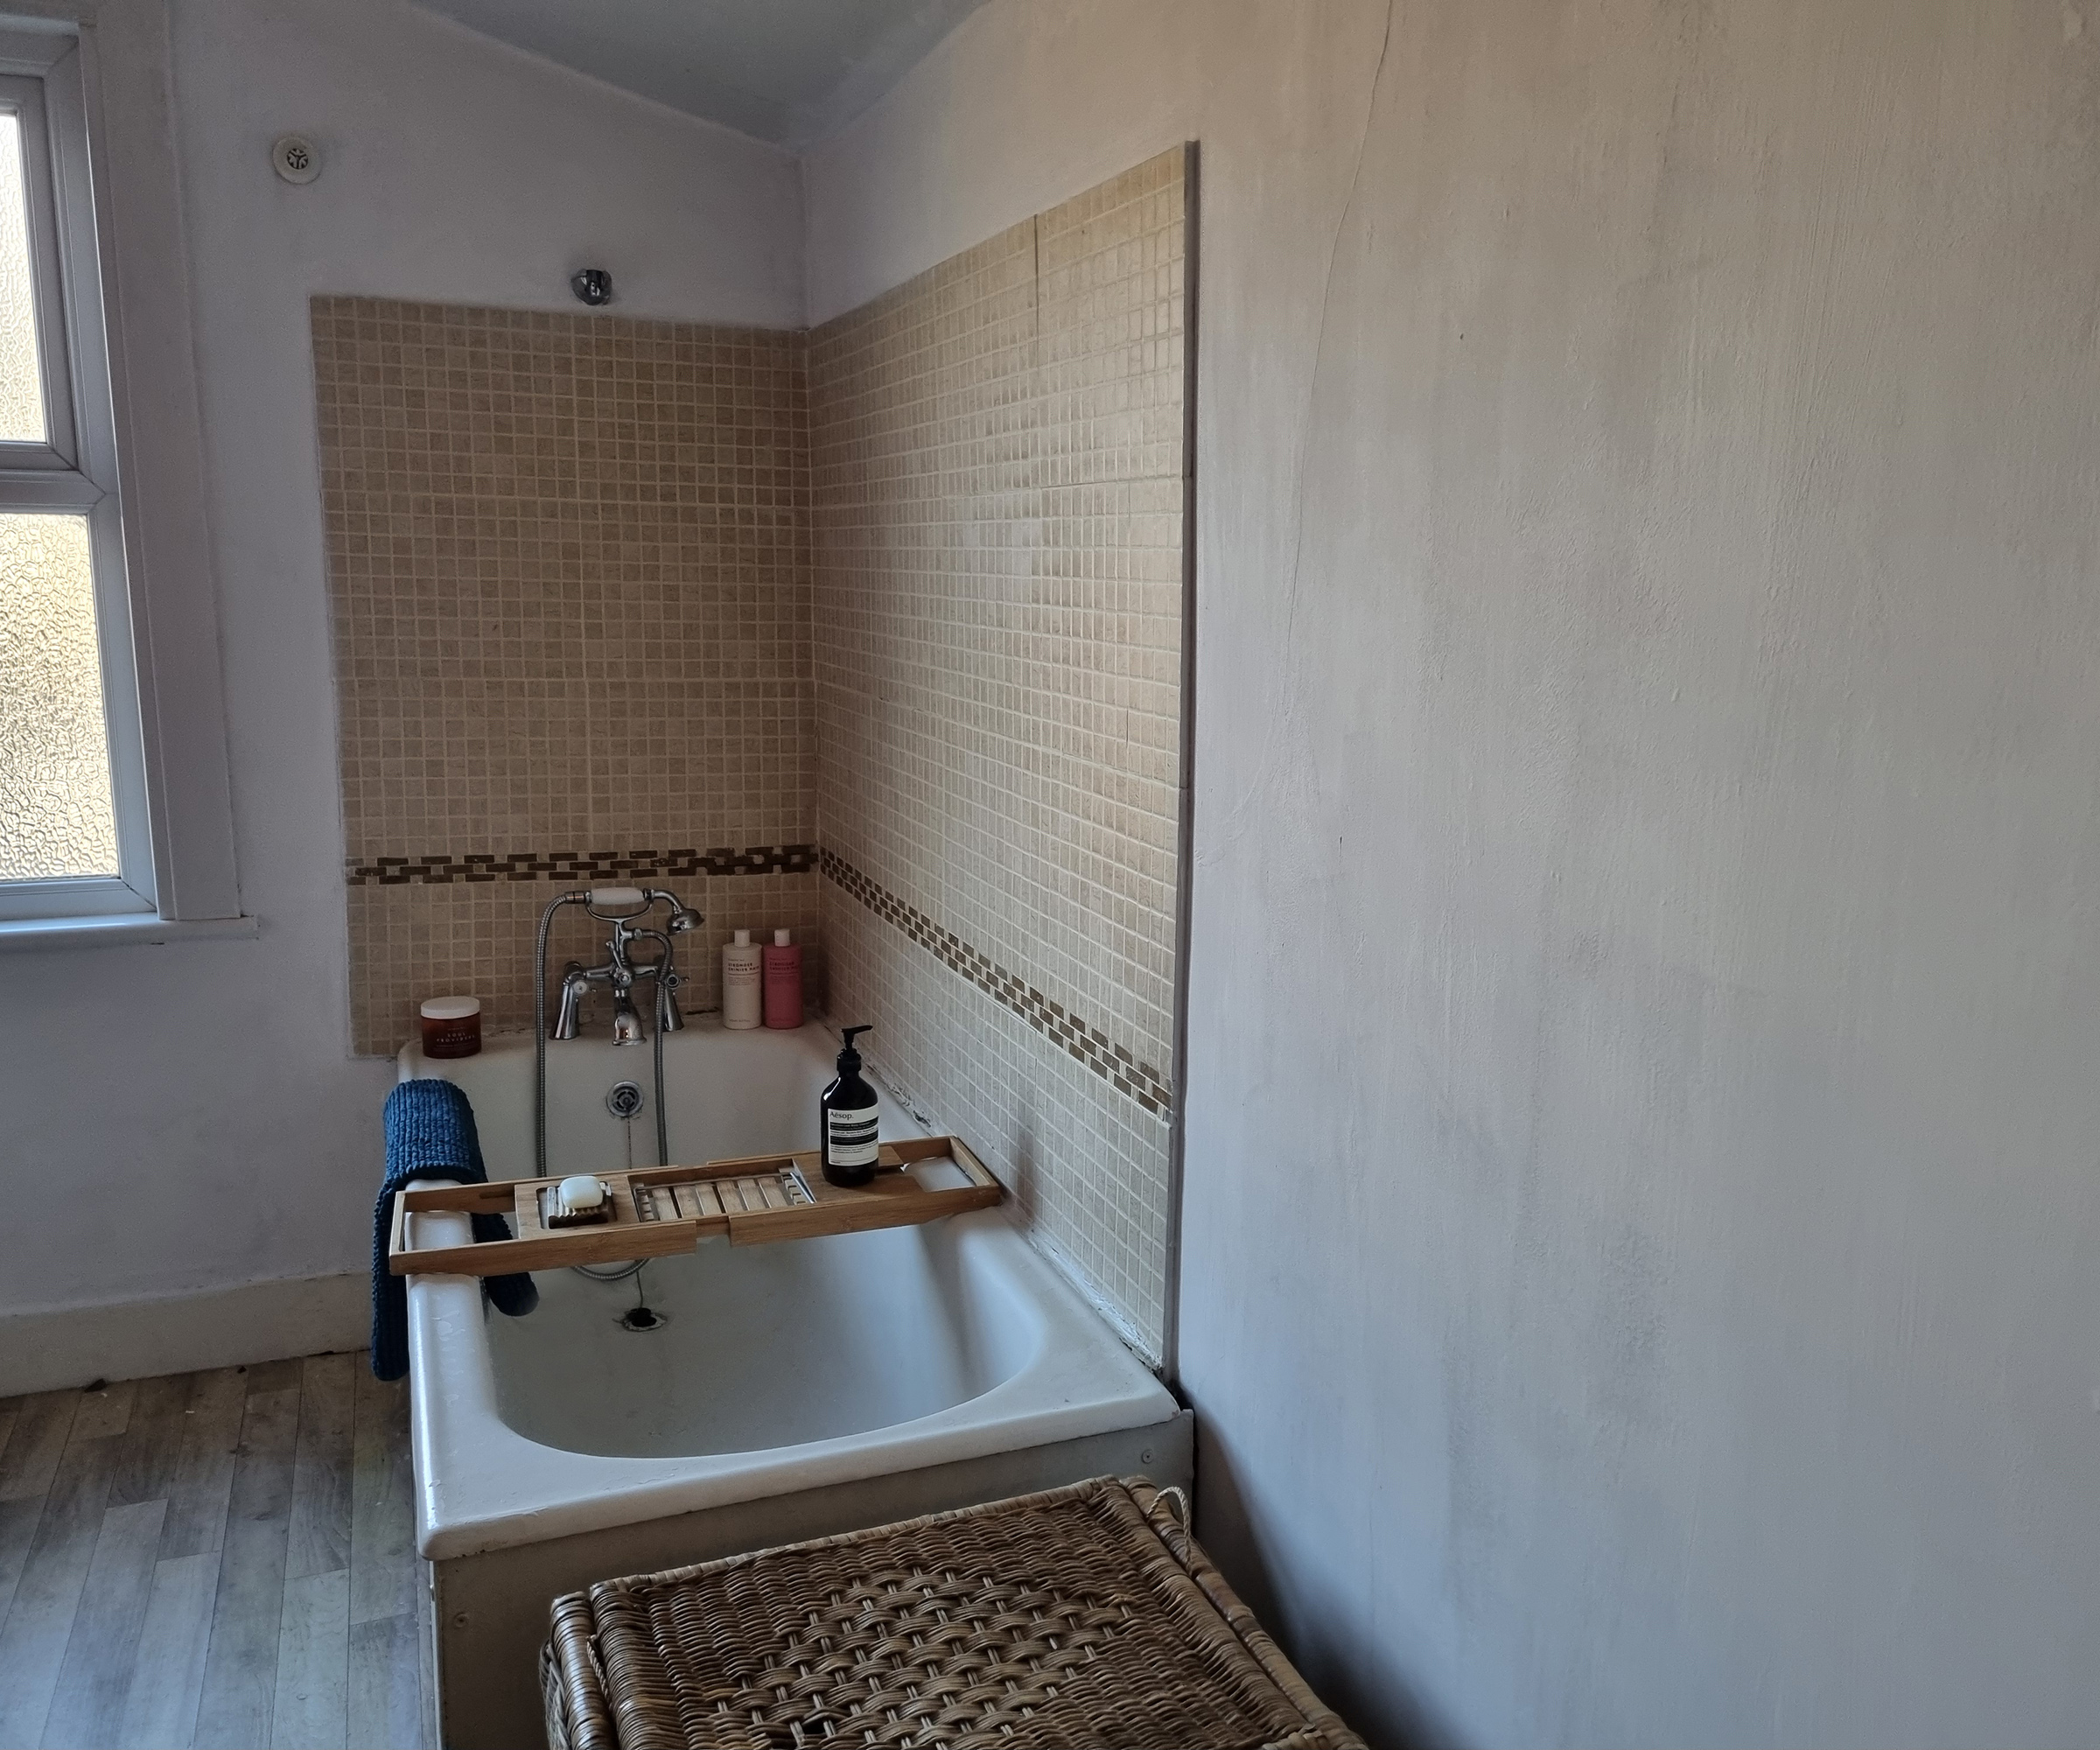
So let me set the scene, I have a fairly large upstairs bathroom which was in an OK state when I bought it a couple of years ago. Or so I thought. As the cold weather set in it became clear that it was poorly insulated, with freezing cold walls that were prone to condensation.
The paint job I gave it, using a standard emulsion, rather than a specialist bathroom paint, a complete DIY faux pas I know, was an attempt to smarten it up a bit, in lieu of a full-on remodel. However, mould began to appear around the shower area and damp patches formed across the walls.
It was clear that the bathroom had a big issue, which would need to be tackled. A friend recommended using a specialist paint as a quick-fix solution to stop condensation, so I set about finding a suitable product.
The low down on anti-condensation paint
The product that appeared to fit the bill was the Dryzone Anti-Condensation Paint available at Amazon. It's pricier than standard paints so understandably, I wanted to learn more about it before I committed to using it.
I was able to speak to a leading industry expert on damp and waterproofing products, Damian Wallis, who is also the technical lead at Safeguard Europe.
He provided some in-depth detail about how this anti-condensation paint product works and how I should use it.
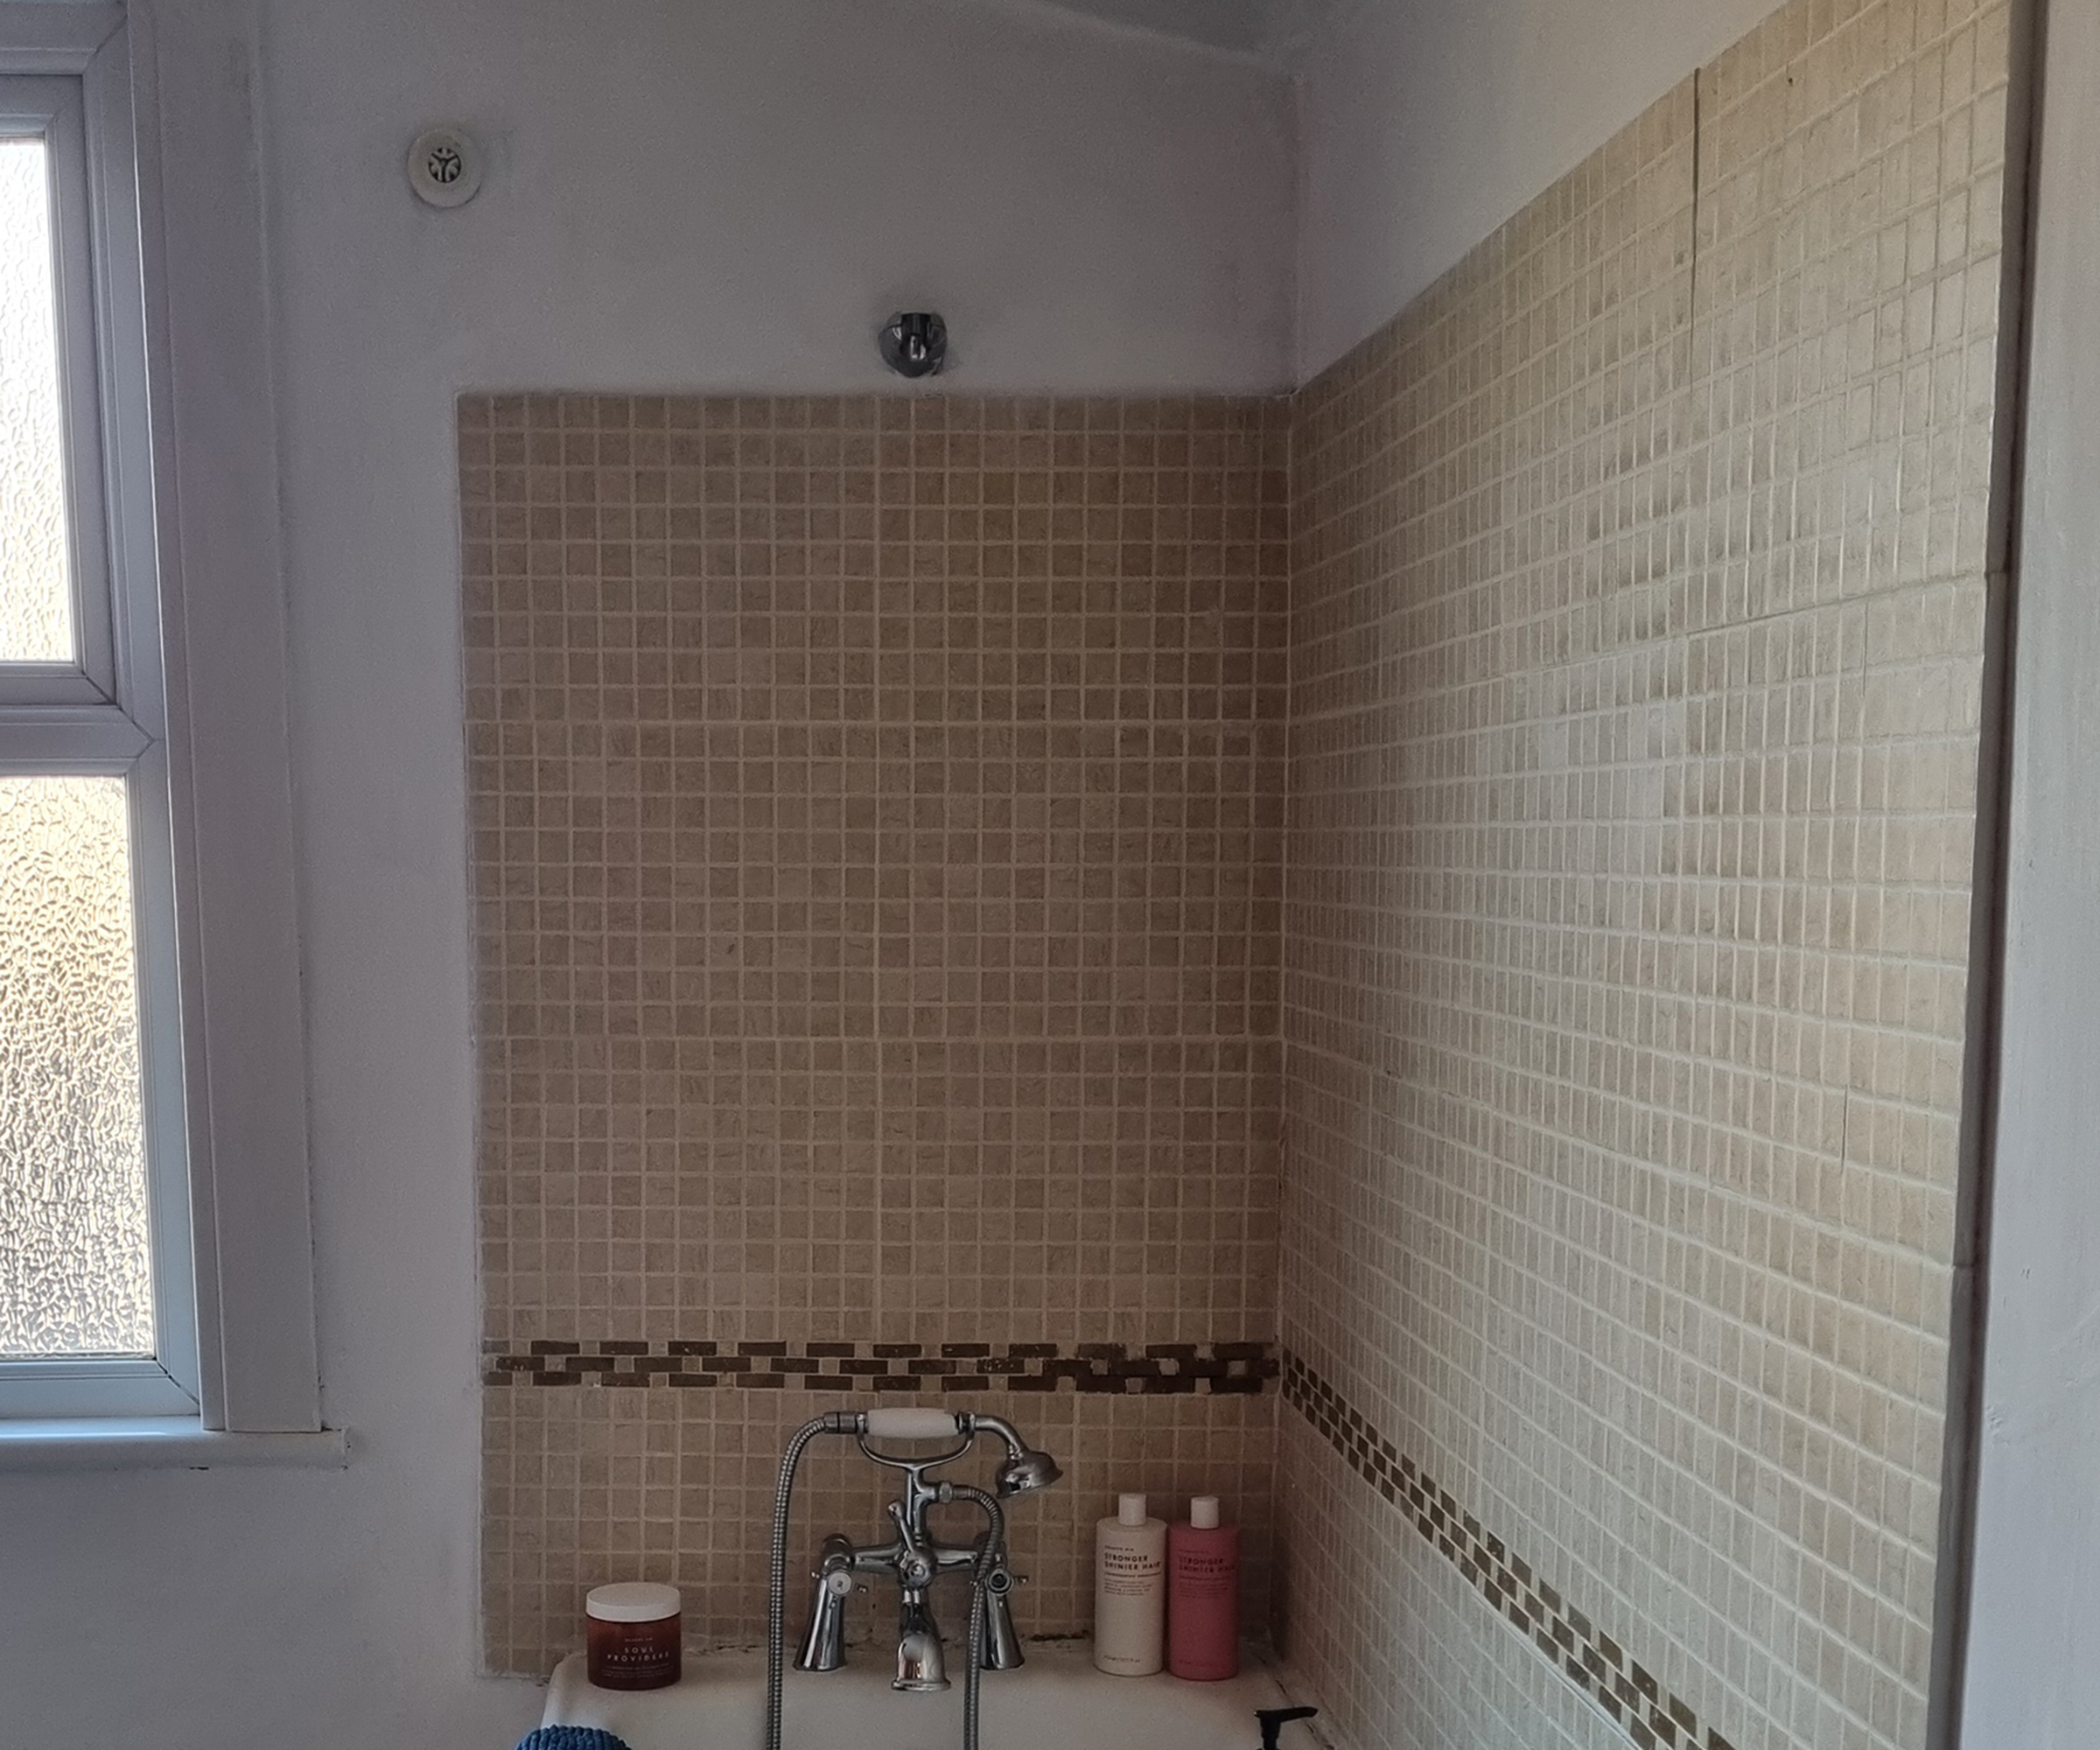
Swipe for the result

Damian Wallis is Dryzone’s resident mould, damp and ventilation expert with over 20 years of experience. He specialises in identifying and addressing the root causes of mould, mould prevention and removal.
What is anti-condensation paint?
"Anti-condensation paint is designed to prevent condensation forming on the surface of the walls," explains Damian. "Tiny glass spheres are contained within the paint which help to create a lower thermal conductivity on the surface of the wall. The change in that surface temperature helps prevent condensation from forming."
This piqued my interest as a low temperature is a huge problem in my bathroom currently, I have window condensation as well as wall condensation, so knowing that anti-condensation paint works by raising the temperature felt like it could be an advantageous product in dealing with my issue.
Damian went on to explain the "open-pore structure" of the paint stops water from forming as droplets on the surface, unlike a vinyl or emulsion paint, by absorbing the droplets and allowing evaporation to occur.
Finally, there are trace amounts of preservatives within the paint that act as a barrier to mould growth.
Damian pointed out to me that it's important to note that using anti-condensation paint alone won't permanently eradicate the problem, or remove condensation from the air like a dehumidifier. However, it does prevent it from forming for about twice as long as a normal emulsion.
The take-home message I got is that this could be a good first port of call to tackle the condensation and black mould in my bathroom. And though the paint is pricey, it would be considerably less than external wall insulation costs.
When to use anti-condensation paint
"Use anti-condensation paint wherever you notice condensation. This includes bathrooms, kitchens, and external walls where the surface is colder than internal walls," explains Damian. My problem space is a double whammy, a bathroom with two large external walls.
"It's unlikely that you'll need to use anti-condensation paint on wood surfaces as it doesn't get as cold as concrete or masonry will. If you do get condensation or mould on wood panels it's likely to be because it's been painted with a gloss or vinyl paint."
Anti mould paint is an alternative option, available in white or magnolia, but they work in a slightly different way. "They both contain a biocide but it won't have the spheres in it so it is a way of preventing mould growth from forming on painted surfaces without preventing condensation.
Anti-condensation paint step by step
After deciding that there was no harm in trying this product, as the situation certainly couldn't get any worse, I set about gathering the tools and materials I'd need for the job.
I asked Damian about applying the paint, and his advice was: "Use a medium pile roller, sponge roller, or a brush if you want to."
At this point, I will mention that I have not been paid to advertise any of these products.
What I used:
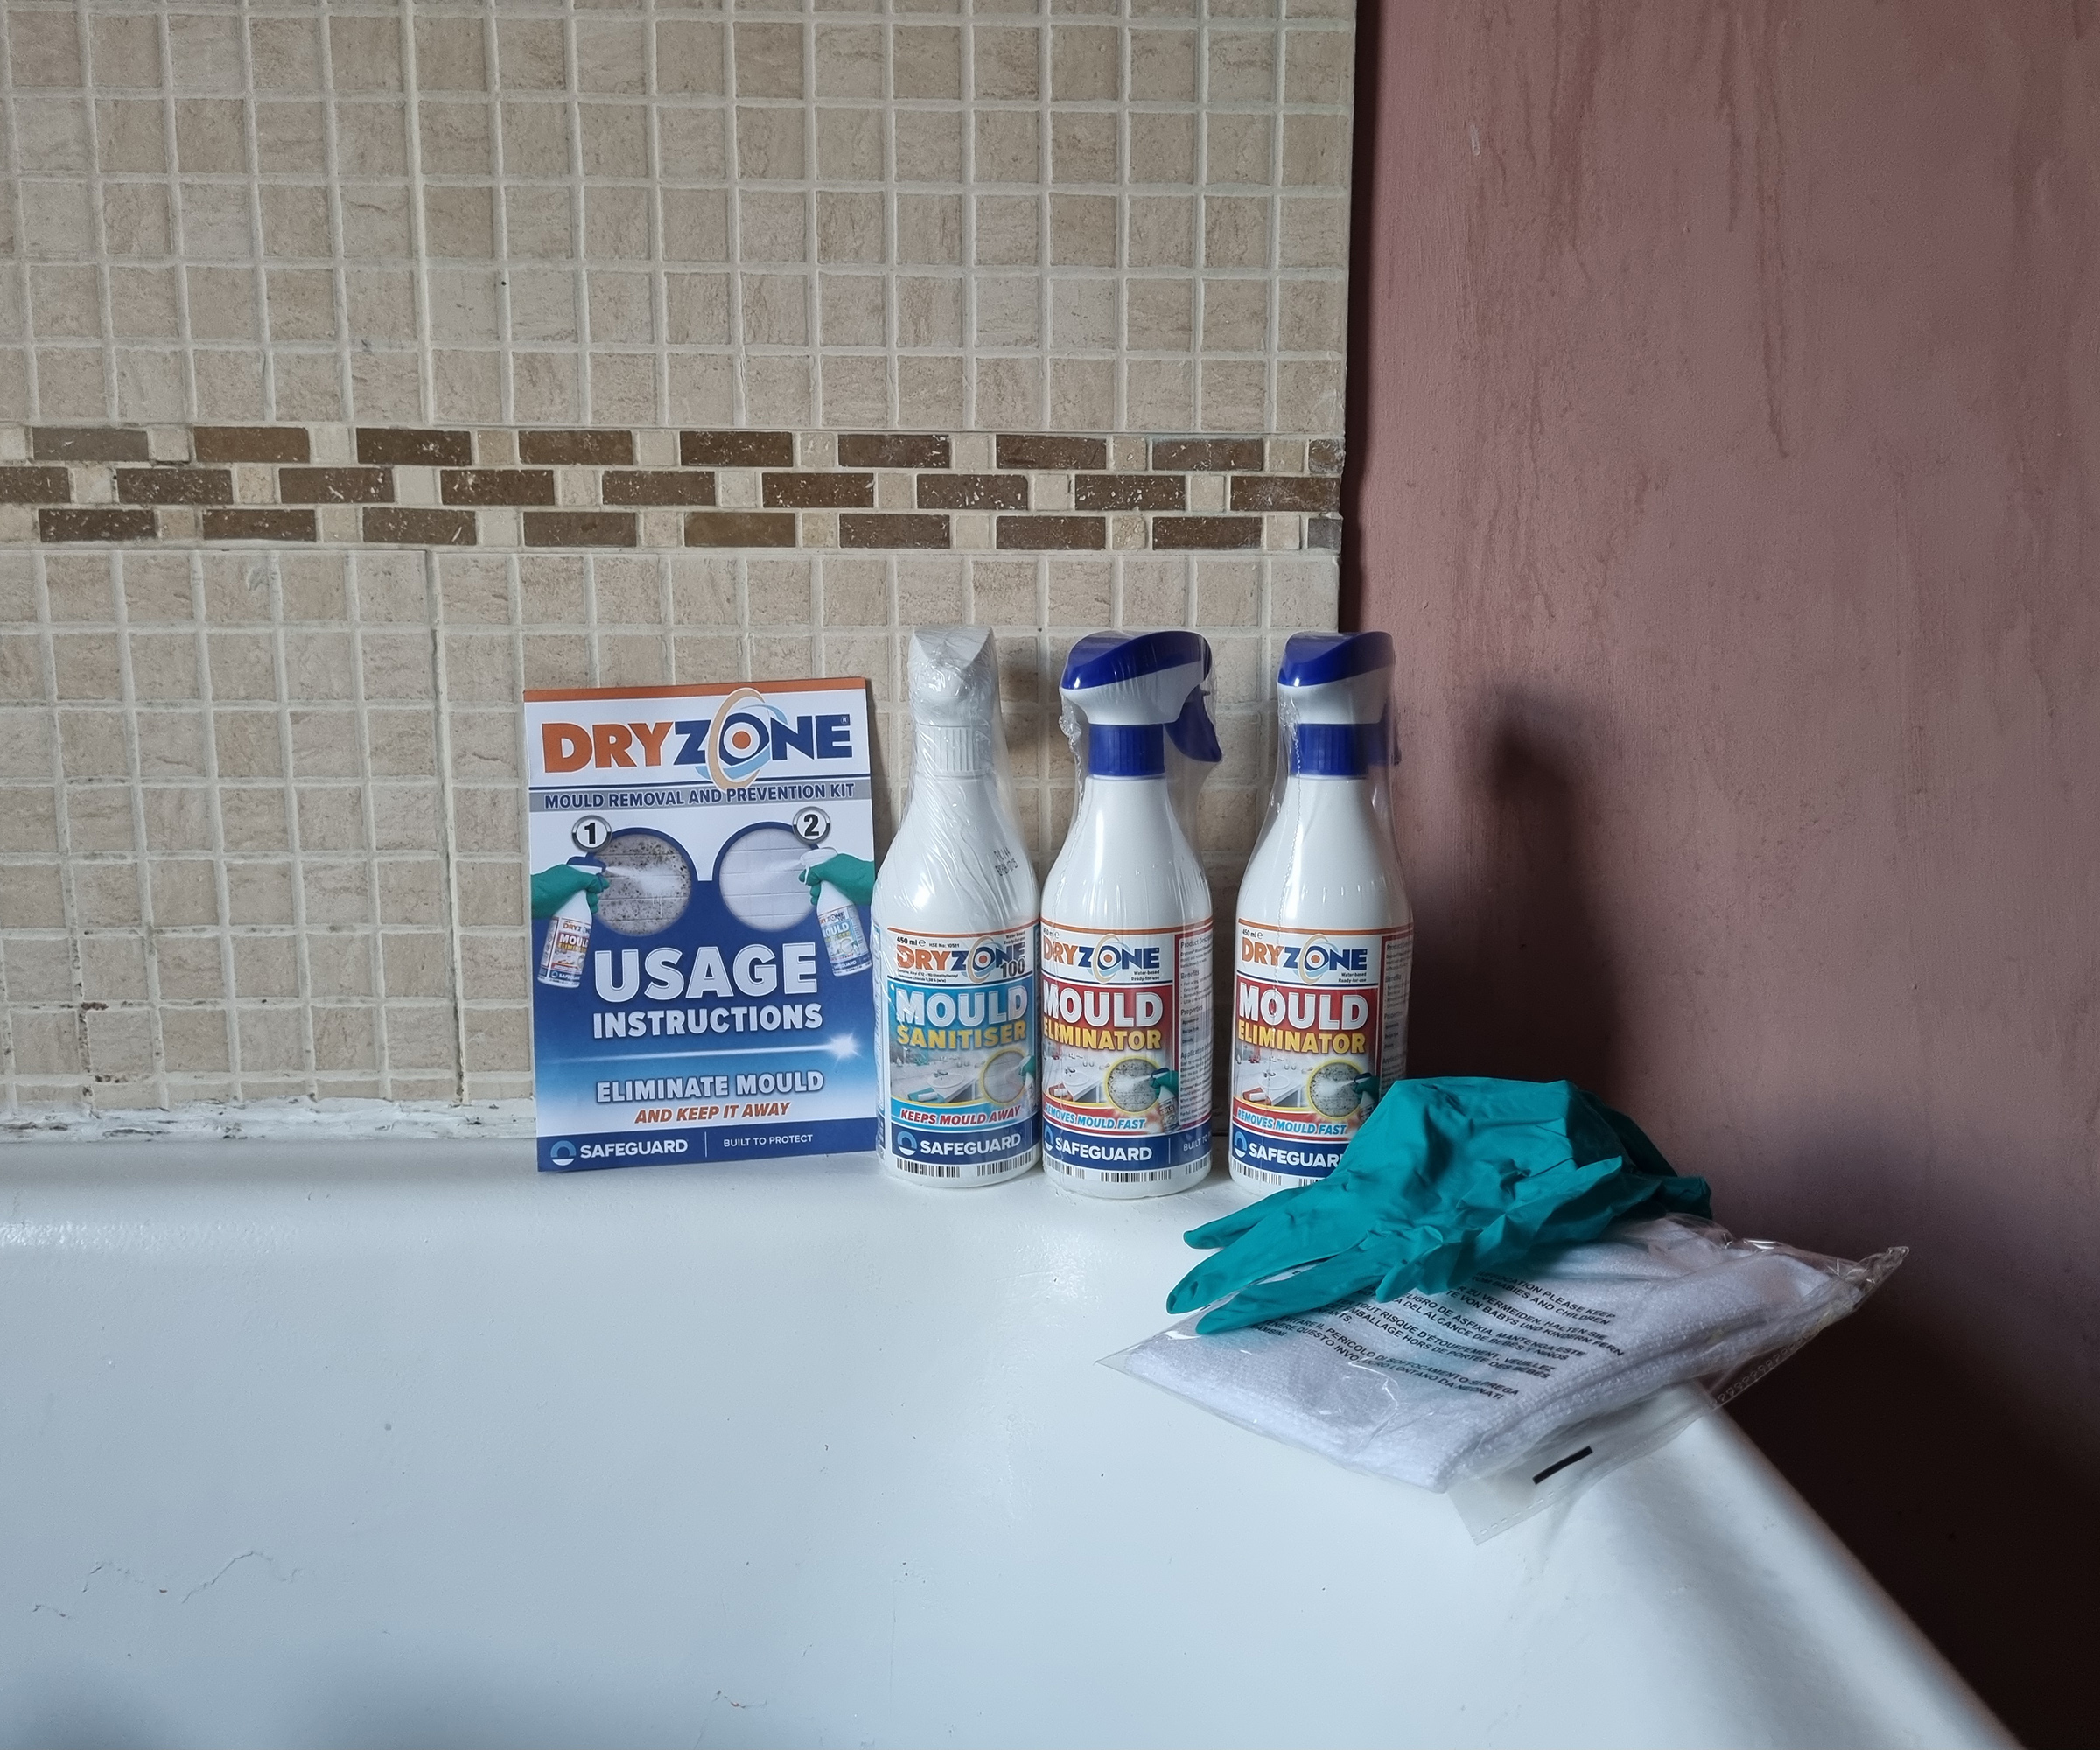
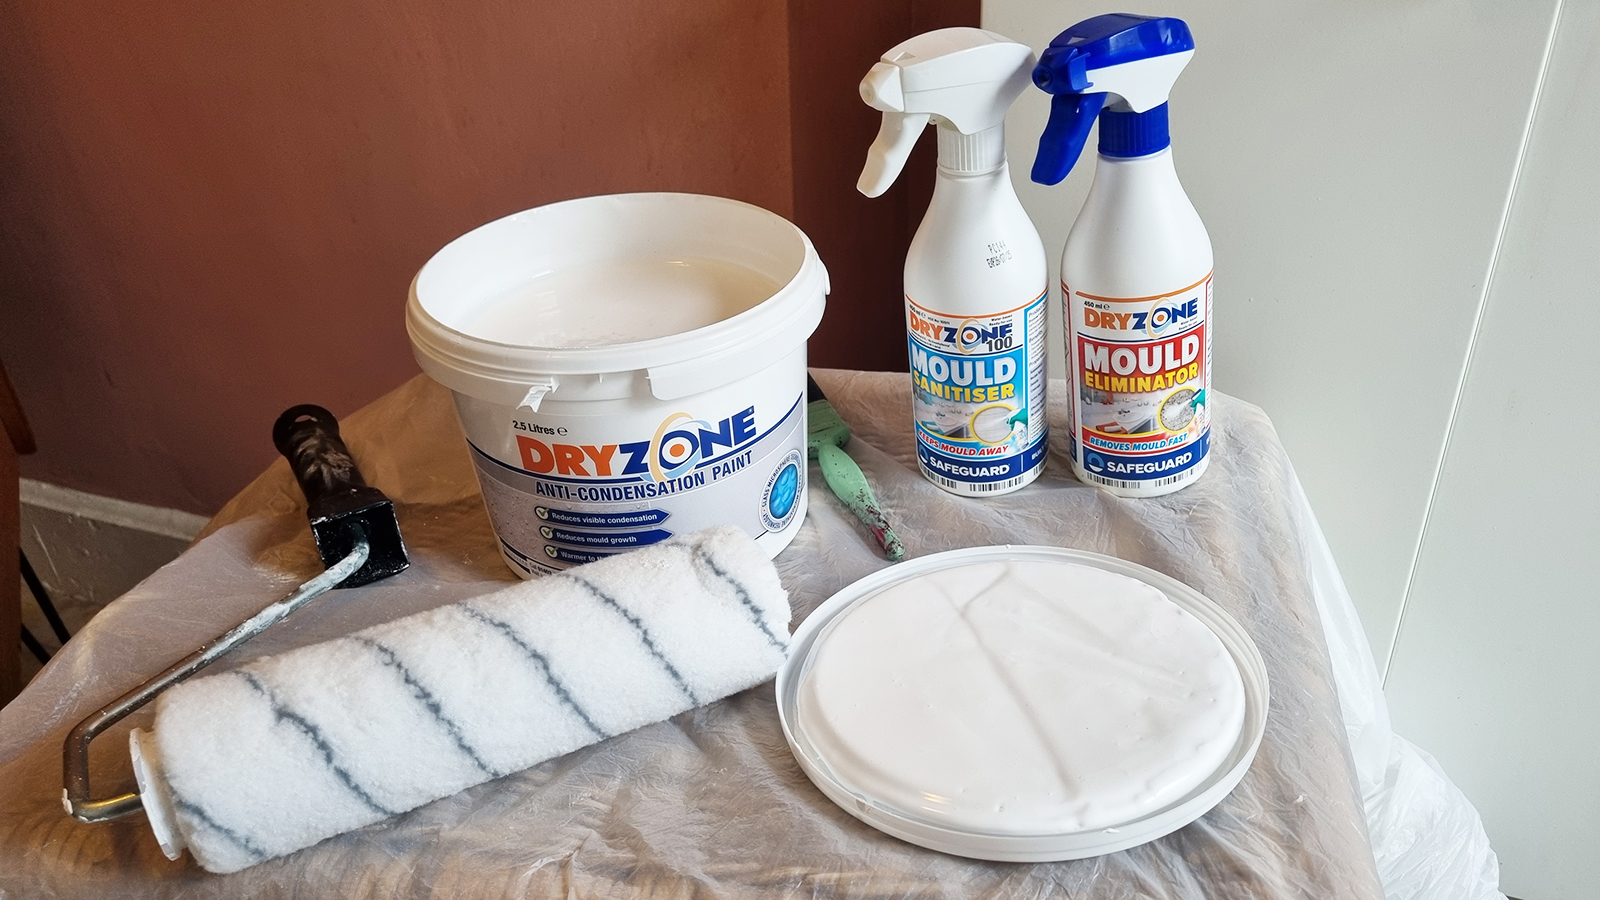
- Dryzone Mould Remover and Prevention Kit available at Amazon
- Dryzone Anti-condensation Paint 2.5L Matt White available at Amazon
- Safety goggles
- Face mask
- Plastic sheets
- Sanding block
- Paint roller and tray - I used Harris Seriously Good Walls & Ceilings Paint Roller from Amazon
- Paintbrush
- Step ladder
1. Cleaning the mould off your surfaces
As you can see I had a lot of nasty black mould collected at the top of my ceiling and who knows what other types of mould. So before I could start any painting this would need to come off. As well as the mould cleaner, the first step, there is also a sanitiser that goes on afterwards.
The kit I used for removing mould off walls contained an instruction manual, which I would definitely recommend reading before you start, as well as a good quality and decent-sized microfibre cloth that was ideal for the job in hand.
The kit does include gloves, which are perfectly adequate, however, not included are protective goggles, which I'd say are a definite necessity.
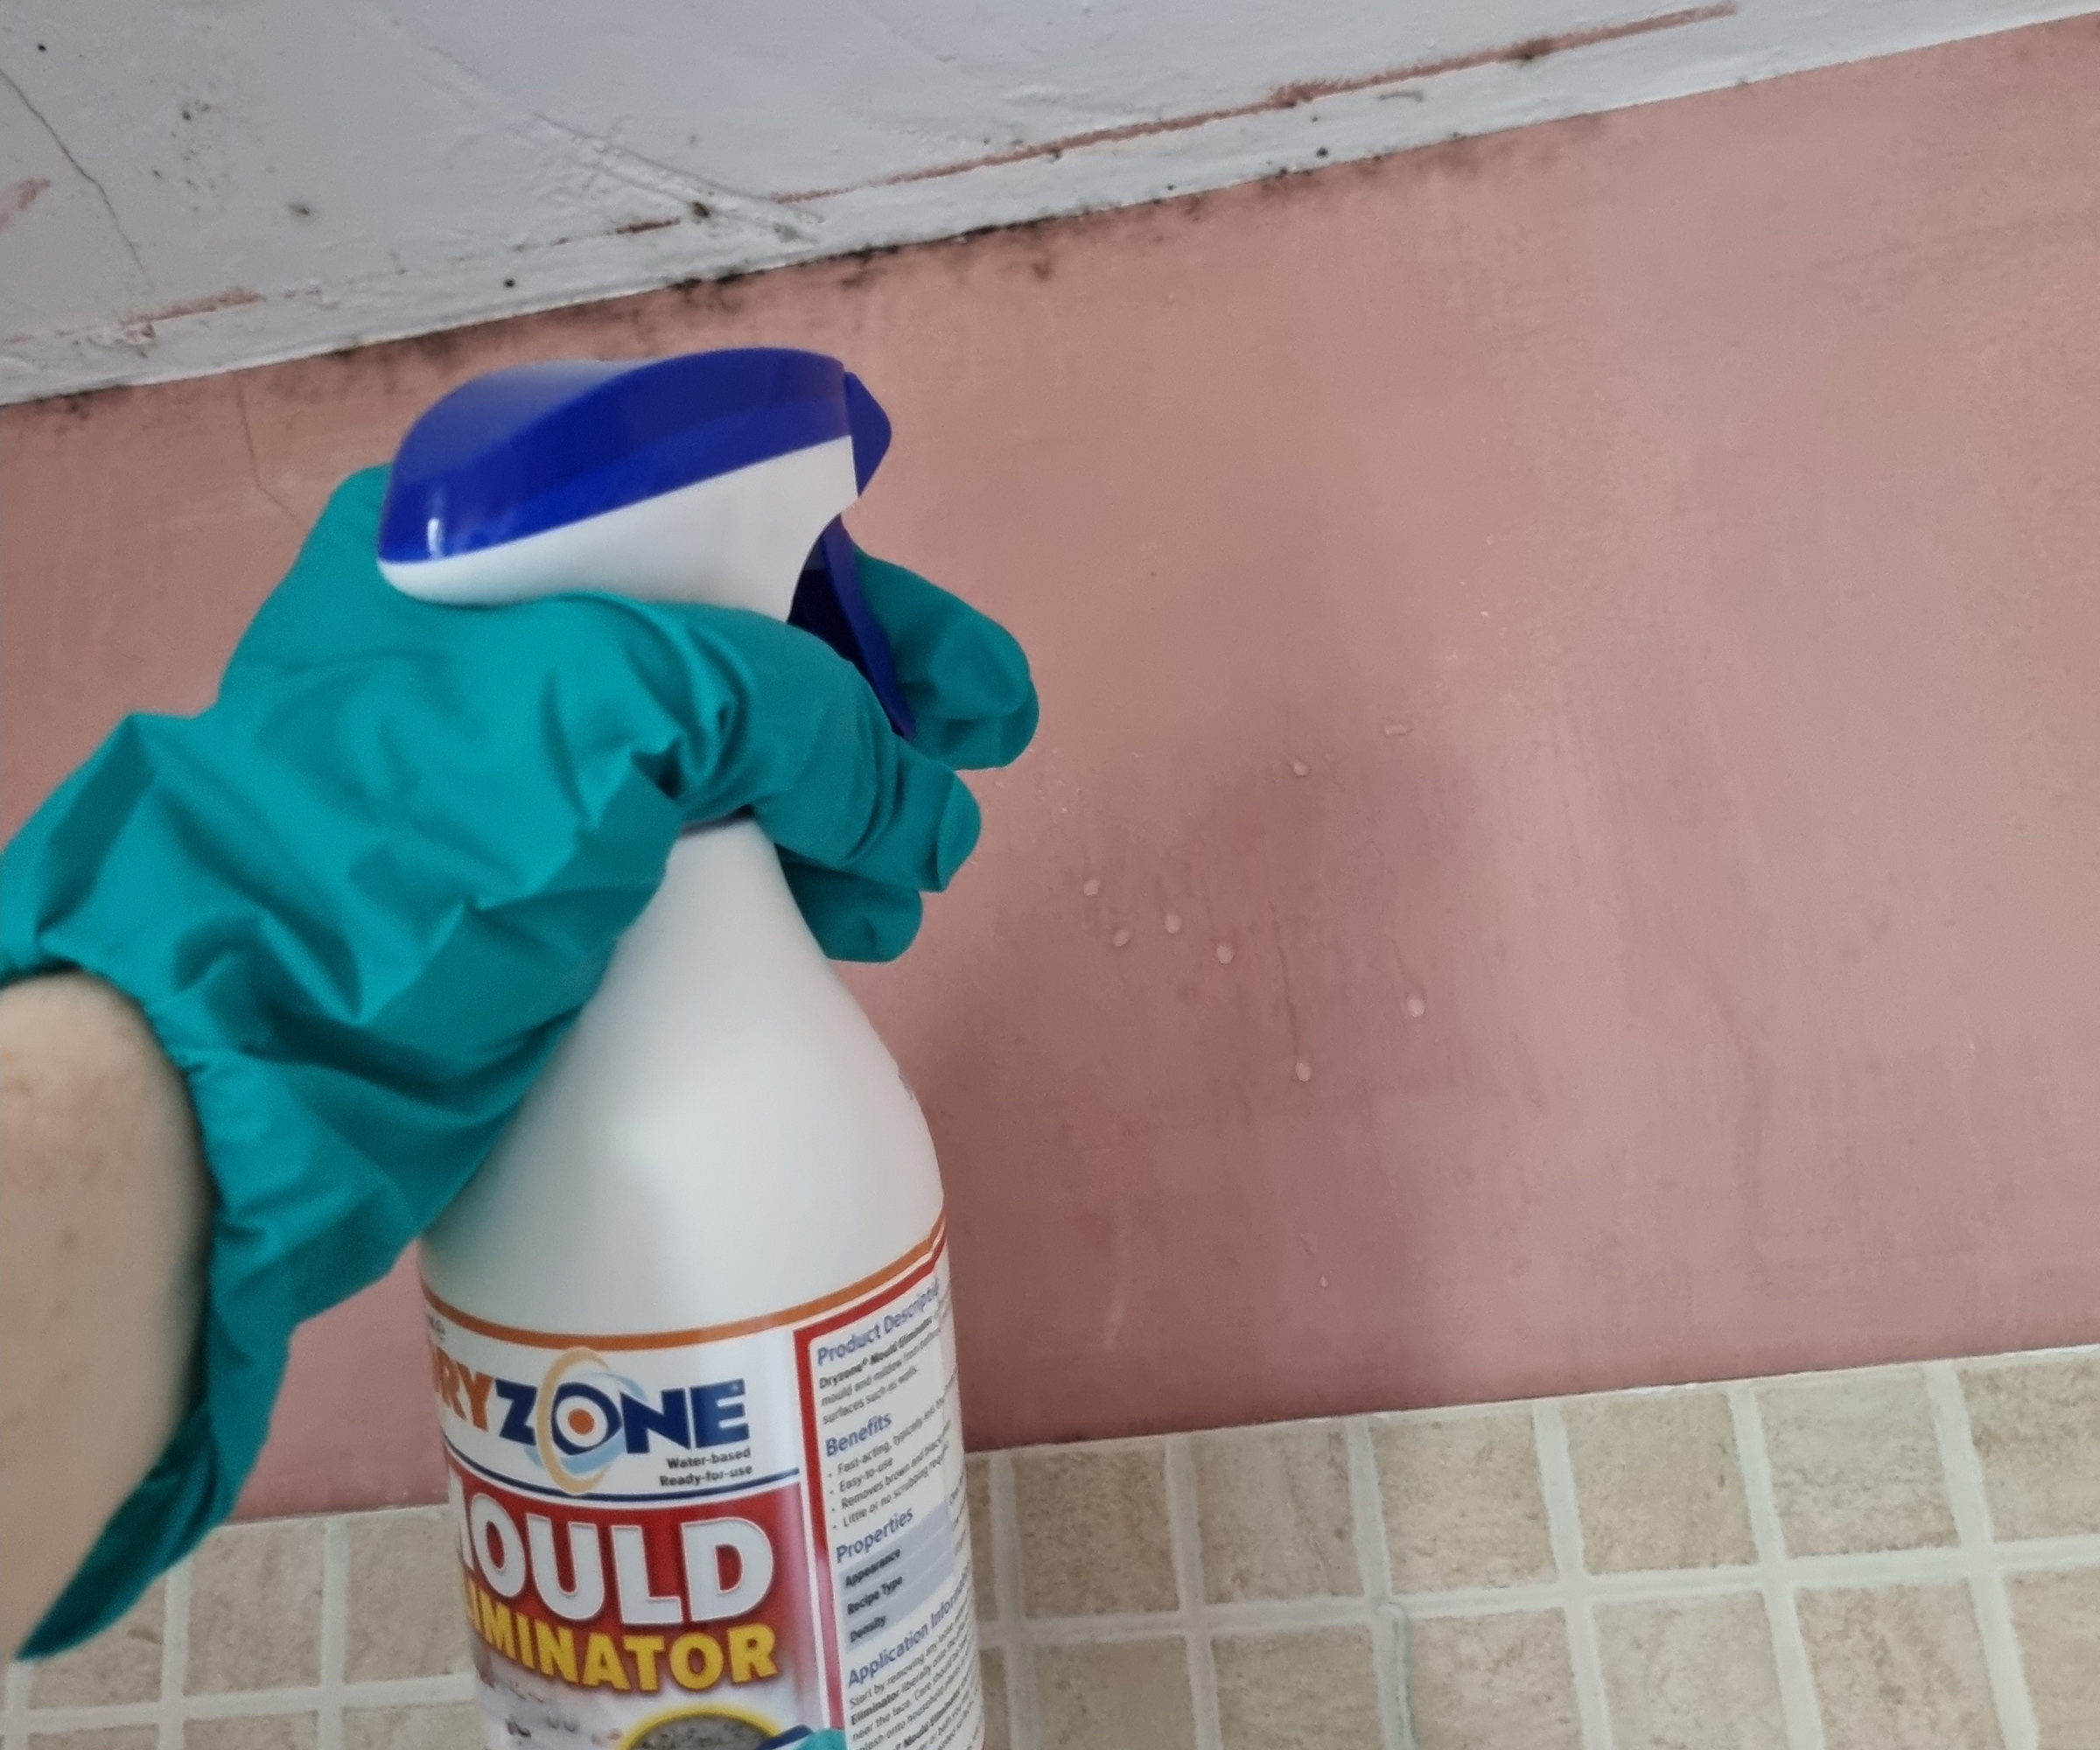
It says on the kit to avoid eyes however the spray bottles produce quite a fine mist, and if you're spraying upwards (which I was) it's almost impossible to avoid some of this wafting towards the face and eye area.
The more I sprayed the eliminator, the more "stingy" my eyes got, and donning them near the end of the task was very much a "barn door, horse bolting" scenario.
A face mask is also a nice-to-have, which isn't included. Do ensure that you're windows are open the whole time too.
2. Cleaning the mould off your surface continued
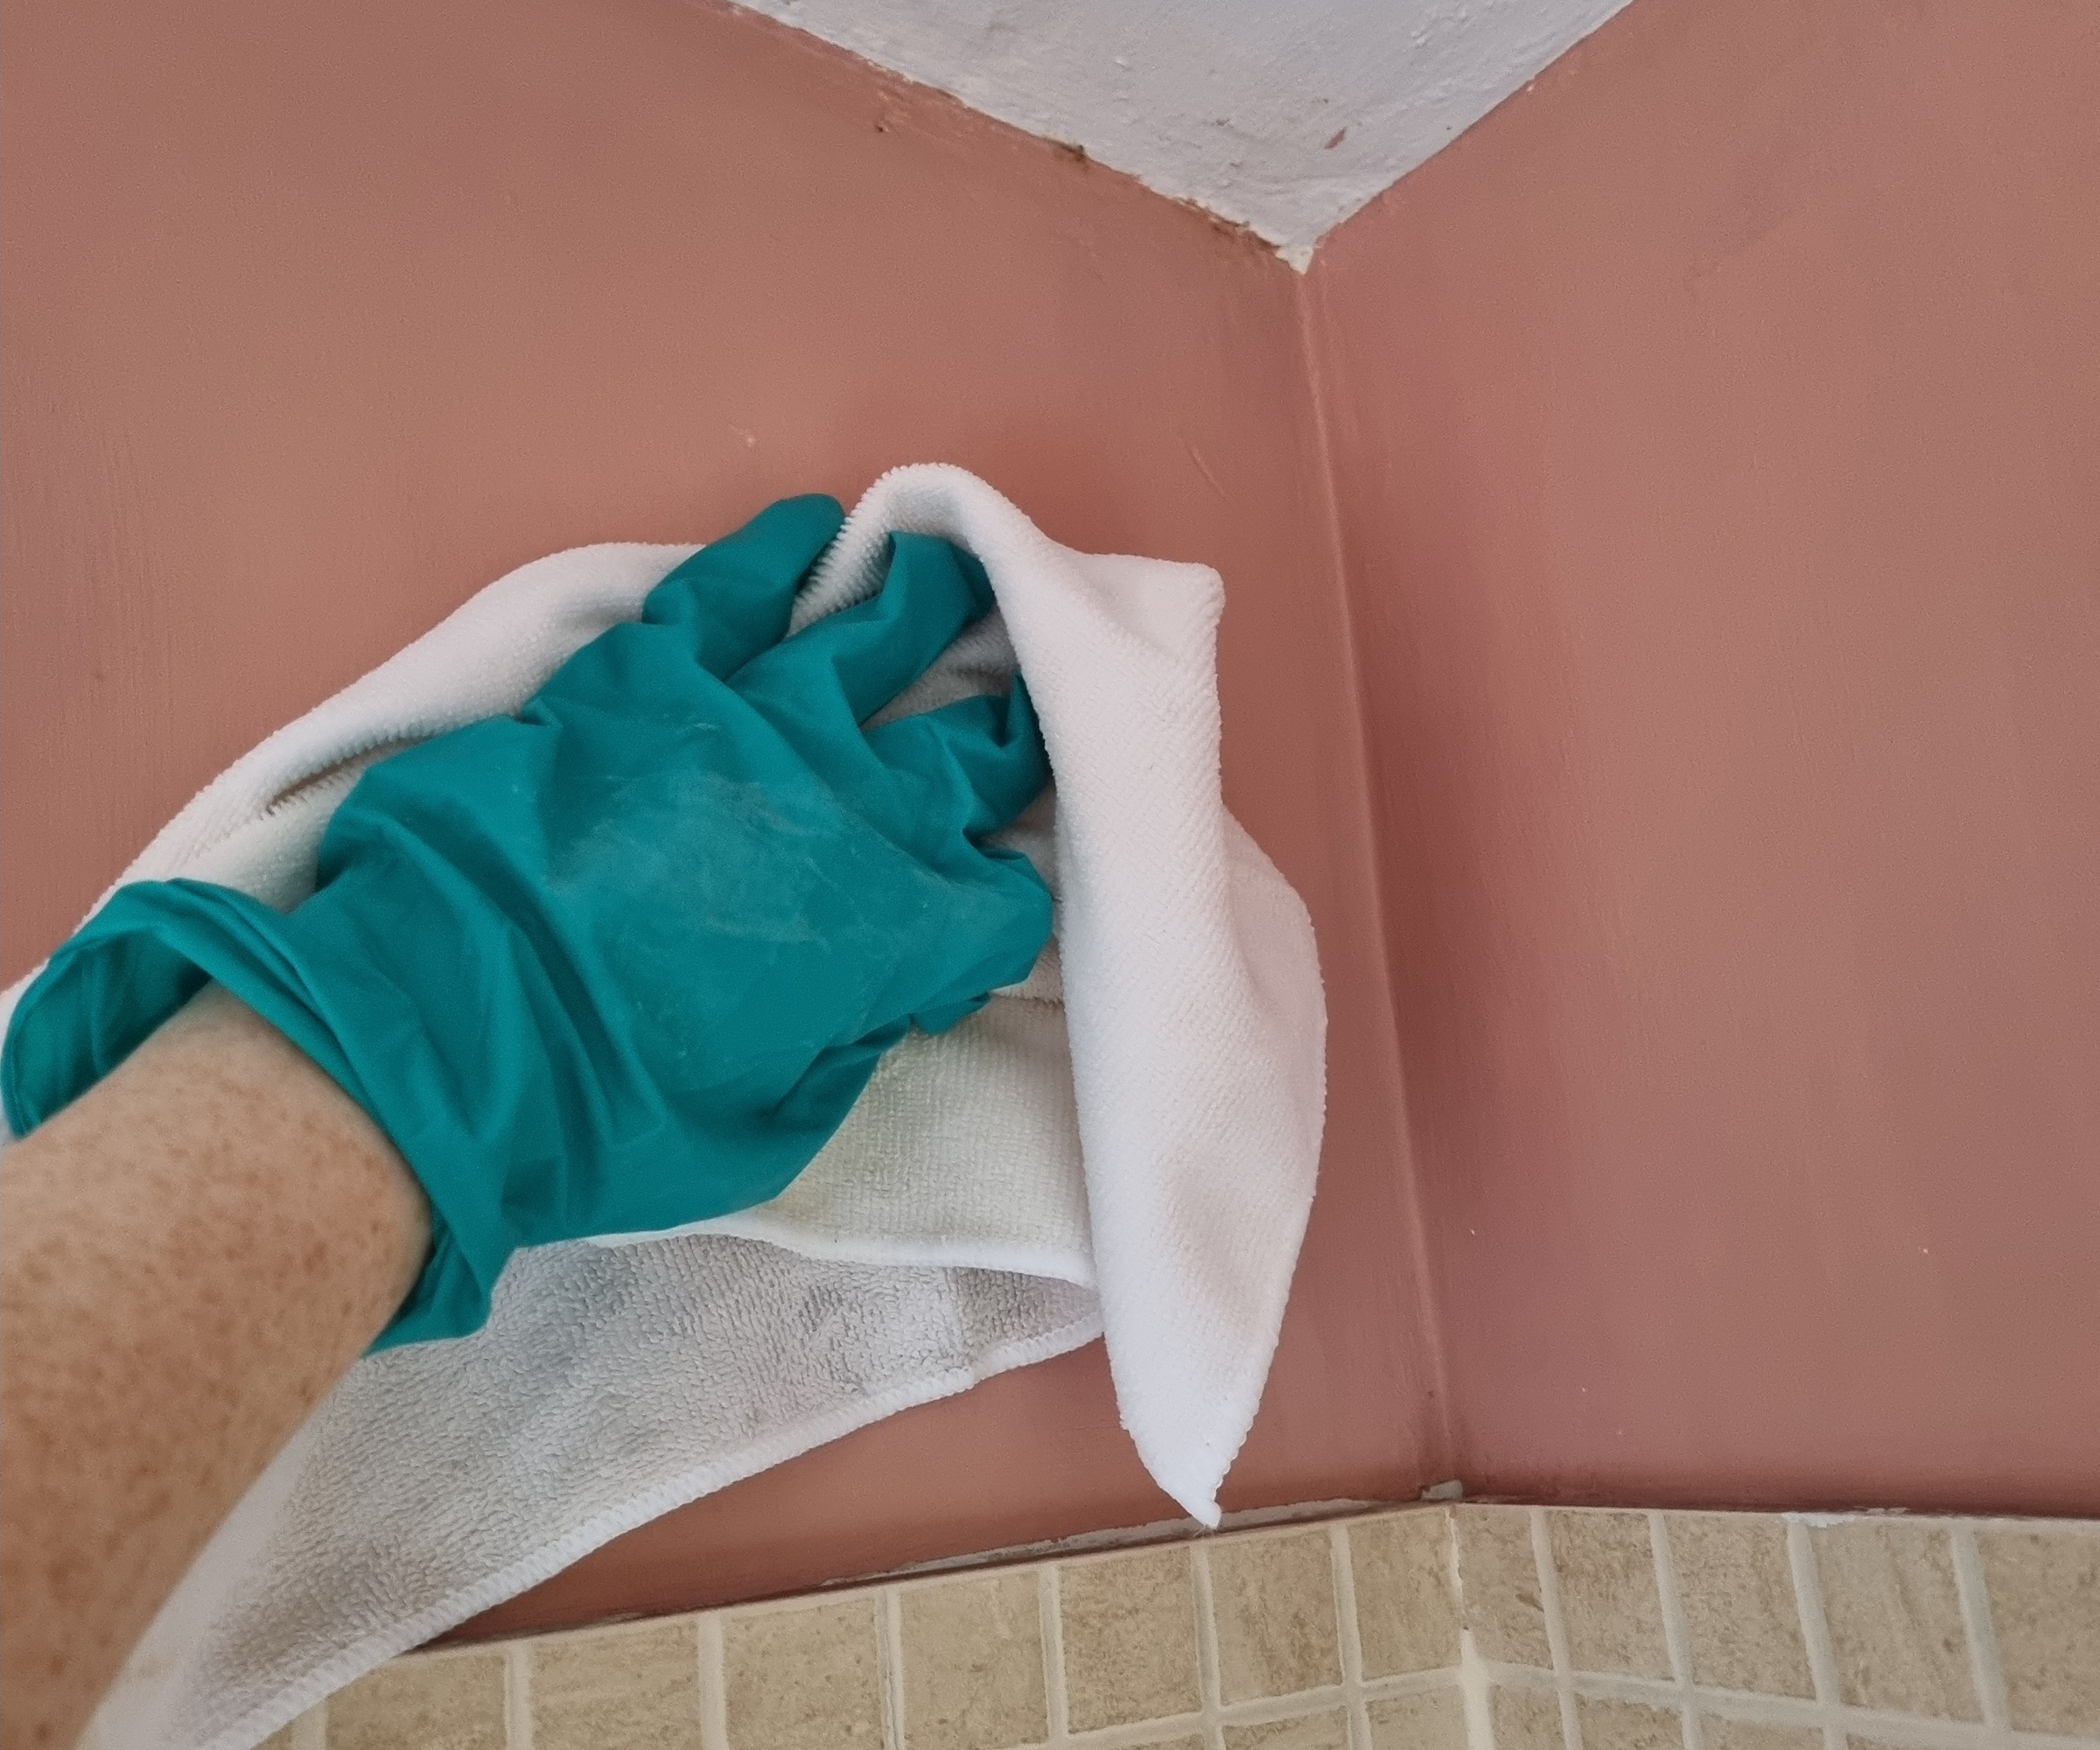
The method (as you'll glean from the manual) is fairly simple and involves spraying the eliminator directly onto your walls, focusing on the mould areas in particular. However, I gave the whole area a spritzing as I knew I'd be painting it afterwards.
The eliminator has an almost instantaneous effect on your mould, disappearing very quickly. The advice however is to leave it on a few minutes before wiping away any residue with the cloth.
I was extremely happy with the effect already and was tempted to leave it at that. But I figured that why would they go to the trouble of including the sanitiser spray if it wasn't essential?
Damian had also warned me that the mould organism can still remain in the substrate after the cleaning phase, and using the sanitiser spray gets to the root of the mould itself by killing off the fungal spore. Which, even if I didn't fully understand, sounded extremely vital.
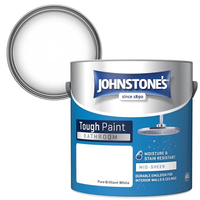
Not technically anti-condensation paint but bathroom paint like this will generally be more resistant to moisture than standard emulsion.
3. Leave it to dry thoroughly
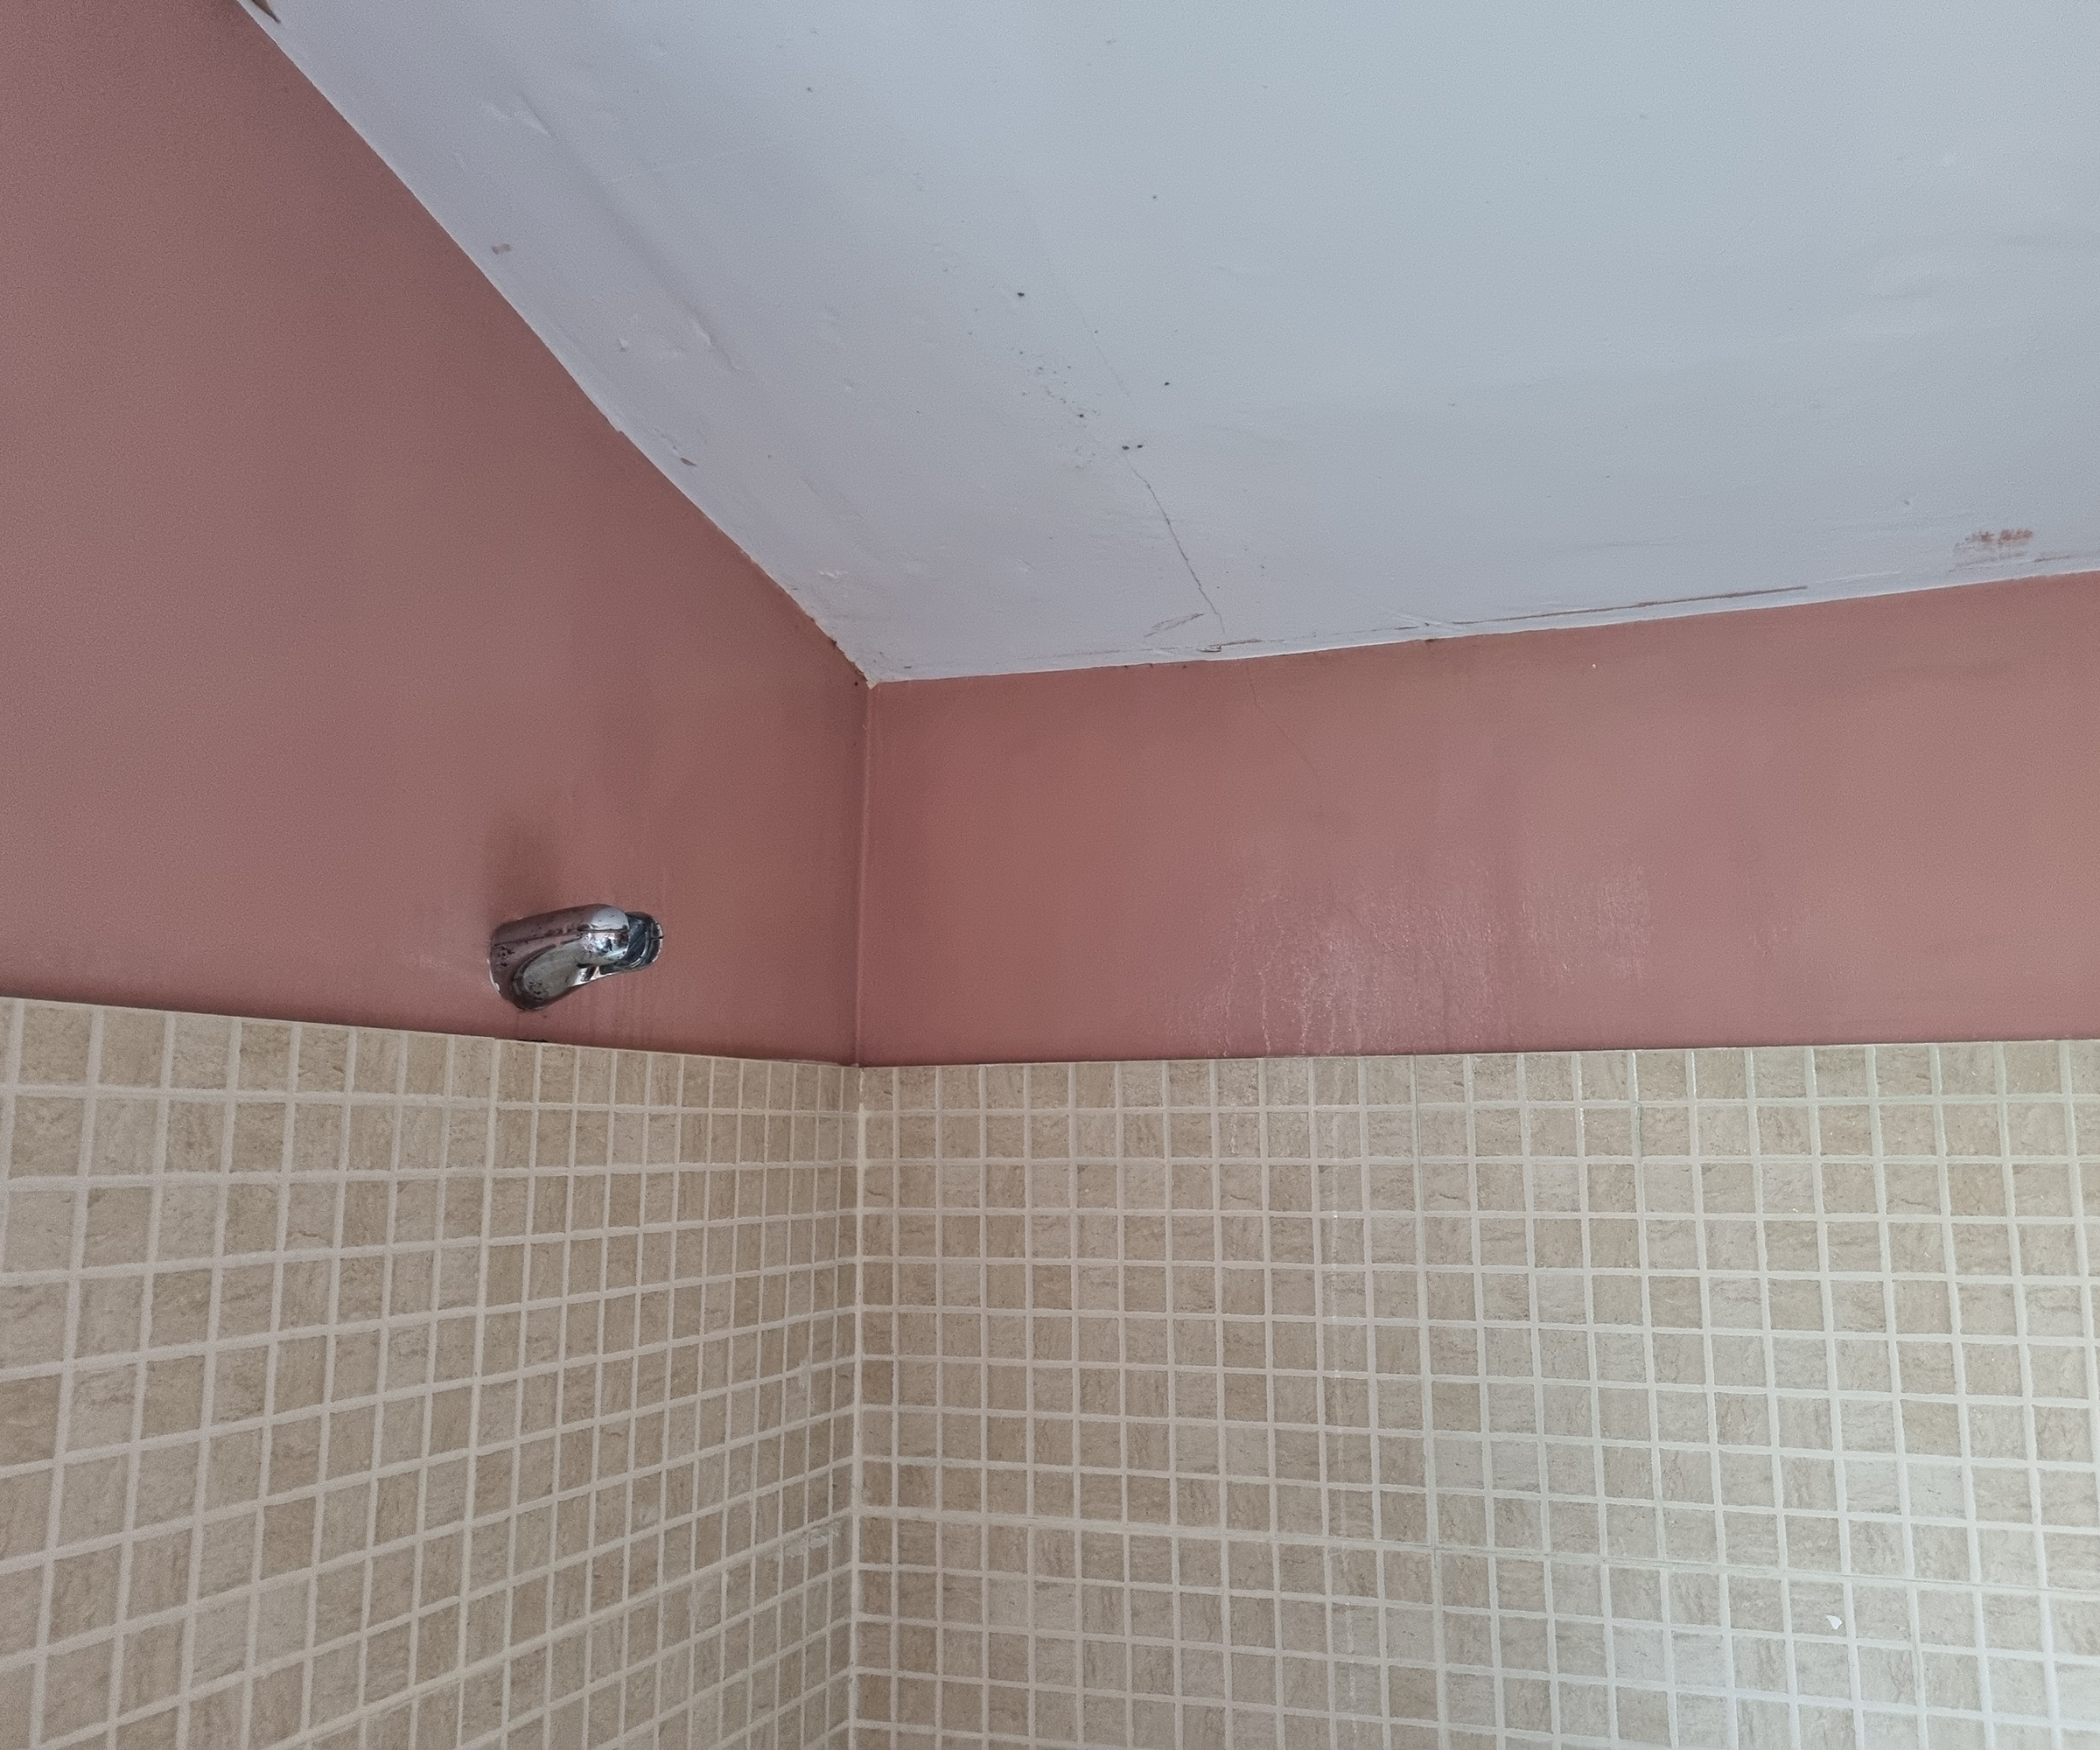
Assessing the state of my walls after cleaning off the mould I was already extremely happy with the change in appearance. The black mould had disappeared and the damp-looking patches causing the surface of the paint to look uneven had even lessened somewhat.
My plan was still to paint the walls with a roller and the anti-condensation paint so I left the mould cleaner to dry out completely for 24 hours with the doors shut and the windows open.
4. Apply the first coat of paint
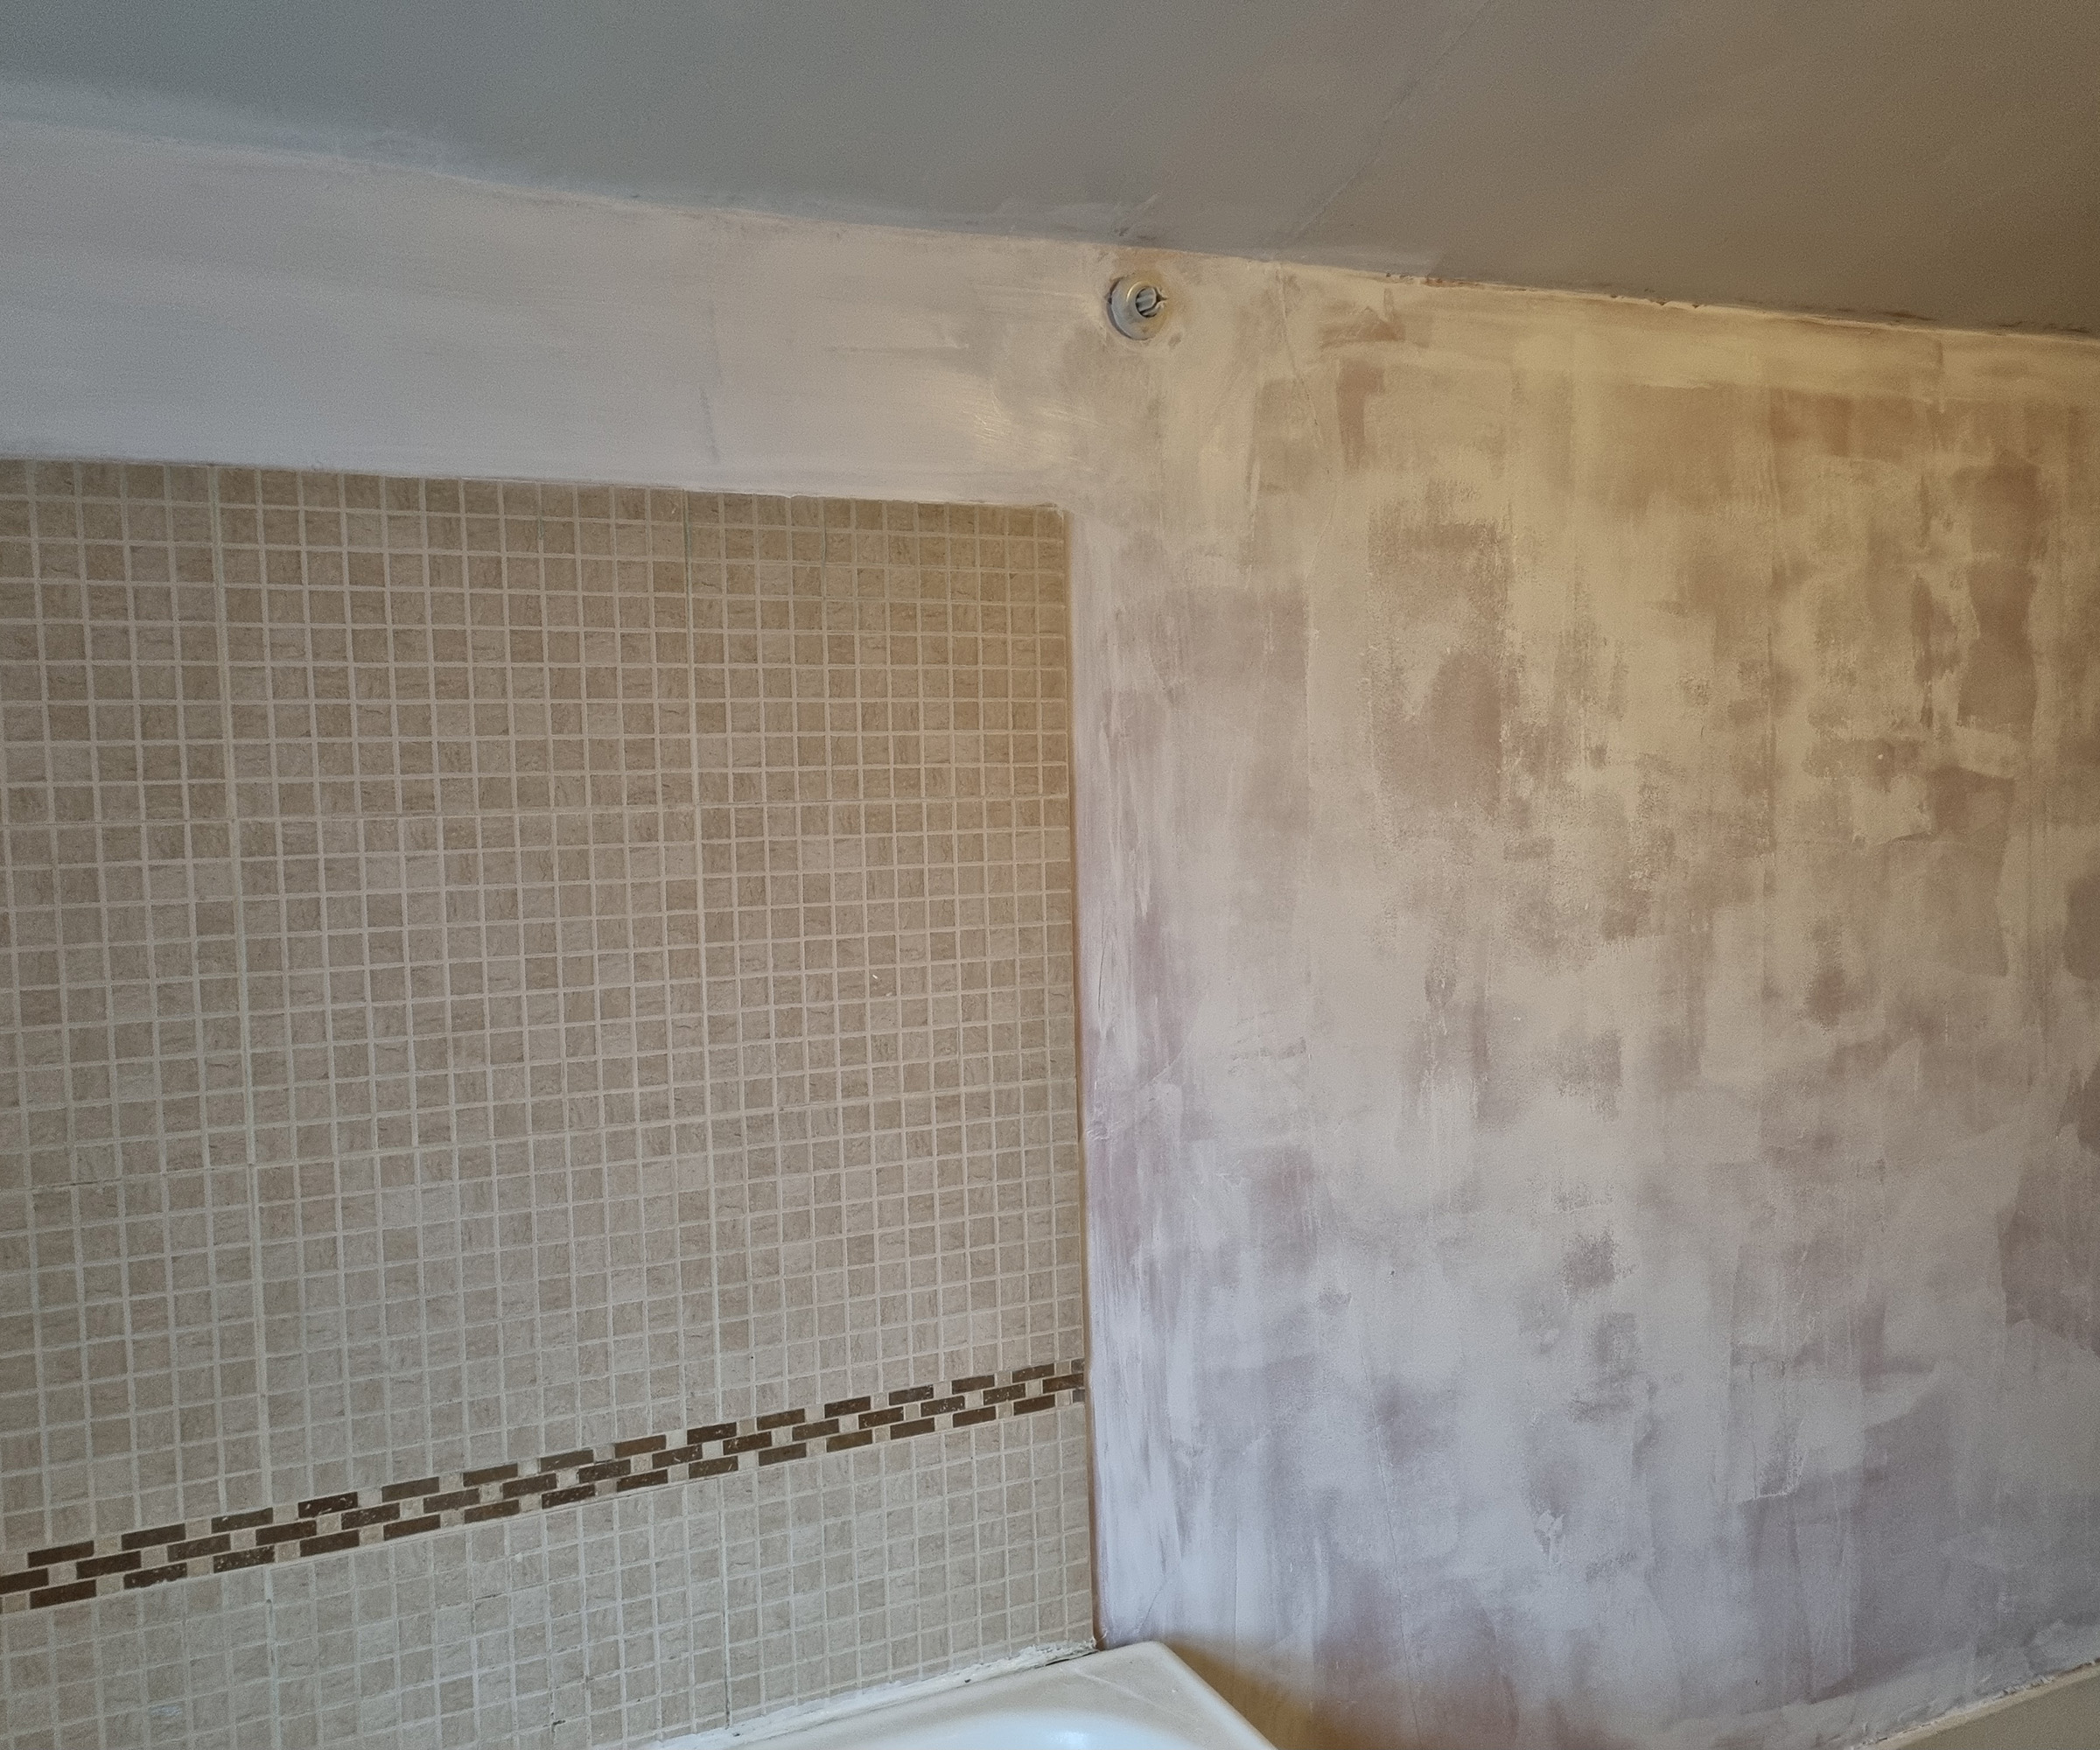
Once my walls had dried out I gave them a quick once-over with a sanding block and wiped away the residue with a dry cloth.
Damian told me I would need to apply a minimum of two coats. "Typically give about one to three hours depending on the conditions that you're applying it to, for that first coat to dry off."
"You don't want to make it too thick, otherwise it might end up slightly stippled. Because we do have to bear in mind there are these tiny little glass spheres within the paint."
At this point, I would advise that you adjust your expectations slightly as according to Damian this is a "performance product", rather than a decorative one, so it won't give the same finish you might expect from an eggshell or satin paint.
5. Leave it to dry and apply the second coat
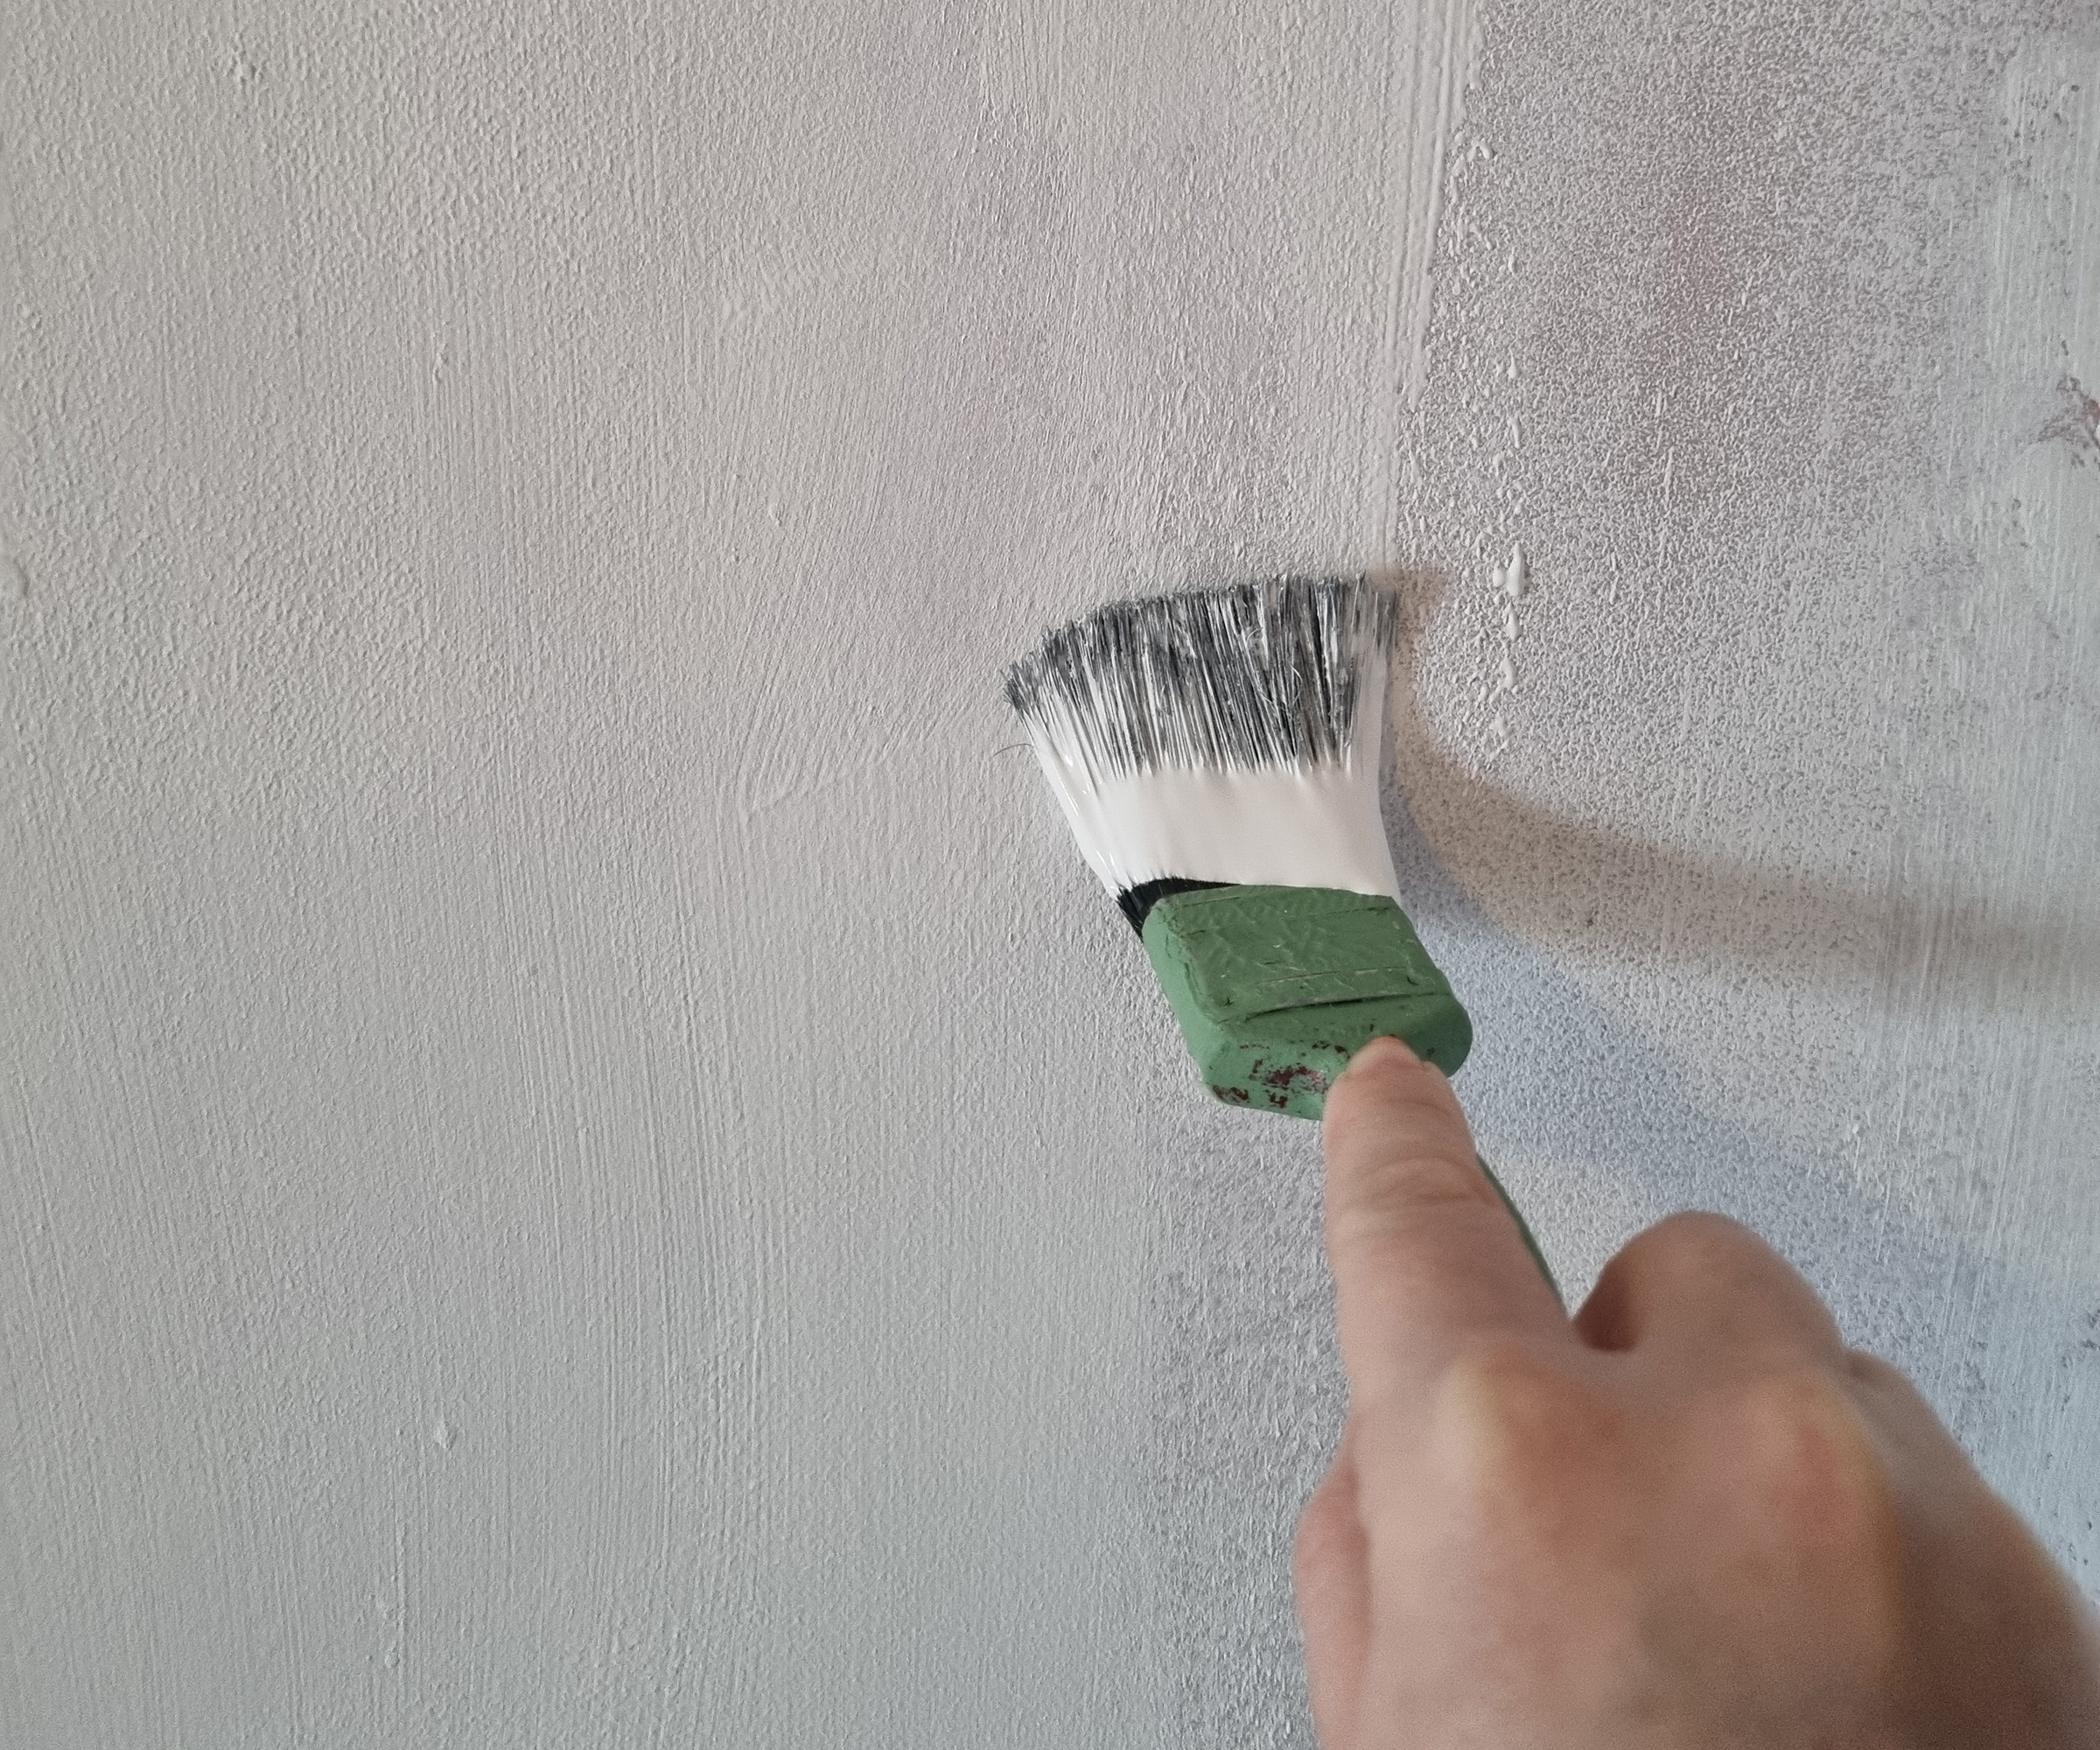
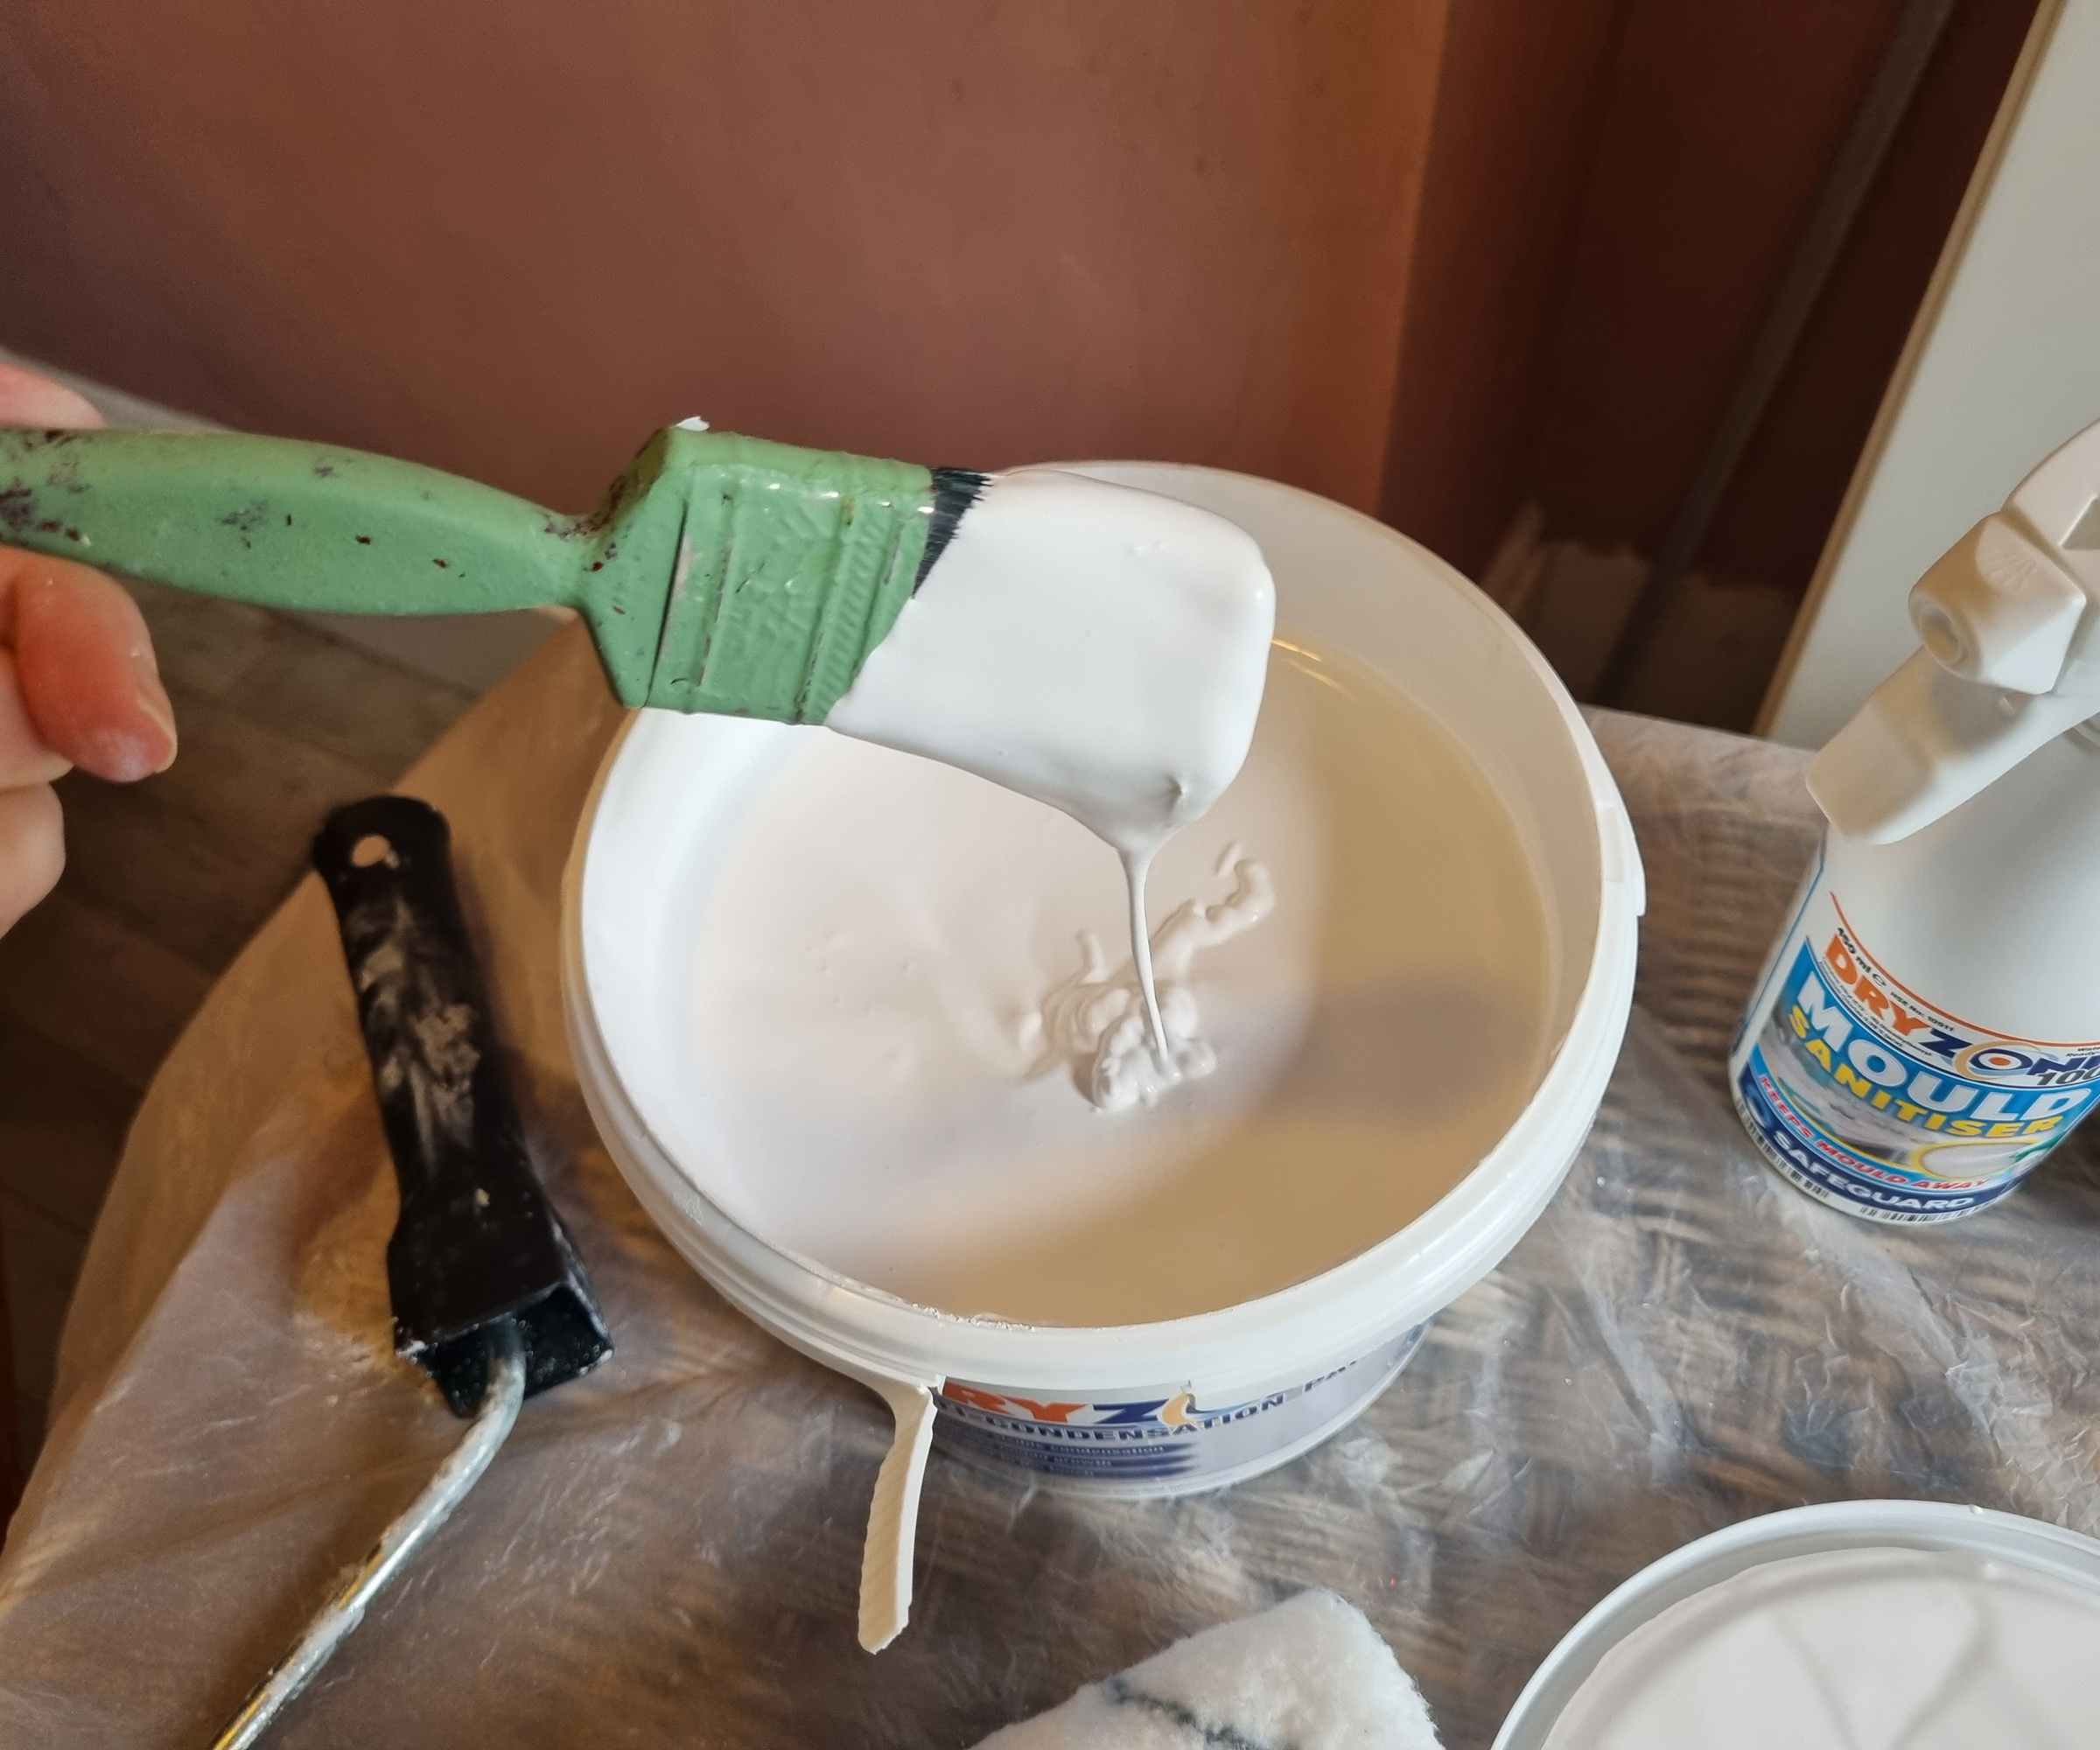
Being conscious of Damian's advice of not applying it too thickly I wasn't too happy with the result of my first coat, where I'd used the roller. However, in defence of the paint I was covering a rich pink shade.
I used a foam roller on the larger walls but a paintbrush on the smaller sections, above my tiles for example, and I personally found that the brush applied the paint at a better rate and produced a more even finish with less effort.
Therefore for my second coat, I decided to abandon the roller and go straight in with the paintbrush. Of course, this will come down to personal preference, so use whatever tool you feel is providing you with the best coverage. That being said, avoid mechanical paint sprayers.
FAQs
Does anti-condensation paint work?
Here is the million-dollar question. Having used anti-condensation paint myself and speaking to the manufacturers at Dryzone, I have surmised that yes, it works, but only to a point.
Dryzone don't claim that anti-condensation paint can fix the problem however, what they do suggest is that it will keep the condensation from forming for at least twice as long as regular paint, by raising the surface temperature of your walls.
"Anti-condensation paint would be a first port of call for a lot of people, and you want to spend only as much as you need to spend," says Damian.
You would deal with the mould first, clean that up and then you might apply your anti-condensation paint to manage the surface temperature. If that doesn't work you'd need to look at other measures such as improving ventilation or insulating your walls."
For me, I know the thermal performance of my bathroom is poor because of how cold it is, and being on the second floor we really need to look at getting the roof done. However, as an interim measure, I am satisfied that the black mould has been eradicated and I may have bought myself a bit more time until I can afford the more substantial work to prevent the issue.
Can I paint on top of anti-condensation paint?
Some, anti-condensation paint manufacturers, such as Ronseal Anti-Condensation paint available at Amazon, claim that you can paint over it, however, Damian at Dryzone consulted with their lab team who said that it's "inadvisable" as it can "alter the performance of the paint."
So essentially, depending on the brand of paint you're using you could paint over, or it may impact how well the product works, which you may not want to jeopardise.
It is possible to get anti-condensation paint in different shades and SmartSeal Anti-Condensation paint at B&Q does a decent colour range including slate and terracotta.
Overall I'm happy with the look of the finished result, and in comparison to what I started out with it's chalk and cheese. The wall surface isn't perfectly smooth as I was warned it wouldn't be, however, unless you're looking up close I don't think it's noticeable.
I will need to fix the long-term problem by investigating bathroom ventilation to see if I can eradicate all issues going forwards.
Bring your dream home to life with expert advice, how to guides and design inspiration. Sign up for our newsletter and get two free tickets to a Homebuilding & Renovating Show near you.

Teresa was part of a team that launched Easy Gardens in 2018 and worked as the Editor on this magazine. She has extensive experience writing and editing content on gardens and landscaping on brands such as Homes & Gardens, Country Homes & Interiors and Living Etc magazine. She has developed close working relationships with top landscape architects and leading industry experts, and has been exposed to an array of rich content and expertise.
In 2020 Teresa bought her first home. She and her partner worked alongside architects and builders to transform the downstairs area of her two bedroom Victorian house in north London into a usable space for her family. Along the way she learned the stresses, woes and joys of home renovation, and is now looking to her next project, landscaping the back garden.
